Ironballs
Established Member
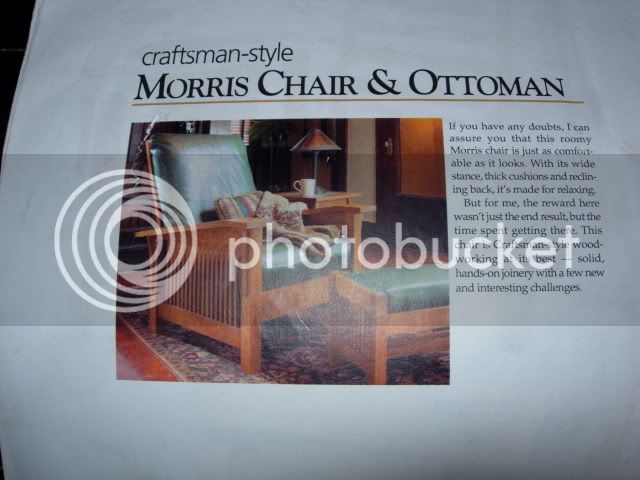
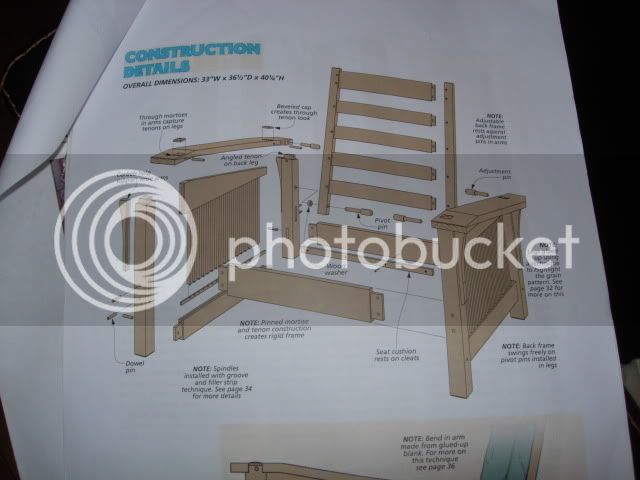
Right then, this is my evening class project for the year and I've decided to do a chair, Gustav Stickley's interpretation of a William Morris recliner chair to be precise. I've not built a chair before and I like the specific look of the Stickley so I decided to get some plans to follow, a quick search and a tenner later I have what I need from Plans Now - though they are American which means everything is inches. Job number one was to convert into metric.
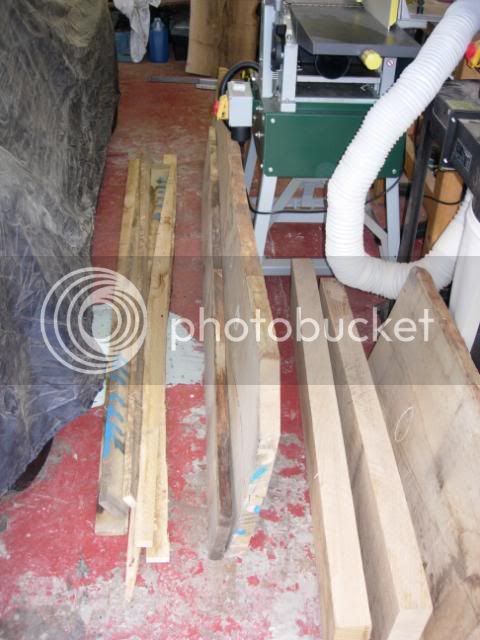
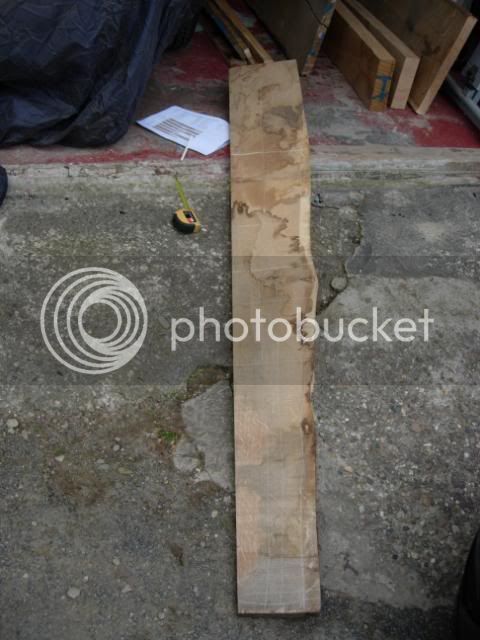
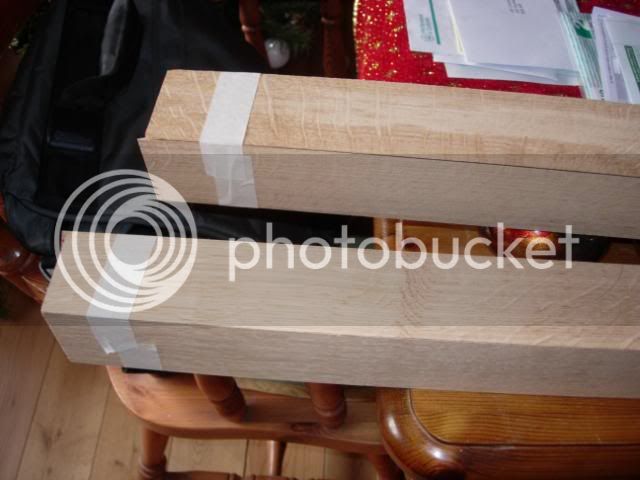
Like Stickley's original my chair was to be made from quarter sawn white oak, which meant a long time trawling through boards down at the timber yard to find what I needed. Chris at Yorkshire Oak was his usual helpful self and was on hand to help me dig through them; in particular when I started to hunt out boards to make the 10mm square spindles, he pointed me in the direction of his waney edge offcuts, all I needed and those came for free.
This is what I arrived home with (though not all shown), pretty rough and there's a lot of work to properly select my pieces and make my cuts.
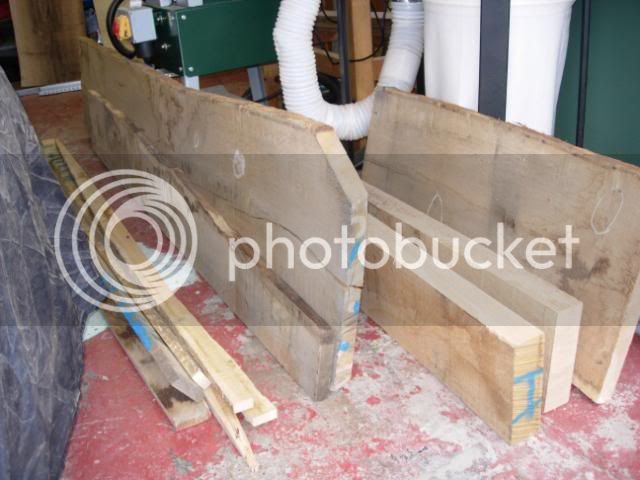
Now the more observant among you may have noticed that we are in April and most classes start in September, well, yes they do. However I had decided that I would do this project almost solely at class, which limits my shop time to 2.5 hours a week in term time. What I did underestimate was just how long it was going to take me to machine all this stock and most of the first term was given over to preparing the boards (bar a couple of weeks lost to a side project). I was pretty fed up with machining by Christmas. I was also a little bit stronger as heaving that amount of oak around keeps you fit.

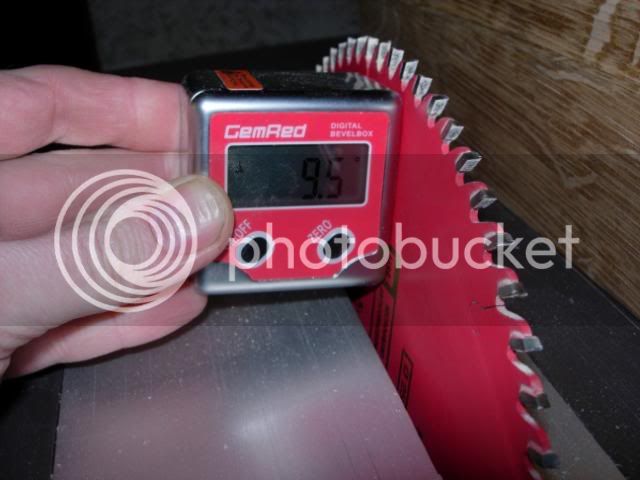
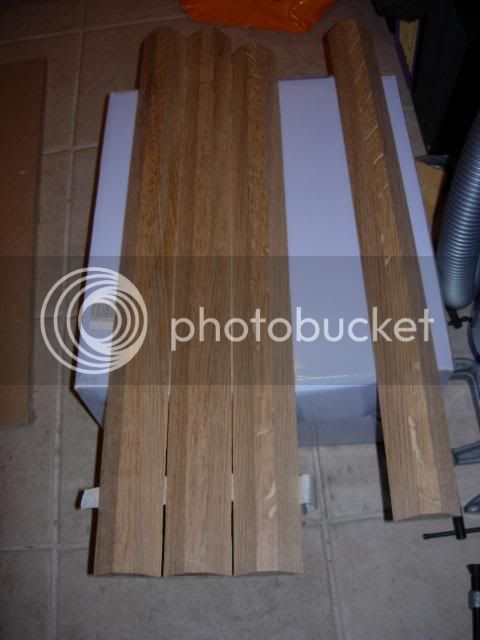
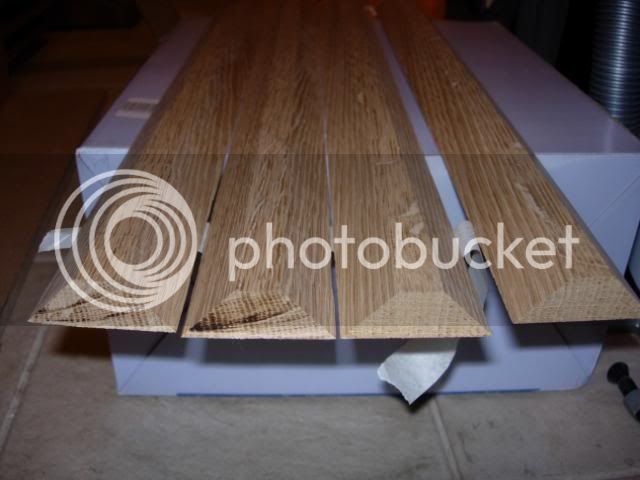
The legs on a Stickley have Q/sawn figure on each face, which means they're composite legs, the originals had a special interlocking moulding based on a 45 deg bevel. You can buy the tooling to do this, but it isn't cheap - for a one off. The plans used a couple of planks glued together with a sawn veneer covering the glued non Q/sawn edge, I didn't fancy this and went for a 45 degree bevel joint instead.
For some reason I had disengaged the brain when buying my stock and had bought boards just over the full thickness of the leg rather than thinner boards for making composites. So I had to re-saw the boards and thickness (very slightly!). It was then off to the spindle moulder to pass the parts through; this largely worked well but a minor issue in set up lead to some instability and the cut wasn't perfect, ie some snipe and some undercutting.
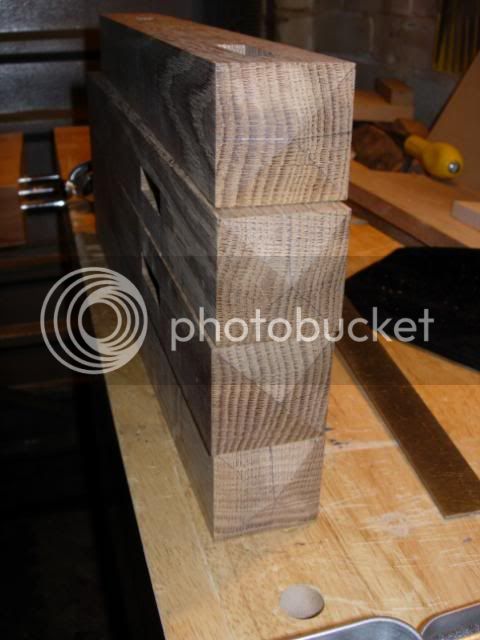
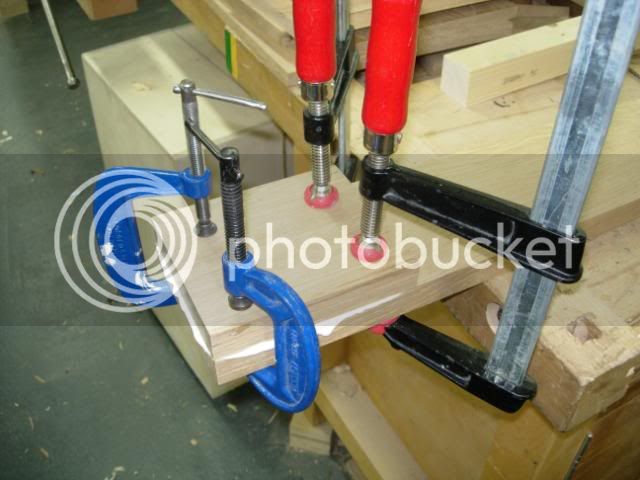
A further issue arose when I inspected the boards the following week. Some had moved. Balls. Any road I cleaned them up and embarked on one of the most trying glue ups I've ever done. See below...
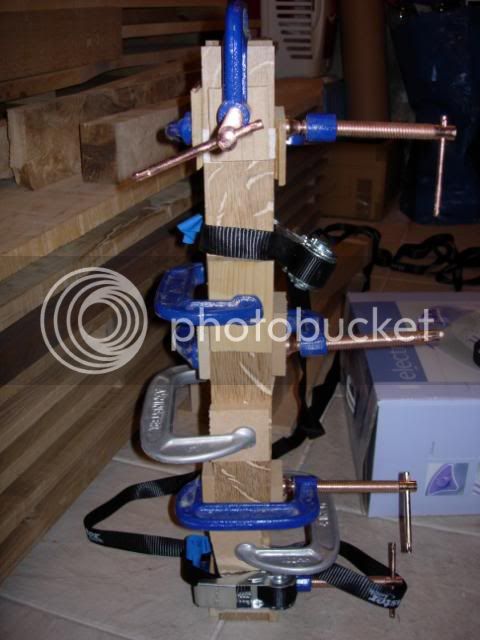
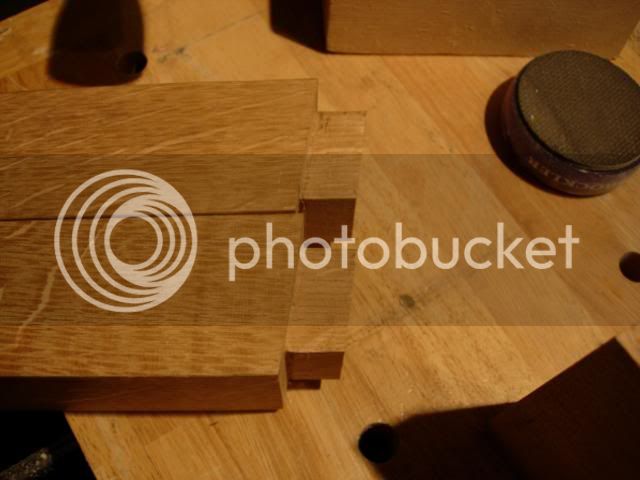
As you can imagine it was a delicate job and involved lots of tightening and backing off of clamps to get the piece nice and square. It was at this point that I thought, perhaps a jig would have been a good idea. The rear legs came out fine but the fronts were the ones with the movement and despite me best efforts I could not overcome this and there were too many gaps and overhangs. So I binned them. Bought some new boards and made up for lost time by making the cuts at home, but this time by ripping on the table saw.
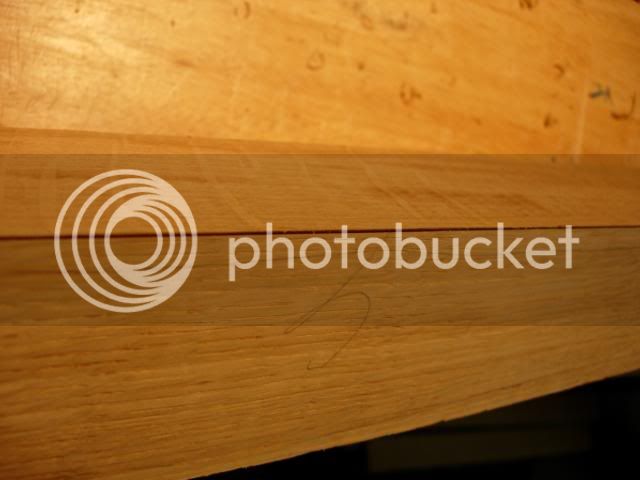
This largely went well but again the cuts weren't perfect and needed some cleaning up. Glued these up as before and you can see where there were some imperfections.
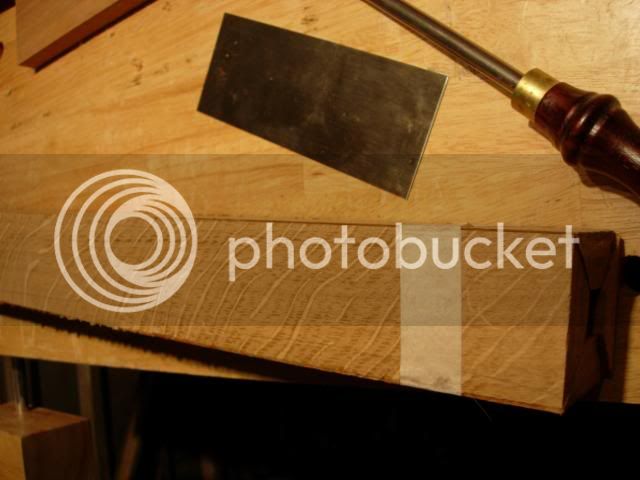
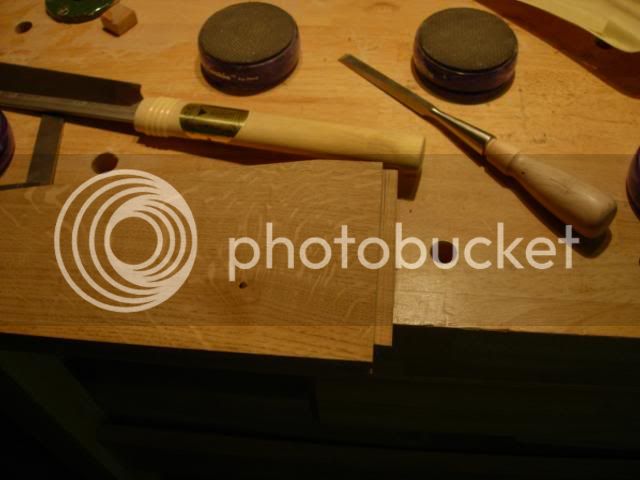
There was also some excess glue which was trimmed off with a scraper
A couple of minutes with a scraper burnisher had closed the gaps and a wipe with the sandpaper tidied things up
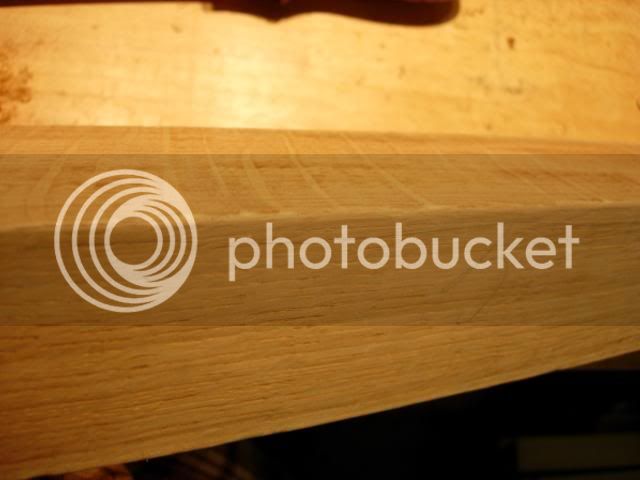
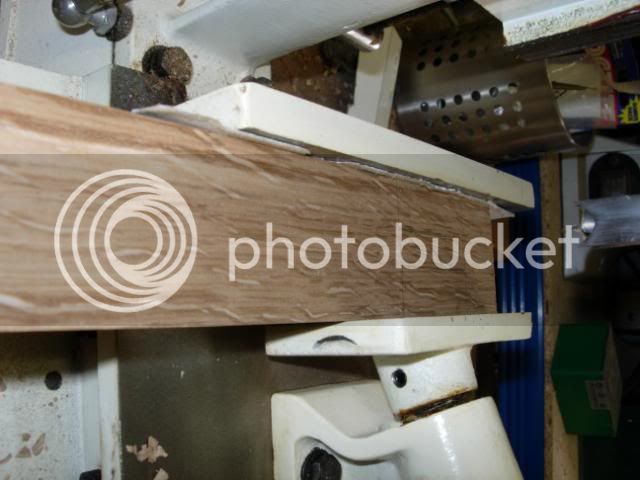
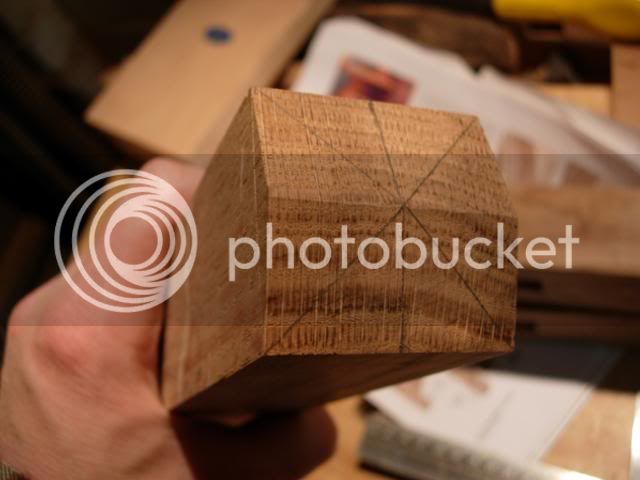
That left me with these and the more eagle eyed amongst you will notice that one leg is not 100% square, duly noted in my onward calculations and not a big enough issue to warrant a remake
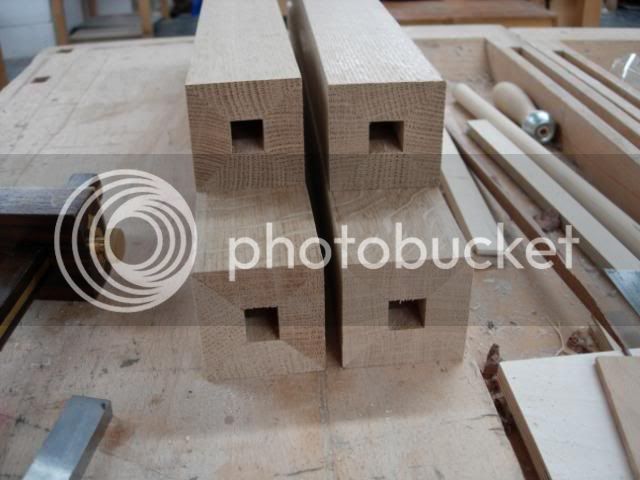
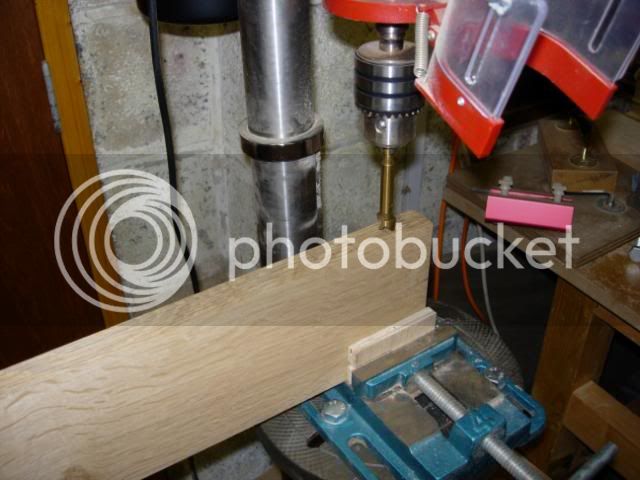
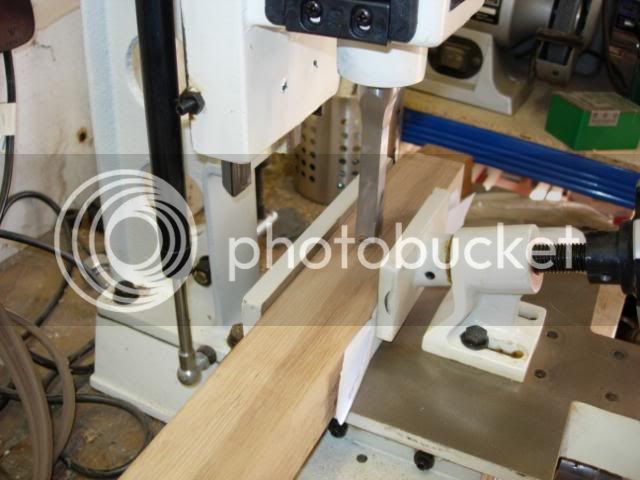
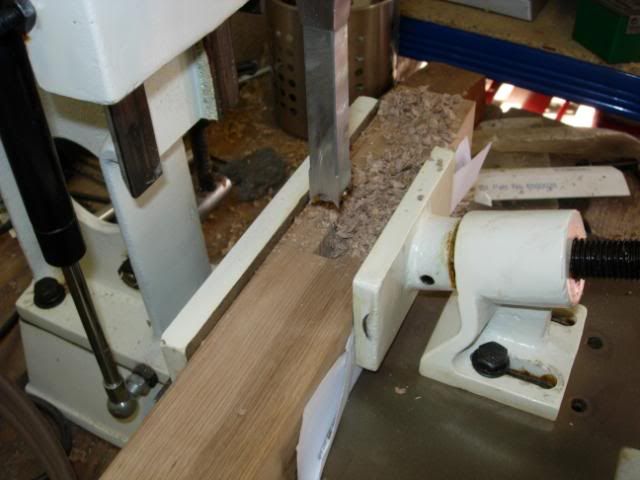
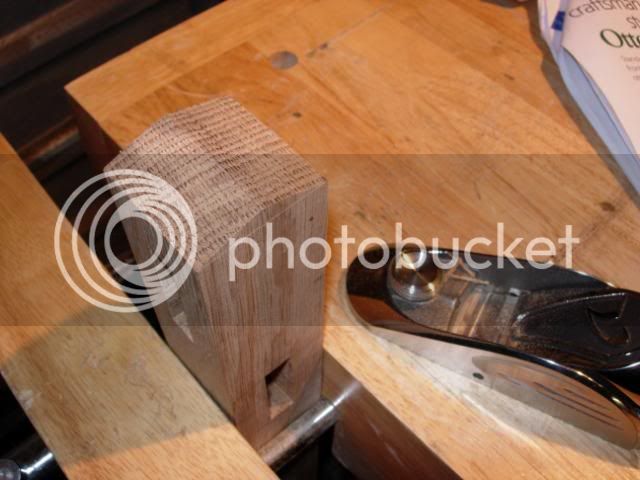
Finally it was time to get on and cut some joints, so off to the morticer to make some holes in the legs

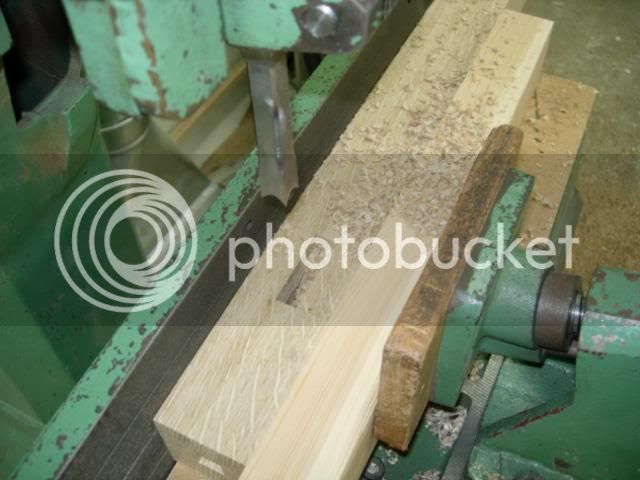
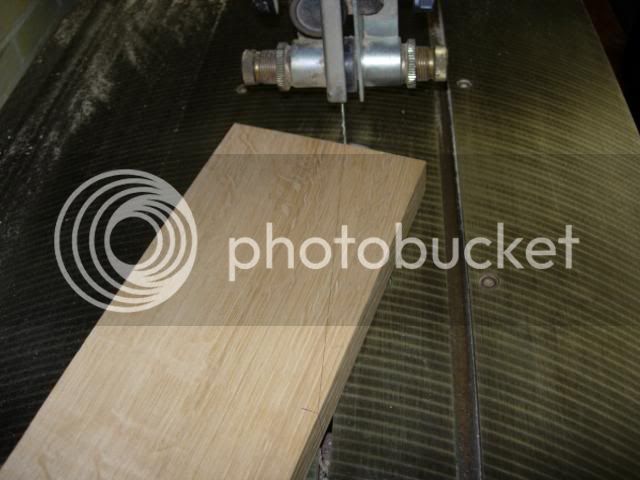
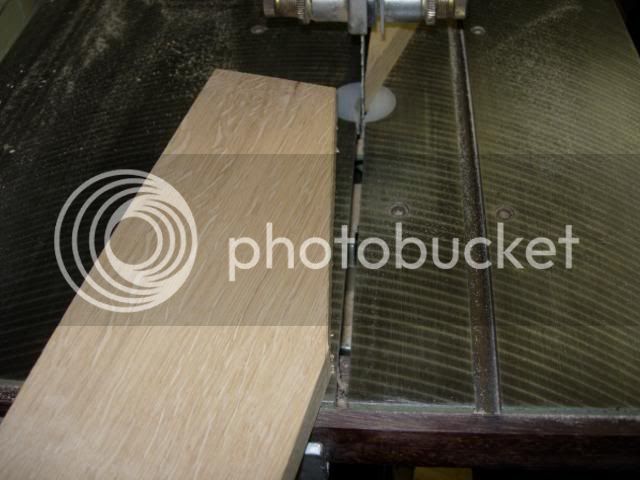
After that I had to make about 14 billion tenons and decided that bandsaw and shoulder plane/chisel was the way to go, giving me a mix of power and hand tools. Needless to say it took quite a while to fit each of the rails, but satisfying and you got nice black hands from the tannins and cast iron.
Now......also included in the plans is an accompanying ottoman (stool to you and I) that I wasn't going to build, but after pressure from the Design Authority I decided to go for it. As this coincided with a slight letting up of the sub-Arctic temps round here I decided to speed things up by doing the stool at home. Again lots of machining and one piece legs this time.
My little Axi morticer ate up these mortices and again proved its worth. Previous experience lead me to do two things, one to shim the fence with card to get it square (a design flaw) and two to treat the chisel like any other and flatten/polish the sides. Like a knife through butter now and no sticking.
Here are the legs being done
I made and fitted the tenons as before and then went on to making the bevels on top of the legs. A bit of marking
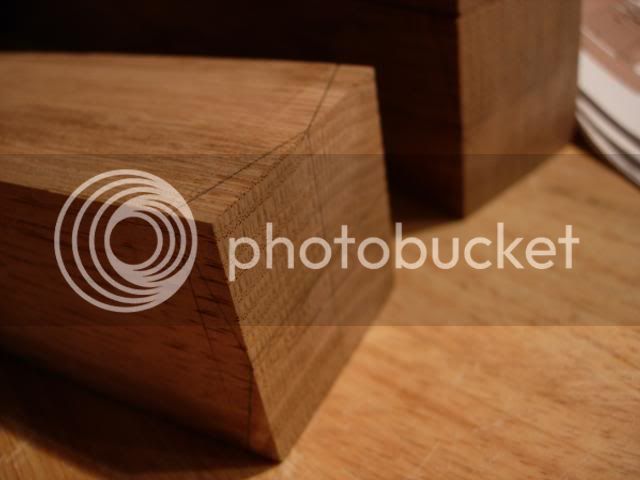
A bit of sanding to get through the waste

Then some block planing
Some more marking and repeat of the steps above
To leave me with these
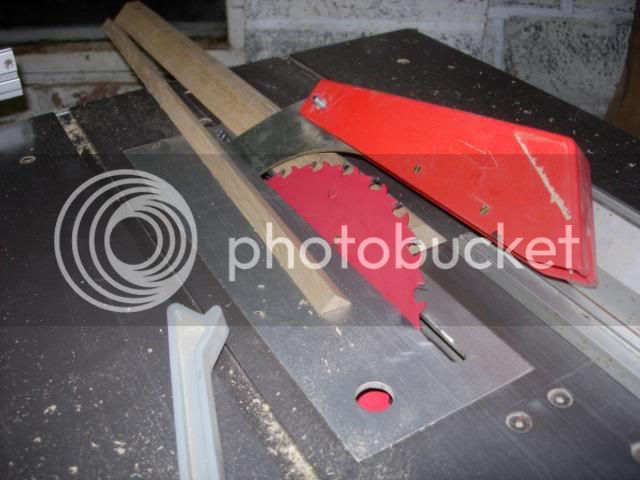
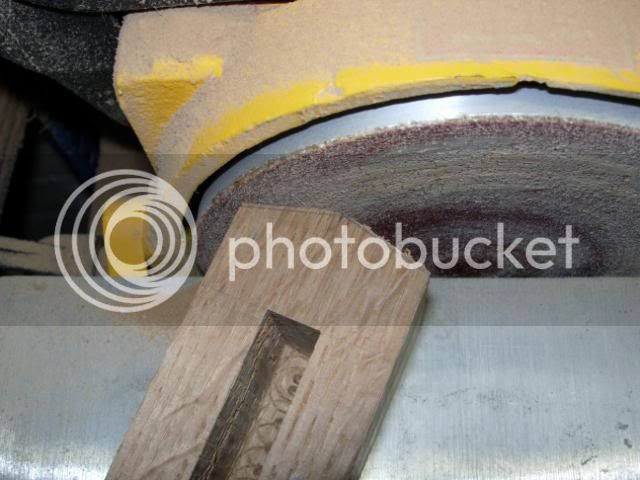
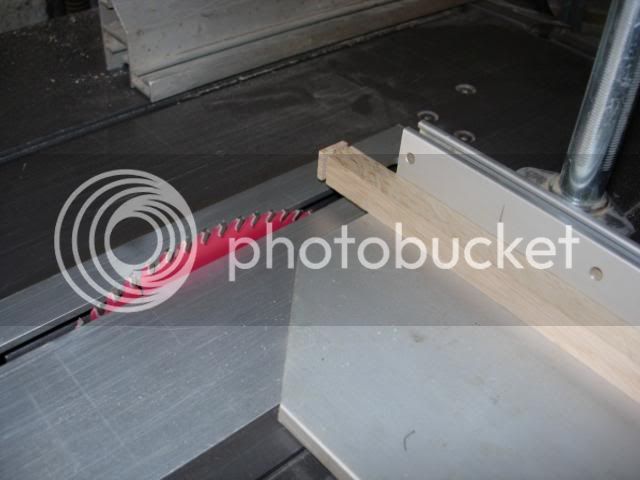
Now, remember those spindles I mentioned earlier, 32 on the chair and 16 on the stool, these took an age to machine and all need a little tenon on each end. Essentially a batch job and one for the tablesaw. Now for those of a nervous disposition, yes the guard and knife have been removed, but I'm using the sliding carriage and my hands stayed on the safe side of the upright clamp holder.
Here you go. A pass on all of them to the shoulder line and a second pass to remove the waste at the end
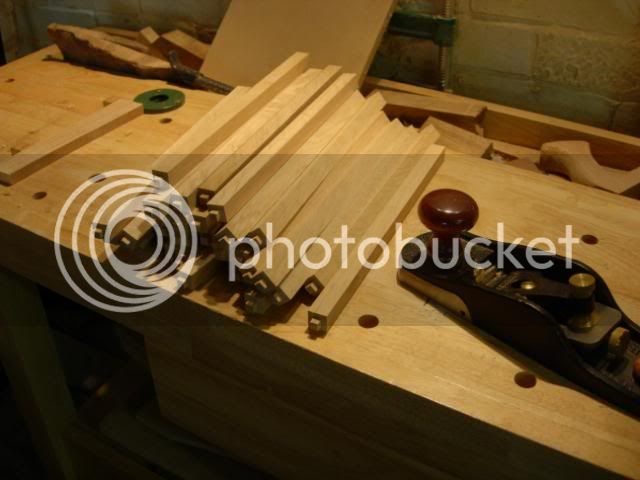
That left me with this little pile that all needed cleaning up with the smoother. This was a looooonnngggg day
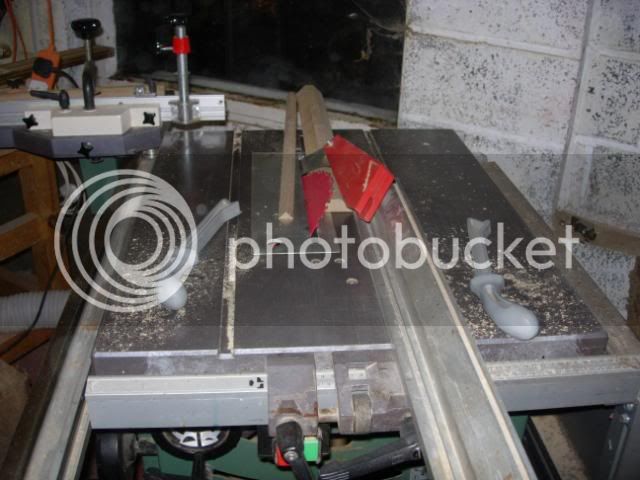
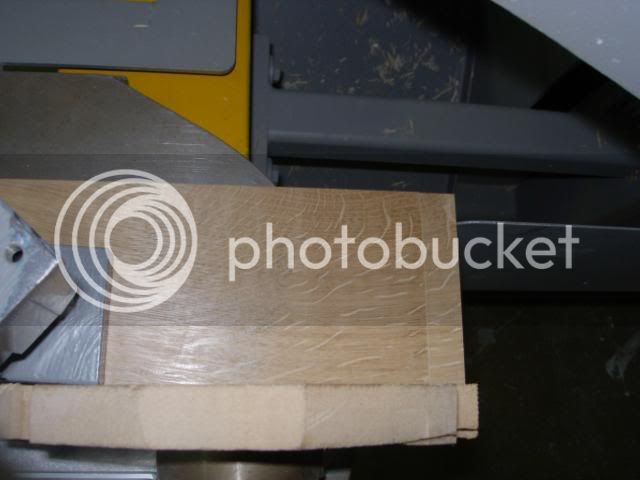
Back to the chair, I had to make some more tenons for the back slats but these required 1.5mm of wood removing from each face. Not a great deal, so I decided to make use of the full facilities at the college
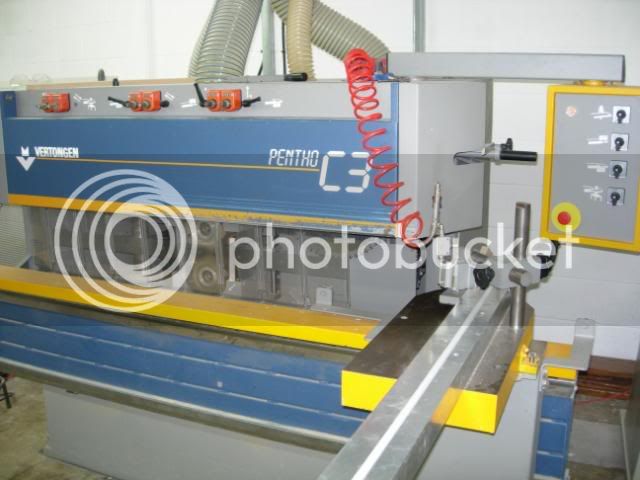
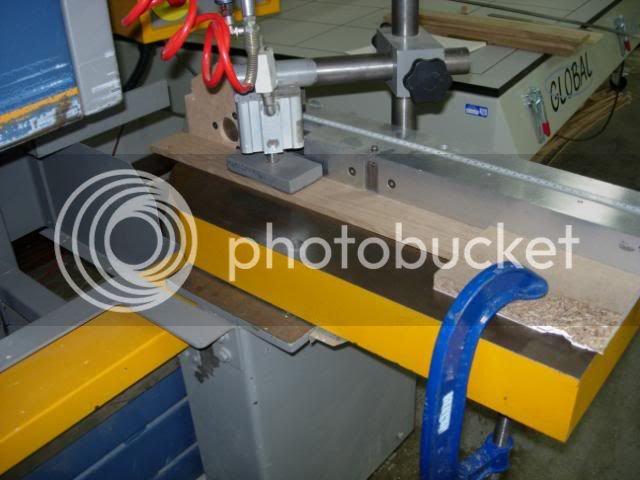
Worked a treat after the test piece had shown that the bed was 0.5mm out :x
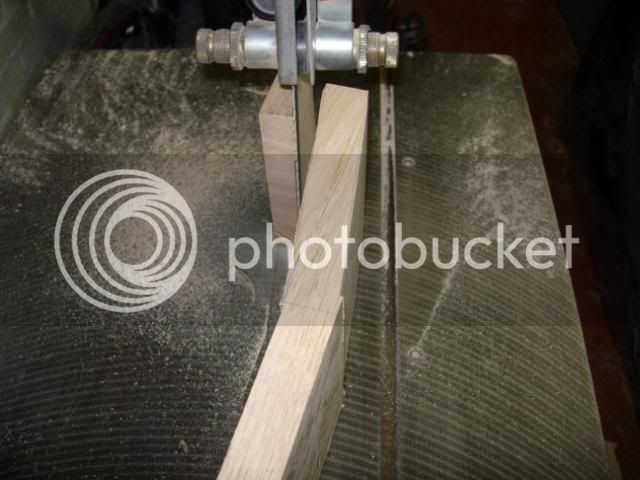
Another job on the chair, this time the arms and as they have a bend in them you have to create a little extra thickness to allow the cut to be sawn in. Doesn't look pretty now but hopefully will do later
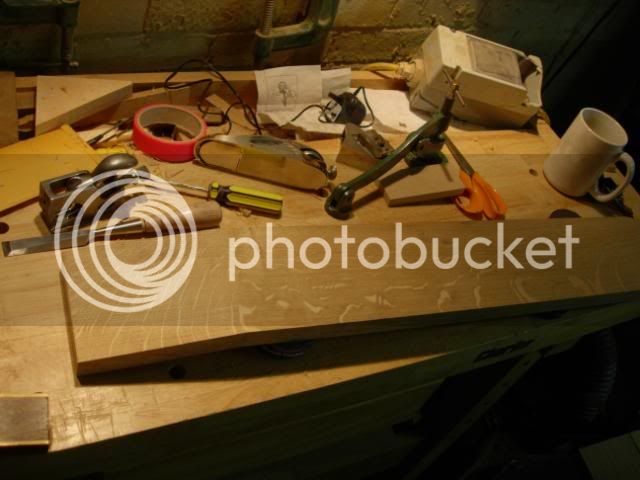
Seems to be a lot of elapsed time for not too much progress! I do have some other bits and pieces complete like the corbels for instance, but I'm at the point where things will start to come together quite quickly
Like Stickley's original my chair was to be made from quarter sawn white oak, which meant a long time trawling through boards down at the timber yard to find what I needed. Chris at Yorkshire Oak was his usual helpful self and was on hand to help me dig through them; in particular when I started to hunt out boards to make the 10mm square spindles, he pointed me in the direction of his waney edge offcuts, all I needed and those came for free.
This is what I arrived home with (though not all shown), pretty rough and there's a lot of work to properly select my pieces and make my cuts.
Now the more observant among you may have noticed that we are in April and most classes start in September, well, yes they do. However I had decided that I would do this project almost solely at class, which limits my shop time to 2.5 hours a week in term time. What I did underestimate was just how long it was going to take me to machine all this stock and most of the first term was given over to preparing the boards (bar a couple of weeks lost to a side project). I was pretty fed up with machining by Christmas. I was also a little bit stronger as heaving that amount of oak around keeps you fit.
The legs on a Stickley have Q/sawn figure on each face, which means they're composite legs, the originals had a special interlocking moulding based on a 45 deg bevel. You can buy the tooling to do this, but it isn't cheap - for a one off. The plans used a couple of planks glued together with a sawn veneer covering the glued non Q/sawn edge, I didn't fancy this and went for a 45 degree bevel joint instead.
For some reason I had disengaged the brain when buying my stock and had bought boards just over the full thickness of the leg rather than thinner boards for making composites. So I had to re-saw the boards and thickness (very slightly!). It was then off to the spindle moulder to pass the parts through; this largely worked well but a minor issue in set up lead to some instability and the cut wasn't perfect, ie some snipe and some undercutting.
A further issue arose when I inspected the boards the following week. Some had moved. Balls. Any road I cleaned them up and embarked on one of the most trying glue ups I've ever done. See below...
As you can imagine it was a delicate job and involved lots of tightening and backing off of clamps to get the piece nice and square. It was at this point that I thought, perhaps a jig would have been a good idea. The rear legs came out fine but the fronts were the ones with the movement and despite me best efforts I could not overcome this and there were too many gaps and overhangs. So I binned them. Bought some new boards and made up for lost time by making the cuts at home, but this time by ripping on the table saw.
This largely went well but again the cuts weren't perfect and needed some cleaning up. Glued these up as before and you can see where there were some imperfections.
There was also some excess glue which was trimmed off with a scraper
A couple of minutes with a scraper burnisher had closed the gaps and a wipe with the sandpaper tidied things up
That left me with these and the more eagle eyed amongst you will notice that one leg is not 100% square, duly noted in my onward calculations and not a big enough issue to warrant a remake
Finally it was time to get on and cut some joints, so off to the morticer to make some holes in the legs
After that I had to make about 14 billion tenons and decided that bandsaw and shoulder plane/chisel was the way to go, giving me a mix of power and hand tools. Needless to say it took quite a while to fit each of the rails, but satisfying and you got nice black hands from the tannins and cast iron.
Now......also included in the plans is an accompanying ottoman (stool to you and I) that I wasn't going to build, but after pressure from the Design Authority I decided to go for it. As this coincided with a slight letting up of the sub-Arctic temps round here I decided to speed things up by doing the stool at home. Again lots of machining and one piece legs this time.
My little Axi morticer ate up these mortices and again proved its worth. Previous experience lead me to do two things, one to shim the fence with card to get it square (a design flaw) and two to treat the chisel like any other and flatten/polish the sides. Like a knife through butter now and no sticking.
Here are the legs being done
I made and fitted the tenons as before and then went on to making the bevels on top of the legs. A bit of marking
A bit of sanding to get through the waste
Then some block planing
Some more marking and repeat of the steps above
To leave me with these
Now, remember those spindles I mentioned earlier, 32 on the chair and 16 on the stool, these took an age to machine and all need a little tenon on each end. Essentially a batch job and one for the tablesaw. Now for those of a nervous disposition, yes the guard and knife have been removed, but I'm using the sliding carriage and my hands stayed on the safe side of the upright clamp holder.
Here you go. A pass on all of them to the shoulder line and a second pass to remove the waste at the end
That left me with this little pile that all needed cleaning up with the smoother. This was a looooonnngggg day
Back to the chair, I had to make some more tenons for the back slats but these required 1.5mm of wood removing from each face. Not a great deal, so I decided to make use of the full facilities at the college
Worked a treat after the test piece had shown that the bed was 0.5mm out :x
Another job on the chair, this time the arms and as they have a bend in them you have to create a little extra thickness to allow the cut to be sawn in. Doesn't look pretty now but hopefully will do later
Seems to be a lot of elapsed time for not too much progress! I do have some other bits and pieces complete like the corbels for instance, but I'm at the point where things will start to come together quite quickly
")