The Arms (part 2)
This is a last post before I return from three weeks being dragged over New Zealand mountains by my wife and her family. I used the Easter Weekend to get as much done as possible, but I needed a few more days. So there is more to come, later.
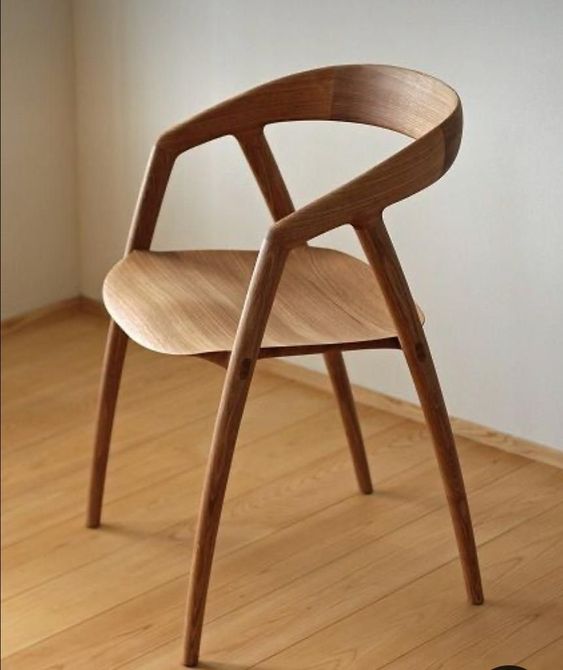
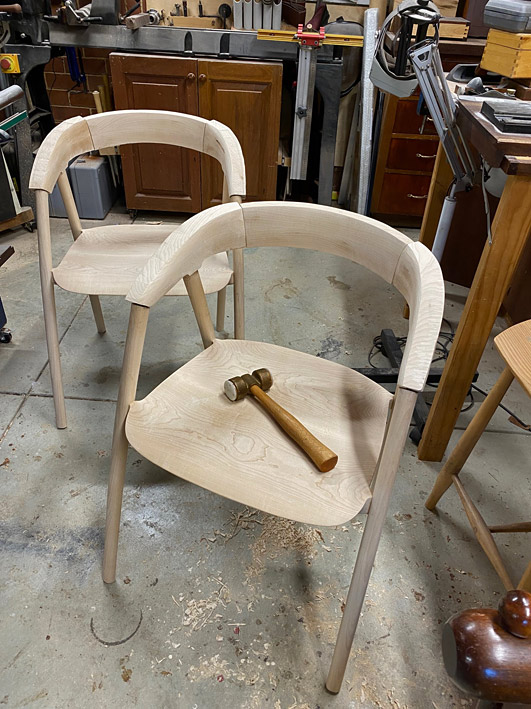
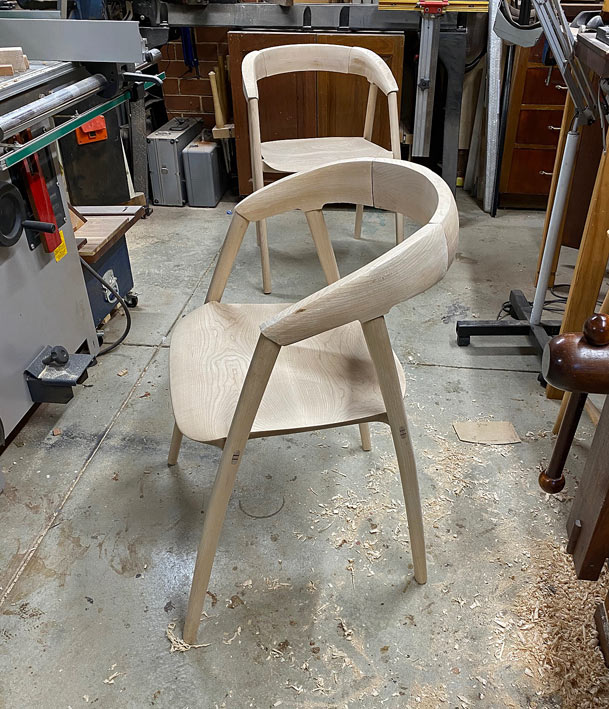
It is helpful to remember what the aim is - as close a copy of the DC 09 chair as possible. All guidance from photos ...
We left off here ...
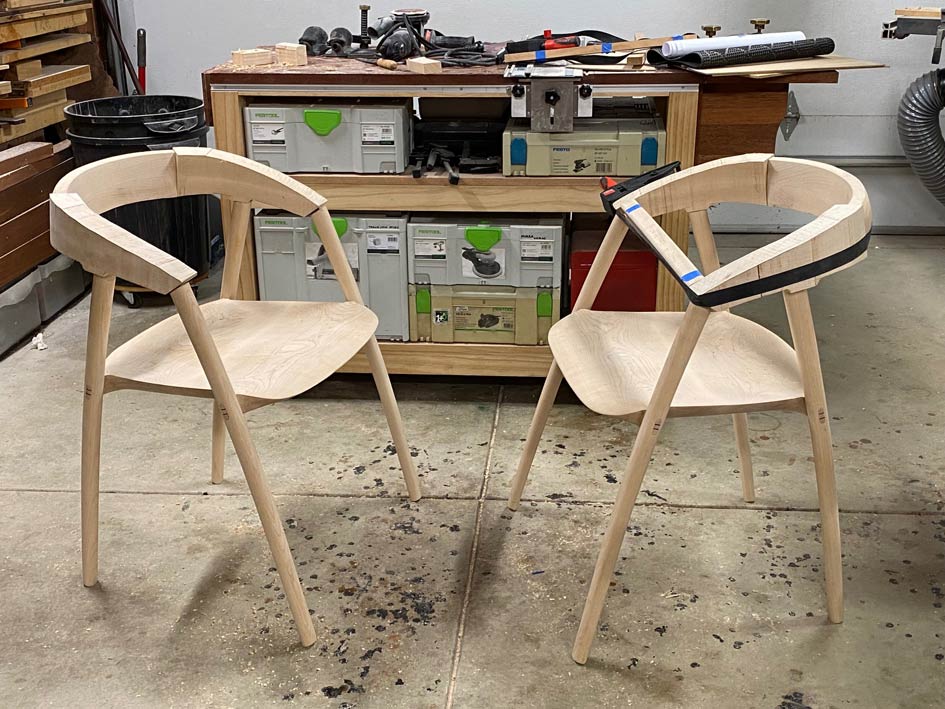
The three parts that make up the arms and top rail ..
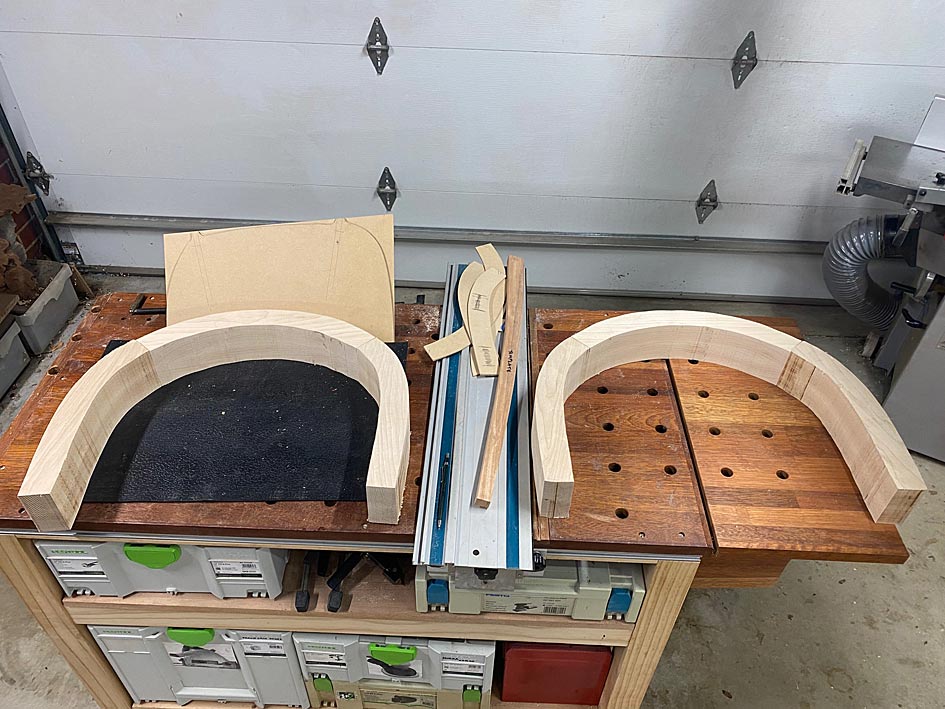
The top rails were shaped ...
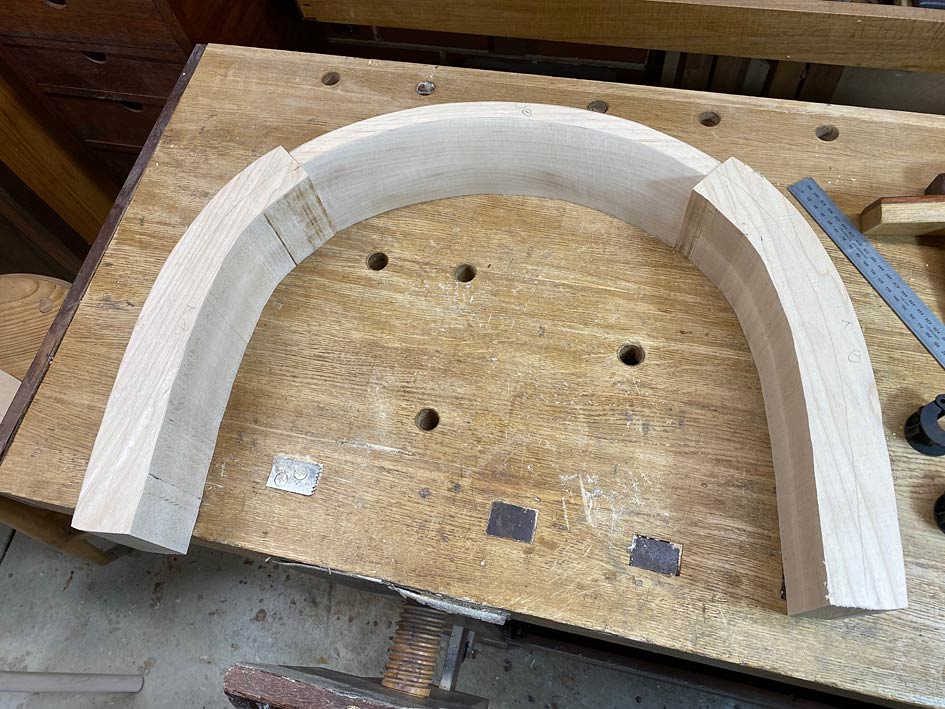
And shaping started on the arms ...
Today the arms were begun.
I find it easier to do one part as far as I can take it, then stop and repeat this with another part. When all four arms have progressed the same distance, I start with the first arm again and take it to the next stage. Then the other three to match. And so on.
Each stage completed must be checked, and this is done by putting the parts together, to check that they balance. The two sides must remain a mirror image, and the two chairs must be identical. There are no templates to mark the lines to work towards, only the rough layout lines that appear fair to the eye.
The arms are shaped with rasps and spokeshaves ... mainly coarse rasps - the Shinto and a 10 grain Auriou - followed with round- and flat bottom spokeshaves. Starting with the inside faces ...

Inside faces mostly done ...
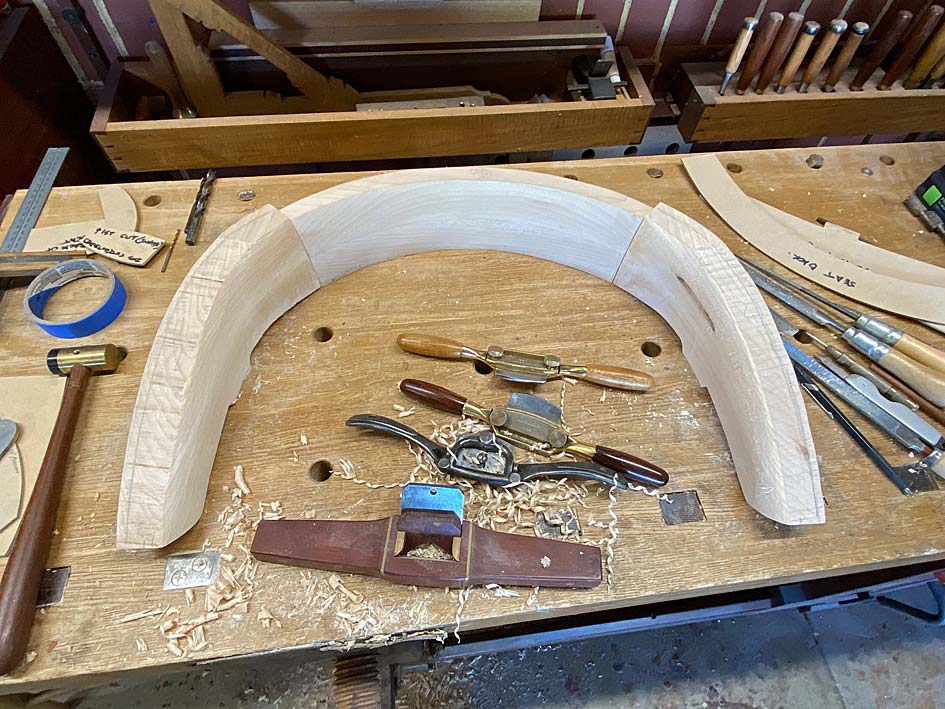
Inside faces almost done, except for the undersides ...
Further along - top inside and outside faces mostly done ...
And that's it for now. More later. Thanks for keeping me company through this build.
Regards from Perth
Derek


")