Post a photo of the last thing you made

UKworkshop.co.uk

Help Support UKworkshop.co.uk:

This site may earn a commission from merchant affiliate links, including eBay, Amazon, and others.
I took about an hour to do that one Stu. I mark them out to an octagon with a mortice gauge then form the octagon with my eleky planer. Then it's a simple job to just take the small corners off my my belt sander and finish it with my random orbit sander.

The rings are done now, all 42. :shock:

I cut 3 1/4" square blocks from the remainder of the beech plank the poles are from and turned a very small spigot on one face to mount it on my lathe. There's a description on the turning forum here pinch-chuck-t96988.html

The mounting fittings were turned the same way and I am just waiting for a 2" forstner bit to arrive from Axminster and I can finish them. I decided it was easier than turning the 2" holes as ti would have meant making yet another pinch chuck. Then they all have to be stained and sealed :?

Before we moved over here I had a commission from a hotel to turn 5 dozen serviette rings. That was fun? Another was for a falconry centre who wanted 5 dozen wooden eggs. Five sizes from a kestrel to a golden eagle. I couldn't look a boiled egg in the eye for weeks :roll: :roll:
 
A double height shirt rack with space for shoe storage, for use in a tight space where high-rise is the only option.

DSC_0096 (551 x 980).jpg
 

Attachments

  • DSC_0096 (551 x 980).jpg
    DSC_0096 (551 x 980).jpg
    246.3 KB · Views: 242
I've posted this elsewhere but I finished making the staircase to my daughters loft bed. The "staircase" is a series of hidden drawers with push to open runners. So we might actually be able to get to her bed now!


Sent from my iPhone using Tapatalk
 
DTR":gz2ocwu7 said:
Fresh from the lathe, a slightly over-engineered aluminium bracket for the headlight on SWMBO's bicycle

Nice work, but can you make sure it's angled to light the road, not to blind oncoming motorists ;-)
 
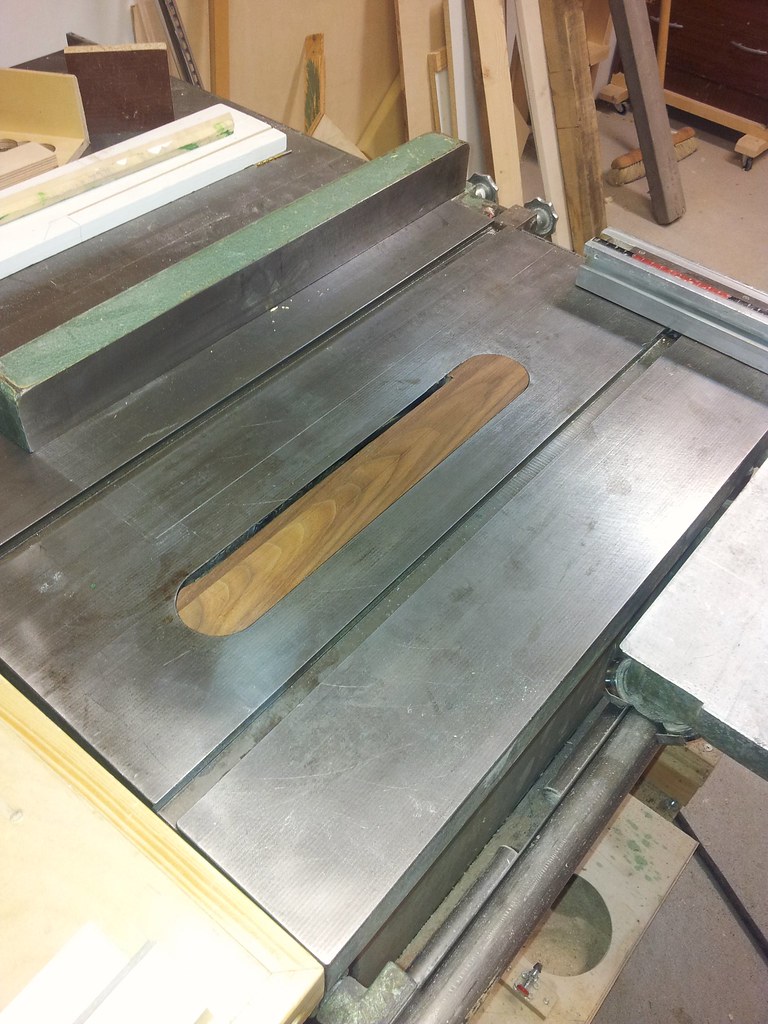
New insert for the table saw, unfortunately my table saw has the blade so close to one edge of the opening that it cannot be ZCI on both sides:
26393895505_8e78a53af4_b.jpg
 
DennisCA":gb8ylocl said:
New insert for the table saw, unfortunately my table saw has the blade so close to one edge of the opening that it cannot be ZCI on both sides

Can you not put spacers on the arbour to bring the blade further away from that cast iron??
 
The arbor on the saw is too short to allow for that. Just the way this saw was designed. I've learned to live with it.
 
I suppose you could lay a sheet of waxed MDF on the whole saw table, make a new access port in then and then a ZCI to fit. Not a lot of bother if you wanted to.
 
That would interfere with the sliding table. What could be done is I make an arbor adapter that is longer. This arbor is 20mm so I could make an adapter for 30mm that would be longer and then I could have a longer distance. But it's far future project.
 
DennisCA":8a45o33h said:
New insert for the table saw, unfortunately my table saw has the blade so close to one edge of the opening that it cannot be ZCI on both sides:
26393895505_8e78a53af4_b.jpg

Sorry Dennis but that looks a bit dangerous (not your insert). If an off cut went astray the blade could get pushed against the cast doing who knows what to blade and you! Is it an old Multico? Just looks very like my old machine and the blade was nowhere near the edge of the opening. Can't imagine it was originally designed like that so must be some way to get the blade better centred.
 
Nope it was designed that way from the beginning. German Rapid PK-100. It was common during that time in the 70s for saws like these. Blades have bitten into the side before, it is soft cast iron so likely the only results are scars on the saw and a dull blade. I think the danger aspect is way overstated. It's just a nuisance.
 
DennisCA":3np6k94u said:
What could be done is I make an arbor adapter that is longer. This arbor is 20mm so I could make an adapter for 30mm that would be longer and then I could have a longer distance.

That's something I've also considered, but in my case to accommodate a dado head.
 
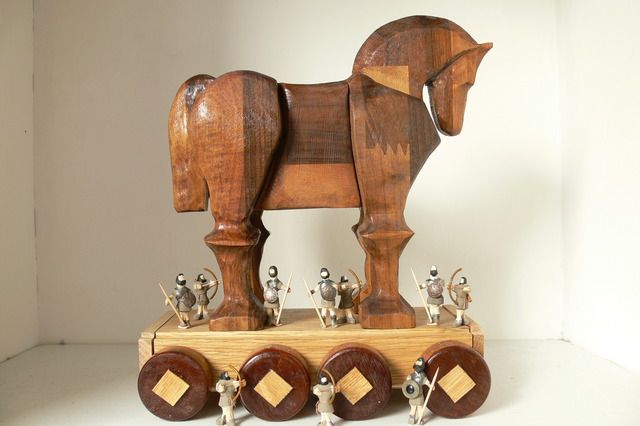
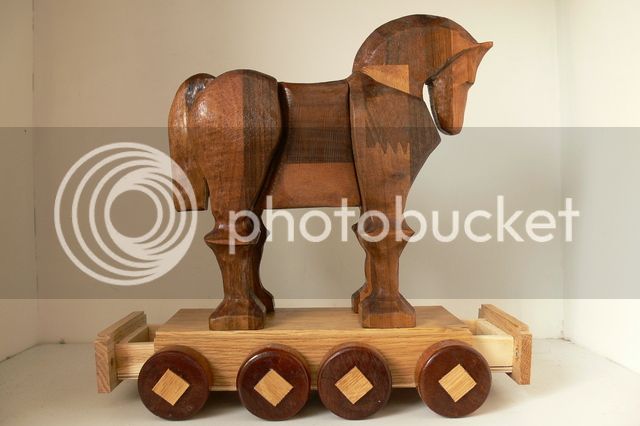
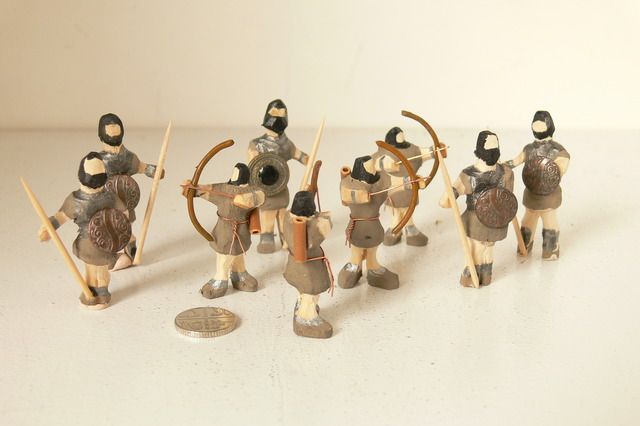
This years big project almost completed. Trojan Horse. The horse itself made from Walnut worktop and sat on an oak trolley (mostly made by DTR after my rubbish attempts failed). The wheels are made from mahogany and 15 little soldiers are carved from lime offcuts. They are housed in two drawers sat in the base

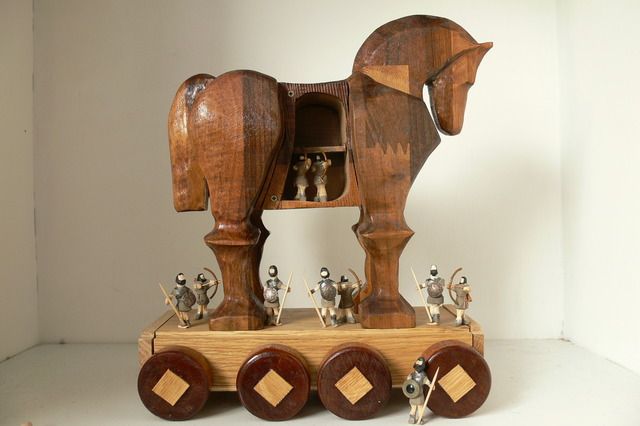
Some of you may remember I made a thread some months back about how to hide the soldiers in the belly. Many suggestions were quite ingenious but at the same time complex so resorted for the simple route in the end.

P1080725_zps15trkf02.jpg

"Family Photo" prior to burning down Troy.

P1080723_zpsjbqzajxm.jpg

Drawers Opened

P1080726_zpsgku4wzrk.jpg

Inside the belly

P1080708_zpsh3hccjmr.jpg

Group shot of 10 of the 15 soldiers. 5 pence piece to give a sense of scale

P1080705_zpsoznm2jk7.jpg

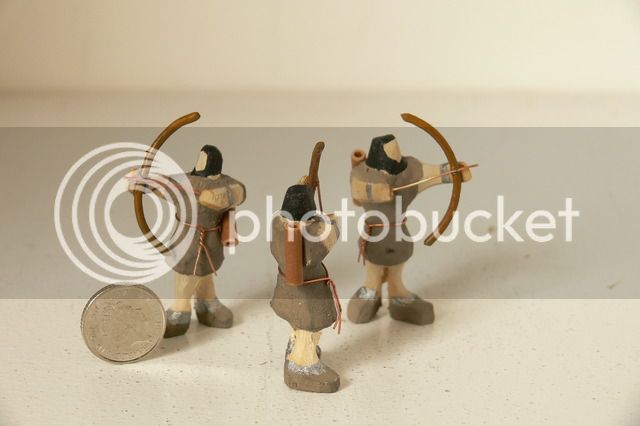
Quite pleased with my archers
 
DennisCA":2rshbz97 said:
Nope it was designed that way from the beginning. German Rapid PK-100. It was common during that time in the 70s for saws like these. Blades have bitten into the side before, it is soft cast iron so likely the only results are scars on the saw and a dull blade. I think the danger aspect is way overstated. It's just a nuisance.
It was designed like that from the beginning? Why have an insert at all? Why not have it nearly chewing both sides? Even it up a bit.
Sorry, that cannot be right.
 
Back
Top