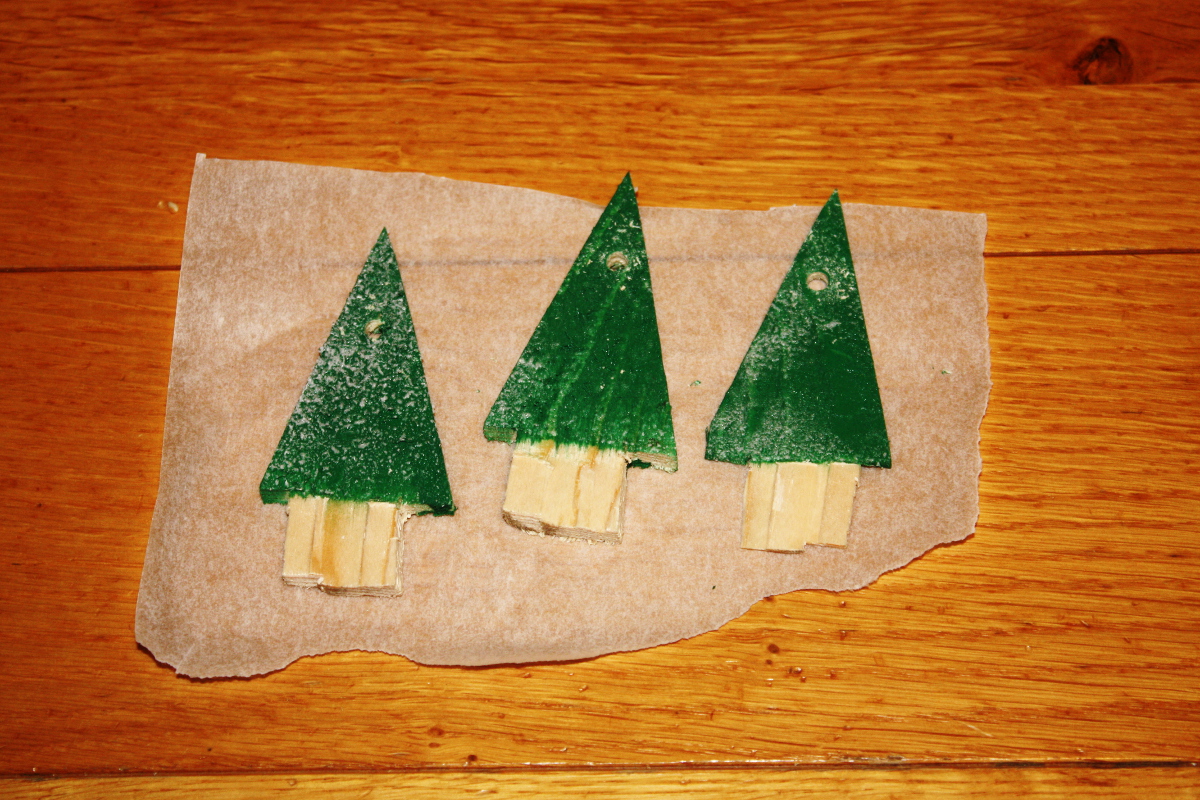
What did you do in your workshop today ?

UKworkshop.co.uk

Help Support UKworkshop.co.uk:

This site may earn a commission from merchant affiliate links, including eBay, Amazon, and others.
Status
Not open for further replies.
Some nice work folks
Donovan, that crib is fantastic, you will get lots of commissions for them by the looks of things.

Naz nice looking wee drawknife , did you temper the steel on it?
I just made use of a plumbing ferrule yesterday, they're interesting to work with.
 
Bodgers":37ra5y2f said:
Not posted a project here before, so don't bite.

I finished this cabinet off for my workshop at the weekend. Nothing too special, the case is just Far East hardwood plywood, which I milk painted red. The face frame I made out of cheap pine, but I ripped each piece down the middle and glued the edges to dial out the knots and end up with a sort of quarter sawn look.

The drawer at the bottom is my very first attempt at a hand cut joint. Yes I wasn't brave enough for a hand cut dovetail, so it's a box joint.

Challenged myself to do inset doors, the they are okish.

Anyway, good enough to hold paint finishes, Lidl storage boxes and sand paper.

39105182652_4763fffe7f_h_d.jpg

It looks great!

NazNomad":37ra5y2f said:
I made this today, just to shape a banjo neck ...

drawknife.jpg


1'' x ¼'' steel bar, oak handles, brass plumbing fitting for the ferrules.

As does this. Love those handles...
 
Not today but the last couple of hundred days it feels like. I actually used some wadkin lumps to make a new kitchen. I'm pretty pleased with myself and learned loads. I still need to make a new plate rack but ran out of oak.
 

Attachments

  • 24899745_1711926582160050_989206074731309977_n.jpg
    24899745_1711926582160050_989206074731309977_n.jpg
    99 KB · Views: 463
IMG_1960a.jpg


I know, it looks rough. The five-year-old did it (with daddy holding the saw so we finished with as many fingers as we started with).
They're Paul Seller's latest idea and if you use a saw and a #3 plane instead of a surgically sharp chisel in the hands of a five-year-old in a shed which hasn't the room to swing anything around, it's reasonably safe too.

The rest of the day was all rough cuts and layout for the next build (Richard Maguire's simple wall cupboard build from a few years ago).

IMG_1939a.jpg


IMG_1942a.jpg


Unashamed (kinda) use of power tools and the bandsaw to do the rough cuts and resawing because I want this done this week...

IMG_1948a.jpg


IMG_1953a.jpg


IMG_1957a.jpg


But at least the hand tools got used for markup...

IMG_1951a.jpg


And at least two of those predate this century. According to fleabay :D
 
MarkDennehy":3ldf2v2k said:
IMG_1960a.jpg


I know, it looks rough. The five-year-old did it (with daddy holding the saw so we finished with as many fingers as we started with).

Brilliant. That's the stuff Christmas is made of.
 
MarkDennehy":28n2je8l said:

Nowt wrong with those.

The perfect age to get 'em interested in making stuff. When the technology gives up the ghost, your 5 year old will be one of the survivors.

A scroll saw is a perfect tool for kids, it's (almost) impossible to hurt yourself with it.


... and to answer an earlier question about the drawknife, it was heated to non-magnetic - water quenched (I didn't have any spare oil) and then popped in the oven.

It didn't really need to be anything except sharp for a while as it was only made to do one small job, so it was probably overkill.
 
MarkDennehy":3afm64sj said:
But at least the hand tools got used for markup...

IMG_1951a.jpg


And at least two of those predate this century. According to fleabay :D


I think most of my hand tools are over 18 years old. :-D
 
Made a fret bender and got the banjo neck fretted.

100_0464.jpg


100_0465.jpg


I could have bent them by hand, but meh...
 
Cleaned up :D
Before:
IMG_1985a.jpg


After:
IMG_2097a.jpg

IMG_2098a.jpg


Then had a play about with some planed poplar offcuts and the stain shots from crimson guitars:
IMG_2099a.jpg

IMG_2100a.jpg

IMG_2101a.jpg
 
An old propane tank, a piece of old scaffold tube and some odd bits of scrap...

My welding is RAF, but it's not going to fall apart any time soon.

I even included a little shelf for warming a sausage roll, should the need arise.

100_0484a.jpg


NOTE: This tank was purged properly before cutting.
 
Started the glue-ups for my new workbench (legs and tops) but mainly built a cabinet for a dartboard that fits over the end window of the workshop and stows under the window when not being used.
IMG_1733.JPG

IMG_1734.JPG
IMG_1735.JPG

And the best bit is that when it's sitting on the floor it hangs on the bottom hanger (just!) to stop it falling over.
 

Attachments

  • IMG_1732a.jpg
    IMG_1732a.jpg
    66.9 KB · Views: 174
  • IMG_1733.JPG
    IMG_1733.JPG
    127.6 KB · Views: 175
  • IMG_1734.JPG
    IMG_1734.JPG
    60.1 KB · Views: 175
  • IMG_1735.JPG
    IMG_1735.JPG
    76.2 KB · Views: 175
stan_edited-1.jpg
Finally got around to getting a Stanley No 4 1/2 I inherited years ago into service. It had a broken rear handle so I made a new one out of an old hardwood windowsill (stained with Van Dyke solution and varnished to match the front knob) and the blade was reground and honed (the edge had about a 10 degree slant on it). All I need now is a #12-20 screw for the toe of the handle , so that will be car booting for a donor when the weather is better.
 

Attachments

  • stan_edited-1.jpg
    stan_edited-1.jpg
    135.8 KB · Views: 116
Oiled the wardrobe doors and drawer fronts with Liberon Tung oil.
Drilled the holes for concealed hinges and fitted the door halves of the hinges.
Painted the grey panels again.

Sample below, 4 like these, 5 small ones and 6 drawer fronts.

Fitting this weekend, followed by more door assembly, two more big ones and a single small one.
 

Attachments

  • Oiled Doors resized 1.jpg
    Oiled Doors resized 1.jpg
    208 KB · Views: 107
Do that's what a knurling is, you live and learn, this place is so educational. LOL

Mike
 
Mountain Dulcimer -

Didn't steam the sides, used a hot-pipe instead (hence the scorch marks that'll take forever to sand out).

Sides were left slightly thicker than usual because I hate cutting kerfing, so I didn't use any. It'll be solid enough.

Got the back trimmed flush, just need to cut the soundholes in the front so I can box it all in.

100_0521.jpg


100_0522.jpg
 
Some tough looking drawers there. What will you do in 500 years when they fall apart?
 
I don't know about 500 years, but they do look like they'd almost last six months in a five-year-old's desk or three in his toy chest (if you made them out of ipe or something less tough, like mild steel)...
 
Status
Not open for further replies.
Back
Top