monkeybiter
Established Member
AJGrupp":zyh70xpo said:Today
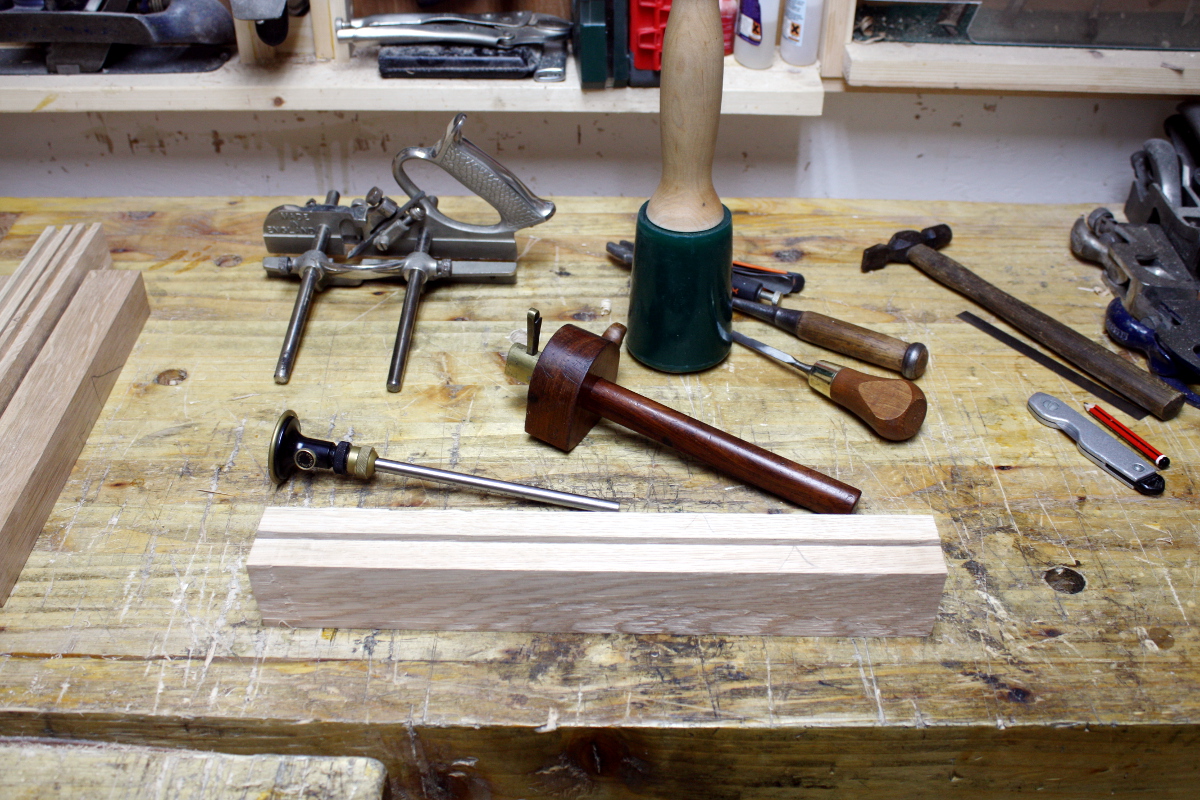
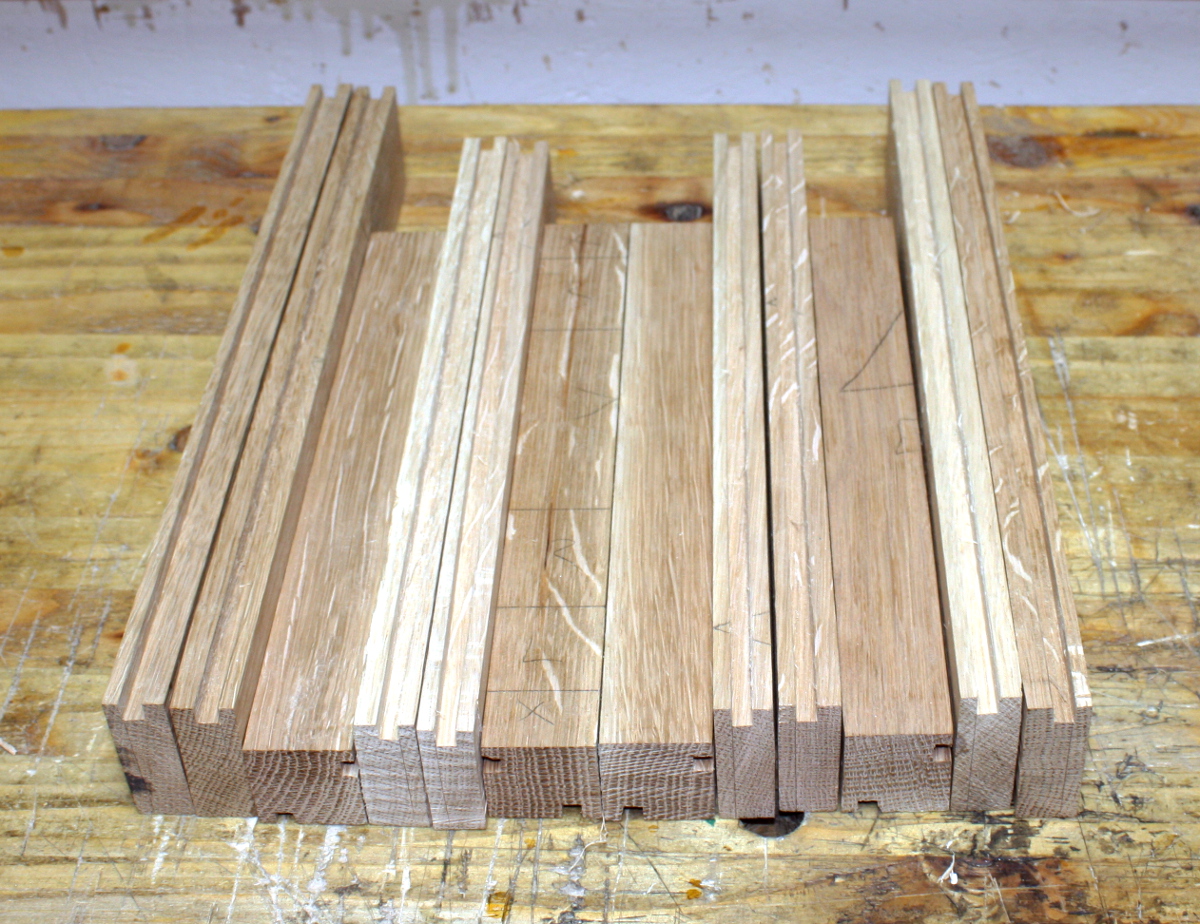
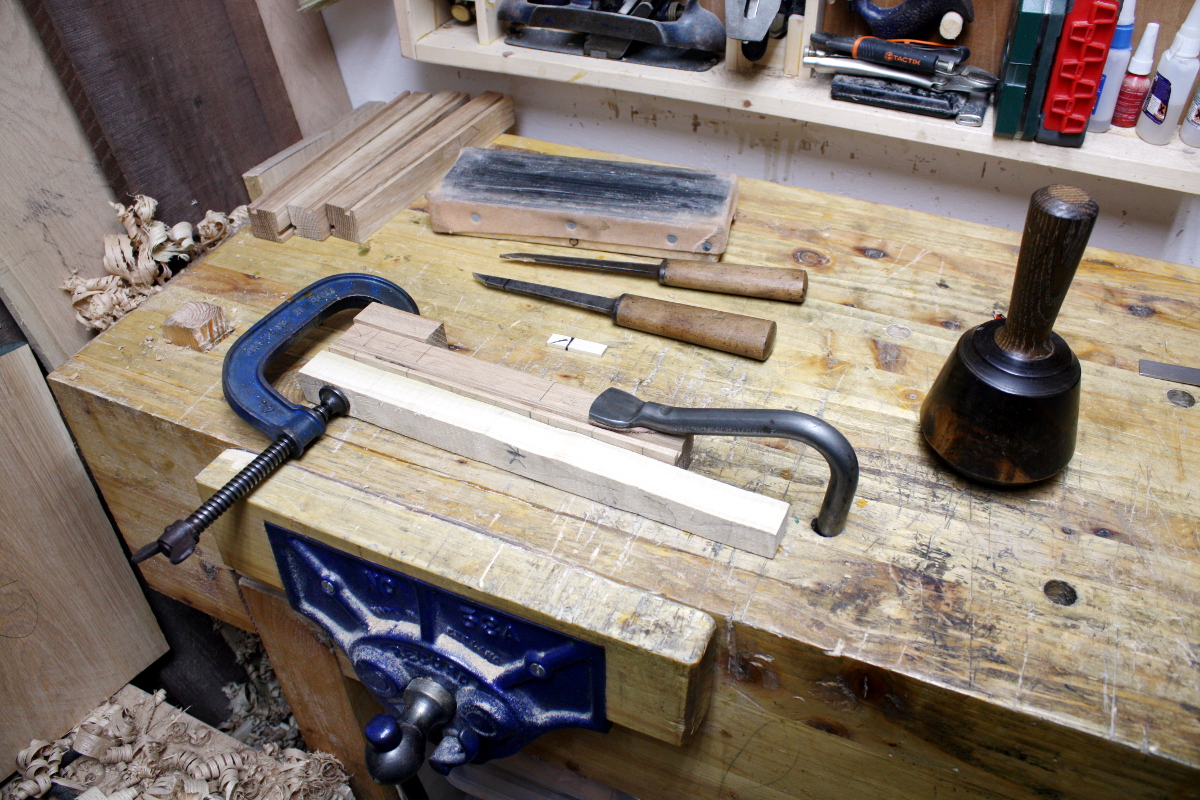
Sorry for being dim but I have to ask, what are the slots on the drawer joints? Perhaps overlong biscuit or spline slots?


AJGrupp":zyh70xpo said:Today
AJGrupp":3u3ufd89 said:Today
monkeybiter":6fuwa4o8 said:AJGrupp":6fuwa4o8 said:Today
Sorry for being dim but I have to ask, what are the slots on the drawer joints? Perhaps overlong biscuit or spline slots?
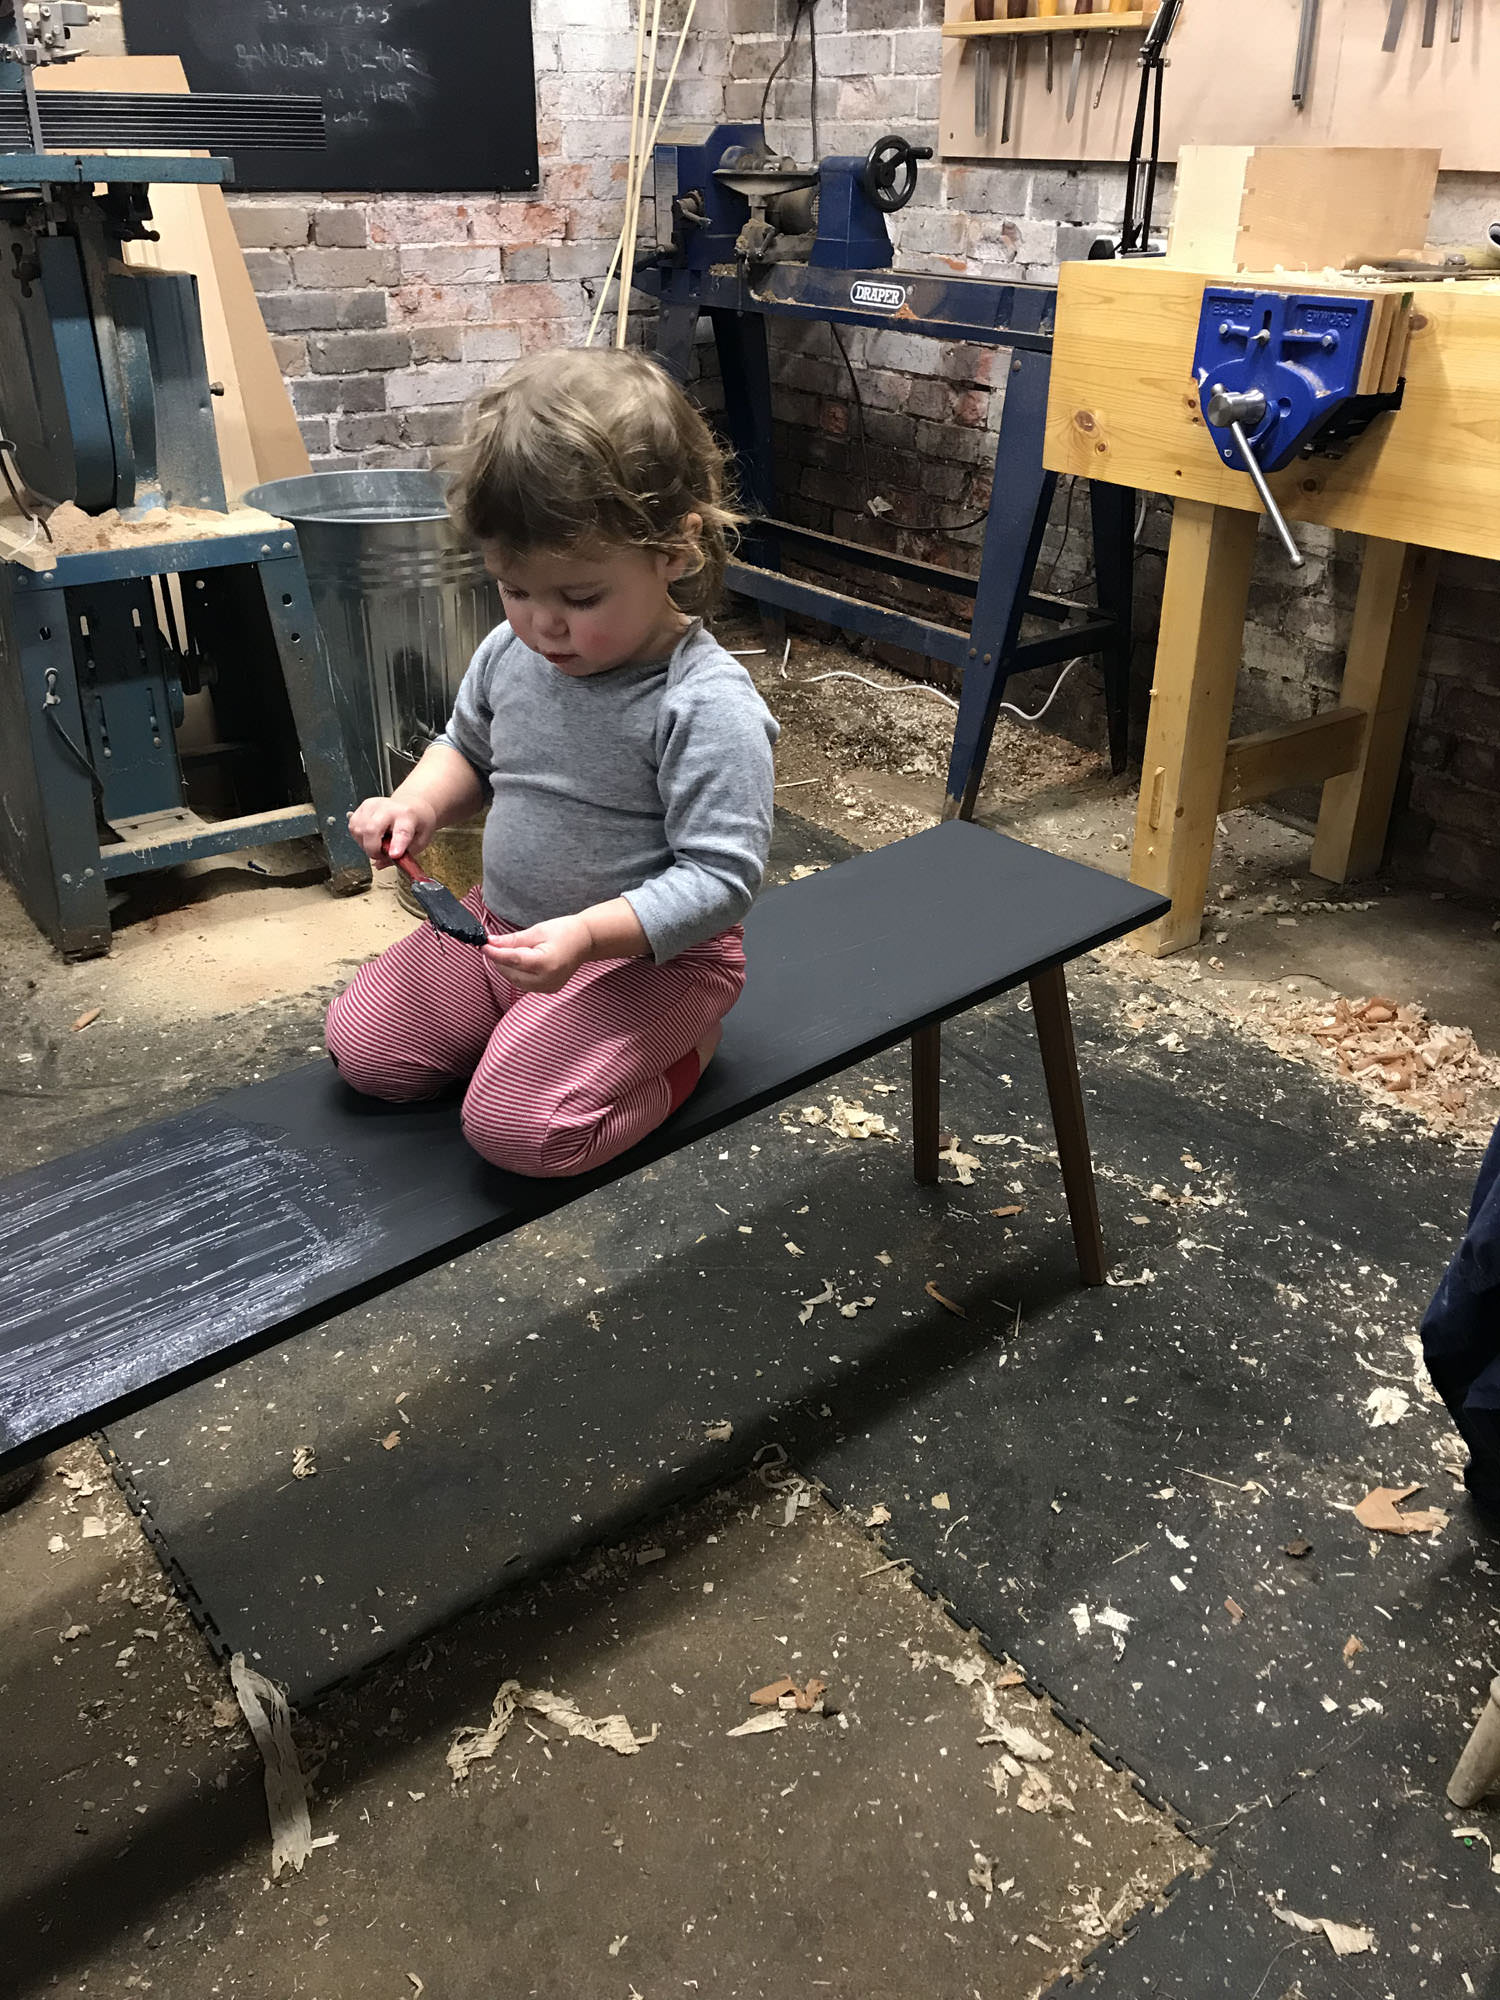
Thanks Memzey. It's the first 'proper' bench I've ever had so I'm really looking forward to using it. There's been a few bench posts on here recently which I've followed with interest and I took various tips from those posts and the comments. I think I owe most thanks to phil.p, who unknowingly planted a basic idea in my head of what I wanted. I didn't want a deep apron - to enable clamping on the edge - but realised that some apron was necessary to stiffen everything up - so I went for 100mm. I didn't want a well but remembered phil.p's comment about a split-top a la Roubo - that will be very useful so I've got that. I wondered about a deadman - but extra support can be provided with clamps when necessary so I didn't bother. My vice is flush to the face, which I prefer.memzey":19e9q9gn said:Looks great Paul! Very similar to my own which I made about a year ago.

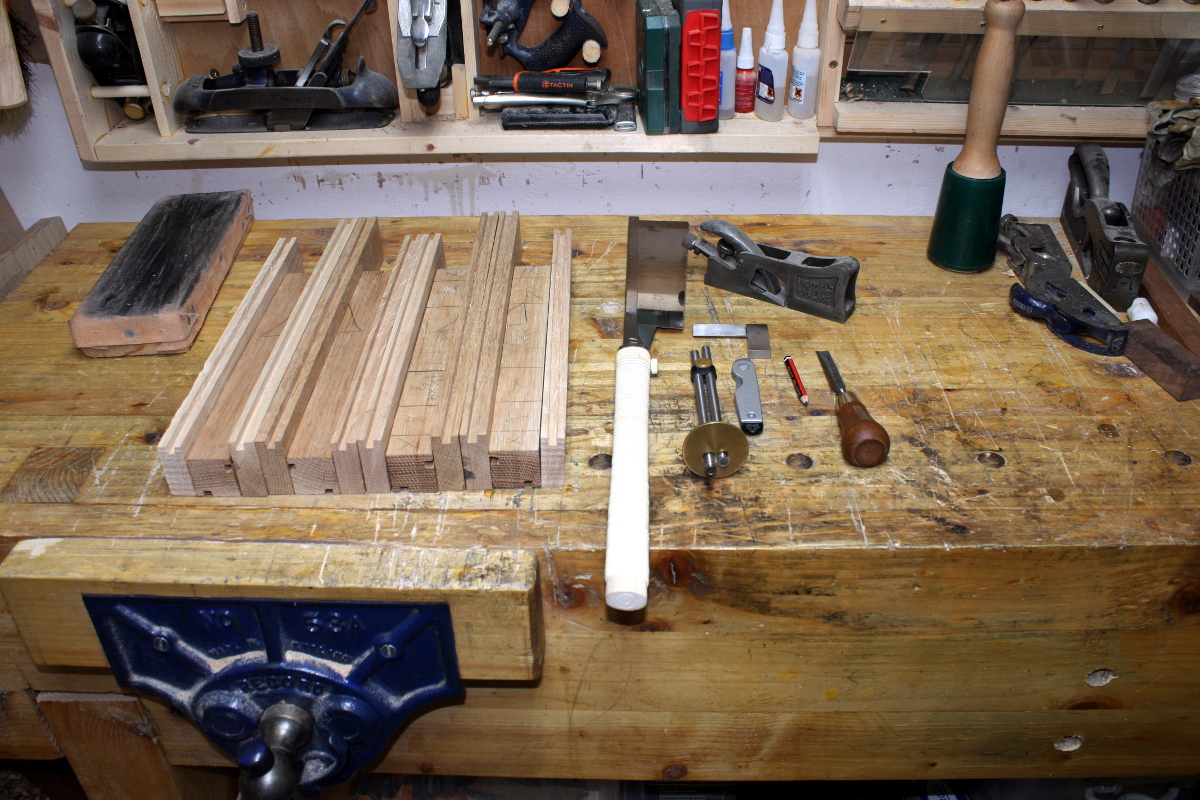
phil.p":ca5qkecq said:How?
8squared":1dqjloby said:phil.p":1dqjloby said:How?
Two blocks of wood being clamped around a handle... so i was doing half laps.

Enter your email address to join:


