What did you do in your workshop today ?

UKworkshop.co.uk

Help Support UKworkshop.co.uk:

This site may earn a commission from merchant affiliate links, including eBay, Amazon, and others.
Status
Not open for further replies.
Built some storage for my planes and chisels and put up a couple of shelves. Workshop coming together but still a bit of a mess. Got orders backing up and need to get my skates on. It's a much nicer working environment now, even with the upheaval. Can't wait to get back to normal.
 
Spent the past 2 days tidying and sorting my workshop, still lots to do but at least I can see the floor now!


curtisrider":25qsu3hg said:
Spent the past 2 days tidying and sorting my workshop, still lots to do but at least I can see the floor now!

I think I can see your problem, you seem to have a van in your workshop!
 
Yeah the Commer PB van and the BMC Mini tractor both need moving into the metal workshop along with 2 metal lathes and a Fobco pillar drill! Hopefully I will be able to get them out soon, it would be nice to actually have a proper woodworking space and I also want to start on the second phase of restoring my workshop
 
thetyreman":45f1xtgo said:
filled in some knots with 2 part epoxy for the first time today, maybe next time I'll try adding a colour, only doing this purely to learn how to do it, so when it's needed on an actual project I will feel more confident.
Which brand epoxy did you use and where did you purchase it from?

Sent from my Moto G (4) using Tapatalk
 
monkeybiter":8mmlgscm said:
A couple of days ago my son told me about a distraught young woman at his place of work [shelter for the homeless], a decade ago she was assaulted by a stranger, while pregnant, and lost her baby. She was distraught because the baby's grave had been vandalised and the basic wooden cross marker was broken, two days before the anniversary of death.
I didn't have much time due to work and SWMBO's hospital appointment;
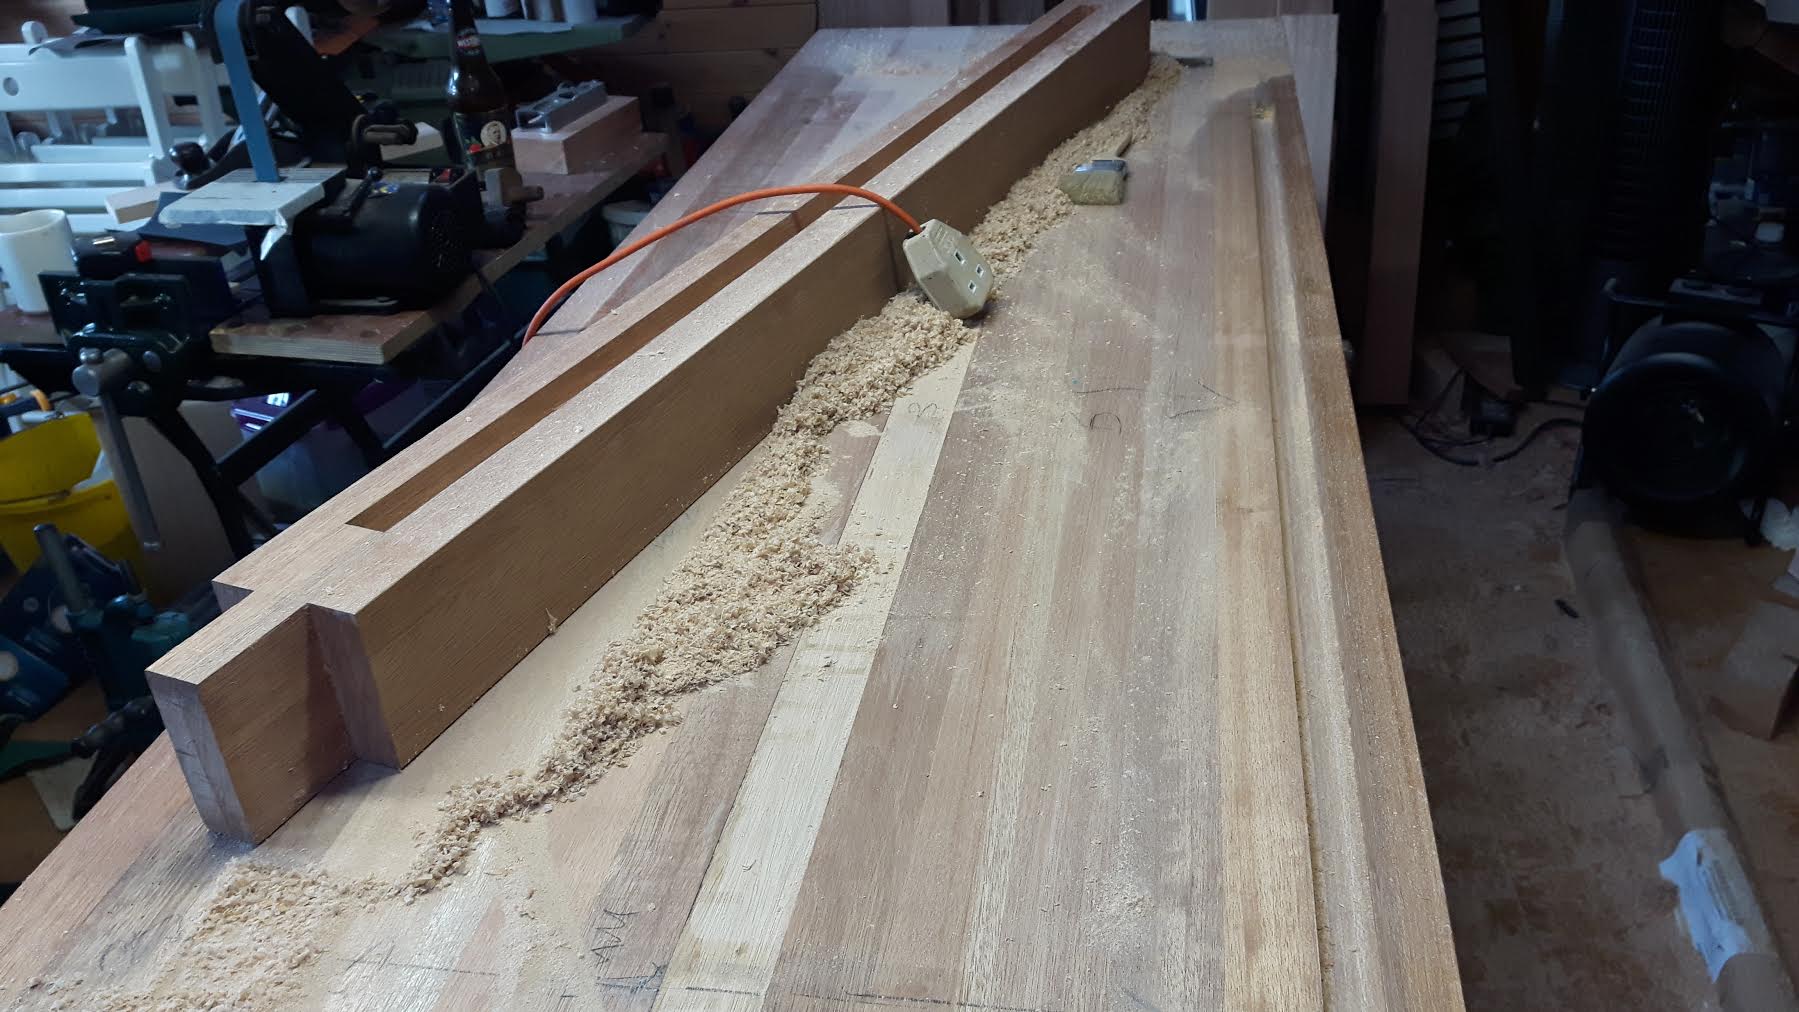
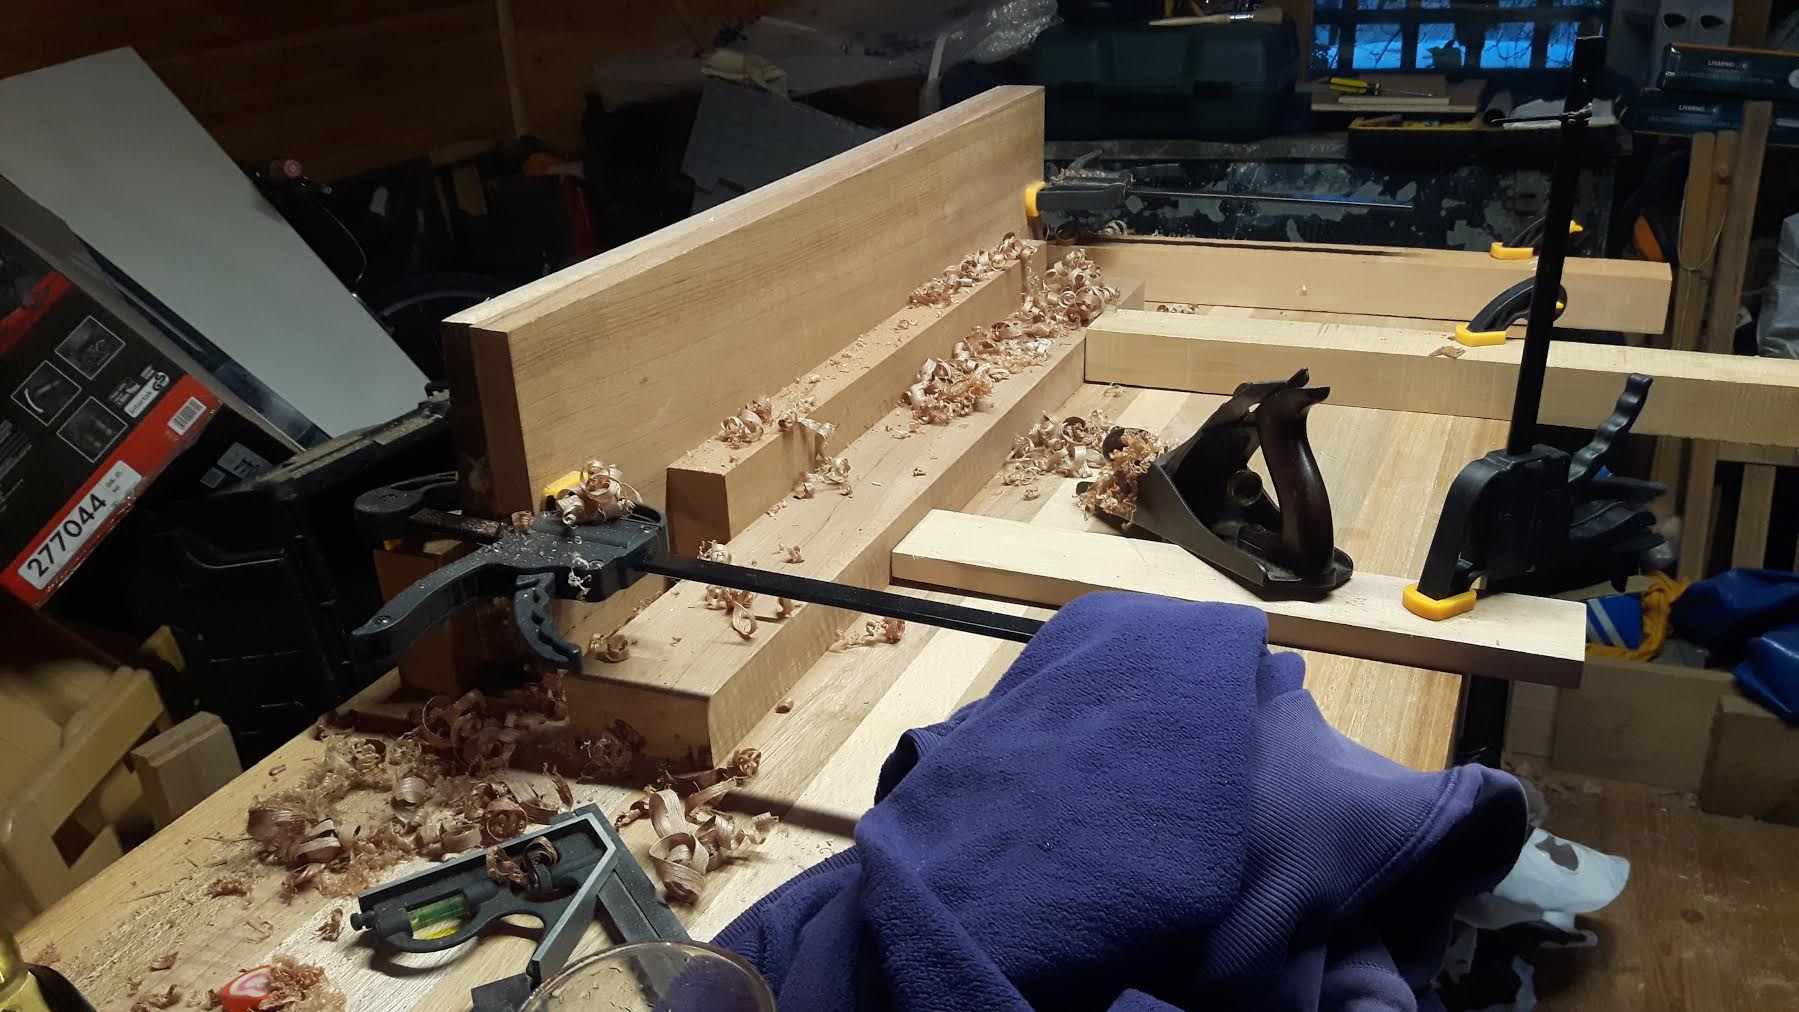
I scraped the old glue off the half lap joint in the centre of the cross, cut a couple of Iroko dowels using a plug cutter [in the end grain] and drilled blind holes through the joint from the front, which will be hidden by the brass plaque. Glued it up in the warmth of the house with TB3 which will hopefully last outdoors. I sanded everything above the soil line and gave it all a couple of coats of Teak oil. It looks a lot better and I feel like I've done a good thing.
The half lap joint was so slack you could fit a coin in the gap, unfortunately I didn't have time to address this.
Didn't get a full piccy :oops: but took a couple of detailed ones, hopefully someone could enlighten me re. the wood type. My guess is Iroko.


That was a kind and good thing you did, you deserve to feel proud of yourself.

Looks like Iroko to me as well.

Mike
 
Estoril-5":2e5583qm said:
thetyreman":2e5583qm said:
filled in some knots with 2 part epoxy for the first time today, maybe next time I'll try adding a colour, only doing this purely to learn how to do it, so when it's needed on an actual project I will feel more confident.
Which brand epoxy did you use and where did you purchase it from?

Sent from my Moto G (4) using Tapatalk

I used araldite quick dry, you can get it everywhere, easy to find.
 
Lol! You've got me there Matt! Although in all fairness my old Wadkin the other side of the photo is a sliding table dimension saw so I generally use that rather than the mitre slots. I do need to make room for them though which might be a job for tomorrow night.
 
Had my first day in the workshop for a while actually doing paying work after the recent re-furb. Took longer than i would have liked and am now behind, meaning a 10 hour day today, finishing at 7 and will have to do the same tomorrow to meet a deadline. So much for semi-retirement.

On the plus side, it's way more enjoyable in there now. Brighter, warmer and i can find stuff without having to ferret around in drawers and on shelves.
 
Stripped down an old rusty Record Number 3, I got as a freebie a good few years ago. Left the metal parts bathing in vinegar.
 
Finally finished the frames for the workshop windows. Glue up tomorrow so had to bring them in the house so they are warm enough, supposed to get sub zero overnight here.
IMG_3200.JPG


F.
 

Attachments

  • IMG_3200.JPG
    IMG_3200.JPG
    109.3 KB · Views: 138
Today was a Good Day.
Been distracted lately. Got back on track over the last week with the everlasting Bench.
Cut my first perfect joint today. Alas it was the one joint that actually needed some movement. Sliding deadman. What's the chances? #-o

KEf98pk.jpg


Routed the underside of the top for same deadman. Little wider this time. Perfect.

drLnoL4.jpg


Put the router back in its box (the devil), checked all fingers for length, chilled out, got a cider and had a fag. Started to really enjoy the afternoon.

Started timming up the Deadman, cut one end to length and dead square. Aw Yisss. Planed one side square before gluing.

I14tn9T.jpg


Loads of other nasty little jobs taken care of. Squared up one end of the bench from my poor saw skills etc. Lot's of jobs I've been putting off. Planed down the timber for the leg vice thingamybobby. Well pleased with today's efforts.
Faced off a load of shoulders using my newly discovered trick of measuring to the mortice. Nothing new to anyone who knows what they are about but I discoverrd it myself and I was pleased I did.
*Beaming. Well deserved Cider. :D
That moment when you realise your'e getting better.
 
This afternoon i bubble wrapped some stuff for delivery tomorrow, while listening on the radio to my team win 3-0 at the league leaders, who hadn't lost for 14 games straight. Perfick.
 
Finally got around to finishing off the bathroom "cupboard" that hides the controls for the bridge of the startship enterprise after we had a new heating and re-fitted our bathroom earlier in the year. The wifes going to paint them thankfully :)
small_20161109_203012.jpg

small_20161109_205505.jpg

small_20161117_195143.jpg
 

Attachments

  • small_20161109_203012.jpg
    small_20161109_203012.jpg
    47 KB · Views: 245
  • small_20161109_205505.jpg
    small_20161109_205505.jpg
    47 KB · Views: 245
  • small_20161117_195143.jpg
    small_20161117_195143.jpg
    28.6 KB · Views: 245
Did a similar thing about a year ago, the OH liked them so much she showed a neighbour and now I have to make four more:


The doors on the right hanging on the wall where the test piece's to ensure the OH liked them before I went into the main deal.

Mike
 
A long time project finished, just about.
My version of a Power Hone, no pizes for the inspiration. No it is not quite finished, just needs some non-slip feet.
The motor is from a spin drier, anyone else remember them?
Gf's Hone .JPG

The eagle eyed amongst you may wonder why the handle is at the bottom. I got the rotation of the motor wrong.
Still turn it around and we have a trailing hone. I got the leather on the wrong way around first time too, hopefully I'll learn.
As motor runs at 2840 rpm with a spindle of 8mm, and the wheel is 8", I recon the wheel runs at about 112 rpm.
Still slow, it does not spit buffing compound in the way that my buffing wheel did.

Thanks for looking,
xy
 

Attachments

  • Gf's Hone .JPG
    Gf's Hone .JPG
    227.1 KB · Views: 196
Is this for quicker and easier honing of your carving tools?
I'd be very interested to know how well it works, it looks like it could be a worthwhile project.
 
Status
Not open for further replies.

Latest posts

Back
Top