Dibs-h
Established Member
kirkpoore1":319hadg4 said:It's all what the local customers demand, Dick. For instance, in reading this site, it seems that tile roofs are pretty typical there. Here (midwest US), nobody has tile roofs. Thus, you can't walk into the local borg (big box hardware/building supply store, aka Home Depot or Lowe's) and get the tiles or any special tools or fittings required. In California or the desert southwest, where tile roofs are common, I bet you can get those things at the same stores.
Kirk
Kirk
What's the reasoning behind that? Is it local availability of products, etc.? Also what's the lifespan of a shingled roof over there?
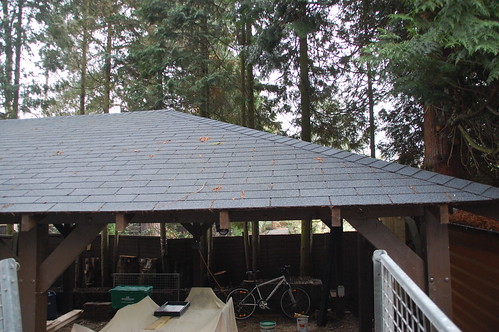
Our house roof is the same stuff as the workshop - small rectangular clay tiles.
I re-roofed the house about 6yrs ago - reusing almost all the old tiles, and 6yrs on with a fair few high winds, all still perfect. When re-roofing, pulling off the old tiles, the original nails were copper and cut nails and the back pointing was still there - my money would be on that it was the original roof. Not bad for almost 90yrs.
Dibs
")