Workshop Design - well it's a build really.

UKworkshop.co.uk

Help Support UKworkshop.co.uk:

This site may earn a commission from merchant affiliate links, including eBay, Amazon, and others.
wobblycogs":4kdbgvkt said:
It will be nice to have somewhere to escape to - from the noise in the household!

Oh, you really are making me jealous now. Youngest has been grumpy all day: wah wah wah. It's enough to drive a man to use his power tools (to drown out the noise of course).

The shop is looking great, are you going to have a grand opening?

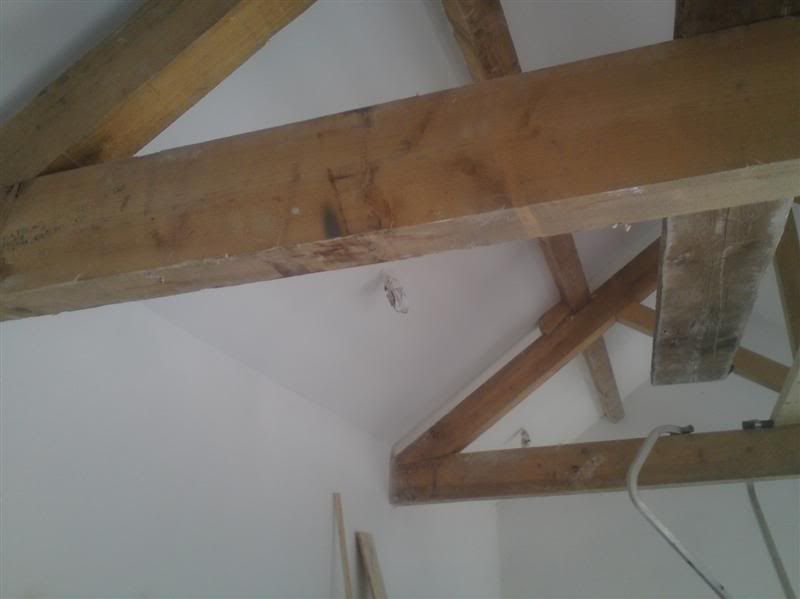
Probably next year - when the new garage (and its basement is up) - due to the fact as soon as it's painted - it'll get rammed back up to the rafters with all the stuff that needs to come out of the house (bandsaw, t\s, spindle moulder and tons of other kit). Don't ask where all that is hiding at the mo! :mrgreen:

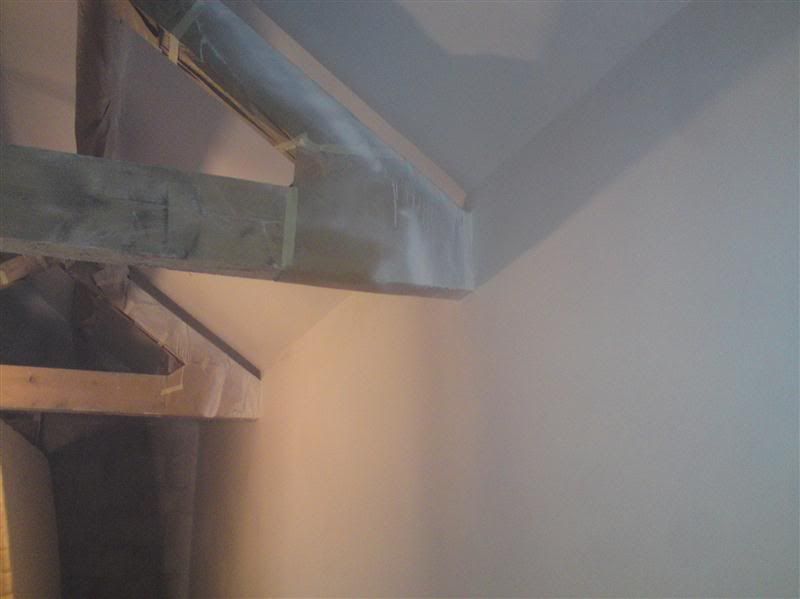
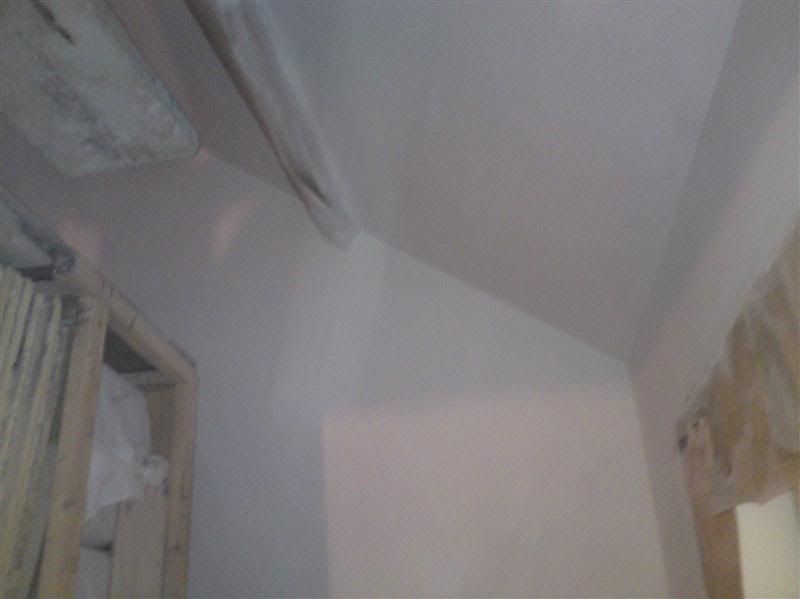
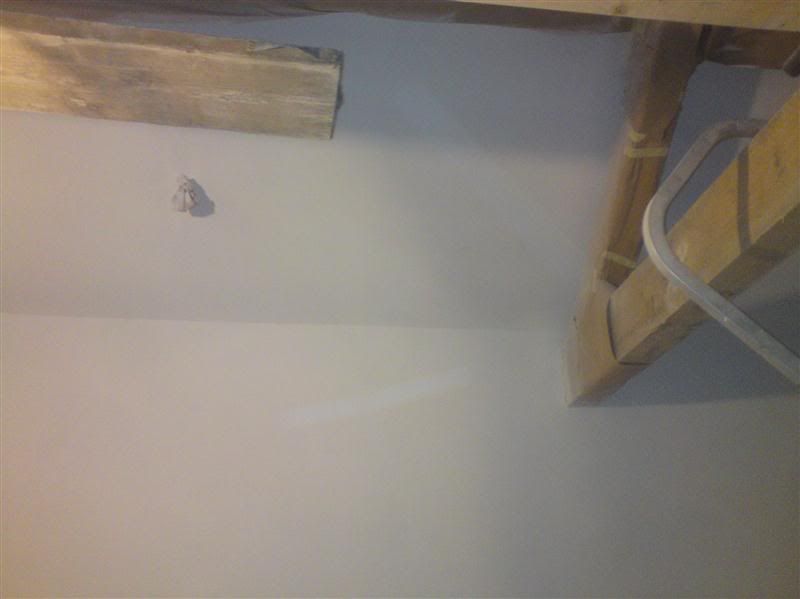
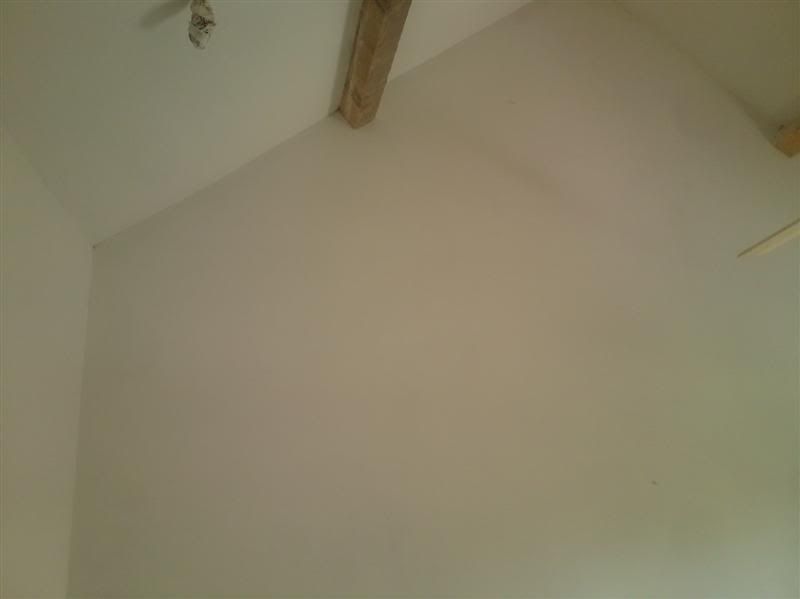
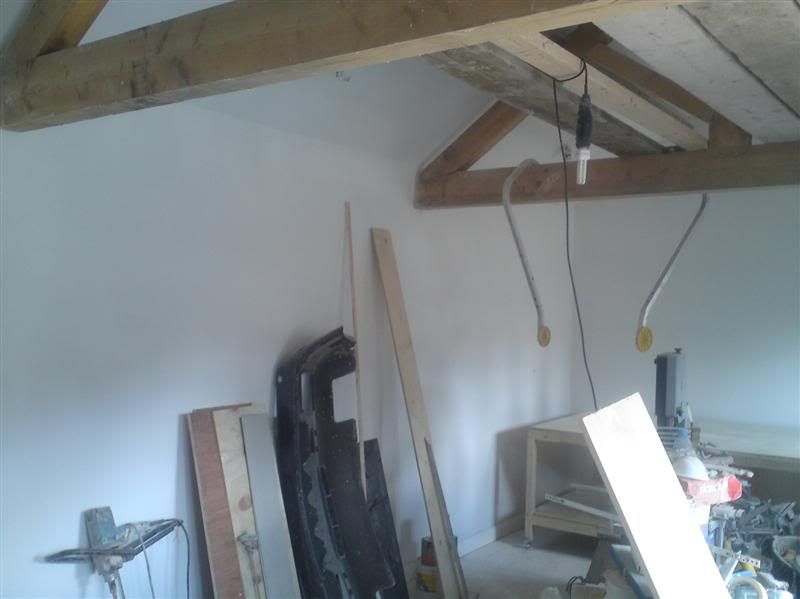
Did all the skirting this evening - just one piece left to fit to the right of the door (looking from the inside) but that doesn't have scribed ends thankfully. Just got to fit the plugs in the countersunk holes and ready to paint. :mrgreen:

Dibs
 
Hi Dibs,
I don't consider labeling boxes with their contents, OCD - just plain common sense....as one who regularly ferrets through boxes getting more annoyed.
Now, if you were to take a feather duster to the roof cobwebs.....that would be OCD :smile:

Keep on truckin'.......Dick.

PS. Thanks for the paint info.
 
Update: Skirting's finished, or at least fitted. Spent yesterday tidying up and moving stuff from here to there and then got rid of a load of scraps that were lying about, Basically everything is in the middle of the workshop with a 3'-4' walkway all around. I'd have taken everything outside (most of it is insulation boards) and had a really good tidy up and stacked stuff differently but it was chucking it down.

Then went round the walls scraping off the odd splatter of plaster that I'd neglected to remove - and a quick rub down. Marked the low spots and then mixed up some Gyroc Easi-Fill. Went on very well - takes bloody ages to dry tho! :roll: With hindsight - I'd have applied that 1st and then tidied up - but as with all such great (mis)adventures, learning the hard way is mandatory.

Just need to sand the Easi-Fill, clean up the dust, mask up and then paint. Be nice to have a dry day - but looking out of the window at the moment (at work) and it's chucking it down!

Dibs
 
Update:

Spent a few evenings during the week sanding the filler and applying a some more until happy with he finish. Friday evening masked up the purlins\trusses and around the windows\doors.

Saturday (today) - quick sweep up of the dust and tried out the airless sprayer. Wouldn't fire up! :evil:

Pulled out the switch and when I pushed it back in - it fired up at which point I realised the switch was a bit temperamental. Got all medieval on it (with the power off) giving it a smack with a lump hammer - which soon sorted it out.

Thinned the Gliddens matt emulsion 1:1 with water and sprayed the walls\roof with a mist coat. Started at around 14:00.

Then thinned some more down (less thinned down) for the next batch - 1:3 water to paint and sprayed everything again. Getting up to the roof was enough headache, but so much easier not carting paint up there! By 17:00, the 3rd coat - hardly thinned - was on and going off. Had run out of paint by this time!

So off to Wickes and got 10L of their trade matt - sprayed this on neat. It's a pain putting on white paint - as it's not the easiest thing knowing what you've painted and what you haven't! :oops:

Sprayed everything to death by around 20:00. Did the bit just above the skirting with a brush as the bloody masking tape wouldn't stick to the skirting for some reason. Have to say the airless sprayer is awesome - can coat a wall (2.4m x 7.5m) in about 10 mins!

Going to empty out the workshop completely on Sunday, sweep up - check the finish and touch up if need be and remove all the masking paper\tape. Then put everything back as neatly as possible as opposed to hap hazard all over the place. :oops:

Here's a few teaser piccies! Will post up some more tomorrow when it's empty!

paint1.jpg


paint2.jpg


paint3.jpg


Dibs
 
Hi Dibs,

That is looking really nice. After so much effort are you planning on having free standing units for all your workshop stuff or are you going to be hanging cupboards off the walls with french cleats or similar?
 
Sooo, when's the pic's of you putting the tools and machinery coming then? :-D

Great work on all the finishing touches! I am amazed at your patience. I have a sneaking suspicion I would've done the "that'll do, it's not a church" on more occasions than one...
 
Hi Halo

Not had any thoughts about the cupboards or free standing units - will go with whatever suits or is convenient no doubt. I suspect the former as it will probably be quicker. What are your thoughts on which one?

At the moment it's just a case of getting the garage emptied out and it's contents into the workshop - then all the stuff that's hiding around the house! :wink:

Hoping to leave at least the middle third for doing\making stuff, as it would be really frustrating to have got so far and still have nowhere to make stuff. :evil:

Didn't bother touching any of the paintwork up - as just in the process of geting stuff in there, I bumped the walls in a few places! :oops: Will leave it till the garage is built and the workshop emptied out again and will paint it again prior to kitting it out.

Dibs
 
As the inside of my workshop is going to be clad with osb I fancy I will just pop a nail or screw in wherever I feel like it. With the quality of finish you have gone for I would be thinking twice about peppering the plaster with raw plugs to hold shelves up etc. Of course with all the time in world you should make a proper tool cabinet and your workbench should be made of at least 5 inch thick maple.....
 
Halo Jones":1ckasgck said:
As the inside of my workshop is going to be clad with osb I fancy I will just pop a nail or screw in wherever I feel like it. With the quality of finish you have gone for I would be thinking twice about peppering the plaster with raw plugs to hold shelves up etc. Of course with all the time in world you should make a proper tool cabinet and your workbench should be made of at least 5 inch thick maple.....

So can I - behind all the plasterboard, there's 1/2" plywood sheathing. :wink:

I have an old school workbench in the garage, which is one of the few things coming out of the garage, that won't be going back to the garage. :mrgreen:

Dibs
 
I'll bet there is also a layer of lead behind the ply just incase everything goes nooclear :shock:

I'll go and hide in my shabby chic wooden hut!
 
This will probably be my last update on this thread - update, as in no more work is being carried out on the workshop. Will be starting a new thread on the Garage and it's basement separately.

Anyway here's a few snaps of the finished internals -

painted_1.jpg


painted_2.jpg


painted_3.jpg


painted_4.jpg


painted_5.jpg


Dibs
 
If I lived next door I'd come and tidy it up for you. Very well done for getting this far. I spend most of my nights (can't remember last time I didn't) after work 'jobbing' so I can really appreciate how much motivation it takes to get as far as you have done but I can see your flagging ;-)

Go and get your teeth into the garage build and come back later when you've got the place setup how you like it. Don't use it as a dumping ground though :shock:
 
Hi Dibs,

At last. You must have been thinking, 'will this ever end?'
So when will the operating theatre be ready for patients? :)
You are a part of Cameron's outsourcing of the NHS...aren't you :shock:

Best regards.....Dick.
 
Well done that man. It's clearly been a long hard slog but you've stuck it through to the end and I'm really impressed. Hope you are chuffed with the results, you should be.

I have to also thank you for showing me that I don't really want to build my own house :)
 
Thanks chap for the compliments. Yes - at times it did feel as if it was never ending!

Feels so good to be able to walk into it as opposed to climb over stuff to get into it.

Billy - I plan to heed your words and go against my hoarding nature and try very hard for it not to become a dumping ground!

Woblby - chuffed to bits with the results. Especially the trusses and the purlins being visible. So glad I didn't go with collared pre-made trusses.

Got a load of castor wheels so plan to cut up some 1" ply tomorrow for bases for the p\t, t\s and spindle as opposed to having to drag them across the floor. :oops:

Dibs
 
Hi Dibs

This is a fantastic workshop and I have enjoyed reading your updates as you went along. You have done a great job and you must be dead chuffed. I got builders to build my garage (workshop) so I took the lazy way out, but I knew that if I did it myself that it would have taken years instead of months. I did what I could (electrics, painting, flooring, etc, but that is all). Anyway, don't let these be the last photos, it would be great to see it when you have it filled with all your kit!

cheers
Steve
 
Orcamesh":2fgbnvq2 said:
Hi Dibs

This is a fantastic workshop and I have enjoyed reading your updates as you went along. You have done a great job and you must be dead chuffed. I got builders to build my garage (workshop) so I took the lazy way out, but I knew that if I did it myself that it would have taken years instead of months. I did what I could (electrics, painting, flooring, etc, but that is all). Anyway, don't let these be the last photos, it would be great to see it when you have it filled with all your kit!

cheers
Steve

Steve

Don't worry about that - there will be more updates\pictures when I kit\fit it out.

Dibs
 
Congratulations.

I have thoroughly enjoyed reading about your exploits.

You've done a fantastic job and should be rightly proud.

Now, have a little rest.

Then, let us see it full of tools and in action.

Mick
 

Latest posts

Back
Top