Workshop Design - well it's a build really.

UKworkshop.co.uk

Help Support UKworkshop.co.uk:

This site may earn a commission from merchant affiliate links, including eBay, Amazon, and others.
Update: finally seem to be getting back on with things.

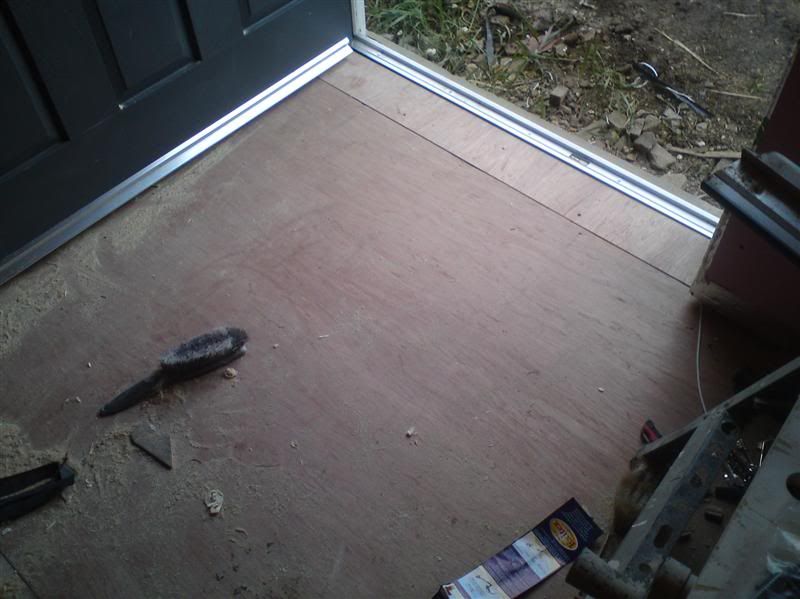
Wed: spent an hr or so getting the last large piece of flooring in front of the door.

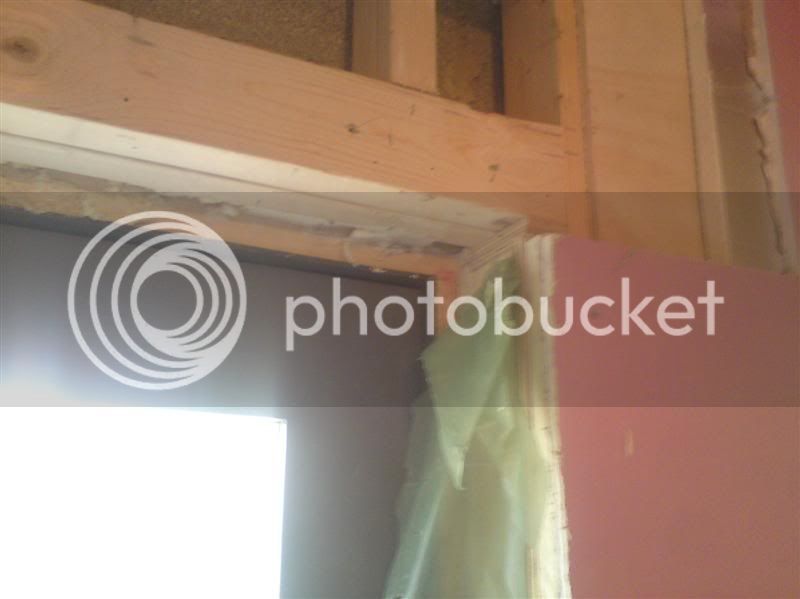
Thursday: There was a slight issue, in that if the flooring continued to the back of the Aluminium threshold the rubber strips on the bottom of the door had to be removed. Solutions were either to lift the threshold up by 5mm, packing it with Aluminum plate ( or steel), completely replace the stone cill with the new one 5mm higher. I initially fancied Plan B - but then didn't fancy the demolition & knowing my luck, it would go pear shaped.

Looked on Exitex's site and they had another profile - identical but 5mm taller. Result! Picked one up yesterday afternoon. Took the door off the hinges - man it weighs a ton! Cut 5mm off the bottom, put the door profile back on, cut and fitted the small piece of flooring and fitted the new threshold.

Not much to look at for a 3-4 hrs work!

final_flooring.jpg


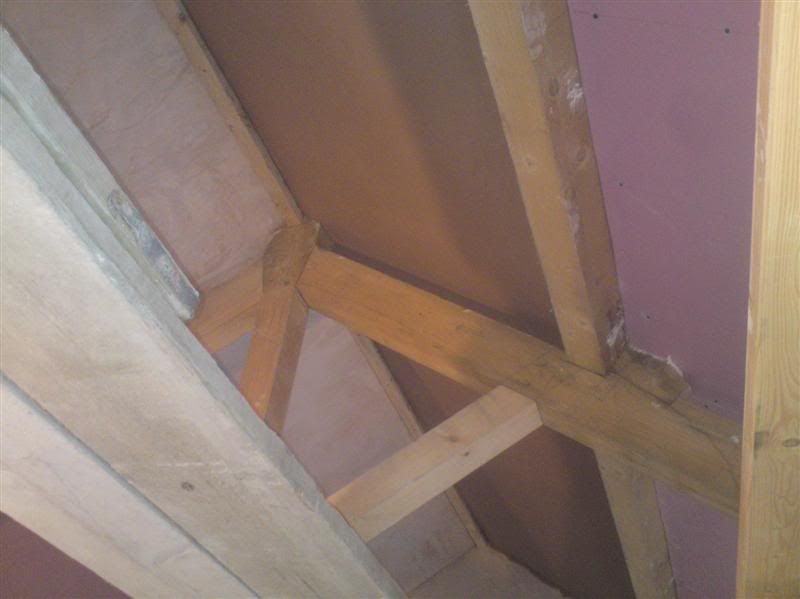
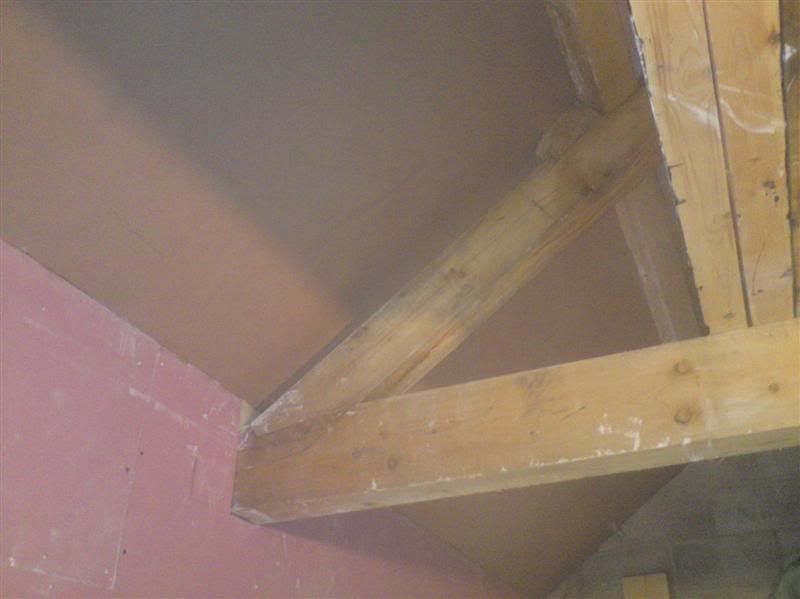
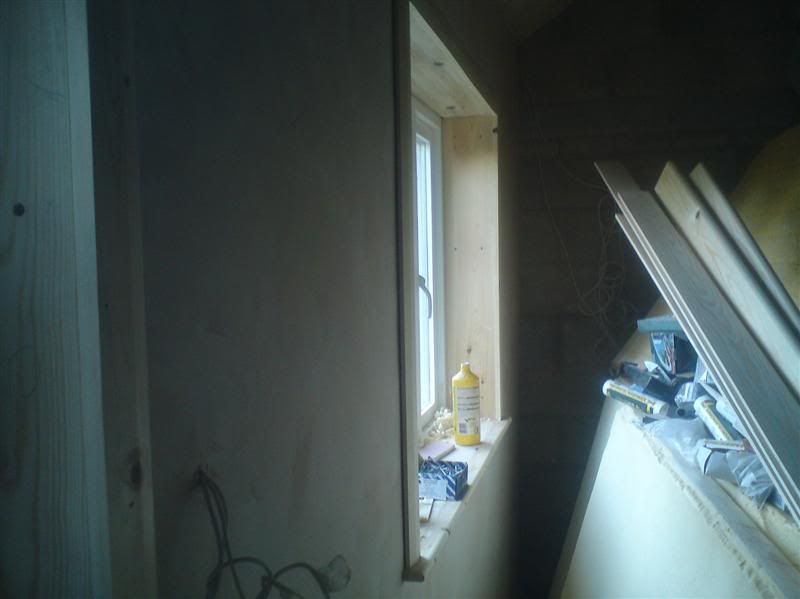
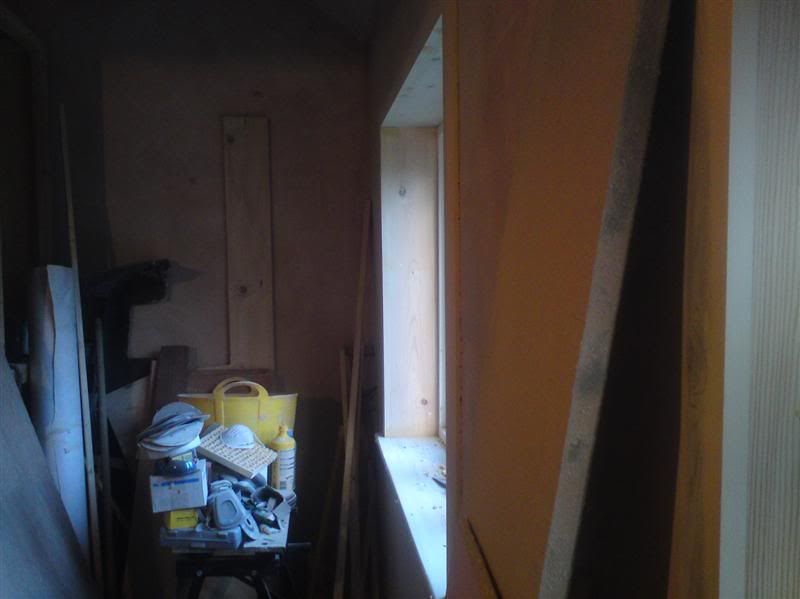
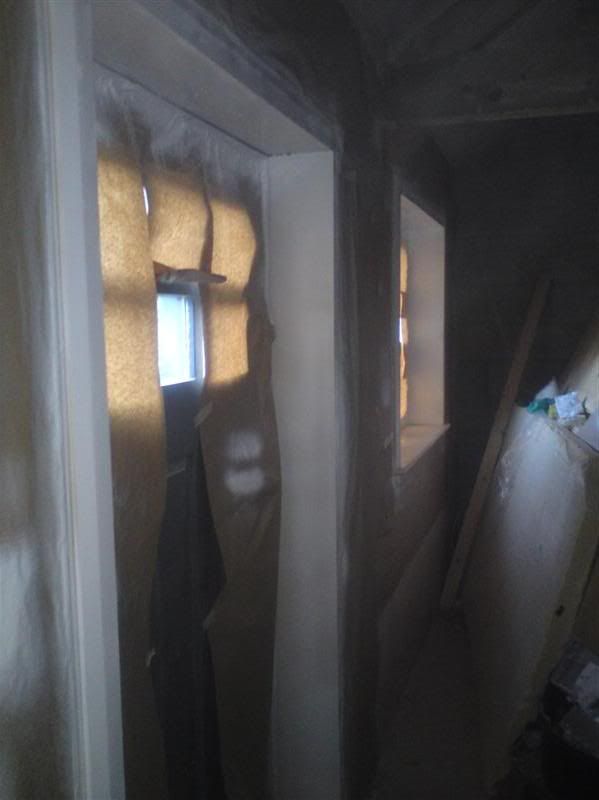
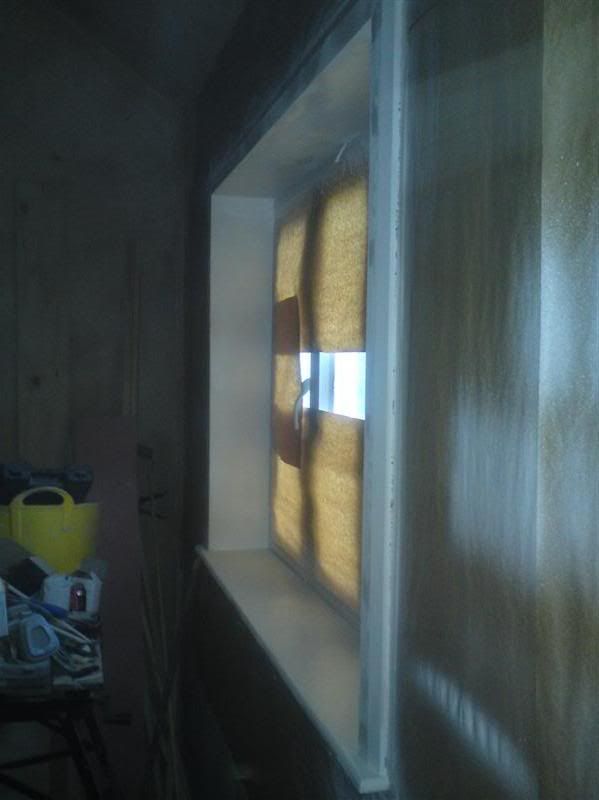
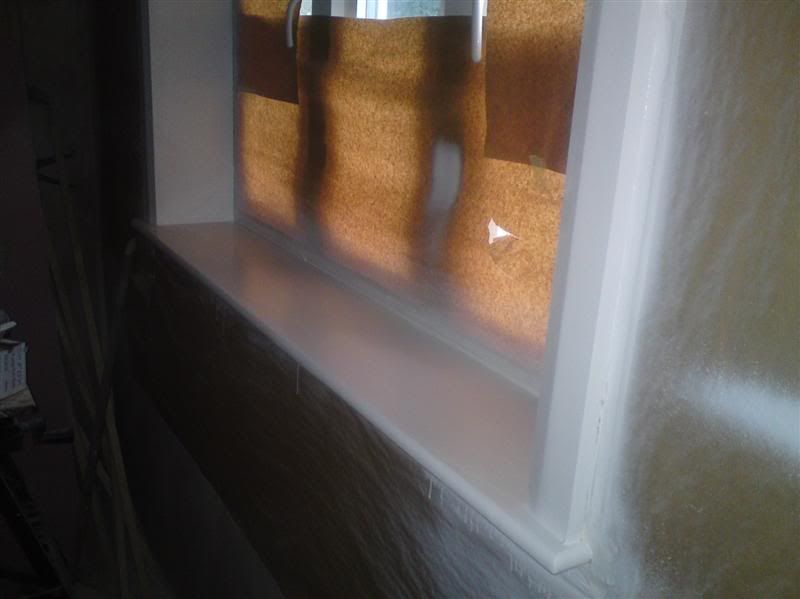
Now I can fit the timber reveals round the door and windows - hopefully make some progress with those this evening - as I'm hoping to get the plastering done over the long weekend.

Kept the old threshold - as I can use that on the garage side door, which will be a standard width!

Dibs
 
Sod all yesterday but this afternoon (late) got back in the shop. Took ages finding the plasterer's hawk. Must have walked past in loads of time! :oops: That and the expanding foam gun.

Was going to to the front wall, but decided to do the end gable. Checked all the screws were flush - a few needed driving home & fitted a small piece of plasterboard at the bottom of the wall and applied the scrim.

From start to finish in about 4 hours so don't feel too bad - hands a bit sore, not having done any plastering for ages. Hoping to do the back wall and the back roof tomorrow - hoping to get them done in a day, assuming I don't sleep in. :D

Dibs
 
Update: Have been working honest Guv!

Here's the gable wall,

end_wall_plaster.jpg


Very happy with the result.

Then decided to do the roof, but starting at the top. The upper halves (above the purlin) looked as if they'd be the hardest and they were! Got the scaffolding boards sat on the trusses, on the upturned assembly table at one end and a stack of ply sheets stood upright at the other. Climb up the ladder, then squeeze thru the truss to either end and then back and plaster as well - right palaver!

plasteringRoof.jpg


That's the back upper half done and the 1st coat on the front half, having come down to mix up for the 2nd coat. Here's one of the upper halves (front and back) both having dried. Very happy with the result.

roof_2of4.jpg


Then came to do the back wall - clearing all the stuff away from the back wall, noticed this on the back wall - some kind of spores\mould?

mould.jpg


Plasterboard was bone dry and these weren't to be seen elsewhere. All I can put it down to is that the 4" PU insulation that was leaning against the wall, had been in and out of the shop a few times and had gotten a little wet once or twice, could be responsible for it. Been paying attention to the wall in that area since and the plaster has dried to the same colour as the rest of the wall.

Then got ready for the timber reveals round the windows and door. The window ones fitted fine - the door, well the header only left a 6mm space, the hinge side only a 12mm space and the other side 12mm. That pineappled me right off. Then realised I'd screwed some 12mm ply to the sides. Took that off, giving me 25mm which was cool, but the header needed lifting up.

So off with some plasterboard, cut back some ply with the Fein, took out the Rockwool and unscrewed the small uprights between the header and wall plate, removed the header and packed it with 2 pieces of 12mm ply giving me adequate space for a 25mm reveal above the door. Trim the uprights, and fit everything back!

door_frame_adj.jpg


Then whilst checking the lock side, realised the stud wasn't vertical. The bottom was out by 10mm towards the door - so off with more plasterboard and then cut the ply back to 1 stud away to allow access to the stud bottom, remove screw, thump with lump hammer, check with level \tape measure and fit screws, etc. Even bigger Palaver than plastering the upper halves of the roof! That left me with the ply, kingspan and plasterboard overhanging the studwork by around 1". That was so much fun (not) trimming it back.

Messing about with the studwork around the door was half of Saturday and a few hours on Sunday. The rest of Sunday was plastering. Did the lower half of the back roof - did it in about 3 hours, which is down from about 4, so don't feel bad. Now just the lower half of the front roof and the front wall. Plan to do these on Tuesday evening (ceiling) and Wed (front wall). Then a little bit of trim work (skirting etc.) and then paint! Figure it will be easier to paint before the kit starts to move in.

One thing I did find whilst plastering - having something like a halogen floodlamp aimed along the surface, whilst flattening the 2nd coat and polishing so helped. But that might be having spent too much time in car bodyshops! :oops:

Dibs
 
Hi Dibs,

What a palaver to get up to the plastering, still, it looks a grand job; I wish I could do that good a job :sad:
What would we do without the Fein? I think back on the cost and shudder.....but every time I use it, I'm glad I bought it. It has dug me out of an awkward situation many a time; both in wood and brick situations...Great piece of kit.
I think that building a workshop should be defined as the ultimate definition of irony, because no matter how much we plan, design and draw, something thwarts us. For you, this time it's reveals; I have that joy to come :smile:

Keep up the good work...Regards...Dick.
 
I normally live by the rule buy good buy once but I wasn't sure if I would get enough use our of a Fein so I decided to buy the Bosch all in one version. Despite being a Bosch green which normally means rubbish it's put up with stacks of seriously heavy use. In terms of bang for buck it probably one of the best tools I own.
 
Didn't do anything on Monday and even the tho the temptation was so strong to skive off yesterday evening, bit the bullet and went into the 'shop last night and got on with plastering the lower half of the front roof.

For some daft reason I mixed up the plaster and then scrimmed the 3 or so joints and checked that no screws were proud - something I usually do first. Got the 1st coat on reasonably quick,

Roof_front_1.jpg


I also seem to be getting good at estimating how much to mix. Then down to mix the next batch for the 2nd coat and on. Wait a bit and then flat and polish. Here's a piccy of it starting to go off,

roof_complete.jpg


Last night's plastering took no more than 3 hours from start to finish - well chuffed considering the 1st run of the roof took 4. Just 1 more lot tonight - the front wall.

Dibs
 
So, Dibs, how thick is each coat? You're using a process that I'm not familiar with (though I'm hardly a construction worker, so that's no surprise). When I did my shop, after installing the drywall I taped and mudded the joints, painted on a coat or two of sealer, and then painted. Yours sounds much more laborious, even though I found taping and mudding to be amazingly tedious. Next time I'm hiring that part out.

Good work...

Kirk
 
Perhaps I can shed a little light on it Kirk, I'm no builder either but I've needed to do some plastering over the last couple of years and I taught myself via Google which meant I got a lot of information about how it's done in both the US and UK.

It would seem that on your side of the pond dry lining is the technique of choice (great tutorial http://www.youtube.com/watch?v=FR8hPGiF8yA) for a plaster finish. I believe a lot of houses in the US are timber frame which makes dry lining pretty simple since you can easily make sure the plaster board is perfectly level before filling the gaps with a board finish.

Traditionally on this side of the pond houses have had a two coat plaster finish (another good tutorial http://www.youtube.com/watch?v=rO4orltyxfk) often over a substrate of browning or undercoat plaster. The undercoat plaster is applied directly to the brickwork which has to be wetted (old school) or sealed with PVA (modern) first. The undercoar is made fairly level and as it's drying the surface is cut in a diamond pattern to provide a bond for the finishing coats. Two coats of a fine finish plaster (often just a multi-finish now a days) are then applied first about 2mm thick then 1mm thick just as the first coat has gone firm. It's then "polished" with the trowel to give a smooth surface. This last step is the hardest for a novice to get right because it requires fine trowel control and it's hard to see imperfections while the plaster is still damp.

Pretty much all the new build houses here are now dry lined I believe. I presume it has changed because houses are now mostly wooden stud work internally rather than brick as they used to be. The next lot of plastering I've got to do I'm going to have a crack at dry lining as applying a two coat finish is seriously hard work.
 
kirkpoore1":1rp04zn4 said:
So, Dibs, how thick is each coat? You're using a process that I'm not familiar with (though I'm hardly a construction worker, so that's no surprise). When I did my shop, after installing the drywall I taped and mudded the joints, painted on a coat or two of sealer, and then painted. Yours sounds much more laborious, even though I found taping and mudding to be amazingly tedious. Next time I'm hiring that part out.

Good work...

Kirk

Hi Kirk

It's pretty much as Wobbycogs described it. Boards in the UK are available as either tapered edge (which lends itself to tape & mud) or straight edge, which must be plastered. It is approx 2-3mm fine plaster and then polished. Whilst taping and mud is making inroads in the UK - I'd say a 2 coat plaster finish, even on drywall is the predominant finish in the UK.

It isn't the easiest thing to do - but does get easier and quicker the more you do it.

I managed to complete the front wall last night - but not till just after 23:00. :oops: Didn't get plastering till just before 20:00. Had to fit little pieces of board at the bottom on a few sections. Also realised that where some of the boards butted up - they didn't have any screws there.

Getting home and finding out that my former car insurance provider had decided to bill my credit card for another policy, when they had clearly been told I wasn't renewing with them and the 30 mins on the phone, didn't help the timeline.

Just looking forward to an evening at the Turkish Baths @ Harrogate - http://www.harrogate.gov.uk/Pages/harrogate-6188.aspx for anyone who hasn't been.

Dibs
 
Dibs-h":33ye9wvw said:
[Hi Kirk

It's pretty much as Wobbycogs described it. Boards in the UK are available as either tapered edge (which lends itself to tape & mud) or straight edge, which must be plastered. It is approx 2-3mm fine plaster and then polished. Whilst taping and mud is making inroads in the UK - I'd say a 2 coat plaster finish, even on drywall is the predominant finish in the UK.

It isn't the easiest thing to do - but does get easier and quicker the more you do it.

...
Dibs

It sounds a lot like what's used here for textured ceilings, then. The textured ceilings look good, but if damaged by a leak they're kind of a pain to fix (like has happened to my bedroom, alas).

Tapered drywall is indeed the standard here. This is my shop after taping & mudding, but before sealing:

thepox1.jpg


Enjoy your spa visit--I hope it works out the kinks your plastering put in.:)

Kirk
 
Ah -the spa certainly did the trick! My right elbow aches from all the plastering tho. Went in this evening and very happy with the plaster finish of the front wall.

Measured up the perimeter of the floor and the perimeter of the windows and door frame for the architrave and the skirting. Hopefully getting some in the morning. Going for chamfered as opposed to some ornate stuff. Reasoning being - less surface for dust to gather on. Probably get primed MDF architrave to go round the door and windows and softwood for the skirting.

Looking to get it all fitted on Saturday and have a good old clearout as well. And fire up the airless sprayer and see how it paints.

Dibs
 
Update: Been busy with the trim work. Didn't get primed mdf in the end - having worken up a tad bit late might have been responsible! :oops:

So went and got a whole load of 3" chamfered architrave to go round the windows and door and some 4" of the same for the skirting. I'd already got some 1"x7" boards for the sill and reveals.

Was originally going to go for architrave all the way round the windows - sort of picture frame look, but then looked at the windows in the house - the sill stuck out a bit and went past the architrave a tad.

This was after I'd cut everything to length, including the sills! Cobblers. So slid the sill out - ran it on a jointer a few times to ensure the edge was flat and decided to plant the "nosing" on! Conveniently the local timber place had 2" wide bits of the timber at almost the correct length. 5 mins on the router table to round over the front edge and ends, some glue and some 3" screws, covered with plugs and you'd never know! Architrave - some no nails stuff and some brads sorted that out.

Spent the last 2 evenings - sanding everything totally smooth. Filled in any imperfections - usually the knots - with some 2 pack filler, and then flatting it again. All most all the 1" boards (window\door reveals and window sills) were screwed to the studs, using a countersunk thingy from trend - allowing plugs to cover the hole.

So back into the house - used the pillar drill in the loft and cut a 100 or so plugs, as I didn't want to be going back up again. Don't ask what the pillar drill is doing in the loft! Suffice to say it's on notice and will be going onto the shop soon.

Bit of pva and whacked them all in - and cut them almost flush. Will be popping back in this evening to get them flush, sand down any minor bits of bondo left behind and give them all a coat of Sikkens WB primer with the old Apollo HVLP.

Did nip into my local auto refinishing supplies place yesterday afternoon - for some masking paper, tape, mixing cups, filters, etc. so all set for spraying.

Anyhow here's a picture or 2 to prove it's all real and not just in my head. Either that or it's a group delusion!

architrave_1.jpg


architrave_2.jpg


Not the best pictures as the camera doesn't like the fact that it's brighter outside than inside. Only a camera phone so no real complaints.

Dibs

p.s. going to try and prime the skirting boards (tonight), i.e. before fitting them - have a cunning plan for that. More details (or not if it goes **** up) tomorrow!
 
Did the final sand of the trim work - the plugs and checked that nothing needed any more bondo. Gave the skirting boards their final sand ready for primer. Bloody warm in the shop - well I suppose the insulation is effective! :mrgreen:

Then applied knotting solution over all the knots.

All ready for spraying the primer on Sat - after I've had a huge clean up and vacuum! :oops:

Dibs
 
Update


Skirting - did have a slight hassle on Sat - the chamfer I'v always assumed usually covers about 1/3 of the board width. Imagine my surprise when 2 lengths had it in the middle. No bloody receipt to hand & I couldn't be bothered to faff about with the roof rails for the car as I needed 2 x 10' lengths. So quick run to the timber yard and back. An estate certainly helps and it can just about fit 10' long timbers in the car.

Here's my cunning plan for the skirting -

primer_3.jpg


Two pieces of timber (spare roof laths) clamped to the Kingposts tiebeams and then the skirting pinned to each one with a brad. 2 sheets of masking paper stapled to the back of it and voila - after having been sprayed of course.

Windows\door trim - now that's a different story. Here's the shots -

primer_1.jpg


primer_2.jpg


Anyone see the cock up?

Bloody chamfered edge is to the wrong side! That and I'd used up all the primer (so getting some more in the morning). Went back in yesterday evening and thankfully the cheapo version of no-nails and the brads meant that using a filling knife - all the pieces came off good enough to re-use, but only some can be used again. Just need to nip down to the timber yard and get another 6m (for the door) in the morning as well. I suppose it could have been worse - could have top-coated it all as well! :mrgreen:

Dibs
 
Update:

Got some more paint - Sikkens Cettol BL Opaque (water based) is now sold as Rubbol Sattura BL - how's that for being obvious. Thankfully it is the same paint and goes on the same.

Got the architrave refitted (along with the new pieces) the correct way round, filled in the various imperfections and gave it another coat of primer - or the 1st coat in the case of the new timber. Re-coated the skirting boards with another coat of primer.

fitted_correctly.jpg


So - almost 4 calendar days later, I'm at almost exactly the same point I was at on Sunday! #-o I suppose in the grand scheme of things - it's a minor headache!

Just mulling over the fitting of the skirting boards - obviously will be coping the ends (so the light goes across the joint as opposed to in it - and wondering whether to use a countersunk drill bit and plugs or some no nails stuff and use the brads from the nail gun. Due to the wall construction - I would need brads that are around 65mm long if I want them to engage with the 12.5mm ply (15mm skirting, 12.5mm plasterboard, 25mm PU insulation & 12.5mm ply). No idea if they do brads that long.

Brads would obviously be easier than countersunk holes and plugs. Suppose see how it goes.

Well at least the weather is nice!

Dibs

edit - just found out Screwfix do 64mm finish brads - so might just use brads. :mrgreen: Gives me an excuse to use the new Bostich brad gun that's been gathering dust for ages!
 
Hi Dibs,

Glad to see that I am not the only one making cockups :wink:
Still the end of phase one is getting closer every day.

Does the water based Sattura give a very gloss finish,
or is it more towards satin? I ask, because I used Sattura Plus on the windows,
which is classed as satin, on the tin - but it is more gloss than satin to my eye.

Cheers...Dick.
 
Dibs...this is no workshop, I'm sure I saw a beach towel in that woven bag wiff the handles and a frisbee...come clean this is the prelude to a home bar at the bottom of the garden...init :lol:
 
Cegidfa":103sgc8f said:
Hi Dibs,

Glad to see that I am not the only one making cockups :wink:
Still the end of phase one is getting closer every day.

Does the water based Sattura give a very gloss finish,
or is it more towards satin? I ask, because I used Sattura Plus on the windows,
which is classed as satin, on the tin - but it is more gloss than satin to my eye.

Cheers...Dick.

Hi Dick

The Satura is a satin finish. I've used it before on the windows and it is a satin finish.

Started on fitting the skirting yesterday evening. Looks like I'll have to use the countersink drill bit and screw the skirting on and then plug the holes. Went to Ikea today and bought some storage boxes - "stuff" lying about and getting in the way has been p!ssing me right off lately. Going to go slightly OCD and tape a sheet of A4 on the end of the boxes listing the contents - so I no longer have to go thru everything to find that one little thing I'm looking for! :roll:

Going to be along day tomorrow - hoping to start painting the walls and roof.

Bosshogg - :mrgreen: :mrgreen: It will be nice to have somewhere to escape to - from the noise in the household! :wink:

Dibs
 
It will be nice to have somewhere to escape to - from the noise in the household!

Oh, you really are making me jealous now. Youngest has been grumpy all day: wah wah wah. It's enough to drive a man to use his power tools (to drown out the noise of course).

The shop is looking great, are you going to have a grand opening?
 
Back
Top