Workshop Design - well it's a build really.

UKworkshop.co.uk

Help Support UKworkshop.co.uk:

This site may earn a commission from merchant affiliate links, including eBay, Amazon, and others.
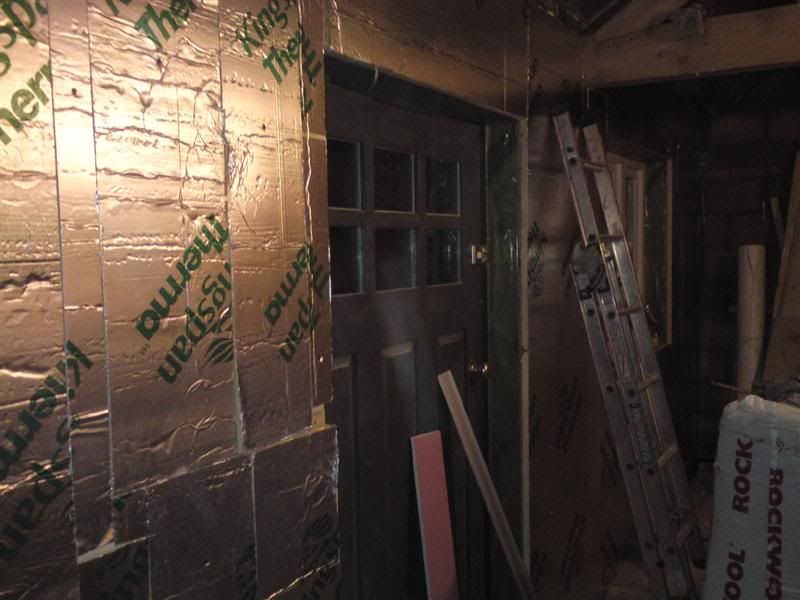
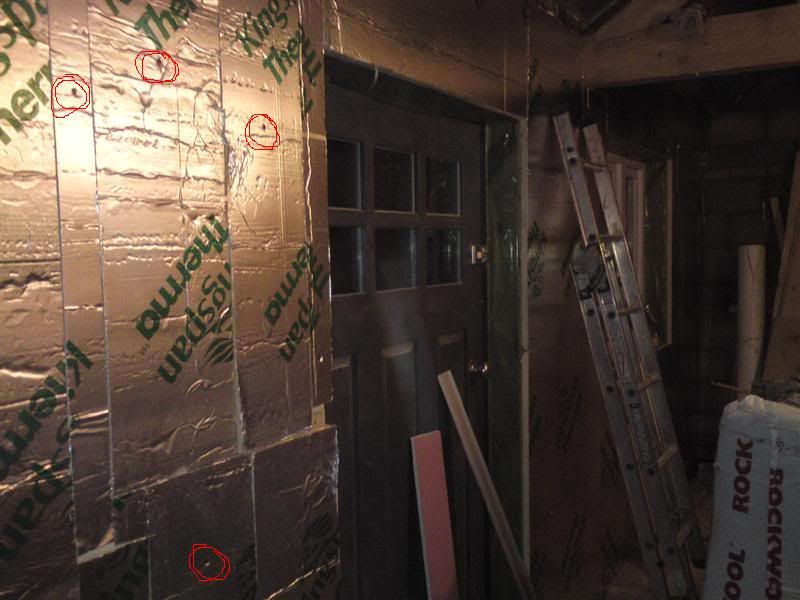
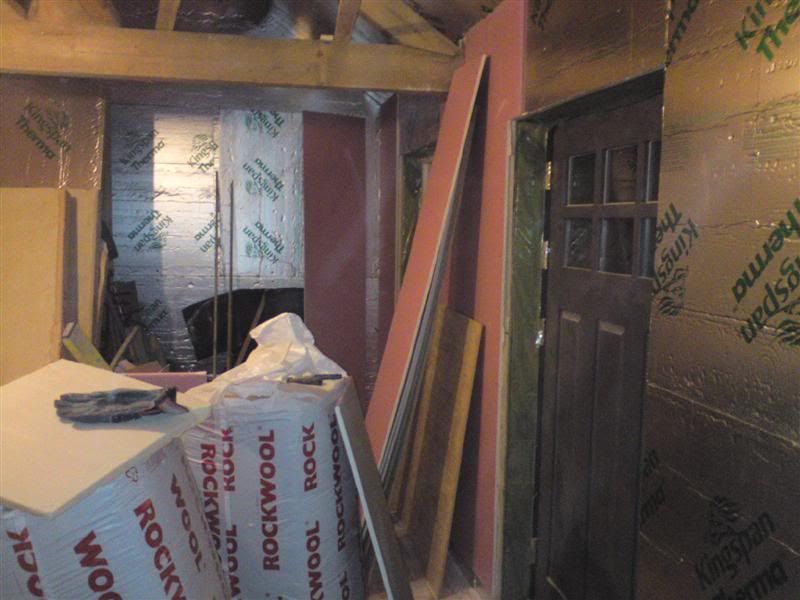
Nothing on Monday. Tuesday - managed to get a couple of hours in. Spent a little while umming and ahhing about orientation of boards and then not quite remembering which way the ply went. Once I'd scratched my ar5e and remembered - starting fitting them. Decided to work from both ends and meet in the middle over the door, hopefully with an offcut from somewhere else.

front_left.jpg


and

front_right.jpg


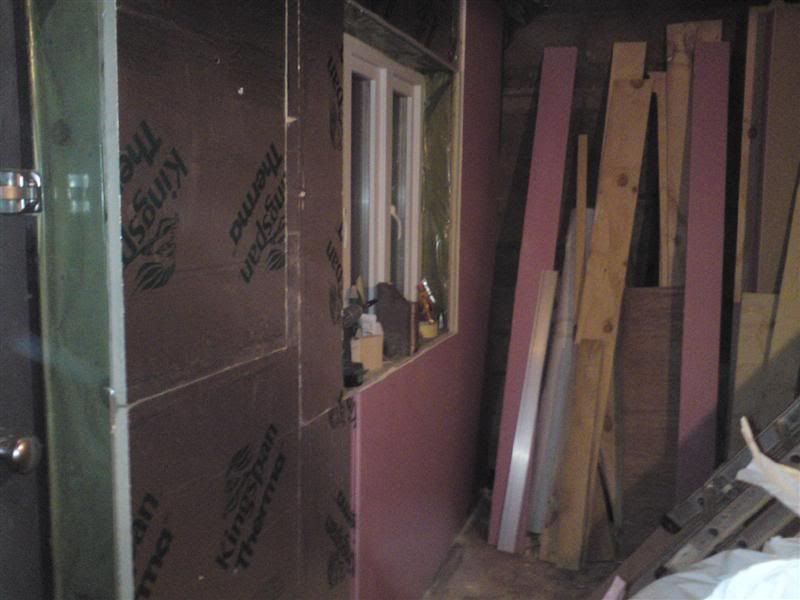
Counting the boards - overbought as usual! :oops:

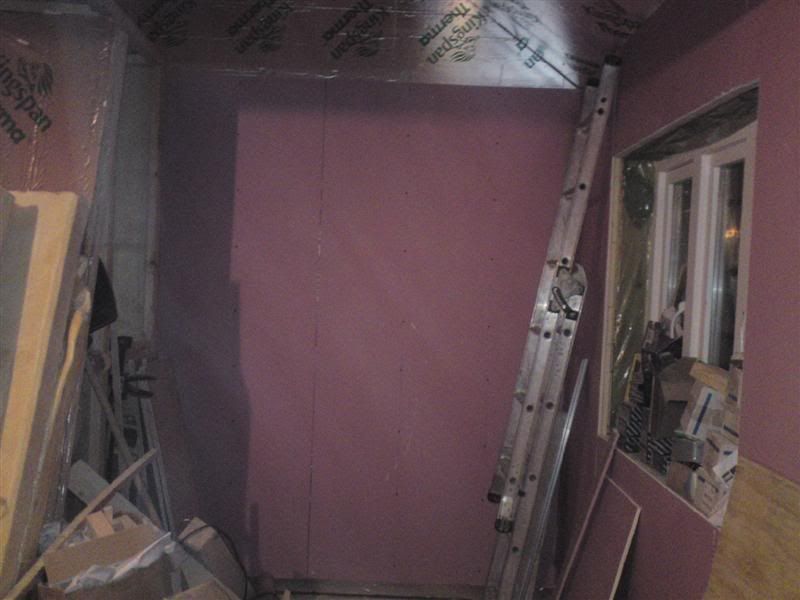
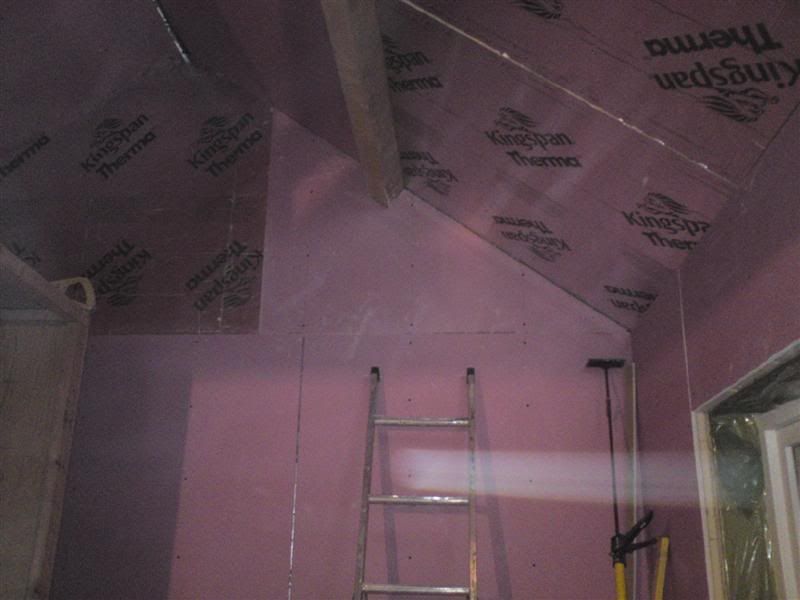
Hopefully get the front finsihed this evening and the lower row on the roof this evening. Got a bit of a lead on a plasterer that a mate used on his extension, who charged very reasonably - so will try and get a quote.

Dibs
 
Dibs-h":akipjrhb said:
jigsaw.jpg


It looks an absolute jigsaw - but virtually nothing wasted! One or 2 little pieces left - but it was getting late & I was somewhat shattered!

Marvellous job there mate.

Out of interest. How are you attaching the Kingspan to the frame, and then attaching the plasterboard to the Kingspan. What stops it all falling off of the wall?
 
frugal":1gzplcom said:
Marvellous job there mate.

Out of interest. How are you attaching the Kingspan to the frame, and then attaching the plasterboard to the Kingspan. What stops it all falling off of the wall?

jigsaw2.jpg


The red circles - a single 35mm plasterboard screw in the middle of every piece - sunk just below the surface, and then the odd little piece just wedged in. Not as many screws are required as you might think. The frame has a skin of 1/2" ply, so there is no issue of having to hit the studs everytime.

There are markings (pencil) on the floor showing where the vertical studs are and ones on the purlins showing the rafters (the roof also has a ply inner skin). I'm using 75mm plasterboard screws to screw thru into the studs and 50mm ones where just into the ply.

Fireline board - bloody heavy stuff! :oops:

Dibs
 
Dibs-h":3rctf0qa said:
The red circles - a single 35mm plasterboard screw in the middle of every piece - sunk just below the surface, and then the odd little piece just wedged in. Not as many screws are required as you might think. The frame has a skin of 1/2" ply, so there is no issue of having to hit the studs everytime.

There are markings (pencil) on the floor showing where the vertical studs are and ones on the purlins showing the rafters (the roof also has a ply inner skin). I'm using 75mm plasterboard screws to screw thru into the studs and 50mm ones where just into the ply.

That won't work quite so well for me when I end up doing the garage. I will be putting the insulation over concrete walls. Concrete blocks not known for their ease of screwing into.

I guess I could put up 25mm battens onto the wall first, then attach the insulation over those, rather than my current plan which is to put up 50mm battens and then insulate between them with a layer of OSB on top.

<edit> I jst discovered that there are infact masonry screws for doing just this... All these years I have been using rawplugs... So I can in fact attach Kingspan to the walls with the OSB and screws... Woot! Now all I need to do is not need to replace the car and I might even have some money to spend on the workshop before 2020 ;)
 
frugal":1s3ljbjl said:
Dibs-h":1s3ljbjl said:
The red circles - a single 35mm plasterboard screw in the middle of every piece - sunk just below the surface, and then the odd little piece just wedged in. Not as many screws are required as you might think. The frame has a skin of 1/2" ply, so there is no issue of having to hit the studs everytime.

There are markings (pencil) on the floor showing where the vertical studs are and ones on the purlins showing the rafters (the roof also has a ply inner skin). I'm using 75mm plasterboard screws to screw thru into the studs and 50mm ones where just into the ply.

That won't work quite so well for me when I end up doing the garage. I will be putting the insulation over concrete walls. Concrete blocks not known for their ease of screwing into.

I guess I could put up 25mm battens onto the wall first, then attach the insulation over those, rather than my current plan which is to put up 50mm battens and then insulate between them with a layer of OSB on top.

<edit> I jst discovered that there are infact masonry screws for doing just this... All these years I have been using rawplugs... So I can in fact attach Kingspan to the walls with the OSB and screws... Woot! Now all I need to do is not need to replace the car and I might even have some money to spend on the workshop before 2020 ;)

You need to be careful in that the concrete garage walls aren't as thick as one would like. I suspect 50mm in most places and perhaps 75mm (at the most) at the edges. Wouldn't want to drill into them with the frequency that might be required in what you propose.

You probably would be better getting the plasterboards that already have the insulation attached - which IIRC, can be fixed with dot&dab plasterboard adhesive - which wouldn't have any issues bonding on the concrete walls. Yes you'd have plasterboard as opposed to OSB, but you could use tapered edge and minimise the plastering.

If, however the walls are proper 4" thick block - then you'd be ok.

HIH

Dibs
 
frugal":33ct1ja8 said:
They are the 4" thick about 18"x9" blocks.

From Kingspan themselves,

Is it possible to apply the Kingspan Kooltherm K17 Insulated Dry-lining Board onto an adhesive dab system to the inside face of the solid 9 inch brick wall?
Solid brick walls can be penetrated by rain, depending on exposure and type and condition of the bricks and mortar. It is with this in mind that we would not recommend the use of an adhesive dab system but instead that Kingspan Kooltherm K18 Insulated Dry-lining Boards are applied to either a timber batten or metal furring system in order to create a cavity between the boards and the brickwork skin.

Metal system - wouldn't do it in a garage, so you are stuck with your original idea of 25mm or 50mm battens.
 
Sorry to horn in Dibs.
Frugal, an alternative is to stick the insulation up with DOW Insta Stik low expanding foam. It works a treat; just press it into place and hold for a few minutes....job done. I used this method in my bathroom...no probs. You could then 'carefully' drill batten fixings and use masonry screws.. I used 7mm Rapier fixings for which you need a 6mm drill. One proviso, run the goop horizontally across the boards, otherwise there is a risk of convection currents. Also run a bead all round the periphery as an edge seal. I hope that is of use.

Going well Dibs, don't flag now, the end is in sight; of part one that is :lol: :lol:
Today I put insulation on the 'prow' of the workshop - on the outside. I always was an awkward sod.

Regards....Cegidfa.
 
Cegidfa":3m3d79qn said:
Going well Dibs, don't flag now, the end is in sight; of part one that is :lol: :lol:

Regards....Cegidfa.

That must be how a con must feel, being released only to get nicked on another charge just outside the prison gates! :lol:
 
Update:

Got a few more hours in the 'shop last night. Fitted the remaining pieces above the windows,

right_wall_2.jpg


then the same for the left window, but left the small bit out above the door - wait till I've finshed the end gable, as it will no doubt leave an offcut big enough. Then rather than do the last row on the front roof - went for the end gable. Reasoning being that the boards were going upright, so better use of the time and do the roof the following day (being less tired)

back_wall-1.jpg


More tonight, no doubt!

Dibs
 
Update: decided to fit the plasterboards in the end gable above the 3 boards I fitted the daty before.

gable_1.jpg


Took a few goes - annoying thing was it's not like fitting the ply or insulation - i.e. couldn't use the leftover from the first angled piece (as to fit on the other side, you would have to flip it over & it's pink side out).

Here's it finished - poor quality picture, looks as if the camera phone decided to auto-focus on the dust in the air! #-o

gable_2.jpg


Hopefully have the last row on the front roof done this evening.

Dibs
 
Are you going to plaster this??

Maybe not the right time to say it

but you could have gotten yourself the insulated plasterboard :lol: :lol: :lol:
 
Mcluma":3u8a49ij said:
Are you going to plaster this??

Maybe not the right time to say it

but you could have gotten yourself the insulated plasterboard :lol: :lol: :lol:

It is going to be plastered.

I did price it up - my 1" Kingspan came in at £8.90 per sheet (almost 1/2 the going price) and the plasterboard was no more than £7 per sheet.

Just a matter of economics - the insulated dryline board is >£40 per sheet.

Don't worry I've banged my head countless times - but not that hard. :mrgreen:

Cheers

Dibs
 
Mcluma":172z06p4 said:
I just bought two pallets of insulated platerboard (40mm ) at £13.50 a sheet

Sorry when I said the insulated drywall - I meant a like for like, plasterboard backed with Kingspan, aka Cooltherm K17\K18.

To the best of my knowledge insulated plasterboard comes in 3 types

- basic, i.e. expanded polystryrene, around £17 per board [white insulation]
- plus, i.e. extruded polystryrene, around £24 per board [orange insulation]
- super, i.e. phenolic, around £36 per board

Now the Kingspan stuff K17\K18 Cooltherm is around £35 per board.

Prices are including VAT.

I suspect the boards you've bought are the 9.5mm plasterboard with the expanded polystyrene backing - based on the price you've paid. Be interested to know otherwise tho.

Cheers

Dibs
 
Dibs, I went back to the beginning of the thread and started reading. I didn't realize you've been working on this for over two years. That's a long, long slog. I congratulate you on your persistence.

Have you got a plan for your electrical? So far, I have't run across that in any earlier posts, and I note from your current pictures that you have nothing in place as yet.

Kirk
 
kirkpoore1":40gl4z9n said:
Dibs, I went back to the beginning of the thread and started reading. I didn't realize you've been working on this for over two years. That's a long, long slog. I congratulate you on your persistence.

Have you got a plan for your electrical? So far, I have't run across that in any earlier posts, and I note from your current pictures that you have nothing in place as yet.

Kirk

Actual grunt work is at 18months so don't feel that depressed yet.

I plan to have 6 double 5 foot tubes (T8), 2 in each bay. The sockets will all be surface mounted. I can't really do the electric until the adjoiing garage is built as it will come in thru there. As the garage won't have kingpost trusses (I need the space for the car lift) the build will probably go alot quicker.

There is a high probability of having 3 phase fitted, so the electric will probably all happen together at the end.

Dibs
 
Update: no piccies as it doesn't look massively different.

Finished the last row of plasterboards on the roof. Had a bit of a faff with removing some boards and ply from the front wall. Forgot to run some alarm cable. So once that was in - put the ply & plasterboards back on.

Picked up 5 bags of Multi-Finish & 2 rolls of scrim tape, yesterday. Found my plastering hawk and trowel too. Yes it's Plan B - I'm doing it. :shock:

Just got to go over the plasterboards and ensure that they're all screwed down and the screws are adequately countersunk. Planning on doing the end gable wall first. Forgot to pick up some corner beads - get that tomorrow. Slightly annoying thing is that having lived in old (and still living in one) houses, I like rounded corners, not sharp 90 degree ones. So might just get some quadrant beading and use that instead.

Going to put timber up both sides of the door opening and the top - reasoning being that as me (and stuff) goes in and out, the greatest probability is the sides will get the occasional knock and timber will stand up better than plasterboard. Got to get some timber for the window sills too!

Dibs
 
Dibs-h":33p4baxq said:
Update:
Going to put timber up both sides of the door opening and the top - reasoning being that as me (and stuff) goes in and out, the greatest probability is the sides will get the occasional knock and timber will stand up better than plasterboard. Got to get some timber for the window sills too!

Dibs

that will look much better, also put timber arround the windows
 

Latest posts

Back
Top