Workshop Design - well it's a build really.

UKworkshop.co.uk

Help Support UKworkshop.co.uk:

This site may earn a commission from merchant affiliate links, including eBay, Amazon, and others.
Hi Alex

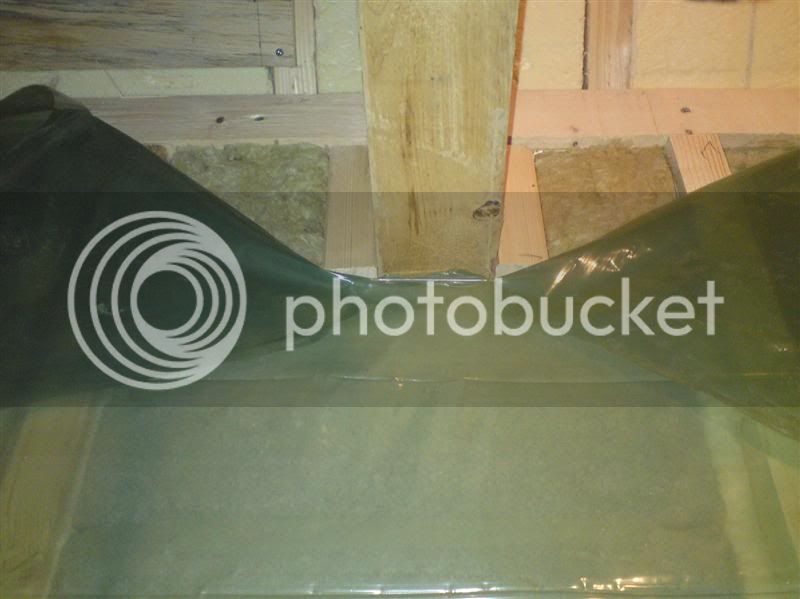
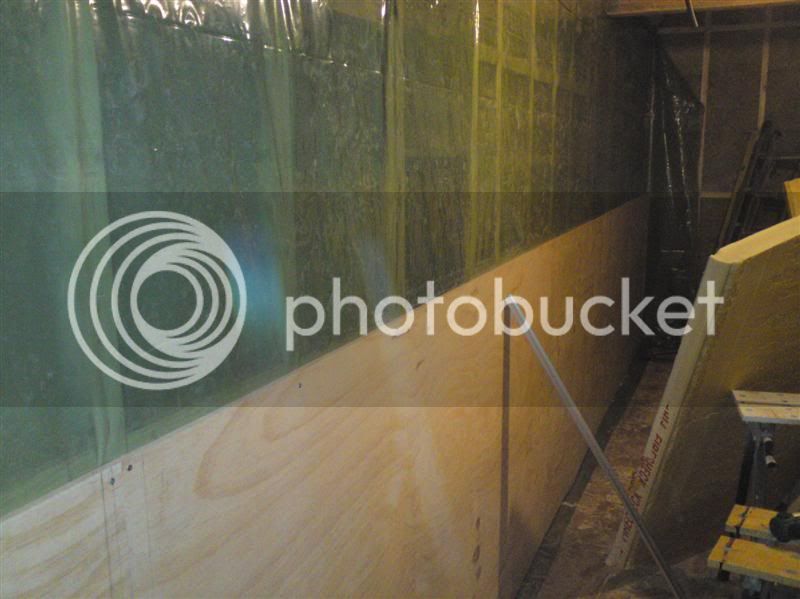
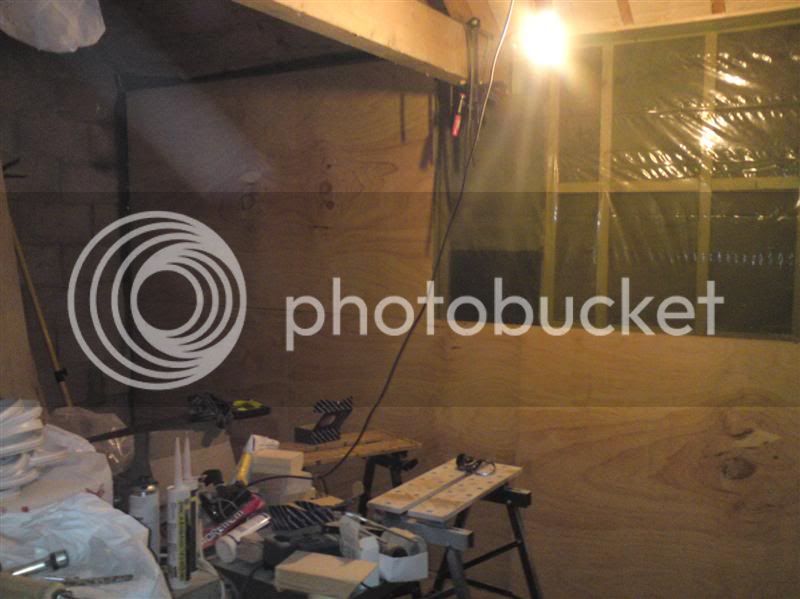
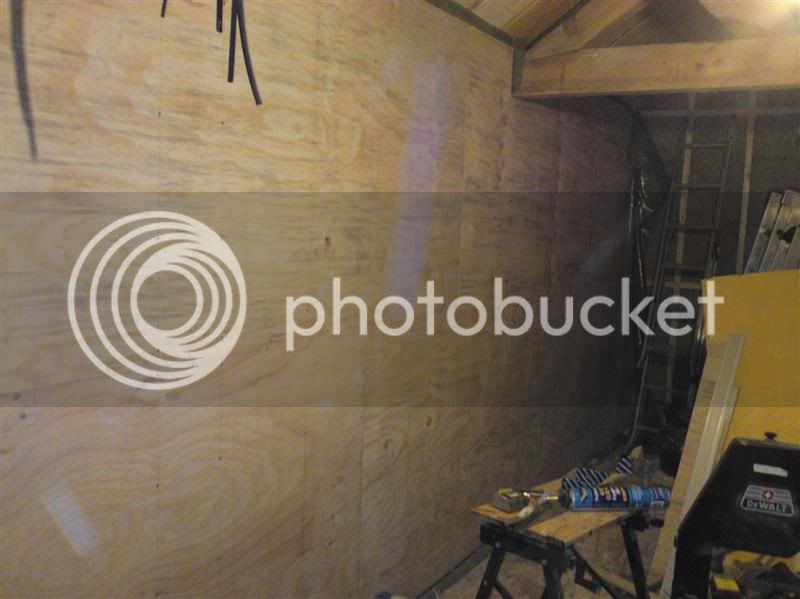
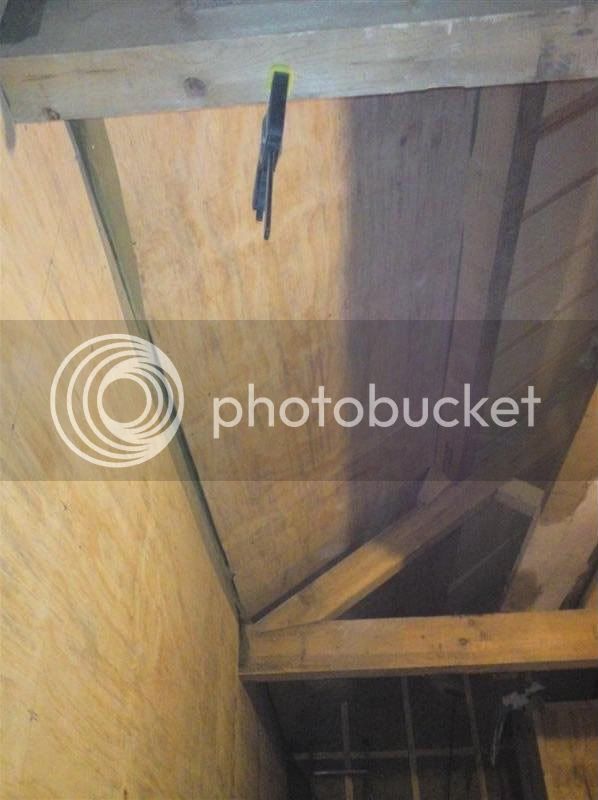
No the nailer is for fixing the shims on the studs. I'm using an impact driver and 2 inch nbr 8's to fix the ply.

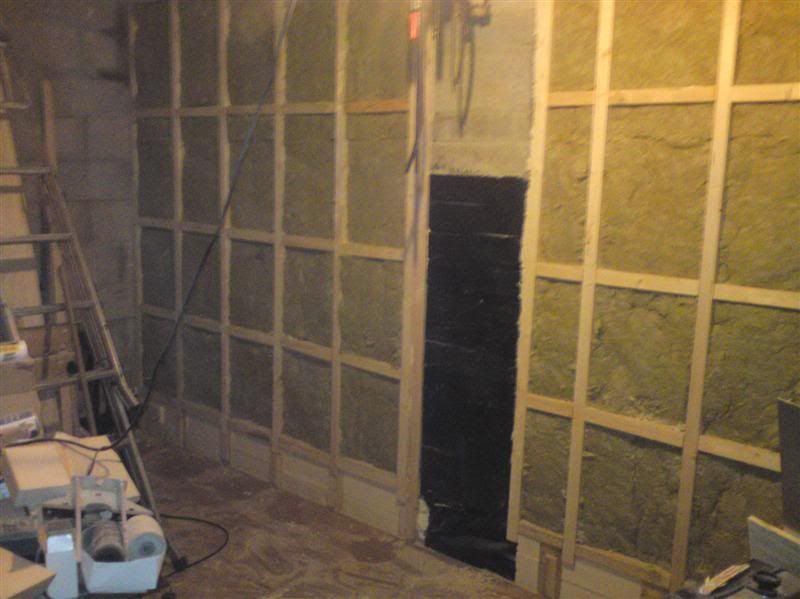
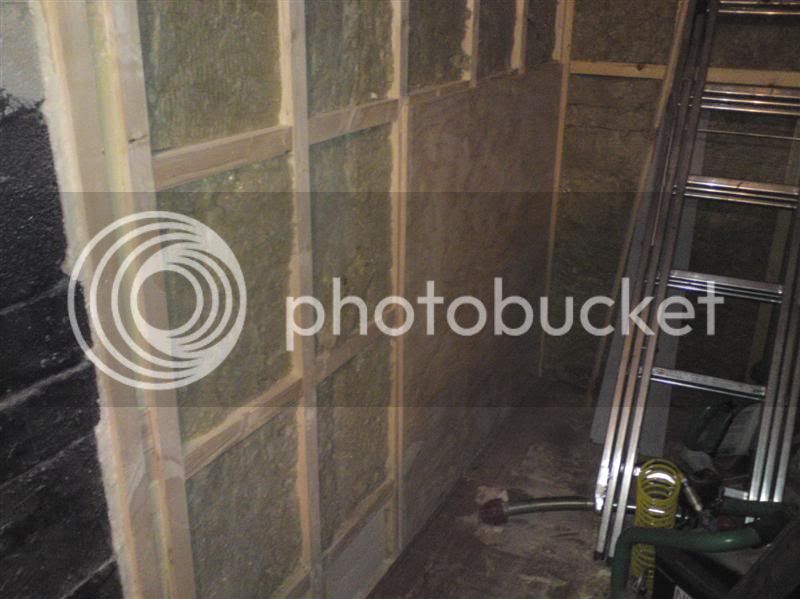
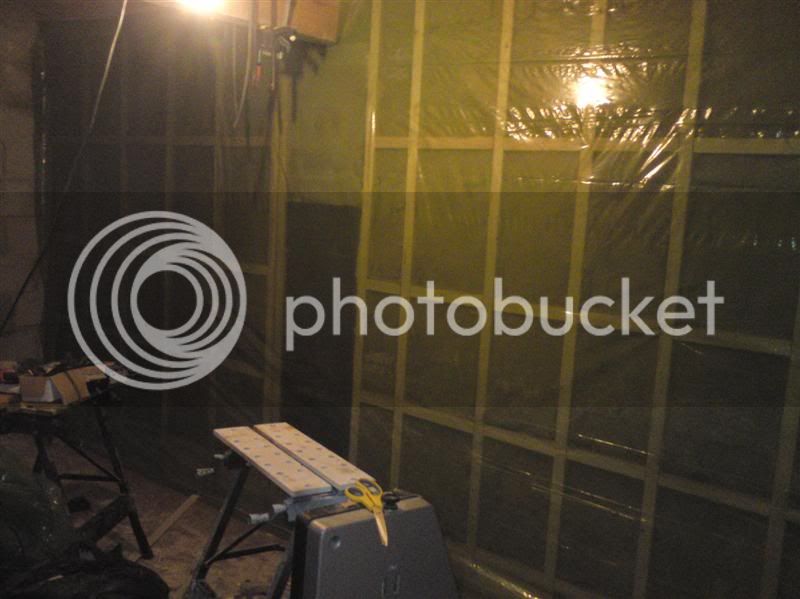
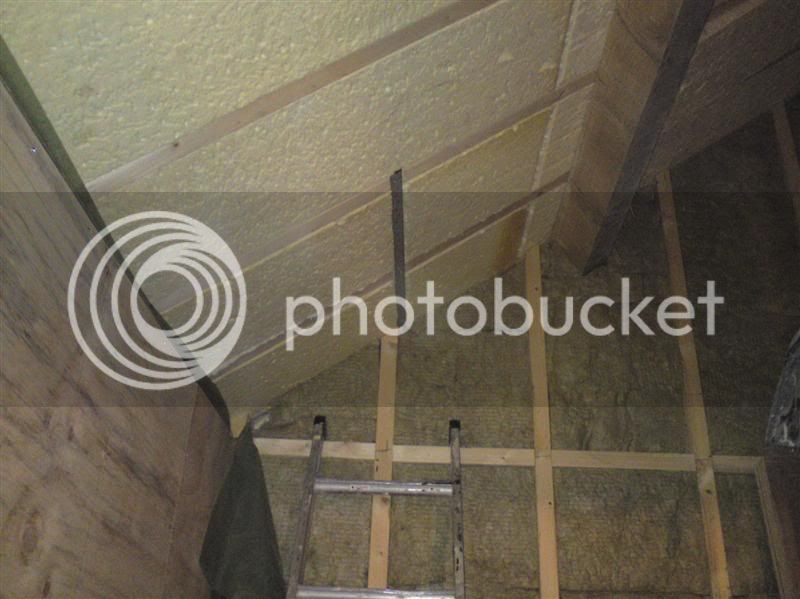
The piers will be uninsulated. To have insulated them would have reduced the internal width and meant using 6 inch studs which would have increased the costs. There is something called aerogel, which is like a cloth with a u value of 0.07 and 5mm thick but the cost is 45 GBP per sqm. But the payback is unrealistic.

Sods law, came to use el cheapo brad nailer and it worked faultlessly.

Cheers

Dibs

Alex":2sokorwn said:
Thanks for replying. I thought maybe the the foam was for cold bridging or stopping damp. I might staple some 4"DPC to the back of my studs to protect from damp/cold bridging, foam just look so much easier. :wink:
The nailers not for fixing the ply on is it? Drywall screws and impact driver what you need but you knew that. :wink:
Are peers going to be uninsulated then?
I build mine on the outside to avoid faffing about. I might have to put some pics on here so you can see I'm not trying to take the mick. :oops:
 
hi dibs, all i can say is WOW , i've just had to read this completely through from the start, very impresive, also given me a good few ideas for my pathetic shed. by the way how is the hand, jb.
 
Hi John

Glad you like it. It!s been a labour alright, sometimes love but more like penance at times.

The hand is physically recovered and the feeling is coming back so count myself very lucky.

No work on the shed today, spent the day commisioning a CAT6 network for a client and getting ready for VOIP in a week or so time. Not what I would have liked to have been doing but you can't turn down paid work, especially when it pays well.

Hopefully get to spend all day in the shed tomorrow.

Cheers

Dibs

john bossley":2if3es45 said:
hi dibs, all i can say is WOW , i've just had to read this completely through from the start, very impresive, also given me a good few ideas for my pathetic shed. by the way how is the hand, jb.
 
hi dibs, glad the hand is ok, i'm in my shed at the moment now,doing a few things , cleaning up,cutting up, just head butted the end of my panel saw,ouch,thing is my early warning sysem has worn out [hair] so i dont know when i'm getting tooo close to to something hard,oohh my head hurts,jb. :cry: :oops:
 
JB, :lol: :lol: :lol: :lol: My tablesaw had a rail on side for sliding table after catching my gollies :shock: one to many times I fitted a tennis ball soooooooo much better. :twisted:

Dibs, started studding my walls out yesterday, that reminds me I need screws toolstation/screwfix here I come. I'll get some pics up soon.
 
Update: well finally something that feels like progress!

Finished "shimming" the back wall so that everything is in line and that the piers are effectively recessed into it, thereby allowing the ply to go straight in front of them.

wall_complete.jpg


Laid a sheet of ply against the wall and marked the floor - then lifted the 3.5 panels on the floor - moving stuff all around the place and trim the ply so that the ply sheets on the floor don't end up under the sheets of ply on the wall. No piccies of that as I was trying not to kill myself lifting and cutting ply sheets in a confined space.

Decided to start fitting some sheets wherever possible - just to reduce the total number of sheets that I keep having to move around from one pile to another. :oops:

Started with the roof - did the metal strap first

roof_strap.jpg


Then on with the 1st board - these don't go all the way into the corner of the eaves as I would probably end up with a similar situation with the floor sheets in the wall and difficult to lift afterwards, if there was a requirement.

1st_roof_board.jpg


At this point I left the roof alone - preferring to do the back wall, as psychologically it would feel better, etc. :lol:

Here's the 1st sheet on the back wall -

1st_wall_sheet.jpg


bit of luck might have the back wall complete this evening.

Cheers

Dibs
 
Hi, Dibs:

I just started reading your thread, and it looks like you're doing great. In doing your ceiling, do you have a drywall lift (or I guess you'd call it a plasterboard lift) available? One of these:
31jqXwRgD0L._SL250_.jpg


It made a world of difference using one when I did my shop last year.

Kirk
 
kirkpoore1":3b94ol94 said:
Hi, Dibs:

I just started reading your thread, and it looks like you're doing great. In doing your ceiling, do you have a drywall lift (or I guess you'd call it a plasterboard lift) available? One of these:
31jqXwRgD0L._SL250_.jpg


It made a world of difference using one when I did my shop last year.

Kirk

Hi Kirk

They are available here and they can be hired - but my experience with hiring things is that jobs never take the weekend you think they will and when you take it back it would have been cheaper to have bought it. :oops: Did that once with a few acro-props.

Besides access externally is a bit - how shall we say less than perfect at the moment. :wink:

I've had a pair of the following,

050111399.jpg


for a few years and they certainly make life easy. These will easily do the boards in the bit between the eaves and purlins. For the upper run (i.e. purlins to ridgeboard) probably rig something up using the tiebeams of the trusses.

Cheers

Dibs
 
Dibs-h":2qaz5835 said:
Hi Kirk

They are available here and they can be hired - but my experience with hiring things is that jobs never take the weekend you think they will and when you take it back it would have been cheaper to have bought it. :oops: Did that once with a few acro-props.

Besides access externally is a bit - how shall we say less than perfect at the moment. :wink:

I've had a pair of the following,
...
for a few years and they certainly make life easy. These will easily do the boards in the bit between the eaves and purlins. For the upper run (i.e. purlins to ridgeboard) probably rig something up using the tiebeams of the trusses.

Cheers

Dibs

Yea, I know what you mean. Since I didn't know how long I'd need it, I actually bought a used one from a guy who'd only bought it to do his basement. When I was done with it, I sold it to somebody else, for almost the same price. I did the same thing with scaffolding. And your --what, polejack?-- doesn't take up room. The drywall lift was in the way every minute I wasn't using it.

Good luck on your walls and ceiling this weekend...

Kirk
 
Hi Dibs,

Glad that the hand is recovering, feeling does take a long time to return - if it is going to.I routed my hand many years ago, rushing to finish for Christmas.
Luckily, the doc on duty was also a plastic surgeon and she steri-stripped the jagged cuts together. She asked if the students could watch as they didn't get many of these types of wound. There were so many of them that I offered to stand in the corridor and thrust my arm through the door, that raised a few laughs.
You are getting on ok now, but it must seem like forever. As to lifting the ply sheets up to the ceiling, inevitably, on your own - I still reckon that you could pm me some spare muscles :wink:
My build seems to have slowed, but it takes an eternity to do all the different cuts and make all the gussets. It will be a case of 'look, we have a roof,' one day soon; if it ever stops ***** raining (insert expletive of choice).
We took delivery of the TS55 the other day, what a difference in the use compared to clamping a rail. It speeded up the gusset manufacture no end,
and when stacked together they were all the same size, exactly - worth every penny.

Regards....Dick
 
Update:

Managed to get a full day Sat on the shed. Sunday - had one of those can't be ars'd moments. A straight 9 hrs on Sat - guy's got to have a break sometime.

After weighing up the advice on the vapour barrier - decided to fit it, as I hadn't fitted many ply sheets thus far.

Here's the vapour barrier stapled on,

vapour_barrier_1.jpg


I screwed a few "battons" on the side of the tie beam where it goes onto the pier, to give the ply there something to screw to.

truss_detail.jpg


Getting there,

row_1.jpg


Almost there

almost_there.jpg


Bloody relief I can tell you - but that's only the back wall. :oops:

Bloody_relief.jpg


Fitted the strap to the wall -

wall_stap2.jpg


Vapour barrier on the ceiling - 1st row, so to speak. Spent ages looking for the staple gun, only to find it on the floor and probably walked over it a million times! Not a happy bunny!

vapour_barrier2.jpg


1st row boarded - a relief

roof_row_1.jpg


Then went round on all the boards on the wall, putting screws in every 6" round the perimeter of them and 12" elsewhere. I can see this little adventure eating screws! Not to mention potentially draining the NiMhs on the Makita quicker than the charger can charge them. Using 2 batteries. I think the new spare in the shelf isn't going to be spare much longer.

Got the day off tomorrow so assuming I don't have a snooze - should be some progress.

Dibs
 
Dibs-h":w9gafpbg said:
Then went round on all the boards on the wall, putting screws in every 6" round the perimeter of them and 12" elsewhere. I can see this little adventure eating screws!

whats the particular rerason for uising screws - I would have thought that this was a job for mr paslode
 
big soft moose":24cspnl5 said:
whats the particular rerason for uising screws - I would have thought that this was a job for mr paslode

Did fancy a Paslode ages ago, but other tools were higher in the list of wants\needs, so didn't get one. During the build a few things have had to be moved\adjusted a tad and rework is so much easier with screws than nails.
 
Mcluma":2m3h0wfh said:
Must be getting lovely warm in there :wink:

I have been keeping an eye on the wall thermometer every now and then when in the workshop - it's been around 8-10 degrees C most evenings this week. When the outside has been around 1-2 degrees.

Haven't felt the need for any heating as long as you are doing stuff.

Ended up snoozing this morning so didn't get into the shop as early as I would have liked. :oops: Just fitted the vapour barrier on the 2nd row (i.e. between purlin and ridge on the back roof) and getting ready for the ply. So not looking forward to that.

Dibs
 
Managed to get 2 sheets on the second row. A row seems to take just about 3.5 sheets and takes ages. Proper man handling them up there and then fitting them.

This morning my back is saying - I'm sure you can guess what it's saying. Going to have to dream up some method of dealing with these upper rows of boards - getting medieval with them only ends up in soreness the day after. :oops:

I think I'm going to leave the drywalling until sometime (probably a long time) later, i.e. when the adjoining garage\basement has been built and the workshop is a lot less cluttered.

Might try and spend an hr or 2 in there this evening and see if I can get the 2nd row finished.

Dibs
 
Dibs,

maybe its best if you wait until you have two people helping you, then it could all be done in half a morning

Don't put you'r back out

get some people in on a saterday morning, and it will be done quicker and maybe also better

do not make compromises
 
Well, popped down to Rotherham and collected a drywall lift. Lifts a panel 16 feet which should do even the highest boards. Got it into car ok, bloody difficult at the home end. Ended up taking all the bits out of the box in the drive. It's all sat in the house until I get it into the shed tomorrow. Had to dash off after dropping it off, only day I could make it to Harrogate. Few hundred quid lighter. :oops:

Hopefully get a good day in the shed tomorrow.

Dibs
 

Latest posts

Back
Top