What did you do in your workshop today ?

UKworkshop.co.uk

Help Support UKworkshop.co.uk:

This site may earn a commission from merchant affiliate links, including eBay, Amazon, and others.
Status
Not open for further replies.
gwr":1tknsoi0 said:
That looks a nice setup a good size plate, Can I ask what size the table insert is and where to get them? Thanks

It's for a triton twx7 modular table. I got it off here ages ago.
http://www.screwfix.com/p/triton-tw...LK7KQCY_Tg3BO2NyMvW0xggRp8XVdCuLAHhoCbDfw_wcB

The triton routers fit straight to it with quick release bolts, and the bit the router actually hangs off is steel. I bonded a 3mm thick sheet of aluminium to the bottom of the worktop as well to stop it sagging with the weight of the router on it.


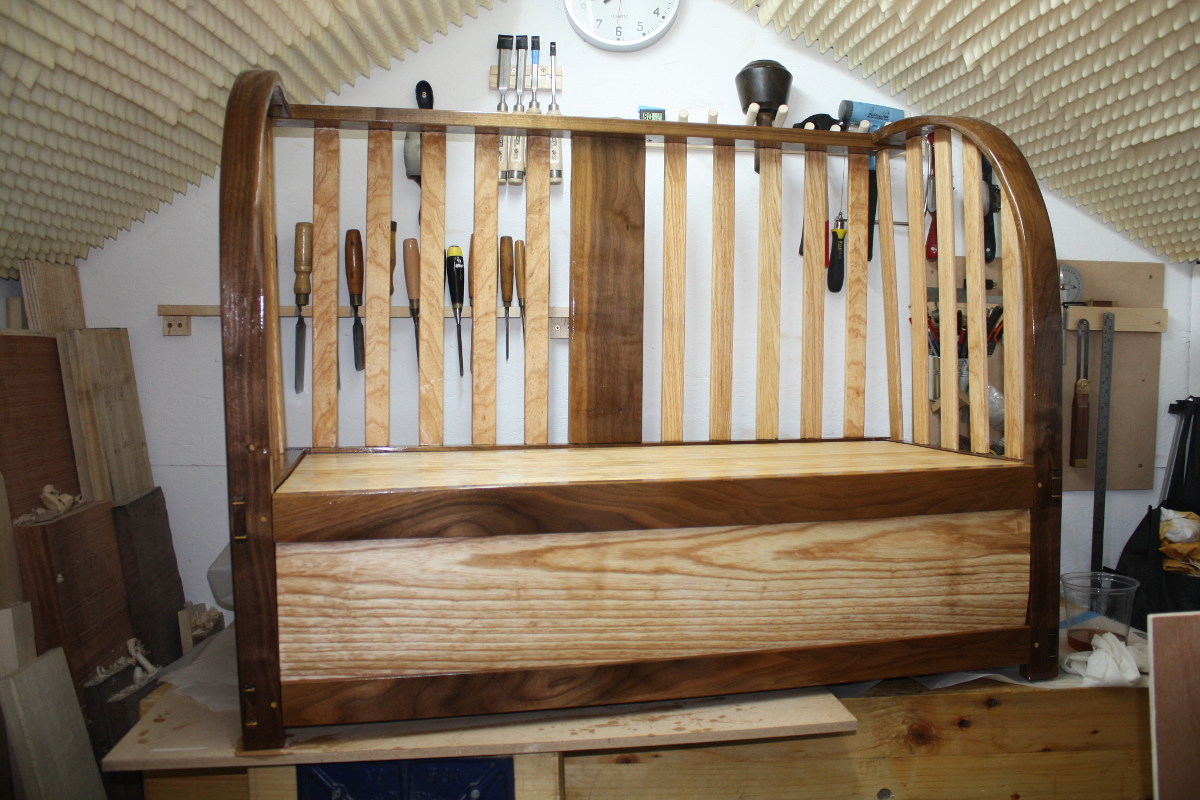
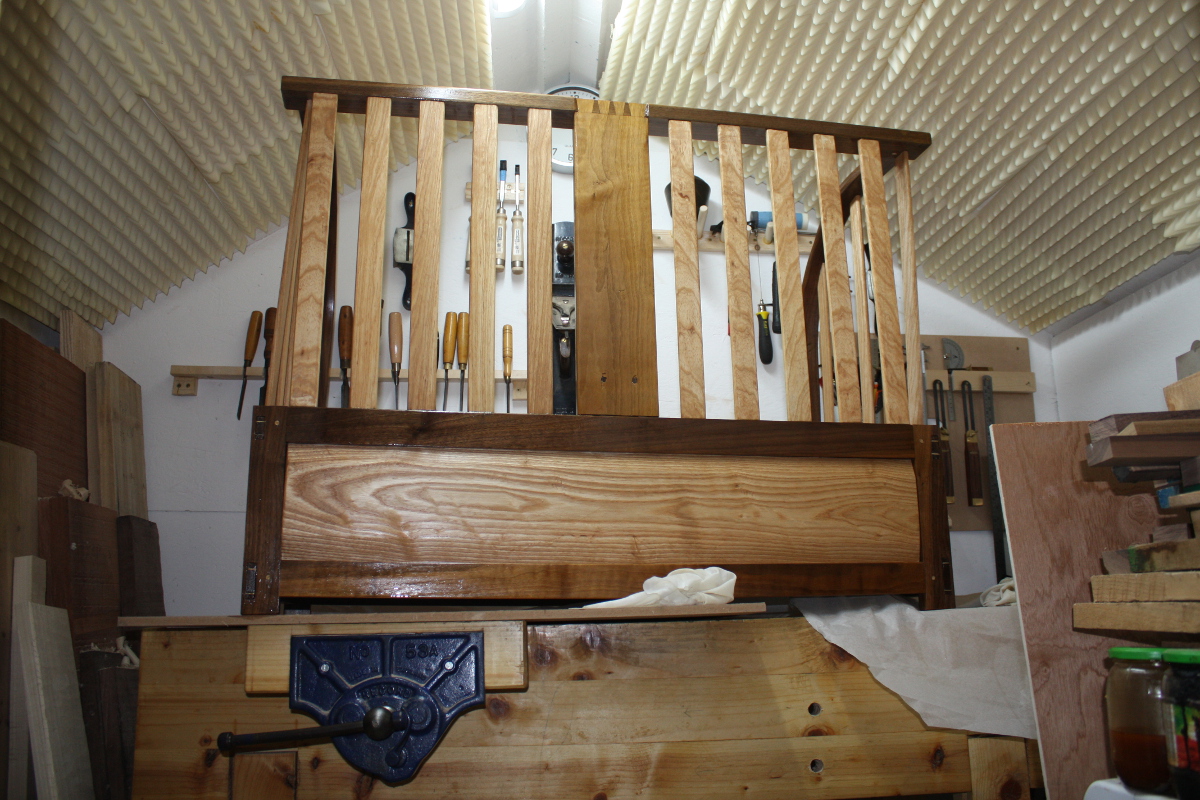
Mark - the cot looks great!
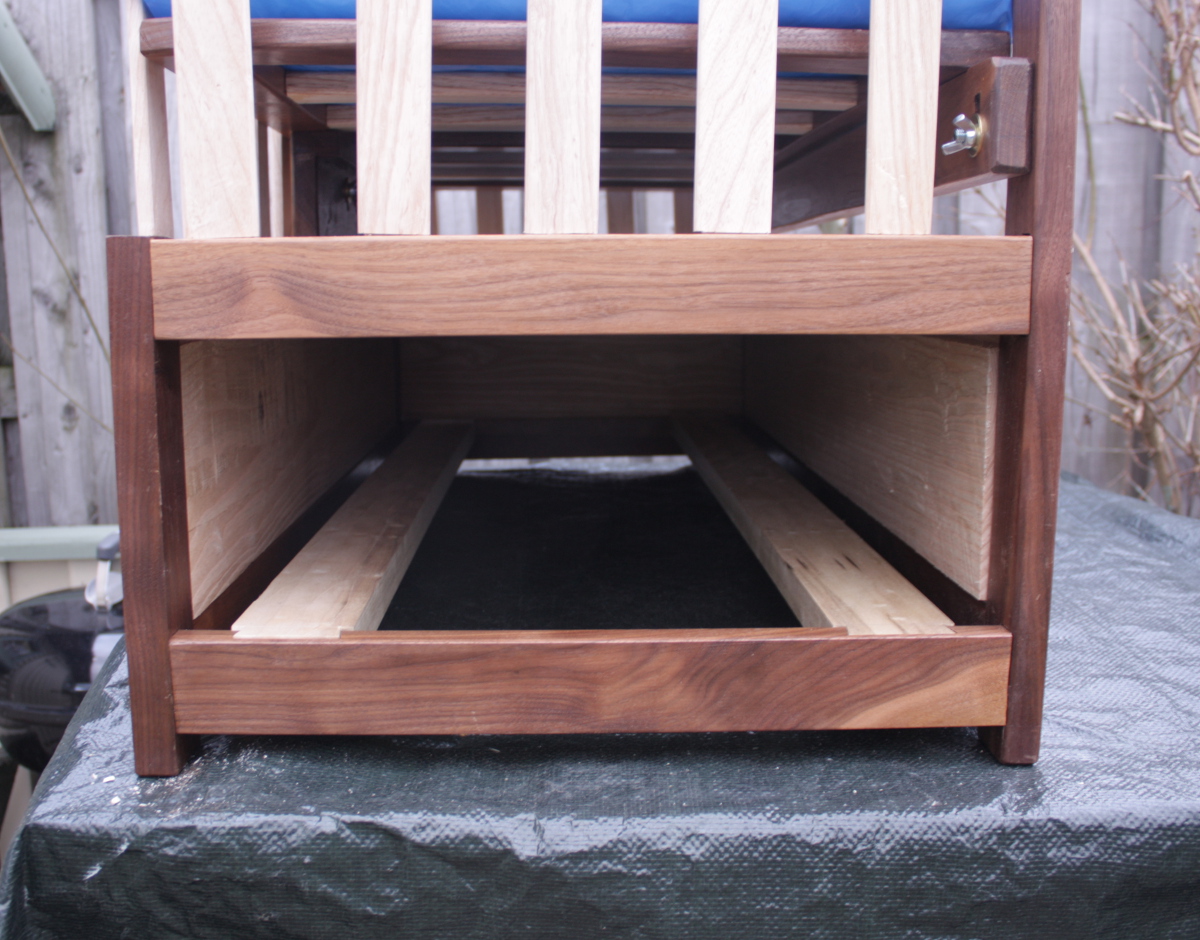
 
Thanks TFrench, I'm glad it's almost done :) First coat of Osmo went on the main body this evening, but I still need to make a drawer...

IMG_0827a.jpg


IMG_0829a.jpg


Mental note; this is too big for my shed, never do something this big again ... or at least until I have a larger workspace :D
 
Hi Chaps

My Starfish preamplifier went from American Walnut.


To Brown Oak and Wenge racing stripe, with an illuminated marker on the volume knob.

Starfish preamp by Racers, on Flickr

Pete
 
MarkDennehy":1uhq1pss said:
Thanks TFrench, I'm glad it's almost done :) First coat of Osmo went on the main body this evening, but I still need to make a drawer...

IMG_0827a.jpg


IMG_0829a.jpg


Mental note; this is too big for my shed, never do something this big again ... or at least until I have a larger workspace :D

I am curious. What is that on your ceiling?
 
And how do you stop the baby falling out the front of the cot?
 
Fitzroy":3t7gdi81 said:
And how do you stop the baby falling out the front of the cot?
What do you think a brad nailer is for?!

Looking ace Mark - great to see it progress along the weeks, and hats off to you using hand tools!
 
Cheers Matt!

whiskywill":8x4g4dta said:
I am curious. What is that on your ceiling?
Skipdiver nailed it, they're acoustic foam panels (hitting something with a hammer in an 8x6 shed is deafening without them, plus it makes life a little more bearable for the neighbours). I got the idea from Matt on here actually :D

Fitzroy":8x4g4dta said:
And how do you stop the baby falling out the front of the cot?
Hide glue (I'd use CA or PVA but hide glue is less toxic).

:D

Seriously, it's a sidecar cot - the mattress is at the same height as the mattress of the mother's bed and it sits up against the mother's bed, the frame just stops the baby rolling away from the bed. The idea is that it makes 3am feedings easier when the baby's still a newborn. You see them used in maternity wards quite a bit (because if you just let the infant sleep with the mother in a normal bed, there's a risk of the baby falling to the floor, which is appallingly common - it happened to one mother in the maternity ward when my wife was in there with our son, though happily he landed on something soft).

maternity-bed.jpg
 
Just a heads up, there was a case recently when a baby fell between the cot and the bed when the cot moved, it is becoming normal for the cot to be attached to the bed to prevent this happening.

Mike
 
Hard to see how this one could get moved, it has quite a bit of mass at the base (even without the drawer), but I could readily attach a strap to the drawer runners at the bottom (they're dovetailed into the frame) and run that under the bed to secure it just in case. Thanks Mike.
 
MarkDennehy":1dcebie5 said:
Hard to see how this one could get moved, it has quite a bit of mass at the base (even without the drawer), but I could readily attach a strap to the drawer runners at the bottom (they're dovetailed into the frame) and run that under the bed to secure it just in case. Thanks Mike.

My guess was it was such a cot, but I couldn't find this written in any of your posts. I did the same when we had our second child, although I just removed the front from our existing cot and stood it on blocks to match the height. I did however strap it to the bed frame so it could not move away and create a gap. The wife felt much more comfortable knowing the cot and bed were strapped together.

Fitz.
 
Well this one's for my new niece so I'm not planning on skimping on safety :D I'll find some anchor points, attach them under the two drawer runners and then we'll be able to run a strap from the outer runner, around the drawer box, over the main bed's base, under the main bed and back to the inner runner. Do that on both ends of the crib and that should let it be strapped in place.

IMG_0808a.jpg
 
I've been following your blog with much interest Mark. Love the cot and the amount of work you've put in to it!

FWIW, my better half routinely manages to shift our bed about 5 inches over to my side. She claims it's not intentional but it's a super king size and not something you just bump and watch it skite across the room! The point being my bed moves in mysterious ways so I'd want to make sure either the cot went with it or they were both nailed to the floor. This sounds like a perfect line to justify buying some muckle great clamps ;)
 
MarkDennehy":bi4v15hi said:
Well this one's for my new niece so I'm not planning on skimping on safety :D I'll find some anchor points, attach them under the two drawer runners and then we'll be able to run a strap from the outer runner, around the drawer box, over the main bed's base, under the main bed and back to the inner runner. Do that on both ends of the crib and that should let it be strapped in place.

IMG_0808a.jpg


You've done a cracking job Mark, doubly so given that you're pretty new to this game. What would you say are the main lessons you've learned from this project?
 
Praise from caesar there Custard, thank you :)

Lessons? A few...

  • It's a hobby for me and I should never take on a project with a deadline ever again. If it was my day job, grand, but they don't make more weekends just because I have a deadline :(
  • There's an upper size limit to what I can work on in my little shed and this project is just over that limit.
  • Steambending is relatively easy. Making a good steambending jig is not, and without one, the steambending fails miserably.
  • Walnut is unbelievably lovely to work with and beautiful to look at, even if I'm not up to making the most of it yet and it's just so expensive.
  • Kiln-dried ash on the other hand is a pain to work with and I really don't want to do that again for a while. Even if it can be quite pretty.
  • I want a planer thicknesser and a bandsaw for resawing so badly. Thicknessing by hand even in poplar is hard work. And resawing with a ryoba is just untenable for things wider than two or three inches, at least for me (I've seen people more skilled do it better though). And my western saws probably aren't sharp enough to make it any easier (the last bahco saw files I ordered arrived in six pieces because the seller just dropped them in a padded envelope and sent it through the post).

I mean, there's a dozen other smaller lessons learned, like "I love spokeshaves" and I've picked up a few bits and pieces on the techniques front, but those are the general lessons that stand out the most for me.
 
Nelsun":3f7f6jco said:
This sounds like a perfect line to justify buying some muckle great clamps ;)

Haha, read this and had to look where you were from. Friend of mine, also from Shetland, had to explain to me the term muckle just the other day. Such an awesome word! He was talking about a muckle lass.

Fitz.
 
Not to be confused with Muggle which is a non magical human. =P~

Mike
 
I spent ages making 5mm maple dowels ... jeezus, was that ever dull. :-(
 
Currently on a tea break from waxing and polishing lots and lots of parts. Very boring but beats being out on site with all the wind and rain bettering us at the moment.
 
well yesterday, but the pics have just uploaded over iCloud. Been making a new base for a Georgian bureau (I plan to do a complete WIP soon if people are interested). The old base had almost completely disappeared, just one bracket foot left:

IMG_2970.jpg


I used this to reconstruct a plausible bracket foot design. Here shown upside-down with the parts dry-placed (no joints, just mitres and glue).

IMG_3005.jpg

In retrospect the legs are heavier than they should be, but will be invisible and no harm in making them strong.

Yesterday's job was the glue up. I've never done a "long" mitre joint before, what a nightmare! Used Titebond Liquid Hide Glue and appreciated the long open time.

IMG_3006.jpg


It turned out reasonably well. Not perfect but can be cleaned up and tweaked to look fine (and it is going on a 250 year old bureau, it shouldn't look too perfect!):

IMG_3007.jpg
 

Attachments

  • IMG_2970.jpg
    IMG_2970.jpg
    162.4 KB · Views: 266
  • IMG_3005.jpg
    IMG_3005.jpg
    241.5 KB · Views: 266
  • IMG_3006.jpg
    IMG_3006.jpg
    216.1 KB · Views: 266
  • IMG_3007.jpg
    IMG_3007.jpg
    220.1 KB · Views: 266
Status
Not open for further replies.
Back
Top