Gerard Scanlan
Established Member
Thank you for post this project.
I really enjoyed your last one too.
I really enjoyed your last one too.


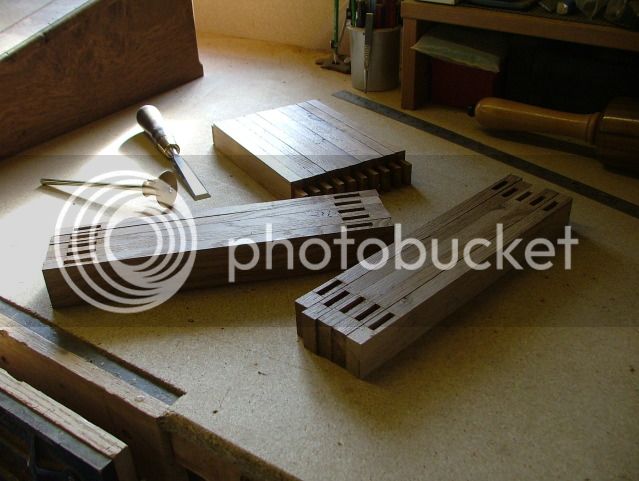
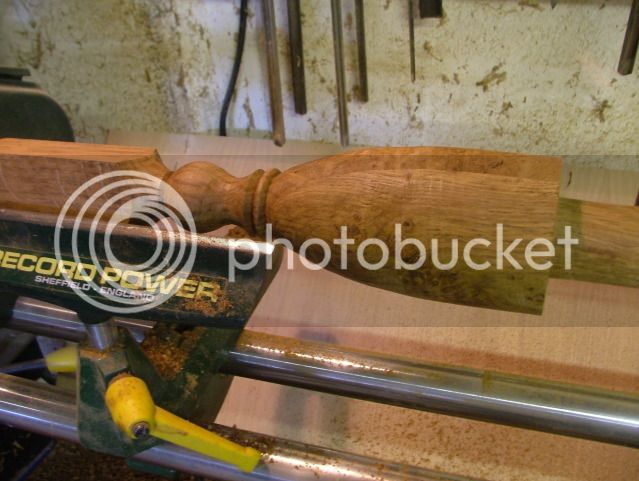
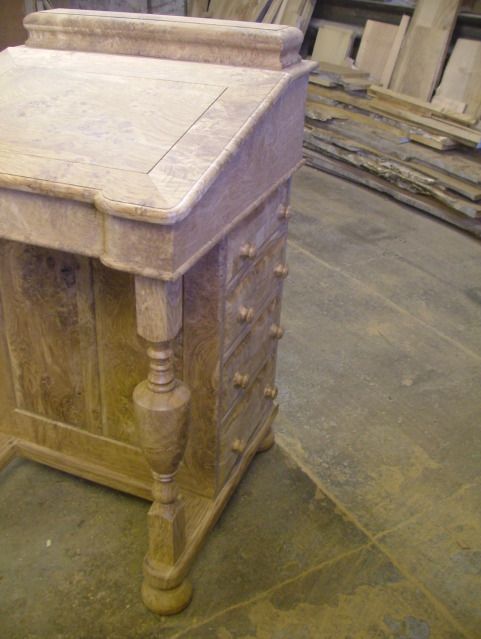
Dodge":2czzshhi said:The finishing is an absolute ar*se for want of a better word. The burr will take the edge off a plane in seconds so the diamond stone has taken a bit of a happening!
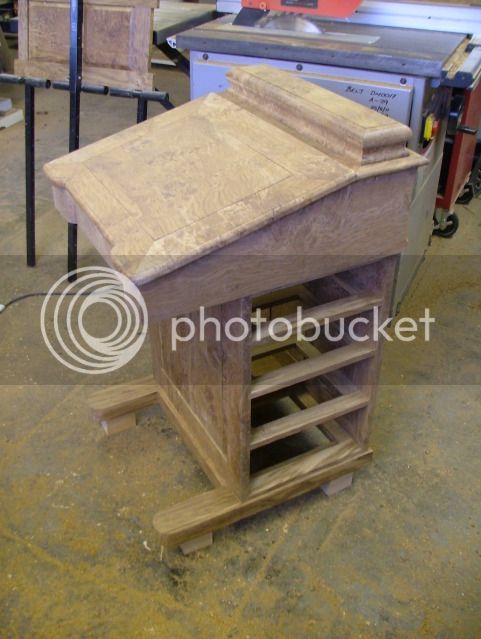
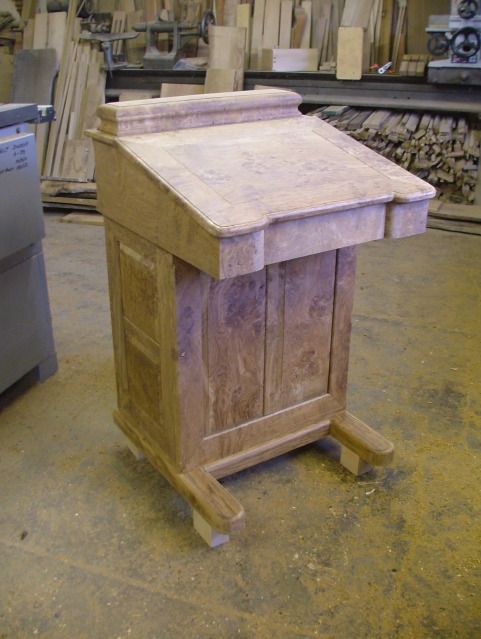
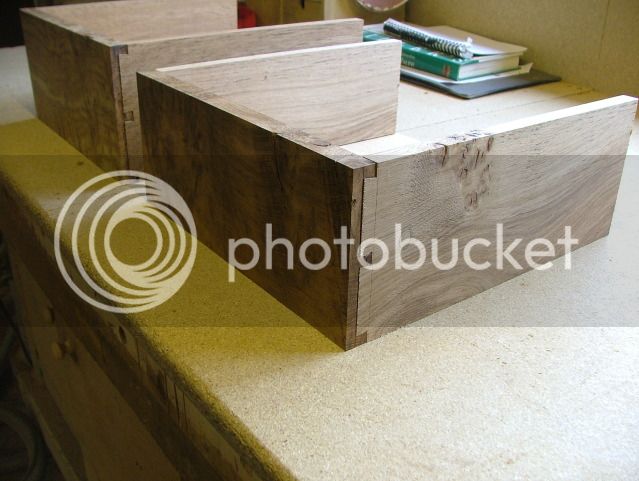
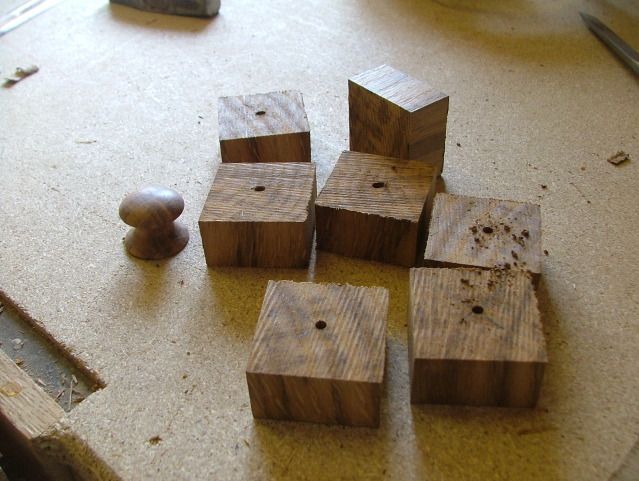
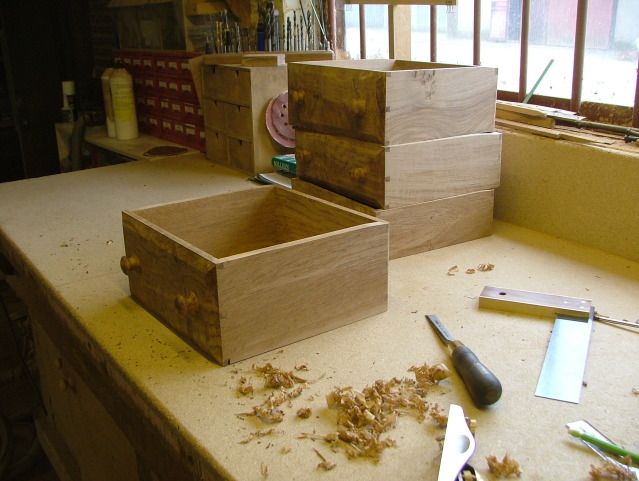
I have found it best to plane with my low angle first then scrape with a cabinet scraper - for the particularly awkward bits the random orbit sander has been used. I havn't even started filling the knots yet
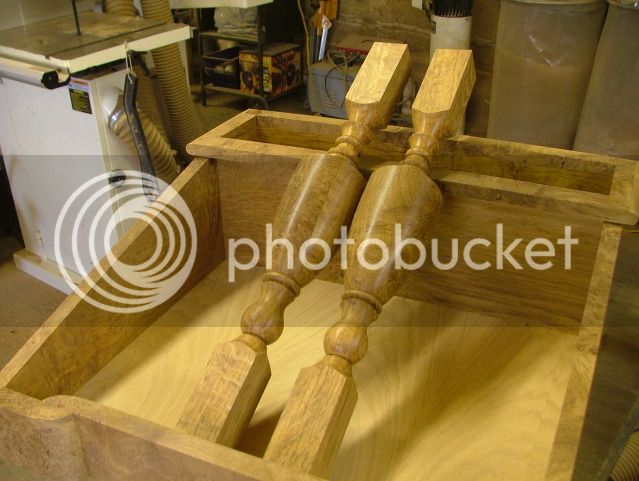
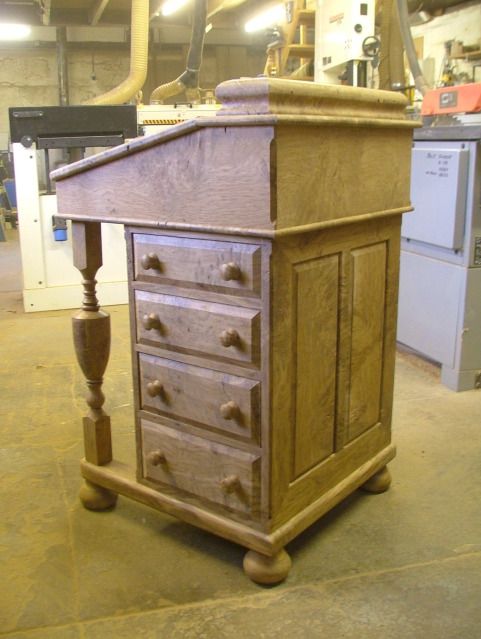
i appreciate what you both say about it not being your taste, and in some ways its not mine but here where I live alot of folks like in very old listed properties and want furniture to suit them, and at the end of the day its making what customers want that pays my bills.
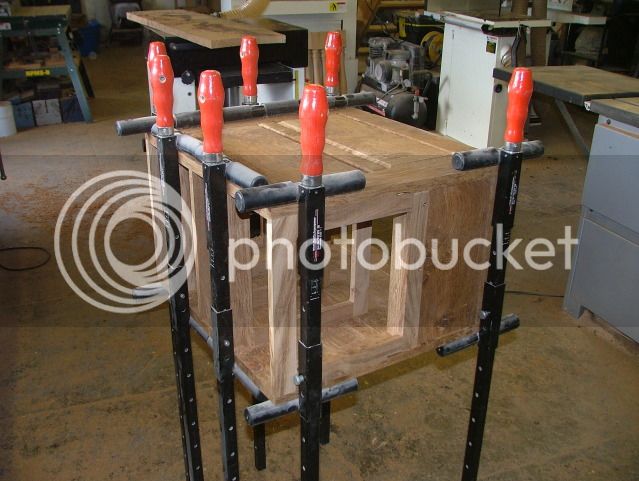
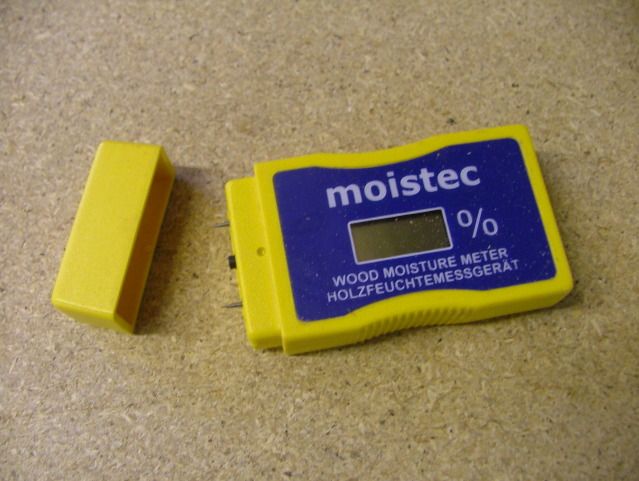
jss":wnk3uwow said:I love your WIPs, Roger - I learn a lot. I'm quite a fan of the Davenport, although it wouldn't look right in my 1980s house! A few questions about the mitres - I find them hard to get right. Do you have a mitre trimmer or a shooting-board, or are these straight off the saw? Those strap clamps look handy - where are they from? I find that even if I get them bang-on, one of the biggest problems for mitres has to be shrinkage/expansion of the timber with seasonal moisture - slight gapping at the internal or external corners if the wood moves. I attempt to counteract this by bringing the timber indoors and leaving it for a few weeks to try to acclimatise it - not so easy when you are working for clients! To what extent do you worry about moisture content in a professional workshop and what tips do you have for storing and handling the timber in this regard?
Regards,
John.
 )
)
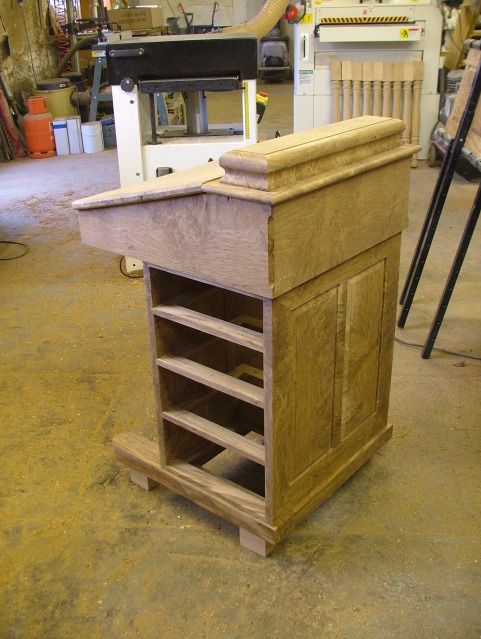

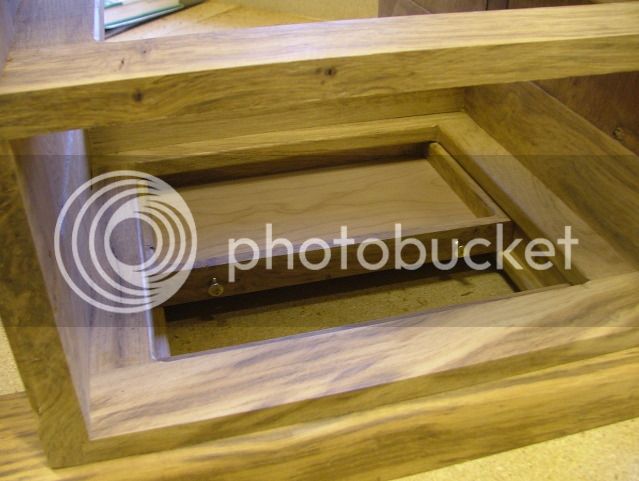
monkeybiter":2gd3r6ll said:Have you drawn this design prior to building or do you sketch as you go? I would assume the former, [although the secret drawer makes me wonder], so how long do you spend designing on a project of this size. If the latter, how often does it turn out badly? No offence, just curious.
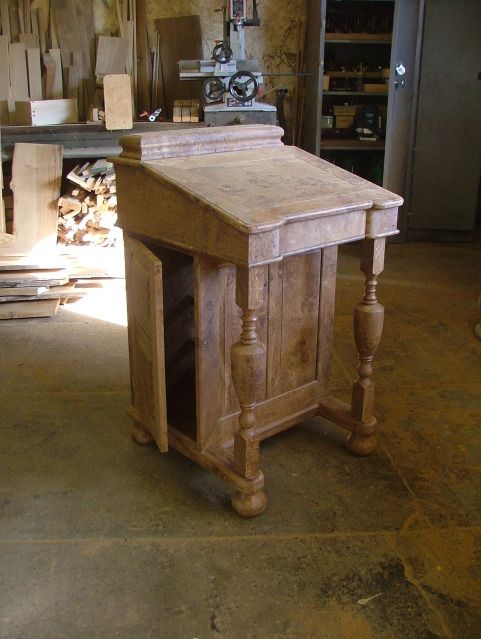

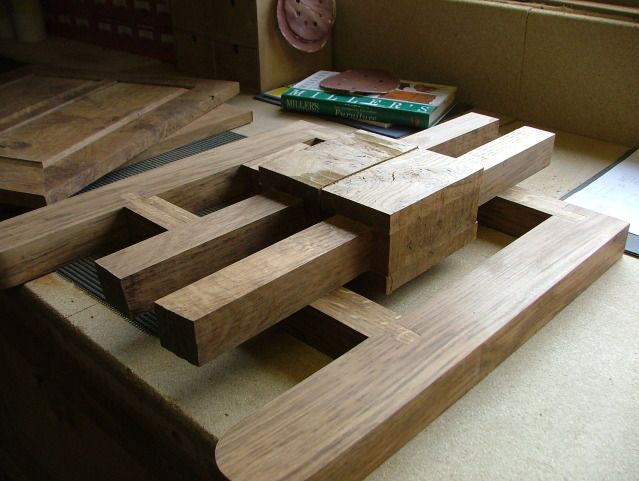
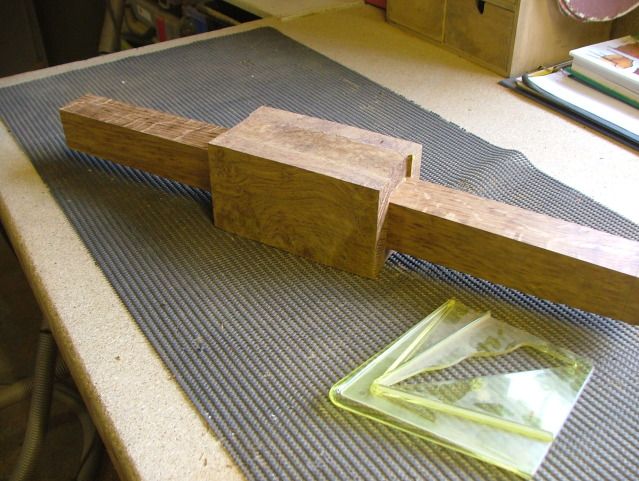
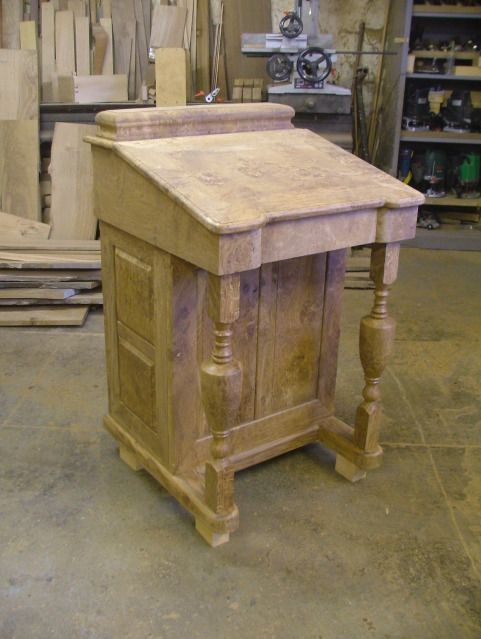
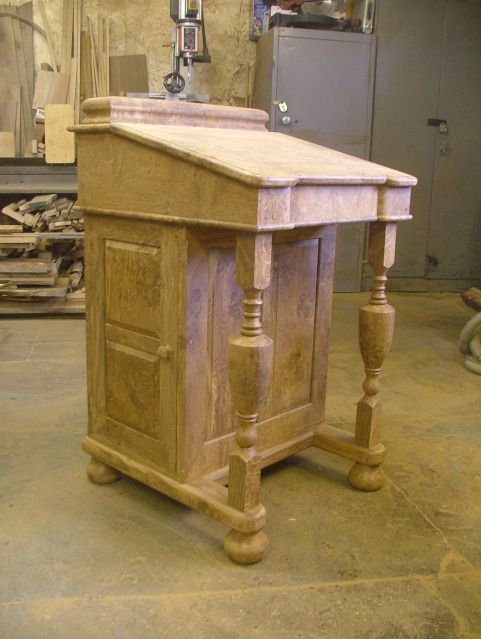
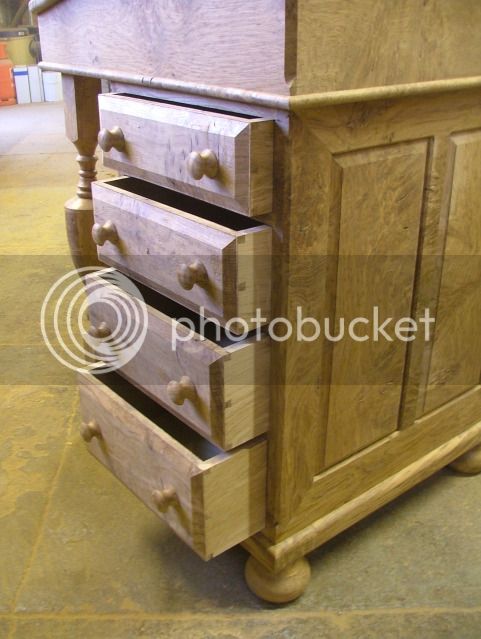
Dodge":1ap53zdc said:No John the break front was actually made in three pieces, the rounded curves formed on my oscilating belt sander prior to being stuck together, doing it this way gave the nice crisp finish.
Enter your email address to join: