Post a photo of the last thing you made

UKworkshop.co.uk

Help Support UKworkshop.co.uk:

This site may earn a commission from merchant affiliate links, including eBay, Amazon, and others.
SMALMALEKI":2aisgfnx said:
I have recently built a bed for my son. I have only used few screws to support the glue line of secondary rails( slays support).
The sides are connected to headboard and footboard with hidden dovetails and locked with wedges.

Looks very nice.
I made beds for both my sons when they where young

Pete
 
SMALMALEKI":2ly2xq4k said:
I have recently built a bed for my son. I have only used few screws to support the glue line of secondary rails( slays support).
The sides are connected to headboard and footboard with hidden dovetails and locked with wedges.
Looks like an Ikea base?
 
Not the last thing I've made, this was actually a few weeks ago but thought I'd show you anyway.

The frame is pressure treated 4x1 boards planed and glued up to form half lap joints and then clad externally in feather edge boards.

IMG_1933.jpg


IMG_1946.jpg


The 4x4 hinge post is bolted to the corner of the house but the customer's neighbour wouldn't allow the latch post to be bolted to her property so this had to be concreted instead.
 

Attachments

  • IMG_1946.jpg
    IMG_1946.jpg
    378.8 KB · Views: 196
  • IMG_1933.jpg
    IMG_1933.jpg
    385.8 KB · Views: 196
Bodgers":2swx7jzn said:
SMALMALEKI":2swx7jzn said:
I have recently built a bed for my son. I have only used few screws to support the glue line of secondary rails( slays support).
The sides are connected to headboard and footboard with hidden dovetails and locked with wedges.
Looks like an Ikea base?

The original idea was taken from a Canadian woodworker ( https://youtu.be/PNT7BjPPnzc). The base is a solid laminated sheet. I was advised to avoid solid base due to lack of ventilation. I used IkEA base for it.
 

Attachments

  • 84D81662-373B-4621-91D4-FDDA5048B171.jpeg
    84D81662-373B-4621-91D4-FDDA5048B171.jpeg
    133.5 KB · Views: 143
Sorry if this is a basic question - but how do you mean 'hidden dovetails'? I can see through tenons, but not sure where you have used the dovetails... cheers.
 
Dovetail is used in the part of tenon inside the mortise. The wedges are locking the joint in. It provided stronger joint and can be disassembled easily.

Simple tenon and mortise has a weakness they can be pulled back if not secured in any other way.

I hope this picture is explanatory enough.

Regards
 

Attachments

  • 9FD70119-28C6-4573-B2CB-540AC31EE2DF.jpeg
    9FD70119-28C6-4573-B2CB-540AC31EE2DF.jpeg
    269.2 KB · Views: 131
memzey":3ovylm0m said:
An end grain chopping board for Mrs. memzey. 12” x 20” x 2 1/2”. Made of Sapele, beech and Keruing:
fB15jVE.jpg


K9Pl19w.jpg

Nice work, though why am I reminded of "space invaders"?
 
SMALMALEKI":sdlxj494 said:
Dovetail is used in the part of tenon inside the mortise. The wedges are locking the joint in. It provided stronger joint and can be disassembled easily.

Simple tenon and mortise has a weakness they can be pulled back if not secured in any other way.

I hope this picture is explanatory enough.

Regards

So the bottom of the mortise is also angled to match? Very clever and sturdier than the way I did mine which was long bolts through the headboard legs and nuts in the rails, one has already blown out through *ahem* activity, and the other is at risk of stripping the thread.
 
rafezetter":3d2rcls4 said:
memzey":3d2rcls4 said:
An end grain chopping board for Mrs. memzey. 12” x 20” x 2 1/2”. Made of Sapele, beech and Keruing:
fB15jVE.jpg


K9Pl19w.jpg

Nice work, though why am I reminded of "space invaders"?
Lol! Now that you mention it I know exactly what you mean :shock:
 
rafezetter":1i4yq0k1 said:
SMALMALEKI":1i4yq0k1 said:
Dovetail is used in the part of tenon inside the mortise. The wedges are locking the joint in. It provided stronger joint and can be disassembled easily.

Simple tenon and mortise has a weakness they can be pulled back if not secured in any other way.

I hope this picture is explanatory enough.

Regards

So the bottom of the mortise is also angled to match? Very clever and sturdier than the way I did mine which was long bolts through the headboard legs and nuts in the rails, one has already blown out through *ahem* activity, and the other is at risk of stripping the thread.
That’s right. I have made couple of different mortises but it was the first mortise which needed to be easy to take apart. Therefore there was no option to secure it permanently. It was not my own idea.
 
image.jpeg

Made this today out of some ash I milled sometime ago. Not sure about the through pegs or what wood I'm going to use for the frame.
 

Attachments

  • image.jpeg
    image.jpeg
    233.9 KB · Views: 541
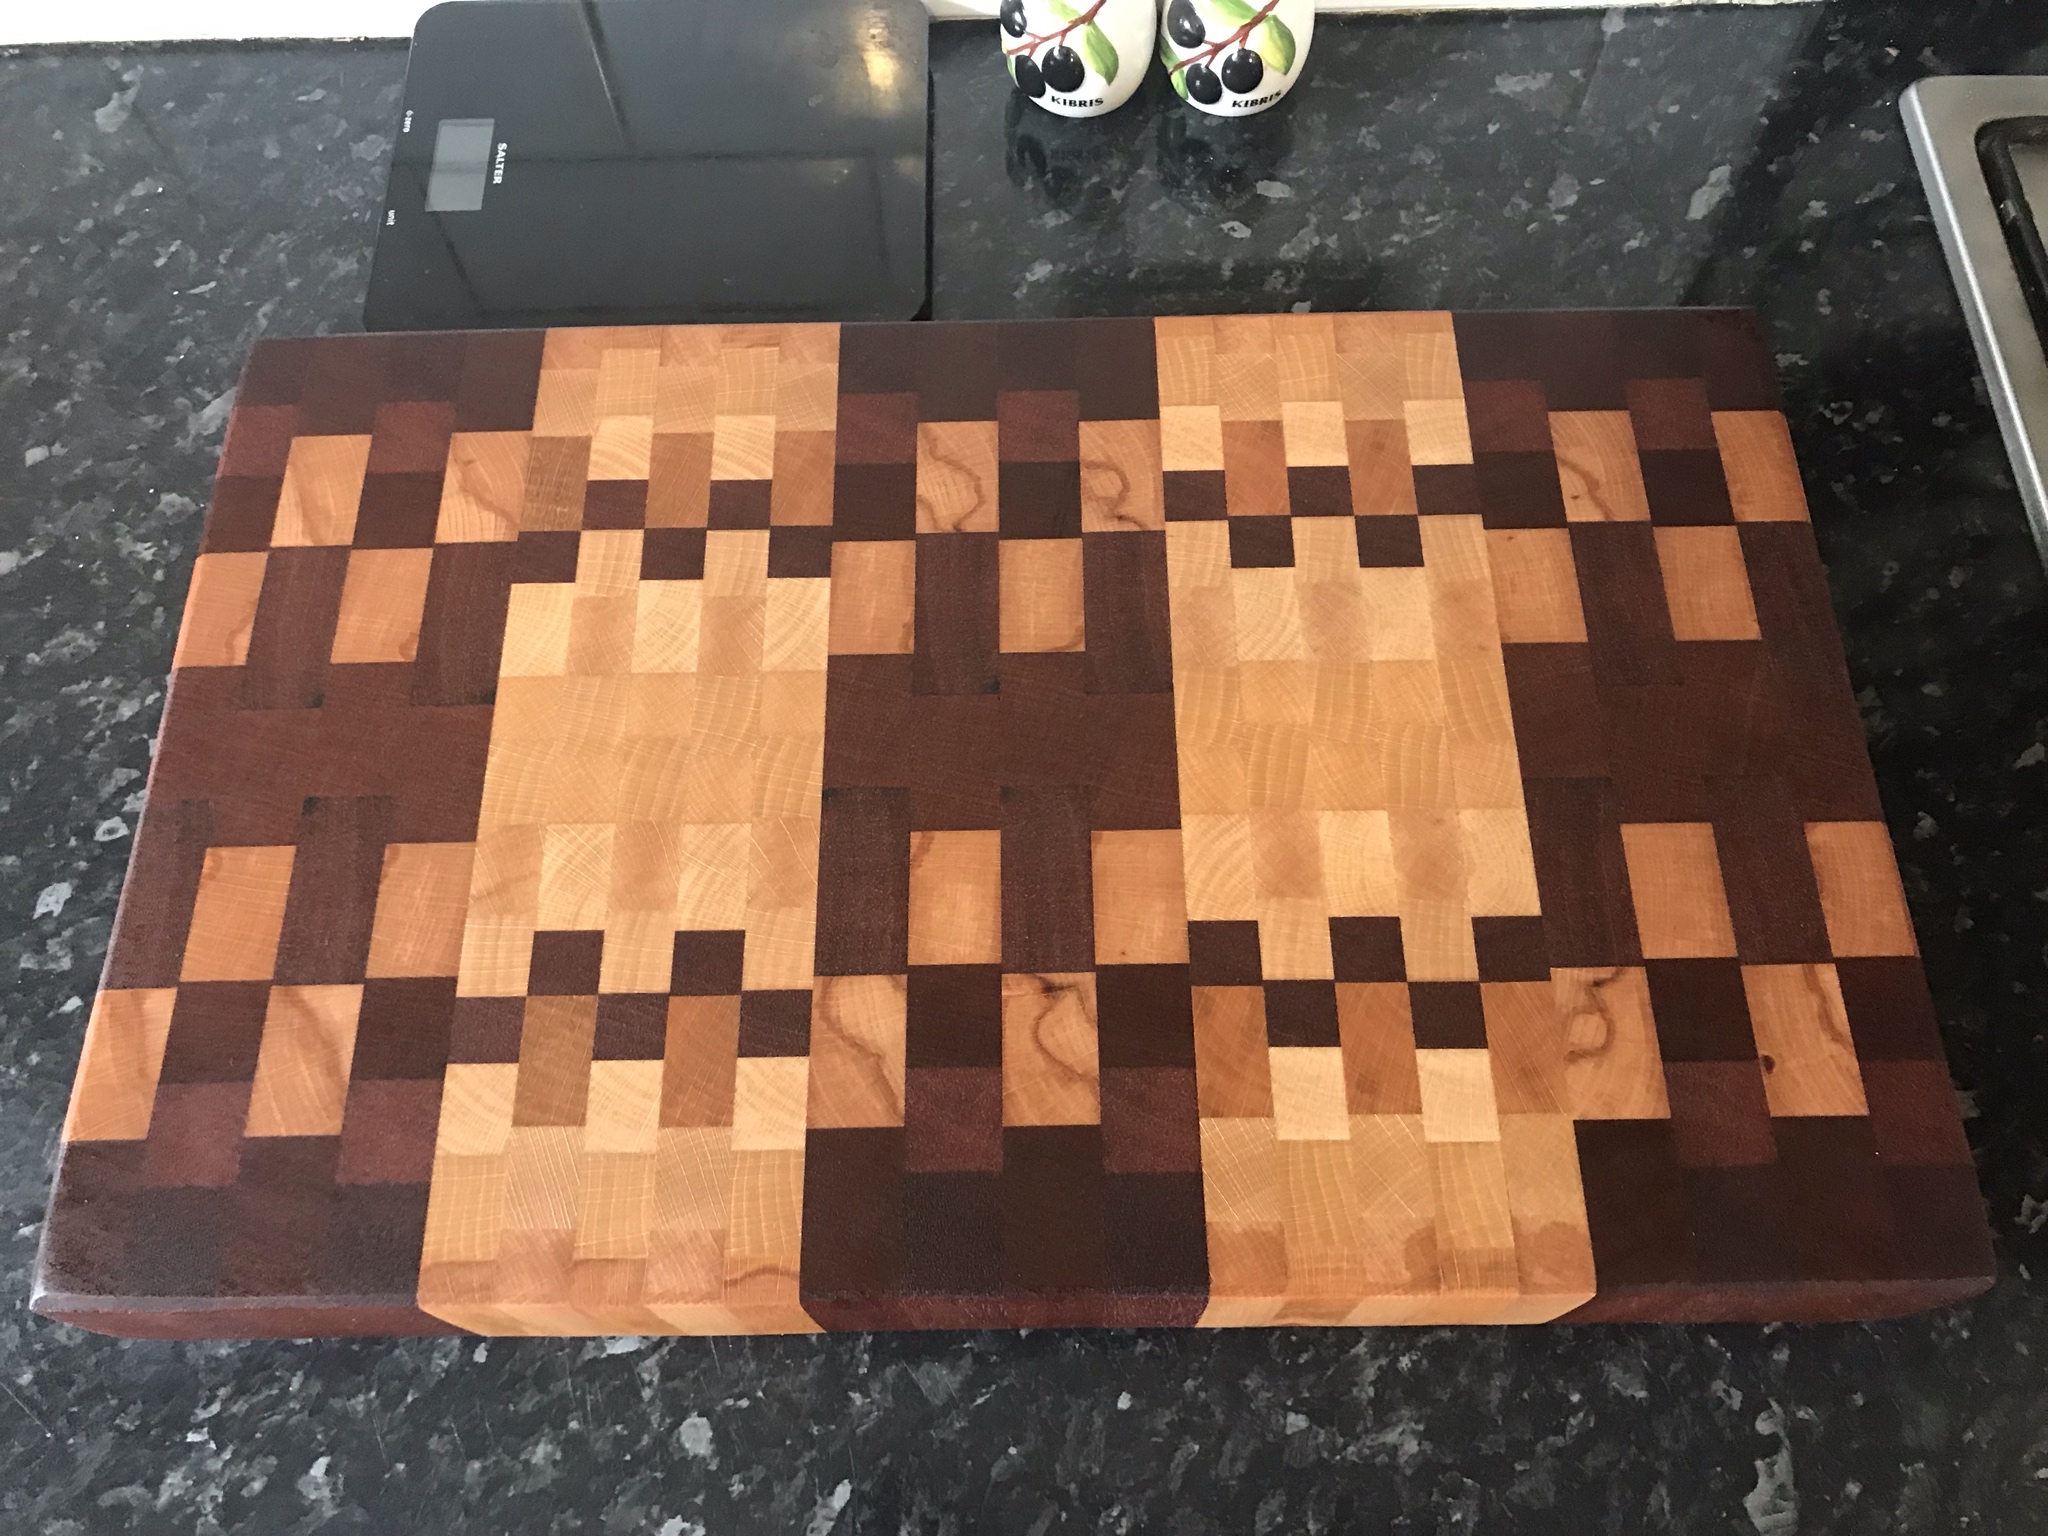
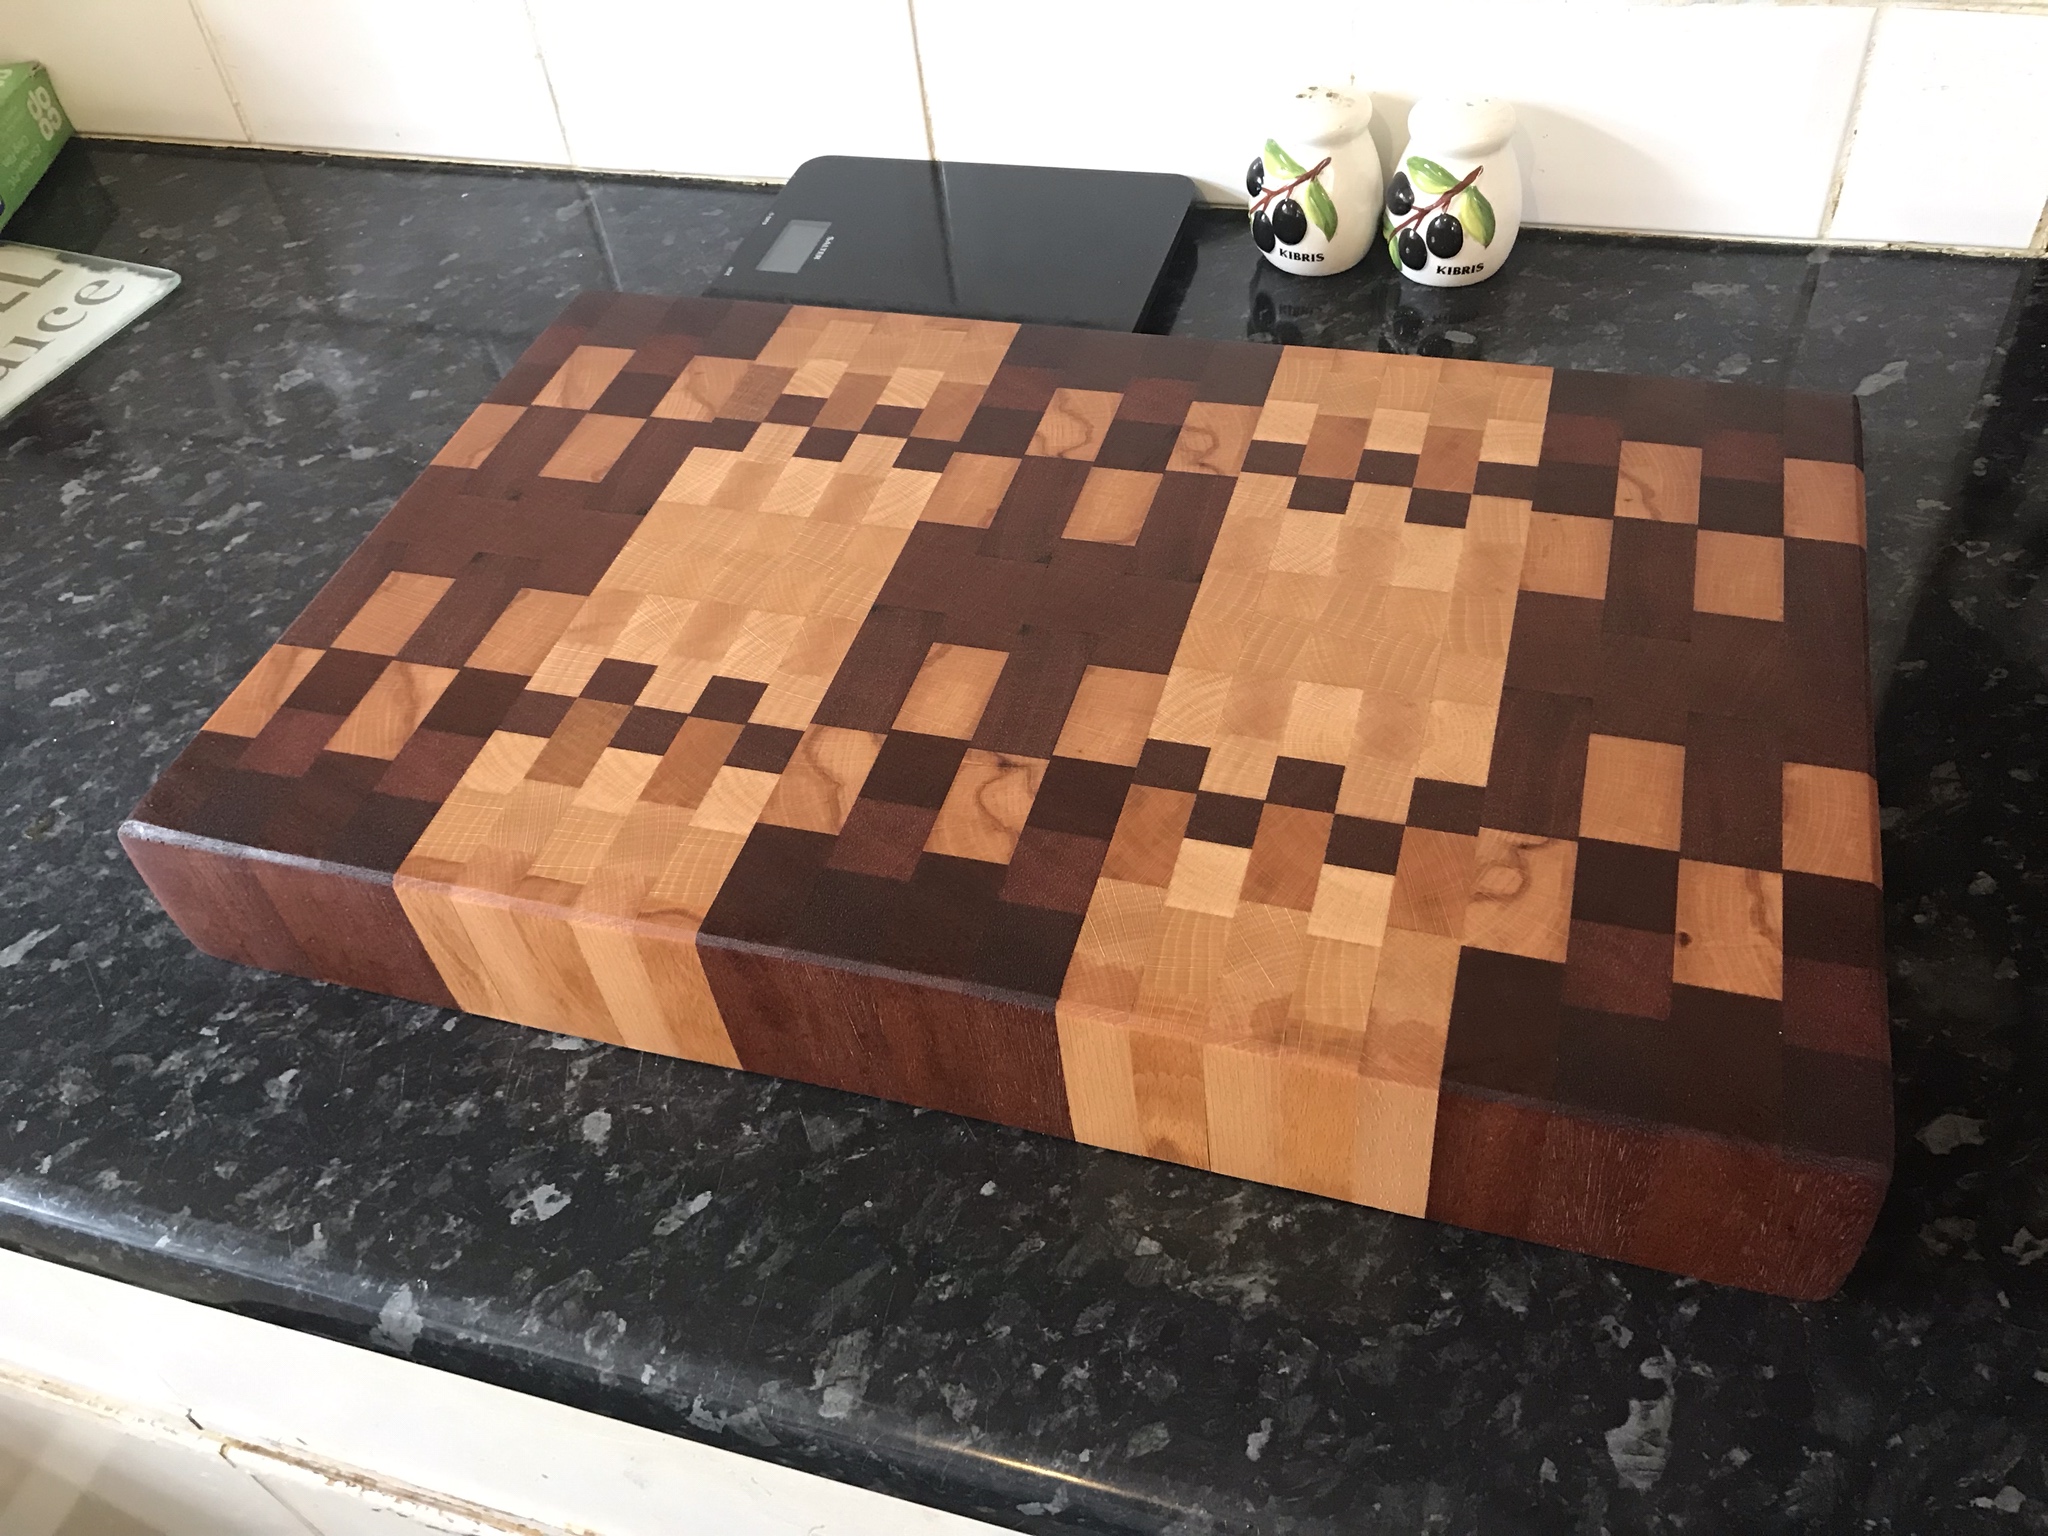
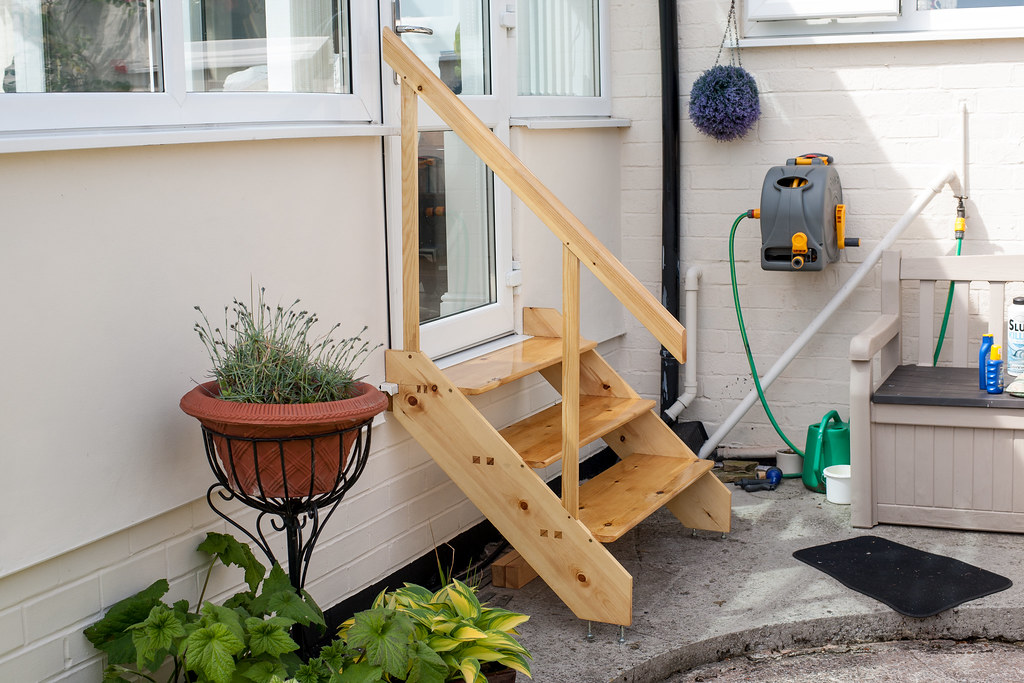
This is my attempt at a tray.
Whilst it may look a simple job to a lot of you, I was plagued with problems from the word go.
All of this has been done with hand tools.
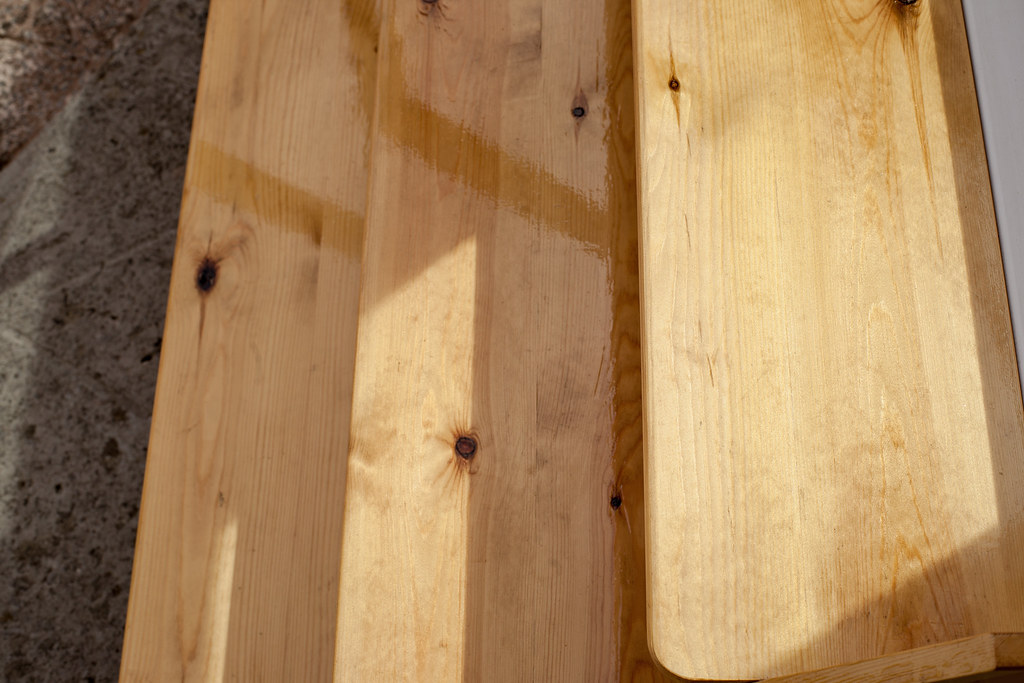
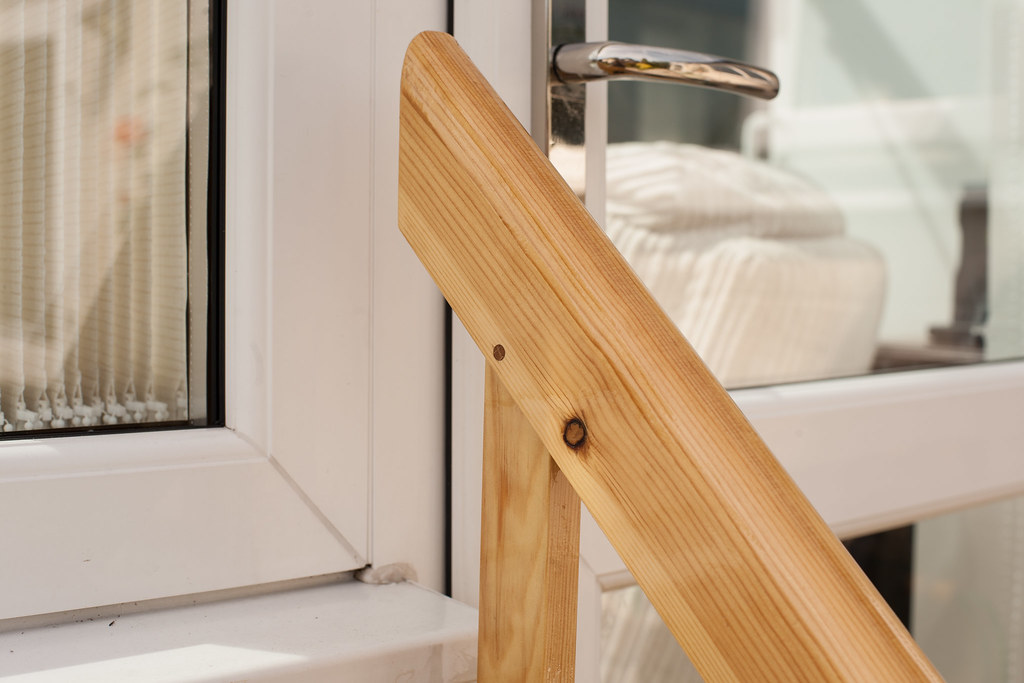
For some reason a few black spots have appeared on the fences, they are not nail heads as no nails were used, I have no idea what they are.

IMG_20190511_112704.jpg


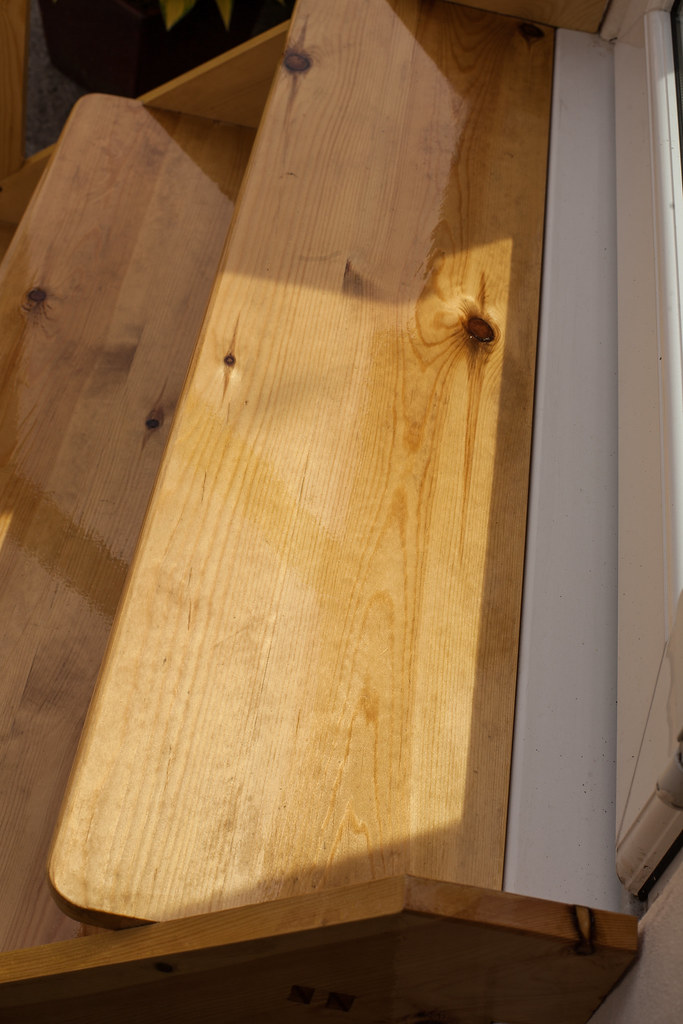
I had problems getting the base of the tray "Flat" and literally spent hours sanding it to try and get a level surface on both sides. I have it as good as it can be now with no rocking what-so-ever.

IMG_20190511_112735.jpg


Next I had a brain melt, For the life of me I could not fathom out where to measure from when doing half housing joints. Thanks go to Jacob for his explanations.


Tray 3.jpg


I still made a big mistake, or should I say I learnt a big lesson, I used the first cut out as a guide for the second one which resulted in the joint being too loose. So I went back to the marking gauge and did the rest "properly".

Tray 4.jpg


My second joint was so-so and joints 3 and 4 were a little too tight, so out came Thor my mighty mallet that I made a couple of weeks ago. I sharpened up my new chisels and gave pairing (or parring) a go. Pleased with how the 2 joints ended up but not sure if I was just lucky. Never having chiseled anything before I was not even sure what side the chisel should be on the wood, bevel side or flat side, too embarrassed to ask.


Tray 5.jpg


Joined the fence together and I was over the moon when I used the set square on the inside as it was bang on square, actually I show everyone who has been at my house just how square :D

Tray 6.jpg


I drew around the fence onto the tray base inside and out and marked where the screws would go and used a drill to pilot holes and countersink. Sorry that was the only power tool I used.

Tray 7.jpg


I then screwed on the fence and learnt my second valuable lesson. I had forgot to chamfer the base edges. So back out with the sand paper to put chamfers on top and bottom, sadly it did not look crisp so I tried to remove the edges from the ends to make it blend in a little, not really happy with the result.


Tray 8.jpg


I hope you have enjoyed this as much as I have enjoyed making the tray, we all started somewhere and I am happy to share with you all my starting point.
Thank you for reading
Gary
 

Attachments

  • IMG_20190511_112704.jpg
    IMG_20190511_112704.jpg
    2 MB · Views: 460
  • IMG_20190511_112735.jpg
    IMG_20190511_112735.jpg
    1.9 MB · Views: 461
  • Tray 3.jpg
    Tray 3.jpg
    439.2 KB · Views: 461
  • Tray 4.jpg
    Tray 4.jpg
    367.1 KB · Views: 460
  • Tray 5.jpg
    Tray 5.jpg
    337.6 KB · Views: 460
  • Tray 6.jpg
    Tray 6.jpg
    416.3 KB · Views: 460
  • Tray 7.jpg
    Tray 7.jpg
    412.7 KB · Views: 460
  • Tray 8.jpg
    Tray 8.jpg
    449.5 KB · Views: 460
Lots of lessons there, Gary. The result looks fine, and you know how you would tackle it slightly differently next time. Experience in the bank.......

PS Why were you flattening with sandpaper and not a plane?
 
MikeG.":2nqgqljc said:
Lots of lessons there, Gary. The result looks fine, and you know how you would tackle it slightly differently next time. Experience in the bank.......

PS Why were you flattening with sandpaper and not a plane?


I dont own a plane :( I will get one next month :D
 
@Garno (Gary): Does it look like a tray? Does it work like a tray? Does it also look attractive? To me, the answer to all these Qs is a definite YES! Therefore = "SUCCESS"! Well done mate :D

And just as said above, as you've learnt lessons along the way, which you can apply to the next "whatever it is", you're better off (in know how) than when you first started. What's not to like - and IMO, what this making stuff malarkey is all about.
 
I have just built my first Moxon Vise. The veg tan leather looks good on the jaw face.
 

Attachments

  • 5EEC6448-622E-4553-95C6-B5C003ABC4C2.jpeg
    5EEC6448-622E-4553-95C6-B5C003ABC4C2.jpeg
    234 KB · Views: 381
  • 3C7A2C0B-0937-486A-A1A8-C2A0F5A74314.jpeg
    3C7A2C0B-0937-486A-A1A8-C2A0F5A74314.jpeg
    328.5 KB · Views: 381
  • 6AEF335E-AD5E-4190-92DB-E67079DD57F7.jpeg
    6AEF335E-AD5E-4190-92DB-E67079DD57F7.jpeg
    276.6 KB · Views: 381
Double through tenons?
I never really thought you'd use lag bolts into end grain like I probably would have. :D
 

Latest posts

Back
Top