Derek Cohen (Perth Oz)
Established Member
Loved the video!
Regards from Perth
Derek
Regards from Perth
Derek


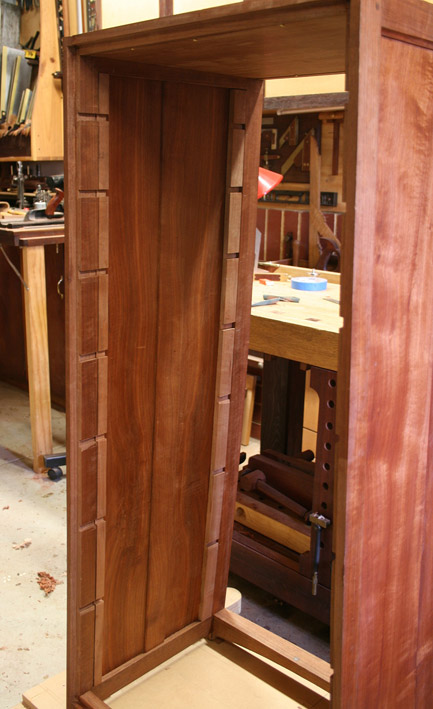
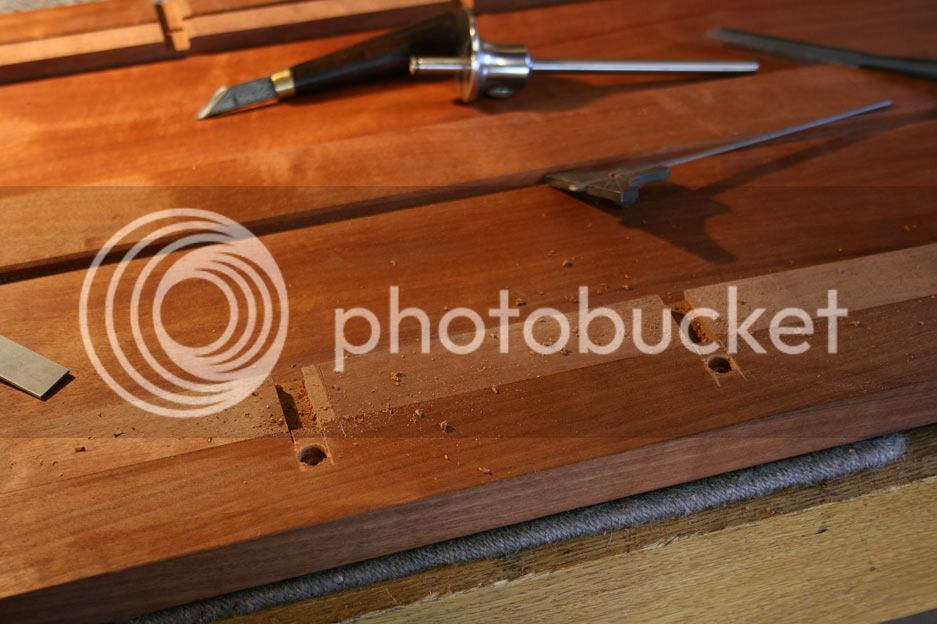
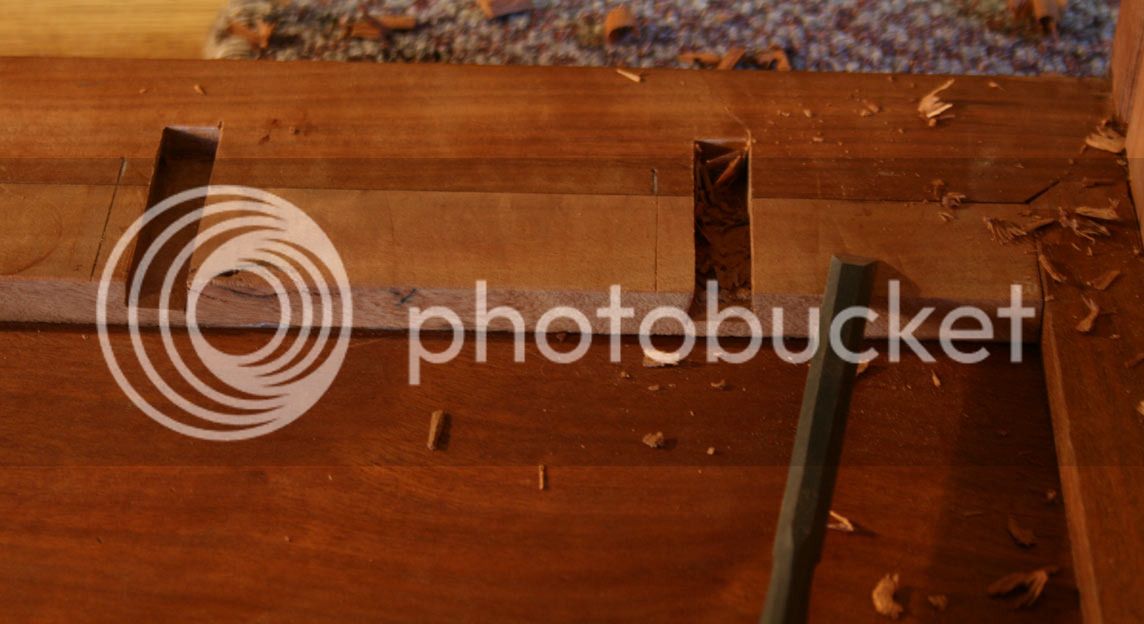


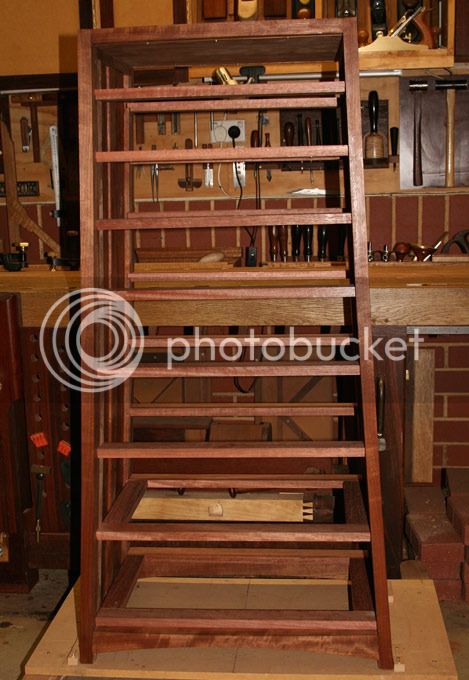
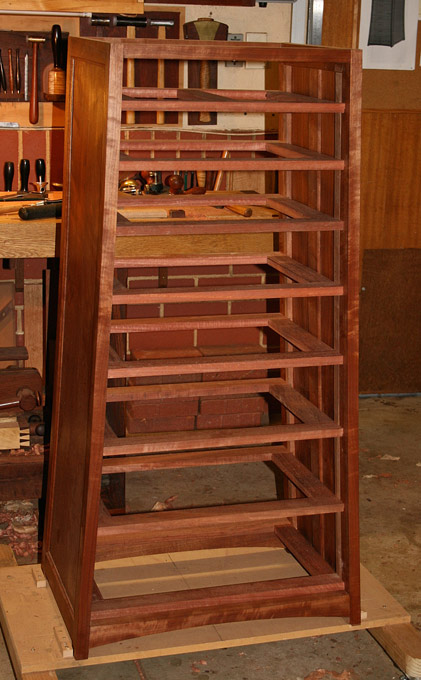
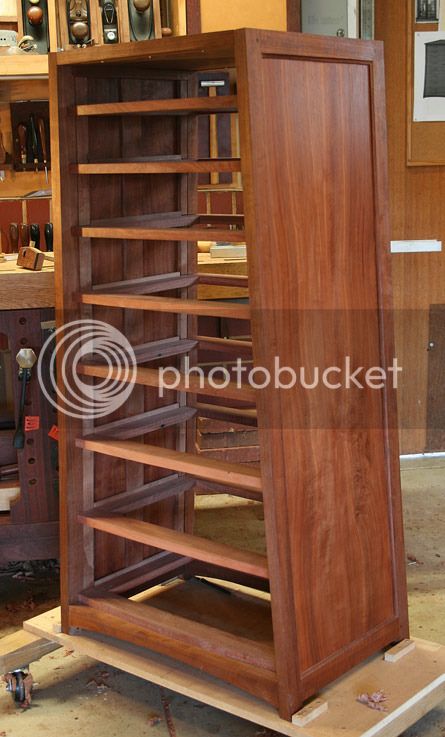
It's been at least a month since I managed time on the Lingerie Chest. Found some time today. It seems to take forever to get the rhythm back.
") ). I do have a longer-than-usual garage ... well, that was my specification when we built the house 20 years ago. Consequently, there is space for a workbench and all the cabinets at the one end. Still, I'd love not to have to move the car out each time I get in there (but it is a soft top - ragtop to the Yanks - convertible, and I cannot leave it out in the Perth sun).
). I do have a longer-than-usual garage ... well, that was my specification when we built the house 20 years ago. Consequently, there is space for a workbench and all the cabinets at the one end. Still, I'd love not to have to move the car out each time I get in there (but it is a soft top - ragtop to the Yanks - convertible, and I cannot leave it out in the Perth sun).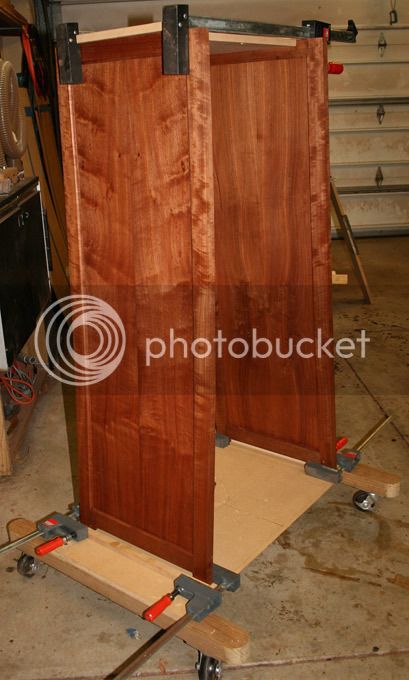
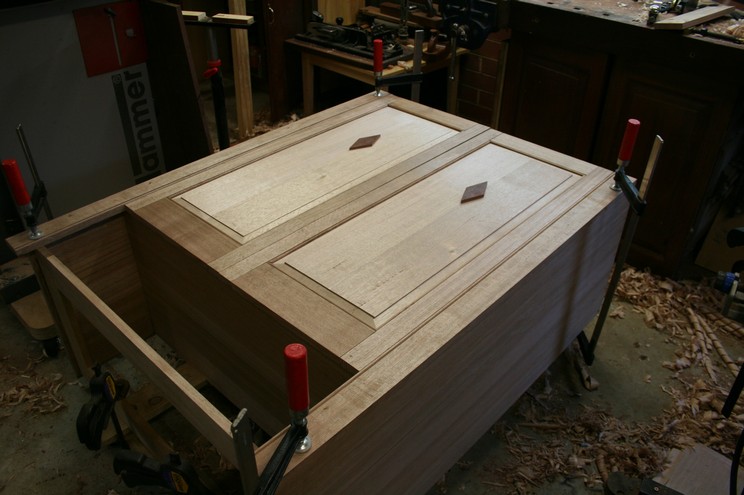
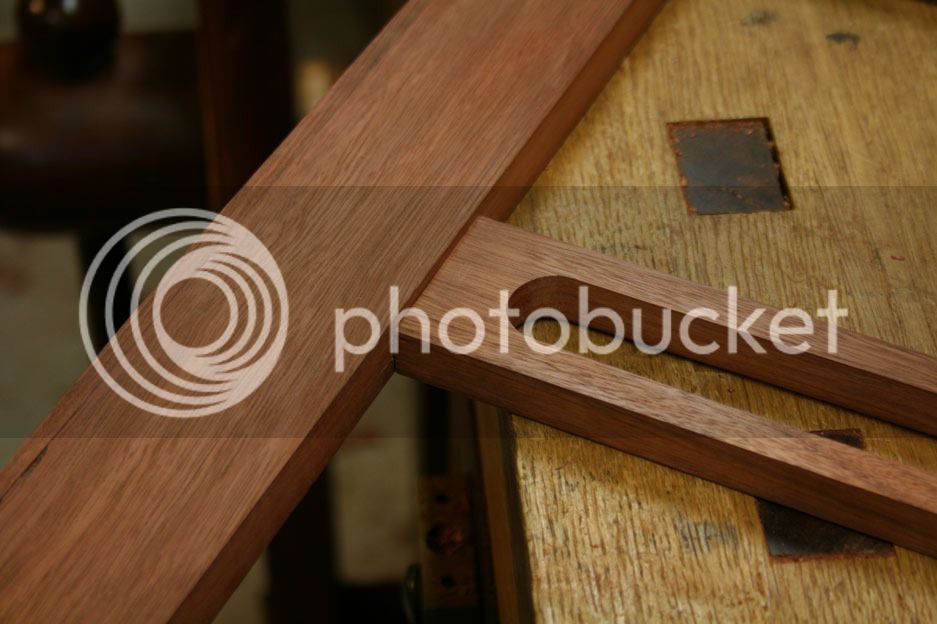
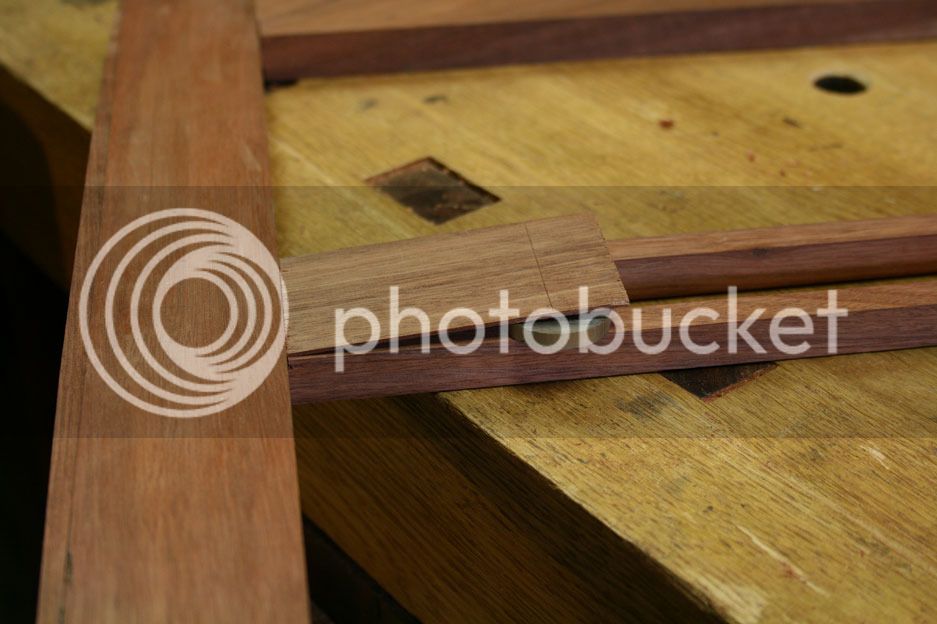

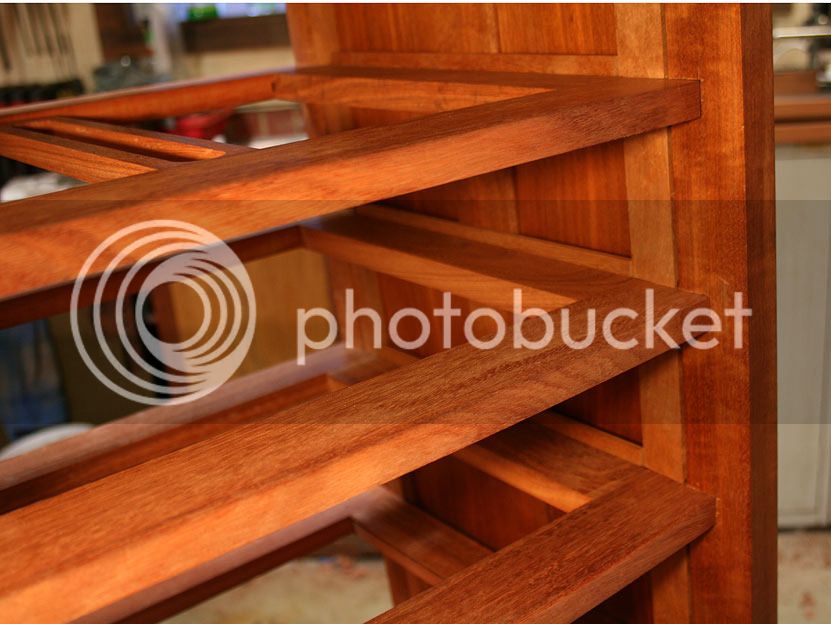
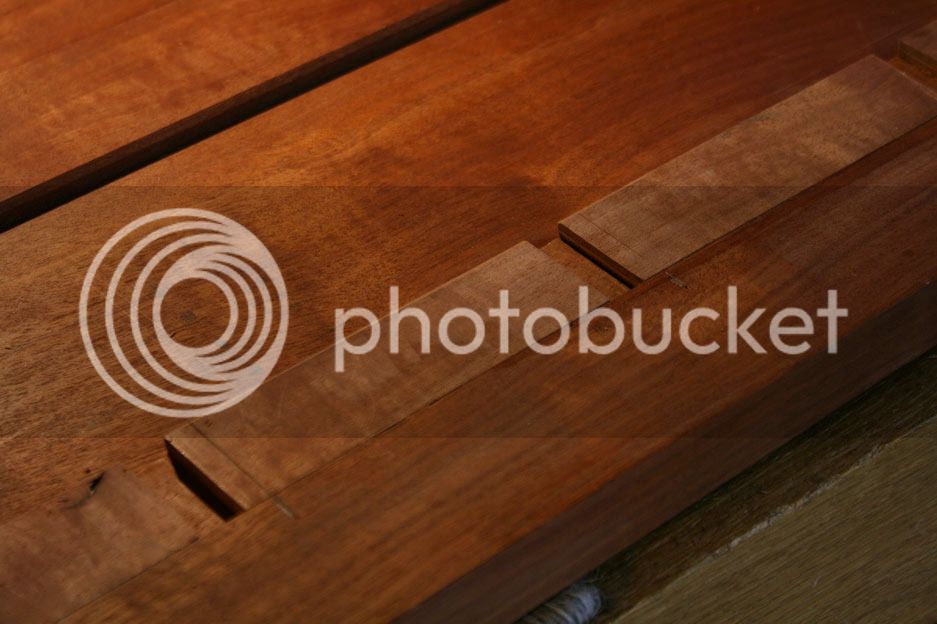
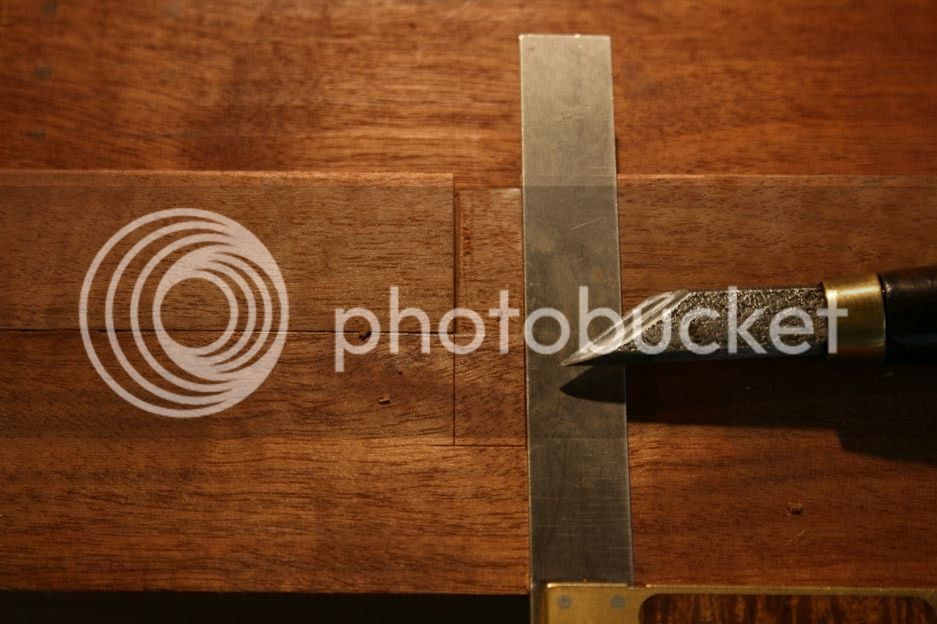
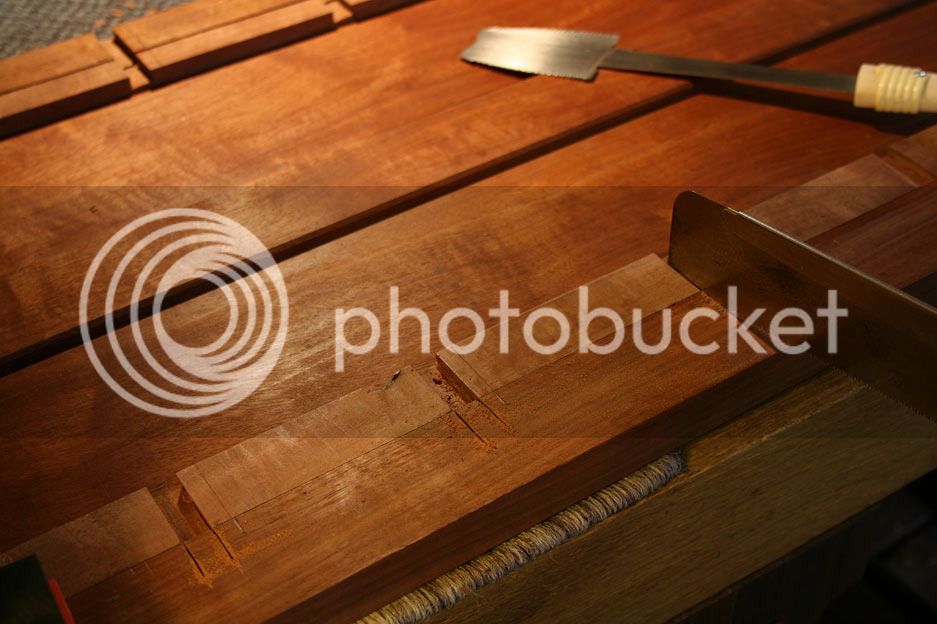
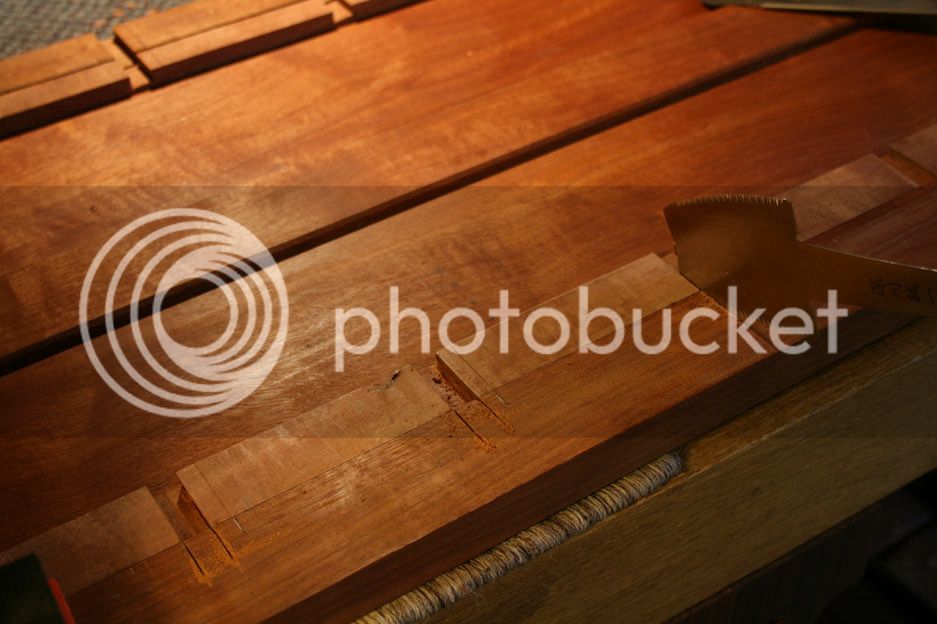
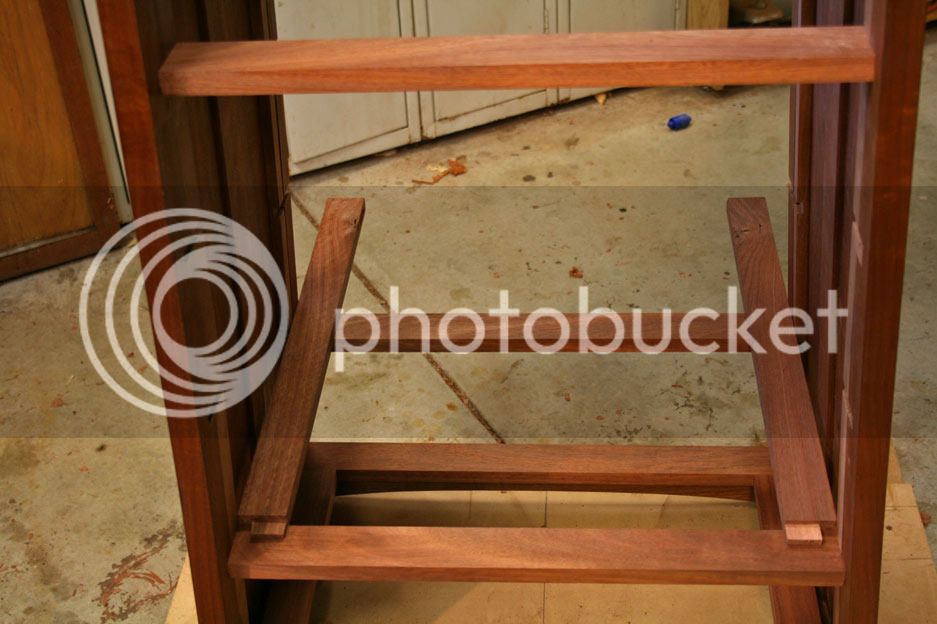
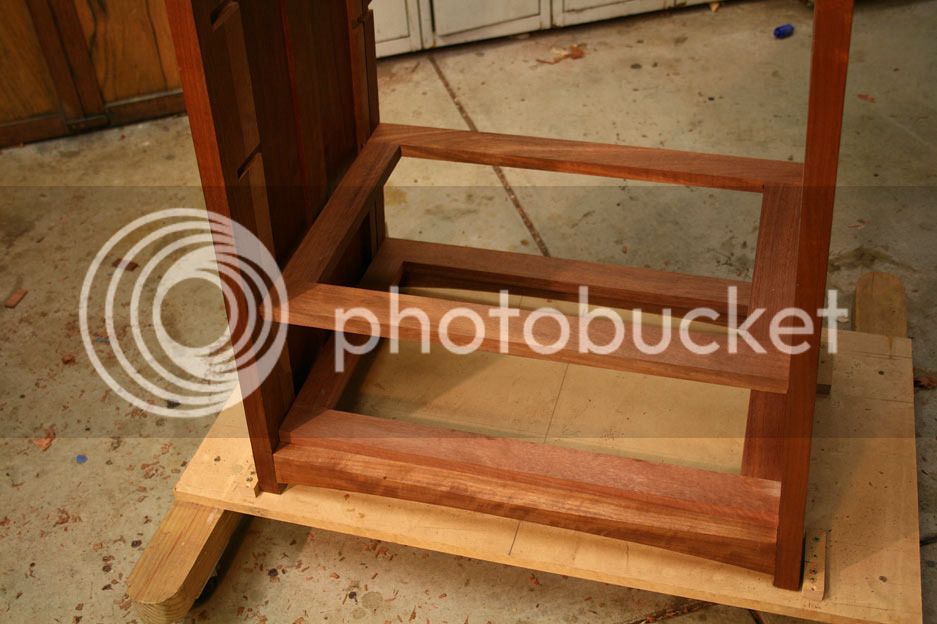
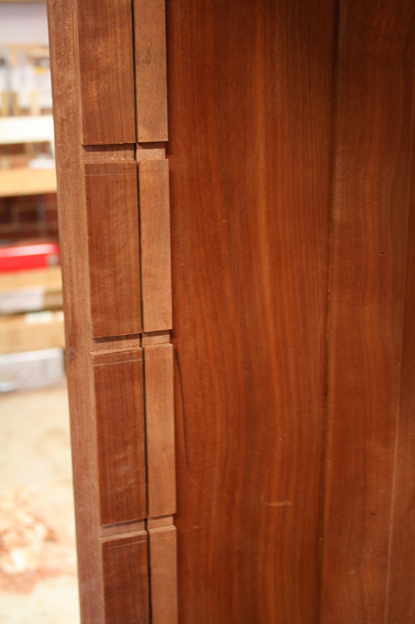
Now I need to figure out the drawers construction - coping it into the sides. Any thoughts?
Regards from Perth
Derek
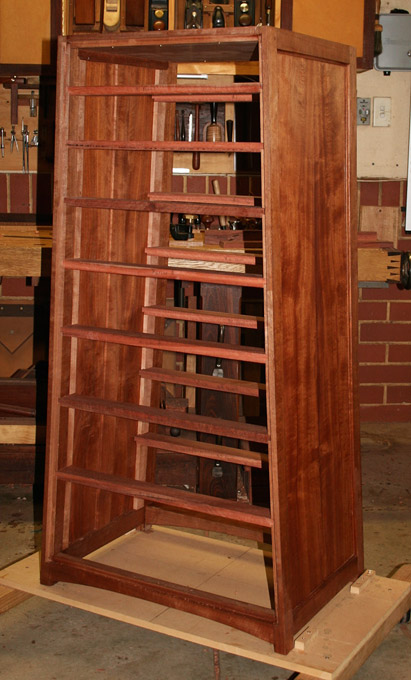
custard":3mcc7bec said:That's a serious piece of furniture! How many hours so far?
AJB Temple":7wzc0agx said:Interesting piece of work Derek. As an aside, when I first clicked on your website I quite quickly left to again. The reason is that your home page is white text on black background, plus you use a less than easily legible font, and unless you have sharp young eyes (as opposed to my spectacled middle aged ones) it is very hard to read. We are in a click and rapidly move on era and capturing attention fast is what keeps people on pages. Not intended to be offensive in any way - just stating what we have found in rebuilding our own commercial websites over the years.
I do enjoy seeing fine furniture being made and give you kudos for doing this in a workshop that has to store cars and other stuff.
Enter your email address to join: