marcros":b5irnodk said:
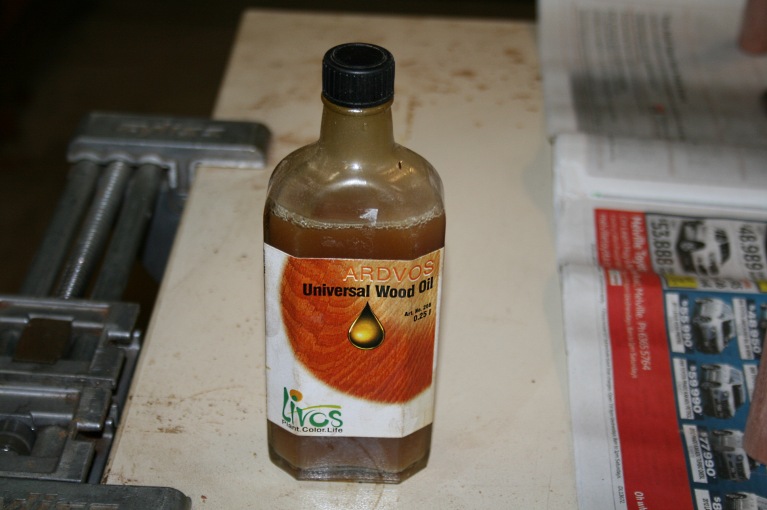
Derek, what is the Livos oil? ...
Hi Marcros
I was introduced to it a couple of years ago by a local high end furniture maker.
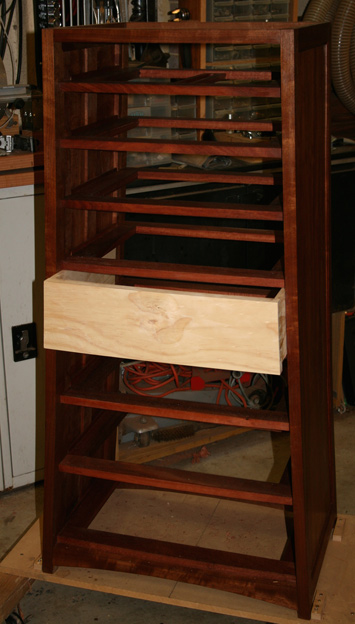
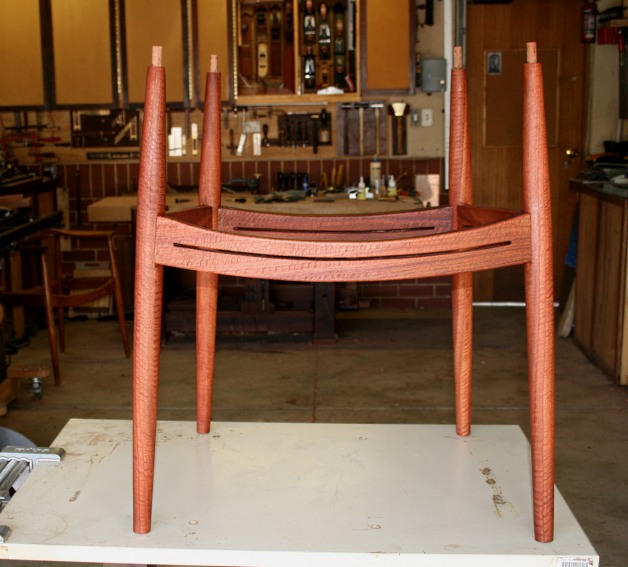
It took this ..
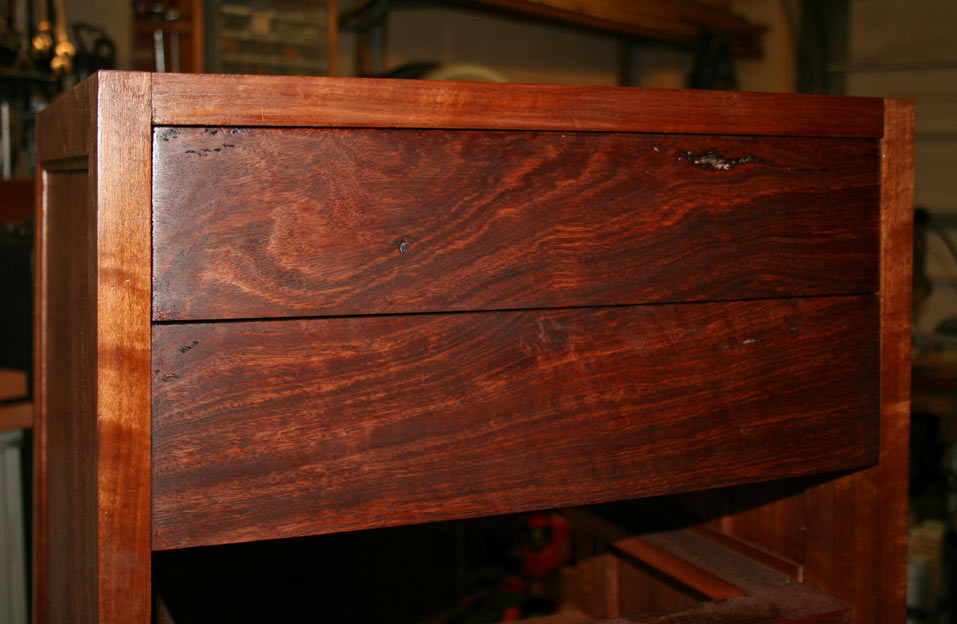
.. to this ...
From the manufacturer (Australian) ...
ARDVOS Universal Wood Oil #266
Product Description
Made from cold pressed flax seeds, the oil is combined with other natural waxes and resins to penetrate the timber surface. Reinforces and deepens the natural color of the wood grain. After 2 to 3 applications it produces a slight sheen and water-resistant surface. Easy to apply and rejuvenate.
Suitable for
For interior surfaces made from timber and cork, such as furniture, floors, stairs, parquetry, chopping boards and toys. Ventilate well in closed areas such as cupboards.
Full Declaration
Linseed oil, linseed oil - stand oil - natural resin ester, linseed oil - stand oil, linseed oil - wood oil -stand oil, natural resin glycerol ester, orange oil, isoaliphates, silicic acid, micronized wax, dehydrated amino sugar and drying agents free of lead.
Colours
Slightly honey-coloring.
Link:
https://www.livos.com.au/shop/page/shop ... duct_id/37
Regards from Perth
Derek


")