MarkDennehy
Established Member
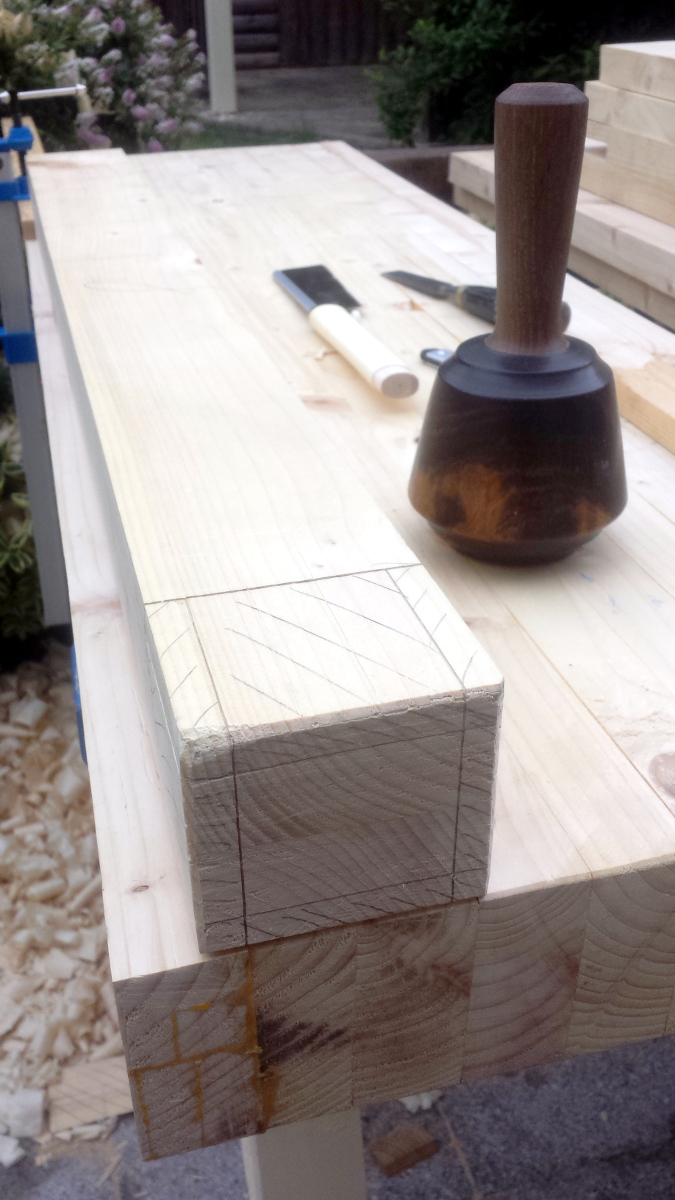
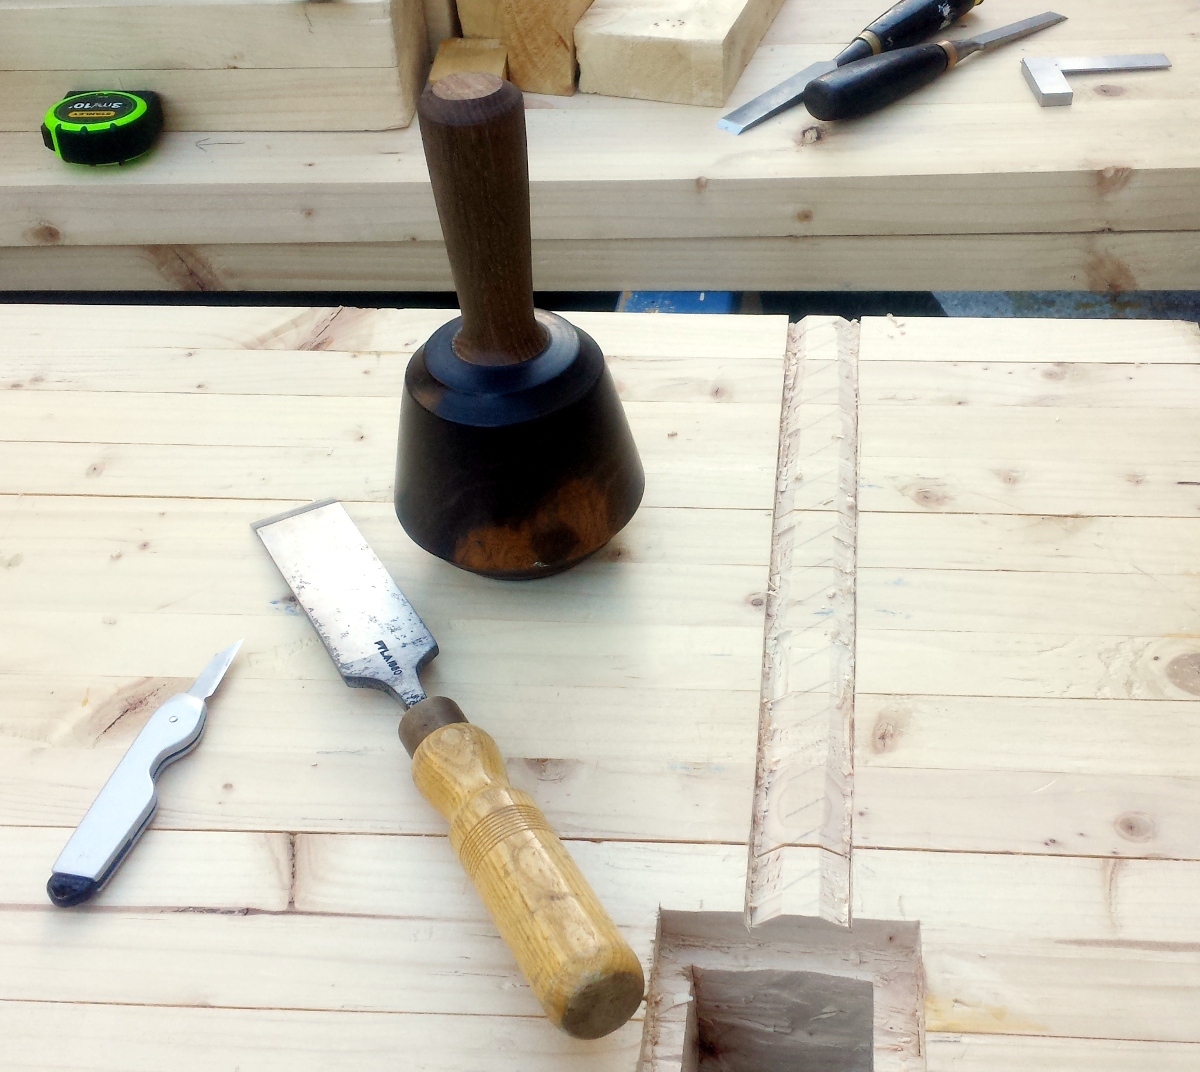
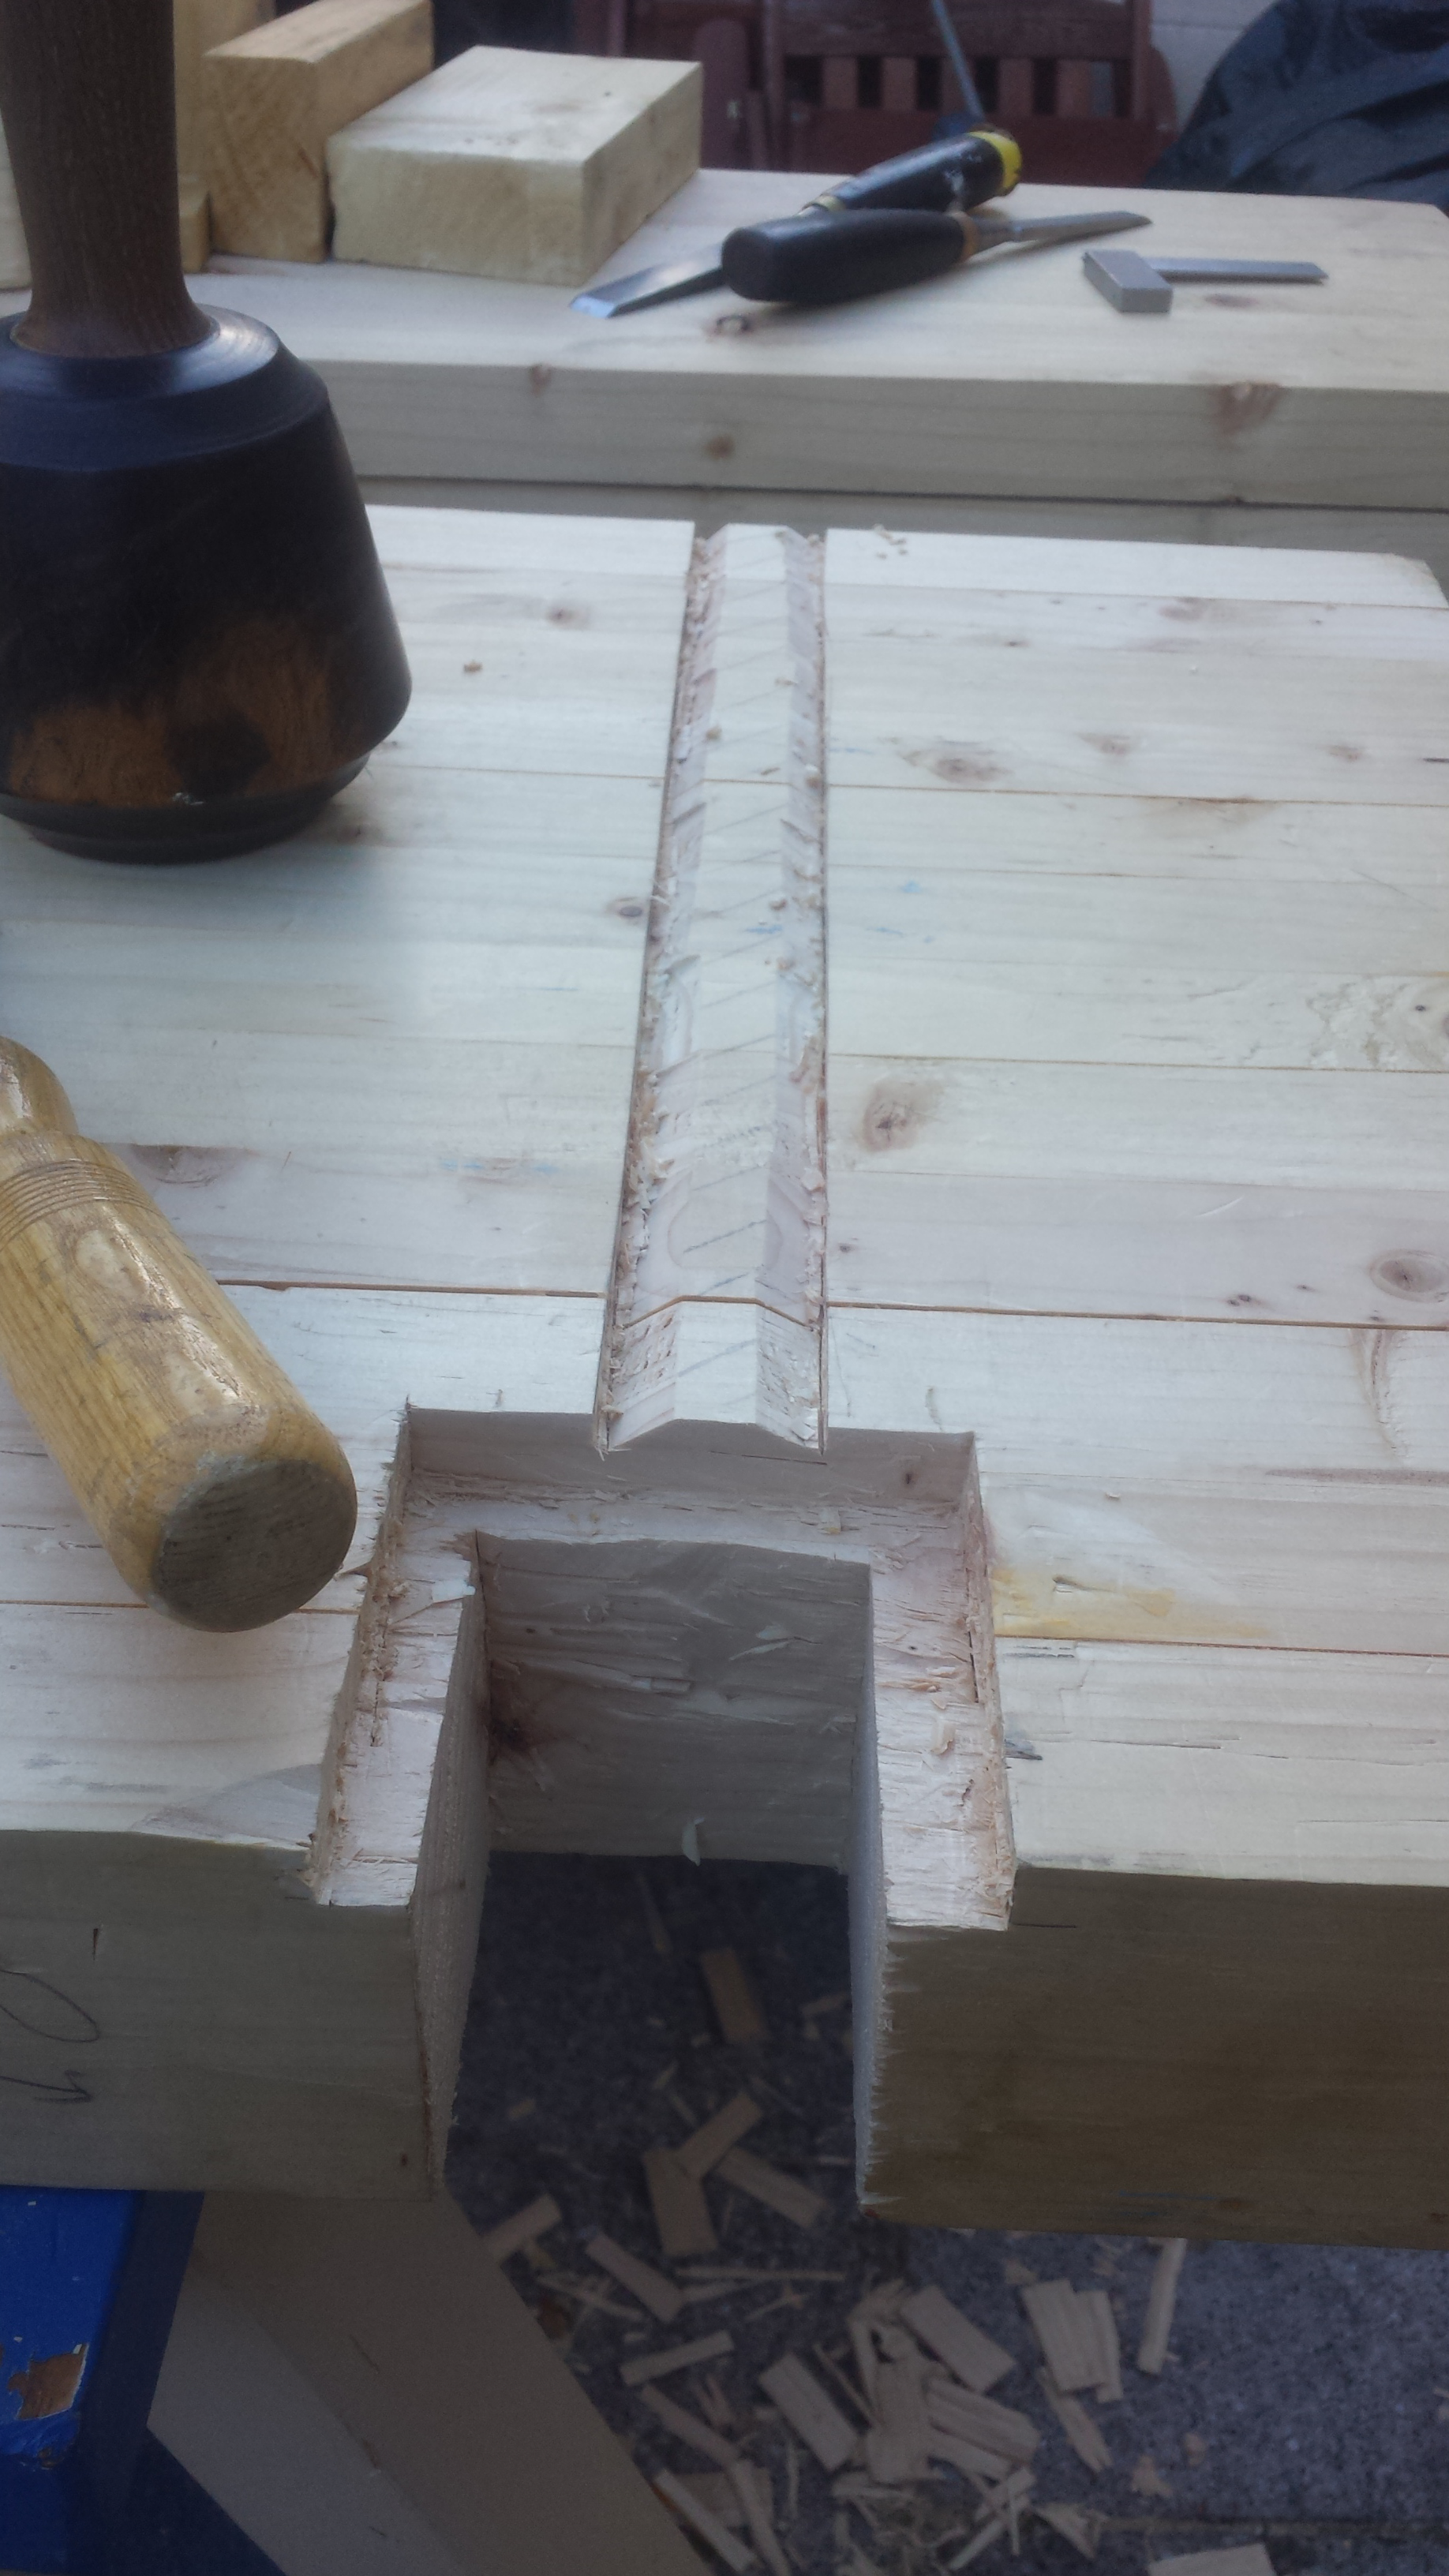
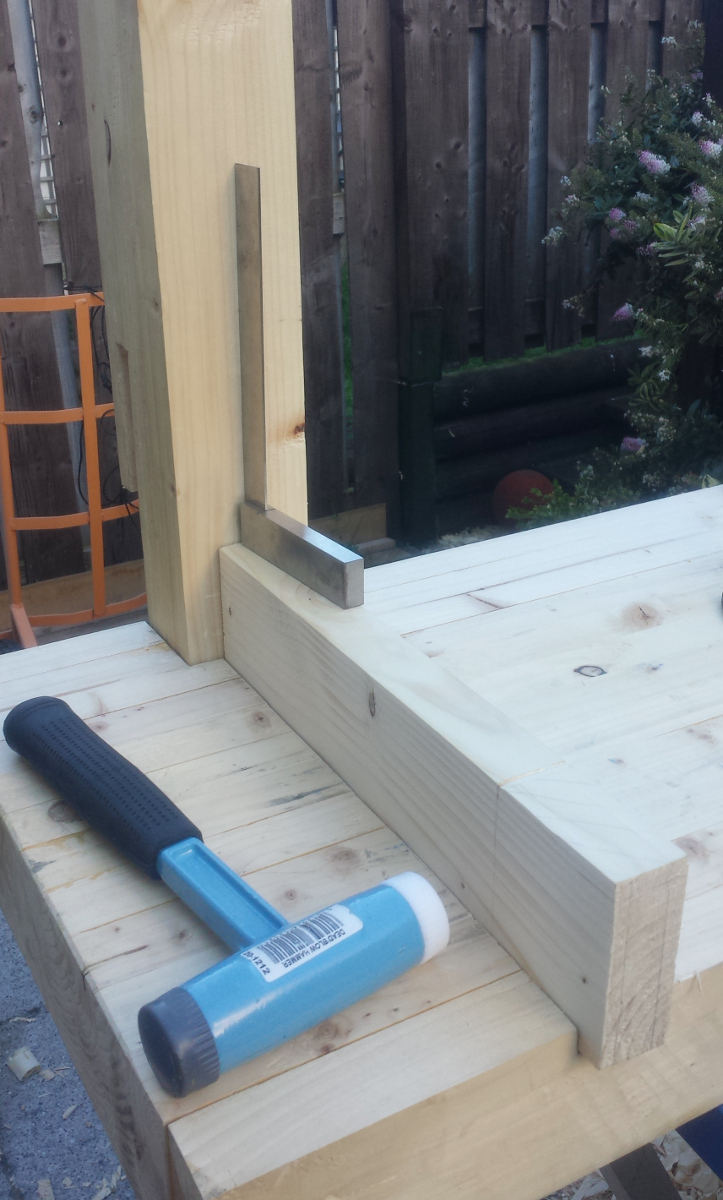
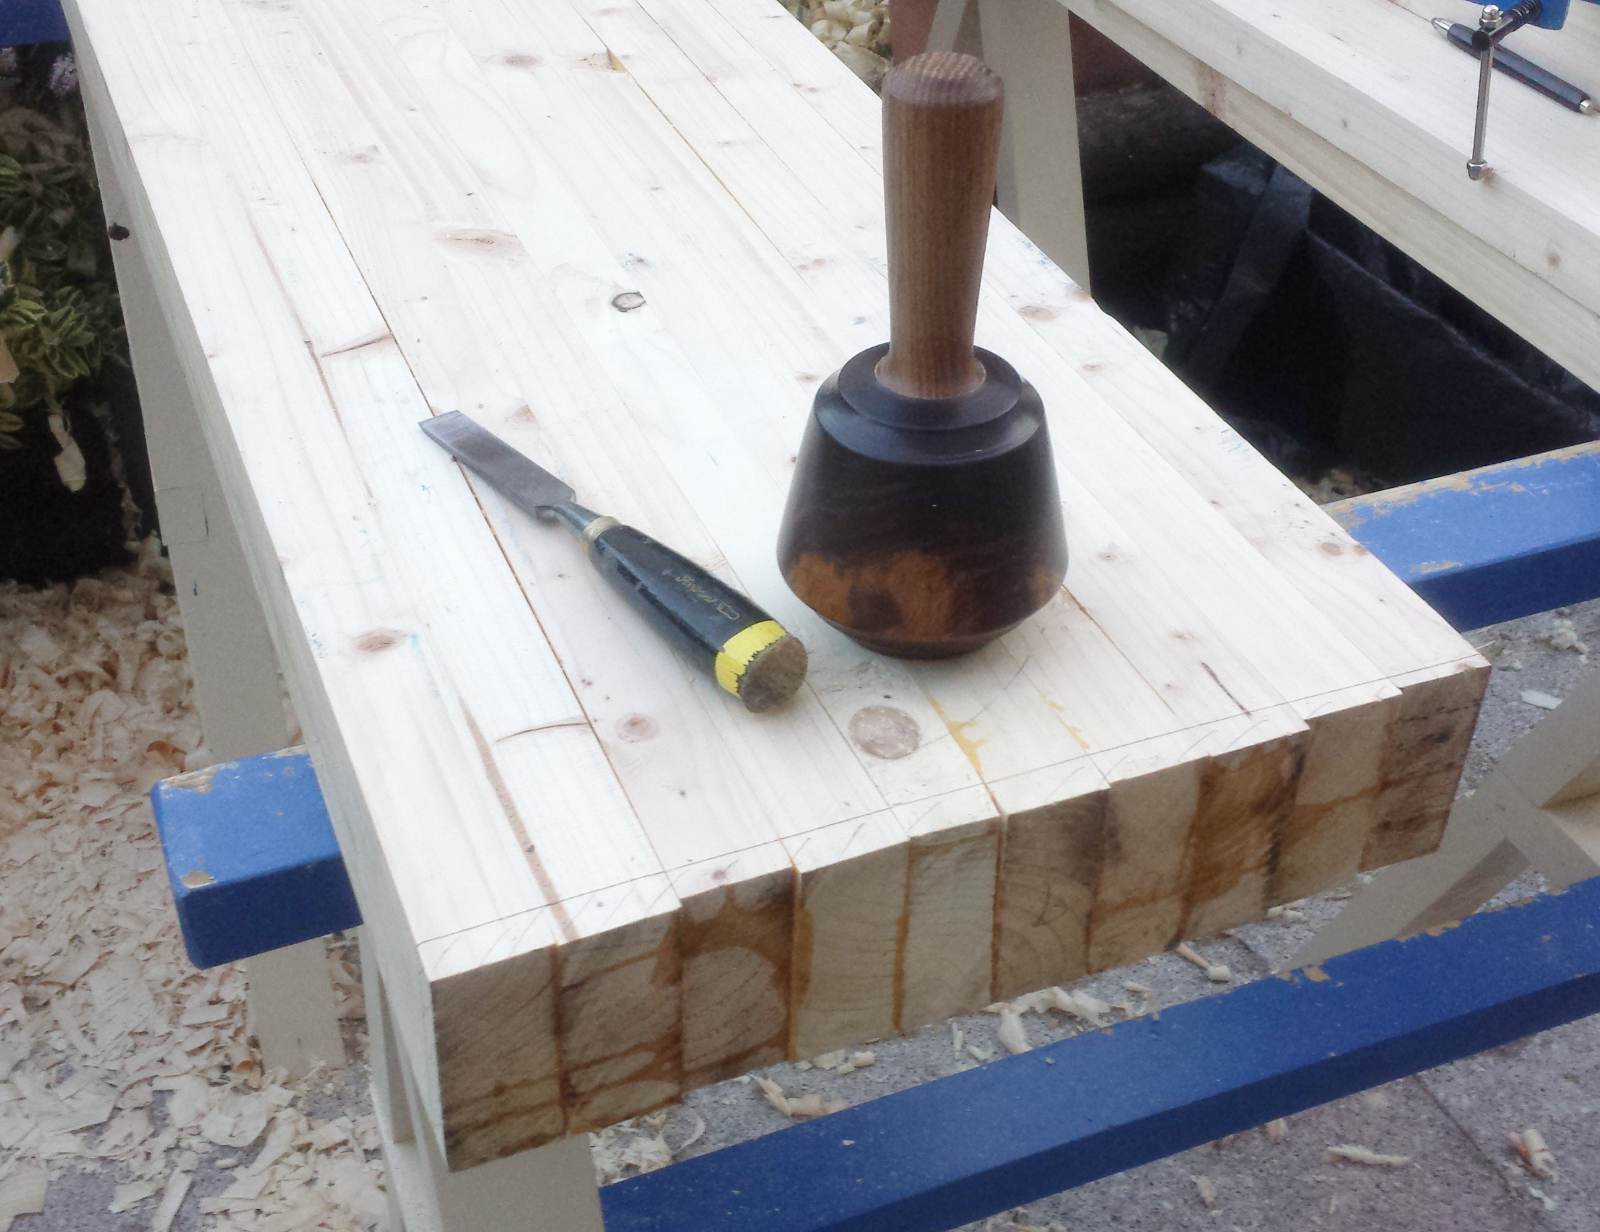
No rain today, but lots of errands in the morning and afternoon, so only got to work on the bench around five pm. Oh well. At least one of the errands was picking up a new mallet from the post office. Hand-turned lignum vitae from an old lawn bowling ball and a nice oak handle (this seller in case anyone's interested).
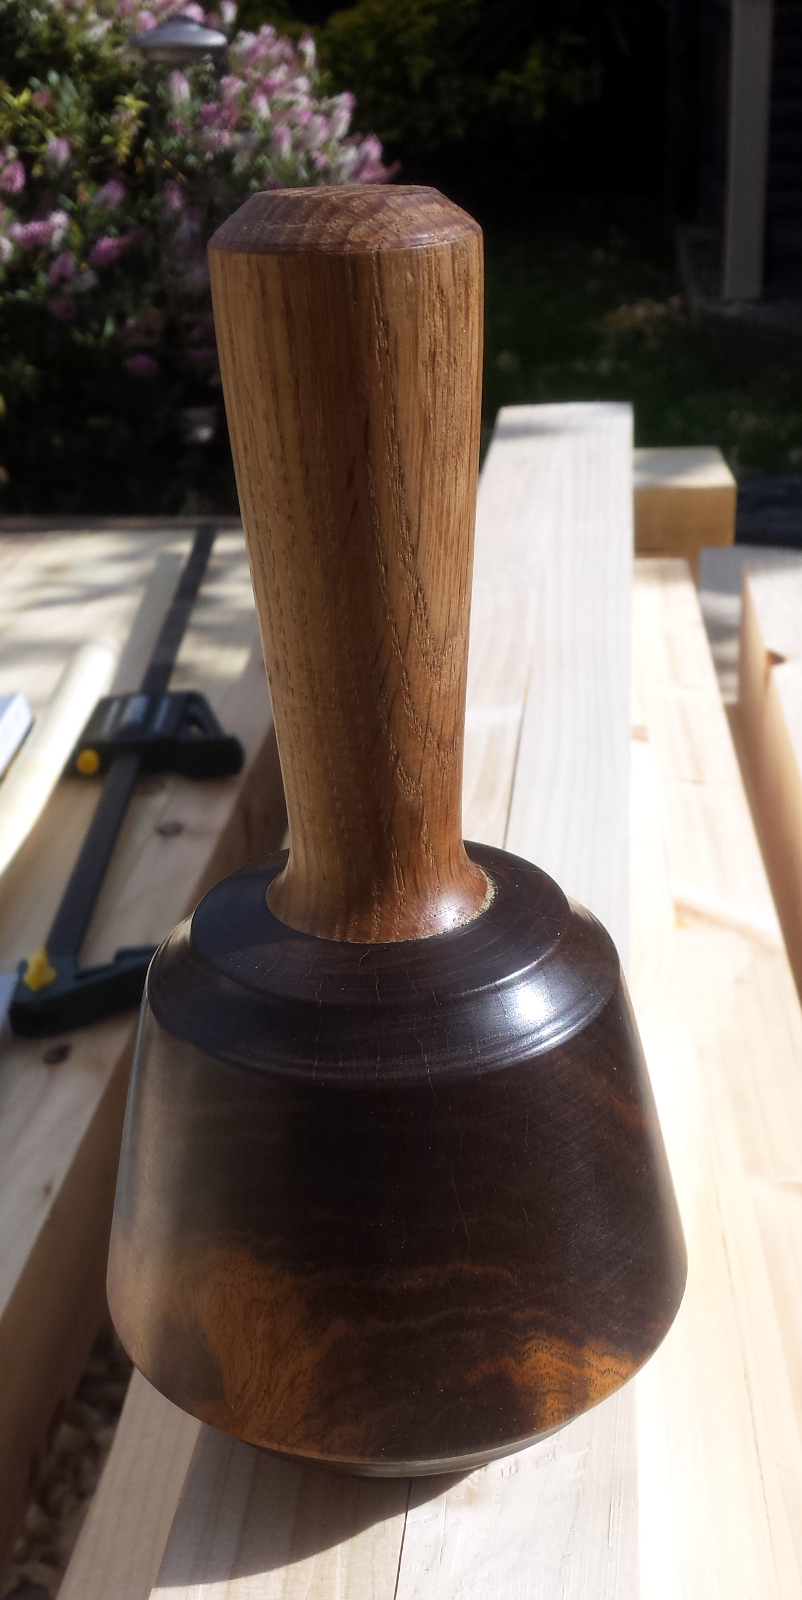
Isn't it pretty?") And it works nicely too ("works nicely? It's a mallet, not a fire control computer, it's a lump of wood wot you 'it things wit', wot's e on about?" and so on, but it's lovely and well-balanced and solid and the weight's just grand). Anyway...
And it works nicely too ("works nicely? It's a mallet, not a fire control computer, it's a lump of wood wot you 'it things wit', wot's e on about?" and so on, but it's lovely and well-balanced and solid and the weight's just grand). Anyway...
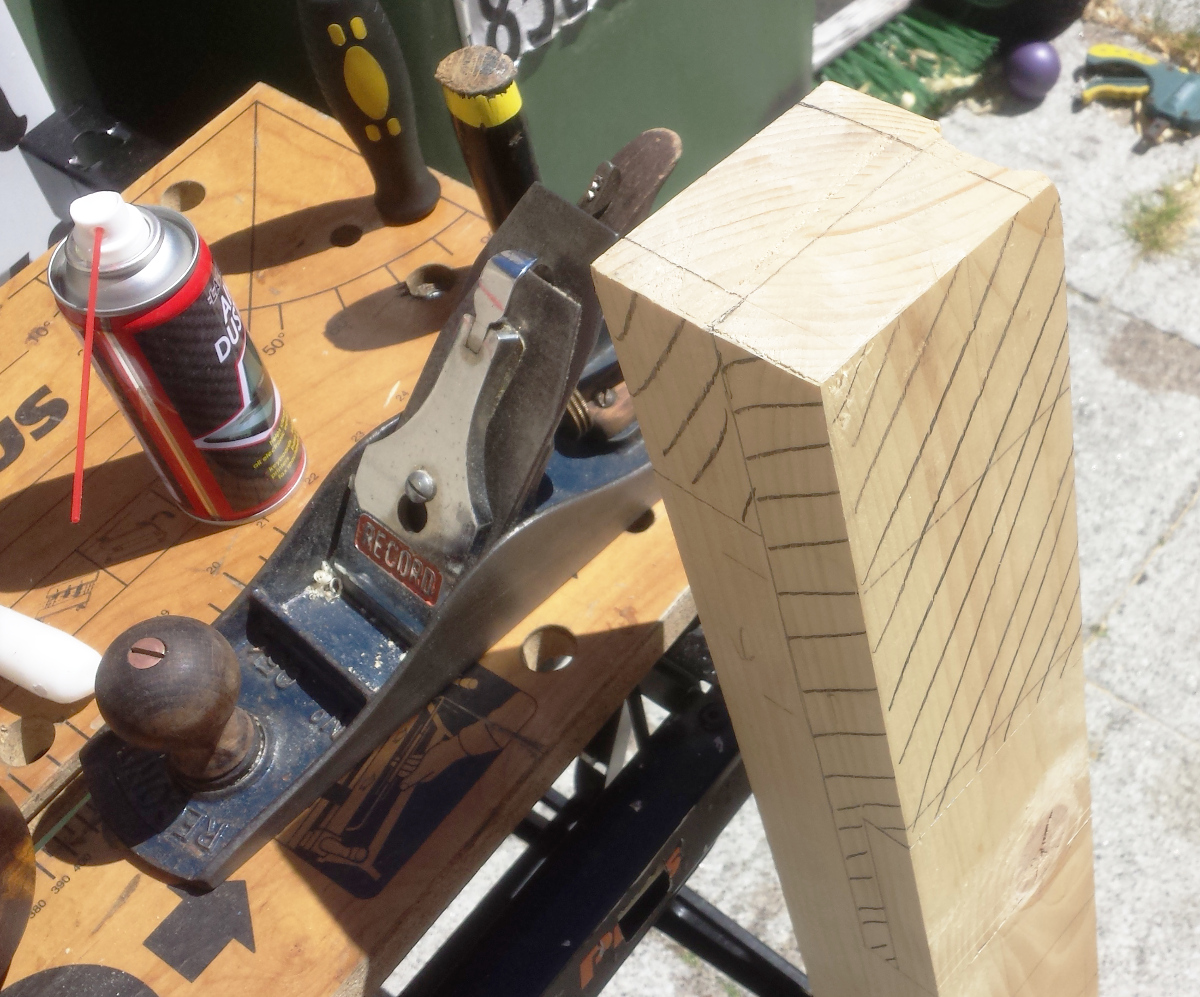
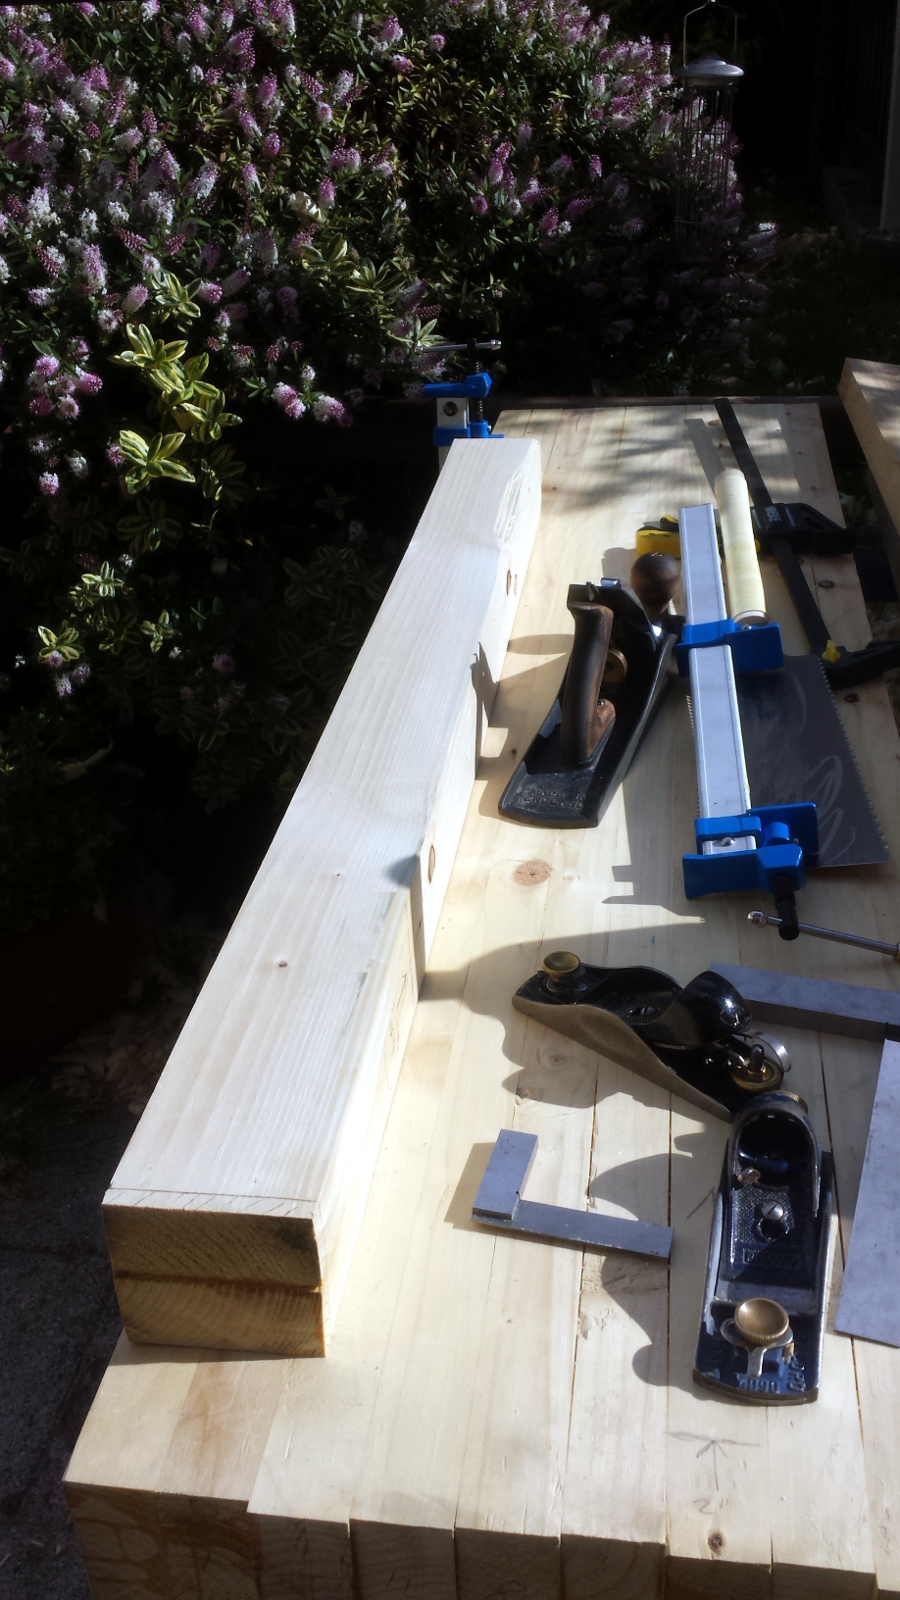
I did manage to get the legs squared up during the week, and cleaned up the stretchers though I didn't get a chance to square them up (but they weren't far off from it) so I started off by cutting the remaining two legs to length.
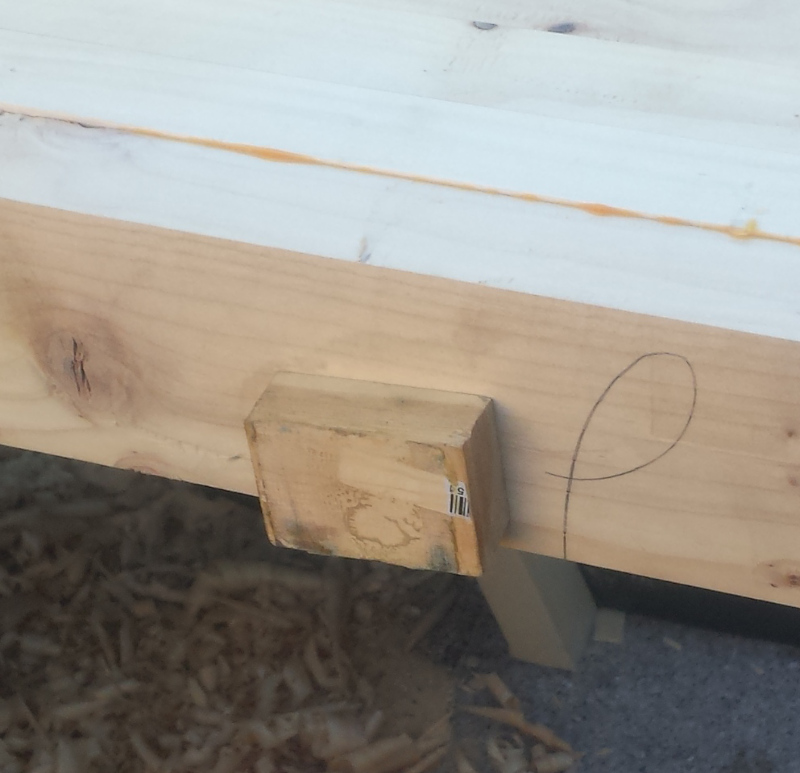
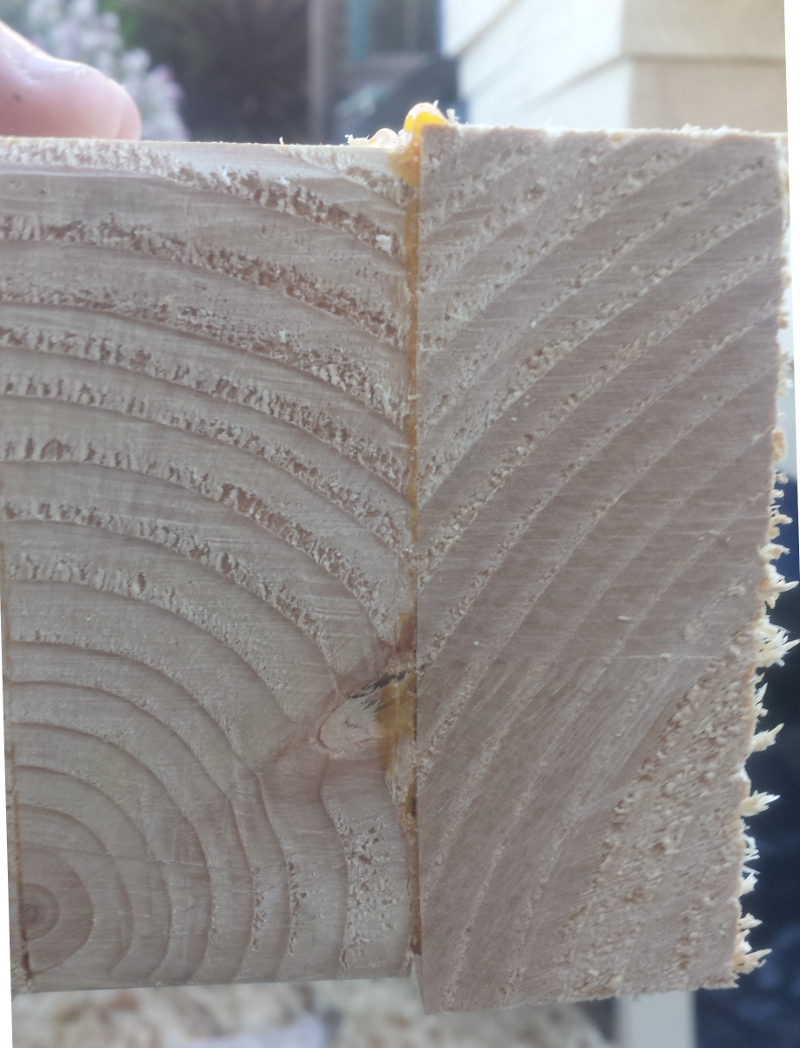
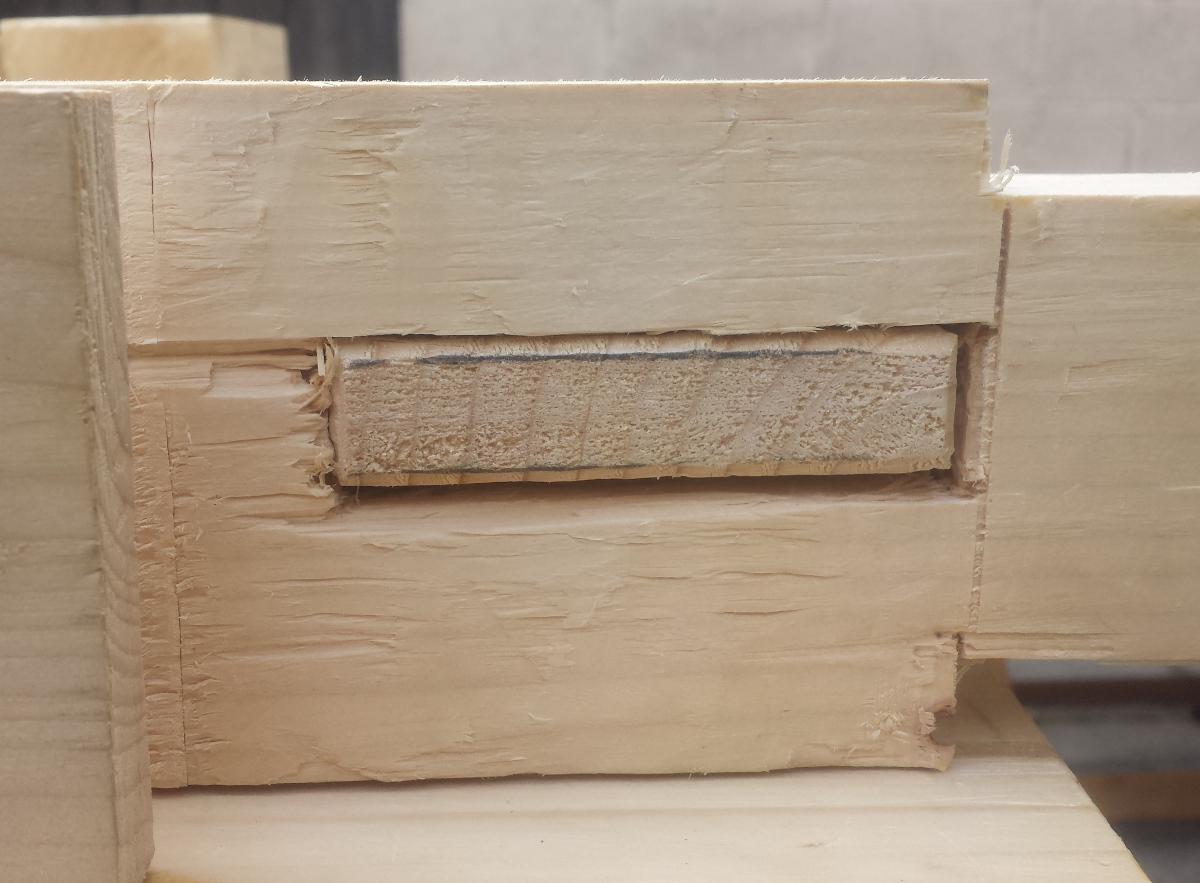
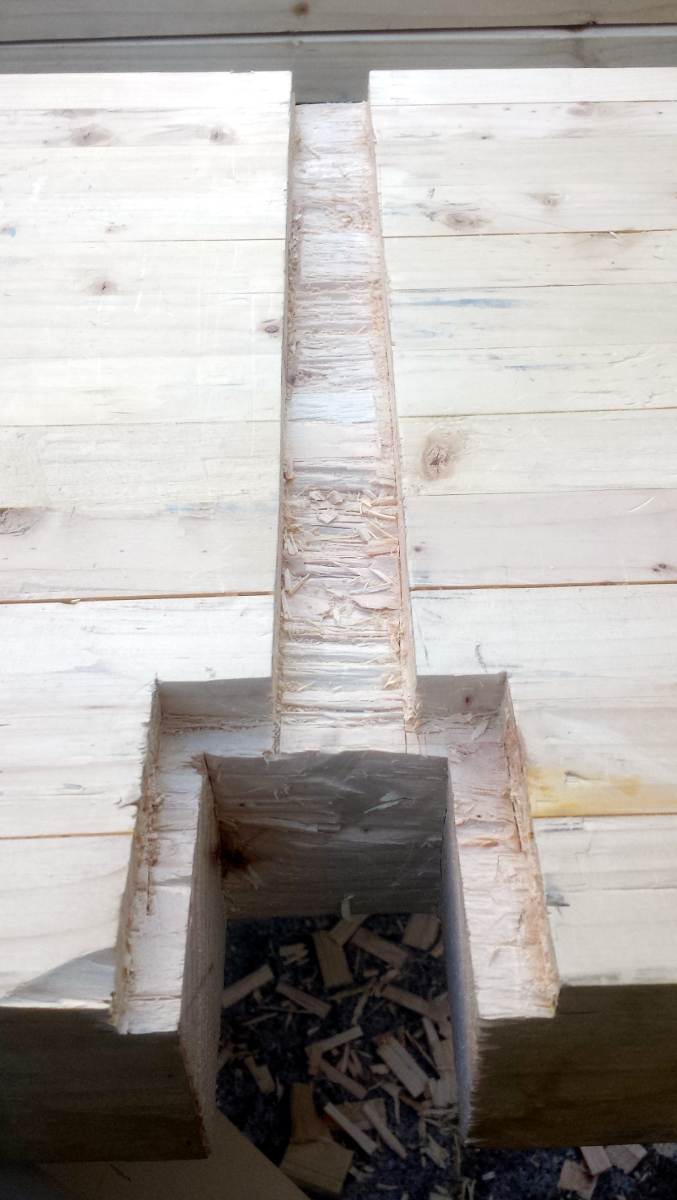
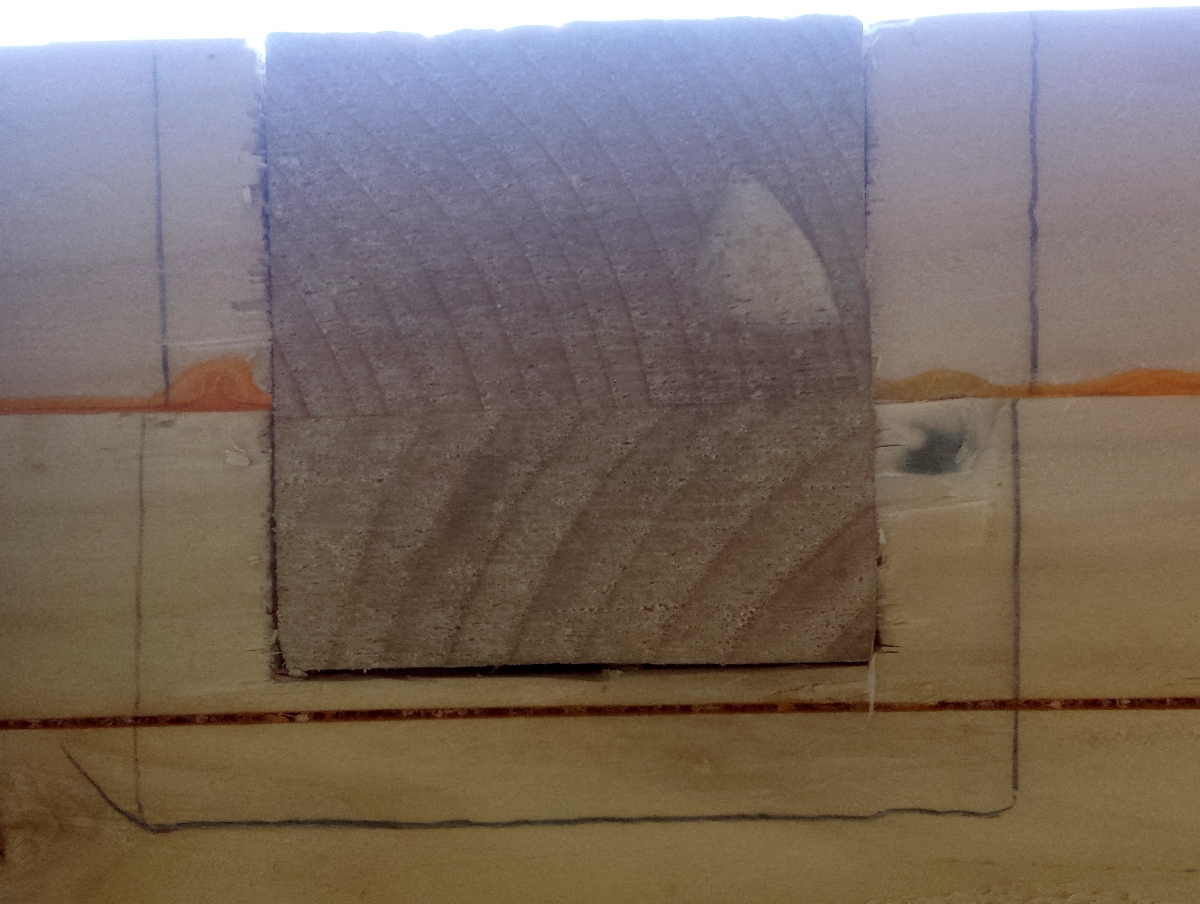
One of the legs has a rather odd defect - a small patch about two inches by eight inches was hollow-sounding on the face, as if there was a void inside the wood a few millimetres below the surface. I cut away the worst of it, and now I know which of the legs is going to the back right position and how it'll be oriented Not sure what caused it though.
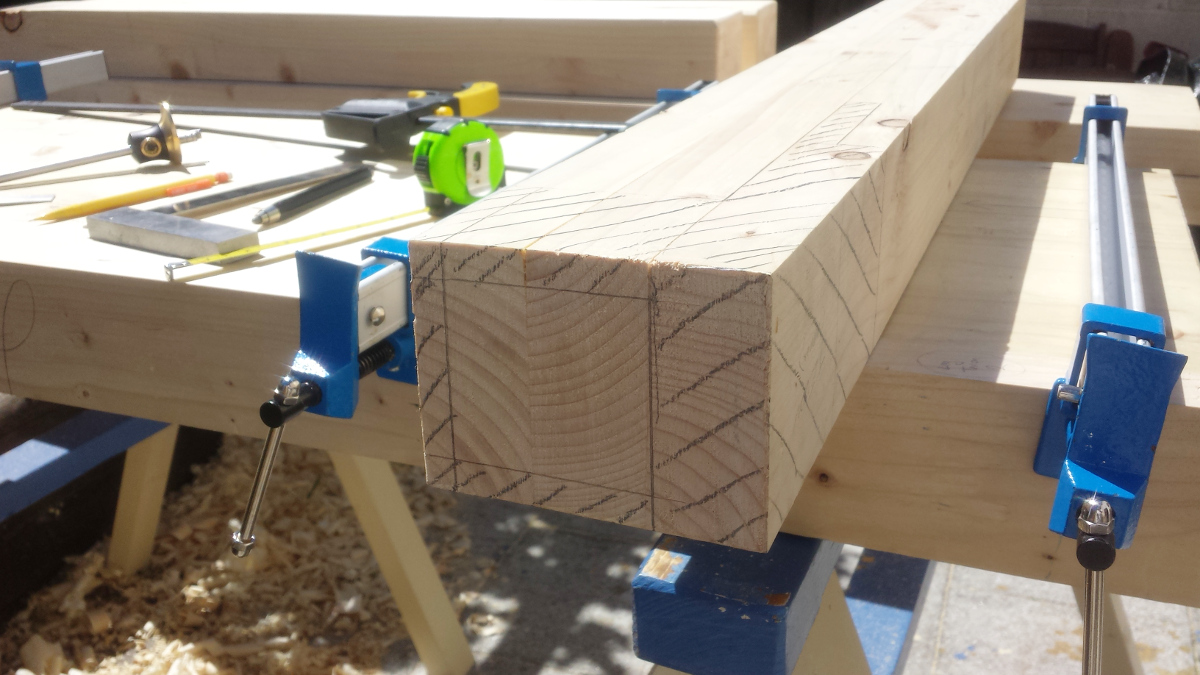
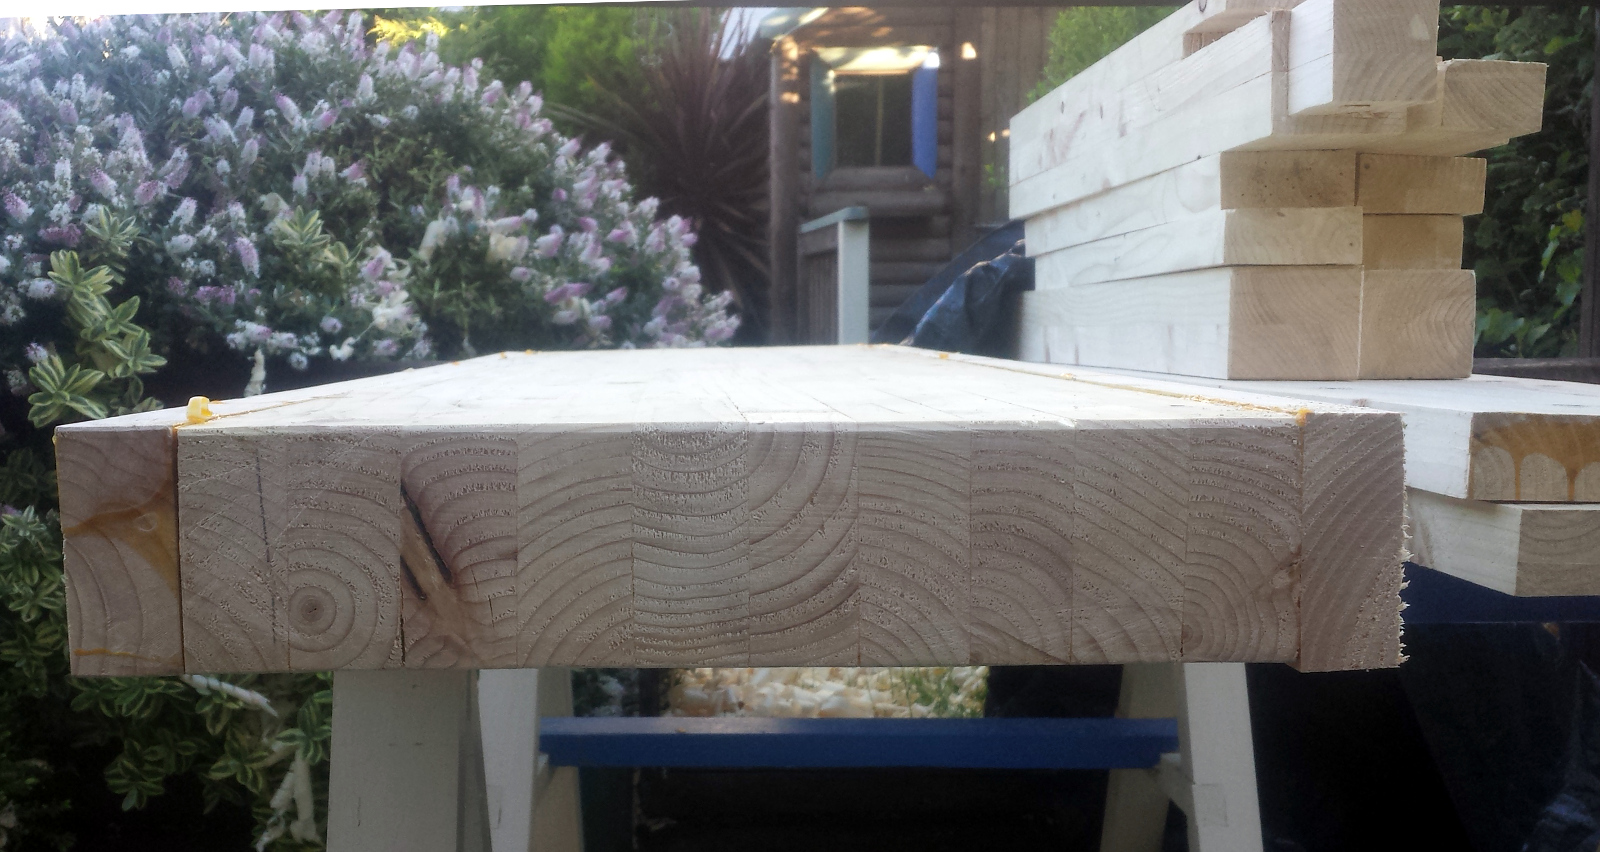
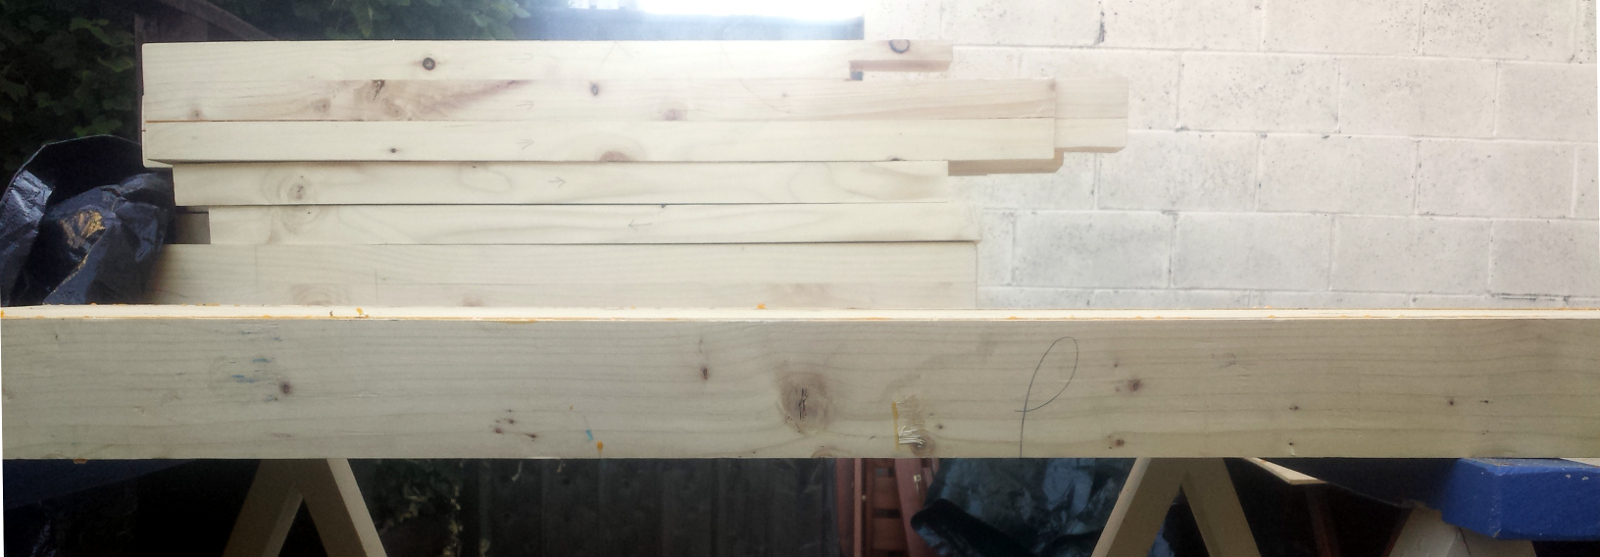
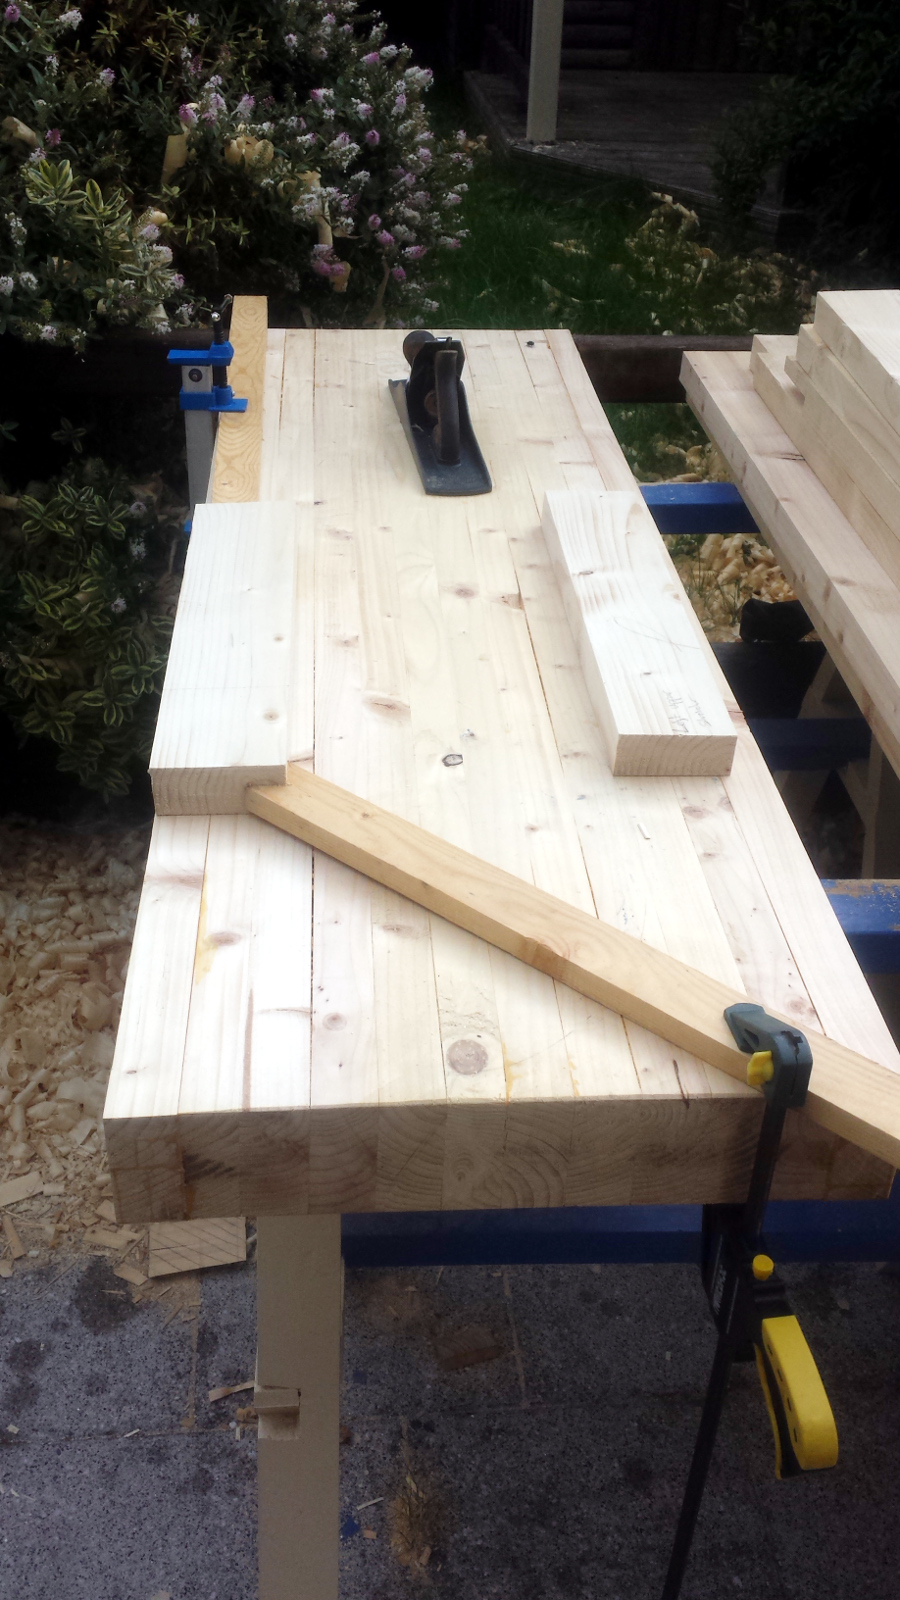
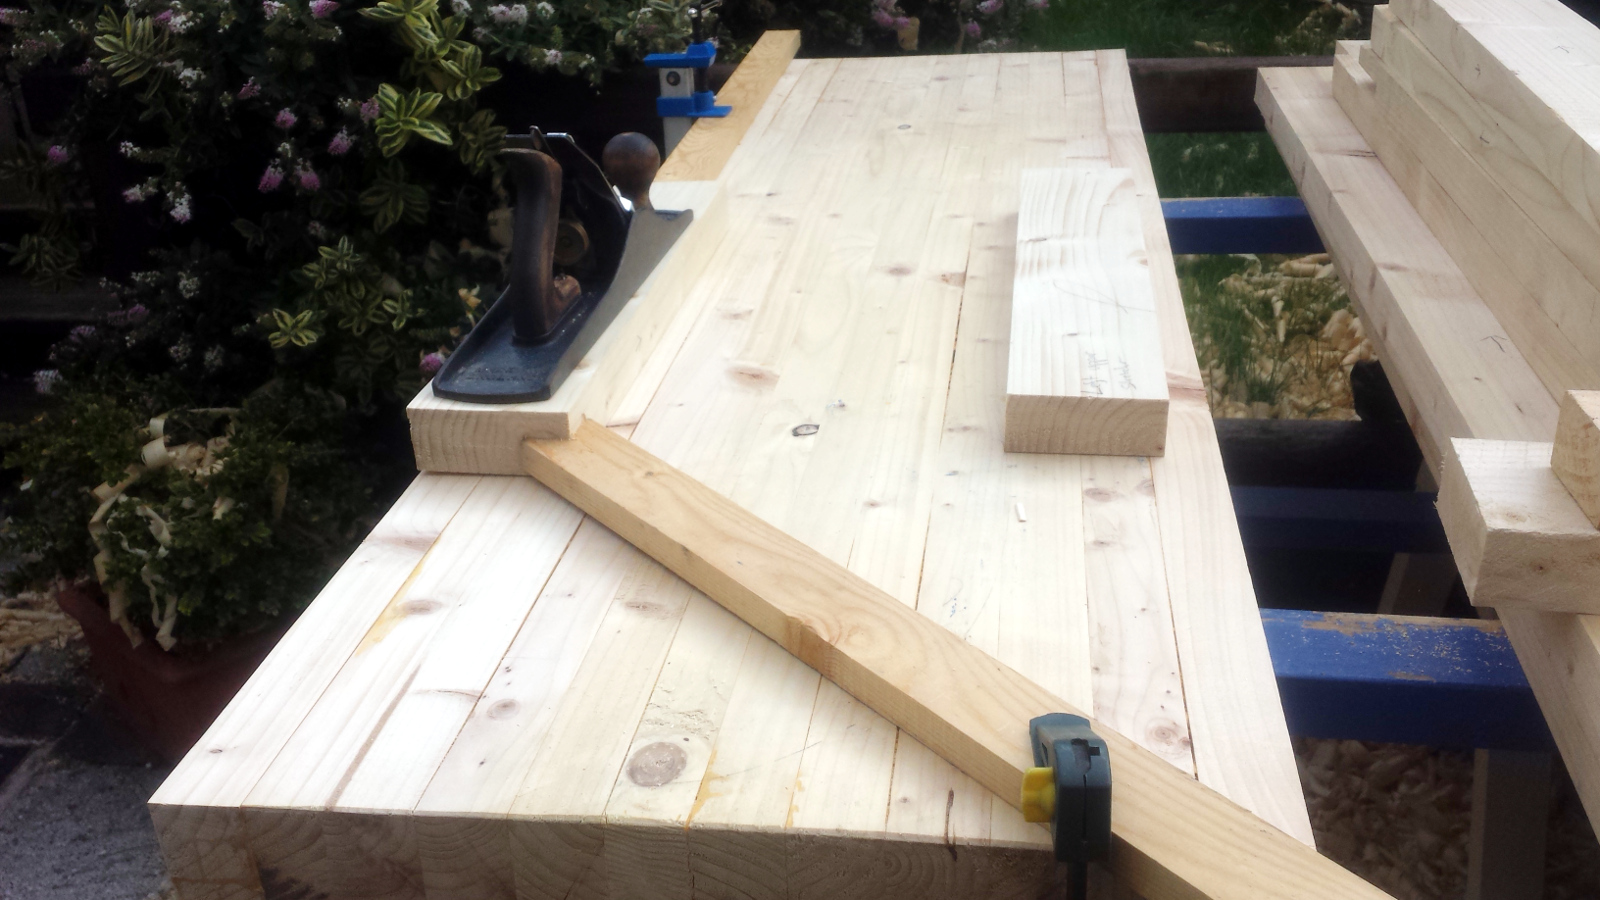
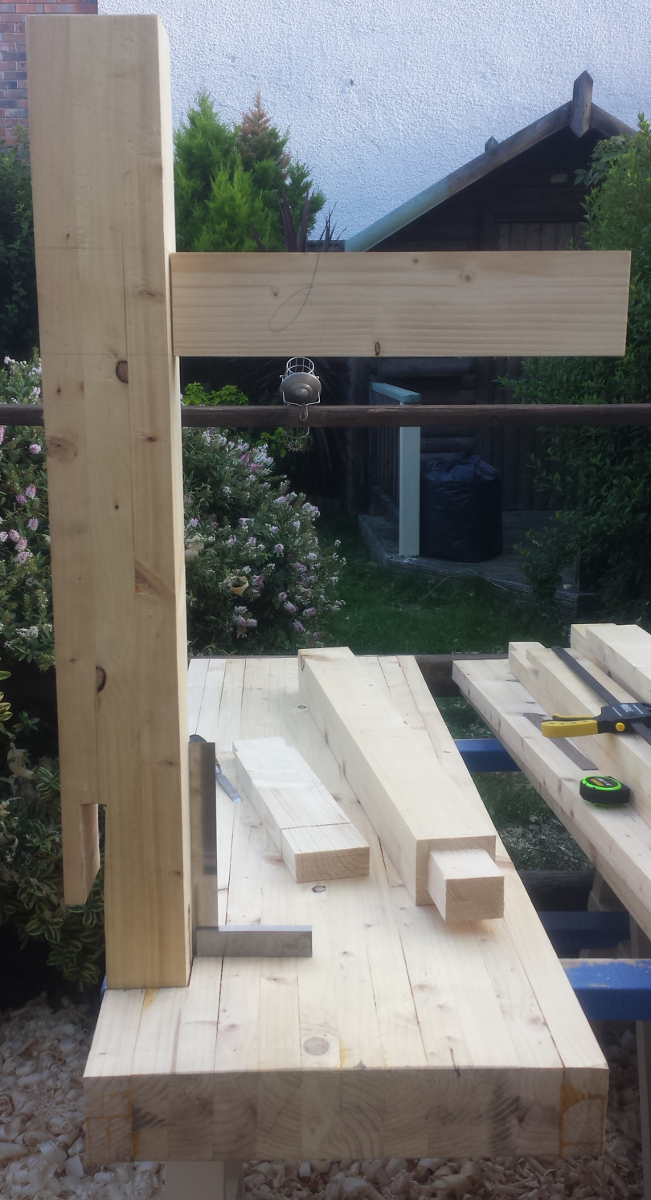
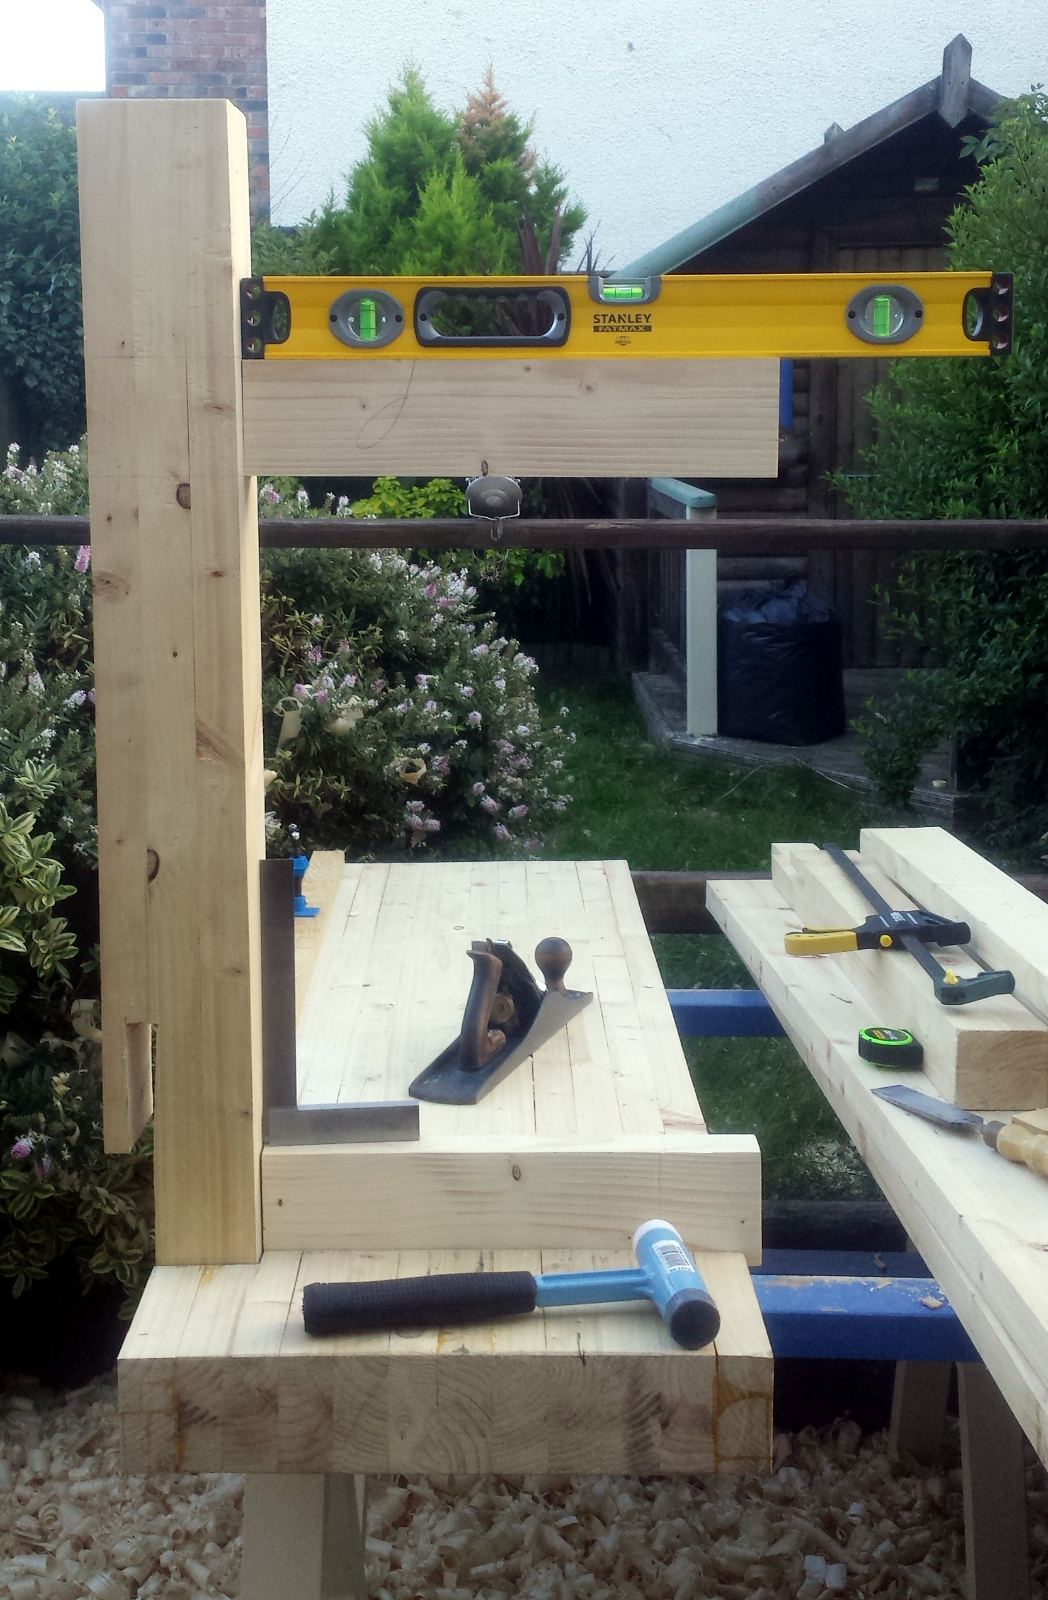
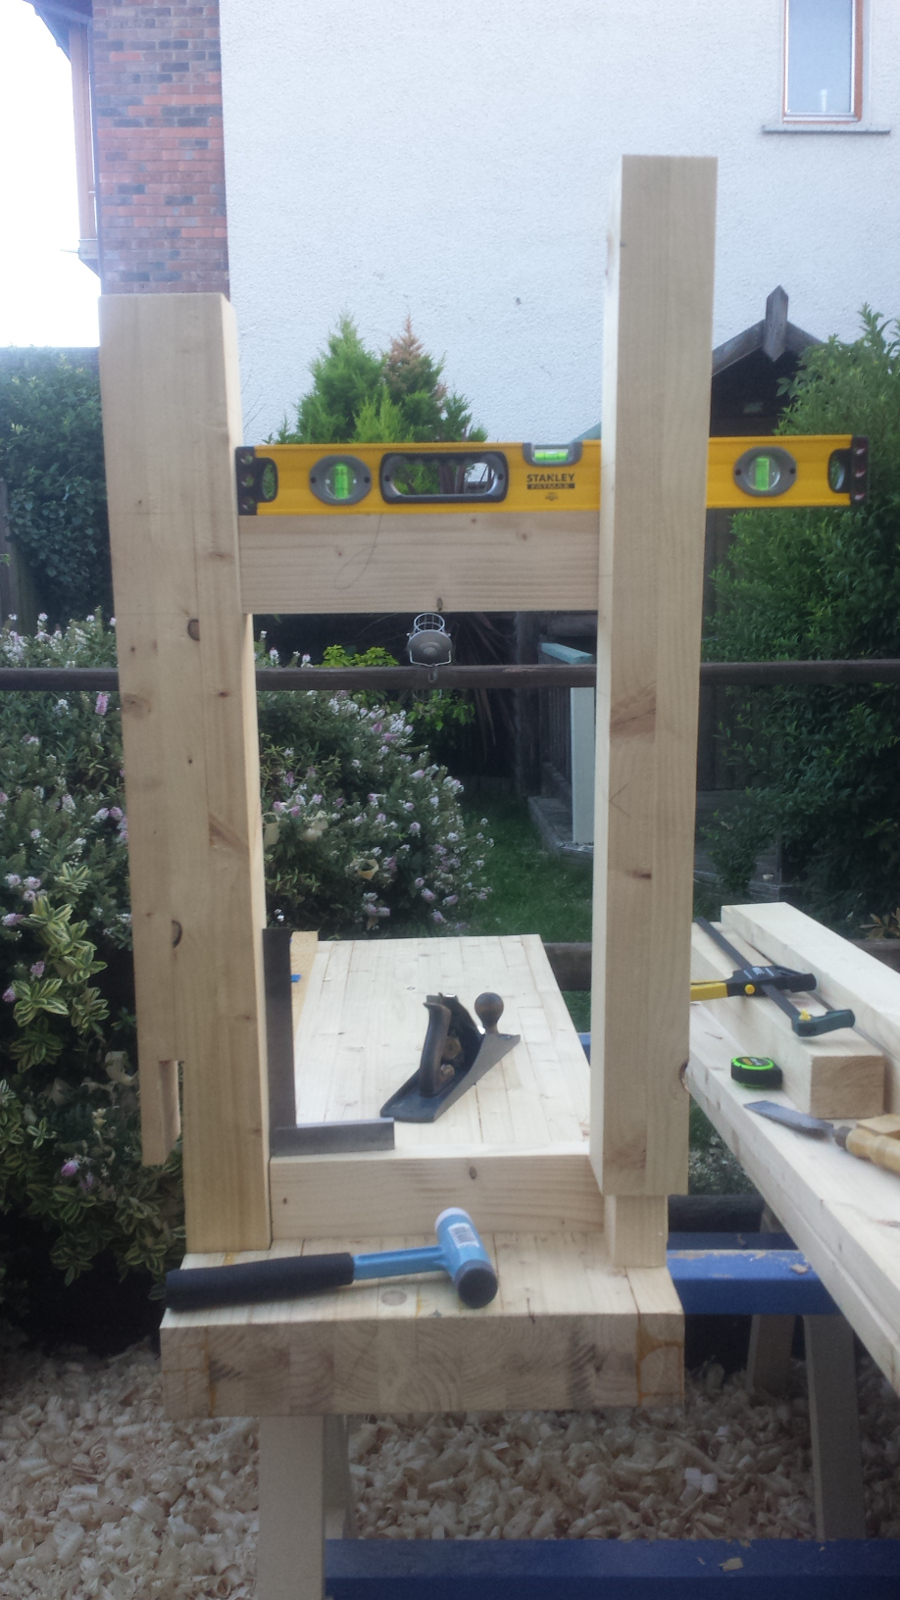
With that done, I wanted to see what kind of width the overall table would be to get an idea of what size the stretchers would be, so I put the loose leg tenon boards, the center laminated section and the aprons together and clamped them up:
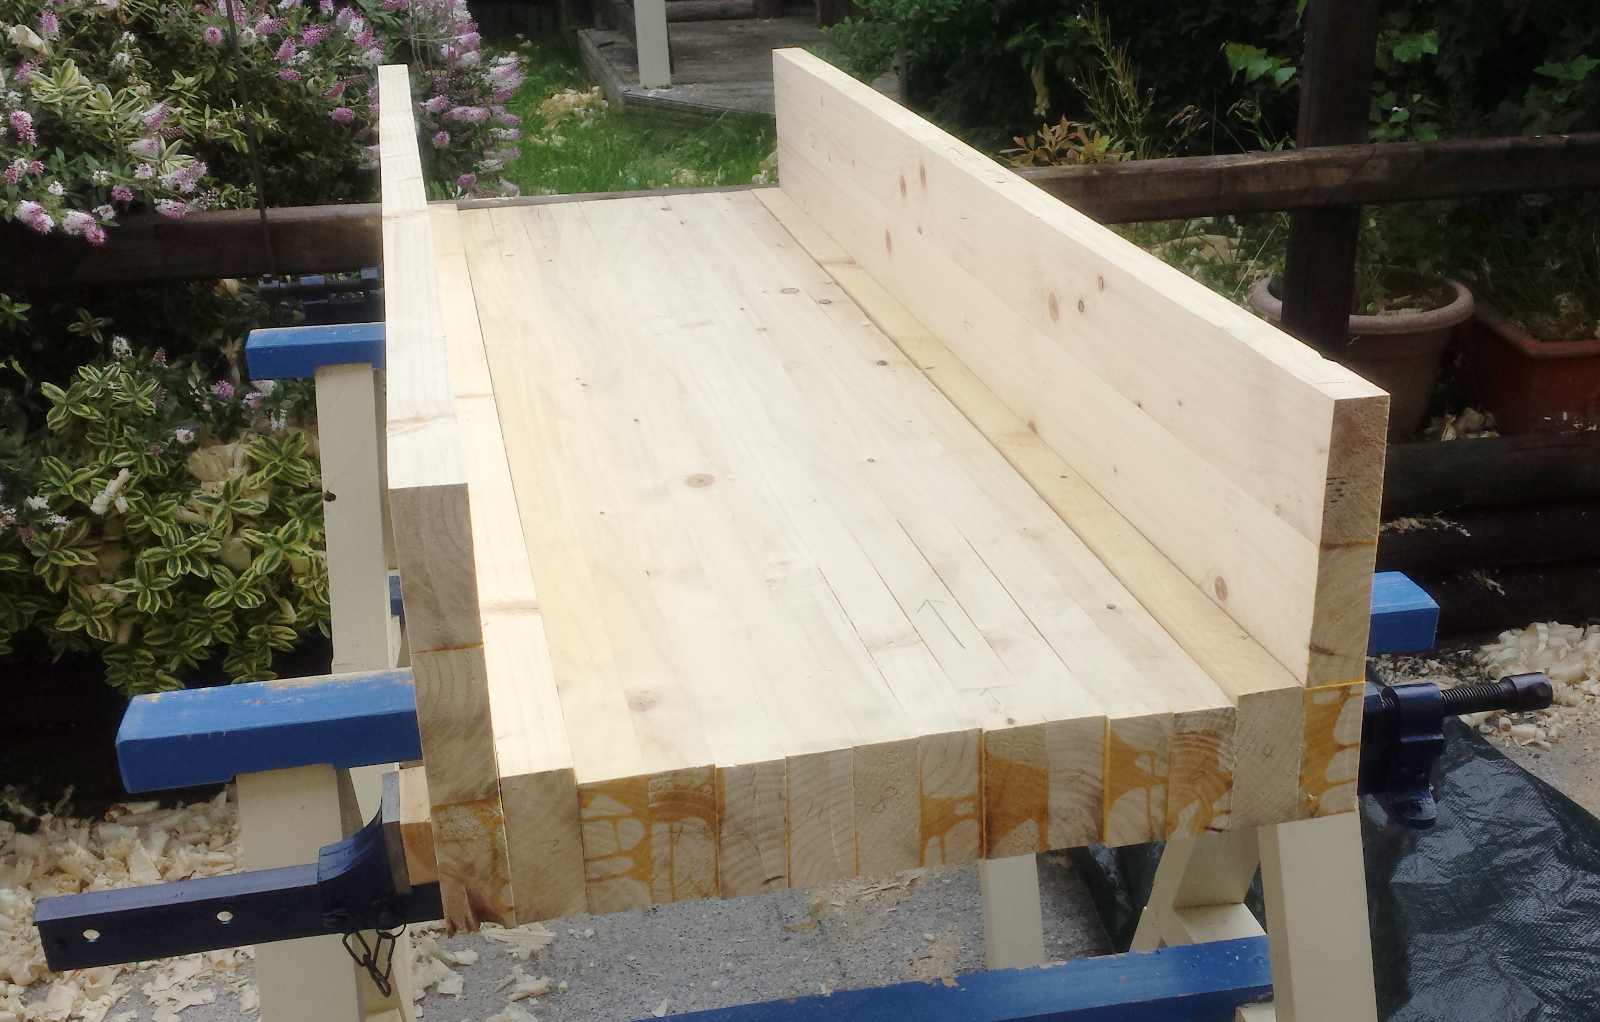
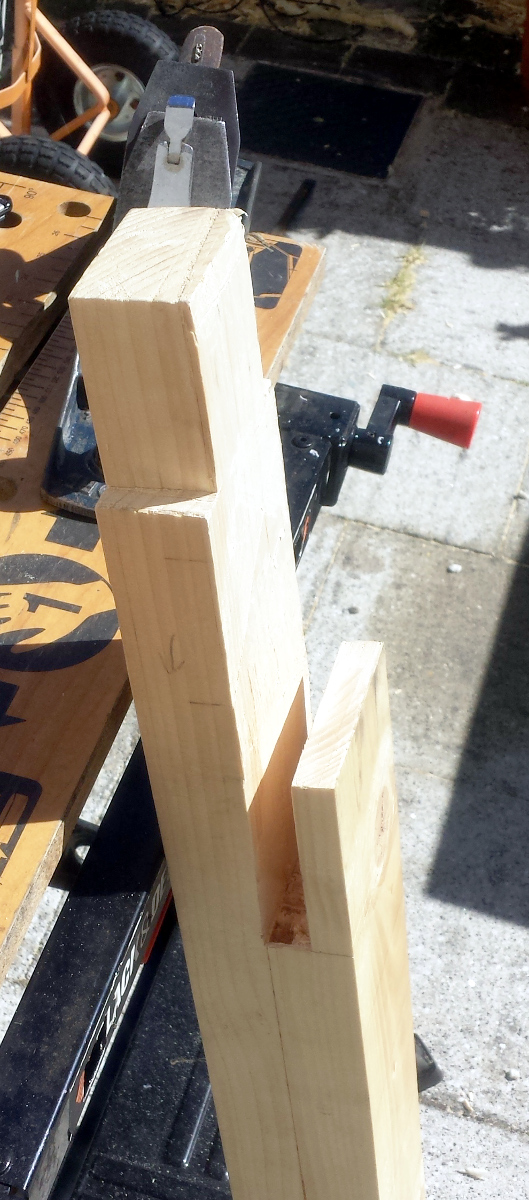
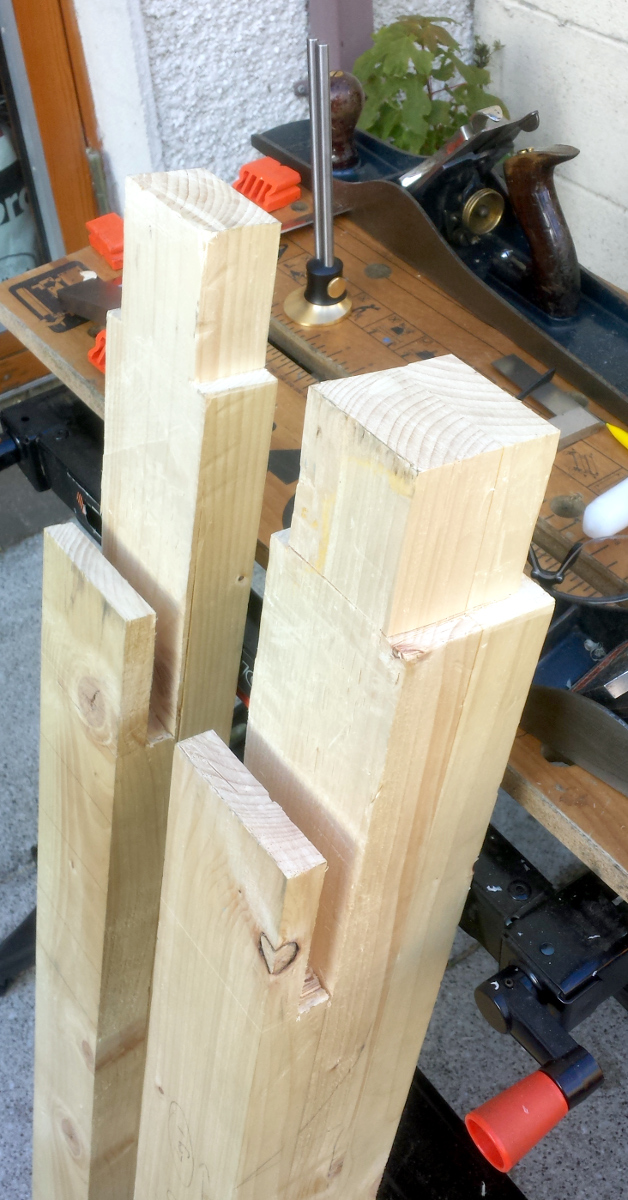
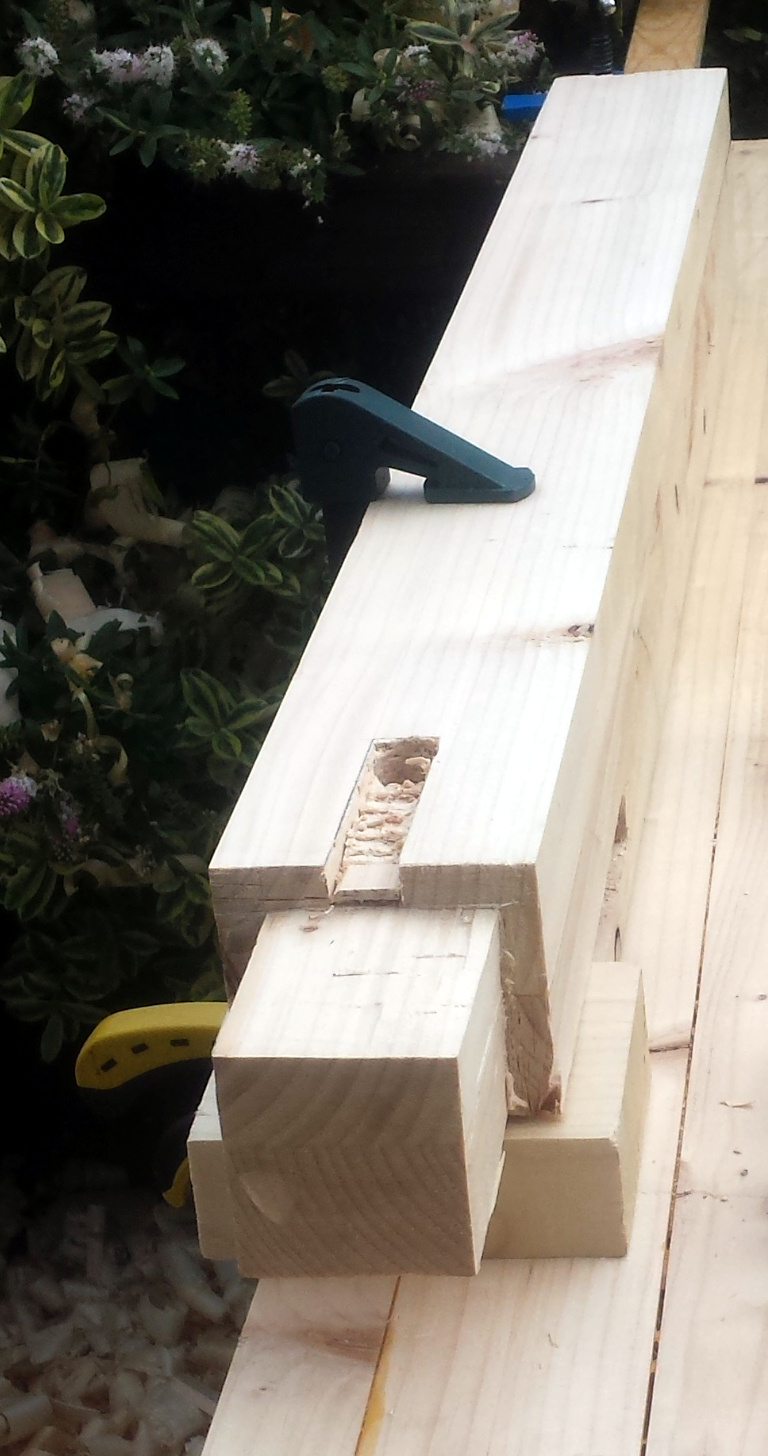
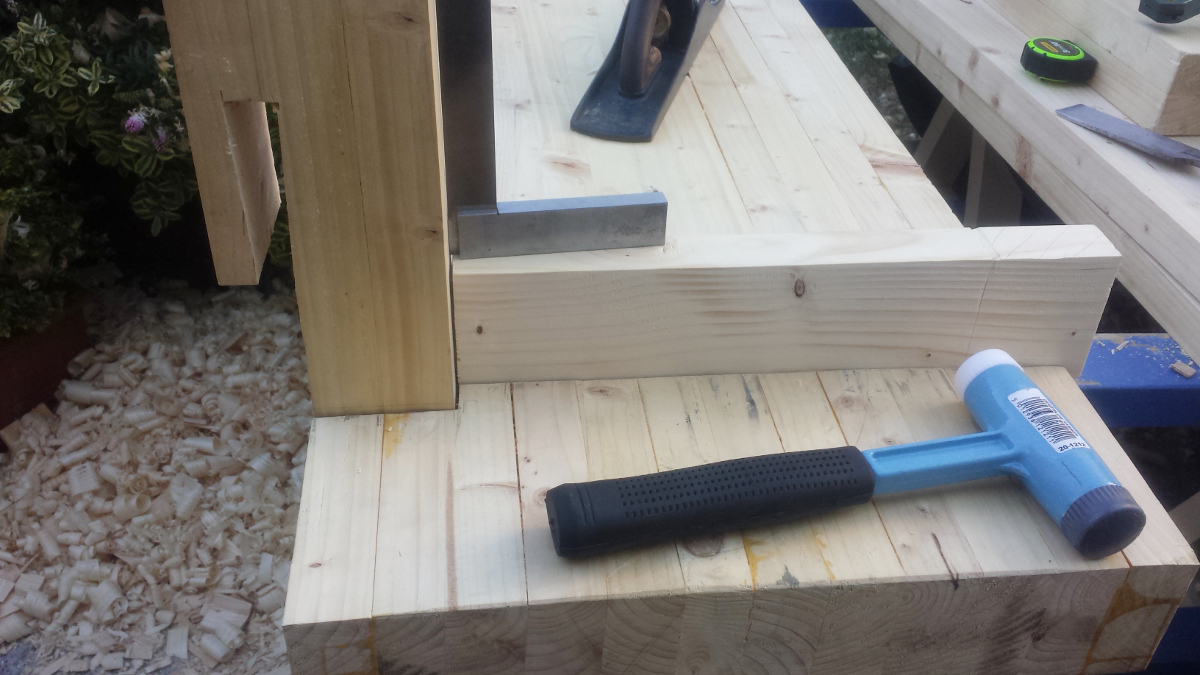
And then clamped the legs on:
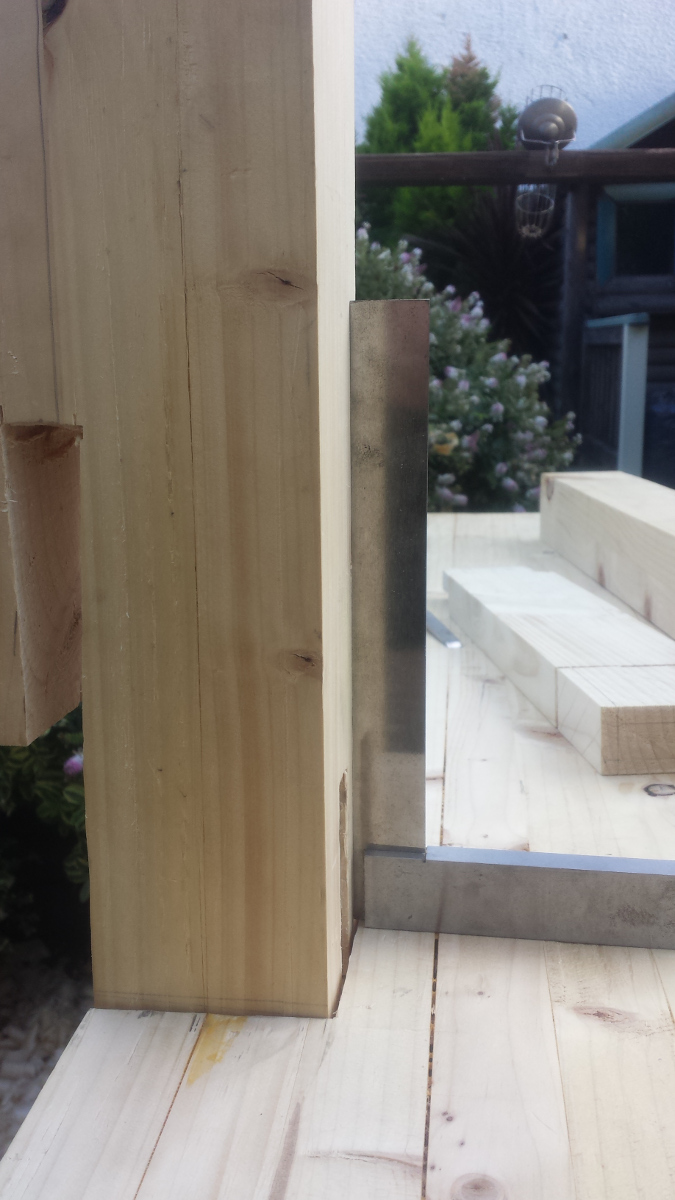
That front leg is too far back - its front face will be flush with the apron, there's a long joint to cut out there. I was looking at that for a while and thinking about it and realising that if I did that on the vice leg, there's a 4"x4" post supporting the tabletop there, which is fine, but on the others there'd only be a 2"x4" support for almost the full depth of the apron. Which struck me as a bit weaker than it had to be, so if I leave the back legs inside the apron and just have the front legs flush up, only one leg has the 2"x4" weakness problem. I'd have to dado the back legs into the apron to get the cross-bracing effect from the aprons, so it'll be a Paul sellers bench on the back side.
Hm. There's a joke in there somewhere. But nevermind, on we go. Have to get the thickness of those leg tenon boards handled first though...
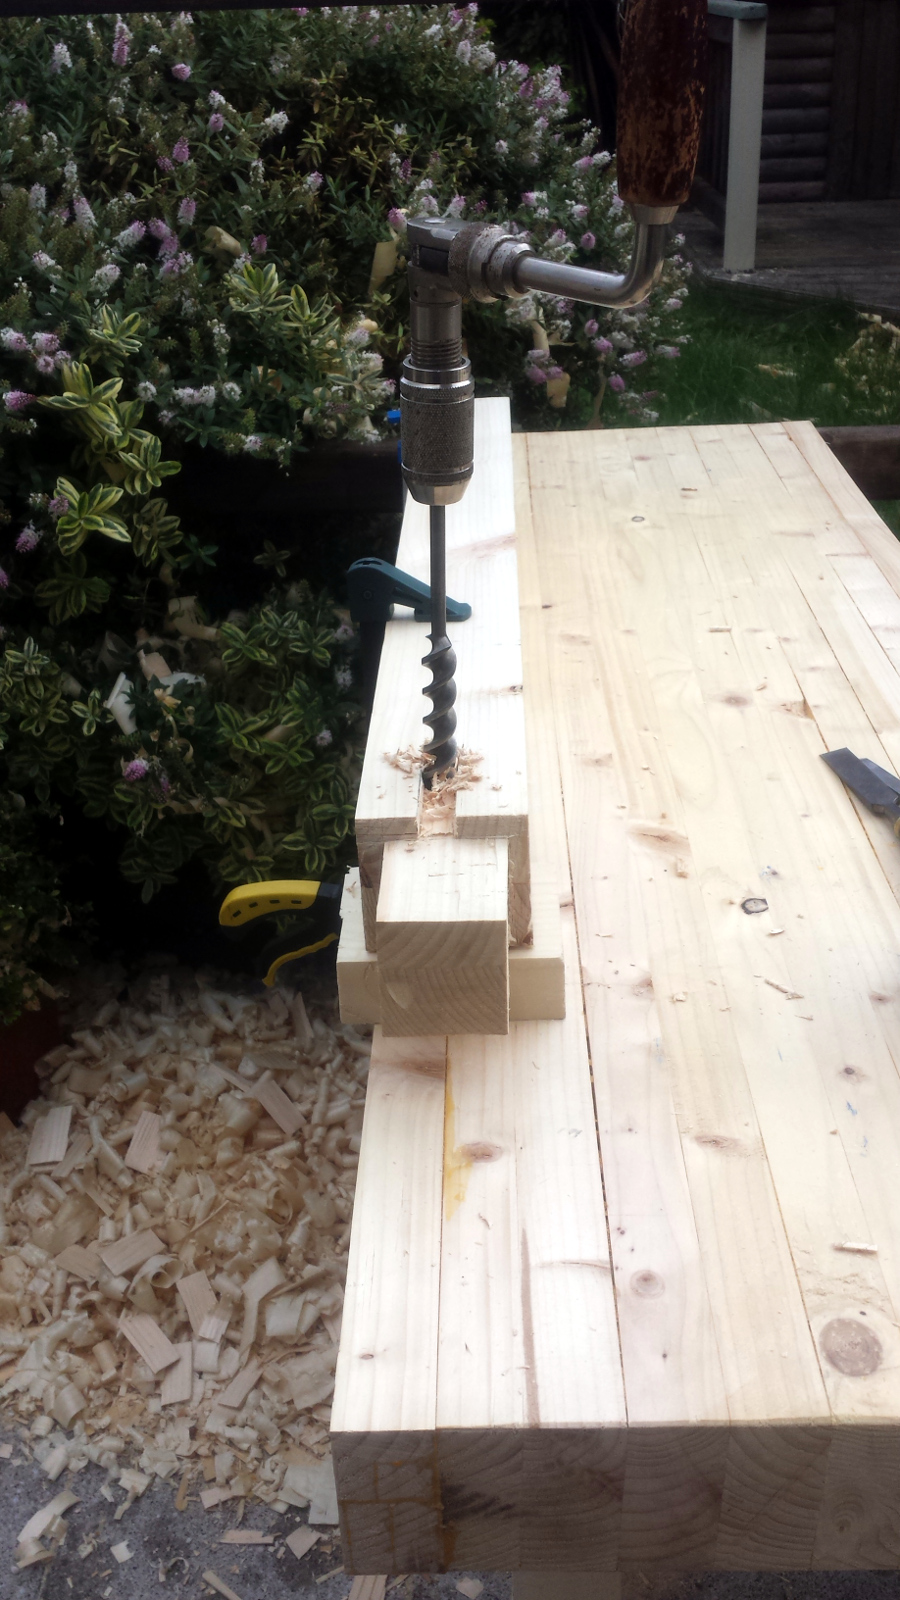
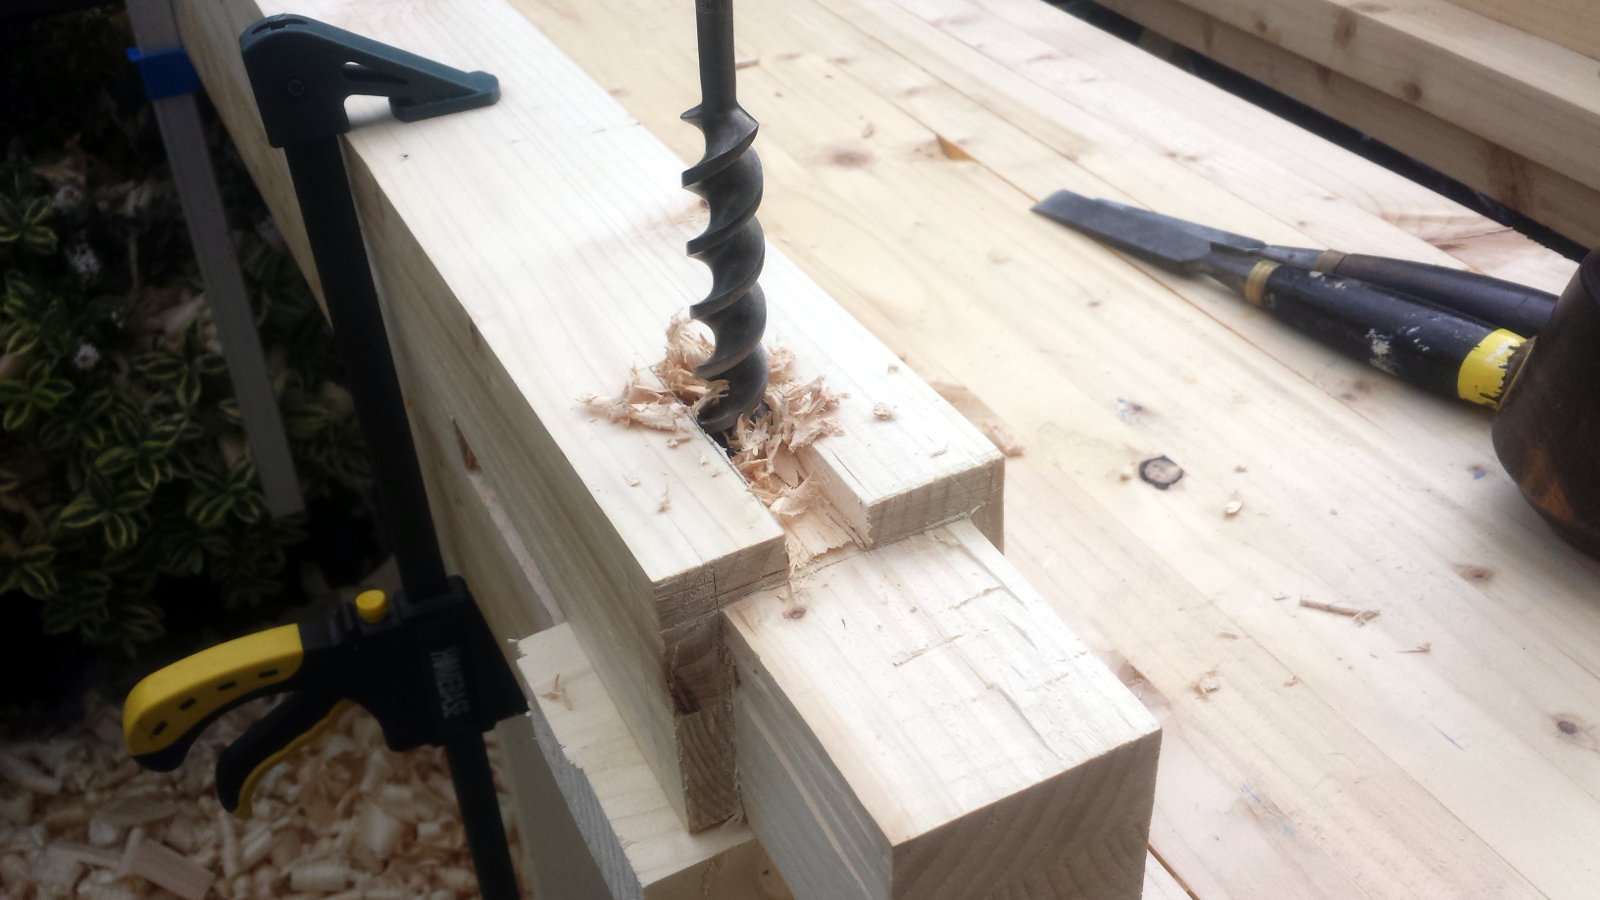
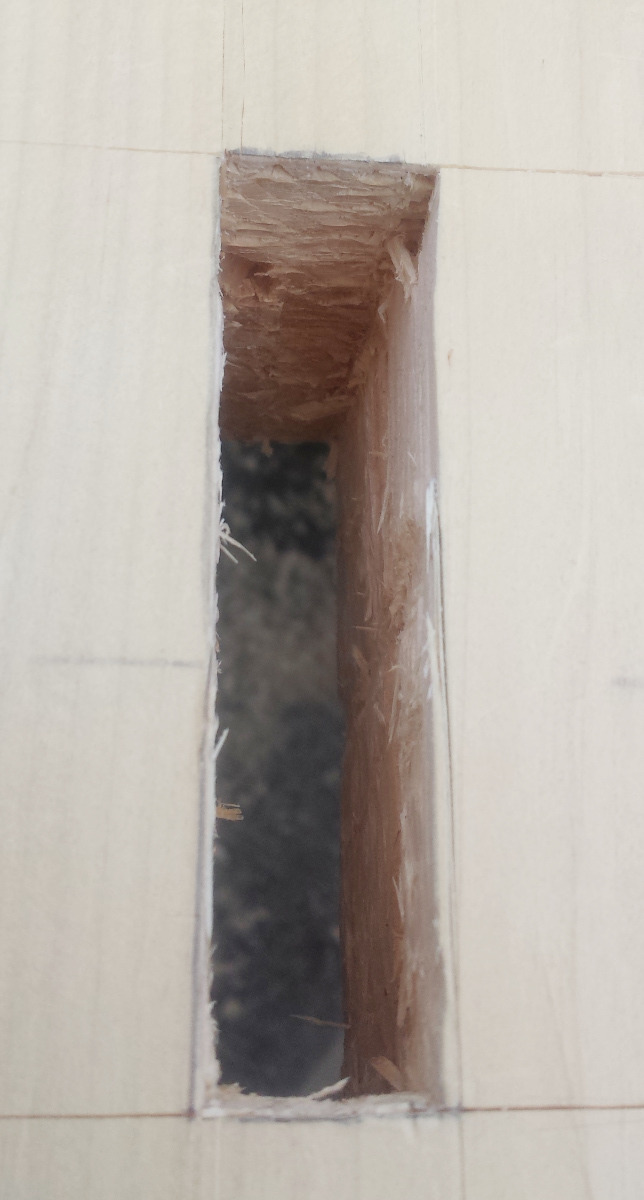
Out with sid, hog off most of it, then the #5½ and #7 to clean up. Didn't take more than ten minutes for each one.
And now, need to cut the benchtop to final length, more to get a reference face to measure off for the leg tenon positions than anything else. That job rather sucked.
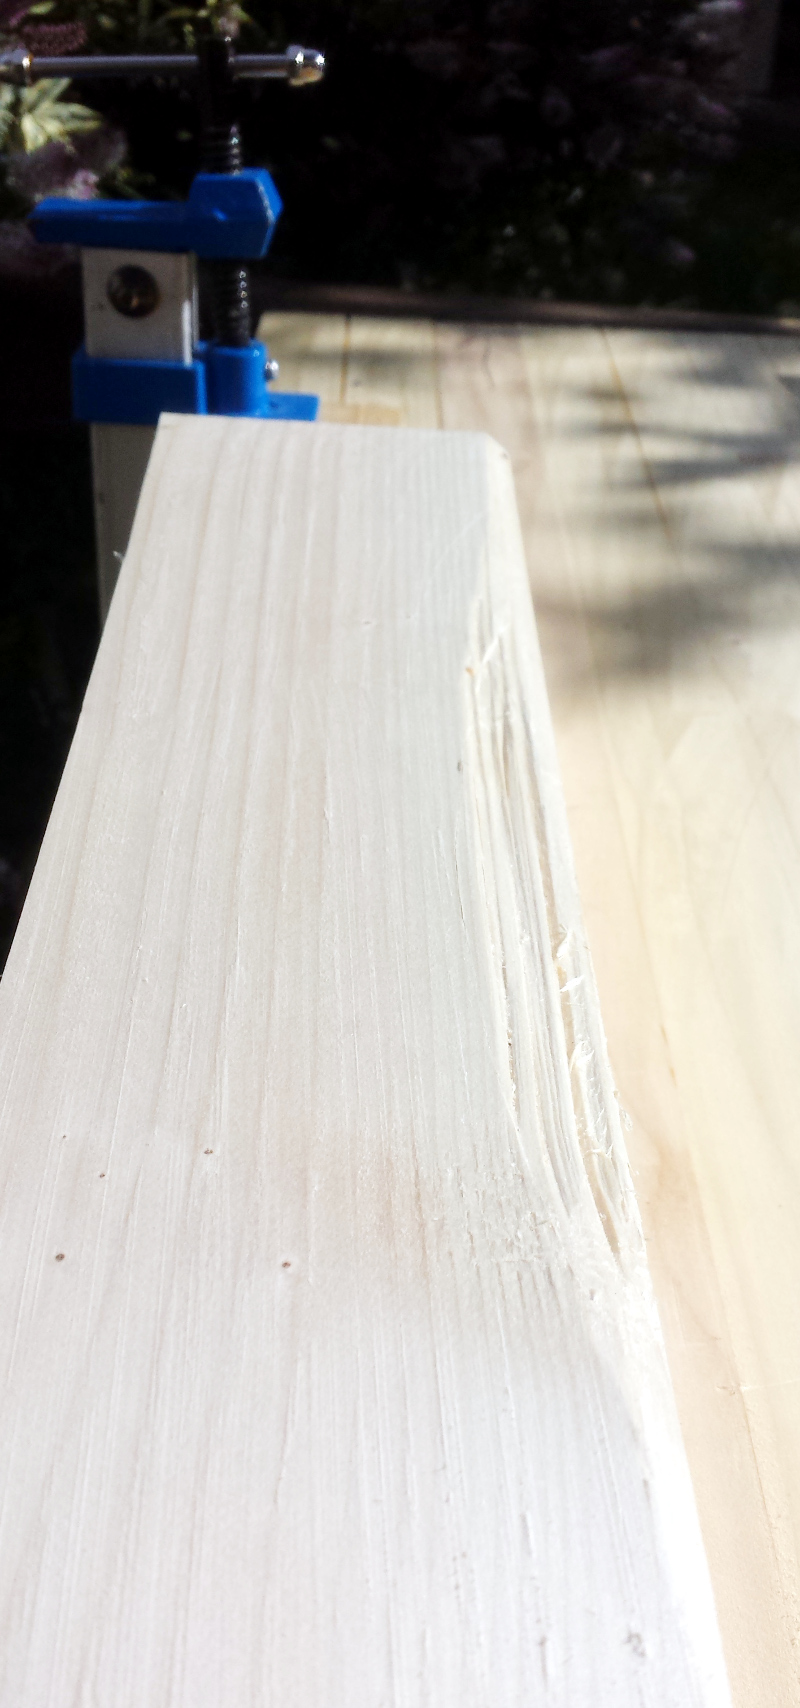
Cut the knifewall line around the bench, as close to that end as possible (the other end will get a bit over two inches cut off, which will take care of a knot or two). Then got out the giant japanese saw and proceeded to hack away, but unlike the last few cuts, this one wandered a little (well, it's a larger cut I suppose, it'd show up a klutz wielding a sharp bit of metal more readily). I flipped the board over half-way through so the cuts met in the middle and left a millimetre of a step between the two, and then went at it with a plane to tidy it up. It's still a bit ragged, but by that point it was after sunset and I figured mucking about with sharp edged metal things in the dark was possibly not the best of ideas, so I drew a line under it at that point. The forecast for tomorrow is for dry weather, so I might make actual progress, assuming that the world doesn't end. I mean, the way things seem to be going every time I look at the news on twitter, I'm half-expecting aliens to arrive just after President Trump and the Queen are assassinated at their first official meeting by Prince Philip...
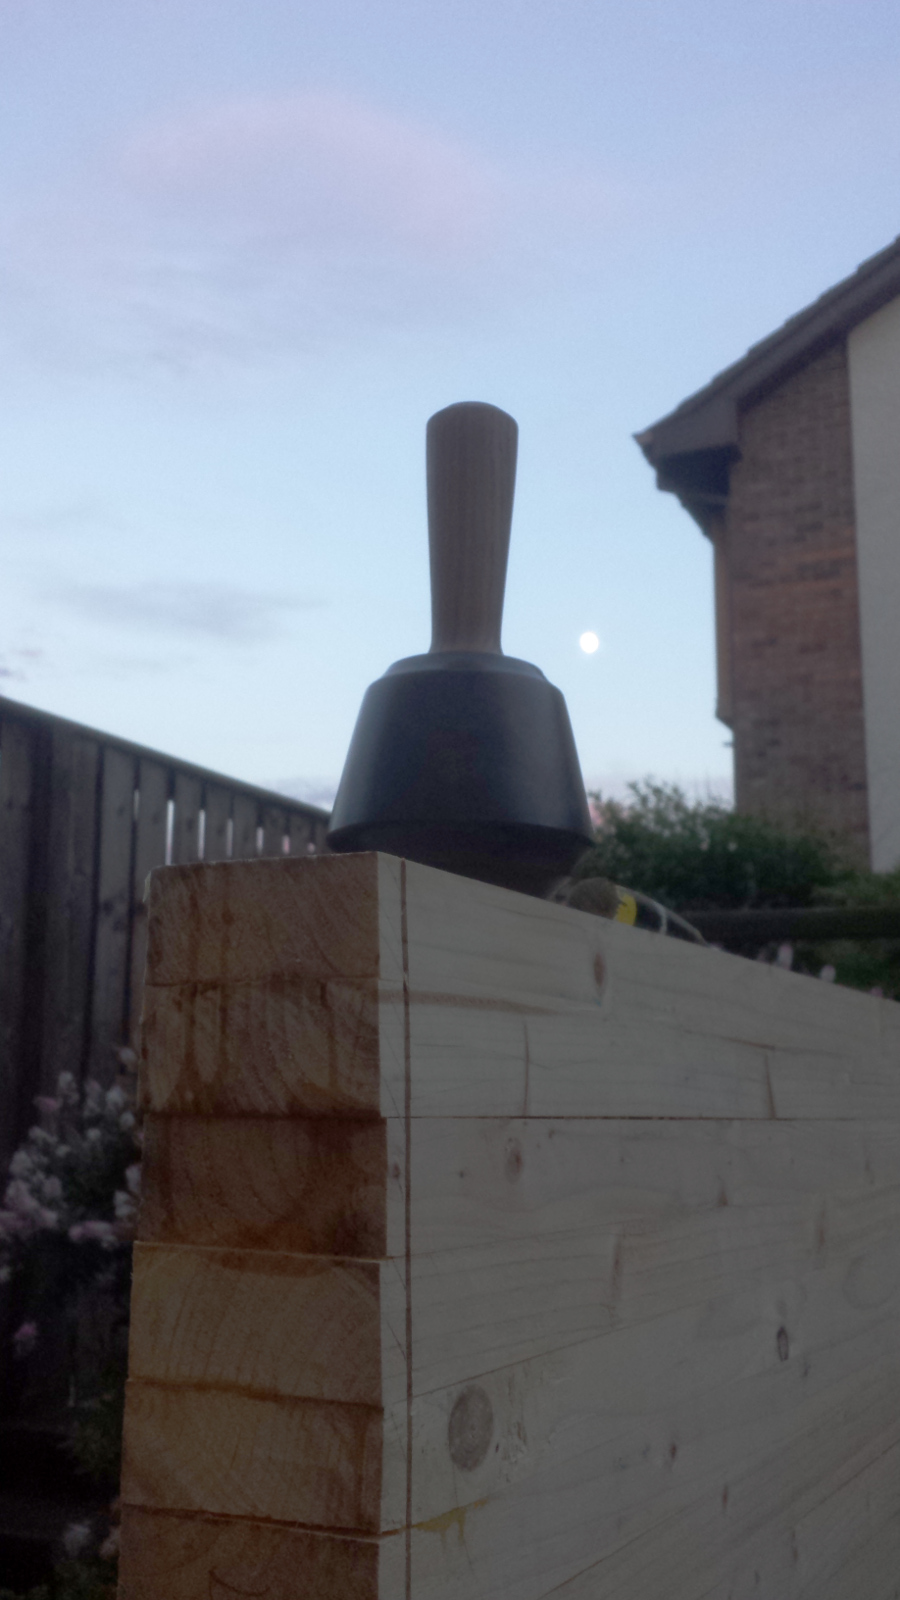
Isn't it pretty?
And it works nicely too ("works nicely? It's a mallet, not a fire control computer, it's a lump of wood wot you 'it things wit', wot's e on about?" and so on, but it's lovely and well-balanced and solid and the weight's just grand). Anyway...I did manage to get the legs squared up during the week, and cleaned up the stretchers though I didn't get a chance to square them up (but they weren't far off from it) so I started off by cutting the remaining two legs to length.
One of the legs has a rather odd defect - a small patch about two inches by eight inches was hollow-sounding on the face, as if there was a void inside the wood a few millimetres below the surface. I cut away the worst of it, and now I know which of the legs is going to the back right position and how it'll be oriented
Not sure what caused it though.
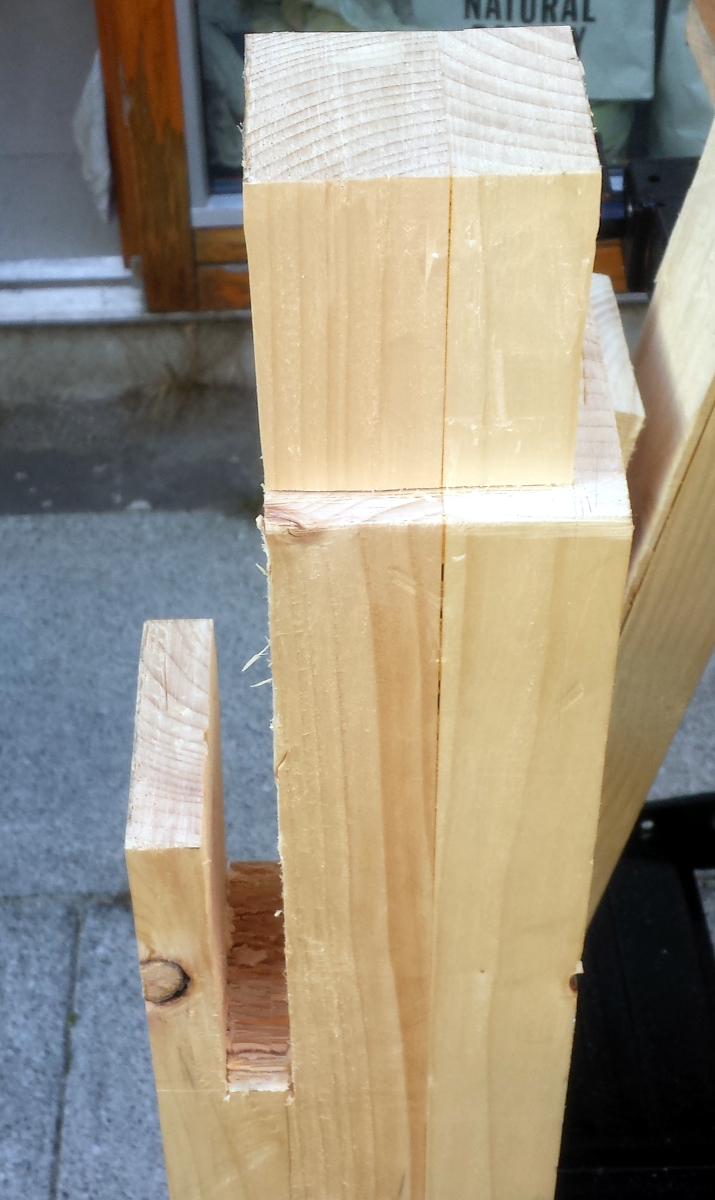
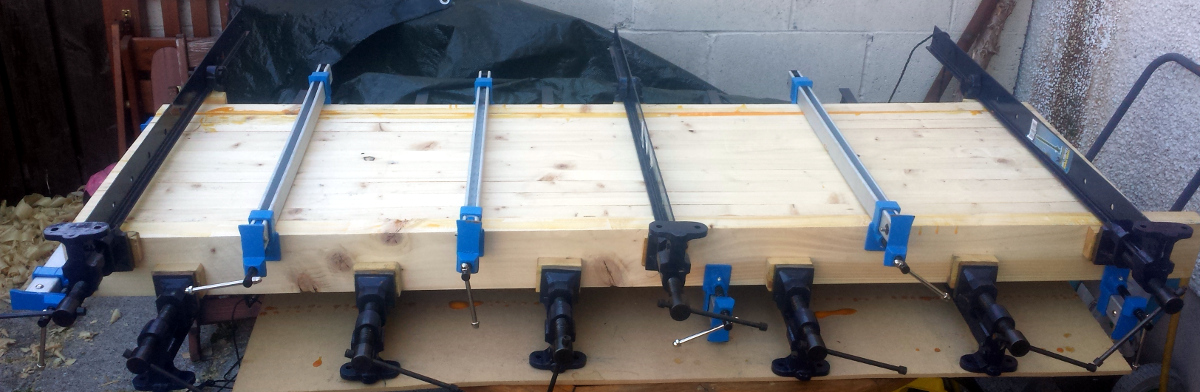
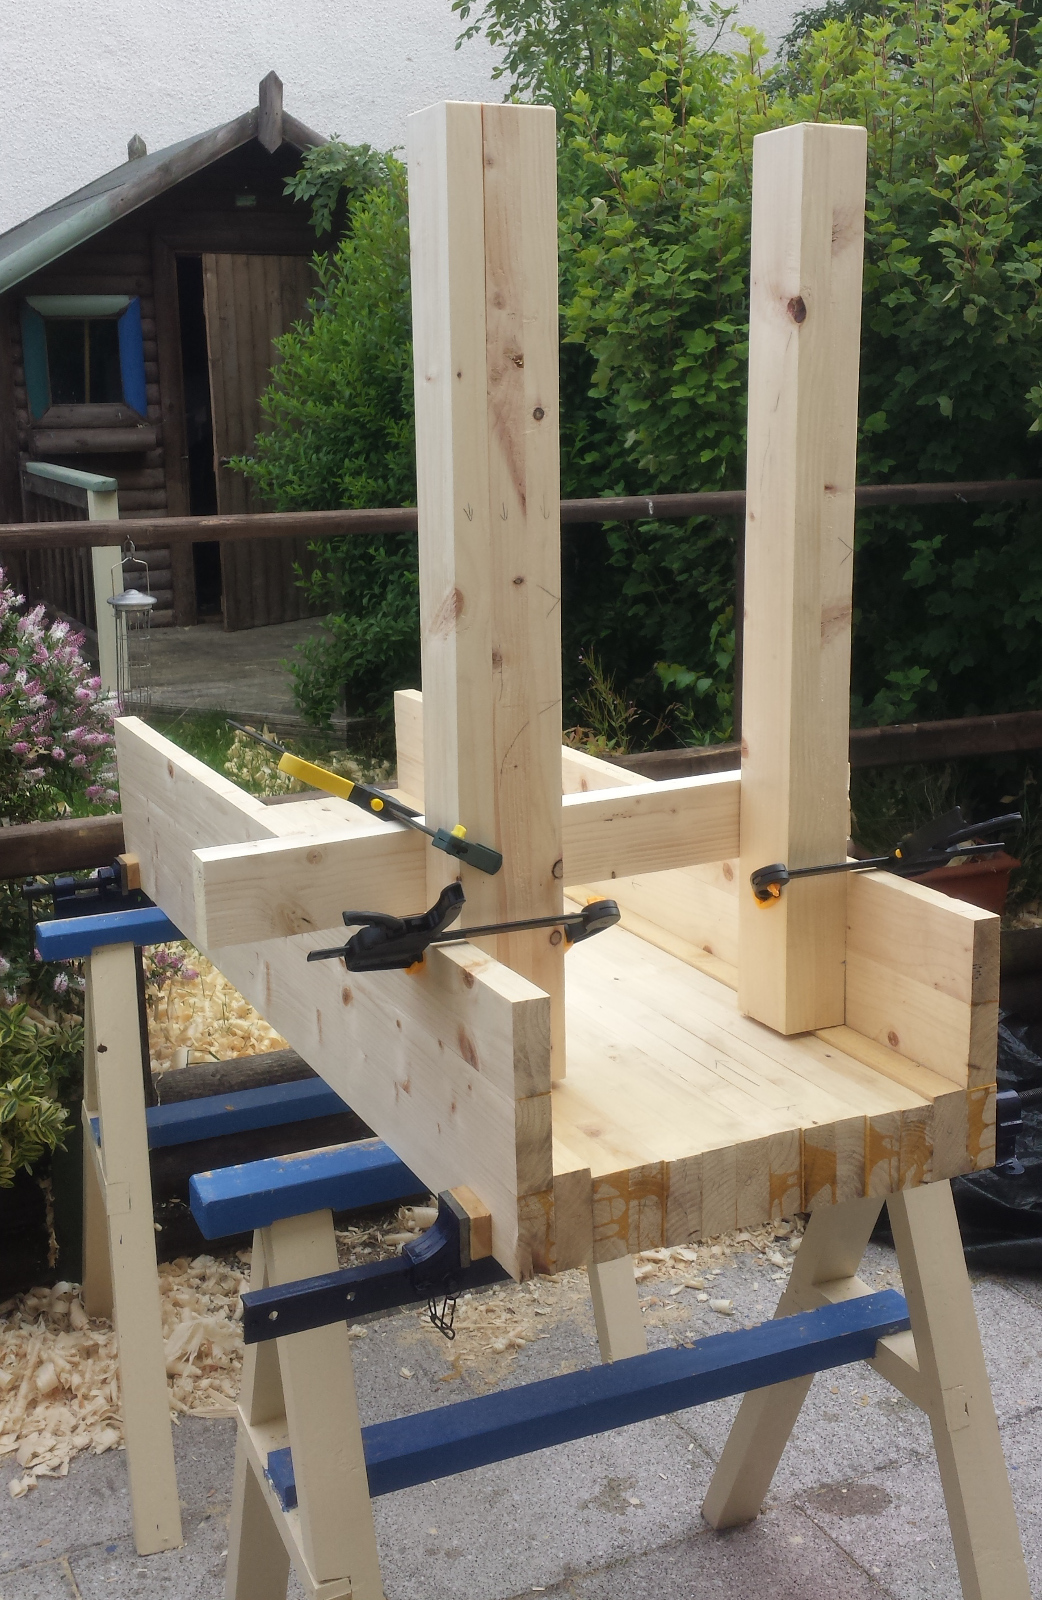
With that done, I wanted to see what kind of width the overall table would be to get an idea of what size the stretchers would be, so I put the loose leg tenon boards, the center laminated section and the aprons together and clamped them up:
And then clamped the legs on:
That front leg is too far back - its front face will be flush with the apron, there's a long joint to cut out there. I was looking at that for a while and thinking about it and realising that if I did that on the vice leg, there's a 4"x4" post supporting the tabletop there, which is fine, but on the others there'd only be a 2"x4" support for almost the full depth of the apron. Which struck me as a bit weaker than it had to be, so if I leave the back legs inside the apron and just have the front legs flush up, only one leg has the 2"x4" weakness problem. I'd have to dado the back legs into the apron to get the cross-bracing effect from the aprons, so it'll be a Paul sellers bench on the back side.
Hm. There's a joke in there somewhere. But nevermind, on we go. Have to get the thickness of those leg tenon boards handled first though...
Out with sid, hog off most of it, then the #5½ and #7 to clean up. Didn't take more than ten minutes for each one.
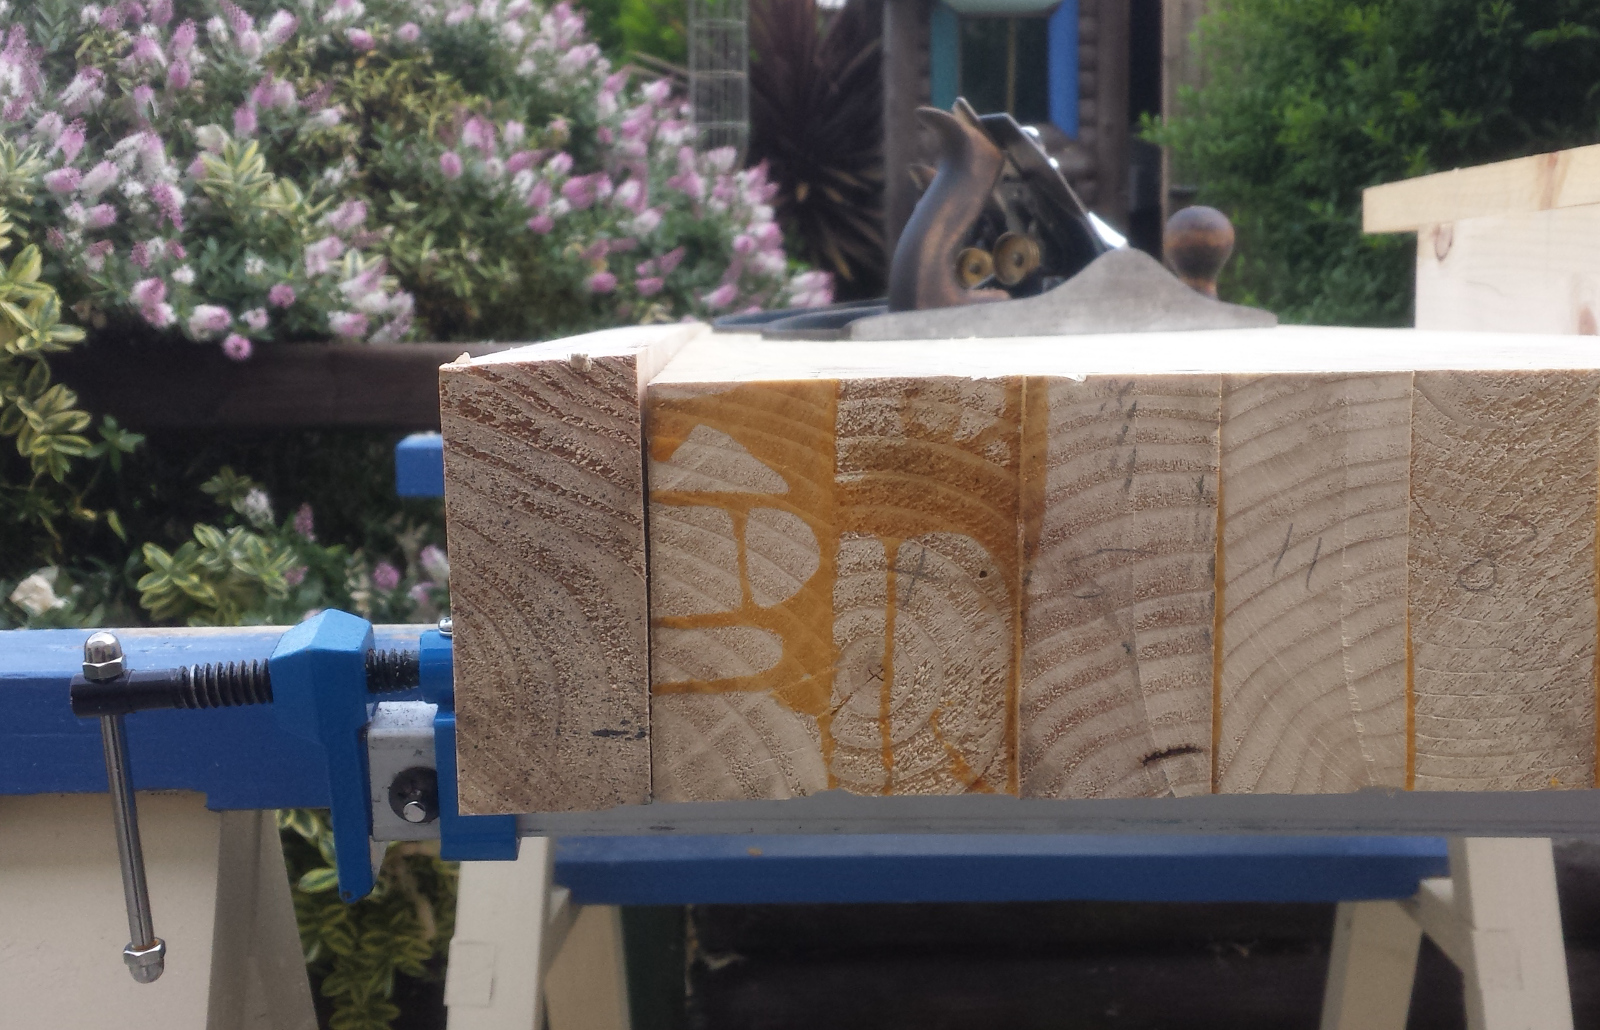
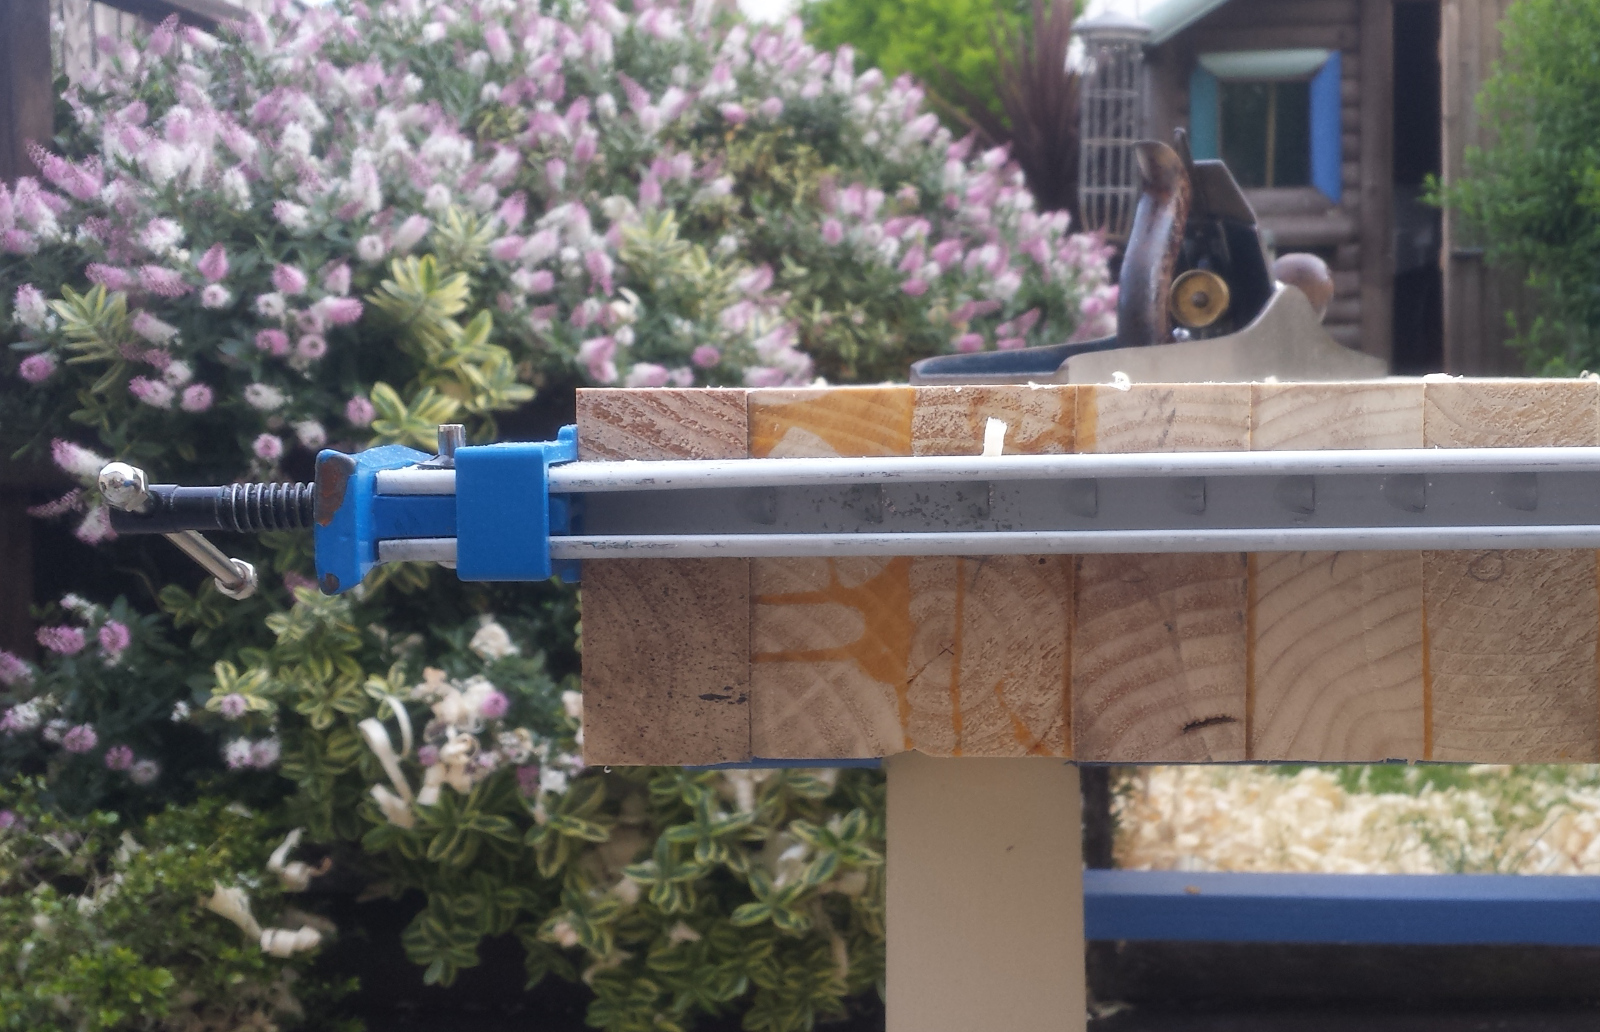
And now, need to cut the benchtop to final length, more to get a reference face to measure off for the leg tenon positions than anything else. That job rather sucked.
Cut the knifewall line around the bench, as close to that end as possible (the other end will get a bit over two inches cut off, which will take care of a knot or two). Then got out the giant japanese saw and proceeded to hack away, but unlike the last few cuts, this one wandered a little (well, it's a larger cut I suppose, it'd show up a klutz wielding a sharp bit of metal more readily). I flipped the board over half-way through so the cuts met in the middle and left a millimetre of a step between the two, and then went at it with a plane to tidy it up. It's still a bit ragged, but by that point it was after sunset and I figured mucking about with sharp edged metal things in the dark was possibly not the best of ideas, so I drew a line under it at that point. The forecast for tomorrow is for dry weather, so I might make actual progress, assuming that the world doesn't end. I mean, the way things seem to be going every time I look at the news on twitter, I'm half-expecting aliens to arrive just after President Trump and the Queen are assassinated at their first official meeting by Prince Philip...