YAWN - Yet Another Workbench Newbie

UKworkshop.co.uk

Help Support UKworkshop.co.uk:

This site may earn a commission from merchant affiliate links, including eBay, Amazon, and others.
So I started this morning by finishing off the mortice for the plane stop. This did not go well. First of all, despite my dead fancy wooden carvers mallet, the old footprint half-inch chisel split right down the handle...

2016-08-12-12.34.51a.jpg


Only the ferrule is holding it together now :( Time to go ebay a new handle. But that wasn't the only disaster, because like an silly person, I cut the mortice from the back side, thinking the sawhorse was giving enough support to the top of the benchtop that when I broke through it'd give me a clean hole and I could then cut down from the top to complete the mortice.

Nope.

2016-08-12-12.53.35a.jpg


Not quite sure how to fix that. I'm thinking I could cut the mortice out of the divot itself, then glue the remaining two pieces into the benchtop fore and aft of the mortice, as it's a clean breakout; titebond II is meant to be stronger than the wood, right? So would it hold up when I flatten the benchtop? Or am I just hosed? Anyone got any ideas?


And then, as I was feeling sorry for myself, a nice man pulled up with a flatbed truck...

2016-08-12-12.53.10a.jpg


Some plywood for bench hooks, a diamond plate holder, a jig for steaming some walnut for an xmas gift I want to build, and assorted other things; and also some OSB3 to line the shed the bench will be living in... and that was what I spent the rest of the day doing instead of the bench (I don't really have the ability to store 2.4x1.2m sheets of anything here, so I halved the plywood and started lining the shed with the OSB).
 
Ouch. Glue the shard. Drill a large hole in it, then flush trim with a router. It looks quite deep, so should be ok when flattening
 
I never seem able to get away with short cuts when mortising with hand tools either, and breaking through all from one side always ends in disaster.
Although it's laborious and repetitive I've found that marking out with knife lines and mortising half way and then flipping over and finishing to final dimensions by paring back to the knife lines is the only way that works for me.
And as frustrating as it can be to see something go pear shaped these experiences do serve as a learning experience.
Onwards and upwards Mark! :)
 
I used a similar method for putting the legs in on my bench. But my grooves were not as deep. It's worked well. Also in a soft workbench 4" is fine for a holdfast. I did have to file the back of mine to get them to grip well after a while as the holes have gotten a little bigger especially in the key areas.

As for that shard, bad luck. I reckon it should glue back in ok and in the long run will probably be fine.

I also enjoy using hand tools for most things. Took me a lot longer to flatten my bench than it did you, so well done there.

Really good write up so far, very enjoyable. I'm going to take a guess based on the use of 'Yet Another' and non-trivial, that you're a Linuxy IT guy?
 
MarkDennehy":3v2pjv2p said:
For the last twenty years, so yes, good guess :D

It's the sysadmin version of a secret handshake. ;) I'm also a Linux sysadmin, as you might have guessed.
 
ARGH.

Screen-Shot-2016-08-21-at-17.47.28.png


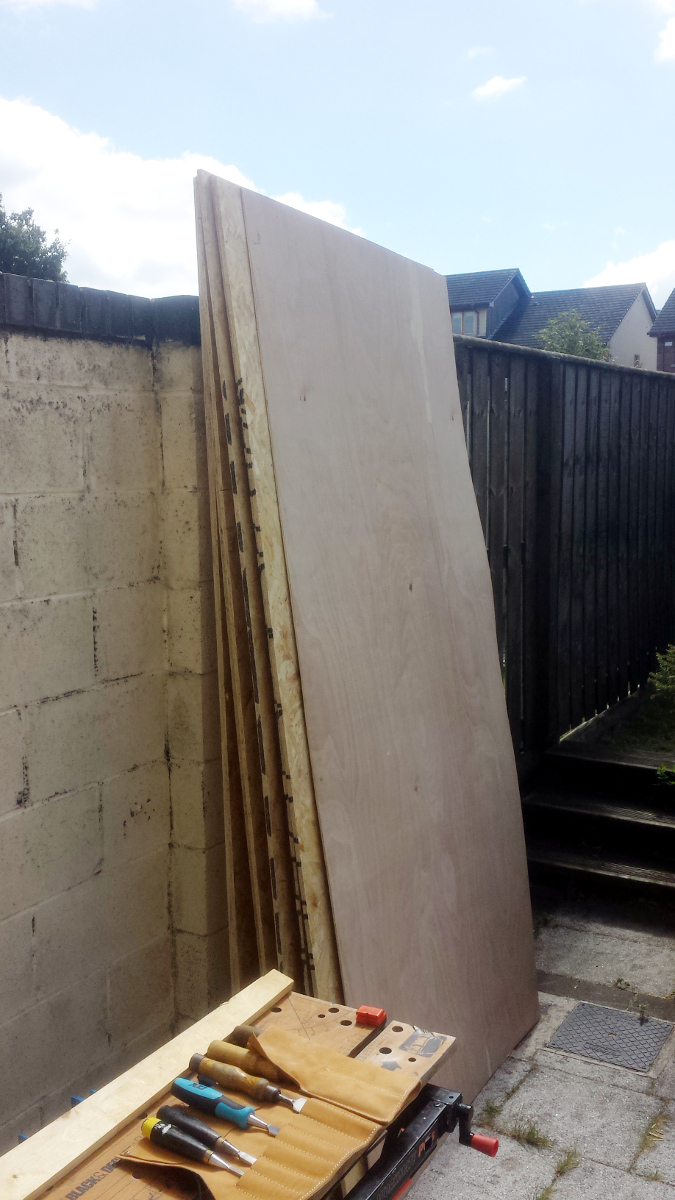
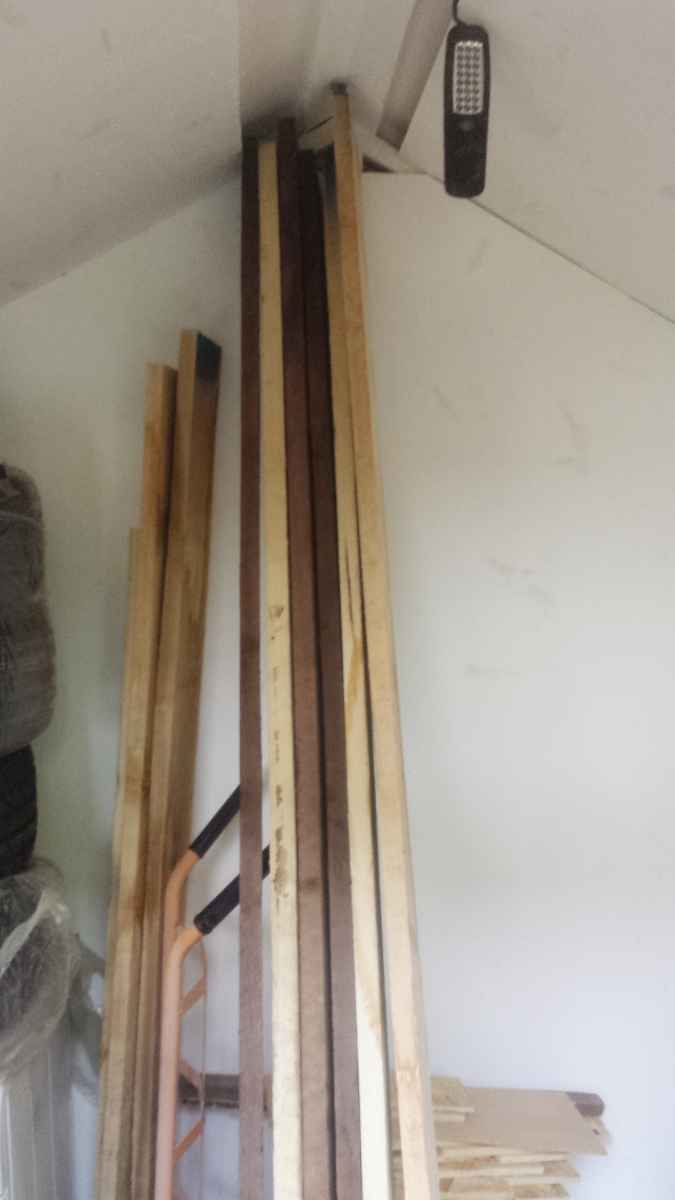
Days of this. But it's okay, the bench and the nice ash, poplar and walnut I got for a project is all under waterproof tarps.
You can see where this is going, can't you?

2016-08-21-10.43.42a.jpg


2016-08-21-10.43.48a.jpg


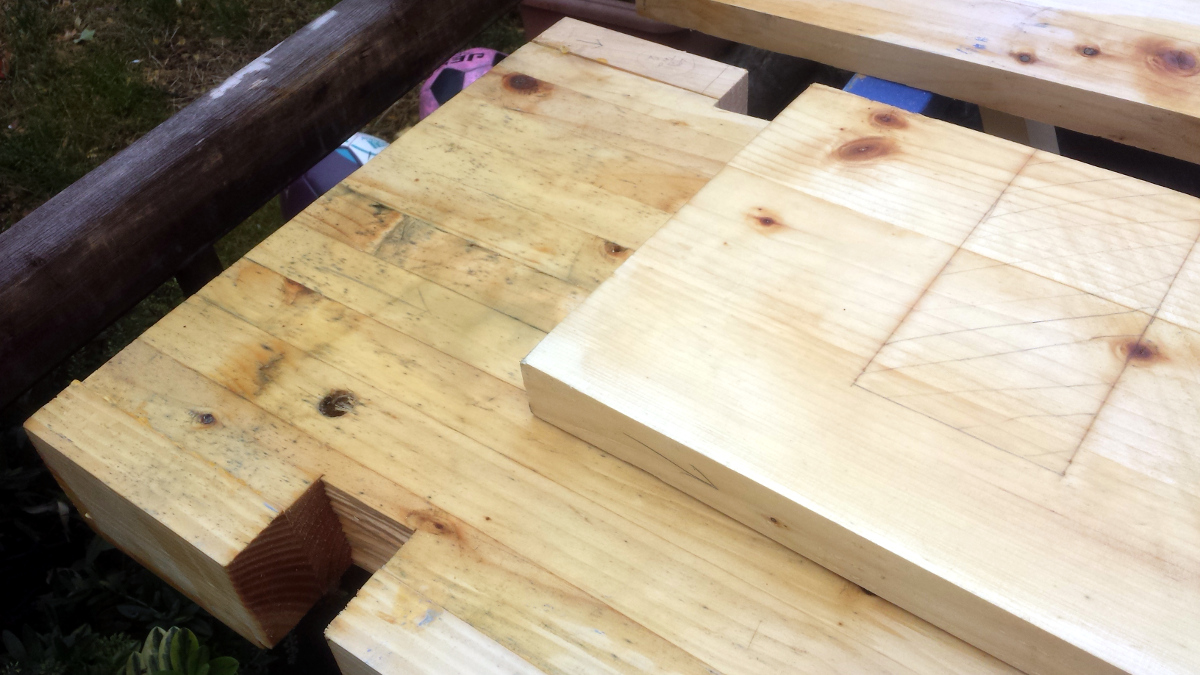
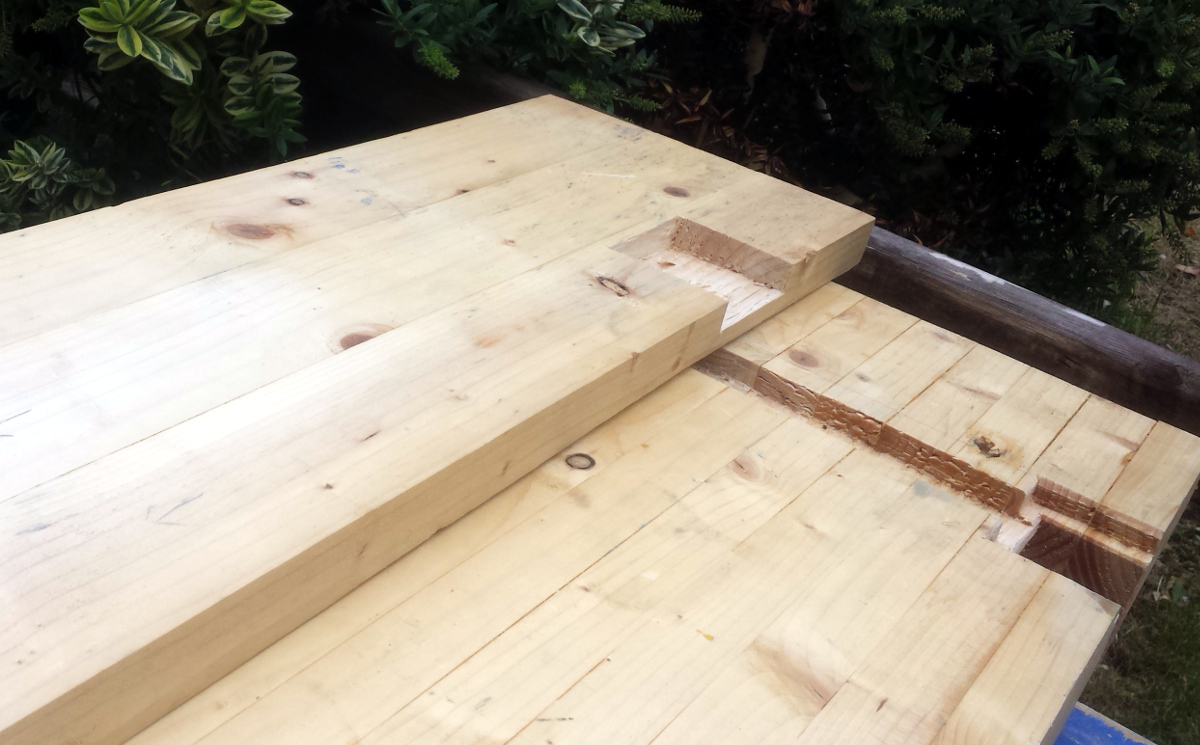
The tarps weren't waterproof. They had small leaks. So the timber's not waterlogged, but there was standing surface water on it in places. Gah. Well, screw it, I'll just get as much done in the six hours I have before the storm is forecast to get here and I'll move everything to the shed afterwards. So off we go cutting the dados in the back apron for the legs with chisel and tidying up with the #71.

2016-08-21-15.07.07a.jpg


Well, it was loud and took a while, but that's pretty good and even. Cool. Even fits the legs well. Now, what's next... well, let's cut the joint at the bottom of the front apron that fits into the front legs. It's just a dado, so same approach.

2016-08-21-15.06.57a.jpg


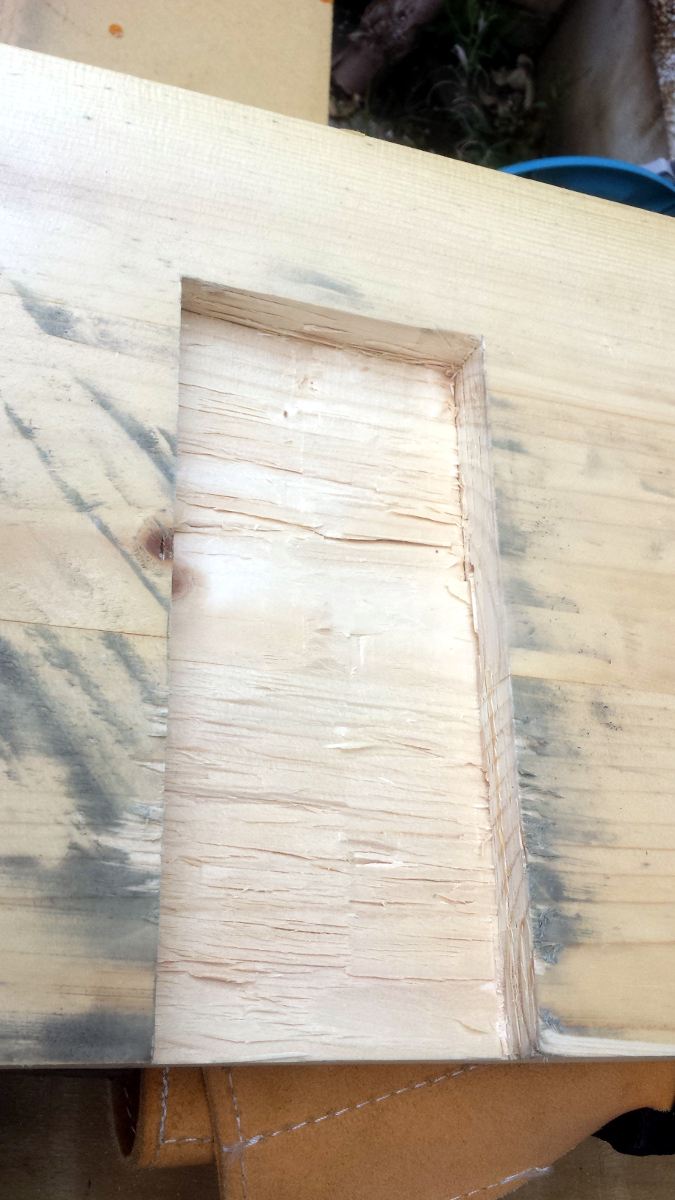
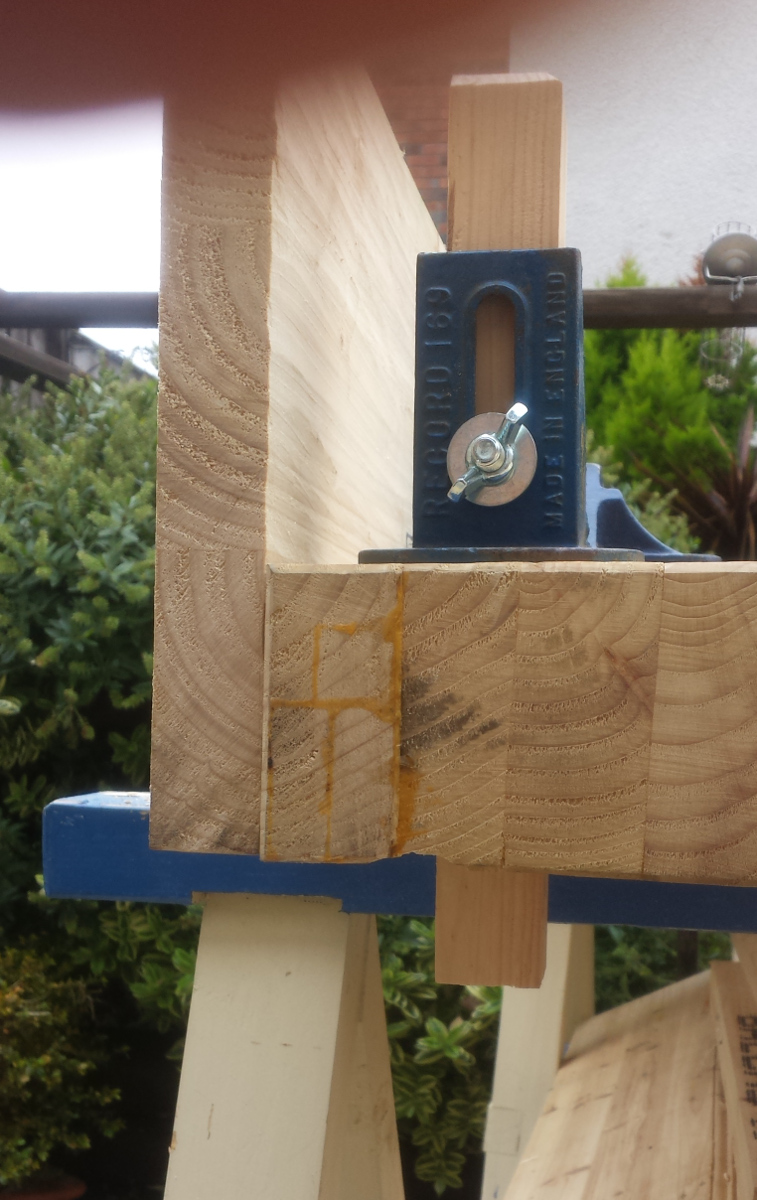
That's not too bad. Okay, so on to the vice mounting. Maybe I should cut a mortice into the back of the front apron for the record 53's rear jaw?

2016-08-21-15.06.41a.jpg


Er. That looks terribly complex. And the edge of the mortice is close to the edge of the dado joint on the opposite side, which seems a bit weak (more for when cutting the mortice rather than in use). So instead, just cut out a smaller, simpler, rectangular relief in the bottom of the benchtop so the edge of the vice face is flush with the bench face inside the apron:

2016-08-21-15.06.38a.jpg


2016-08-21-15.31.11a.jpg


That worked pretty well, for something that was just chopped out with a wide chisel and a lot of percussion.

Anyone else hearing the "oh pineapple" moment coming yet? No? Newbies :D

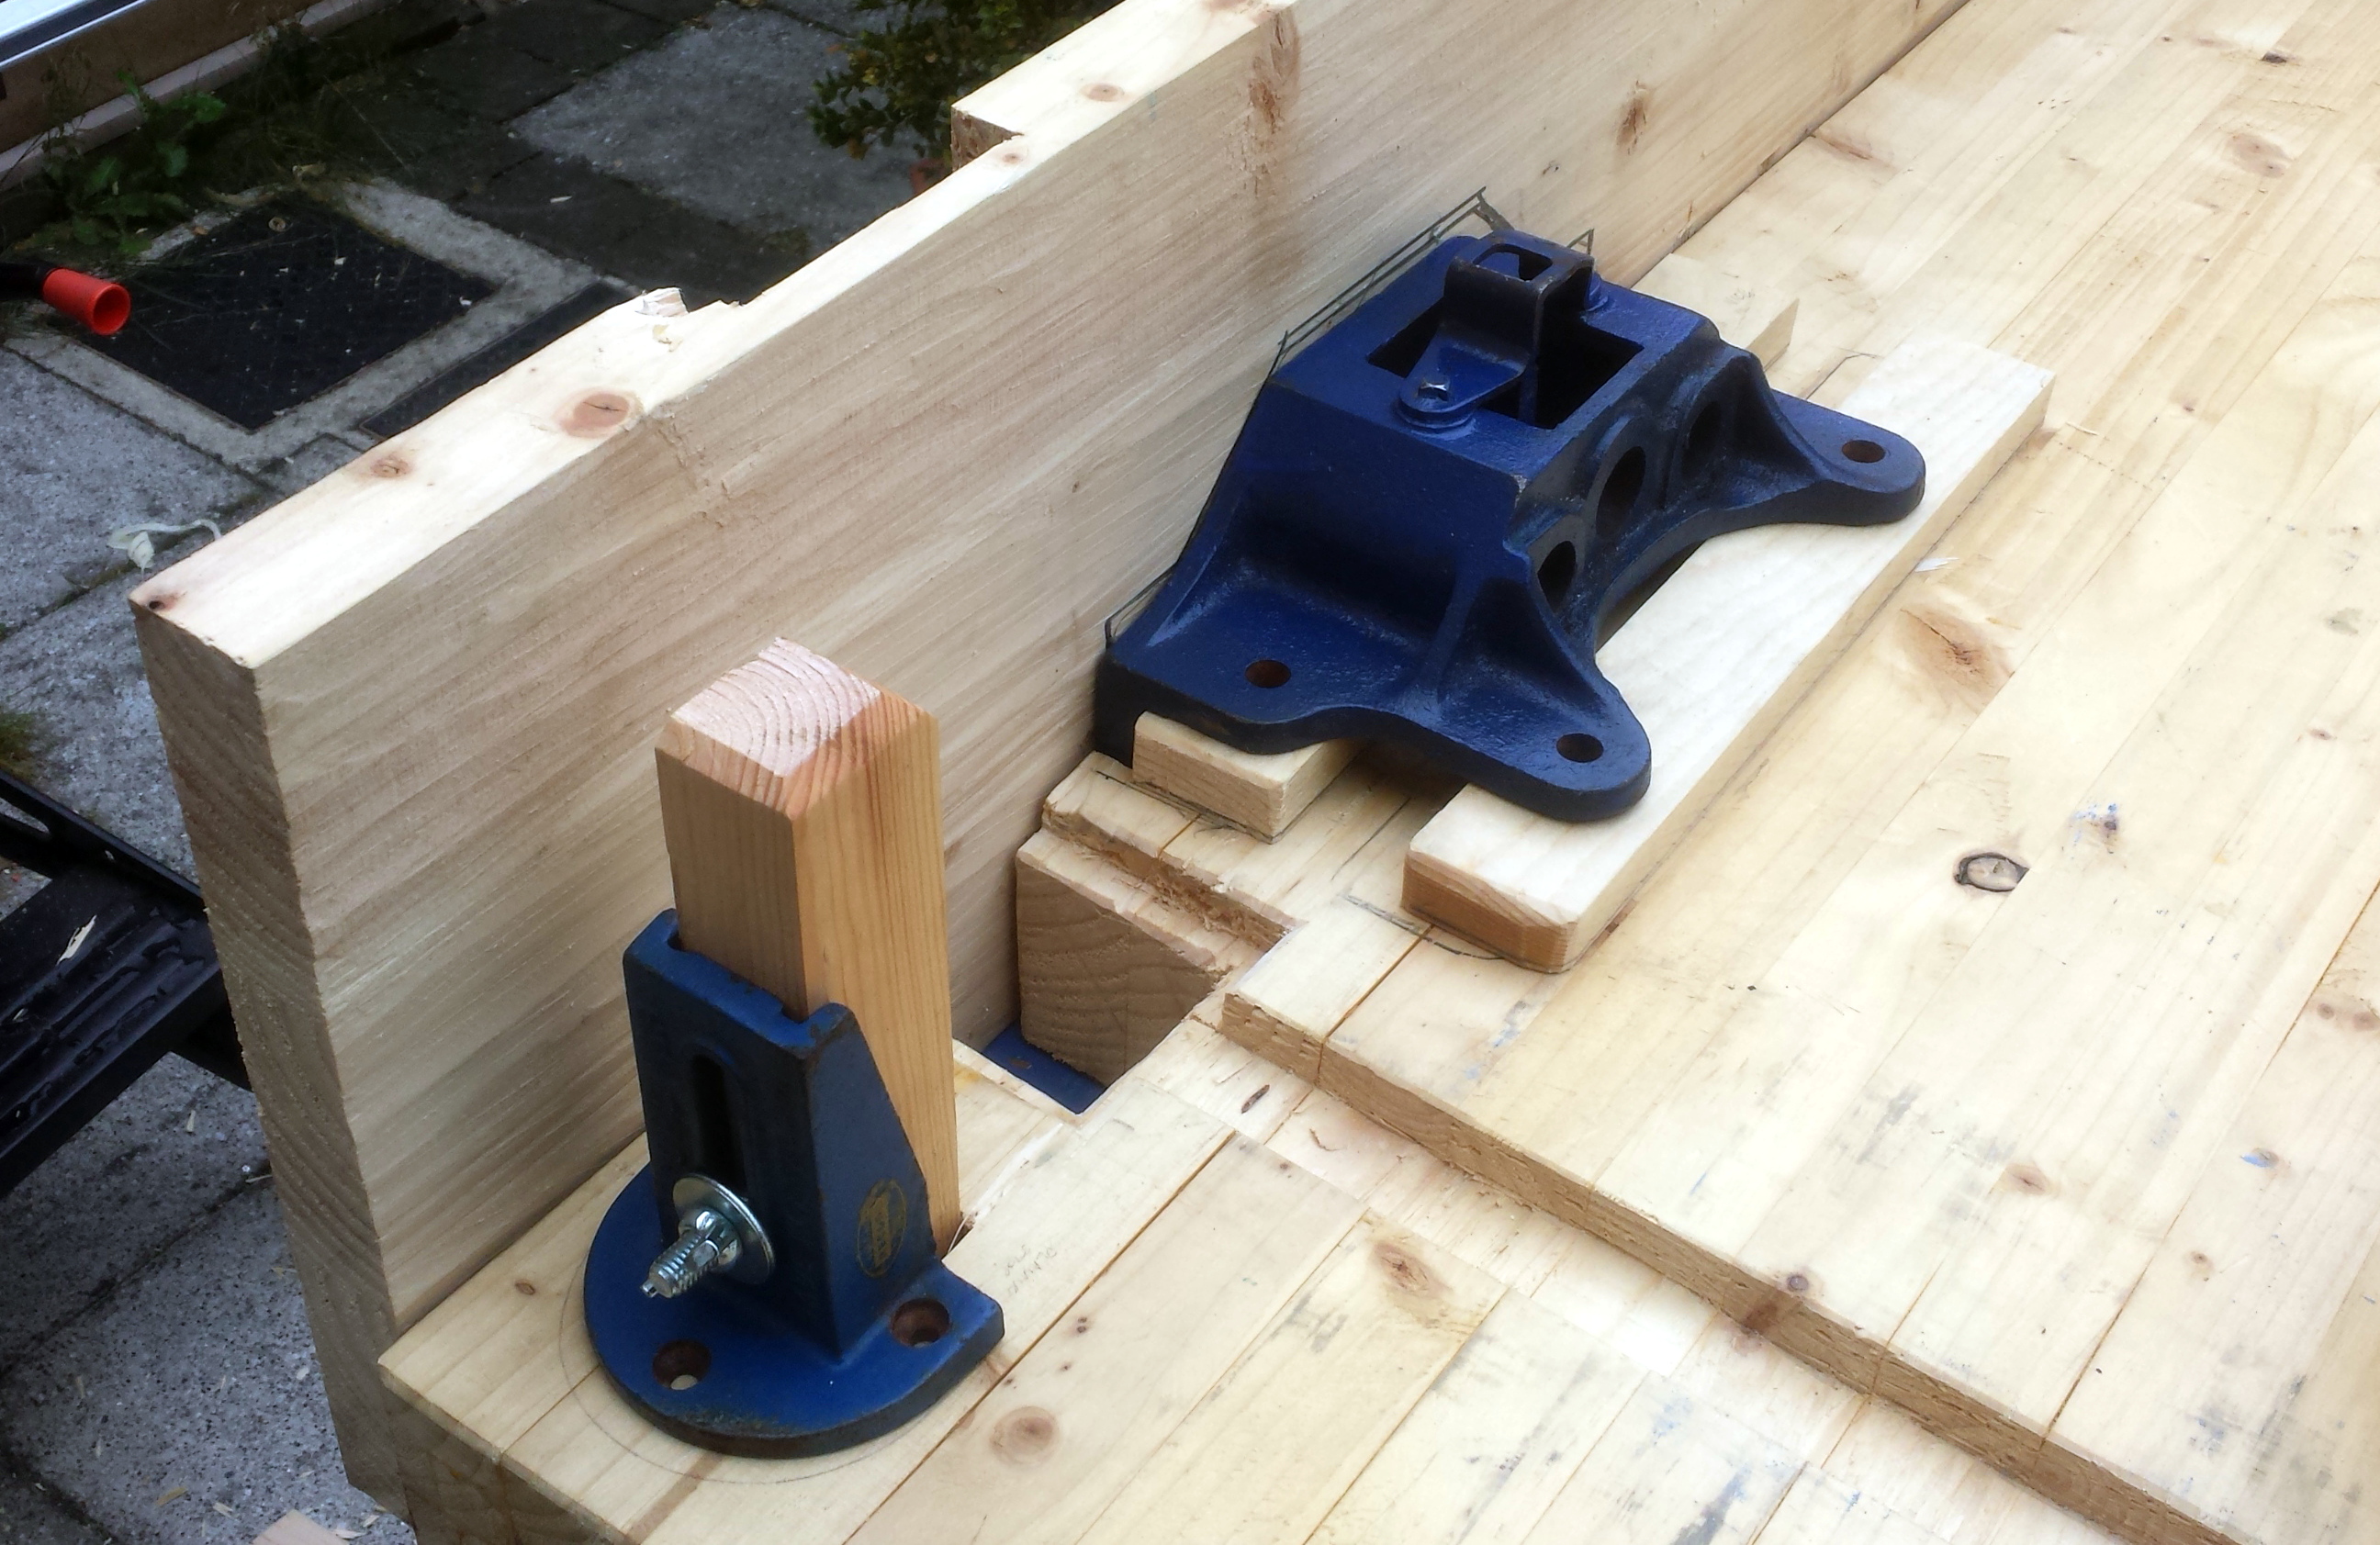
Next, let's finish off the planing stop, so I tidied up the mortice, planed down a spare chunk of pine as a temporary stop to see what it'll look like (maybe I'll make a better one later) and drilled through it with a cordless drill and a 10mm brad point (first time I've used a power tool on this since the chop saw, but it's for a bit I'm going to redo later so I'm saying it doesn't count :D ), then counterbored on one side with a fostner bit to give room for the bolt head (because the bolt's not long enough to get through the stop and the record 169 holder) and assembled the whole lot (hole lot? :D ):

2016-08-21-15.30.59a.jpg


Yes, you're not supposed to put your thumb over the lens, I know...

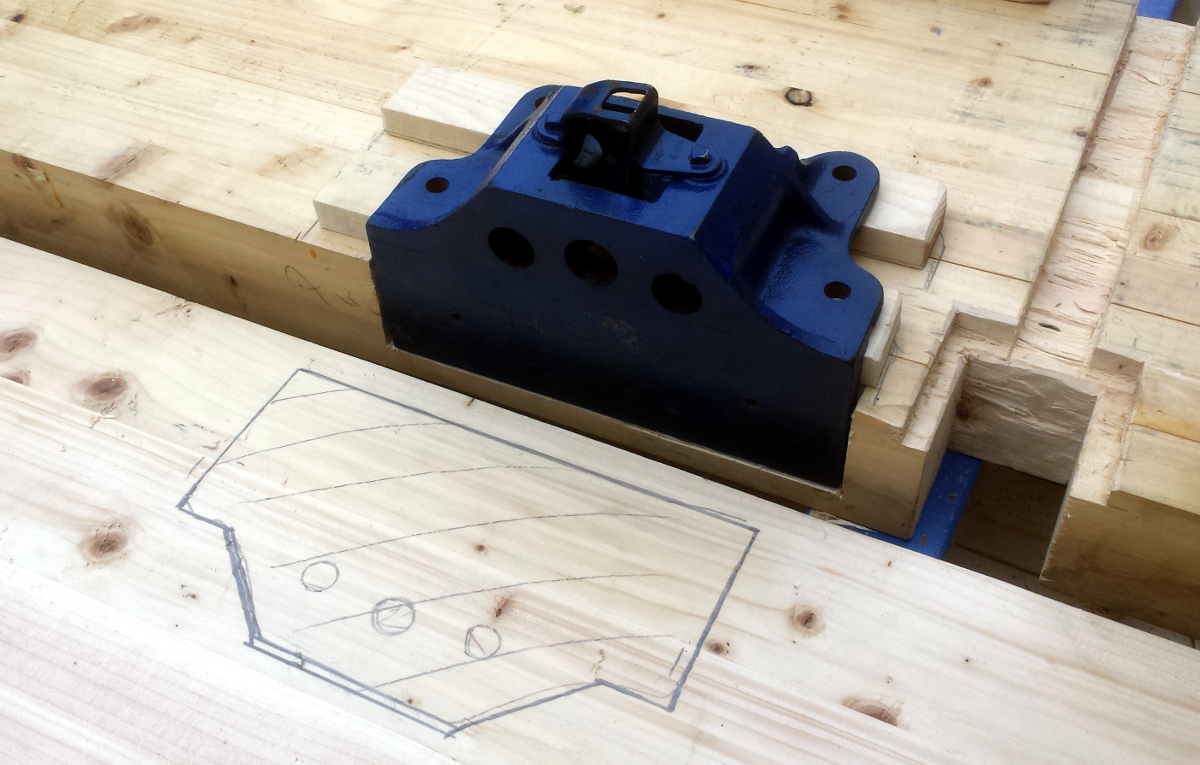
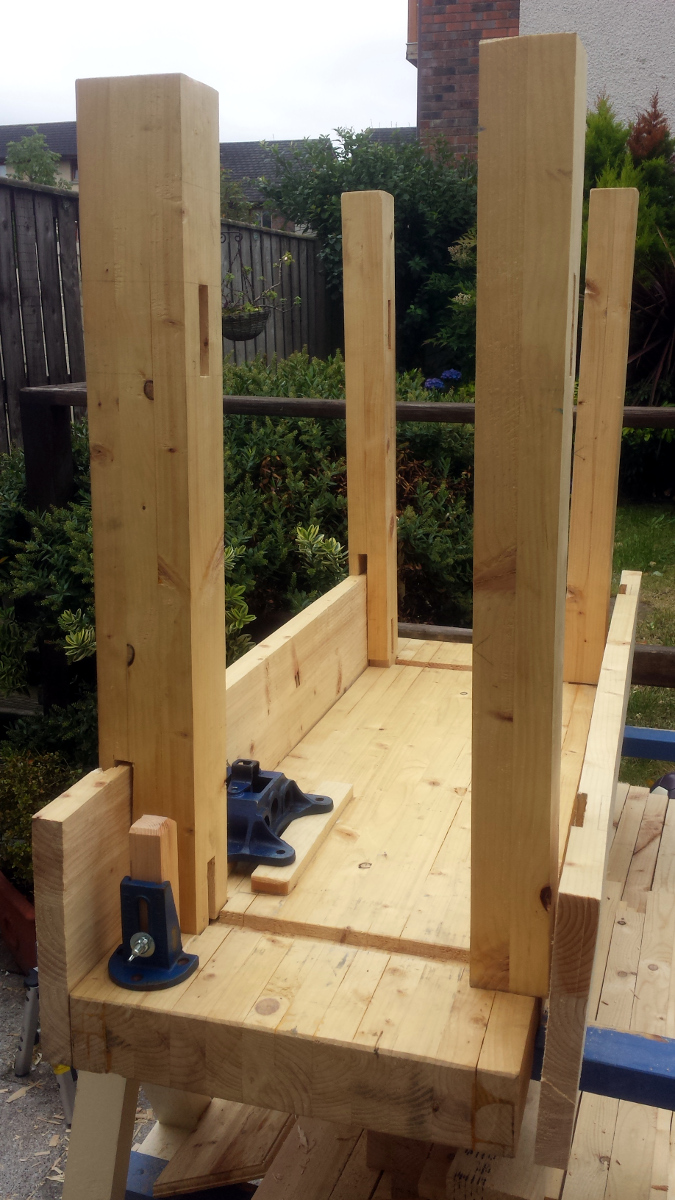
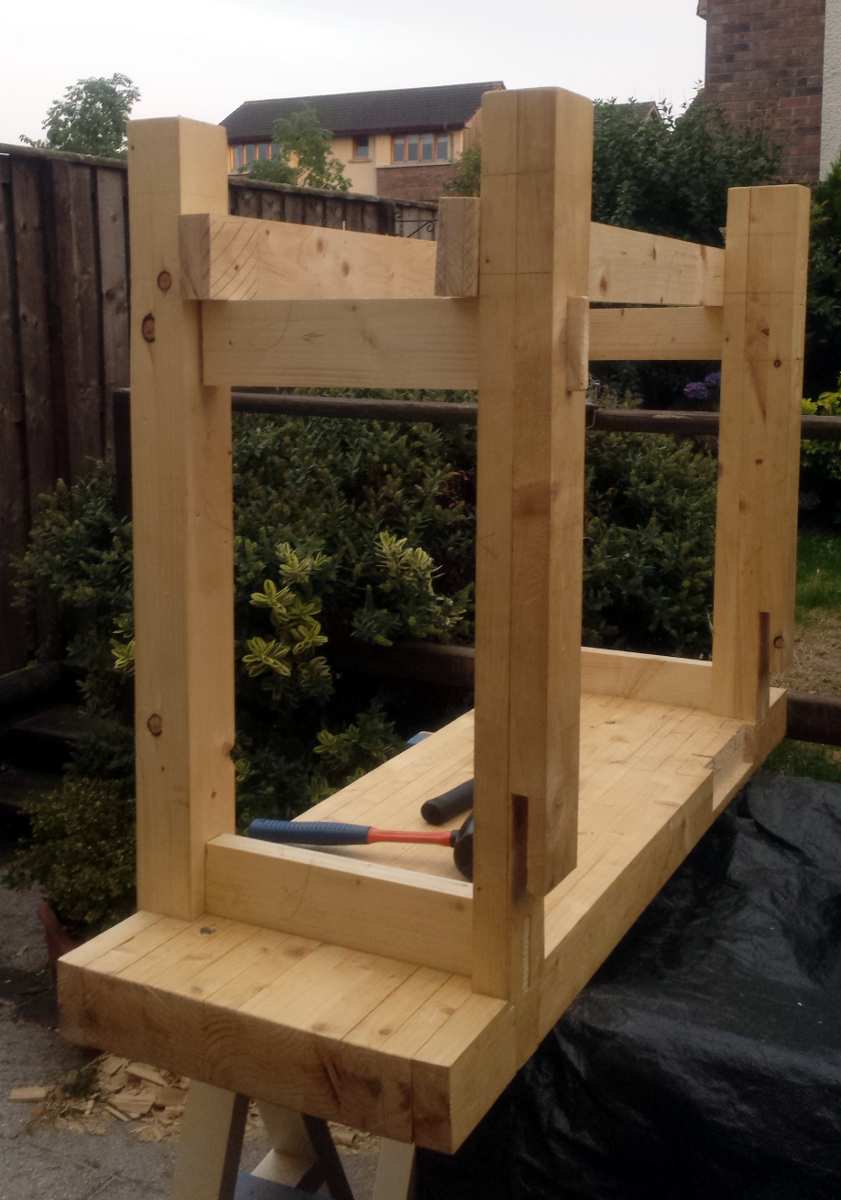
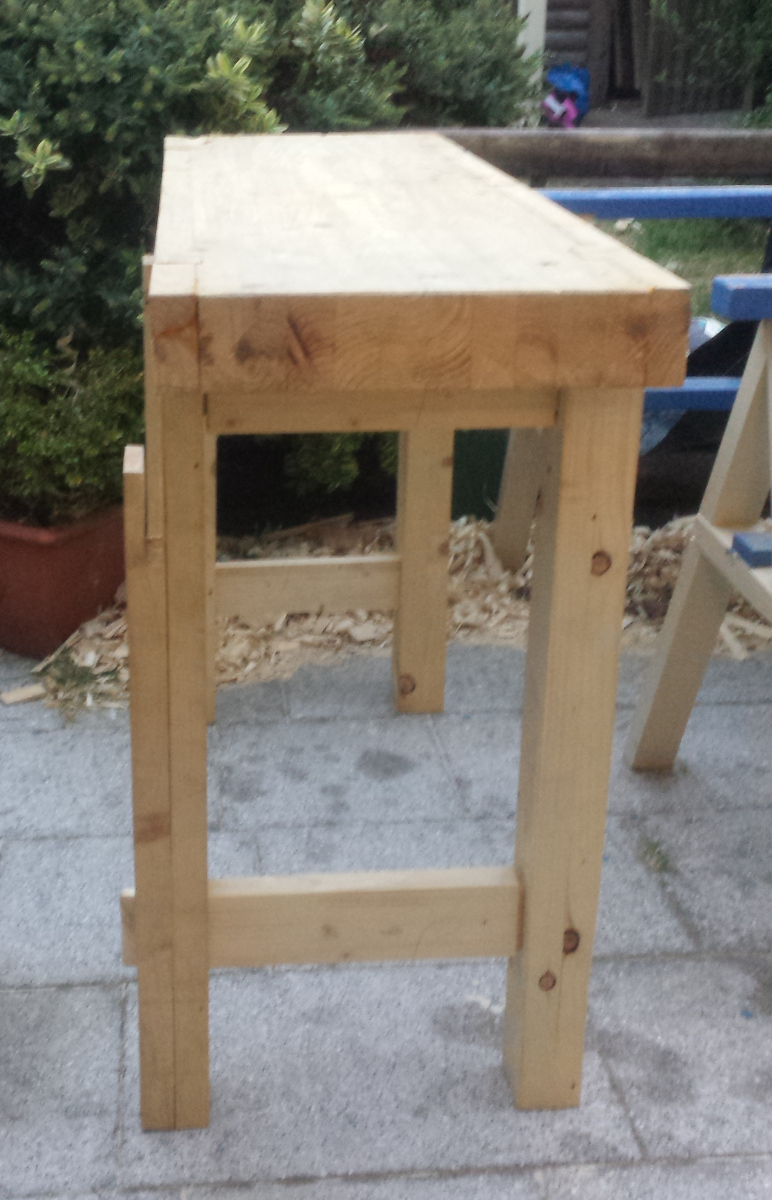
Maybe I should try a bit of a dry-fit of the bench, see how it's holding up. That's kindof complicated by the wood having gotten wet, so it's more a damp-fit, and it's tight because everything's swelled a bit. But okay...
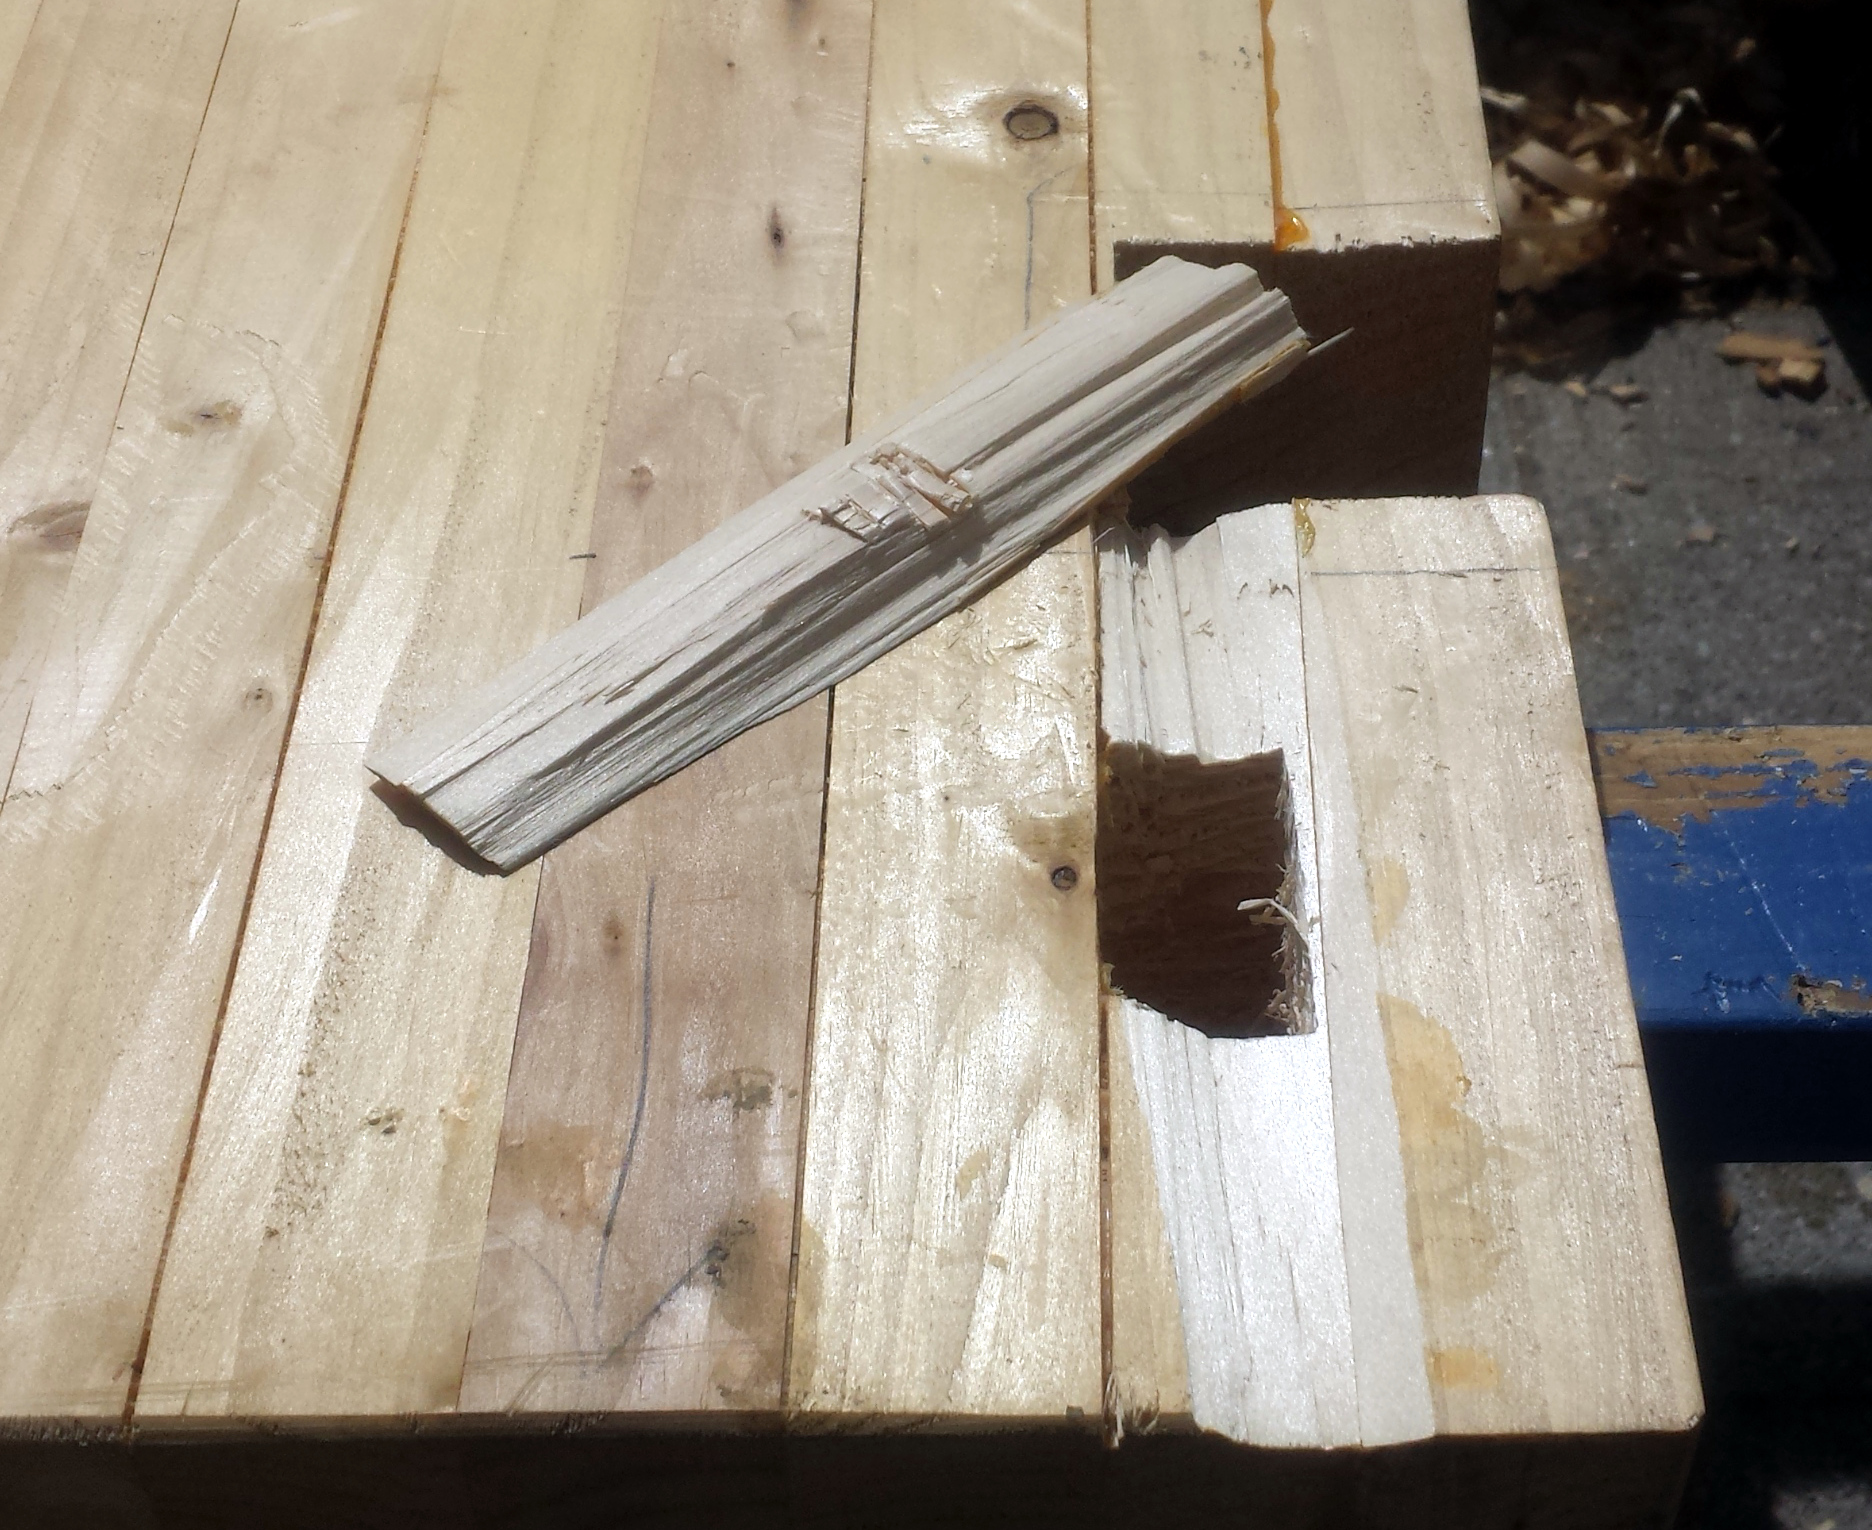
2016-08-21-15.30.51a.jpg


2016-08-21-15.37.29a.jpg


Wait, what?
Why.... what the....


Oooohhhhhhh. Pineapple. Under the pineappling sea pineapple. Dammit.
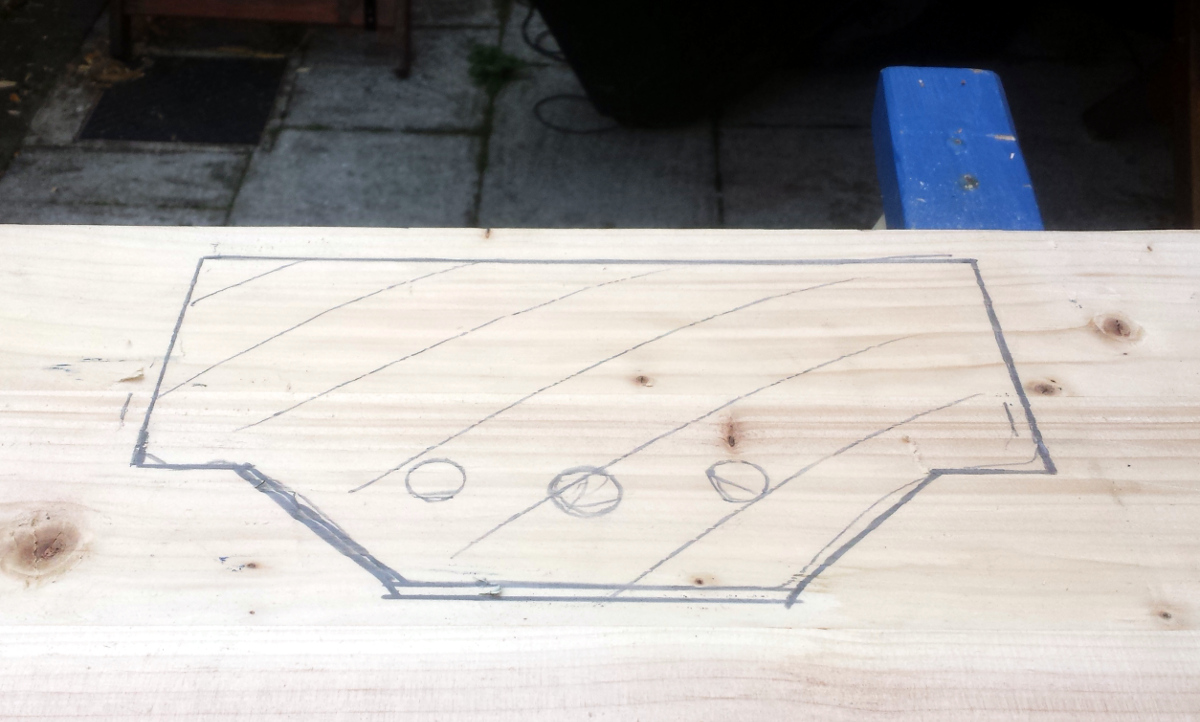
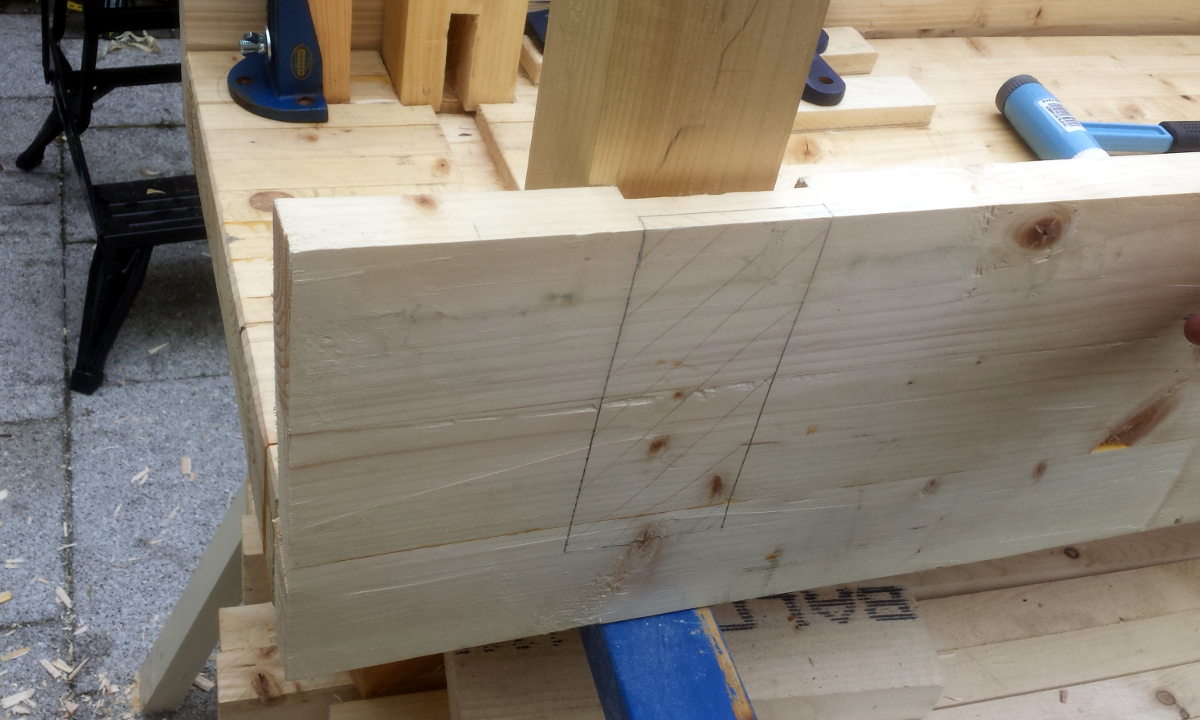

Remember this?

And I marked out the dados for the back board as well...

2016-08-02-20.08.14a.jpg


...and then I cursed a bit and re-marked for the dados on the correct face of the board. Sheesh.

When I re-marked for the dados on the correct face, I just transferred the lines around with a square; but the legs are not exactly the same distance from the bench ends on either end. One's a centimeter closer to the end than the other. So when you transfer the marks around like that, you get a perfect fit for the mirror image of the legs. Argh. Well, I could trim another centimetre off the dados and figure out some sort of wedge system to ensure that the whole thing... oh pineapple it.

2016-08-21-15.49.08a.jpg


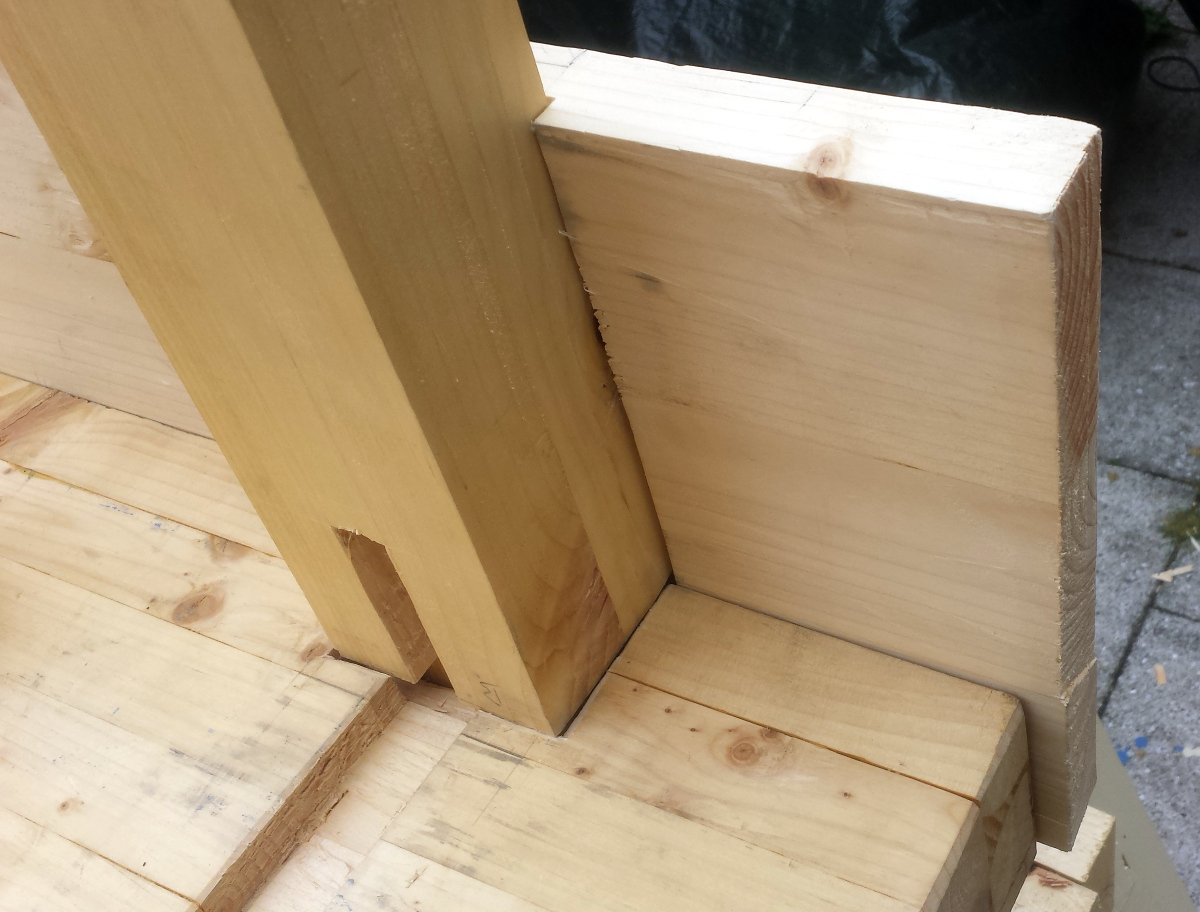
It's the back apron. I'll trim off a centimetre from it. Nobody's ever going to notice, right?

Yeesh.

2016-08-21-15.38.20a.jpg


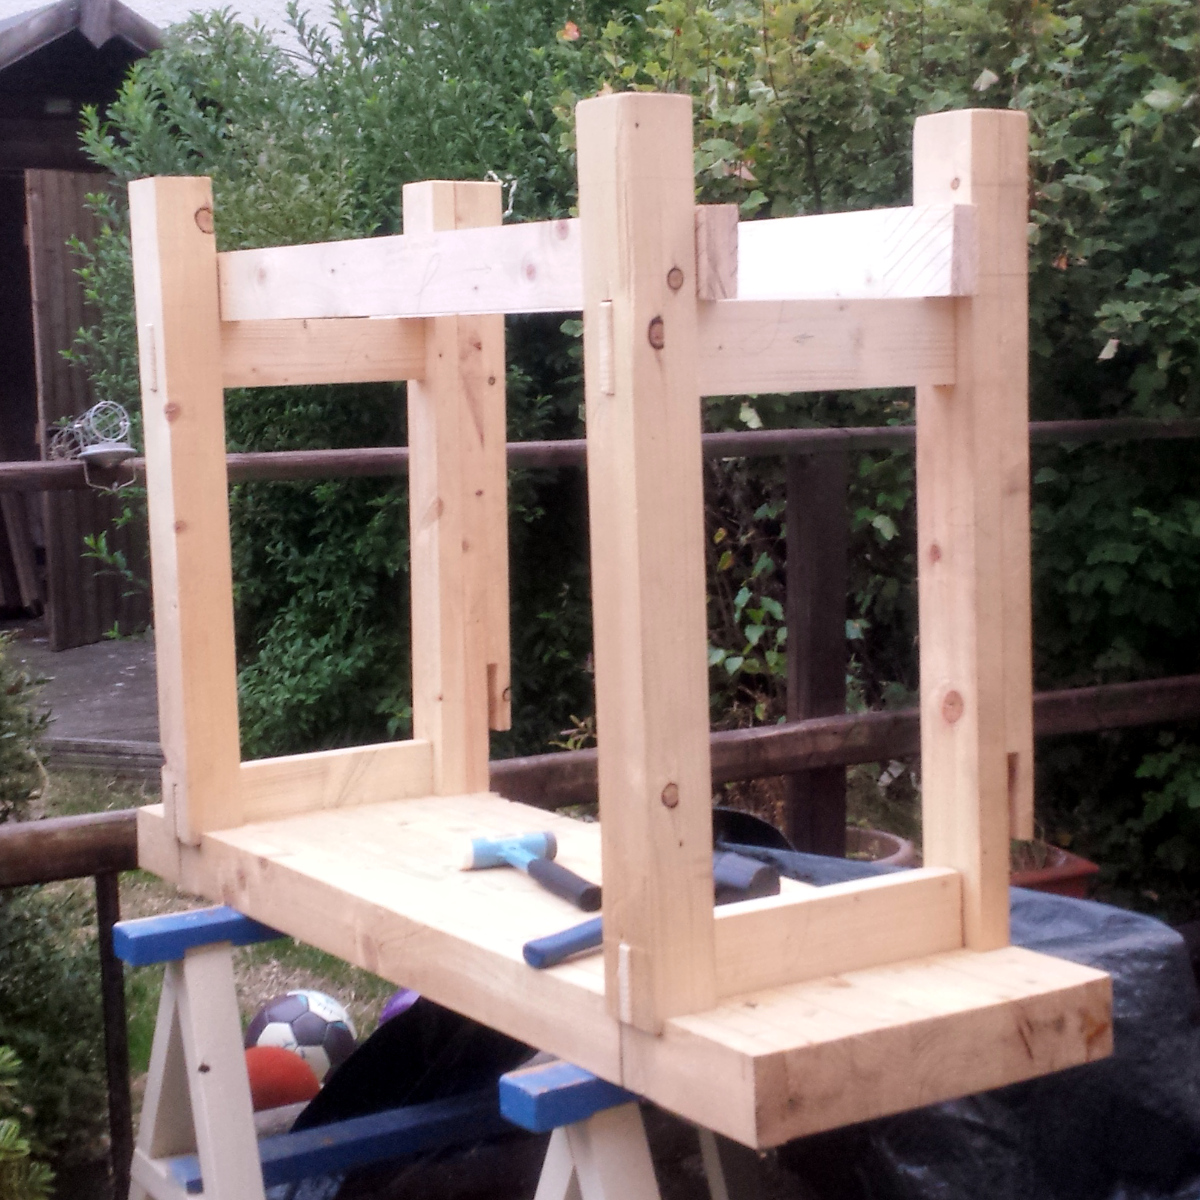
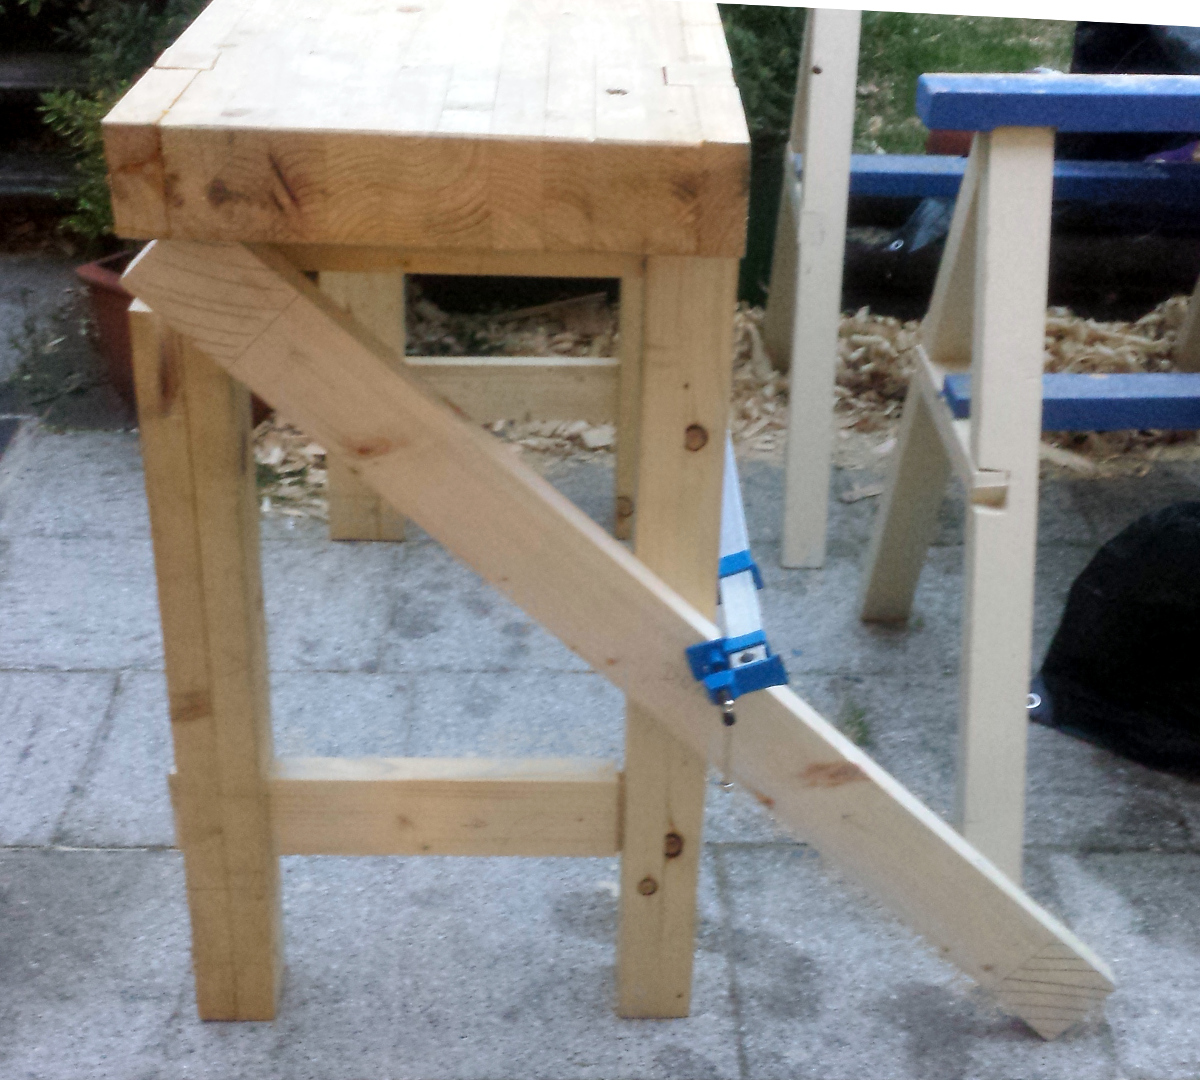
So that's where we are now (I didn't fit the short stretchers for this because with the wood swelling from the rain I figure they won't fit anyway.
What's left to do:
  • Plane and cut long stretchers and the tenons at the ends of those
  • Cut mortices in the legs for the long stretchers
  • Final fitting of everything
  • Drilling for drawbores for the M&T joints -- the joints with the legs and the short and long stretchers, and I'm wondering if it's possible to either drawbore the tenons at the top of the legs or wedge them somehow.
  • Final glue-up assembly:
    • Glue and assemble leg frames
    • Glue in long stretchers to leg frames
    • Glue leg frames into benchtop
    • Drawbore M&T joints in leg frames (have to do this with some speed to get from assembly of leg frame to drawboring within the open time of titebond II)
    • Let glue cure
    • Mount vice rear face
    • Mount planing stop
    • Glue on front and back aprons
    • Let glue cure
  • Assemble vice (including front jaw, which I'll just make from an offcut of 2x4 for now, I can make a hardwood face later on)
  • Chop out mortice to fit end vice
  • Fit end vice
  • Drill holes for bench dogs and holdfasts in benchtop and legs
  • Chamfer dog/holdfast holes (though I'd have to do this with the router, which I don't like)
  • Drown it in 3-5 coats of BLO
  • Strut


Yeah, that should only take a few hours... so with the kind of weather we're predicted to have, I should be done somewhere around October. 2023. Yeesh...
 
Meanwhile, I managed to get all the bench pieces, spare offcuts and lengths of 2x4 and all the walnut and ash and poplar into the shed out from the tarps. So give it a few days and it might have dried out enough to be able to fit.

2016-08-21-16.18.41a.jpg


2016-08-21-16.18.47a.jpg
 
This is like a movie.

One Irish man, battling the elements, the forces of nature and swollen mortises... It was a time for freedom. It was a time for heroes.

Benchheart. Coming soon.
 
Glad to see it's coming together nicely. Also good that you've got it all inside. Be a shame to see all that work wasted by leaving it out in the rain.
 
Not to mention the ash, poplar and walnut boards that were under a similarly leaky tarp!
Also, how do you get an 8' board into a 6' deep shed?
Answer is: you damn near can't and you leave a hell of a mess...

2016-08-21-16.18.47a.jpg


But at least the expensive stuff's out of the rain for now.
 
Long stretchers planed yesterday evening. Four mortice and tenon joints to cut and then we're into final fitting.
Realised yesterday that I'd better do the final assembly on the decking just outside the shed because I don't think I'd be able to lift and carry the fully assembled bench up the steps from the patio, across the ten feet of garden and into the shed. So add "trim hedge out of decking" to the to-do list :D
 
2016-08-28-19.08.37a.jpg


After the fun of hacking into my finger while making a board to hold the sharpening plates (and losing a day or two to other stuff), got the M&T joints laid out tonight, then dry-fit the legs into the benchtop to check if the long stretchers were aligned and marked okay. Hm. Turns out the length of the stretchers and the tenons are all fine... but the stretcher is not at right angles to both legs simultaneously. Somehow - probably due to the front edge of the bench not being a perfect reference surface - the two leg frames are not parallel.

Crud.

Not sure how to fix that. Going to dry-fit the leg frames up fully with clamps tomorrow and check again, it's too dark outside to check now (and I'd get odd looks off the neighbours if I started percussively encouraging the leg frame joints together at this hour, as small children's bedtime has just hit).
 
Are you using waney edge plywood? :shock:
Legend Status 'enhanced'. :D
*kneels
'There can be only one.'
 
I'll have you know that waney edge had to be made by hand. We don't have the sheer luxury you Northern types have y'know, with your many choices of plywood and all those fancy wood dealers. Half the time we have to make our own by peeling the bark off twigs and boiling down the cat to make the glue to laminate it up!
But you tell that to kids nowadays, they won't believe you!
 
Got home with about a half-hour of daylight this evening, and got out the rubber mallet to knock the leg frames together and dry-fit them into the benchtop again to see how badly misaligned the frames were in daylight.

2016-08-31-20.05.08a.jpg


I may have built a vampire bench, because they're perfectly fine in daylight but they were several inches out last night (maybe the short stretchers are playing a role here...)

2016-08-31-20.05.22a.jpg


So yeah, cut the tenons, chop the mortices, knock it all together to dry-fit and then drawbore and glue and away we go.
The thing that was bothering me a little (and you can see it there if you look) was that the tenons in one leg frame were not a tight fit at the shoulder at all; I have some trimming to do on one benchtop mortice (and I suspect a bit of wedging after to make up) but I want those drawbored in tight for the strength so I'll accept the patch job at the far back right leg.

The thing that might be more serious is that I stood it upright with the frames to see if it was tippy.

2016-08-31-20.13.00a.jpg


It's not terrible - and it still has more weight to gain through the aprons and the vice and the benchstop ironmongery - but I think I may have to consider stealing an idea off the little john bench Richard McGuire uses and retrofitting it - so at the back of this bench there'll be a tool tray as a sort of bolted-on afterthought thing, but that means there's ten inches between the wall and the back leg of the bench, so I could drop a lap-jointed third leg down on each frame as a sort of prop against tipping:

2016-08-31-20.15.12a.jpg


After checking that, the dinner bell went and after that, I went back outside to use the last five minutes of light to cut the tenon cheeks on the long stretchers, finishing the last two by torchlight in the dark. So next time, I just have to saw or split the cheeks and tidy up and then I can do the mortices and the fitting. But that darkness is a warning...

71434127.jpg
 
Back
Top