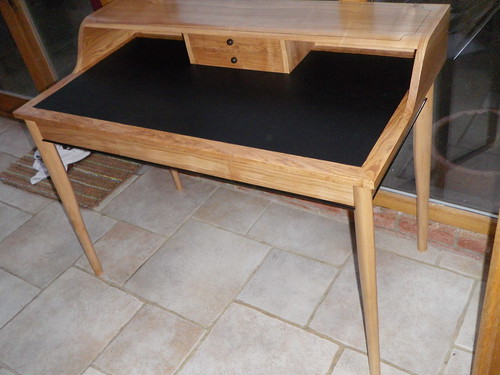
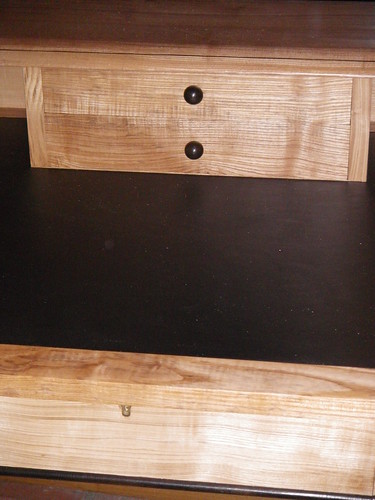
Writing desk WIP

UKworkshop.co.uk

Help Support UKworkshop.co.uk:

This site may earn a commission from merchant affiliate links, including eBay, Amazon, and others.
Tom I would be very interested if you can find this link - I would then have to buy a bobbin sander of course, but that's much cheaper than a drum sander
 
gasman":1ft1lzp4 said:
Tom I would be very interested if you can find this link - I would then have to buy a bobbin sander of course, but that's much cheaper than a drum sander

There was a guy at Harrogate demonstrating exactly this on his stall selling sanding drums, unfortunately I can't remember what company it was. As I recall his jig was nothing more than an adjustable fence that he moved up to the sanding drum and ran the piece through.

Ed
 
wizer":24huu907 said:
I saw a jig somewhere recently for using a bobbin sander for thicknessing thin strips. Something I must make!
As Ed says, all you really need is a simple 90° MDF or plywood fence, clamped to the table. Or, you could make an MDF sub-table (like Argee) and fix it to that.

If you've got cash to burn (!), MagSwitch's resaw fence would also work - without clamps - though, it's rather expensive if you don't already have most of the accessories.

What I'd like to know is how you can make your own bobbin sleeves... I know you can buy them cheaper than at Axminster elsewhere but, sometimes I could do with some really course abrasives on there... :twisted:
 
cheers I sort of remembered how it was done, would have been useful when making the splines for the jewellery box (which was a pita).

I'm sure the Carol drums could be 'hacked' to fit. Something along the lines of getting someone with a metal lathe to make you a 'bolt' to match the reverse thread of the bobbin and fix it to the carol drum somehow. Must be possible.
 
A frustrating week as very little is left to do but I have had no time
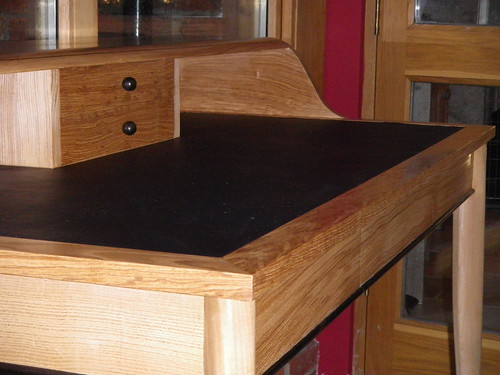
I completed the assembly of the upper part of the desktop by simply screwing the upper part from below the desktop - I know the purists would object to such pieces of metal being used in cabinet-making but this was definitely the easiest way for me. After sander sealer all over, I gave it 2 coats of Fiddes hardwax oil. This ash has taken on a lovely pinky colour - no urine in sight at all - hope it stays that way.
4391677918_26b690d18c.jpg

The drawers got one last bit of 'fettling' to get them to fit and slide properly and were waxed
4391678838_84f08b511c.jpg

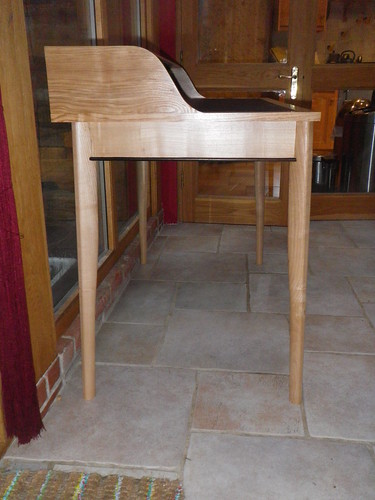
The last things to do were to fix the desktop to the base which I did with small blocks of wood screwed to the underside of the desktop in slots to allow movement and then screwed to the inside of the sides
I also took 40mm off all the legs to get to final height (800mm)
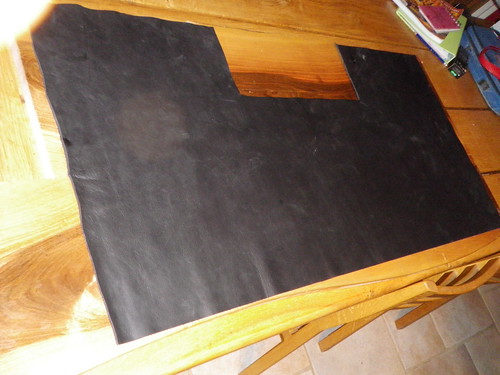
I cut the hide with a new scalpel blade on an old table top
4390907885_e0971a6d40.jpg

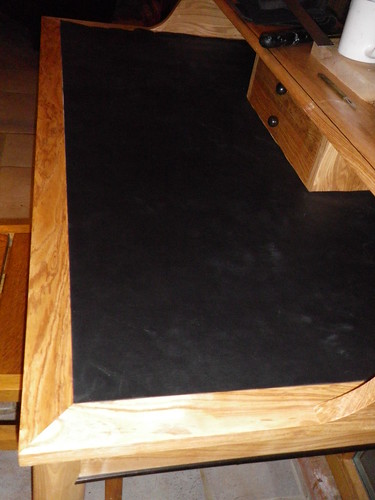
And here it is waiting to be glued - just need a wallpaper roller which I will get this weekend and then it will be finished
4390908601_7f4f3f8dac.jpg

Thanks for looking
 
That's interesting - why did you apply a coat of sealer before the hardwax oil? Desk is looking great. :)
 
Glued up the leather hide desktop late saturday night.
Cut a lock in the drawer on saunday - finally finished the whole thing
Thanks for the helpful comments / suggestions over the whole project. OPJ thanks for your query about the finish.... I appreciate that Fiddes hardwax oil is meant to be used straight onto the wood but I have finished a couple of projects in this way now and I do think you get less colouring of the wood by using the cellulose sanding sealer first. Just my opinion
Annoyingly Flickr will not let me upload images for now - will post final images later today
 
Beautiful desk Gasman, thanks for the detailed post. It has been useful 'cos I have to replace the leather on my own desk sometime.

Great

=D>

Dave
 
Actually I got myself all worked up about the leather and it was a complete doddle in point of fact. I spent ages cutting it exactly to the mm... when in fact if it is within 5mm you can easily stretch / compress it to the right size as long as you use wallpaper glue - the website I found which gave the details of the technique was brilliant tho'. Thanks for all your nice comments
 
Wow, the timber's come out really well. I know that's olive ash but, the oil doesn't appear to have darkened it much at all (just like you said! :wink:). :)
 
Hi Gasman,
Top Job! It looks excellent.
Thanks for going to the trouble of writing the post and taking the pictures, a very interesting read.

Malc :D
 
Fantastic job, I'm looking at building a desk myself, could you tell me where you got the leather for the top.
 
Back
Top