Writing desk WIP

UKworkshop.co.uk

Help Support UKworkshop.co.uk:

This site may earn a commission from merchant affiliate links, including eBay, Amazon, and others.
Some progress but a busy day at work on saturday and a bit frustrating on sunday so I ended up behind where I thought I would be and do not think I will finish by this weekend
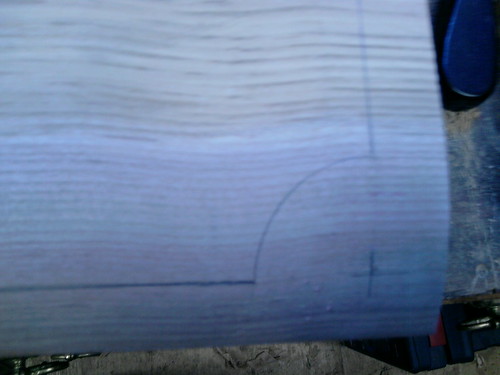
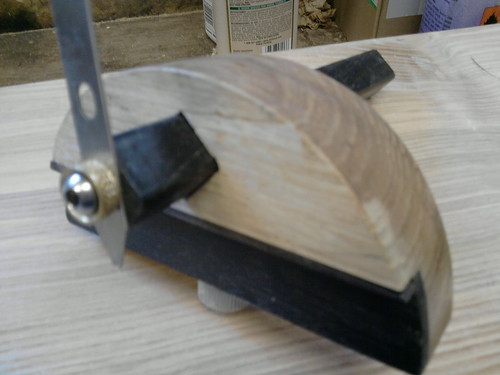
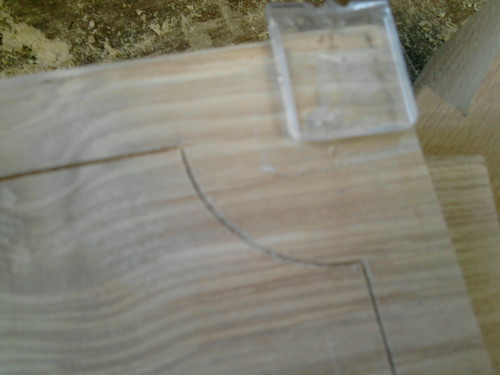
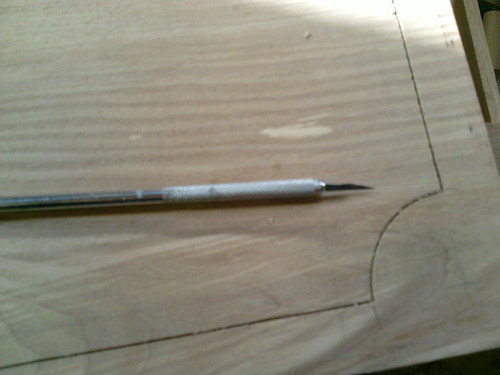
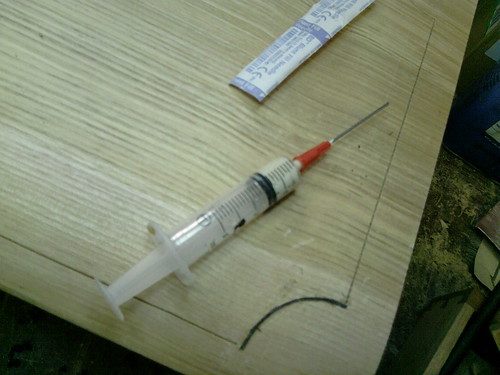
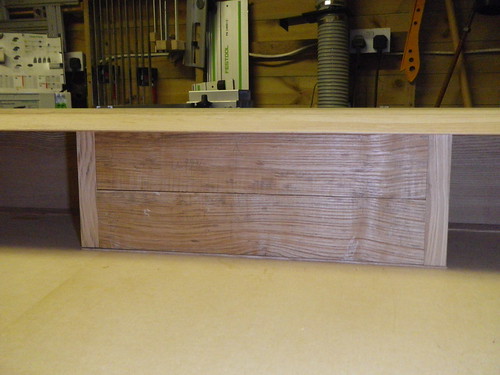
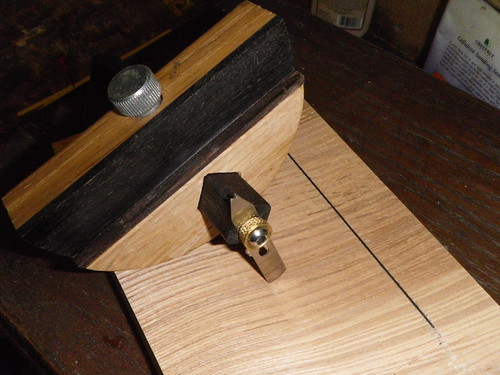
However, I started by adding the ebony semicircular edging to the sides of the desktop base
4358246455_a9b20244c0.jpg
and then cleaned it up
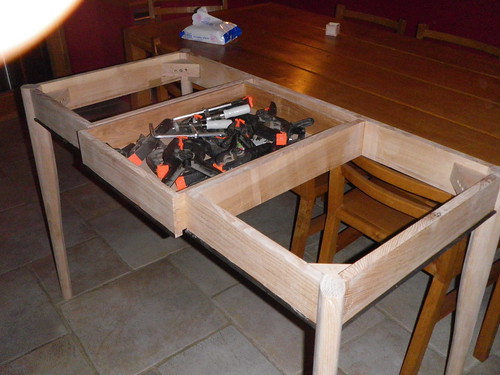
Bought it inside to cure the glue properly
4358990872_85bf4c2c2e.jpg

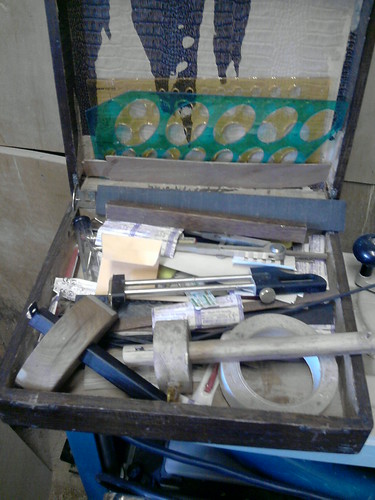
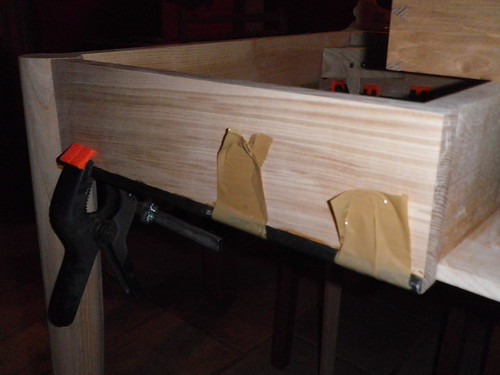
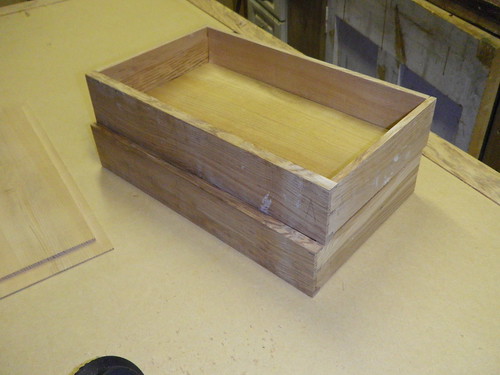
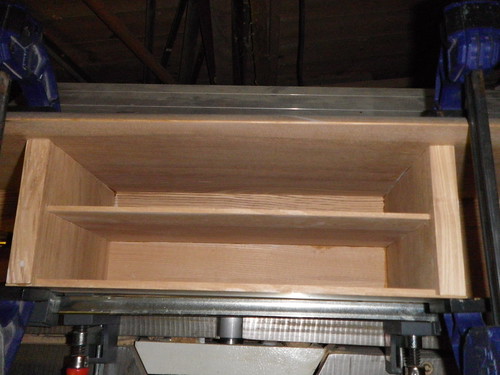
Then finished off the small drawers in the top part and cut 1/8 inch grooves ready to take a 1/8th base using a new 1/8" downcutting spiral bit from wealden
4358990472_51d4c8591f.jpg

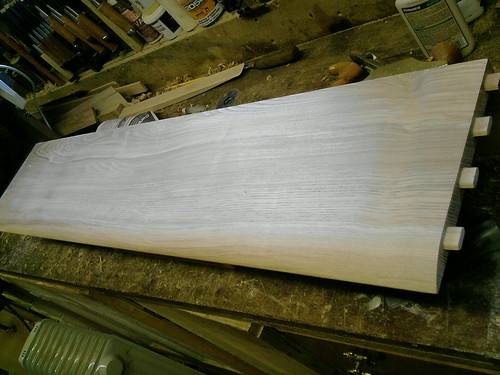
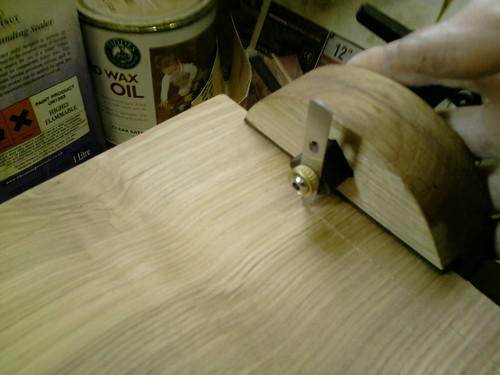
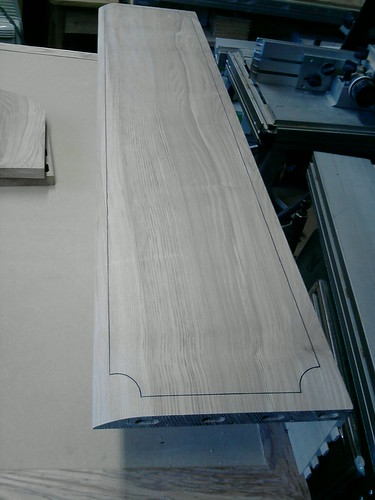
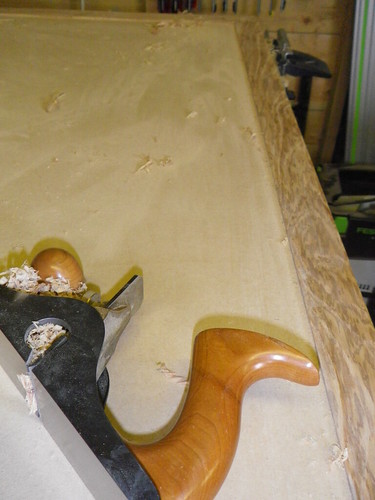
The ash surround for the table top was quite difficult to plane - everything I tried resulted in tearout no matter how sharp the blade or from which direction. Tom L-N at Rycotewood was trying to persuade me that a low angle jack plane is the answer to all such problems - certainly it made a very good job of the piece of ash we planed on friday morning which had some tricky grain patterns too... perhaps I will have to save up some pennies!
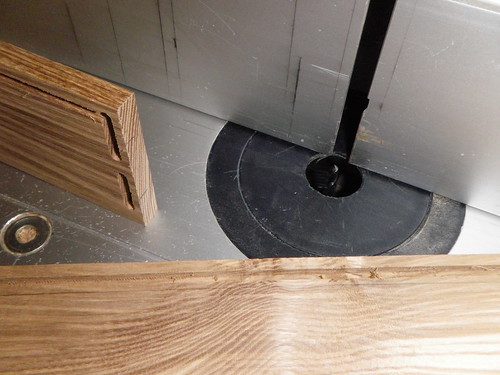
Anyway I ended up using a scraper plane which I had been given years ago and had never really used in anger until yesterday - it gave a fantastic result and the burr seemed to last for ages: It is the medium cabinet make's scraper plane with a 45 degree bevel and it was a joy to use once I had taken the corners off the blade with a fine diamond stone
4358245973_3ef3dacac3.jpg

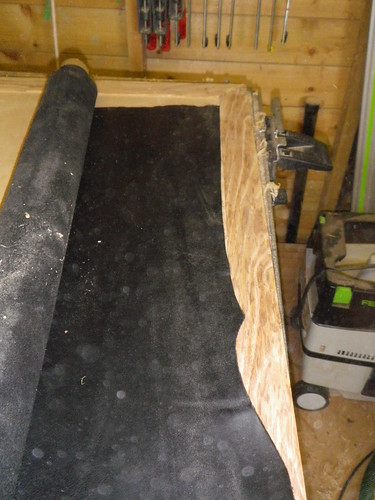
Finally I put the leather hide on the table top just to see what it looked like - and I was not disappointed with it - but I will put that away out of harm's way until everything else is finished
4358990322_084a465b90.jpg

Thanks for looking
 
It has been a frustrating week - late days at work and only able to get out for an hour or so after work each day.
First I finished and glued up the 2 drawers for the desktop
4367583010_79099ff463.jpg

Then very carefully routed rebates in a thin piece which will act as the base of the drawer unit.
4366836953_563ef81983.jpg

Once this was done I could glue together the drawer cabinet in the desktop. This was domino'd with 8mm dominos
4366836649_6b2eeb5e43.jpg

Once the glue on the drawers was dry, I cleaned them up and then 'dry-fitted' them into the cabinet. I have definitely decided on simple ebony spheres for the drawer handles
4366837003_1f49d90653.jpg

So I mounted a 100x25x25 piece of ebony in the lathe and turned a sort of triple dumbell shape (sorry forgot the photo) but I wanted the grain on the spheres to run sideways on the final drawer so I then cut the dumbell up into the 3 balls on the bandsaw, drilled a 3mm hole in the 'side' of each sphere and then inserted a stainless screw to mount the sphere. This was then mounted in the chuck on the lathe and the sphere finished off with 150 thru 400 grit paper so that I ended up with 3 spheres 20mm in diameter (1 is a spare)
4366836463_11ffe5022f.jpg

Finally this week I started thinking about the inlay on the curved top of the desk... I am very loath to cut this with a router as I really want this to be a fine 1.6mm line and the router always tends to wander as it usually requires more than 1 pass to get the right depth when using such fine router bits. So I have been practising with my straight line inlay cutter which I have to admit is a home-made version of the Lie Nielsen cutter but at a fraction of the price. I tried it out on a spare piece of ash and the result on cross-grain was OK.
4367582906_8f45236b03.jpg

So my favourite job - inlaying - is finally approaching. I will find a time over the weekend when I feel calm and steady!
Thanks for looking
Gasman
 
Haven't enjoyed watching a WIP this much in ages.

The desk is looking really good, and your interpretation of the design is looking like an improvement! :)
 
Like the dumbells. Lots of pics of the inlay process pls.
 
Thanks very much for your kind comments
Tom I will do my best to take lots of pics. I just splashed out and bought a new blade for the inlay cutter from Axi and I hate ordering less than GBP50... so I bought the only other inlay tool I think I will ever need which is the Thicknessing Gauge http://www.axminster.co.uk/product....ie-Nielsen&name=&user_search=&sfile=1&jump=48. This will be extremely useful as at present I thickness the ebony down to 3mm or so on the Makita 2012, then cut thin strips on the upside-down mounted jigsaw, then thickness by hand down to the required 1.6mm thickness using a card scraper - which is very laborious.
My mouse hand was hovering over the L-N fishtail chisels as well after spending time with one of then and Tom L-N at Rycotewood last week - but I think that would be extravagant as I have finished all the half-blind dovetails I will be cutting for a while - damn!
Cheers
Mark
 
Just finished inlaying the top and it went fairly well with no major cock-ups Lots of photos coming up (Tom you asked for them!)
First I opened up the inlay box which contains lots of appropriate goodies...
4373698234_7101b9f64b.jpg

Then I took the ends of the desktop and ensured the sides were all straight and parallel before card-scraping it carefully
4372944261_cb848de3ec.jpg

Here is the finished drawer unit with the turned ebony knobs. You can see the right hand side of the top drawer is not a perfect fit - really disappointed about this and I will do something about this tomorrow
4372938857_17d1d07be1.jpg

The basic design was going to be as follows: with a line 20mm in from the sides all round
4372937807_bd6484e82c.jpg

Here's the hand made straight line inlay cutter which looks remarkably similar to the L-N one...
4372940379_1563281eed.jpg

I did however put the new blade on it - I can't believe they can charge GBP12 for this!
4373690604_edd03a6c55.jpg

Then you just start very slowly and carefully, with the blade as high as it will go so the cut will only go about 0.5mm... then you go round the whole thing at that depth, then lower the blade and repeat, then again etc until the cut is about 2mm deep
4372937041_df5978f75a.jpg

All the straight cuts have now been made and there are just the 4 quadrants to cut
4372934657_314fc20dc0.jpg

Here is the radius cutter, together with the extension bars (not needed for this tight curve, radius 30mm, and also a square of polycarbonate (from a festool jigsaw) which is stuck to the wood using double-sided tape and is used as the pivot for the radius cutter
4372932237_6affdbd360.jpg

So now the cutting is all finished and the inlays need to be made
4373686688_fc1744b5c8.jpg

First the corners and some of the lines need to be cleaned up - this is a Beaver blade which is a very fine scalpel and is very useful for this sort of fine work
4373684450_5445cf66f0.jpg

Also at this stage I put on a pair of loupes - these are dental loupes which I bought years ago and which have a 4x magnification at a focal length of about 9 inches
4373696432_c17c7b172c.jpg
 
So a 3mm thick sheet of ebony was cut up using the Proxxon small table saw into pieces just under 2mm thick
4372928365_50d211a87d.jpg

Then these are thicknessed by hand using a card scraper to the corect thickness of about 1.6mm - the L-N thicknesser I had ordered from Axi was not in stock - next time I will use that as hand-thicknessing with a card scraper is tedious
I use Titebond 3 in a 5ml syringe using an 18G drawing up needle to inject the glue directly into the groove. This is good as the glue stays for months in the syringe without going off. Here is the first quadrant done. I use a very sharp low angle block plane to clean off the material standing proud immediately after the piece is in just in case it has to be removed immediately. The quadrants took several attempts as for ebony this is as tight a radius as is possible without steaming the wood
4372926269_579a7caac3.jpg

After about 2 and a half hours I was done and, except for a sore back, it had gone quite well
4372922879_5e412feb89.jpg

So I think one more day and it will be done
Thanks for looking
 
Looking great so far. I am puzzled by how you prepared the ebony. Surely you didn't use it straight from the circular saw? Or.......penny dropping.....you use it on edge, with the sawn edges top & bottom........ 8)

Mike
 
Mike the thicknesser I ordered from Axi has not arrived - so I cut it to 2mm on the little circular saw (which gives a great edge) and then thickness it by hand with a card scraper - that way you can make it with a slight wedge so it fits very snugly in the groove.
I guess the other thing I could do is double side tape 2 thinner pieces together and pass them through the thicknesser like that
 
Really nice Gasman, I think the inlay adds a subtle definition to the shape of the piece. Its something I've been meaning to have a go at, ever since watching Garrett Hack at West Dean a couple of years ago.

Ed
 
When you cut with the grain does it tend to try following the grain? How much force does it take to make it cut a straight line with grain?
 
It does not try to wander provided you don't push too hard. The first shallow cut is the most important and the most risky if you like - but provided you go gradually, not exerting much pressure it is OK.
Another trick I have learnt is to angle the blade slightly away from the direction you are going - so when I am using the straight line cutter right handed, with the wood on the left side of the cutter, I have the blade tilted back a few degrees to start with so I am dragging the blade rather than pushing it if you see what I mean.
The thing which does complicate this slightly is that, if you look at the photo of the blade, you should be able to see that it only has 2 teeth - one which cuts the left edge of the groove and one the right - so that's why I end up cutting the intersections of lines by hand with the beaver blade
 
Thanks for the tips and freely sharing pictures of it in progress. I will keep this in mind if i get creative one of these days.
 
Another couple of hours free this afternoon which I spent glueing on the ends of the desktop, sanding / scraping all the surfaces, putting sanding sealer on the top and bottom and 'fettling' (wrong word I know) the drawers etc to make them fit more smoothly
It is difficult o put off anymore the major step remaining - cutting the leather to size! HELP very scary moment
However I just found this website http://antiquerestorers.com/LEATHERinstall.htm which goes through it in words of one syllable so will get wallpaper glue this week, inwardly digest this article and then do the cutting when I feel brave enough
 
Just caught up with this. Thanks for all the pics. Really wanted to see this process and the result so far looks great.

I saw a jig somewhere recently for using a bobbin sander for thicknessing thin strips. Something I must make!
 
Back
Top