MarkDennehy
Established Member
Or put a veneer of some kind over that side of the part and make it a design feature?


Brian18741":3cud5m2g said:Indeed! These things happen though as you say. I don't know if I should just fill it in with filler or rout it out into a rectangle and make a piece to fit in. It's the top rail of a beds headboard so I can use that edge as the underside if you get me. You'll only see it as when you're lying in bed looking up. I'm thinking filler perhaps as it will be sanded and painted.
Sent from my ONEPLUS A3003 using Tapatalk
Brian18741":1rasurvy said:Thanks for all the replies guys. I think. I'll try the filler first, worst case scenario I can chop it out again and patch in a plug. I may some P38 in the garage from repairing a bumper on a bus. Any additional steps necessary for using it on wood?
Sent from my ONEPLUS A3003 using Tapatalk

Brian18741":37wgi0x7 said:Well the filler (P38) is in and sanded. You can't feel the difference at all but there are some tiny bubbles in it. I may have another go tomorrow when I see it in the harsh light of day but for now, I'm going to tentatively say it's done!
Sent from my ONEPLUS A3003 using Tapatalk

 )
)


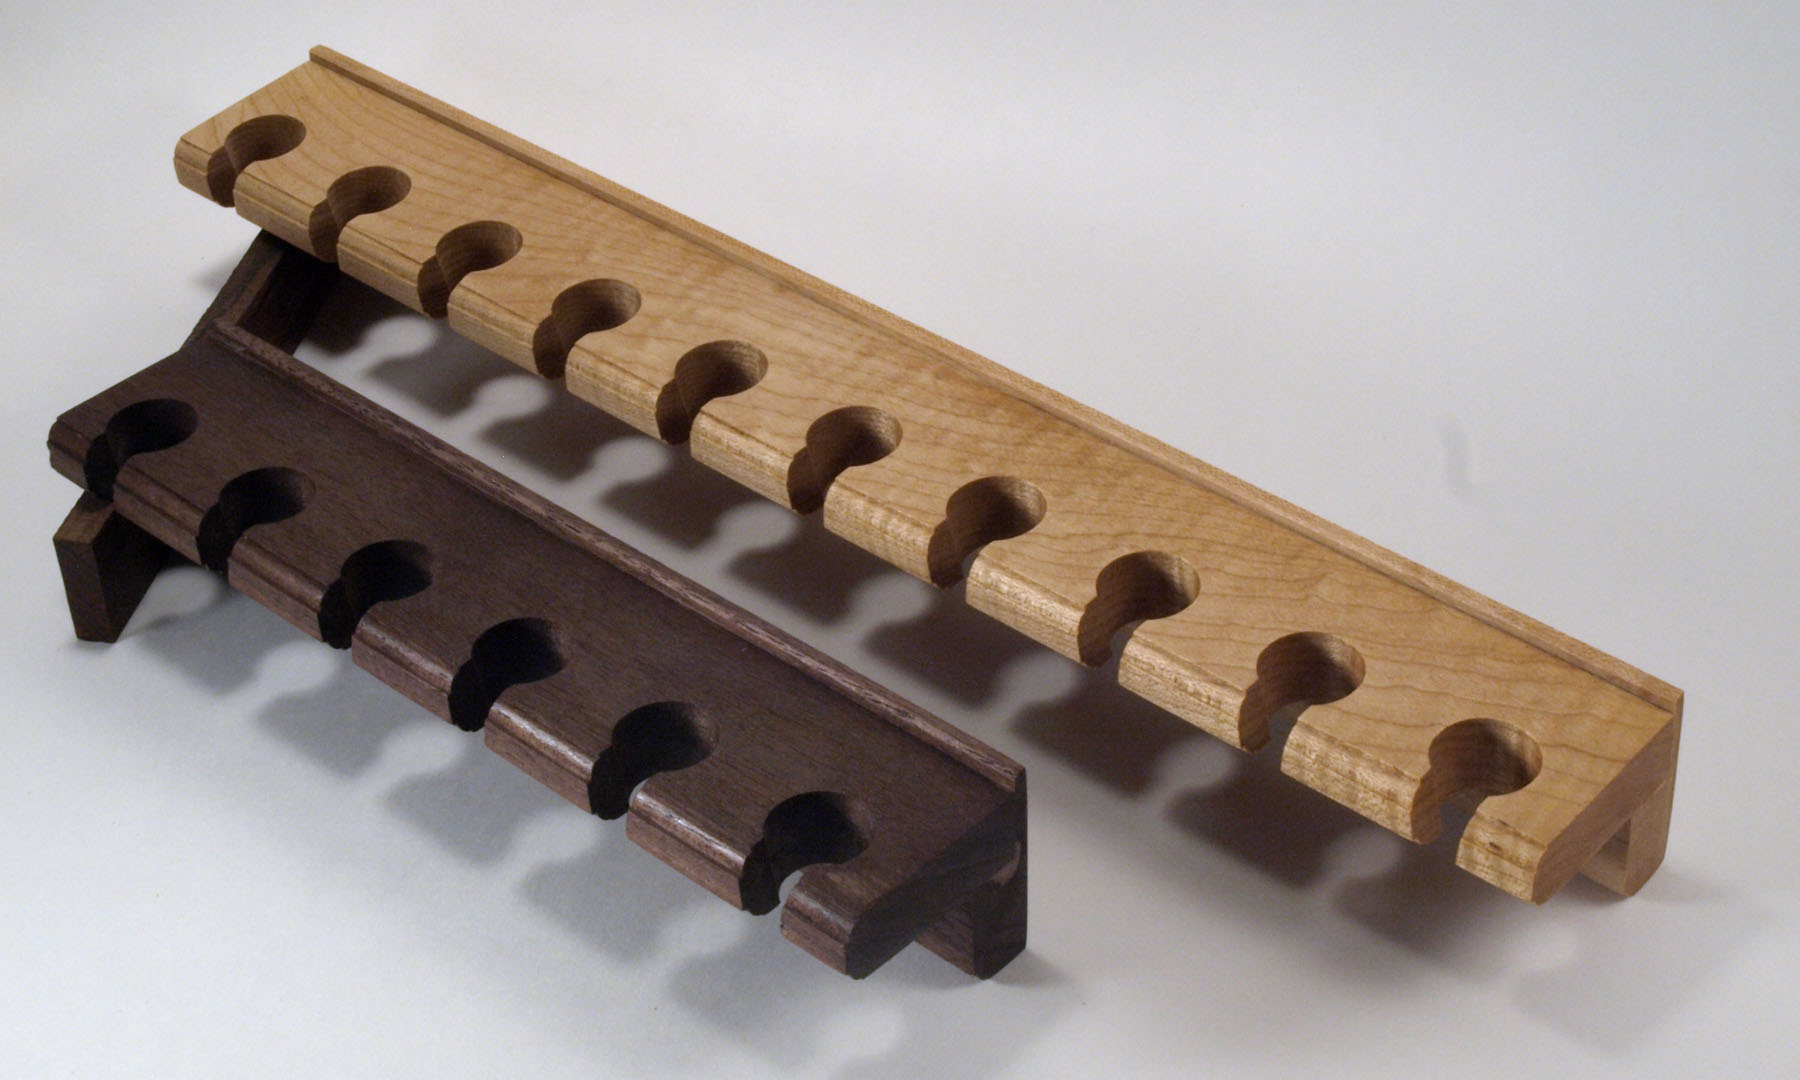
 And I'm kindof proud of it because I haven't seen this design before (this is where Bugbear shows me how it's actually in a well-known article by Moxon or Heywood that I haven't seen yet )
They look good to me Nick. Keep at it.nabs":44xp8btc said:I made some winding sticks, following instructions from Paul Sellers.
https://paulsellers.com/2015/07/taking-the-twists-out-of-life/
This is the first thing I have made with hand tools, so it took a long time (a whole day, compared to PS who took about an hour while narrating a video explaining how to do it
They are the same size and straight, which I suppose is the main thing, but the quality - albeit the best I could do - is a bit rough. I have taken the photo from an 'artistic' angle so you can't see exactly how bad the inlays are (and they are my second attempt, the first being so bad I had to chisel them out and start again!)
I have a lot to learn and this has been salutary reminder about the importance of patience when doing something new, but also quite satisfying to have made something useful.
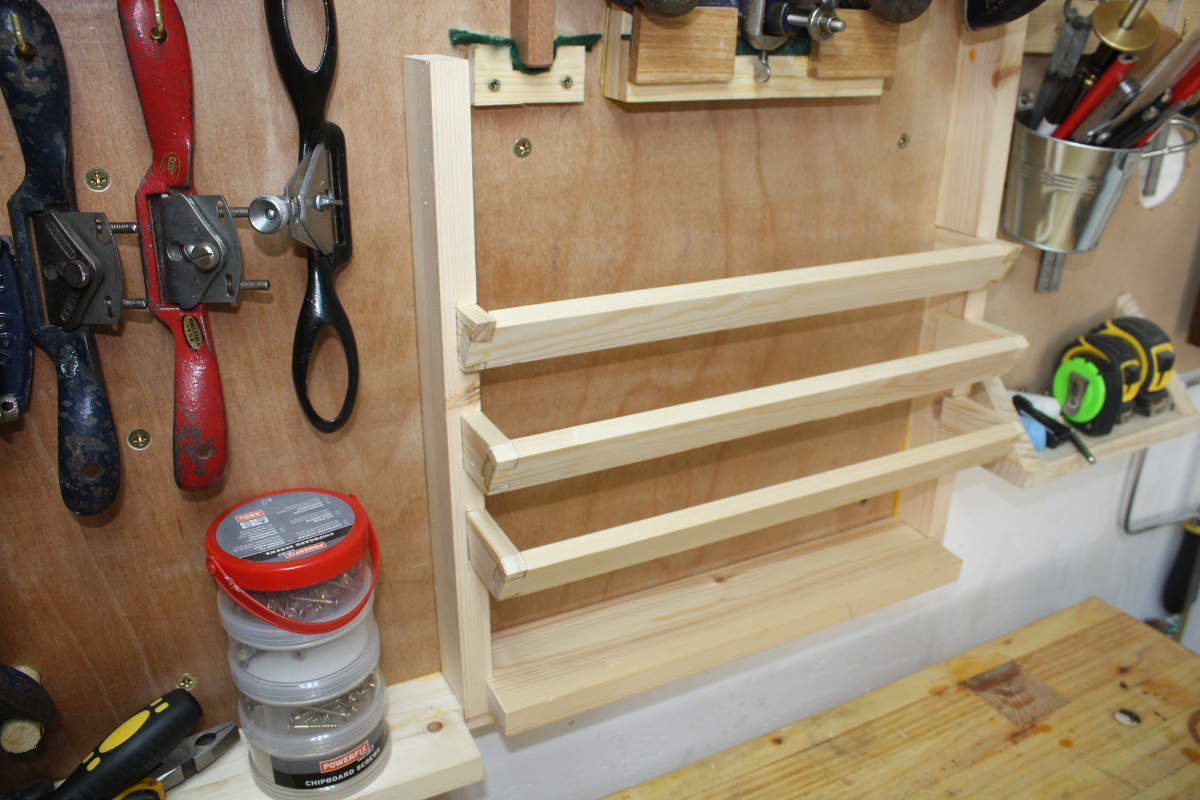
Next I am going to have a go at making a saw bench, and have been using the winding sticks while I dimension the stock.

Enter your email address to join: