What did you do in your workshop today ?

UKworkshop.co.uk

Help Support UKworkshop.co.uk:

This site may earn a commission from merchant affiliate links, including eBay, Amazon, and others.
Status
Not open for further replies.
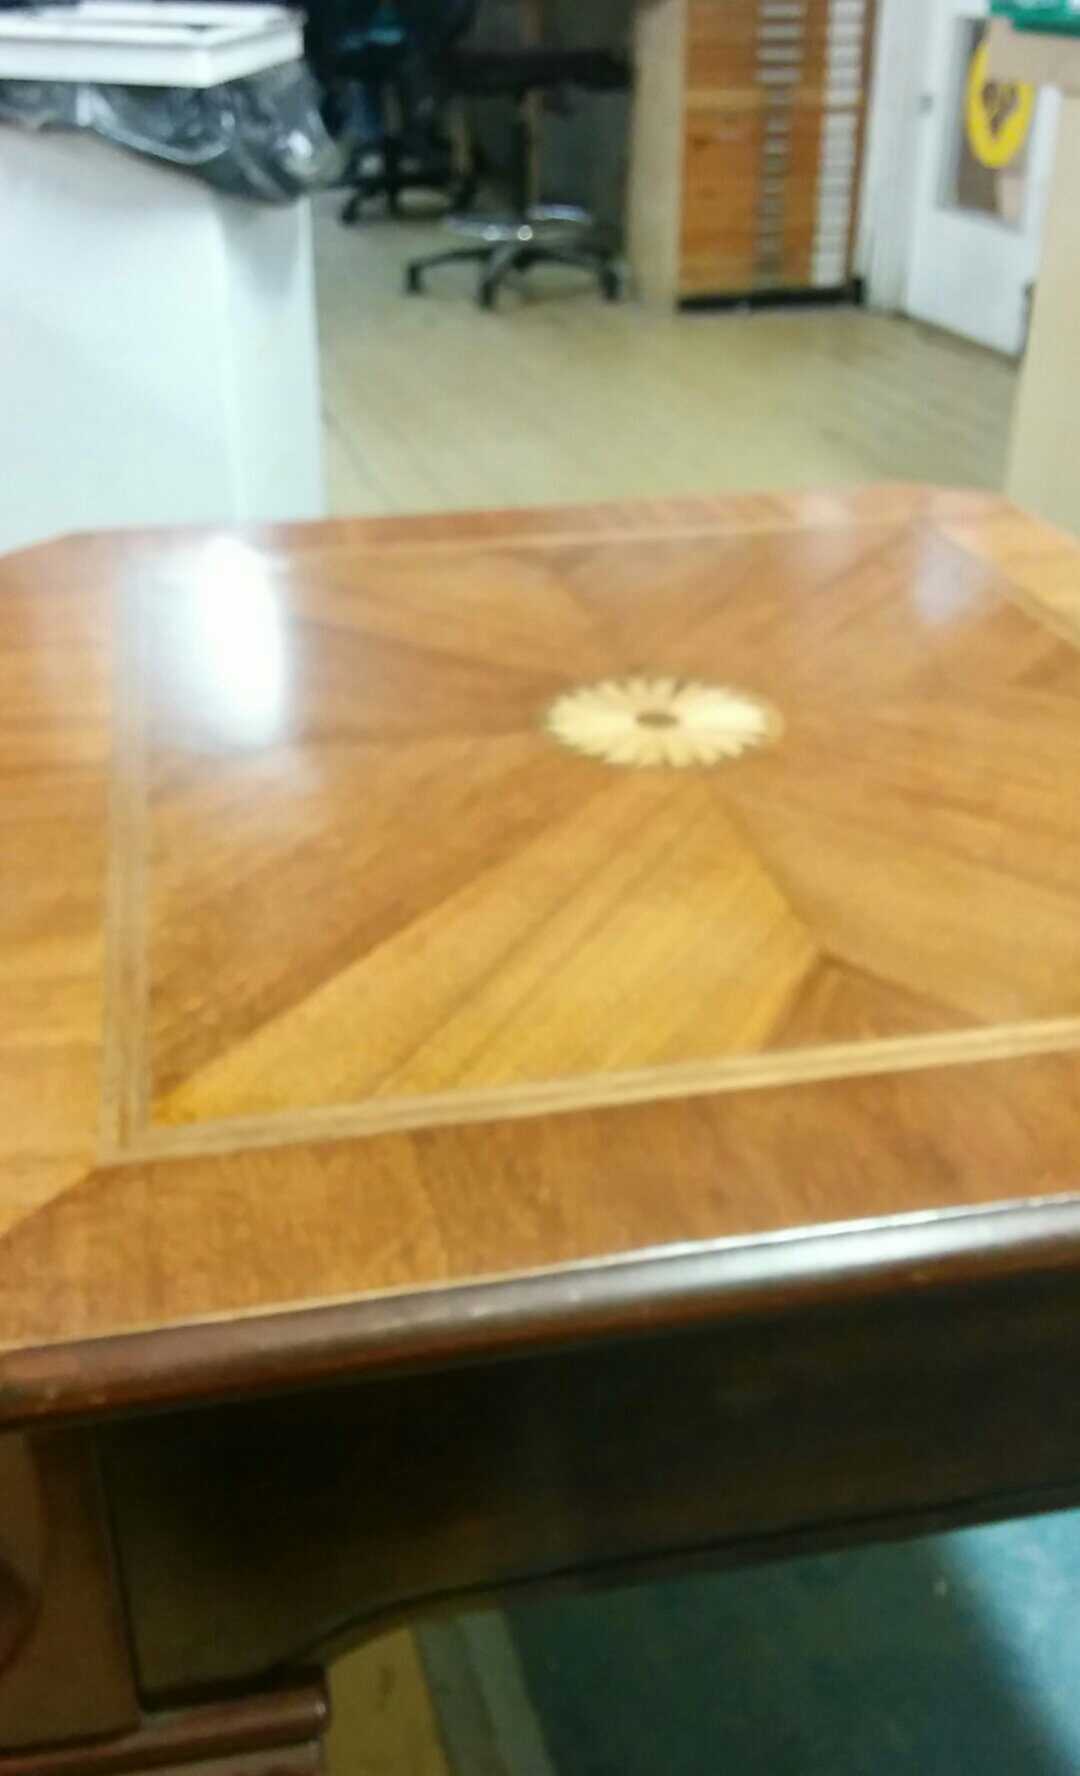
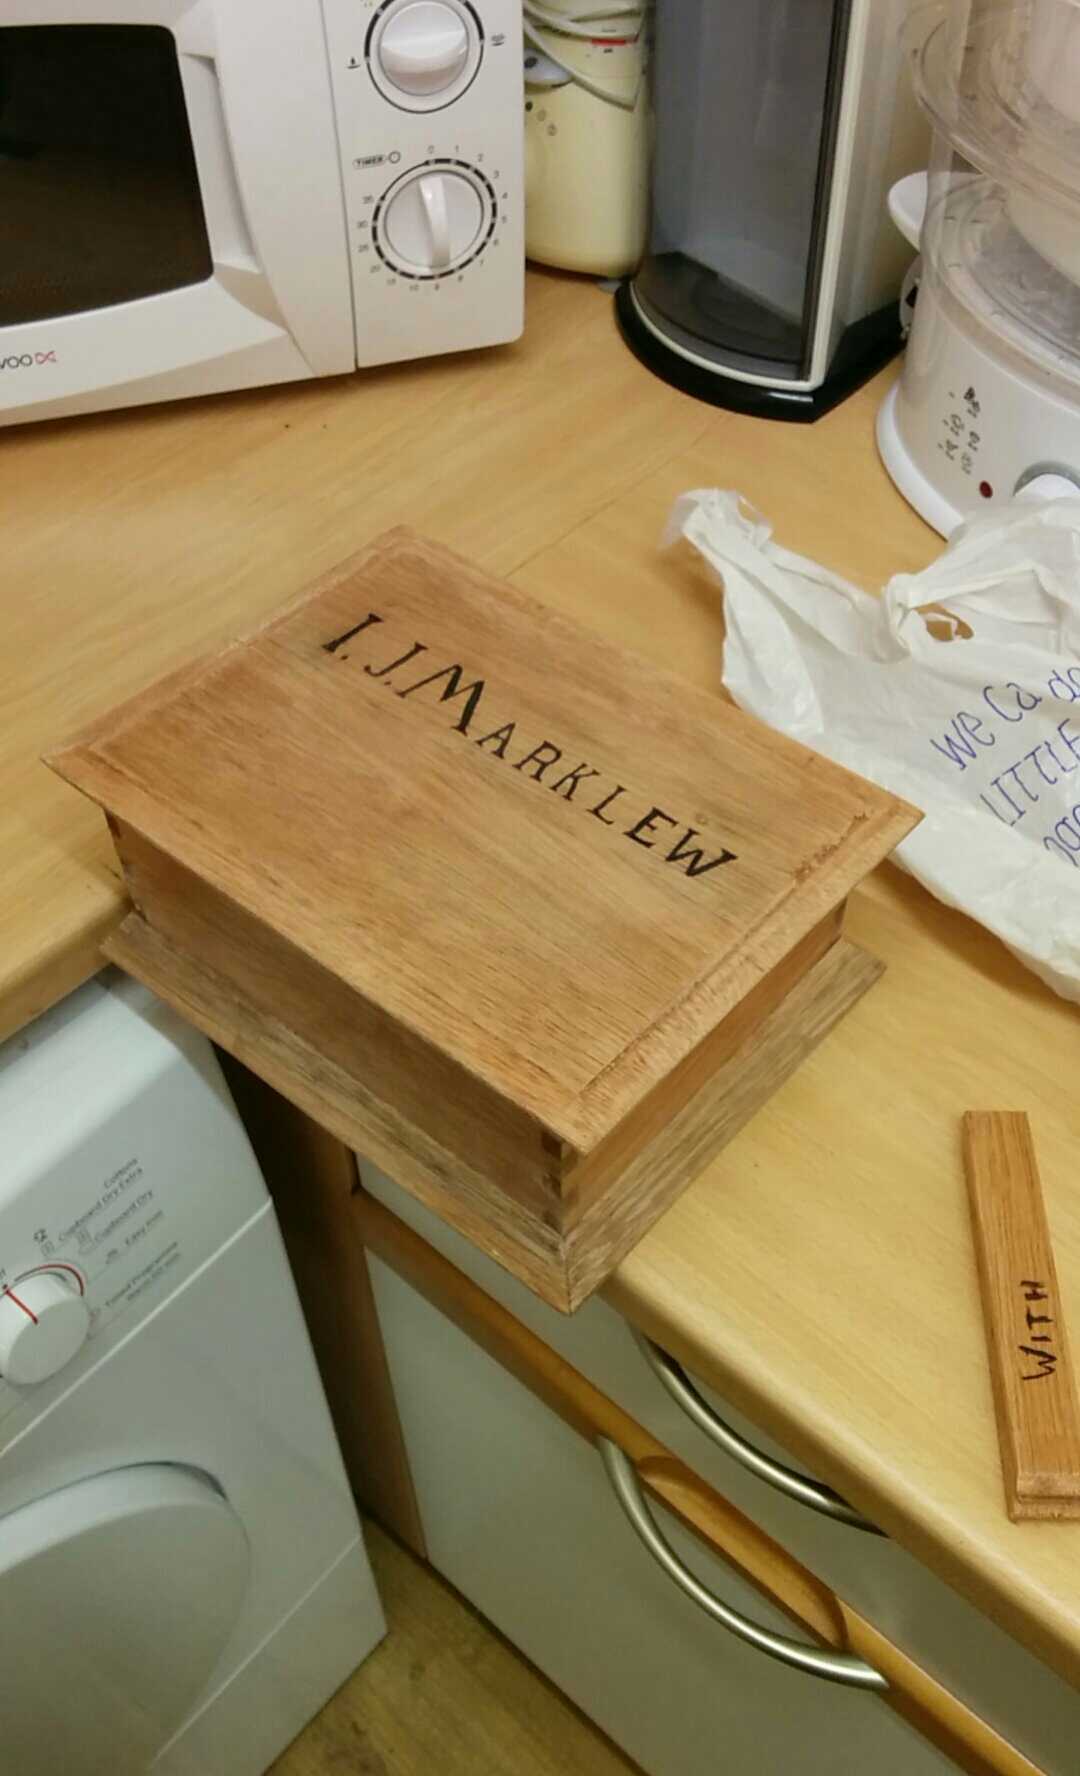
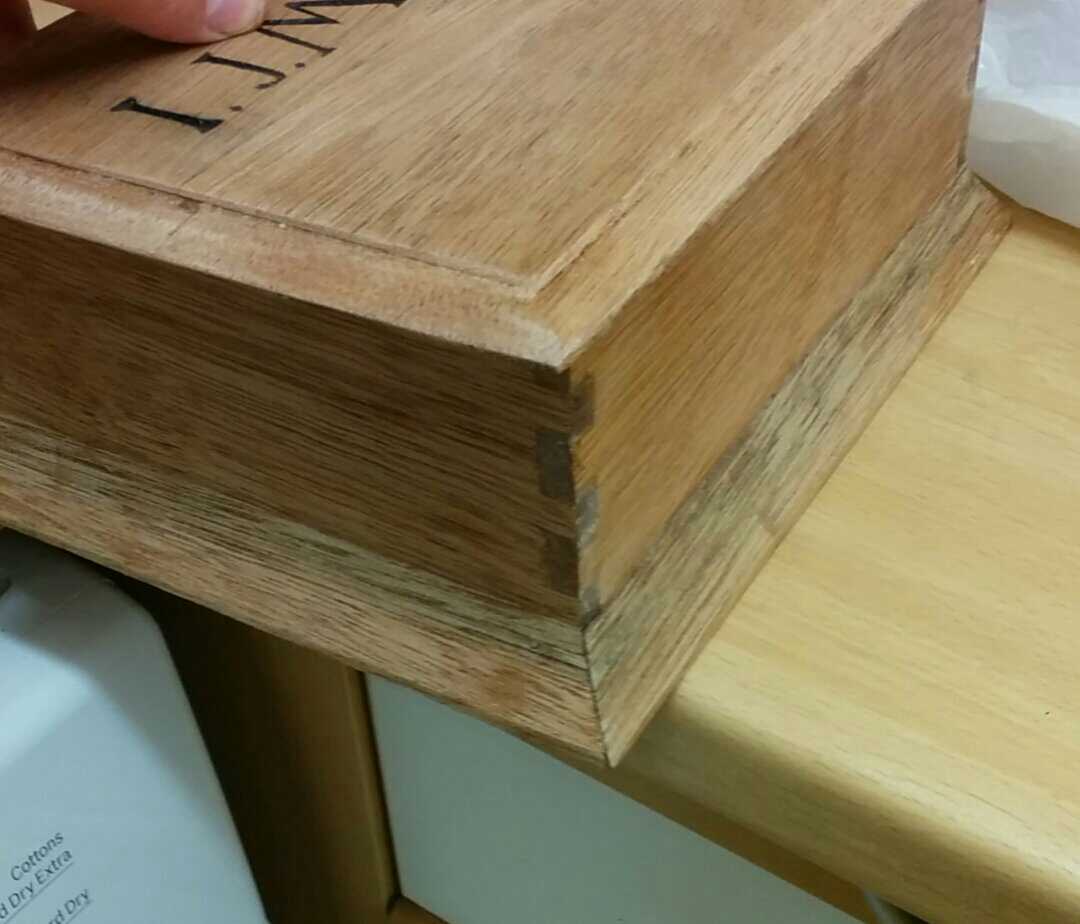
Spent 5 hours carefully routing out a square aperture, squaring the corners very carefully with a Japanese saw, then making a panel to fit inside it very snugly.
Only trouble is I've made the panel such a good fit (read tight as @@@@) that I need to fit a couple of knobs to it so it can be removed without having to push it from behind. Oh well better than a sloppy fit ha ha
Still a successful day in the end :D
 
Mr T":3iwu23ta said:
MarkDennehy":3iwu23ta said:
Bm101":3iwu23ta said:
I've seen a similar idea for holdfasts where a bit of softwood with a hole for the body of the holdfast in it sits under the head in Chris Schwarz's bench book to stop the head marking wood but I never translated it to cramps.
Seems a bit overly fancy for holdfasts; I just contact cemented a scrap of leather under the pads of mine and then trimmed off the excess. Hasn't marked anything so far.

Alternatively you could use magnetic clamp heads.

http://www.christribefurniturecourses.com/index.php/tip-magnetic-cramp-heads/

Chris
That's genius Chris!
 
I use rare earth magnets to keep the specific Allen key I need with the machine it fits.

Mike
 
Wildman":2o4dkt1f said:
I managed to strip the old emery and glue from the disk sander and fit a new one so another machine up and running, the field not quite a sea of mud yet so can still get over it. Keeping rust at bay is an endless job. I am in need of a variable speed 1/2" router to handle a few large cutters I have one 1/2" jobbie but it is underpowered and the others are small 1/4", both of them.

Yes, I hate 1/4" routers. The shanks have so little substance to them that even small amounts of stress make them vibrate and result in an inferior finish.

Jim
 
I've been building my first dovetail box from some laminated pine I found back in June in a skip, the wood was very difficult to work with for some reason, it just wanted to split, apart from that it has turned out great.

I just need to finish it off with some hinges and then decide on a final finish, no pics until next year though!
 
This was my first dovetail box:


Built to house my dovetail jig:


Seems a bit ironic now I have put that in writing. :roll:

Mike
 
Worked on disassembling and cleaning parts for my SCM l'Invincibile T160 spindle moulder.

It has evidently led a hard life......
 
Finished off a bedside table for my son.
English Oak with a bit of Pine used inside the drawers. Half-blind dovetails on the main top section and the drawer fronts, some housing dado joints too. Finished with Osmo satin.
800mm Wide - 400mm High - 250mm Deep
rsz_dsc_0111a.jpg

rsz_dsc_0112a.jpg
 

Attachments

  • rsz_dsc_0111a.jpg
    rsz_dsc_0111a.jpg
    113.2 KB · Views: 177
  • rsz_dsc_0112a.jpg
    rsz_dsc_0112a.jpg
    113.9 KB · Views: 177
Moonsafari69":3c4ute9g said:
Finished off a bedside table for my son.
English Oak with a bit of Pine used inside the drawers. Half-blind dovetails on the main top section and the drawer fronts, some housing dado joints too. Finished with Osmo satin.
800mm Wide - 400mm High - 250mm Deep


I saw this in the flesh yesterday, the pictures do not do it justice.
Nice job.
 
MattRoberts":3kh79685 said:
Looks fantastic Moon - great job. Hand cut or jig, if you don't mind me asking? :)

Thanks Matt. They're very definitely jig :) I used the Axminster jig, really easy to use too so right up my street.
 
Yeah, nice one. I've yet to use my trend Jig for a decent project, but will look to incorporate it on the next one following your inspiration! :)
 
here's some pics of my first hand cut dovetail box, no power tools used here.

there are a few gaps that need filling with epoxy and the box sides moved during glue up, otherwise happy.

The next box is going to be so much better than this.

I just need to get some hinges, fit the lid and finish it off now.
 

Attachments

  • DT_box-1.jpg
    DT_box-1.jpg
    179.3 KB · Views: 115
  • DT_box-2.jpg
    DT_box-2.jpg
    188 KB · Views: 115
  • DT_box-3.jpg
    DT_box-3.jpg
    206.8 KB · Views: 115
  • DT_box-4.jpg
    DT_box-4.jpg
    225.9 KB · Views: 115
  • DT_box-5.jpg
    DT_box-5.jpg
    251.1 KB · Views: 115
  • DT_box-6.jpg
    DT_box-6.jpg
    228.8 KB · Views: 115
  • DT_box-7.jpg
    DT_box-7.jpg
    253 KB · Views: 115
  • DT_box-8.jpg
    DT_box-8.jpg
    192.4 KB · Views: 115
thetyreman":2vms6h1v said:
here's some pics of my first hand cut dovetail box, no power tools used here.

there are a few gaps that need filling with epoxy and the box sides moved during glue up, otherwise happy.

The next box is going to be so much better than this.

I just need to get some hinges, fit the lid and finish it off now.

V good job! Did you do that bottom section too? Looks great.
 
El Barto":3ezcgp2g said:
thetyreman":3ezcgp2g said:
here's some pics of my first hand cut dovetail box, no power tools used here.

there are a few gaps that need filling with epoxy and the box sides moved during glue up, otherwise happy.

The next box is going to be so much better than this.

I just need to get some hinges, fit the lid and finish it off now.

V good job! Did you do that bottom section too? Looks great.

thankyou, yes I did the bottom piece as well, used a no4 for the round-over, then sanded it up to 240 grit.
 
thetyreman":uqxhlhjc said:
here's some pics of my first hand cut dovetail box, no power tools used here.

Excellent start to 2017!

I'm always puzzled why so many woodworkers run away scared from attempting dovetails. Unlike almost any other woodworking joints dovetails are still strong and reliable even when they're a bit gappy. And, as you so rightly say, your next box will be loads better.

Full credit for having a go, once you get this skill securely under your belt it opens the door to so much rewarding furniture.

=D>
 
Hello, I planed two wooden draw rails for my bedside cabinet as the plastic ones had crumbled with not much left to support the draw! then drilled a few holes and screwed them in place, also cleaned up an old small saw,£3.99 from Ebay, was informed that it was a Tyzac saw,i cleaned the blade and found letters GTL sheffield,so the seller got it wrong! Is there any info on GTL please? Rodley 2009.
 
I excelled myself today and accomplished 2 things today...

The main job was turning this:

EEFT72J.jpg


Into this:

dIU5UqO.jpg


Which was a task comprised mainly of tentative sanding, followed by copious amounts of waiting blended with a small amount of applying laquer.


I made this, in the intervening moments.

VbgF70T.jpg


bvkTUuV.jpg


I'm happy with how the incised carving came out when it was picked out with paint, but I feel like it would have turned out nicer in a different wood... I just have loads of appropriately sized offcuts of meranti (from the other table, which I will eventually get to finish).
 
Status
Not open for further replies.
Back
Top