Moonsafari69
Established Member
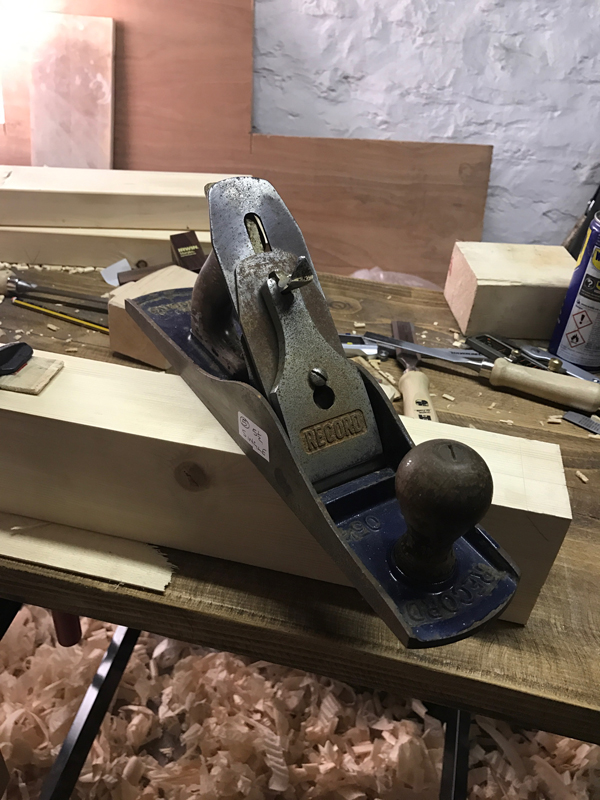
Overdue plane maintenance getting sorted...


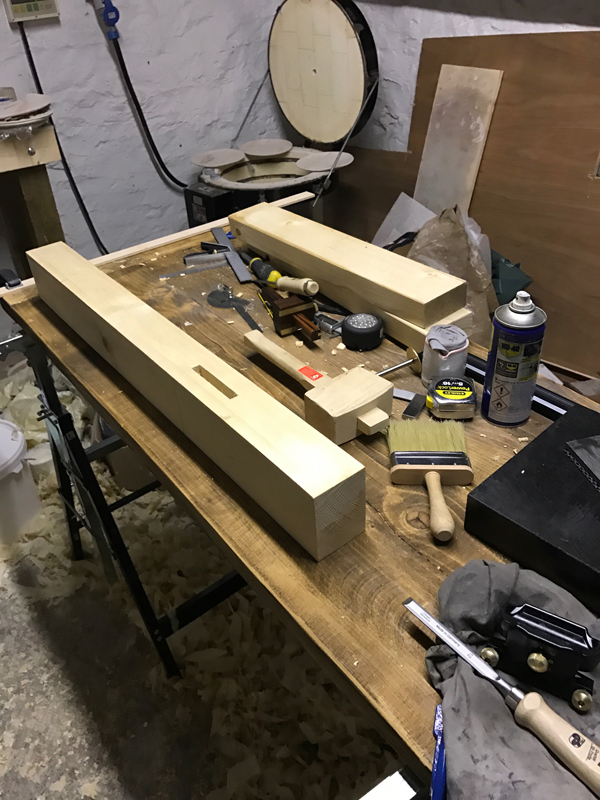

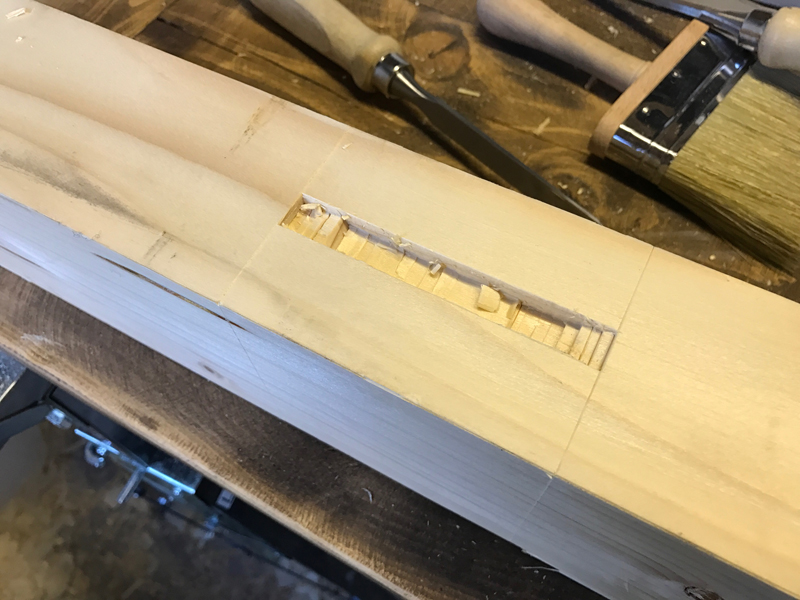
MrTeroo":2uba724j said:Nice tidy mortice.
Keep the photo's coming?
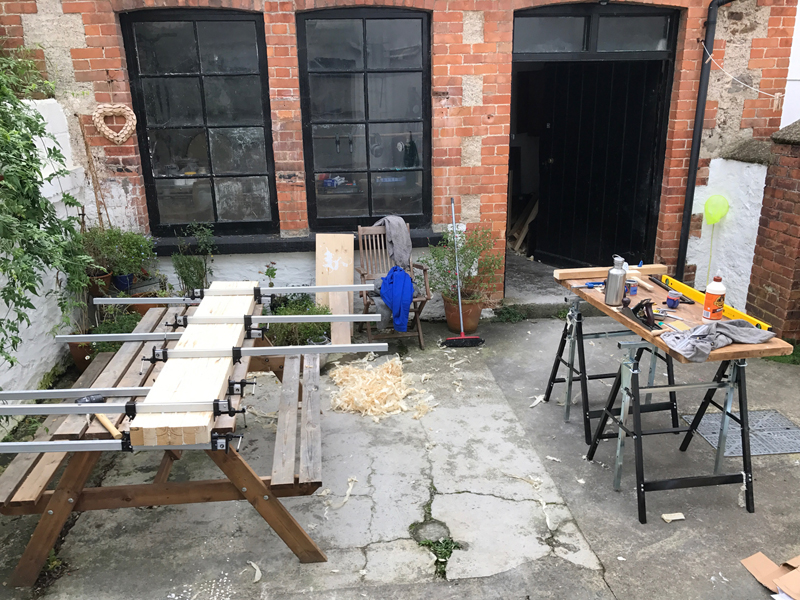
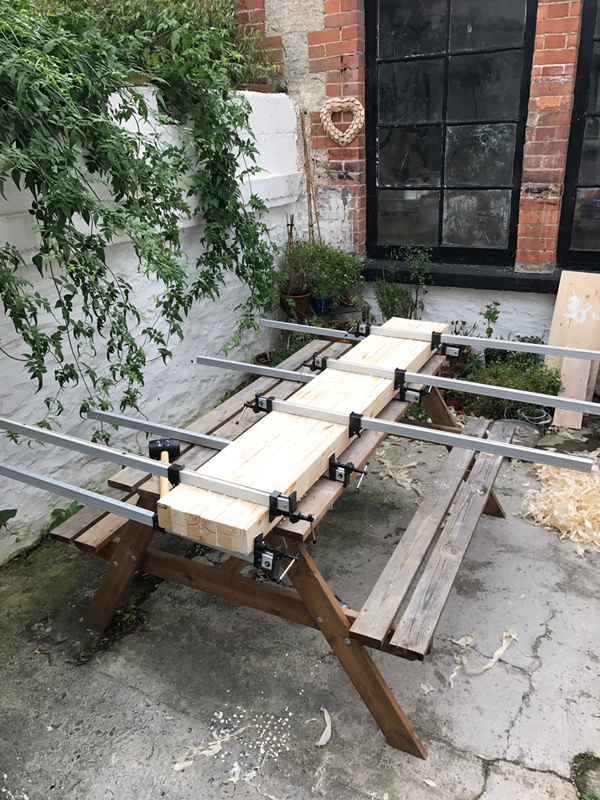
El Barto":1c3xlscg said:Home alone for the week so getting some work done on my bench. Slow progress but very rewarding. That Paul Sellers makes it look mighty easy on YouTube... (hammer)
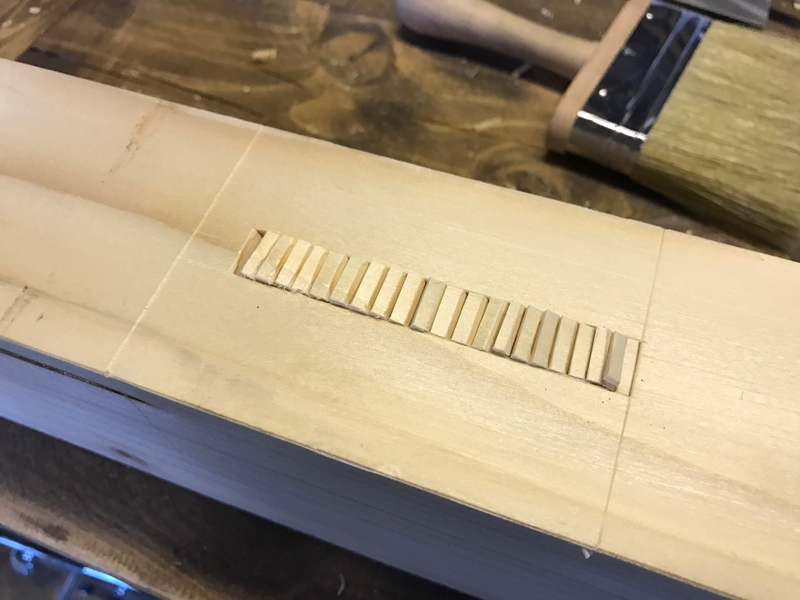
El Barto":2j8at5ea said:Nearly finished cutting the mortises now. On that note, the cuts on a couple (but not all) of them have not met in the middle and I'm left with ridges that need to be pared. Why is that, what causes it? Is it my technique? Like I said it's only happened on two of them and if nothing else I'd like to know why it happens and how I can avoid it.
El Barto":1dzj4zcy said:Thanks dudes. Nearly finished cutting the mortises now. On that note, the cuts on a couple (but not all) of them have not met in the middle and I'm left with ridges that need to be pared. Why is that, what causes it? Is it my technique? Like I said it's only happened on two of them and if nothing else I'd like to know why it happens and how I can avoid it.
I should note that all my marking up appears to be correct, using the gauge from the same face etc.
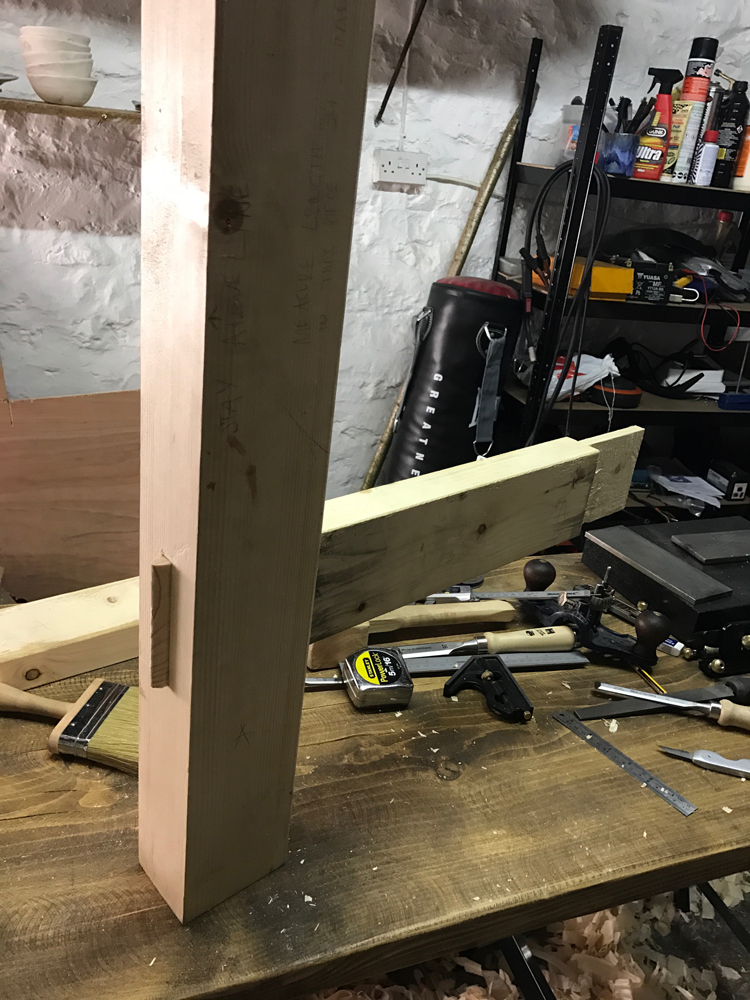

El Barto":xalqwb0c said:I got all the mortises cut - glad that's over.
Bm101":2sxaj5j3 said:Bart. Just pointing out that taking woodworking advice from me is like paying double for a parachuting course run by a manic depressive.
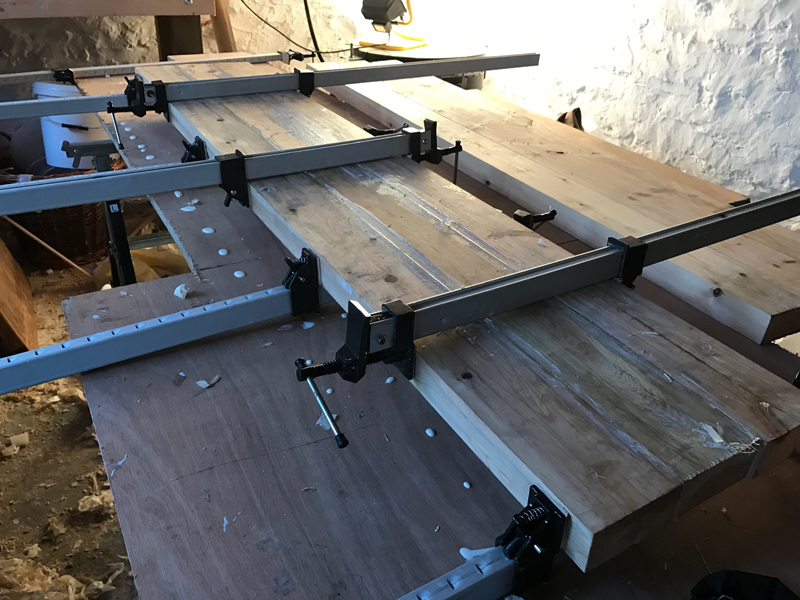
That said. One option for cramps on the relative cheap is cramp heads if you haven't seen them. Paramo or Record are far better quality (about £15 a pair ebay prices) than the ones sold by Rutlands, but the Rutlands will work . Think they were designed for timber tbh but 3 or 4mm box steel is fairly cheap and it doesn't budge.
There's some info here plus some pro tips by people who actually know what they are about on fettling them.
clamp-choices-t93528-15.html
You can see the difference in quality from the pic. Good luck and start a bench WIP fergawdsake man.


Enter your email address to join: