Modernist
Established Member
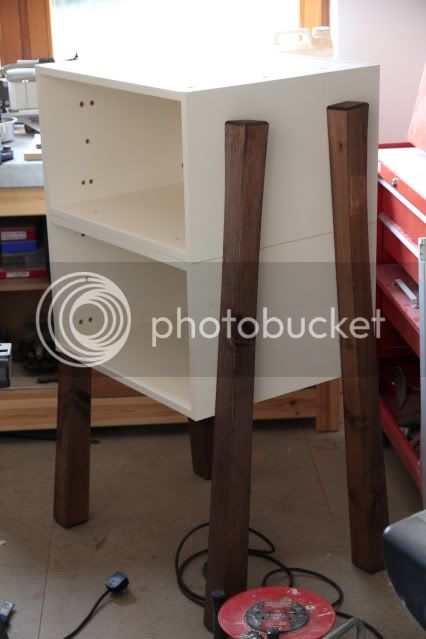
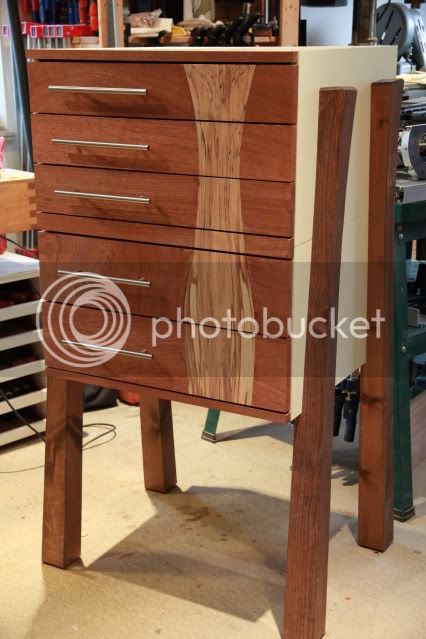
I ground to a halt on my JK cabinet for the moment but wanted to try some proportions of JK legs and angles on a utility piece. I had a couple of unused kitchen cabinets so decided to make a 5 drawer tool chest which I need and test out the design theories.
No drawing - all out of the head as we went. I can hear the tut tuts!
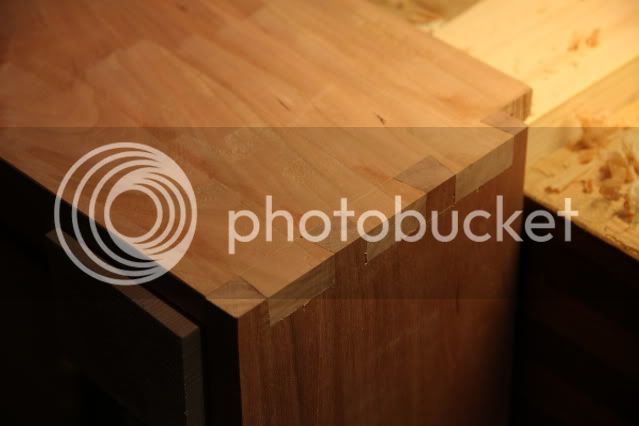
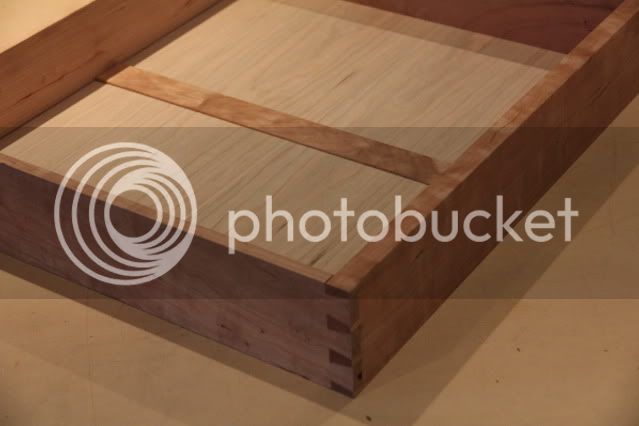
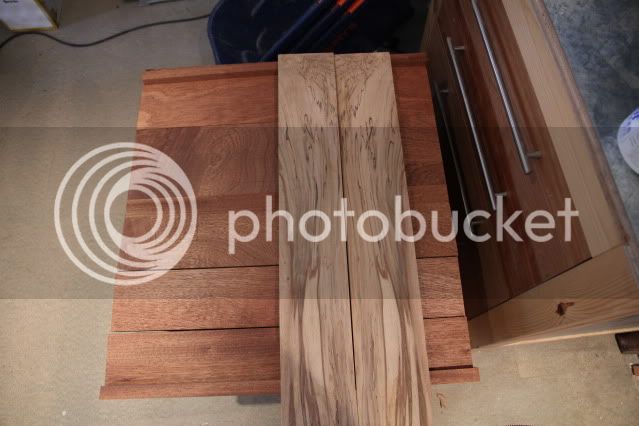
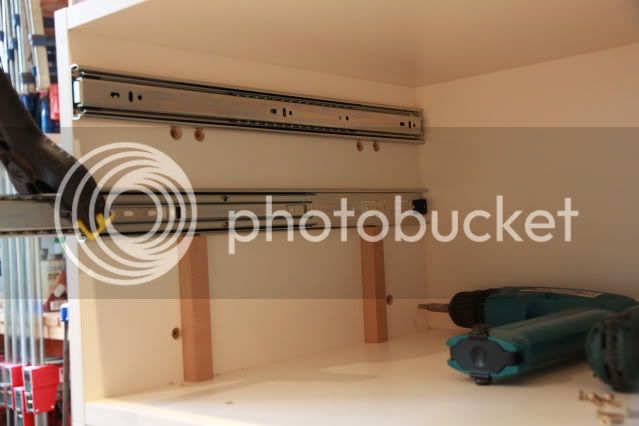
The cabinets were 600 wide x 350 high and about 550 deep with the rear wings cut off.
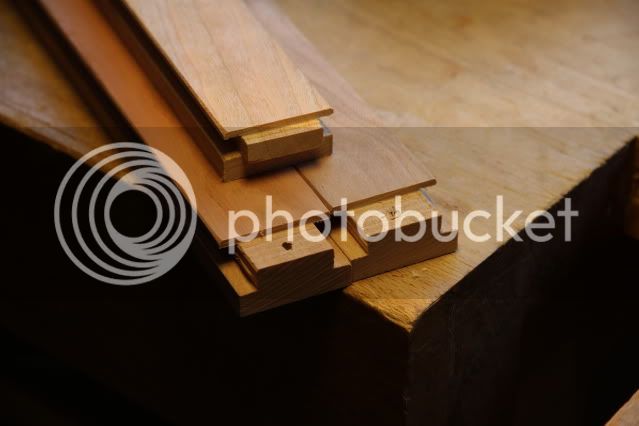
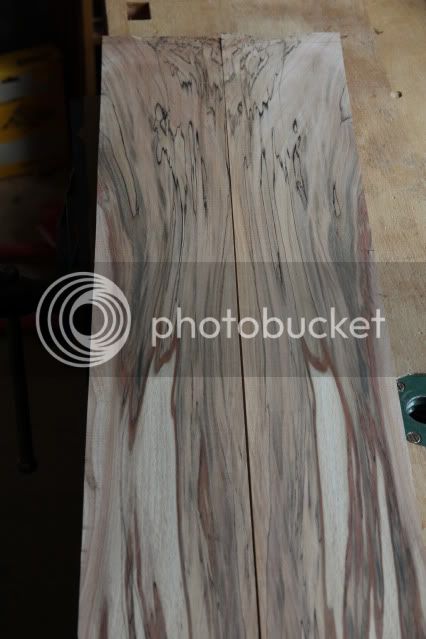
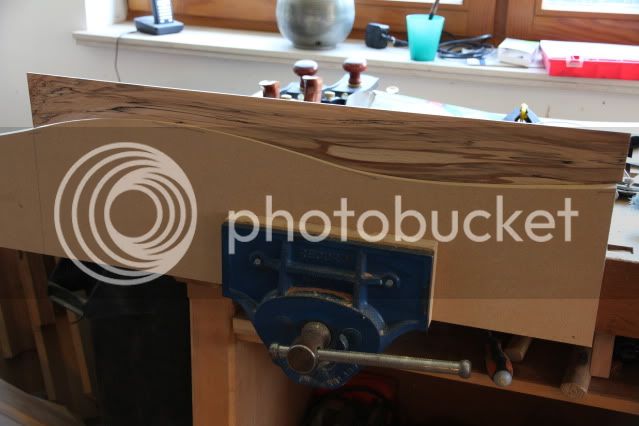
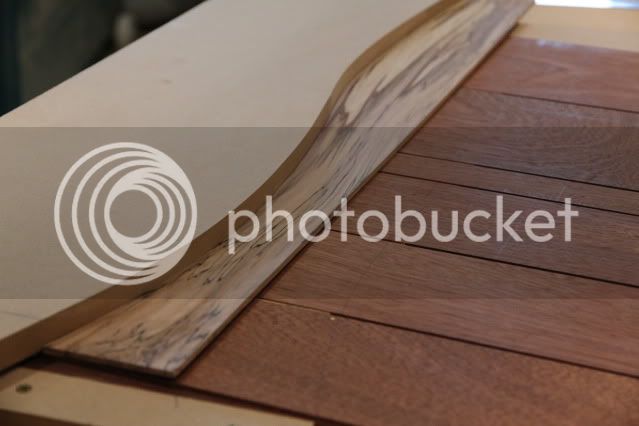
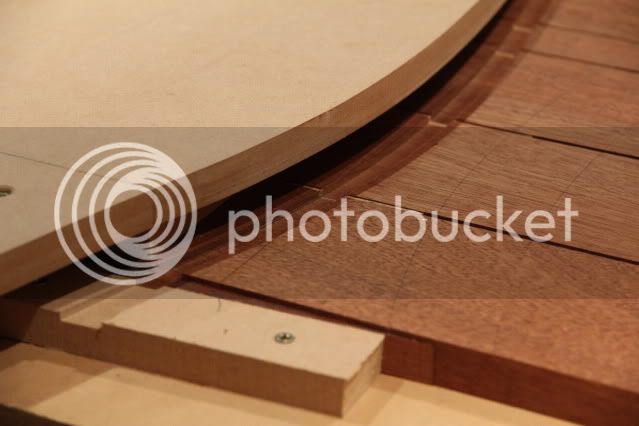
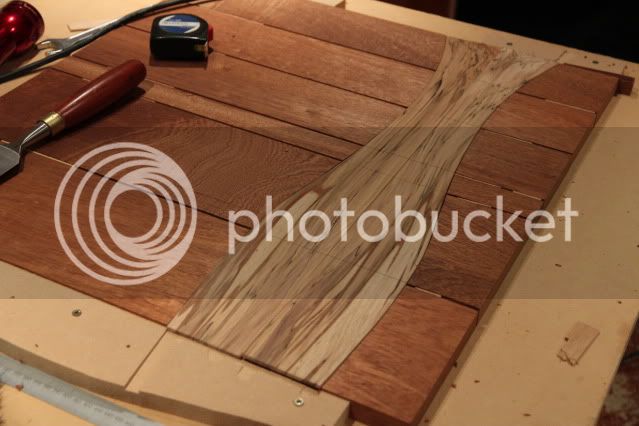
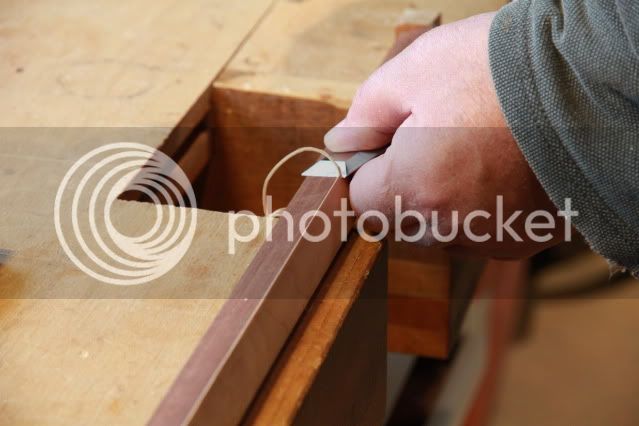
I needed a total height of 1200mm so that I could see in the top drawer and put tools on the top so made a template for the JK leg with 25% reduction in width at 25% of the height. This is one of the issues as this only works for single side curves with the other left straight.
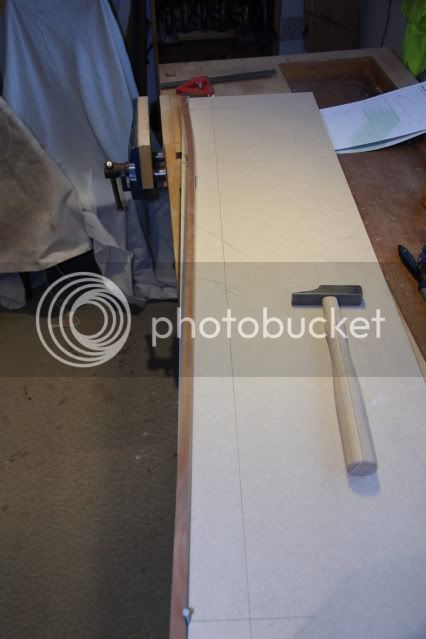
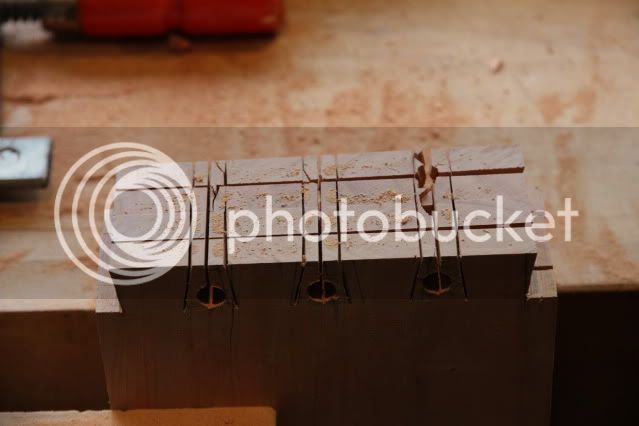
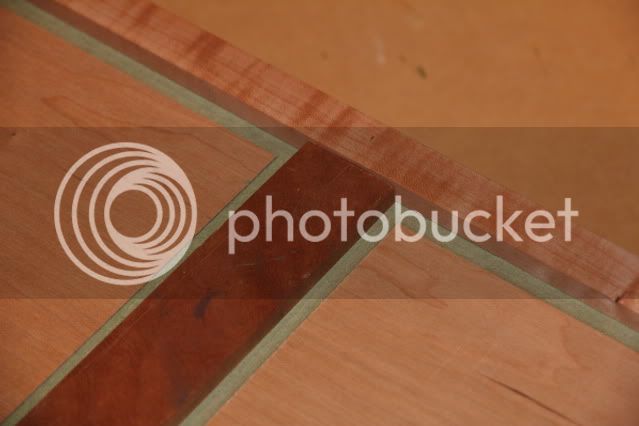
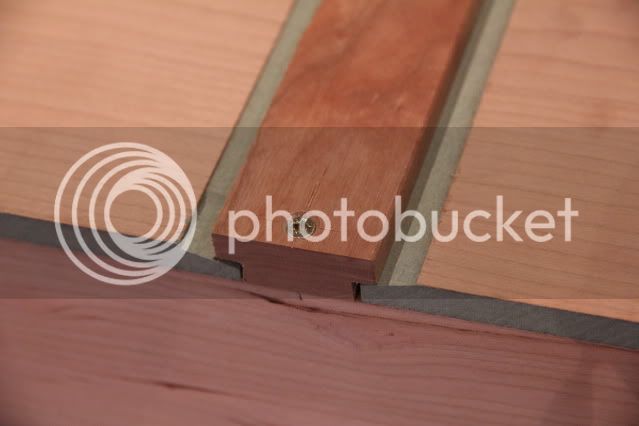
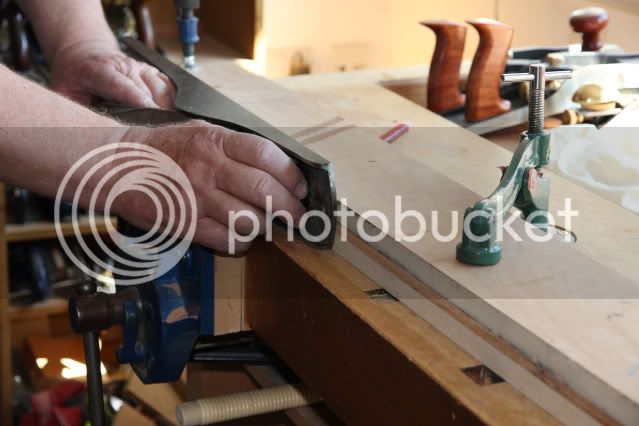
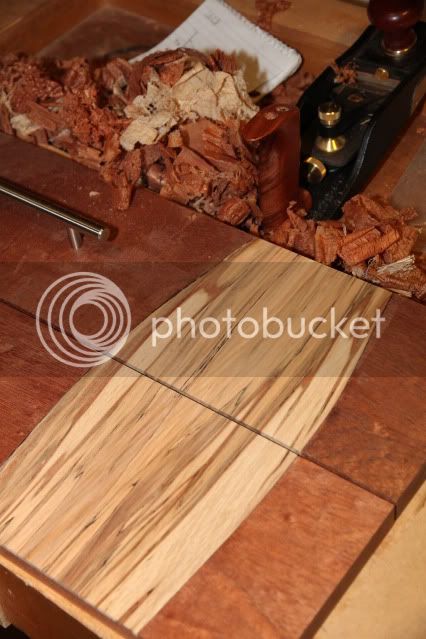
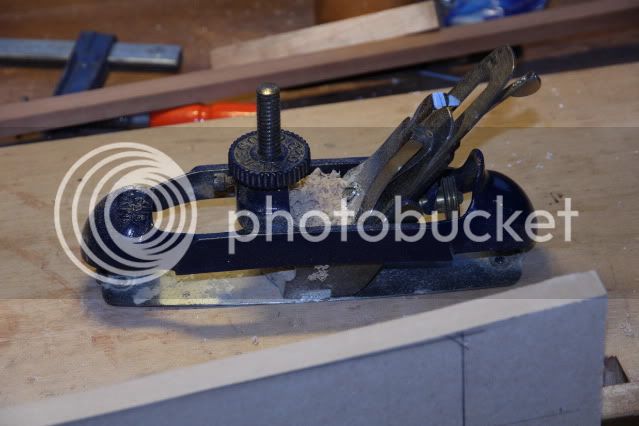
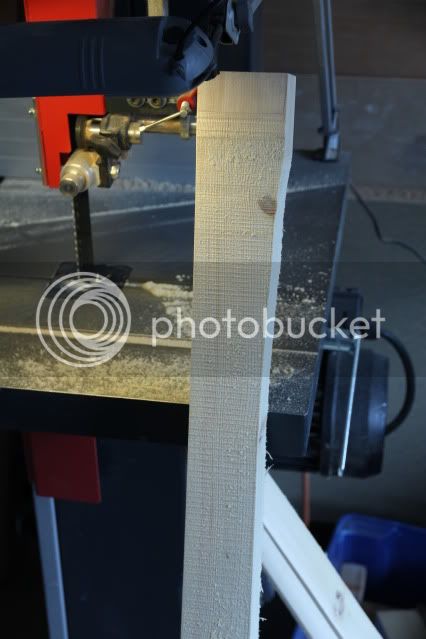
Here I made the first mistake as when I cleaned up the curve with the circular plane it ran into the nail holes
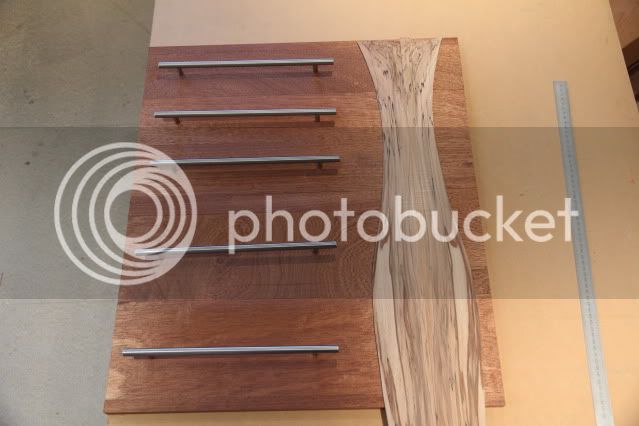
I reckon the top needs to be about 15% less than the foot.
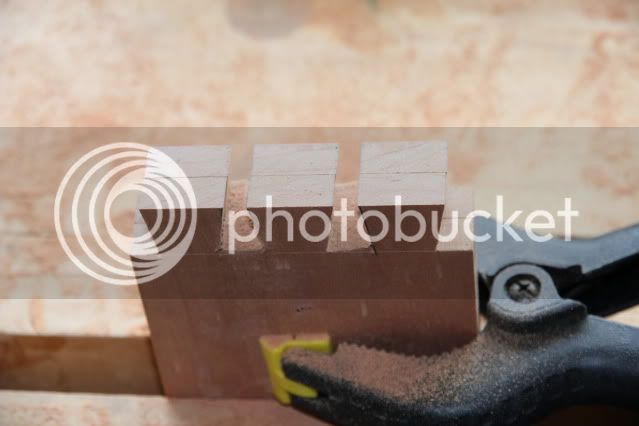
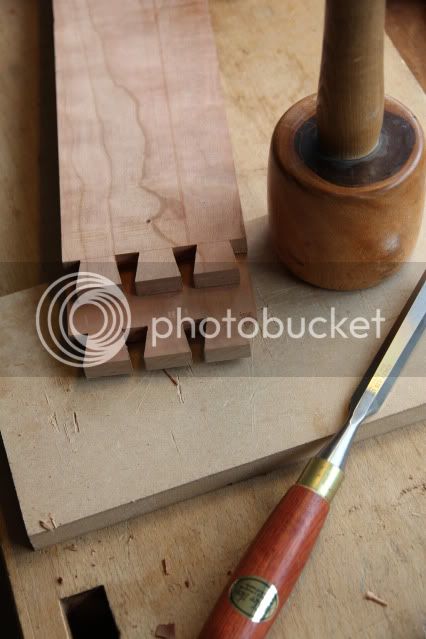
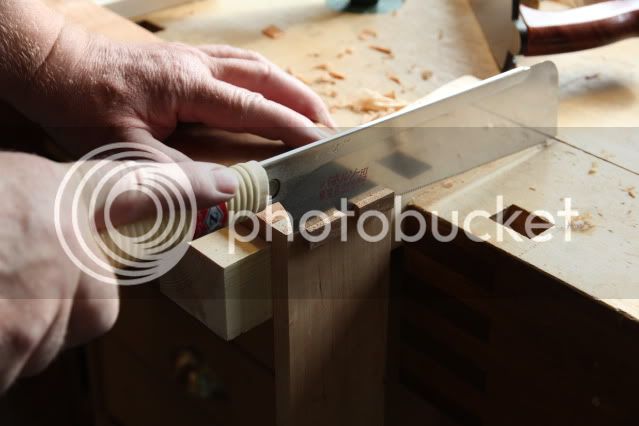
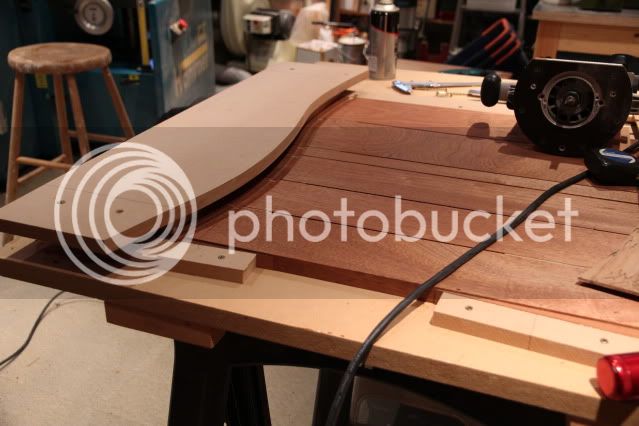
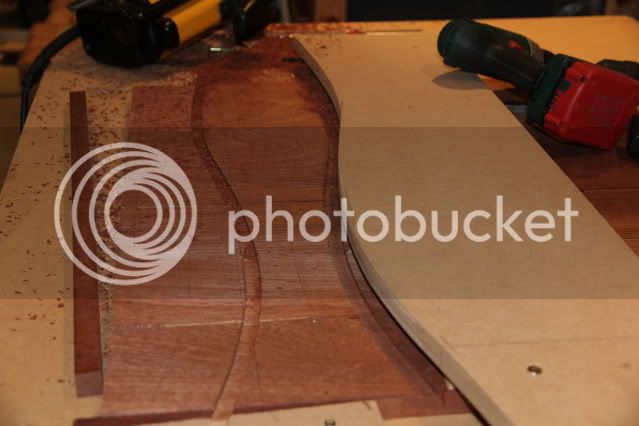
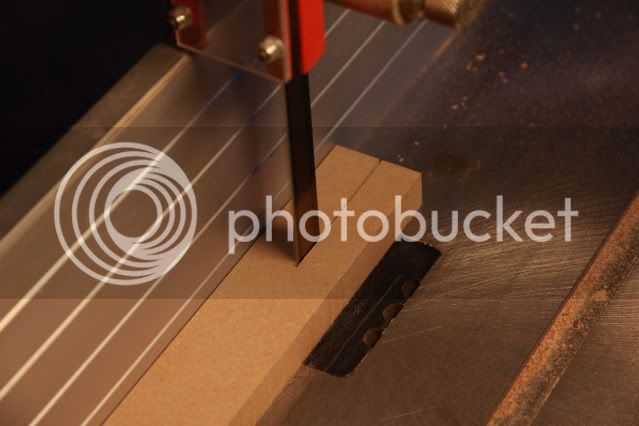
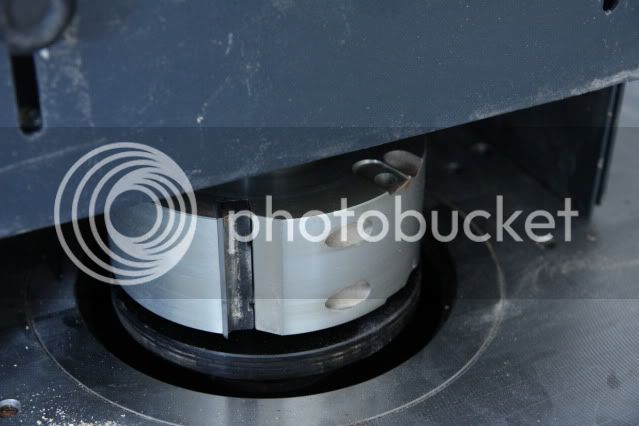
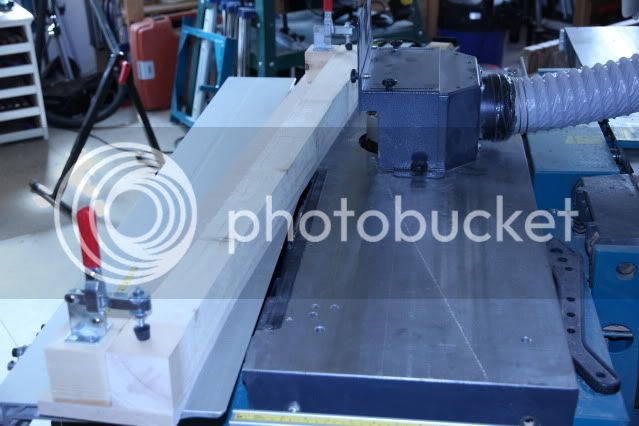
For the first one I bandsawed off the waste but this was not necessary and I just did the others on the spindle with a bearing taking two cuts to cover the 70mm height with the spurs removed.
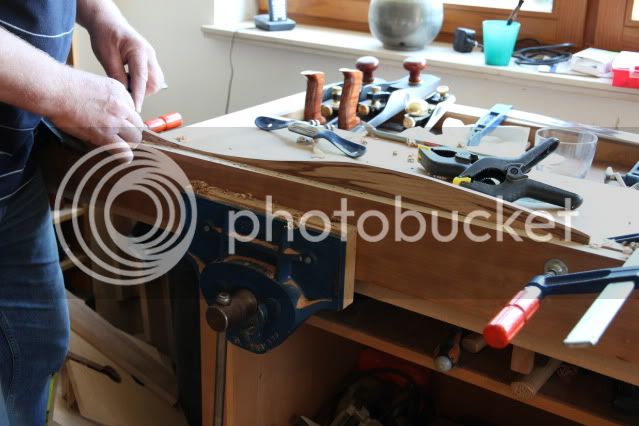
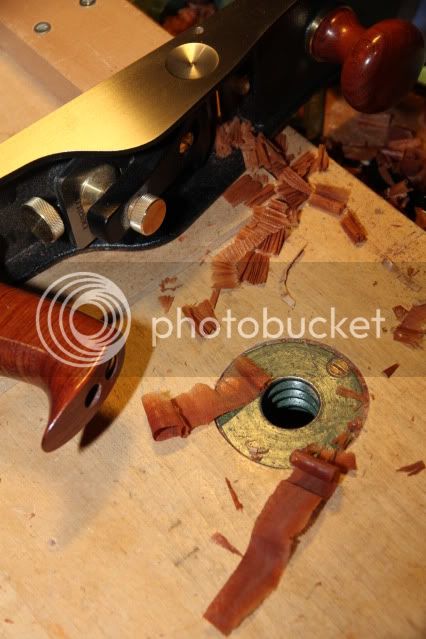
I cleaned up the legs with the circular plane again (great tool that) and tested a few angles for the legs. I ended up with 4deg incline which is less than it looks.
Screwed them up temp to take a look
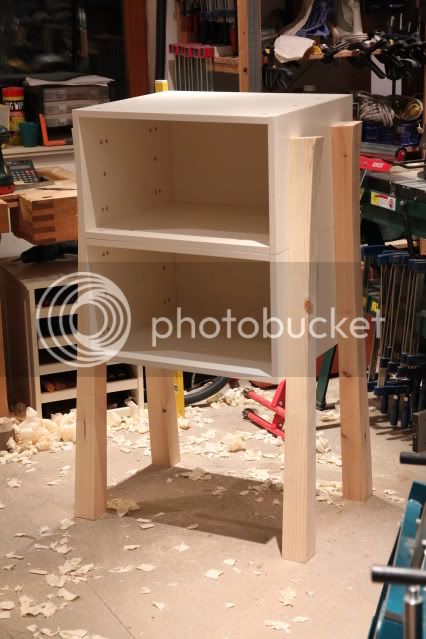
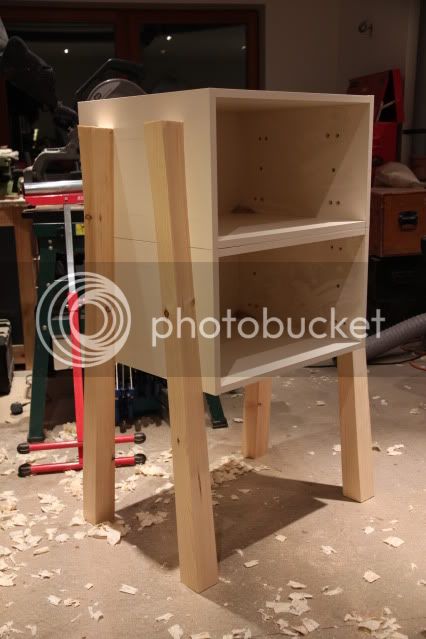
I also tried to put some tension into the top of the legs by a compound angle lifting the outer corner by 4 deg.
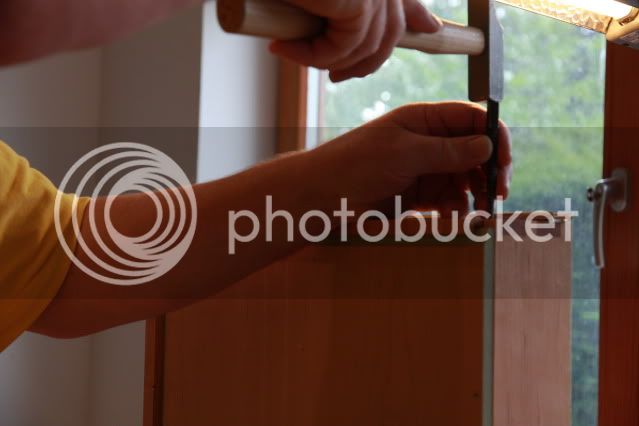
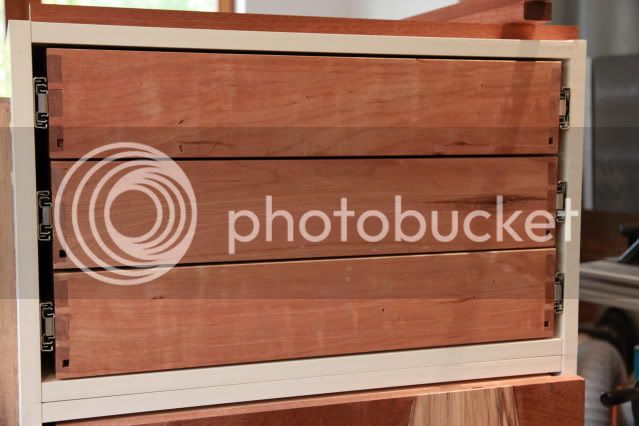
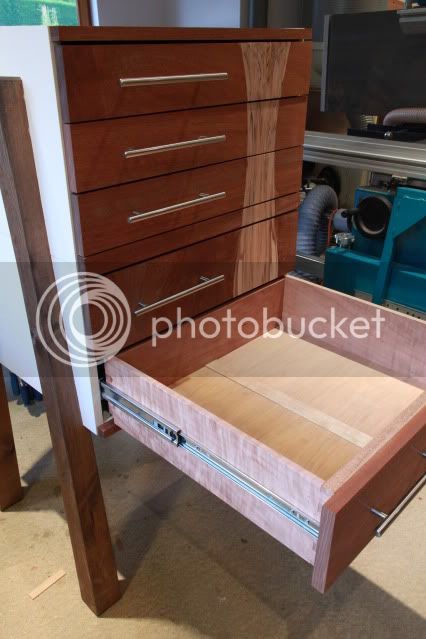
I'll chamfer them up in the morning and stain them. I am going for 3 drawers in the top unit and two in the lower with some left over wenge MDF for fronts or I may discover something nicer in the oddments pile.
If I say it myself I am well pleased with the proportions - for once it has come out as I intended and has a bit of an animal look to it - certainly organic - getting there.
To be continued
No drawing - all out of the head as we went. I can hear the tut tuts!
The cabinets were 600 wide x 350 high and about 550 deep with the rear wings cut off.
I needed a total height of 1200mm so that I could see in the top drawer and put tools on the top so made a template for the JK leg with 25% reduction in width at 25% of the height. This is one of the issues as this only works for single side curves with the other left straight.
Here I made the first mistake as when I cleaned up the curve with the circular plane it ran into the nail holes
I reckon the top needs to be about 15% less than the foot.
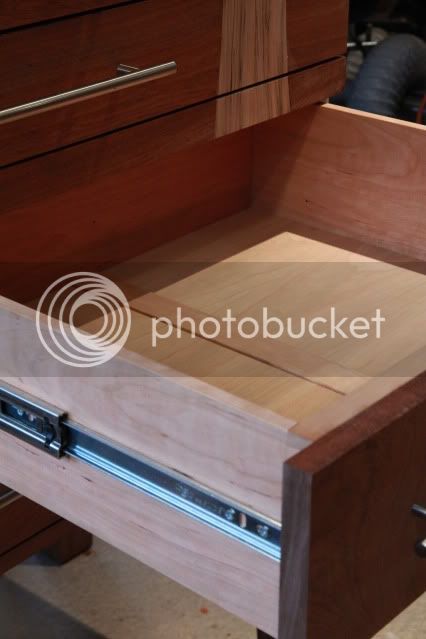
For the first one I bandsawed off the waste but this was not necessary and I just did the others on the spindle with a bearing taking two cuts to cover the 70mm height with the spurs removed.
I cleaned up the legs with the circular plane again (great tool that) and tested a few angles for the legs. I ended up with 4deg incline which is less than it looks.
Screwed them up temp to take a look
I also tried to put some tension into the top of the legs by a compound angle lifting the outer corner by 4 deg.
I'll chamfer them up in the morning and stain them. I am going for 3 drawers in the top unit and two in the lower with some left over wenge MDF for fronts or I may discover something nicer in the oddments pile.
If I say it myself I am well pleased with the proportions - for once it has come out as I intended and has a bit of an animal look to it - certainly organic - getting there.
To be continued
")