Thanks Ollie,This does not look like a very bad cut to me, in fact pretty decent in a board that thick.
I agree with others that the tape is not very helpful, personally I like a pencil line if its a light timber, on something like black walnut a knife line is easier to see.
If the saw is always drifting the same way then it can be adjusted by lightly stoning the teeth with a whetstone to bring them both to an even set, though I don`t know the exact details of this.
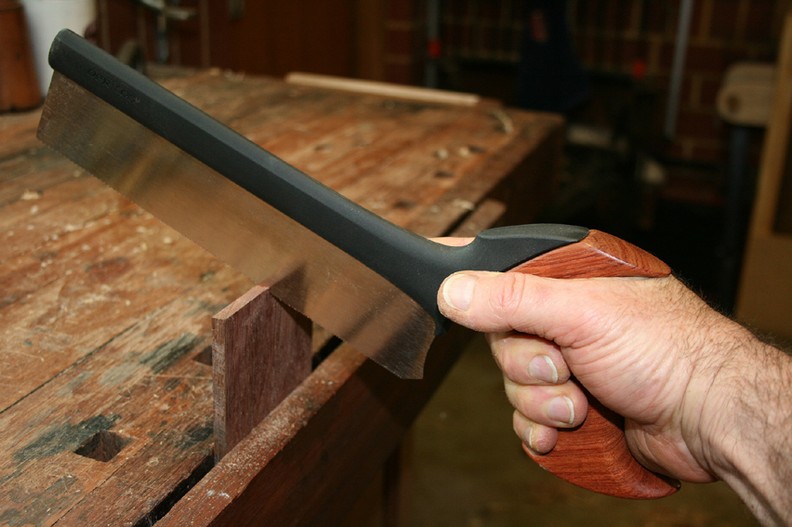
I have been a convert of the Japanese saw for any fine work for a long time now, I seem to get better results with them.
Ollie
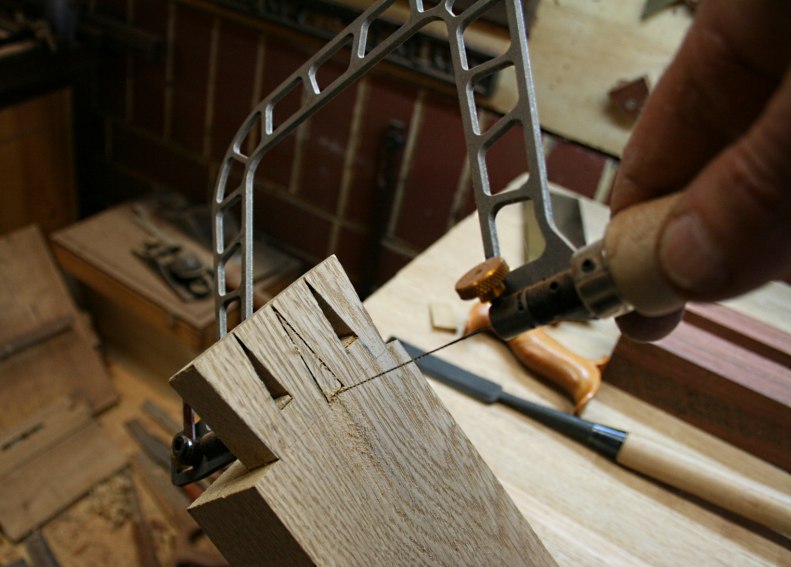
I have read that Japanese saws are harder to master, as they will go off the cut quickly if you do not have proper technique. I am using this technique of stoning the set with a diamond stone. My saws all cut relatively straight, but this issue got much better when I started to cut alternatively from both sides. Something like in the picture below.

")