You are using an out of date browser. It may not display this or other websites correctly.
You should upgrade or use an alternative browser.
You should upgrade or use an alternative browser.
Post a photo of the last thing you made
- Thread starter DTR
- Start date


Help Support UKworkshop.co.uk:
This site may earn a commission from merchant affiliate
links, including eBay, Amazon, and others.


jpw123
Established Member
Some very impressive items , lovely workmanship. I have a vague recollection of using a mancala board when at school as a child. I seem to remember using stones & having to jump over other stones or adding to them to win, i think ? I may be confused, It was nearly 50 yrs ago ")
rafezetter
Troll Hunter
Ok, there's far too much talent in this thread... time to bring it down a notch... or 11.
I actually made this last year, but someone needs to keep us mere mortals from running away and not posting in this thread, so I though I'd whip mine out and wave it about to prove even the average ones are OK to look at
My card scraper burnisher made from a long thin bit of oak I picked up at Arnold's charity do, that was tapered to a point (hence the 3 wedge bits) and one of the broken milling bits provided by Jimi. I added the bit on the bottom after so that more of the bit was embedded so it was as secure and solid as I could make it.
Design is from a commercial version I found a picture of, burnisher set to 15 deg off 90. Glued together with gap filling epoxy as I couldn't be bothered to perfectly smooth off the saw kerf marks on the faces. The slot I made too large initially, so I shoved some epoxy in there, then waxed one of my scrapers and popped that in until set, now it's nice and snug so I keep the angle for setting the hook just right.
Works well enough for my needs.
Attachments

I've made a bunch of things recently, all shop related as I'm still building my shop and will likely be doing so for a while yet.
Workbench, adding drawers still.
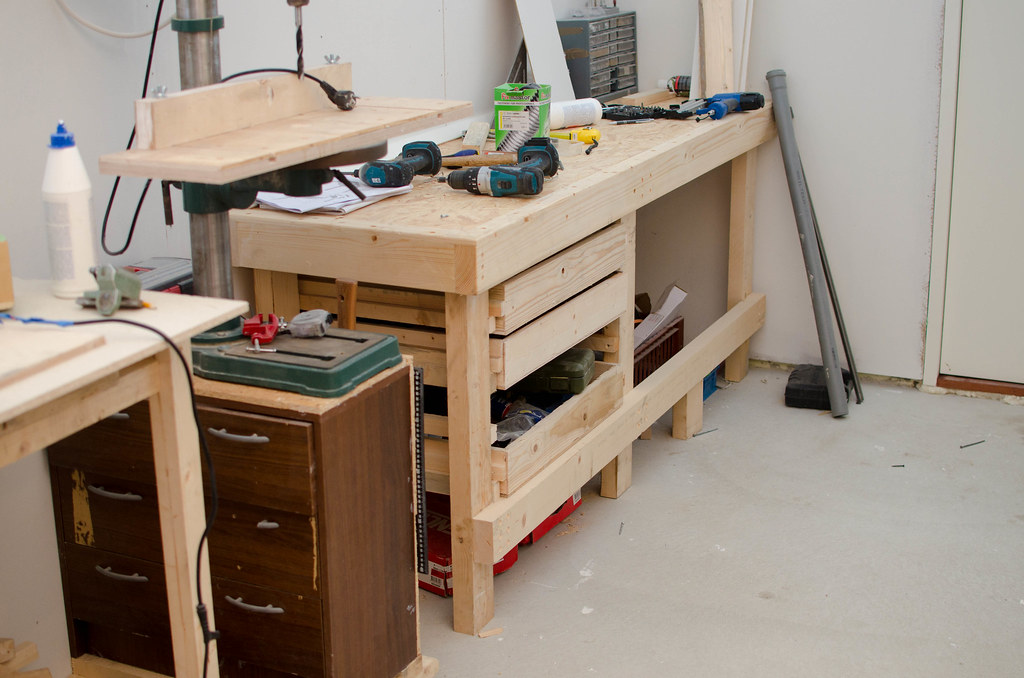
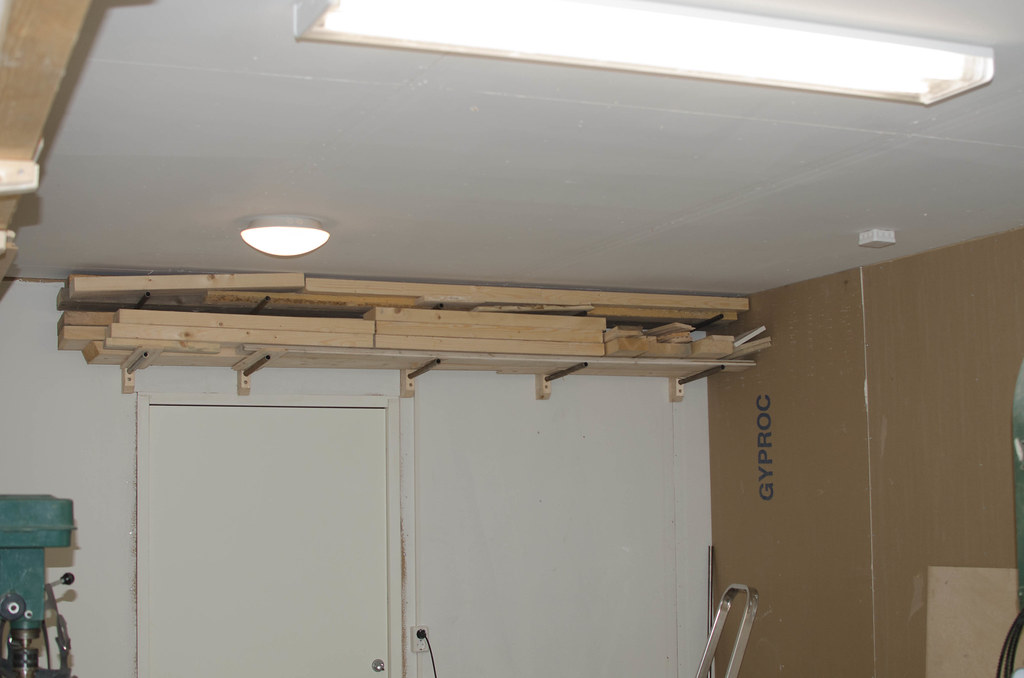
Made some more lumber racks, people have commented that this looks unsafe but honestly the weight of the material isn't great, and the pipes tilt upwards and everything is sitting stable, I've tried rocking and hitting it and so forth. At any rate I am gonna build about 3x more of these shelves along the walls of my shop so things will be more spread out later.
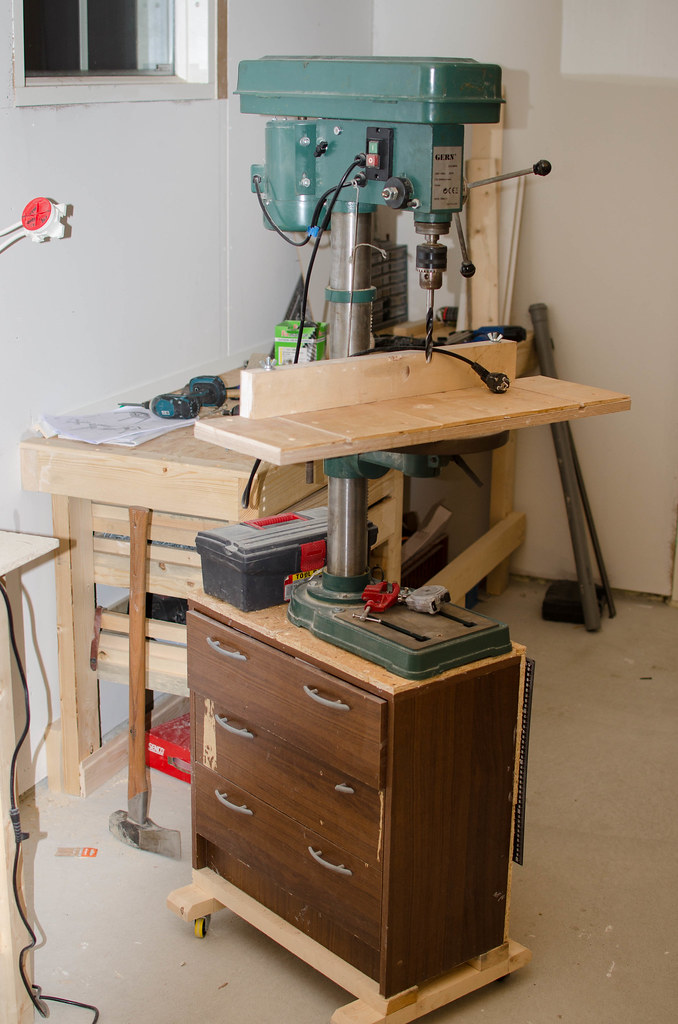
Used a junky old drawer and made a mobile stand for my drill press, it's at the perfect height now and on wheels. Storage and mobility, the way to keep a small shop workable.
Workbench, adding drawers still.
Made some more lumber racks, people have commented that this looks unsafe but honestly the weight of the material isn't great, and the pipes tilt upwards and everything is sitting stable, I've tried rocking and hitting it and so forth. At any rate I am gonna build about 3x more of these shelves along the walls of my shop so things will be more spread out later.
Used a junky old drawer and made a mobile stand for my drill press, it's at the perfect height now and on wheels. Storage and mobility, the way to keep a small shop workable.
Rhossydd
Established Member
A pair of bedside cabinets in English Ash from Westonbirt's wood sales with American Cherry tops and knobs. I also had to use some English Beech for the back and base.

Made from plans from Fine Woodworking magazine. I don't usually follow plans, but thought it might be a good exercise because of the complexity and variety of joints needed.

The Brusso fittings specified, hinges and catches, were possibly the most expensive bits of the whole project.
Mostly finished with Melamine lacquer, but the top finished with Rustins plastic coating for durability.
Overall a sometimes challenging exercise, but rather satisfying in the end.
Made from plans from Fine Woodworking magazine. I don't usually follow plans, but thought it might be a good exercise because of the complexity and variety of joints needed.
The Brusso fittings specified, hinges and catches, were possibly the most expensive bits of the whole project.
Mostly finished with Melamine lacquer, but the top finished with Rustins plastic coating for durability.
Overall a sometimes challenging exercise, but rather satisfying in the end.
Attachments
pitch pine
Established Member
Lovely cabinets. How long did it take to make them?
Rhossydd
Established Member
Too long ? ;-)How long did it take to make them?
Difficult to quantify really, it's all been worked on in fits and starts when I've had the sort of free time to enjoy the project.
I rough cut from the waney edged boards almost a year ago, left it to settle a bit then thicknessed, bring indoors for another long spell to acclimatise, then really started work last September.
There was a fair amount of time spent practising the joints, making jigs for cutting the hinge recesses, catches etc.
If I had fully dry wood and everything ready to start again tomorrow, I could finish another pair by the end of next week. The project has taught me a lot.
Silverbirch
Established Member
Yes, very nice.
OK so here's a normal cabinet door, this one contains chemicals and cleaning agents and stuff. The kids have been trying to get into it and we're tired of having electrical tape on the doors. Looks like a normal door now, no tape.
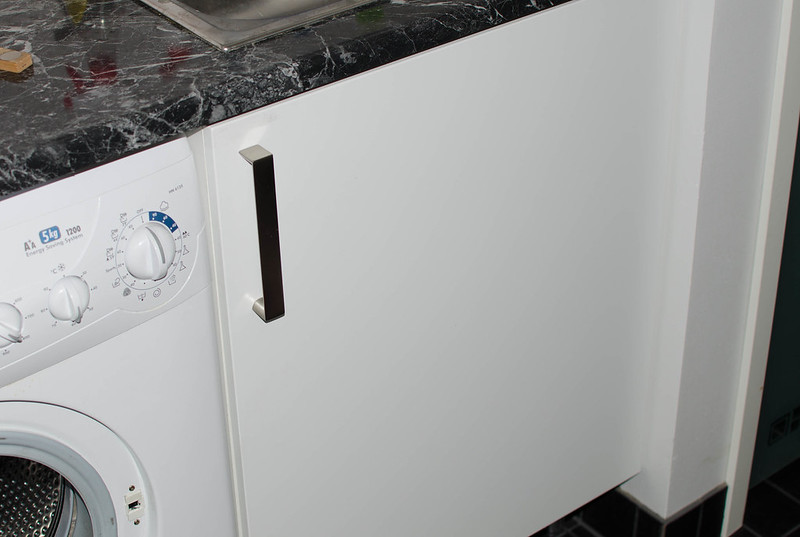
But if you put a neodymium magnet against the door, in the right place, it'll stick.
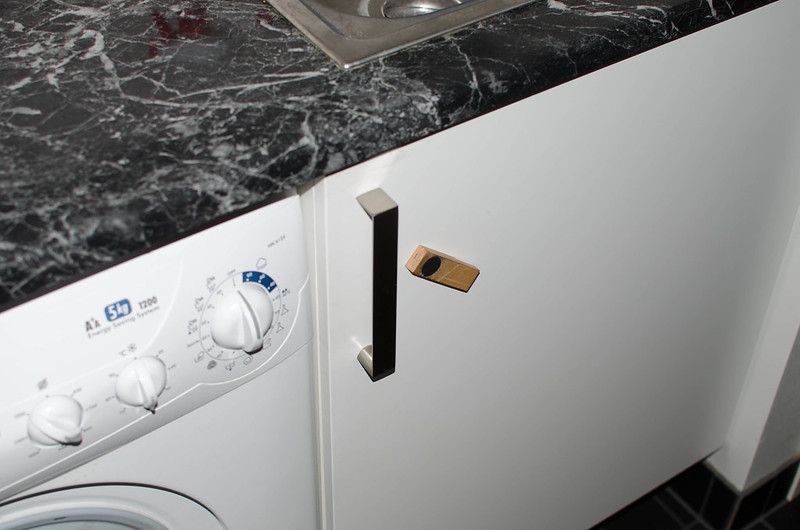
Pull it sideways and the door opens, on the inside is a lock with another neodymium magnet in it.
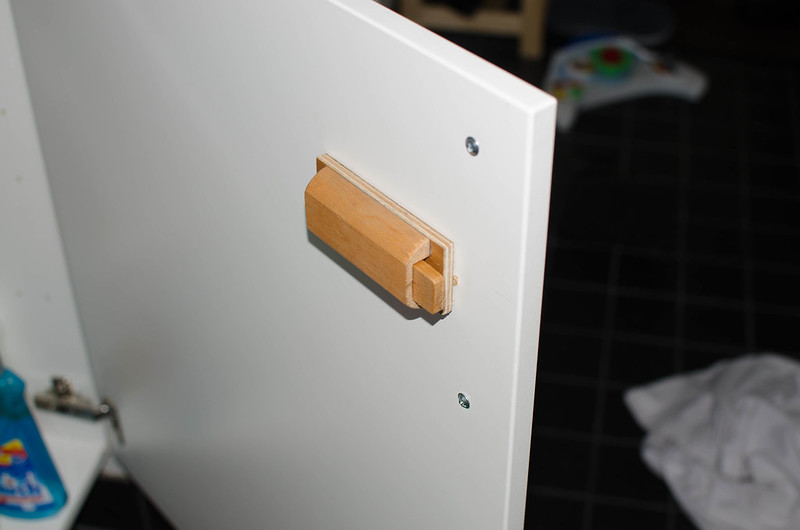
Installed 3 of them so far, need at least 3 more. Also making a proper "key" to use for the doors.
But if you put a neodymium magnet against the door, in the right place, it'll stick.
Pull it sideways and the door opens, on the inside is a lock with another neodymium magnet in it.
Installed 3 of them so far, need at least 3 more. Also making a proper "key" to use for the doors.
Scottdimelow
Established Member
Nifty idea, nothing changes on the outside very 007.
Make sure there's plenty of room for wood movement lol, you could be locked out of your cabinets until the humidity drops
Make sure there's plenty of room for wood movement lol, you could be locked out of your cabinets until the humidity drops
Rob Platt
Established Member
Taper coopered upper, coopered and turned at bottom end mostly from the firewood pile. Painted with cellulose roof repair to give it a well used old cast iron look, then undercoat and gloss. Lit by LED bulb at 240 volt to avoid over heating and melting acrylic glass.
Attachments


monkeybiter
Established Member
Very nice. Must hide from SWMBO !
DennisCA":1qtb9n3g said:Pull it sideways and the door opens, on the inside is a lock with another neodymium magnet in it.
Installed 3 of them so far, need at least 3 more. Also making a proper "key" to use for the doors.
Brilliant!
Rhossydd":3p73tja3 said:A pair of bedside cabinets in English Ash from Westonbirt's wood sales with American Cherry tops and knobs.
Very nice!
DTR":3bwz5udw said:Rhossydd":3bwz5udw said:A pair of bedside cabinets in English Ash from Westonbirt's wood sales with American Cherry tops and knobs.
Very nice!
Totally agree, some lovely colouring and great proportions to the cabinets =D>
Rob Platt":344wrfon said:Taper coopered upper, coopered and turned at bottom end mostly from the firewood pile. Painted with cellulose roof repair to give it a well used old cast iron look, then undercoat and gloss. Lit by LED bulb at 240 volt to avoid over heating and melting acrylic glass.
Cracking job, would never have guessed that was wood. Excellent =D>
I did a few workshop things this weekend, just some tidying up and some sorting.
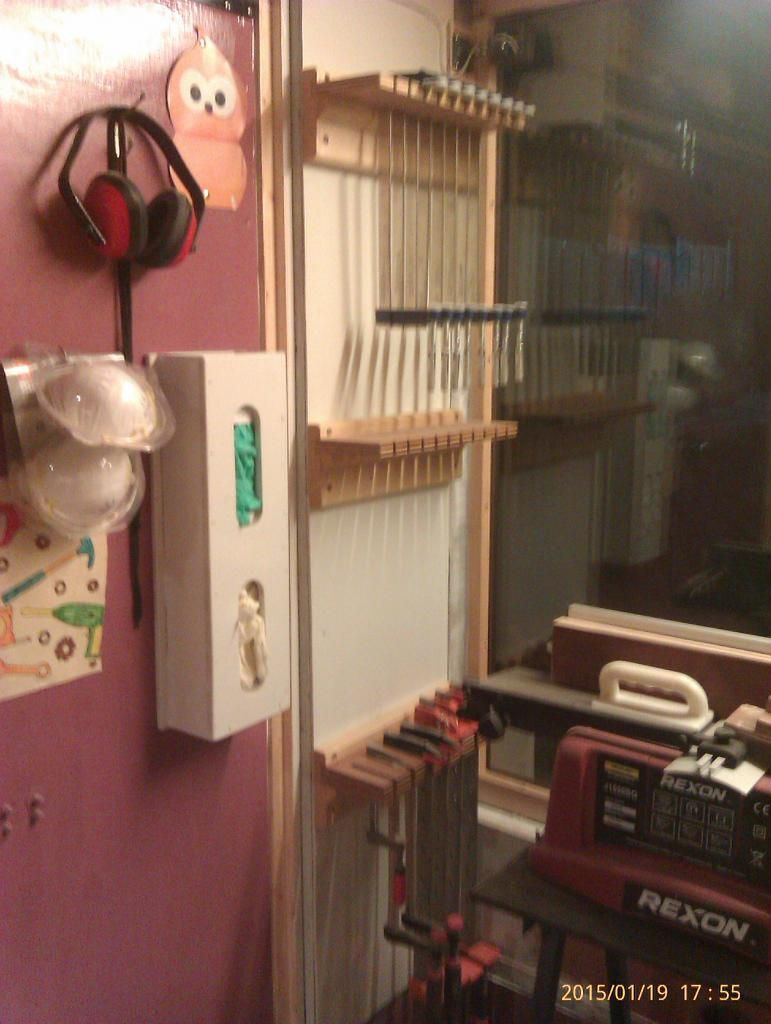
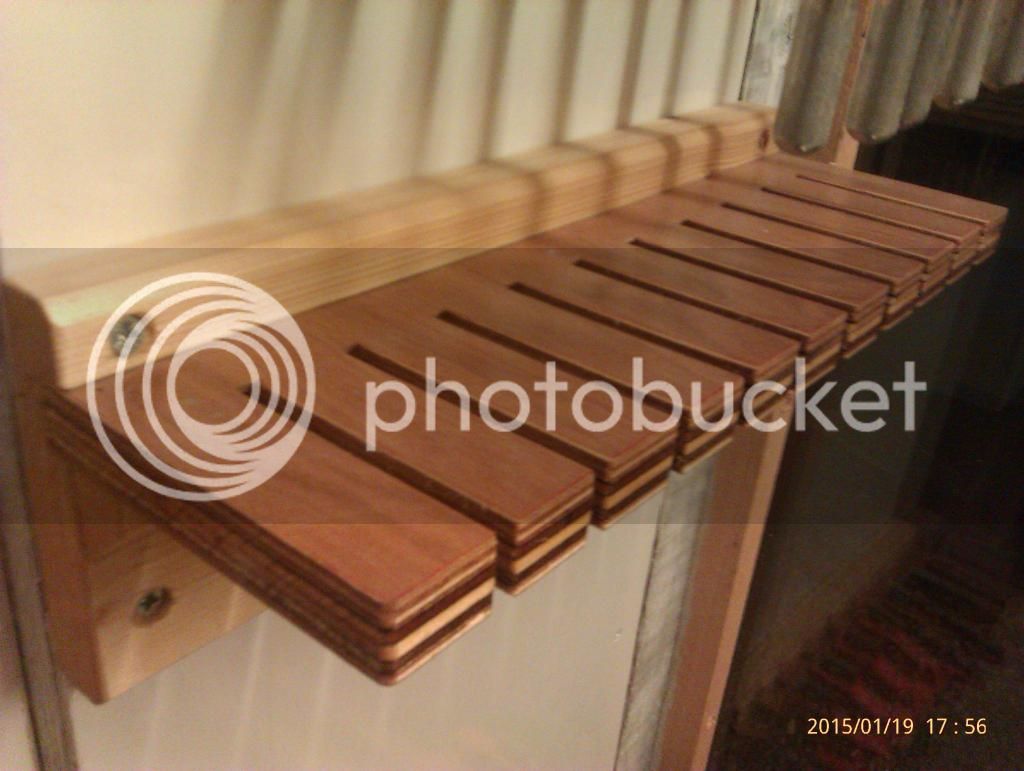
I'm currently stocking up on clamps, I need quite a few extra clamps for a project I have planned later on. With this in mind I decided to go through the offcuts pile and make a few racks to store them on.
So some ply and some door lining offcuts were used to make these. I sited them in an awkward corner and decided while I was at it to paint the wall behind them.
I use a lot of latex and vinyl gloves, so I made up a dispenser for their boxes from some more scrap. I gave it a coat of paint and screwed it to the slave door of the workshop.
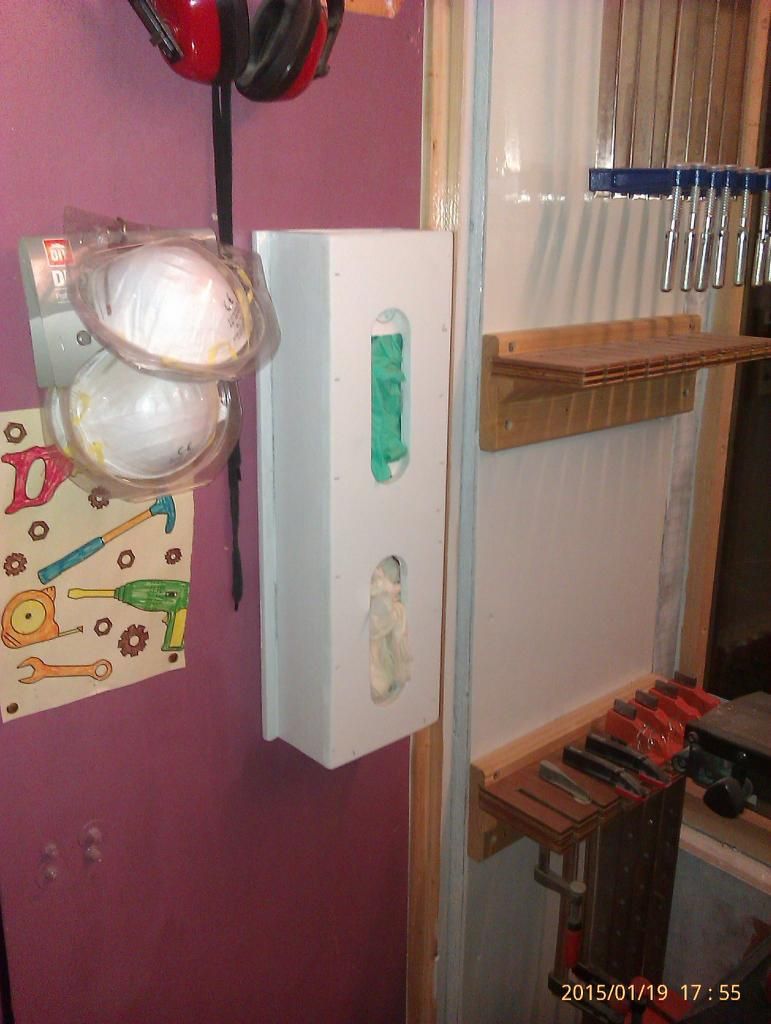
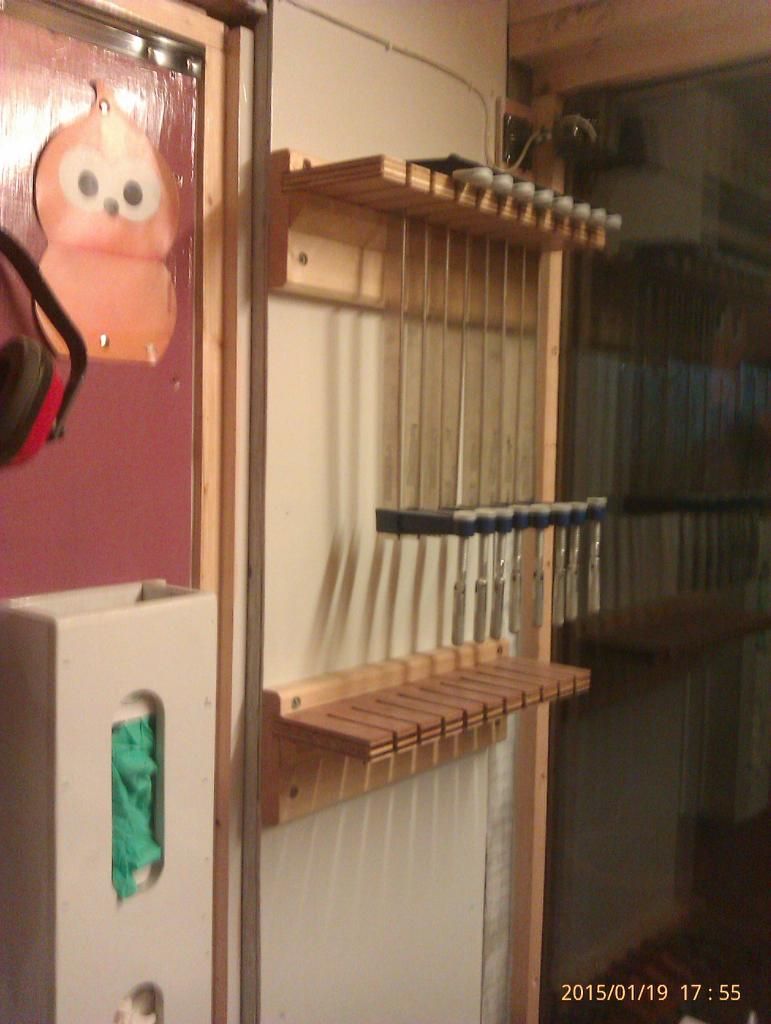
That's all for now.
tobytools
Established Member
Similar threads
- Replies
- 640
- Views
- 48K
- Replies
- 44
- Views
- 3K