gregmcateer
Established Member
Nice stool and nice quilt stand 


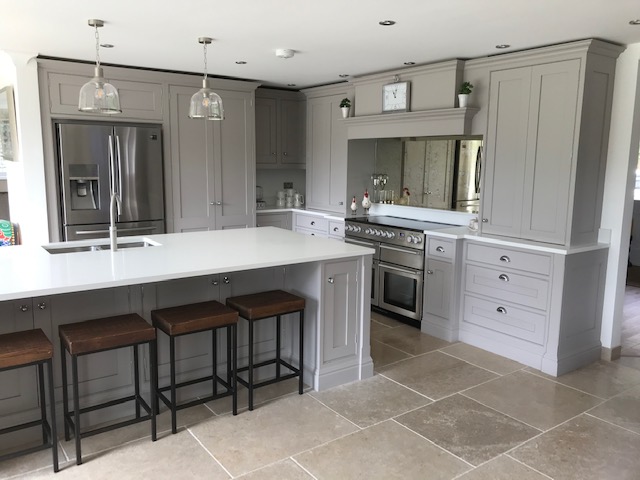
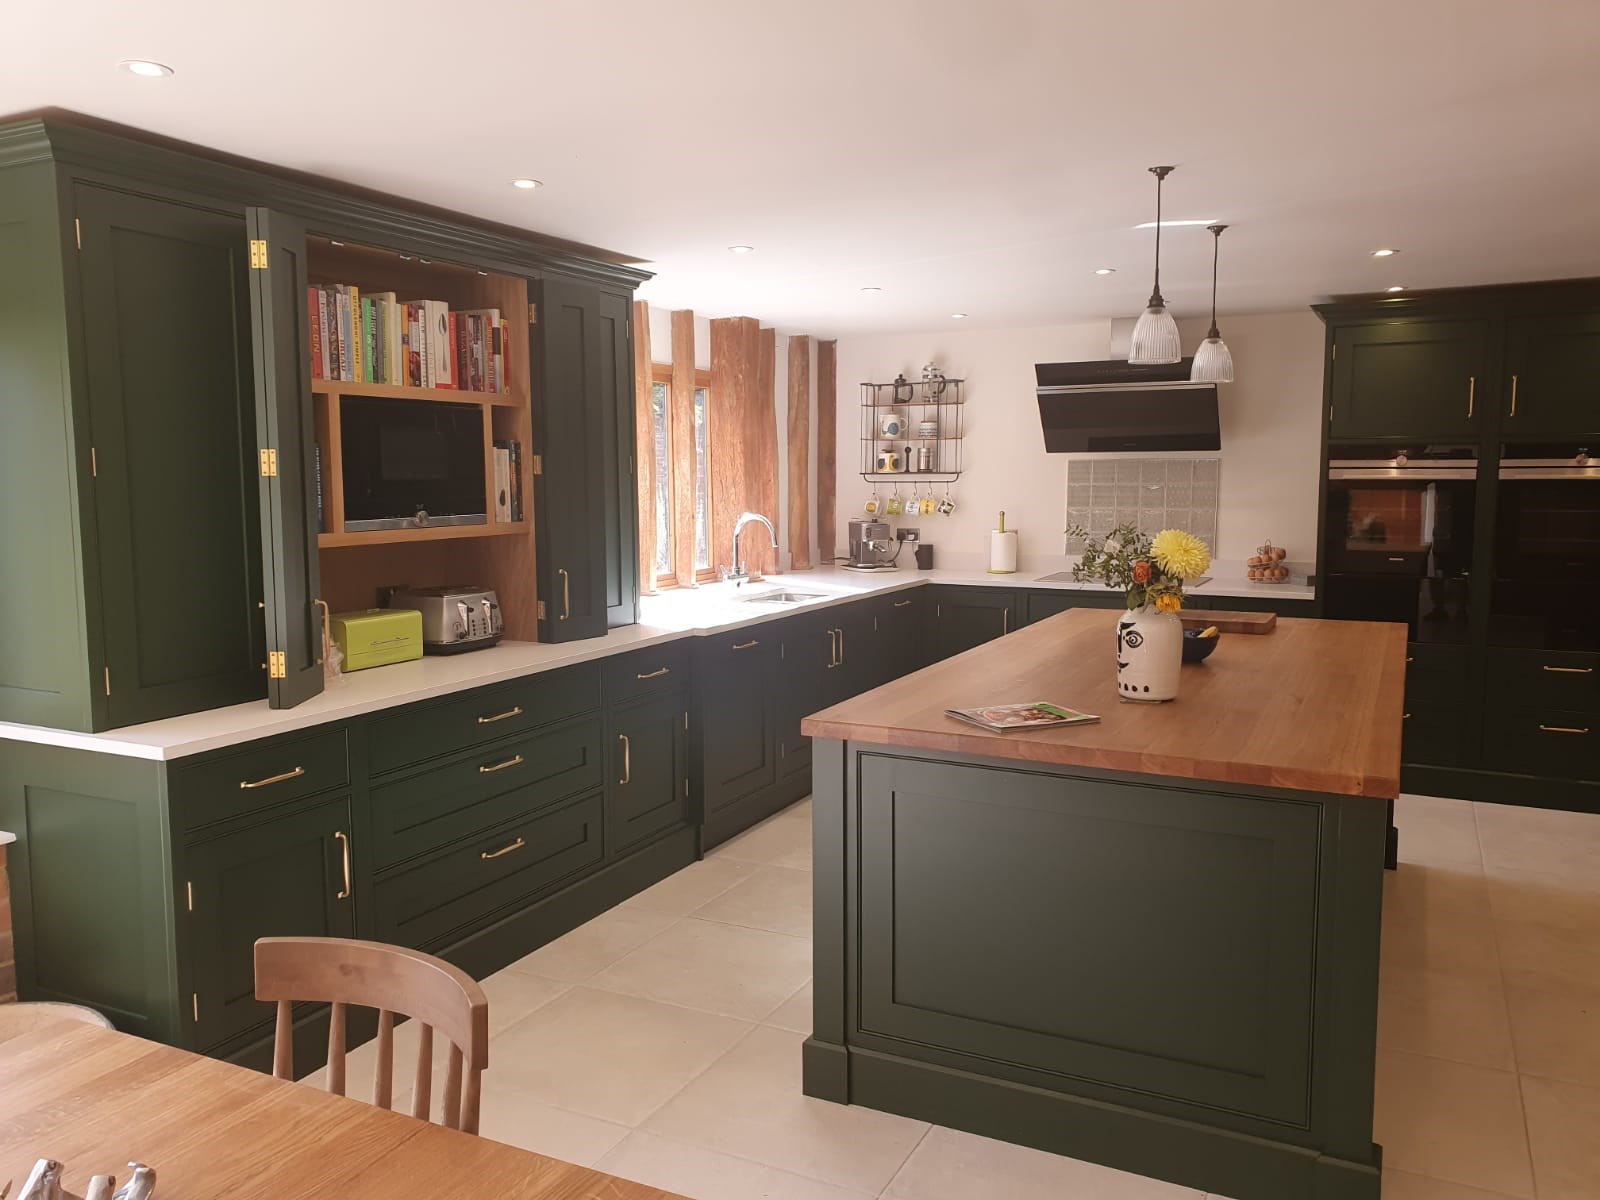
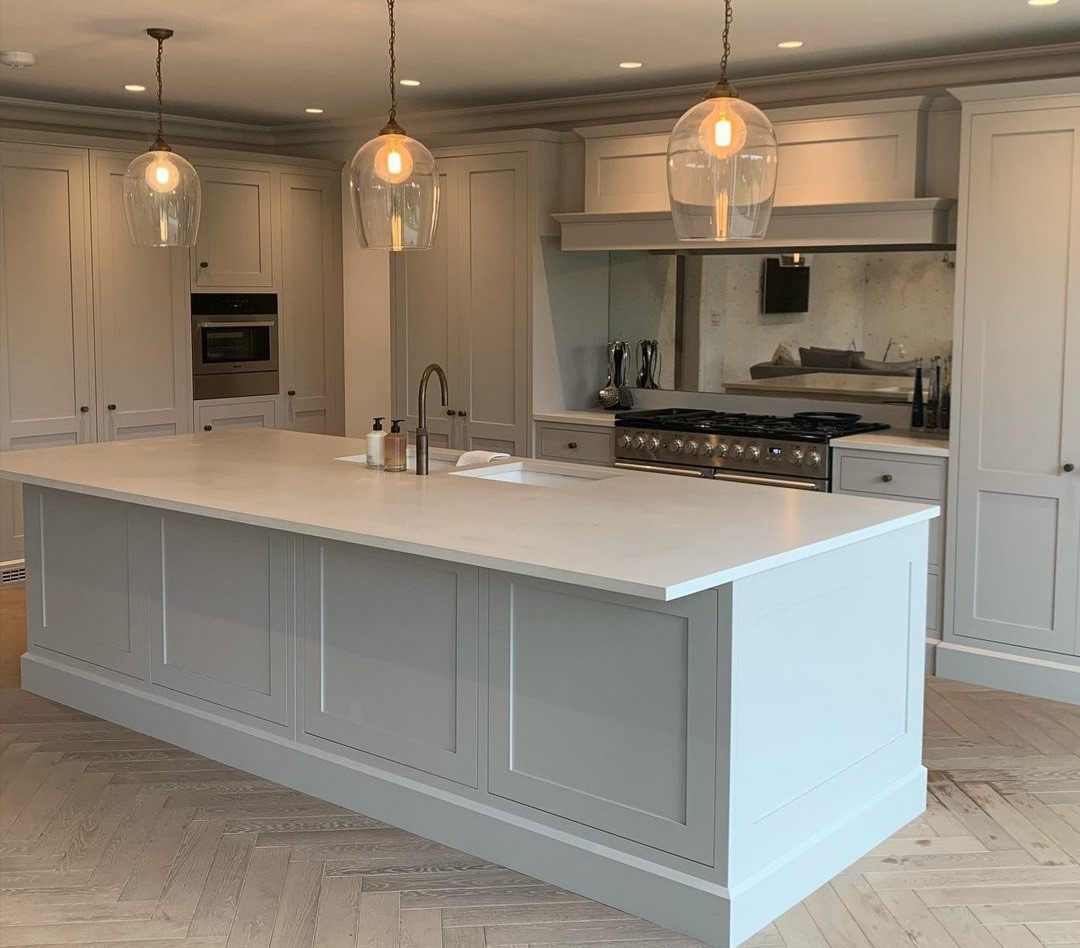
Very nice!A few shots of kitchens we did in the later part of the year


I had a couple of thin pieces of cherry that I wanted to rip in half so I made a tool to help me rip them accurately.
Here it is:
View attachment 99655
I guess you'd call it a kerfing saw or something like that. It's made out of oak, about 200 mm long and about 90 mm high; the spacers and clamp pieces are 60 mm high. I've made spacers in 4 mm, 5 mm, 6 mm and 8 mm thickness at the moment; I'll probably make some more in due course - they're very easy to make. The 8 mm one has more dramatically rounded edges than the others as I'll generally use that as the outer clamp piece when using thinner spacers and it makes it more comfortable in the hand having rounded edges.
The idea is that you fit a spacer about 1 mm thicker than the thickness of wood you want and then press the fence against the side of the wood while taking cuts all the way round the edge of the board. You then get a saw out and it's fairly easy to follow the pre-cut kerf.
Another view:
View attachment 99656
and another:
View attachment 99657
The flange-button head M5 screws you can see in this picture are held in place with 5-minute epoxy, so dismantling just involves the knurled brass knobs and no tools.
Finish is four coats of Shellac and one coat of paste wax. This was the first time I'd used Shellac. It isn't as nice to apply and doesn't look quite as good as the Tung Oil/White Spirit/Varnish mix recommended to me by @MikeG., but I love the fact the coats dry so quickly so I don't have to spend several days applying finish.
It all started with this saw blade, which I spotted on ebay for £10 (someone had bought the wrong blade for their saw). I don't have the saw but I saw a potential use:
View attachment 99658
I snapped off the tang and drilled four holes in it - I was a bit worried about how easy it would be to drill, but it was quite straightforward.
Here's what it looks like inside the saw:
View attachment 99659
Here's what the result looks like with a 9 mm thick bit of cherry and the 4 mm spacer (this was done as a test before I applied the finish or made the knurled brass knobs):
View attachment 99660
The saw then follows the cut easily:
View attachment 99662
The result:
View attachment 99663
Planed to 3 mm and looking good to me:
View attachment 99664
I think this saw is going to get a lot of use, which is really satisfying, especially since I started and finished making it (including the knurled knobs and all four coats of Shellac) all in one day.
I think this saw is going to get a lot of use, which is really satisfying, especially since I started and finished making it (including the knurled knobs and all four coats of Shellac) all in one day.
I’ve been meaning to make something like this for ages. Very nice job and a very useful tool.I had a couple of thin pieces of cherry that I wanted to rip in half so I made a tool to help me rip them accurately.
Here it is:
View attachment 99655
I guess you'd call it a kerfing saw or something like that. It's made out of oak, about 200 mm long and about 90 mm high; the spacers and clamp pieces are 60 mm high. I've made spacers in 4 mm, 5 mm, 6 mm and 8 mm thickness at the moment; I'll probably make some more in due course - they're very easy to make. The 8 mm one has more dramatically rounded edges than the others as I'll generally use that as the outer clamp piece when using thinner spacers and it makes it more comfortable in the hand having rounded edges.
The idea is that you fit a spacer about 1 mm thicker than the thickness of wood you want and then press the fence against the side of the wood while taking cuts all the way round the edge of the board. You then get a saw out and it's fairly easy to follow the pre-cut kerf.
Another view:
View attachment 99656
and another:
View attachment 99657
The flange-button head M5 screws you can see in this picture are held in place with 5-minute epoxy, so dismantling just involves the knurled brass knobs and no tools.
Finish is four coats of Shellac and one coat of paste wax. This was the first time I'd used Shellac. It isn't as nice to apply and doesn't look quite as good as the Tung Oil/White Spirit/Varnish mix recommended to me by @MikeG., but I love the fact the coats dry so quickly so I don't have to spend several days applying finish.
It all started with this saw blade, which I spotted on ebay for £10 (someone had bought the wrong blade for their saw). I don't have the saw but I saw a potential use:
View attachment 99658
I snapped off the tang and drilled four holes in it - I was a bit worried about how easy it would be to drill, but it was quite straightforward.
Here's what it looks like inside the saw:
View attachment 99659
Here's what the result looks like with a 9 mm thick bit of cherry and the 4 mm spacer (this was done as a test before I applied the finish or made the knurled brass knobs):
View attachment 99660
The saw then follows the cut easily:
View attachment 99662
The result:
View attachment 99663
Planed to 3 mm and looking good to me:
View attachment 99664
I think this saw is going to get a lot of use, which is really satisfying, especially since I started and finished making it (including the knurled knobs and all four coats of Shellac) all in one day.
That really is lovely work, but who wee'd themselves on the herring bone in the last pic?A few shots of kitchens we did in the later part of the year
Nicely done. Would be very handy for box makers or those that dabble with luthiery.I had a couple of thin pieces of cherry that I wanted to rip in half so I made a tool to help me rip them accurately.
Here it is:
View attachment 99655
I guess you'd call it a kerfing saw or something like that. It's made out of oak, about 200 mm long and about 90 mm high; the spacers and clamp pieces are 60 mm high. I've made spacers in 4 mm, 5 mm, 6 mm and 8 mm thickness at the moment; I'll probably make some more in due course - they're very easy to make. The 8 mm one has more dramatically rounded edges than the others as I'll generally use that as the outer clamp piece when using thinner spacers and it makes it more comfortable in the hand having rounded edges.
The idea is that you fit a spacer about 1 mm thicker than the thickness of wood you want and then press the fence against the side of the wood while taking cuts all the way round the edge of the board. You then get a saw out and it's fairly easy to follow the pre-cut kerf.
Another view:
View attachment 99656
and another:
View attachment 99657
The flange-button head M5 screws you can see in this picture are held in place with 5-minute epoxy, so dismantling just involves the knurled brass knobs and no tools.
Finish is four coats of Shellac and one coat of paste wax. This was the first time I'd used Shellac. It isn't as nice to apply and doesn't look quite as good as the Tung Oil/White Spirit/Varnish mix recommended to me by @MikeG., but I love the fact the coats dry so quickly so I don't have to spend several days applying finish.
It all started with this saw blade, which I spotted on ebay for £10 (someone had bought the wrong blade for their saw). I don't have the saw but I saw a potential use:
View attachment 99658
I snapped off the tang and drilled four holes in it - I was a bit worried about how easy it would be to drill, but it was quite straightforward.
Here's what it looks like inside the saw:
View attachment 99659
Here's what the result looks like with a 9 mm thick bit of cherry and the 4 mm spacer (this was done as a test before I applied the finish or made the knurled brass knobs):
View attachment 99660
The saw then follows the cut easily:
View attachment 99662
The result:
View attachment 99663
Planed to 3 mm and looking good to me:
View attachment 99664
I think this saw is going to get a lot of use, which is really satisfying, especially since I started and finished making it (including the knurled knobs and all four coats of Shellac) all in one day.
I had a couple of thin pieces of cherry that I wanted to rip in half so I made a tool to help me rip them accurately.
Here it is:
View attachment 99655
........... I've made spacers in 4 mm, 5 mm, 6 mm and 8 mm thickness at the moment; I'll probably make some more in due course - they're very easy to make.


Catch 22 with making the spacing pieces though? Did you not need a tool like that to make the spacers for the tool?


Did you notice the slight difference in size (about 25thou) between the pairs of bushes? I didn't at first and wondered why I was getting a step at the business end. They are nice kits, though.Turned a couple a of new to me Delta pen kits from Taylor’s Mirfield, finished with acrylic lacque, one Brown Oak the other Rippled Sycamore View attachment 99801View attachment 99800
Enter your email address to join:

