MikeG.
Established Member
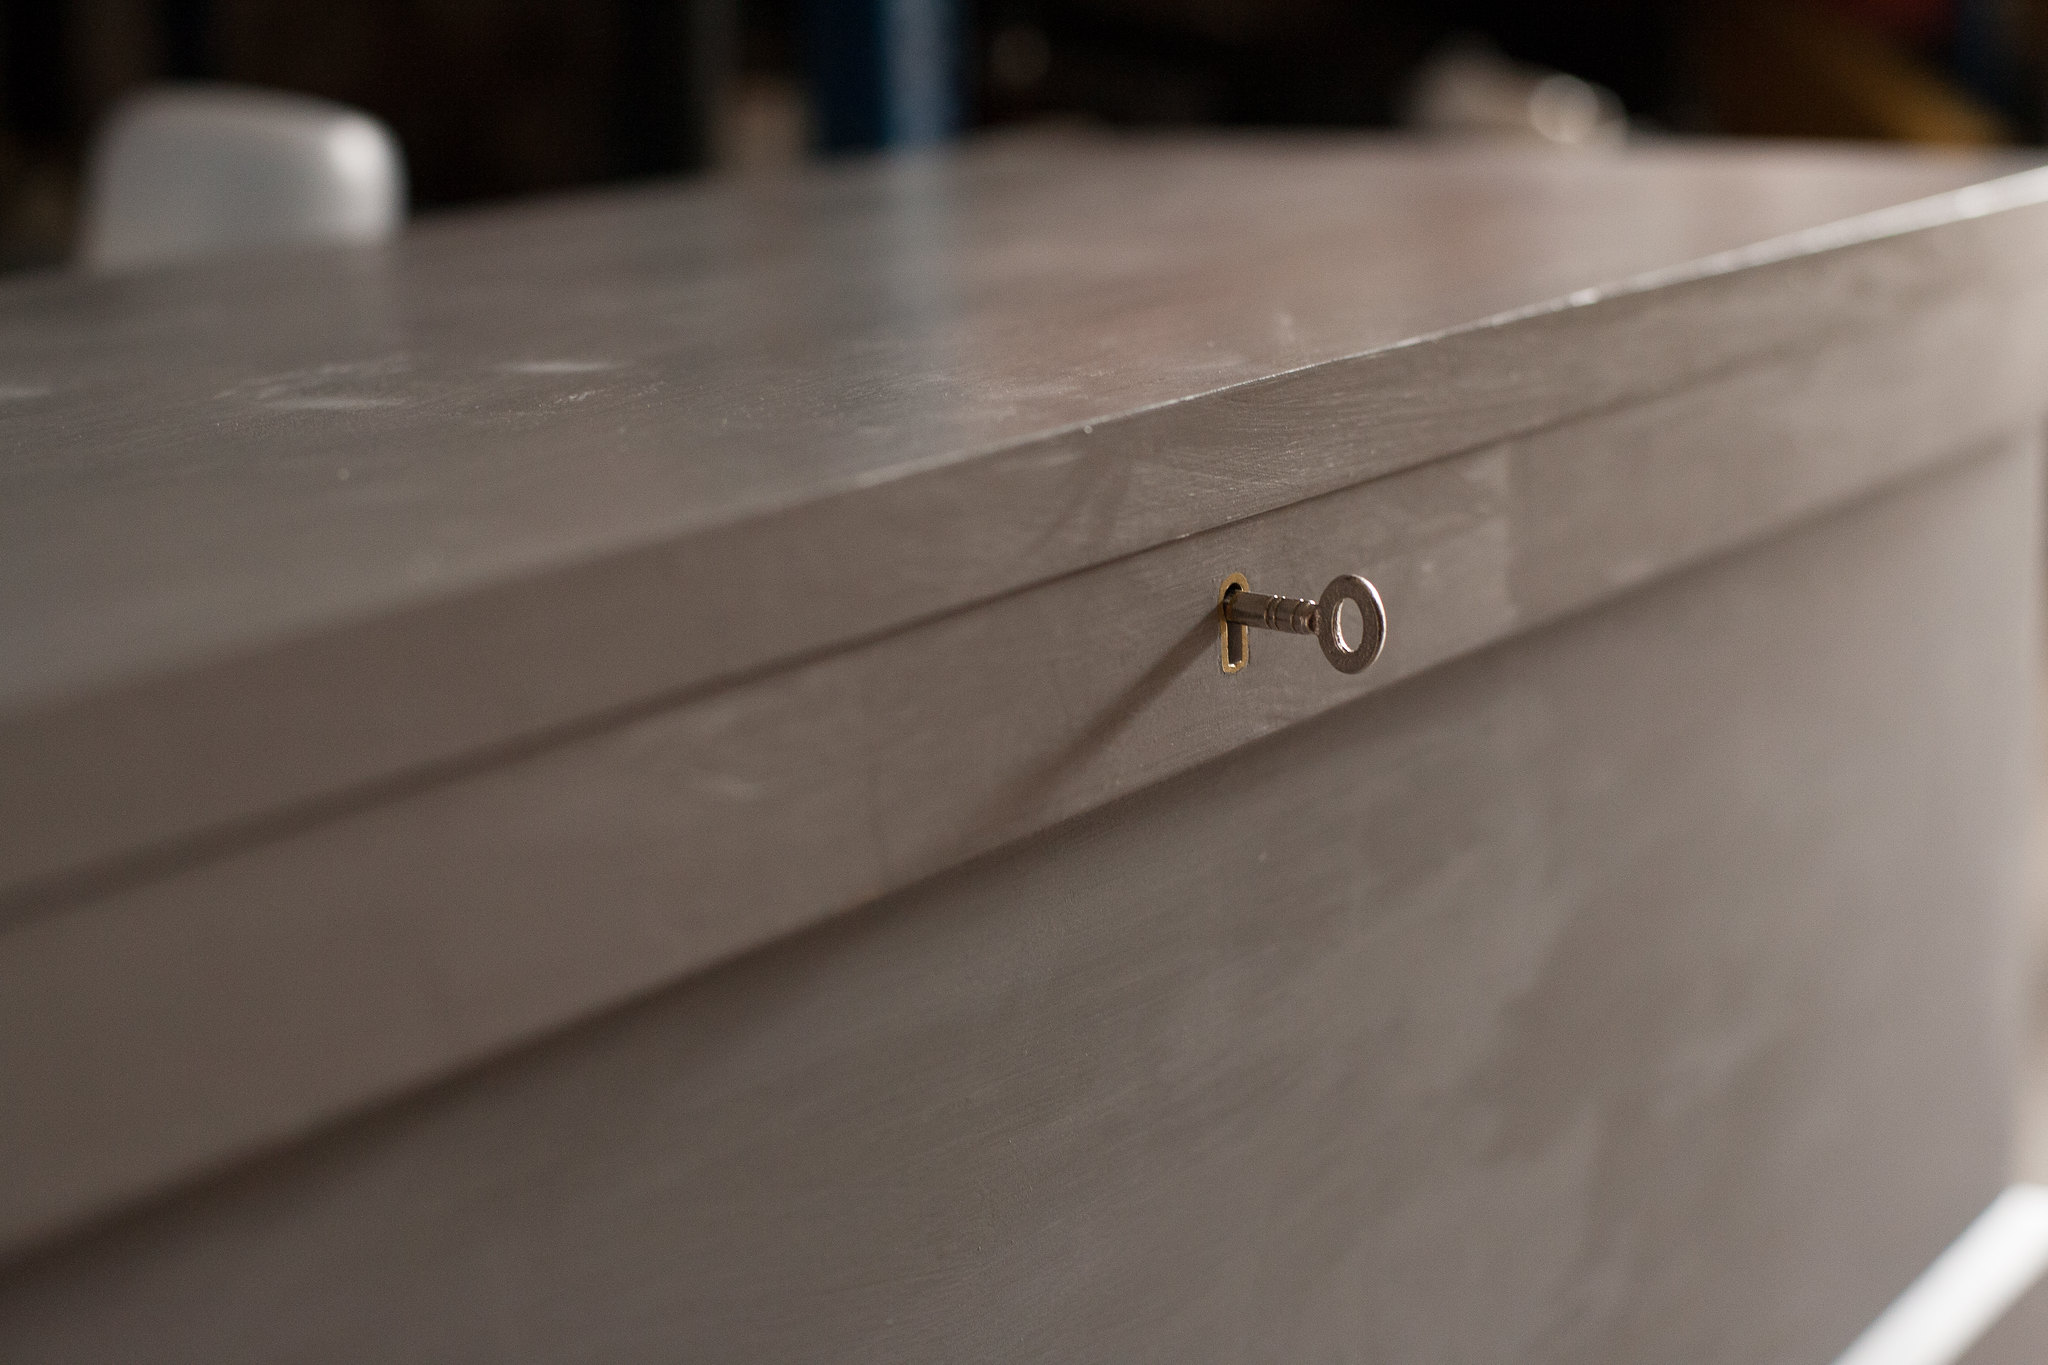
thetyreman":mrncdp2f said:Toolchest : Key/Brass Escutcheon Detail by Ben Tyreman, on Flickr
today I completed installing a brass inlayed escutcheon, it's my first go at anything like this, it isn't perfect but it'll be painted then sanded over, the lines around the edges are pencil marks, what would you recommend when painting it? mask it off? or sand straight through it, I'll be using chalk paint for it.
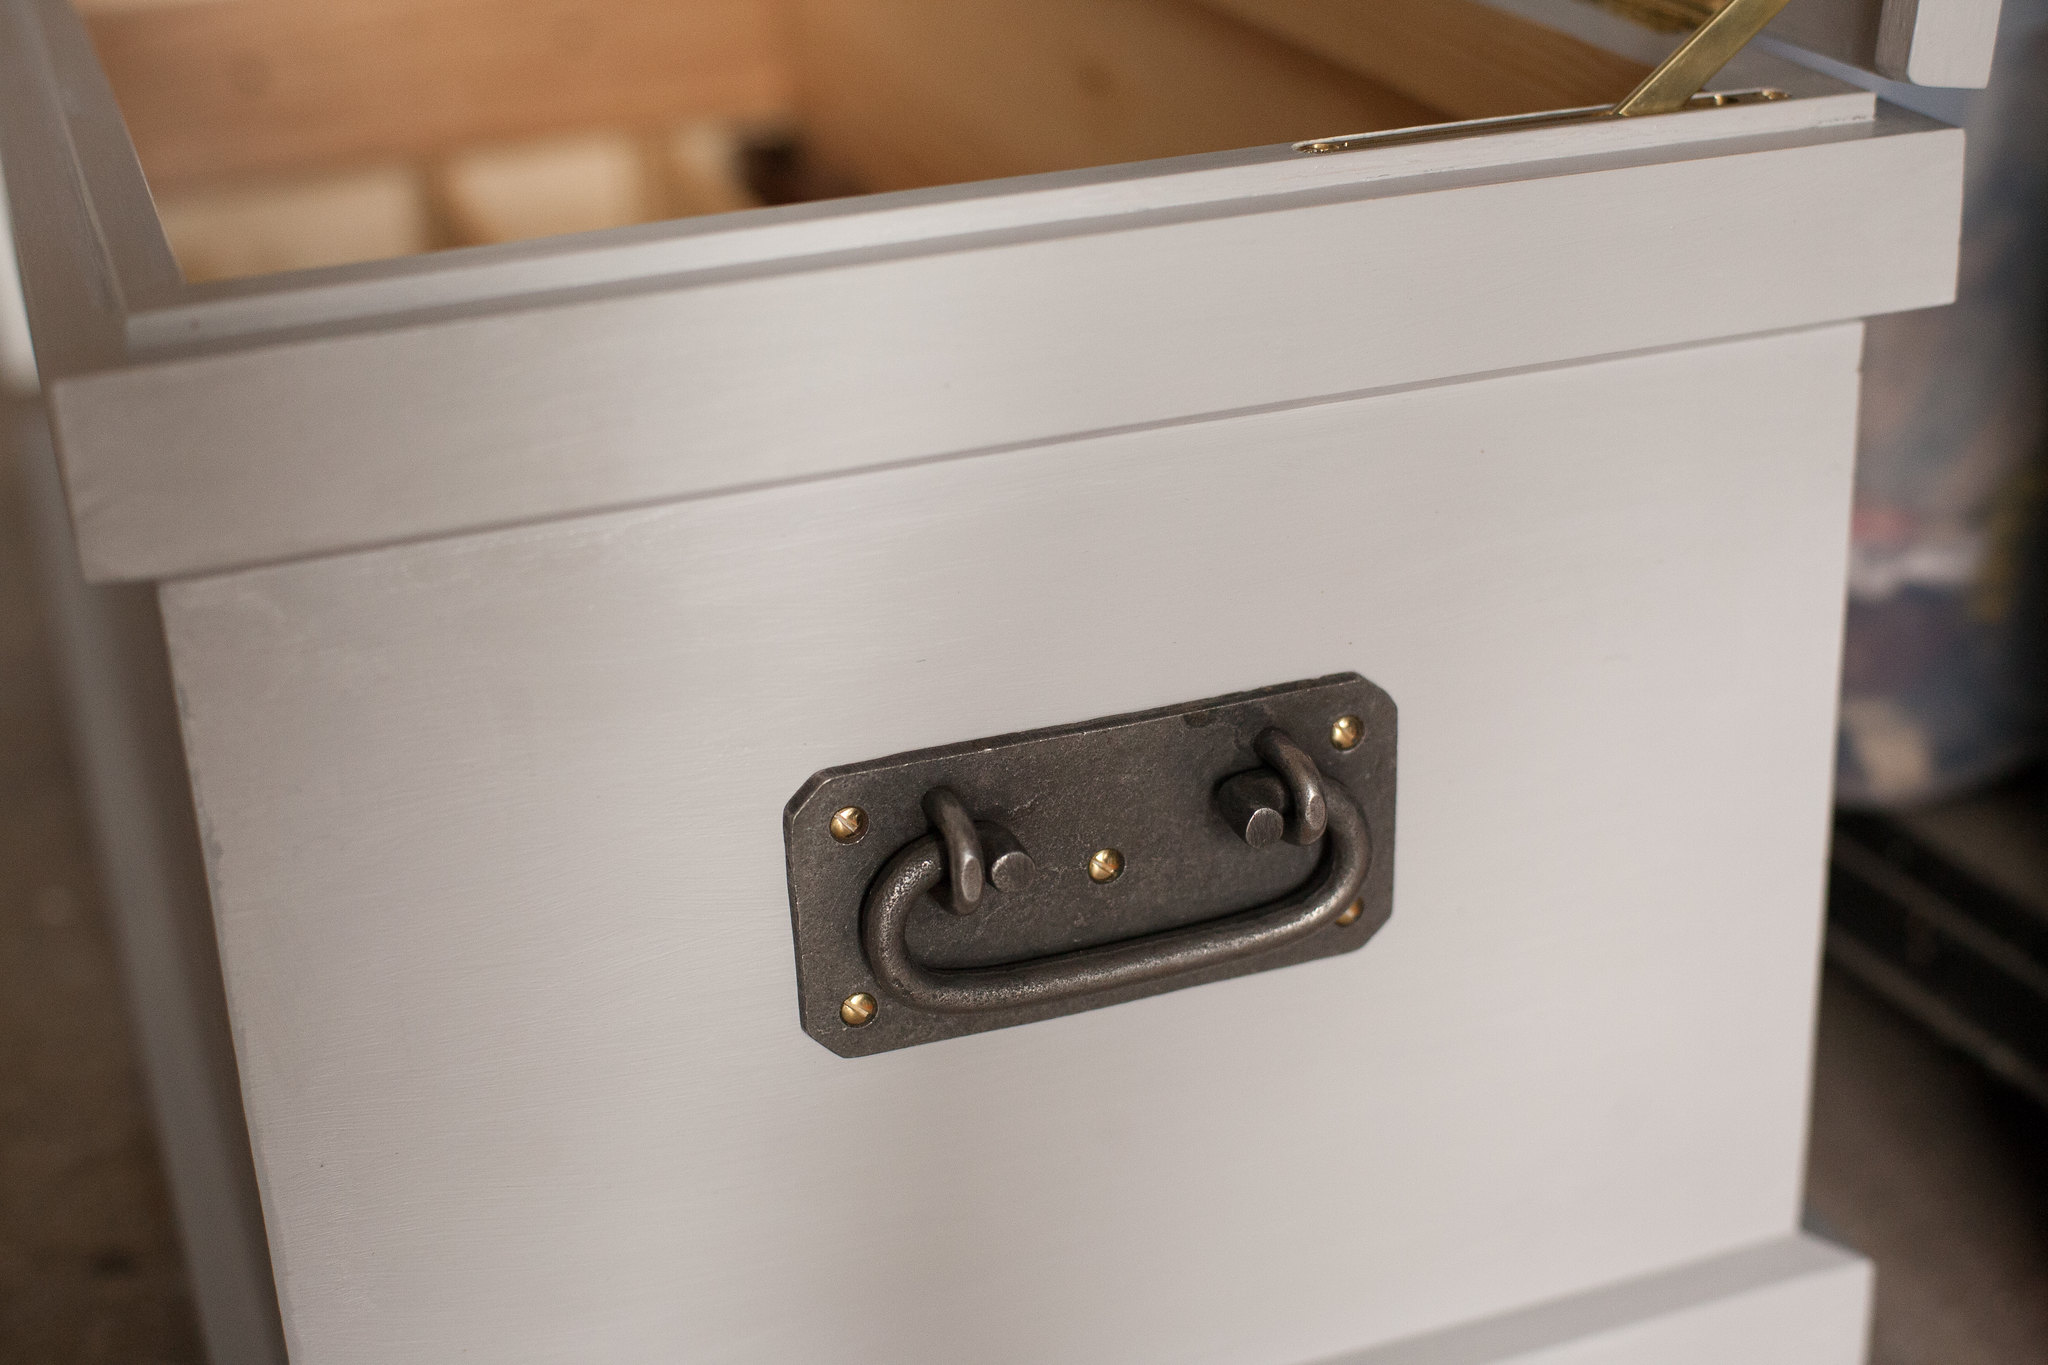
A&E Squire 2" Brass Mortise lock by Ben Tyreman, on Flickr
and completed installing the lock, it was worth getting a good one by A&E Squire, they are very well made worth what they cost for sure.
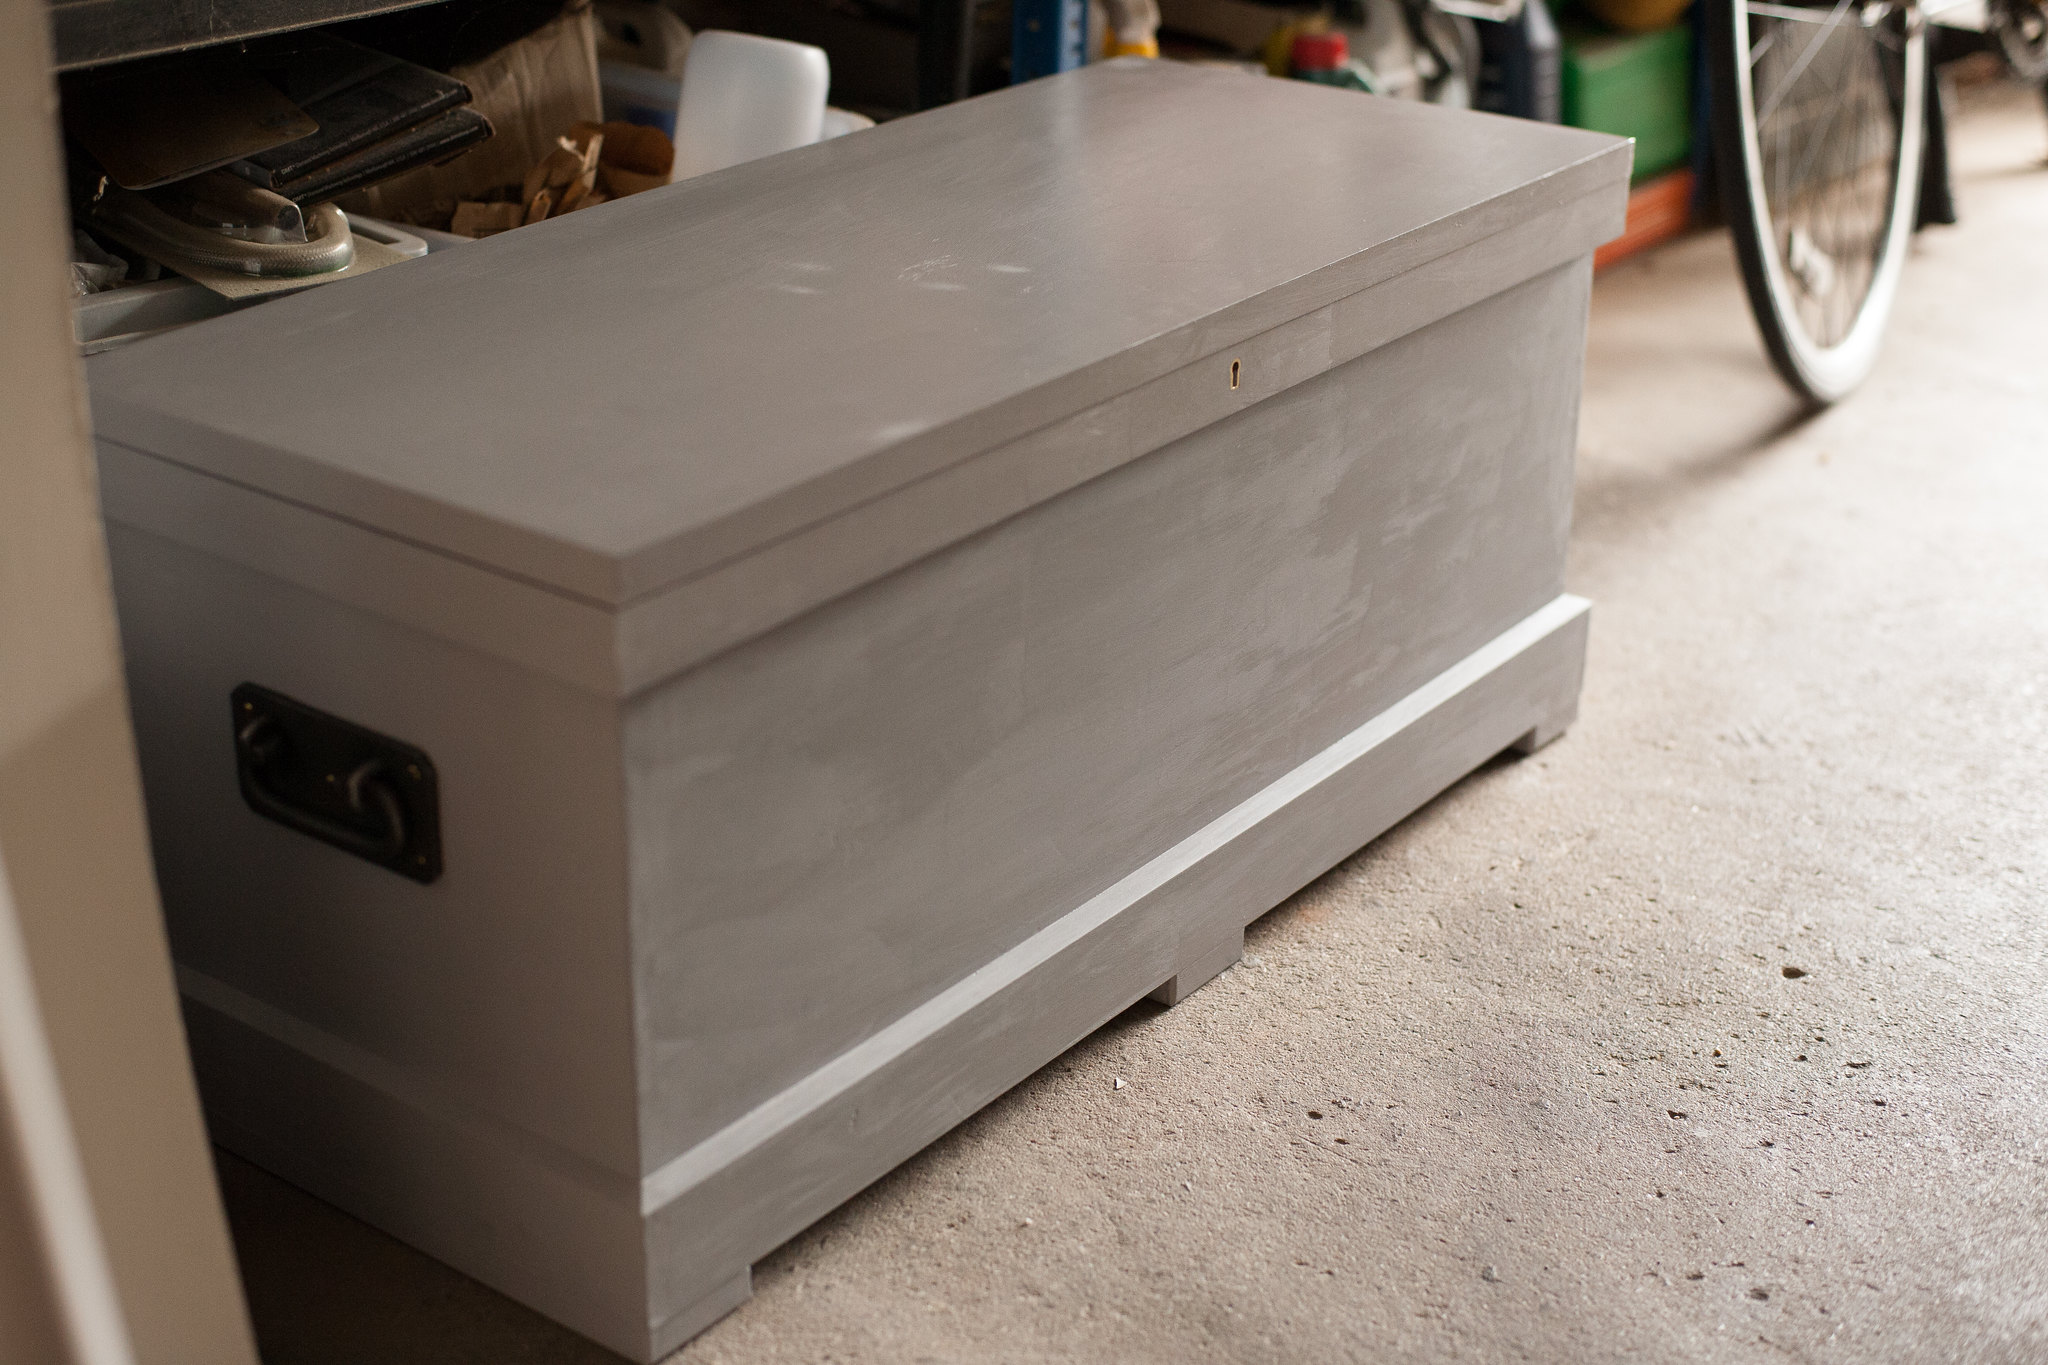
Chest with lock and Escutcheon by Ben Tyreman, on Flickr
and finally a shot of the whole chest with the new escutcheon
Well, I like that, Tyreman. That's a proper piece of furniture, and attractively designed. Simple and elegant. However, I fear you are about to ruin it with chalk paint. All those dovetails will disappear. The damn stuff hides everything.
If you feel the need to paint it (or indeed, you feel some external pressure to paint it), then how about wipe-on-wipe-off emulsion? That way you'll still get to see the dovetails, and the grain of the wood, but you'll get a hint of colour too. It works nicely with pine. You can varnish over it if you want a more robust finish (not water-based varnish, though).