Making a brass infill plane (Hattori Hanzo, DP)

UKworkshop.co.uk

Help Support UKworkshop.co.uk:

This site may earn a commission from merchant affiliate links, including eBay, Amazon, and others.
I just had a very inspirational and relaxing hour or more reading this whole thread.

Thank you for sharing.

It is always wonderful seeing a craftsman work, especially paying attention to the details. I'm a serial wood butcher at best but found your process here mesmerising and inspiring, even though i shall never have the inclination to make my own plane.

The box however, I may nick!
 
How deep is the etching on the blade?
I am wondering if the etching method is a good way to set out a design, for a branding iron or leather stamping tool, which could them be made deeper by more conventional means.
 
I wondered the same thing Galley.
It's hard to tell exactly how deep the etch is, maybe .3 to .5mm in the deepest place.
Though longer etching does make for a deeper etch you might start to lose the definition of the design especially if it was a more intricate design.

I doubt you could go much deep than half a mil but I might be wrong.
Would that be enough for a leather stamping tool I don't know, I've never done any leather work but am interested to learn.
 
I think somewhere in the range of 1.0 to 1.5mm would be required - I have not made a stamp yet.
I am hoping etching might be a good way to get things going.
 
Continuing on with the box, I needed a way to lock it so came up with a simple latch solution.

I started by cutting a piece of steel flat bar and inserting a small length of brass rod which I had cut a thread onto one end.
The brass rod fits through a hole in the front of the box.

5HOKWzC.jpg


With my last bit of brass I machined a round handle and threaded the centre of it to fit onto the brass rod.
I also made the catch out of another piece of steel flat bar.

pGp18kd.jpg


I filed a small bevel on the front of the catch, it then gets screwed to the inside of the box.
Ignore the screws sitting proud, this was just a test fit.

hCHaabh.jpg


Next I cut the lever to length and filed a corresponding bevel to the under side, I also cut a slot for a spring to hook onto.

4PD9jGT.jpg


With the front of the box fixed to the plane holder the lever can be inserted and the spring fixed to it.

ZAEe4Ht.jpg


Twisting the brass handle on the front of the box raises the lever, the spring then pulls it back down.
The bevels on the lever and catch are to let the lever rise and full into the notch in the catch with out any input needed on the handle.
This means the box will lock on it's own when the holder is pushed shut.

xvIlVn0.jpg


Lastly I added a small steel key pin to the brass rod to stop it spinning in it's hole.
And finally gave every thing a sand and polish.

aiyZIXG.jpg
 
Now the latch is completed I could finish the box.

I fitted and glued the back of the box in place then sanded every thing to 500 grit.

The inside and slide of the box are going to be clear lacquered while the outside will be painted. I used masking tape and paper to cover the external of the box so as not to get lacquer on it.

iN6jY1m.jpg


Next I applied 4 coats of lacquer to the inside of the box and the slide.
Leaving 10 minutes between coats and lightly rubbing down with 1000 grit.
The wood burner was lit so drying time was quick.

ho9anOZ.jpg


Once the inside of the box was dry I removed the masking tape and paper.
I want the grain of the birch wood to show in the paint so I used a brass brush to open the grain.

I then applied 1 light coat of black paint.

OORwP02.jpg


I left 10 minutes before applying another coat.

FgXG5To.jpg


2 coats was enough to cover the wood, I didn't want to apply to many coats as the paint will start to fill the grain.
I've still to lacquer the box but will do that once the paint has cured over night.
 
With the black paint now dry I could start applying the lacquer.

I sprayed 3 coats of lacquer onto the box leaving 10 minutes between coats, no need to rub down this time.

3AKSzv7.jpg


Once the lacquer was dry I started to cut it back with wet and dry sand paper.
I sanded from 1200 to 2500 grit.

EehN2NV.jpg


With the entire box sanded to 2500 grit I could start to polish it.
I'm using Farecla g10 finishing compound and a medium sponge buffing pad to bring back the initial shine.

uYfmmMp.jpg


Once I was happy with that stage I used super resin polish and a fine sponge pad to get a gloss finish.

QqALYvm.jpg


Lastly I applied a coat of Dodo juice for a little extra shine and the sweet smell of Carnauba wax

8us35MO.jpg


Cqbg5qK.jpg


With the paint work done I fitted the brass handle and lever catch to the front of the box.
I also added some Velcro strips to secure the plane in place when in the box.

swh0h6N.jpg


Finally I cut and fitted foam to the inside of the box just for a little added protection for the plane.

Td6ZcFR.jpg


Other than adding some rubber feet the box was complete.

iCscYge.jpg


Lots of work went into the box but I'm pleased with how it turned out. Getting really close to the finish now.
 
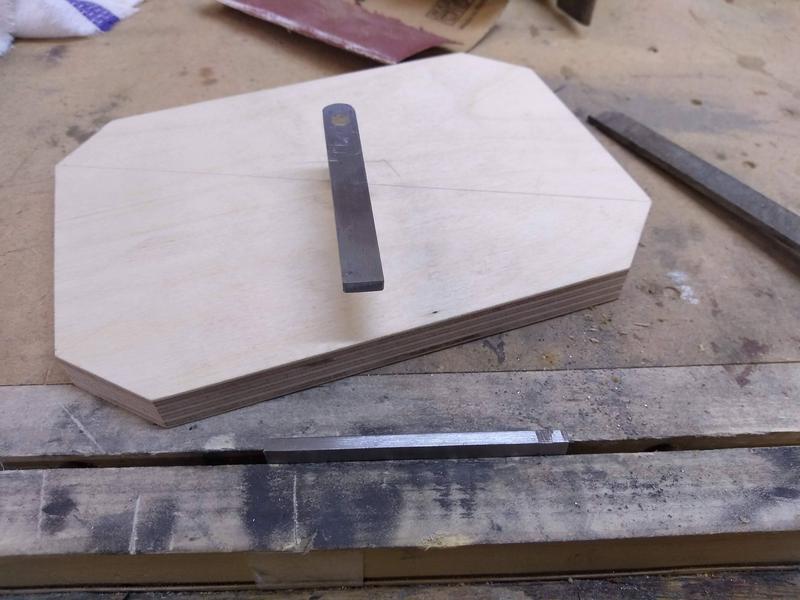
With the box complete I could add the finishing touches to the plane.

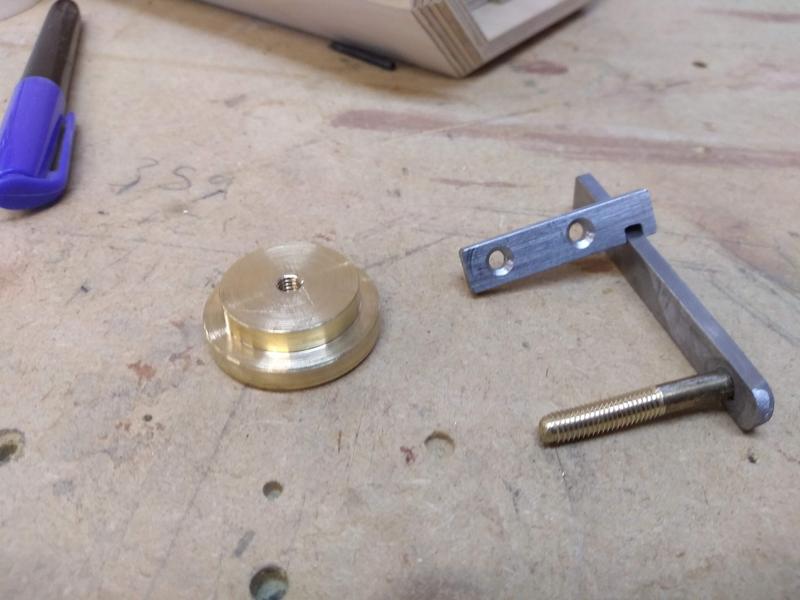
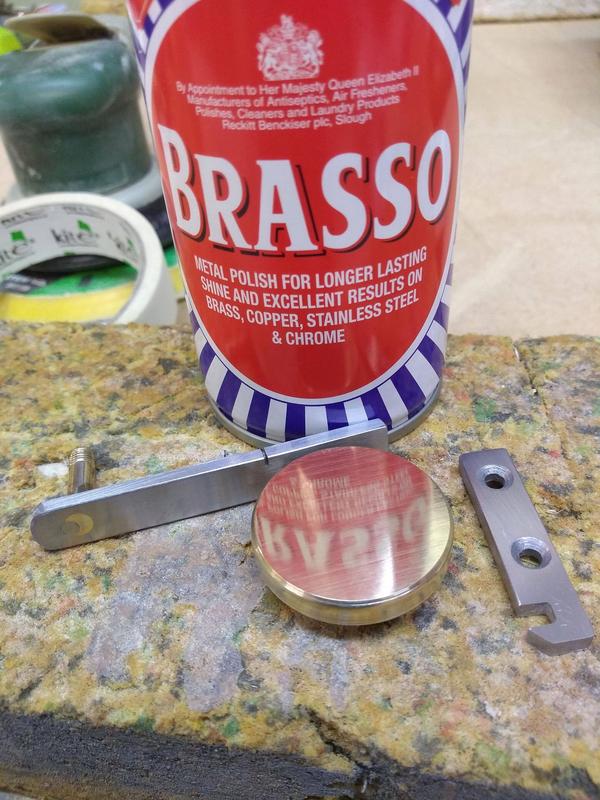
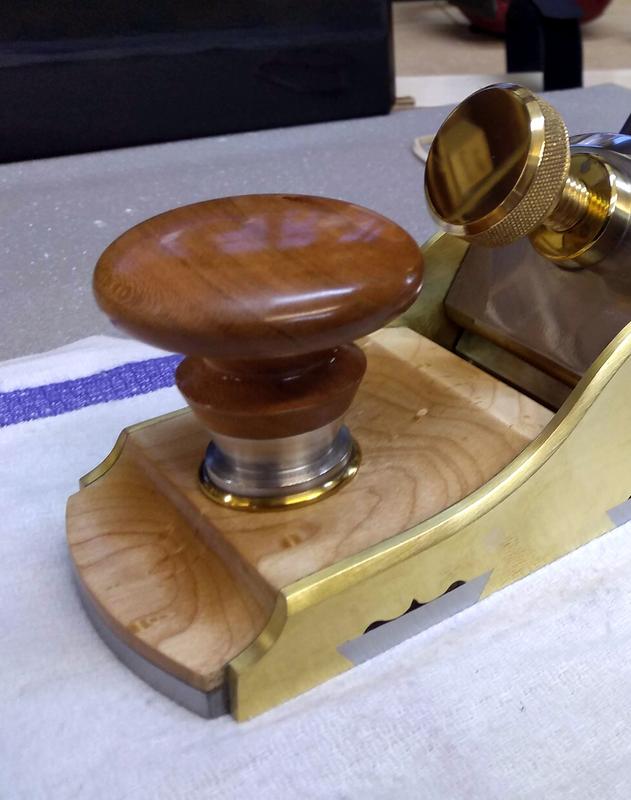
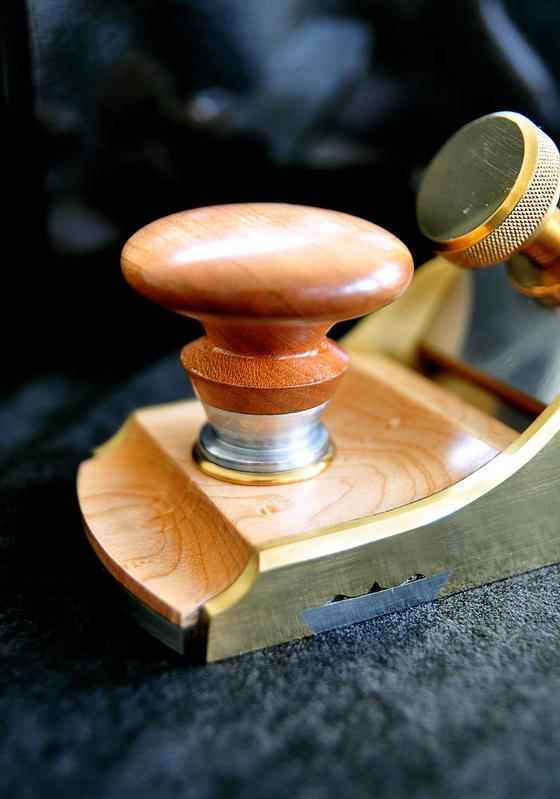
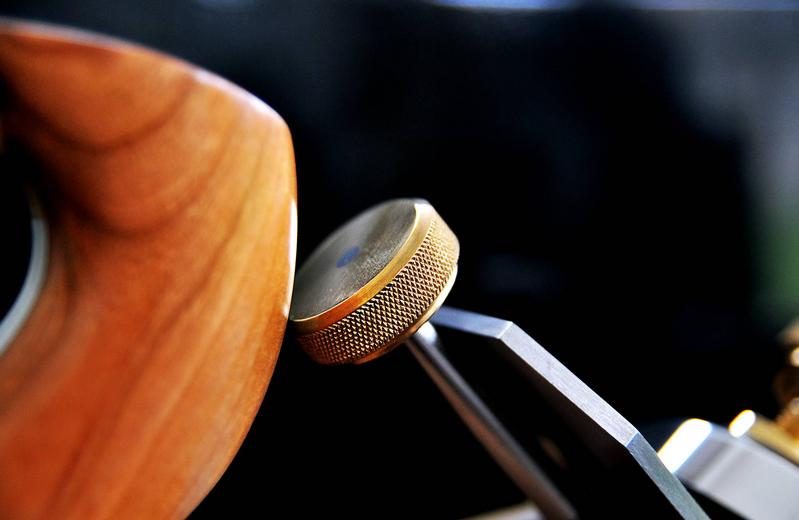
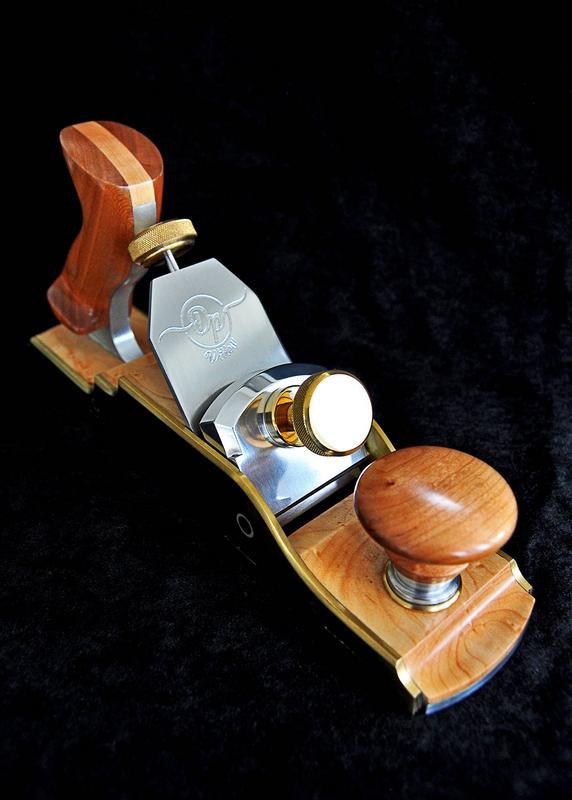
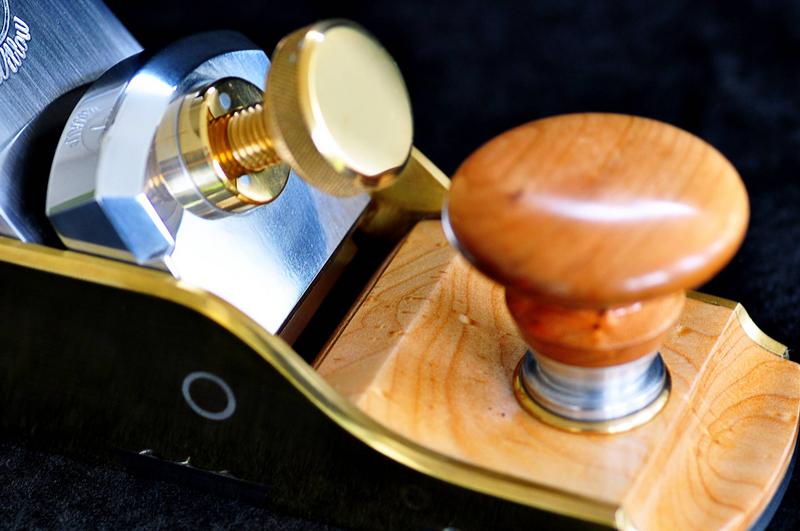
I started by making the brass collar to go under the front knob, this was purely for aesthetics as I thought the transition from cherry wood to aluminium to brass looked nicer.
I forgot to take pictures of this but here it is fitted to the plane.

jPbdeaW.jpg


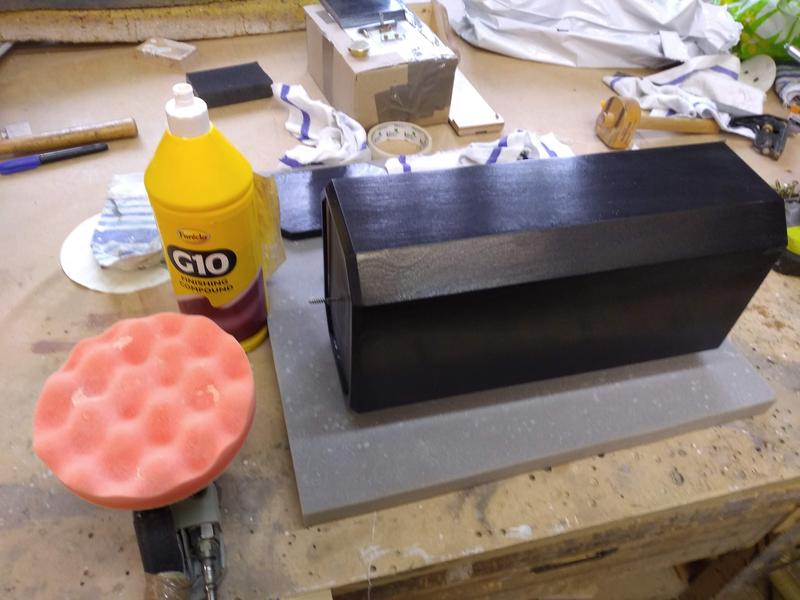
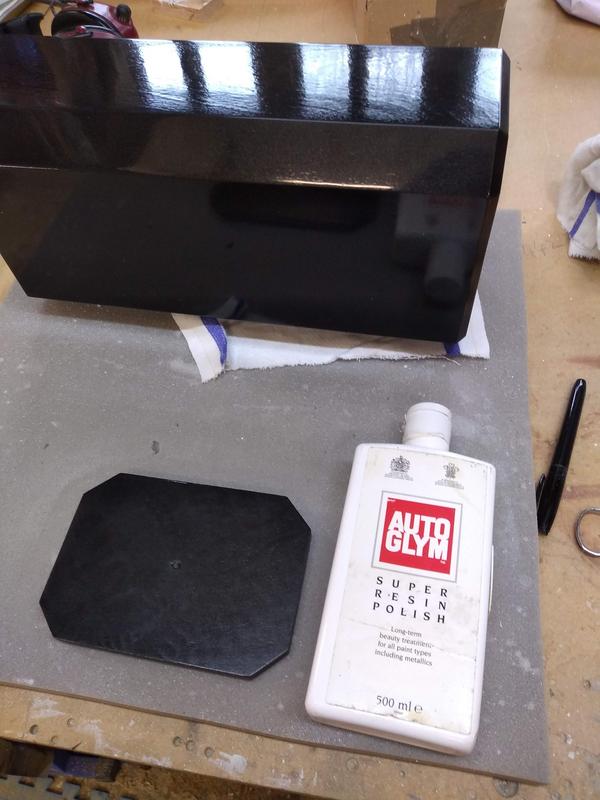
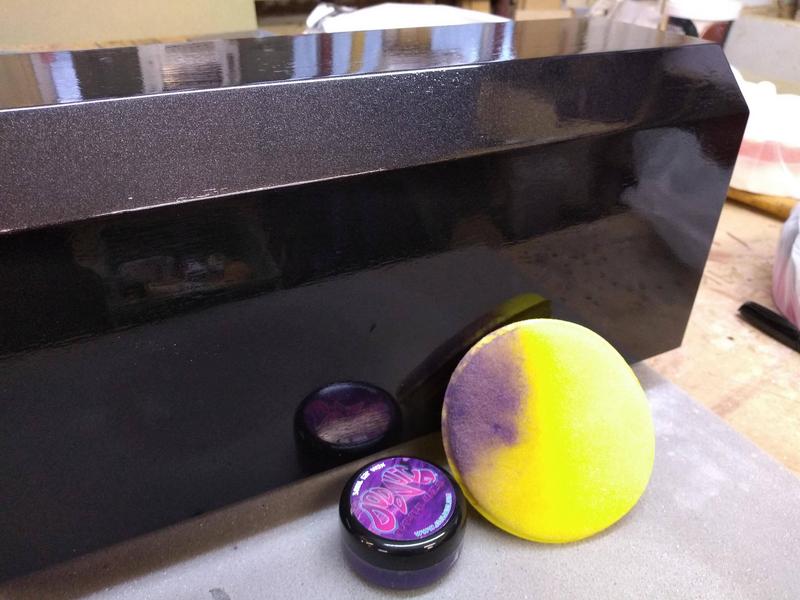
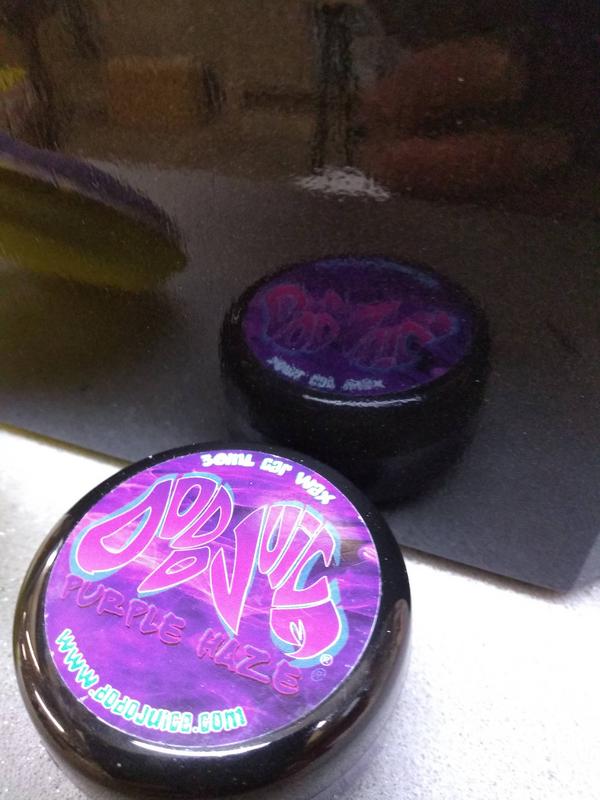
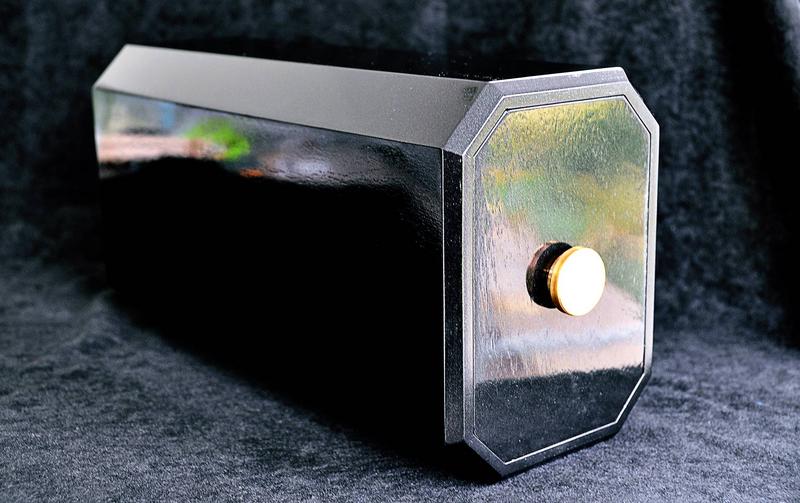
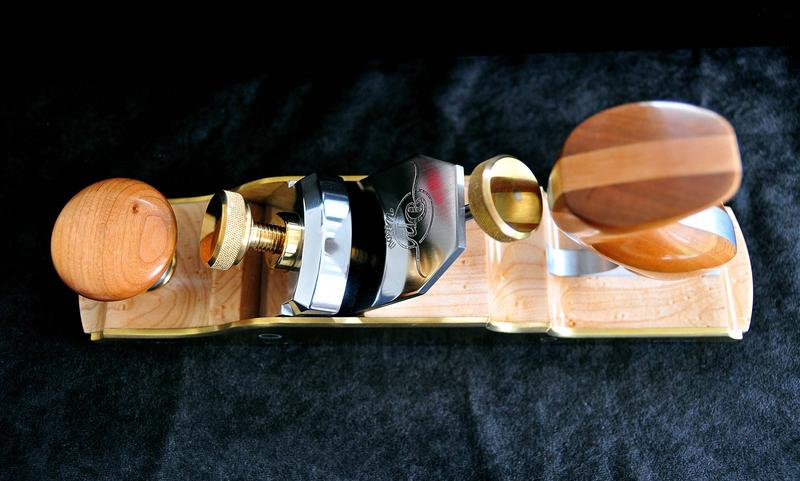
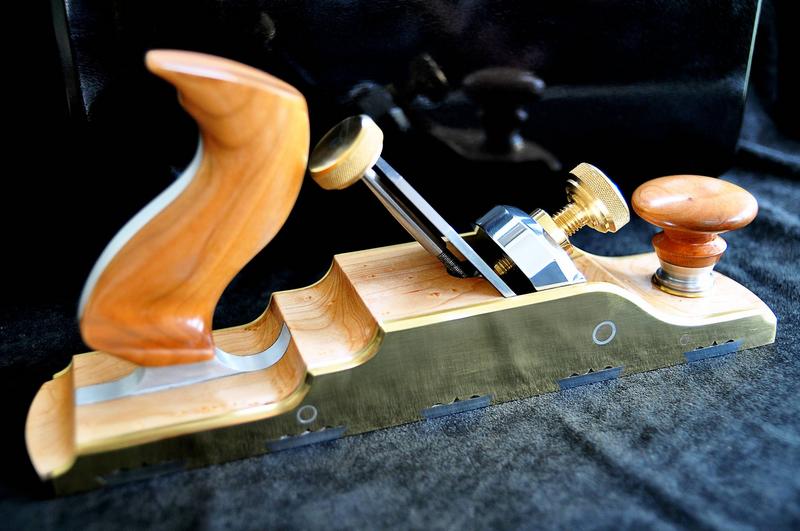
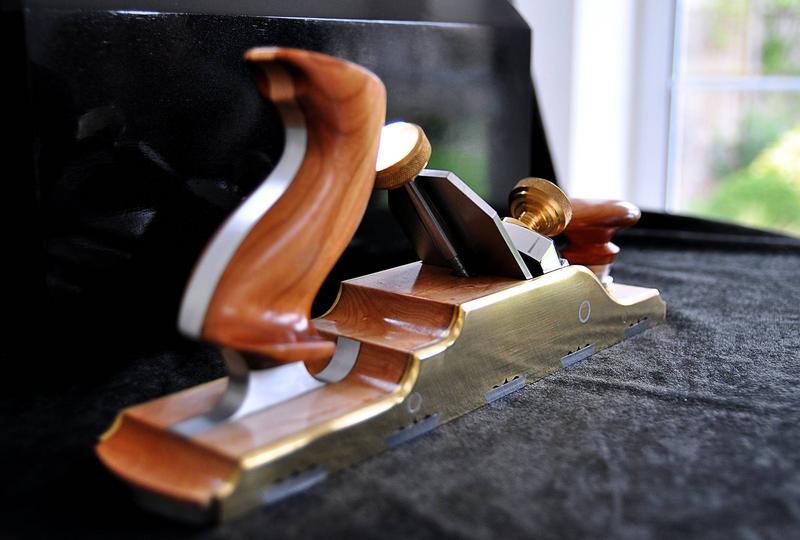
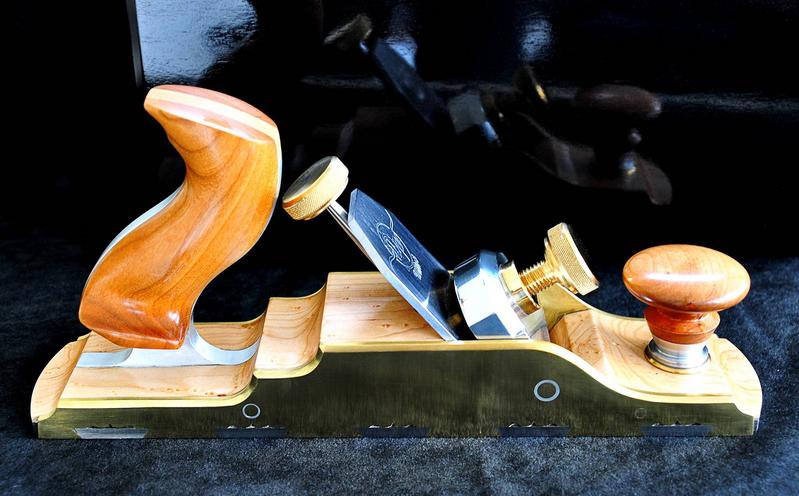
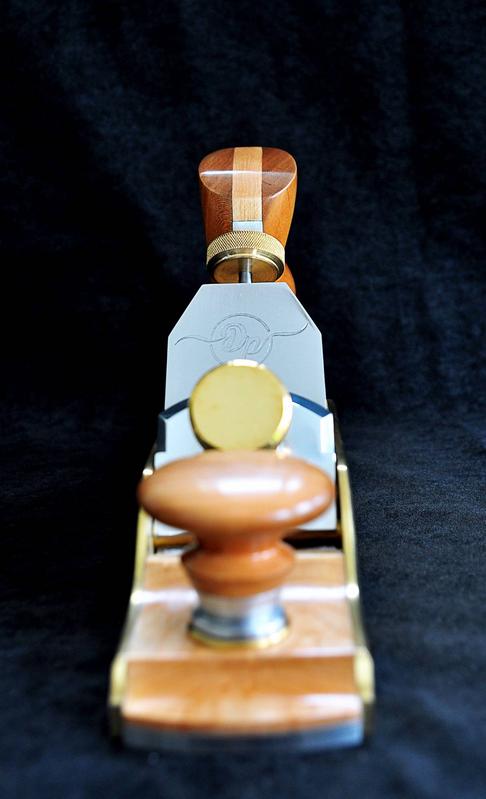
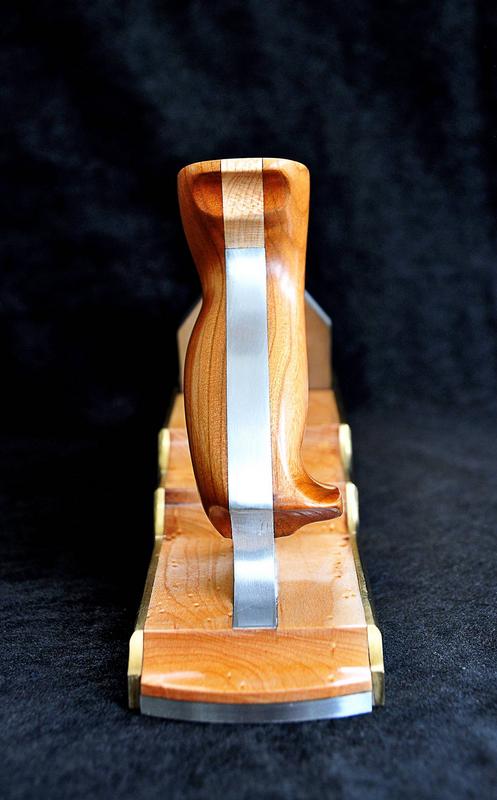
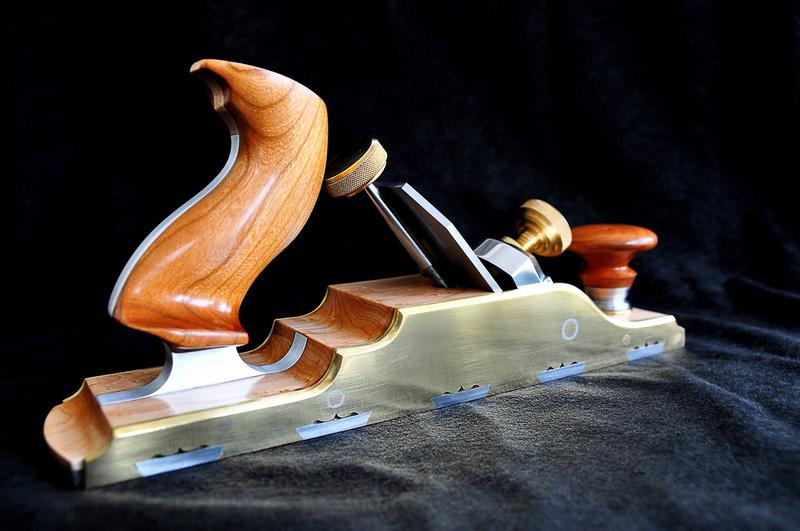
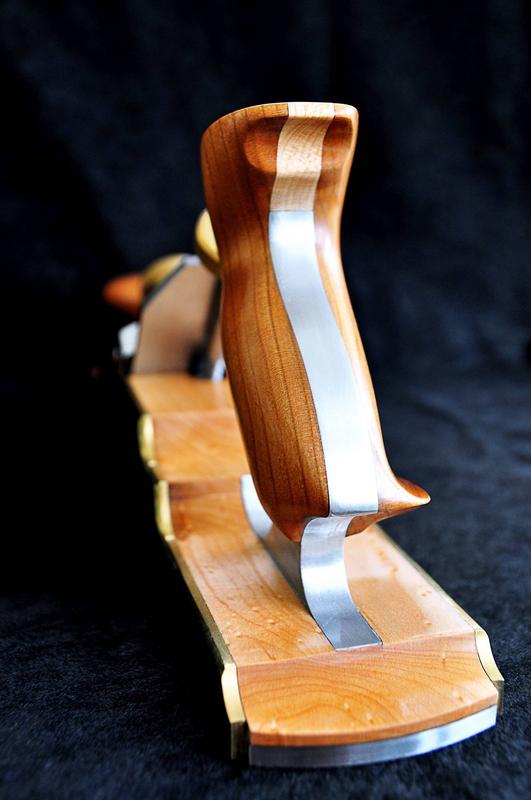
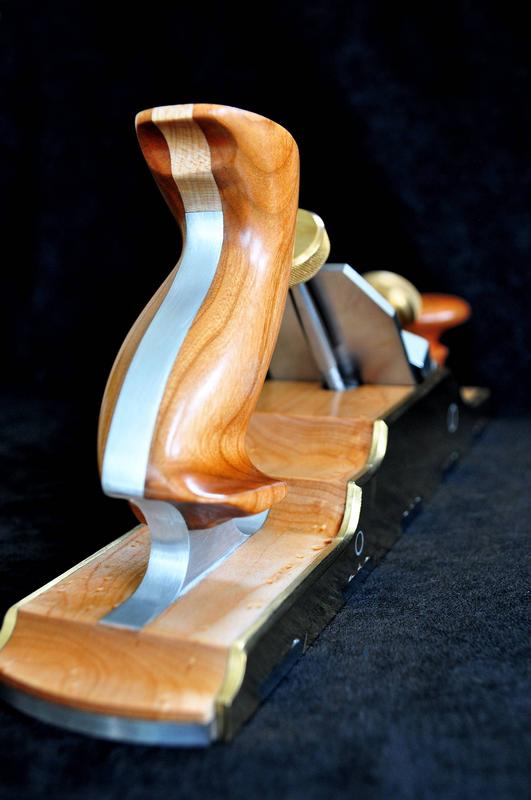
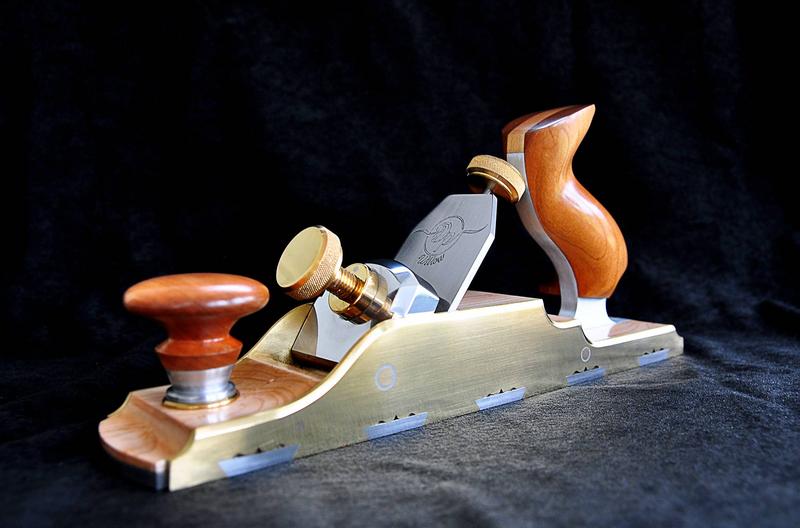
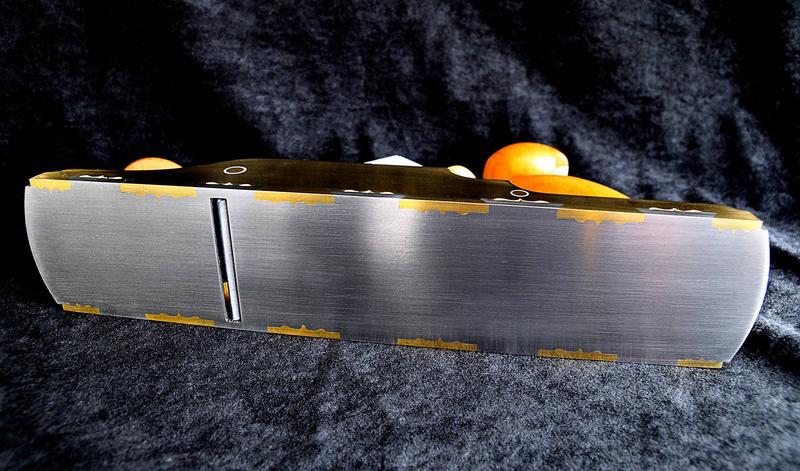
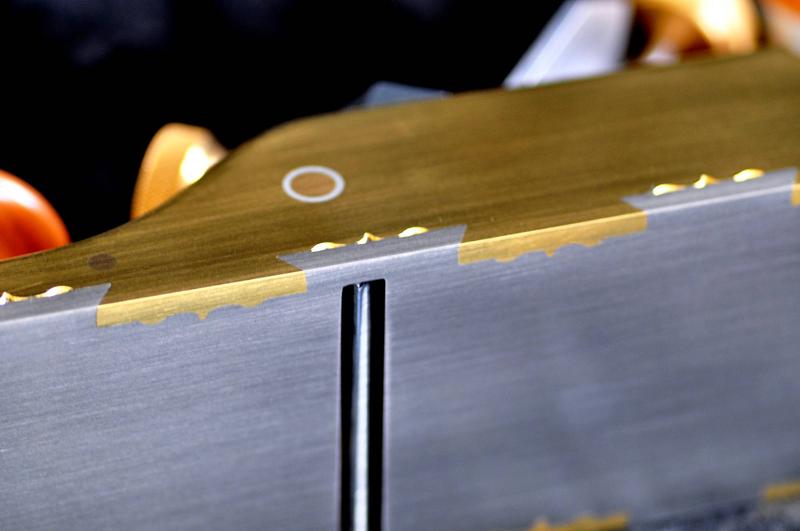
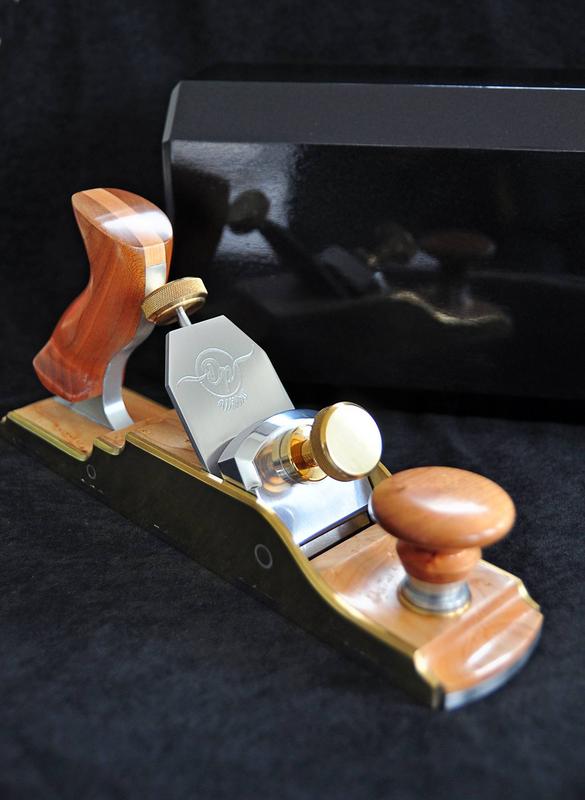
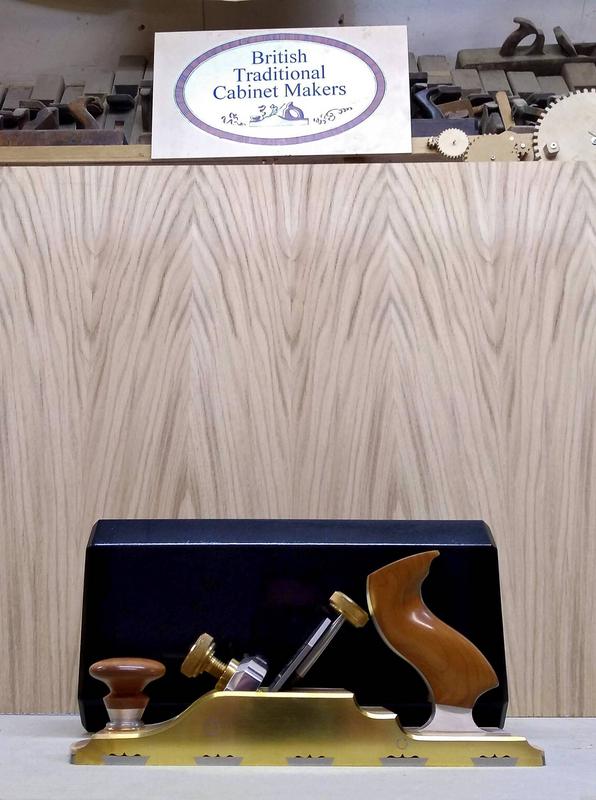
Finally the plane was complete. I took a few hours to clean and wax every part before reassembling.

When I started this project I didn't realise how far it would take me. I've learnt so much along the way, so many new skills and techniques that I can develop further.
I've probably gotten more enjoyment from making this plane than I will using it, (if I use it!)

Its been the combination of 4 months in the making and over 100 hours work.
It's been quite the journey of late nights, hard work, concentration, patience and ups and downs.

I'd say I'm 90% happy with the end result, there are a few things which let it down but for a first attempt at a metal body plane it far exceeded my expectation.
I think it's important to constructively critique your own work and people have told me I'm my own worst enemy but the day I make something that's perfect is the day I've lost myself.

Thank you for all of the messages along the way, I really appreciate every one.

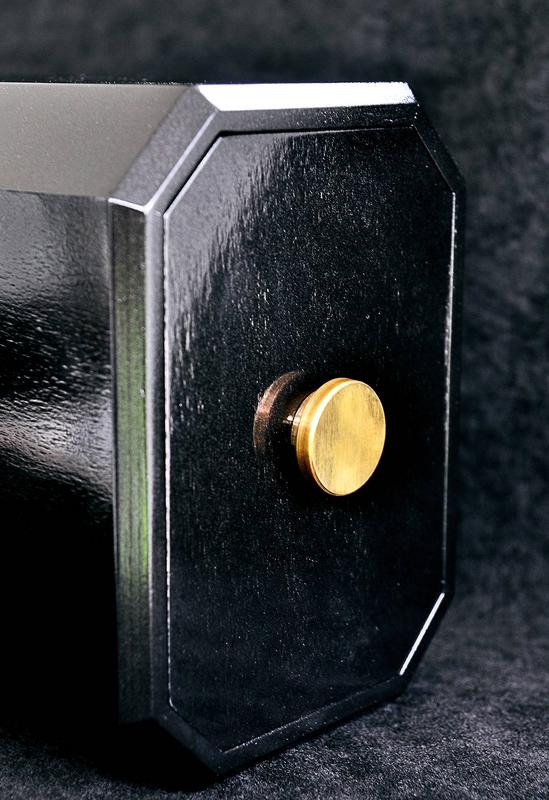
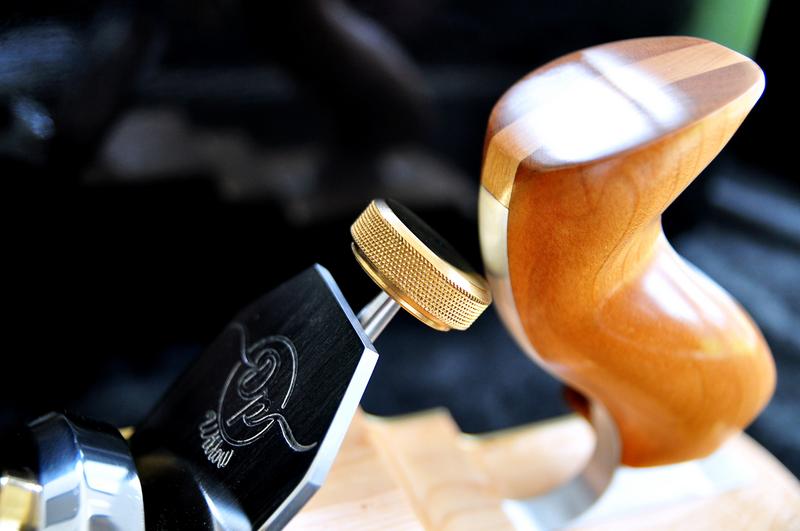
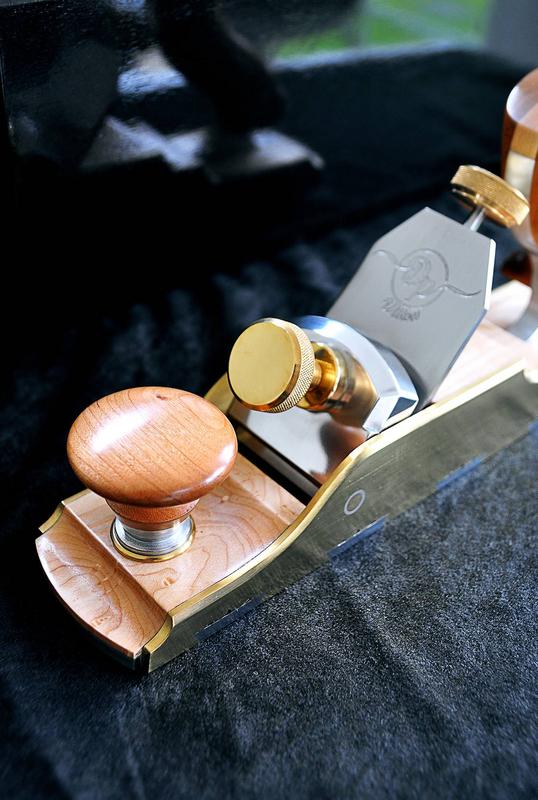
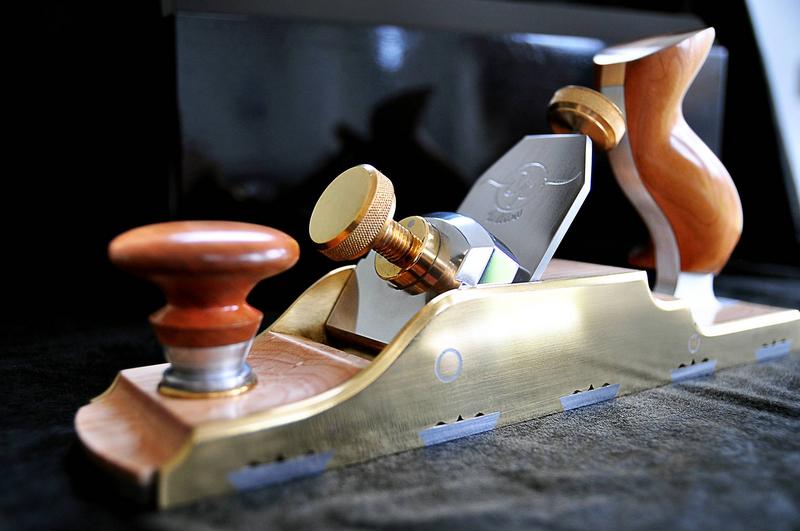
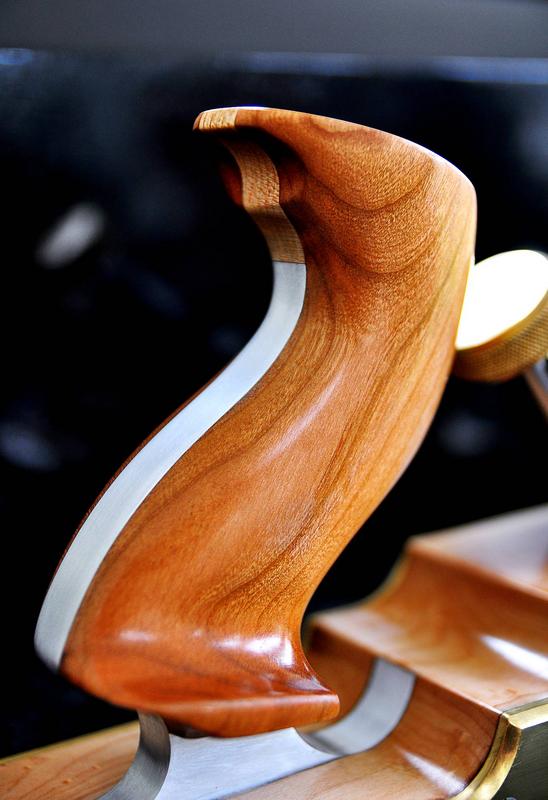
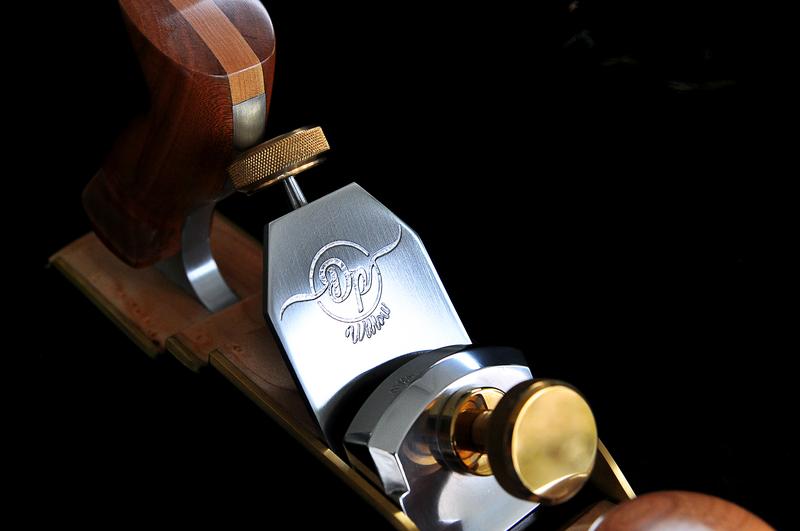
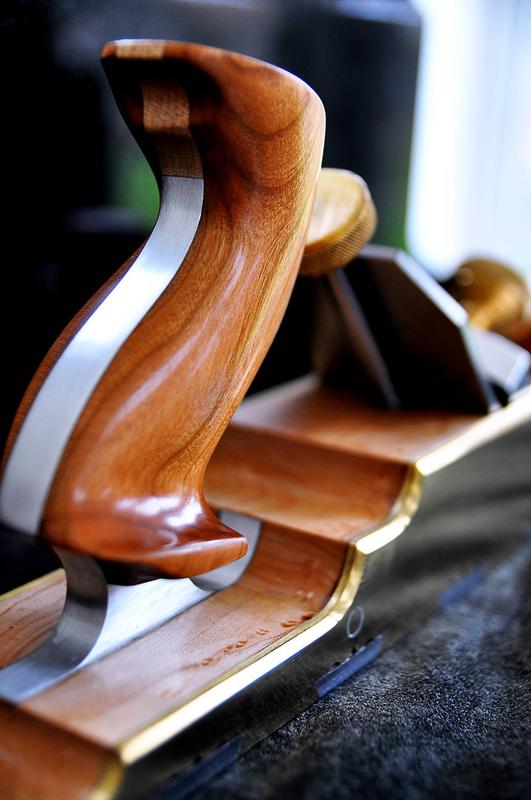
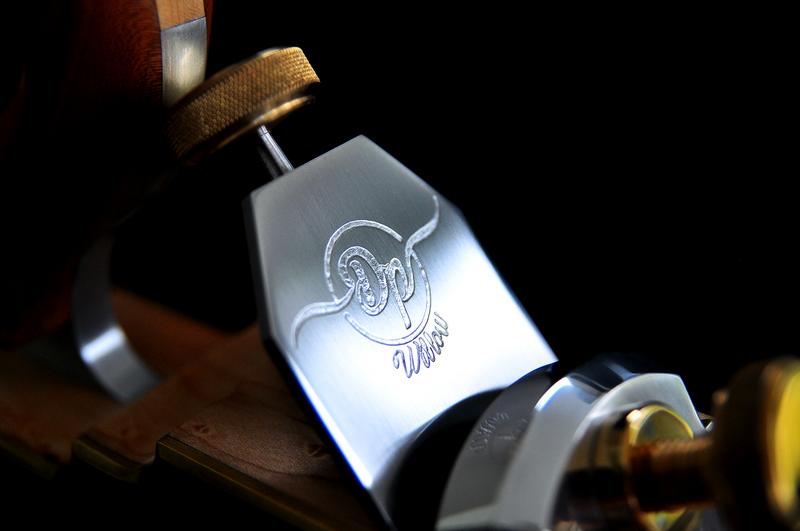
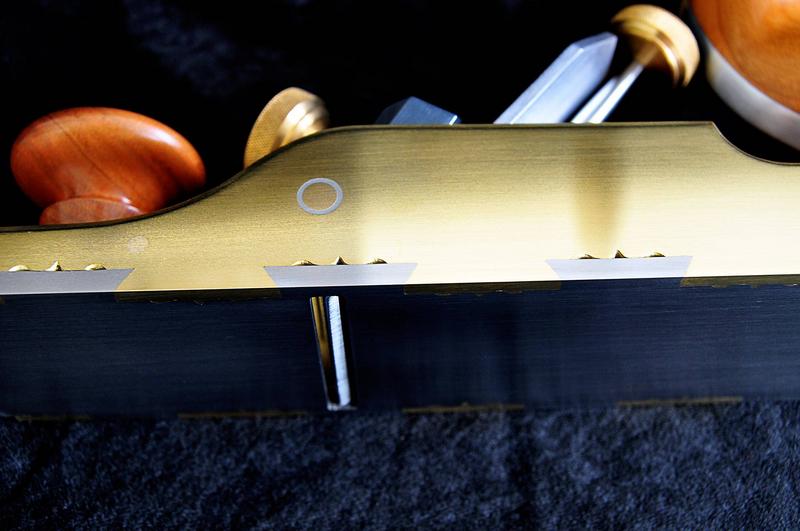
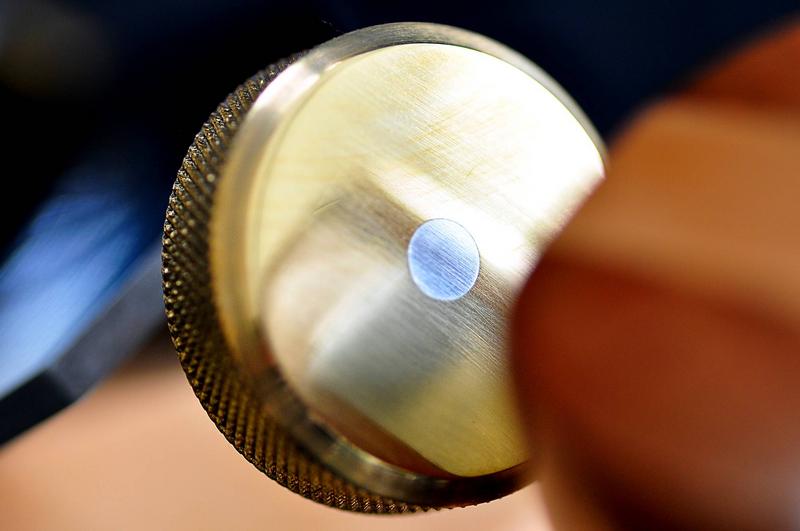
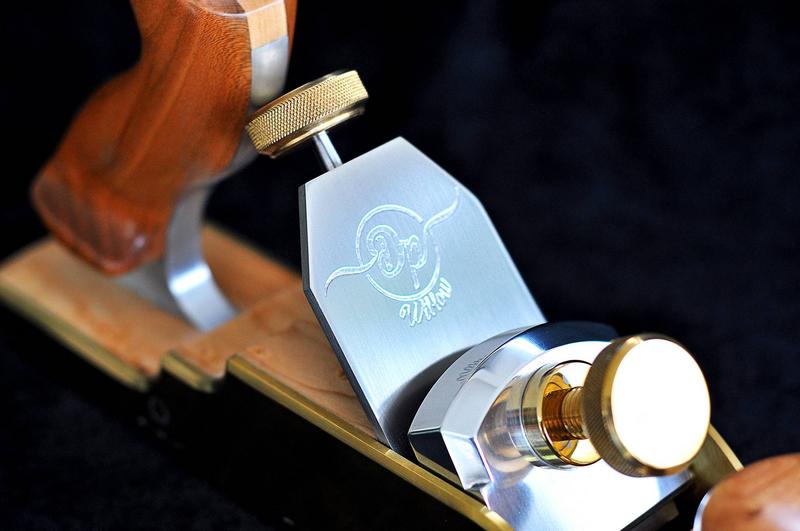
They say a picture is worth a thousand words so I'll stop my rambling now and just show the finished plane, there's a lot of pictures!

1
bwmsaSr.jpg


2
0CyIuDT.jpg


3
wwlSBfR.jpg


4
0W014Ol.jpg


5
brI7ehh.jpg


6
iAdKLQG.jpg


7
x6pKZzP.jpg


8
1fDzEQC.jpg


9
qBC7Wkw.jpg


----------------------

10
CvO4puV.jpg


11
QpZeSFB.jpg


12
WjX9gRf.jpg


13
OyeQXAb.jpg


14
hrWgTfU.jpg


15
WMZYnok.jpg


16
lqClI72.jpg


17
sJaEUTL.jpg


18
uat19xf.jpg


19
FJEXTwR.jpg


----------------------

20
WwZuOt2.jpg


21
d9Gfk8I.jpg


22
3F8F8pH.jpg


23
GsFMIqu.jpg


24
VLQ0g3J.jpg


25
smGlvW0.jpg


26
2IaUni7.jpg


27
Orw3JX4.jpg


28
VQFXjTU.jpg


29
zckGTTE.jpg


---------------------------

30
tBPFM5l.jpg


31
2wxzOin.jpg


32
Ys5xdqu.jpg


33
p4X0OB4.jpg


34
dw5vpxk.jpg


I hope you've enjoyed following the project as much as I have making it.

I'm going to miss having the evenings back to my self, won't know what to do! :)
 
You made a very beautiful tool and should be justifiably proud. If there was anything that should be different it would be a nice leather handle on the top of the box. My clumsy nature would have it slip out of my hands only to crash to the floor. Not a concern I suppose if you have tree frog fingers and nothing escapes your grip. I tip my hat to you.

Pete
 
Hattori-Hanzo":3kzd1hkm said:
I think it's important to constructively critique your own work and people have told me I'm my own worst enemy but the day I make something that's perfect is the day I've lost myself.

Well said :)
 
It's a gorgeous plane and a clever box, but let's see it at work! We want shavings!
 
For someone who claims
"The only trouble is I've never done a day of metal work in my life."
that is a staggering piece or work.
A great WIP - which takes a great effort itself - and a pleasure to see. Many thanks..

If you had made two planes (!!!!!), you could have one on display as a work of art, and the other for use!
 
Hattori — That’s an incredibly, beautiful piece of work. Even your storage case makes me want to redo the quick cases I made for a couple of sharpening stones. Guess I’ll have to redo them now after your inspirational work. Thank you very much for sharing.
 
Excellent work, and thanks for the thoroughly enjoyable WIP. You are very talented!

The plane (and box) are beautiful.

I hope one day I can try something similar.

Sent from my SM-G973F using Tapatalk
 
I can't thank you enough for all the kind comments it really is nice to read after all the work that's gone into the plane and box.

I'm absolutely chuffed with how it has turned out. It wasn't something I jumped into head first, like I mentioned earlier I'd been considering making a metal plane for some years and put a large amount of research into it before starting. I can honestly say this is the first time I have taken raw metal materials and turned them into something. I had absolutely no clue at the start how it would turn out.

After spending hours cutting out and filing the first dovetails the moment they came together I thought to myself "okay that's gone better than expected, this might just work" and from that moment on it all seemed to flow.
I'm not going to lie it was a lot of hard work but I found working metal really enjoyable, cutting and filing while slow compared to wood was just as rewarding.

I've learnt so much from making the plane too, making the blade and heat treating it was a first for me. While heating it in our wood burner seemed to work okay I've since been looking into tin can forges so might have a go at making one of those next.

Brass is a lovely material to work with too, I really enjoyed turning it on the lathe and knurling was a fun experience and one i'd like to try again.

The box was kind of an after thought. I knew if the plane turned out well I wanted to make a box but I didn't start thinking about it until the plane was near completion.
I then had this idea in my head about an octagon shape and it all evolved from that.
A neat leather handle on the top is a great idea, I hadn't thought of that and it would definitely add some much needed function to carrying the box.

Again thank you, thank you for all the kind messages.

I'm itching to get stuck into something else now :)
 
Ah the cats out of the bag, I wondered if any one would stumble upon my video and recognise it.

Don't watch any of my other content if you don't want spoilers to the next project.

As you've probably guessed I'm playing catch up with this thread but didn't want to put all of the posts up at once as there is a lot, I thought daily or every other day was a better way to do it.
It was also nice to respond to comments and feed back after each stage of the build rather than bombard you with the entire thread at once.

I'm going to continue to update this thread until I've caught up but I'd like to carry on doing so stage by stage so I can respond to comments and critique along the way.
I hope you all continue to follow this thread and enjoy it.

Cheers.
 

Latest posts

Back
Top