Making a brass infill plane (Hattori Hanzo, DP)

UKworkshop.co.uk

Help Support UKworkshop.co.uk:

This site may earn a commission from merchant affiliate links, including eBay, Amazon, and others.
Thanks guys.

mike I just had a look on e-bay, didn't know brass filings where a thing. What do you use them for?
I'll start collecting them up if there any good to you, though I think it will take some time to fill a small bag :)

Thanks for your comment Danny.
Apart from a few sketches at the start of the project and the idea in my head most of the processes I'm making up as I go, I've no idea if its the right or wrong way but it seems to be working so far...fingers crossed :)
 
It's been quite the journey so far, from a few sketches on a piece of paper.

X0auyuw.jpg


To what's in front of me now. I'd spent one to two hours working on the plane in the evenings, Hard to believe there is over a months work in this little lot.

KpZADEB.jpg


The finish line is in sight now.

With all the parts ready I can start to assemble the plane, no going back after this stage!

I start with the front maple infill.
I mixed up some Araldite in the plane body then inserted the infill

anXfIoo.jpg


I add a little more Araldite to the pin and secured it in place.
Next I did the same for the rear infill and tote.

WGcRb4E.jpg


I hammered in the rear 4mm and 6mm rods to secure the tote in place.

oAsP2PJ.jpg


Wonder wipes did an excellent job of cleaning up any surplus glue that squeezed out.

1zXfTis.jpg


Once the Araldite had cured I cut off the surplus brass rod and filed it flush with the body of the plane.
I then inserted the brass lever cap pivot pin. The hole for the head of the pin is 10mm and I made the head of the brass pin 10.3mm so it was a very tight fit.


NrOPjSP.jpg


To secure the pivot pin further I used a pencil torch to heat the head of the pin

a31jmdS.jpg


Then flowed soft solder into the counter sink.

4B3jdVq.jpg


I did this on both sides of the plane and on the 6mm pin securing the tote.

Once the solder had cooled I filed away the surplus flush with the plane body.
I would have liked to use silver solder for this stage but the heat required would have permanently burnt the maple infills.
The heat for soft solder is much lower so I could safely use it with minimal concern of burning the wood.

OPcU3wv.jpg


I then spent the next 3 years flattening the sole of the plane, did I say years? I meant days but it felt like years!
I fixed sand paper to the bed of our planer and worked the plane back and forth until it was flat.
The only part of the project I've not enjoyed, it was bloody hard work!

xMkD7fM.jpg


As if that wasn't enough, after that I flattened the blade and ground the final bevel.
I then sanded the blade with fine paper to remove any deep scratches left over from the hardening process.
The blade seemed to grind well so hopefully it will hold its edge.

iJ5u9zf.jpg


Finally I sharpened and honed the blade, I use Autosol and a leather strop to get it razor sharp.

mcRJO65.jpg


And that was me done, my arms, back and legs where shot, I needed a sit down.
 
All that and you didn't try to take a shaving!!!!! I couldn't have stopped there.

Did you consider putting a finish on the timber before you fixed it in place?
 
Oh I was itching to give it a try but I still had some work to do on the lever cap to get it to fit properly and time had run out for another evening.

I did think about finishing the infill before fitting them but I knew flattening the sole was going to be a messy process( steel dust, sweat and wood not a great combination) and the surplus glue squeeze out could effect the finish, I didn't want to risk damaging the finish in the final stages of the build so I decided against it in the end.
 
The point about putting a coat of finish on first is that squeeze out and so on cleans off easier without leaving a stain.
 
MikeG.":26105tvn said:
The point about putting a coat of finish on first is that squeeze out and so on cleans off easier without leaving a stain.
That makes sense to me, but whenever I've seen (videos or forum posts) of people making infills, they always finish the wood after gluing it in. I guess you might want to do some final shaping or levelling of the wood to the plane sides.
 
Good point guys. If it was something I was sure was 100% finished and wasn't going to work on any more I would pre-finish the part before gluing.
Like you said the finish should resist any staining from the glue.

Like sploo says I wanted to sand the infills perfectly flush with the brass after gluing , regardless of how well I fitted them prior to gluing and the way I had draw bored the brass pins meant they where ever so slightly misaligned.
 
sploo":2o9gga6n said:
MikeG.":2o9gga6n said:
The point about putting a coat of finish on first is that squeeze out and so on cleans off easier without leaving a stain.
That makes sense to me, but whenever I've seen (videos or forum posts) of people making infills, they always finish the wood after gluing it in. I guess you might want to do some final shaping or levelling of the wood to the plane sides.

Yes, finish after putting the wood in the plane. Usually, the wood is fitted within a couple of thousandths. You fit it and install it.

If there's a need to grind the sides of the plane, or the sole, you do it with a mock infill cut to fit and then to dispose of.

Finish that gets on metal parts as a part of the process (french polishing, or whatever it may be) is easy to sand or scrape off of the metal.
 
Now the majority of the work is done on the body of the plane I can start to final finish each part.

I started with the lever cap.
I used wet and dry paper starting at 800 grit and sanding up through the grades to 2000 grit.

2Snp4uV.jpg


Once I was happy with the sanding I used Autosol metal polish and a buffing wheel to polish the lever cap to a shine.

4DDxtaS.jpg


Tedious work is sanding, Always moving the paper in the same direction to avoid cross scoring, gets tricky when there are curves.
Finishing each part of the plane is going to be a long process, there where a good few hours in the lever cap alone.

With the lever cap done the plane is finally ready to take its first shaving.

I fitted the blade and screwed down the lever cap, adjusted the depth of cut and pushed through a piece of Tulip wood.
A shaving was instantly produced but I could see as the plane travelled along the shaving was not clearing the mouth.

A little adjustment was needed with a file, fortunately I could just get a file in between the pivot pin.

The smallest amount needed to be removed from the infill and a few passes with a file was sufficient.

UZYaEZd.jpg


I loaded in the blade and had another try.

JPZikhr.jpg


A beautifully fine shaving was produced and ejected from the mouth perfectly.
The finish left on the wood was immaculate and required no further sanding.

FR2WsVz.jpg


Tulip wood planes nicely, I'm yet to try the plane on some harder wild grain timber but for an initial run I'm very happy.

I noticed that when tightening down the lever cap there was a little lateral movement in it which I wasn't happy with.
To combat this I decided to add two Allen bolts on the side of the cap.

I marked out and drilled the larger hole for the head of the bolt then drilled the smaller hole for the thread.

EfST5t9.jpg


Next I tapped the hole

LmfKkiN.jpg


And inserted the bolt. I used a little ptfe tape to help hold the bolt in position.

5dCbaj8.jpg


Then wound it in so the head of the bolt was just protruding out of the hole.

K1d0IRO.jpg


I repeated the process for the other side.

buv9eeG.jpg


The heads of the bolts fit firmly against the insides of the body when the lever cap is inserted which has eliminated the lateral movement as I had hoped.

Next up is sanding, lots and lots of sanding...
 
With the plane now working (and a big sigh of relief) I can start to final finish the body.

I sanded the maple infills flush with the brass body then sanded the tote, front knob and edges of the brass sides up to 500 grit. Another slow process.

yKj3kY6.jpg


I then used fine line tape and masking tape to cover any part I didn't want to be lacquered.

pXOZkhy.jpg


I gave the plane 3 coats of polyurethane lacquer, not a traditional finish but I like its feel and durability.

t46FK5p.jpg


After the 3rd coat I cut down with 1000 grit wet and dry paper to smooth out any roughness and key the lacquer

XSXBsJ3.jpg


I then apply another 3 coats. The lacquer really brings out the natural beauty of the wood.

Tdo6EzF.jpg


I'm going for a satin finish so once the lacquer had dried over night I cut back with 2000 grit wet and dry paper then use 0000 wire wool and soft paste wax to finish.

bRLoPVI.jpg


With the wooden parts finished I started on the brass sides.

I want a brushed look to the brass, I sand them with wet and dry paper up to 800 grit.
I use the bed of the planer again for it's flatness.
I'm trying to achieve a brushed look, its critical to sand in perfectly straight lines. Any deviation results in squiggly lines which you then have to sand out. I used the fence on the planer to ensure I was sanding in straight lines.

sCidLt8.jpg


The sanding leaves the brass looking quite dull so I used Brasso to add a little shine back to it.

AKqCK3V.jpg


sparingly use the Brasso then buffed to a light shine.

zUXH2Bm.jpg


With that the body of the plane is almost done. I've still to fix the front knob in place but I've decided to add an extra collar of brass under the aluminium just to give it a little more contrast from the wood.

More to come.
 
Just a lovely thread to catch up on.
Like a hot dinner after working in the cold. Roast leg of lamb with garlic, roasties, and red wine. A hot sauce to cut through the fat. Keeps getting better as you go.
 
Thanks guys. Really glad you are enjoying the thread.
Last update before Christmas, hope you all have a good one. Eat, drink and be merry!

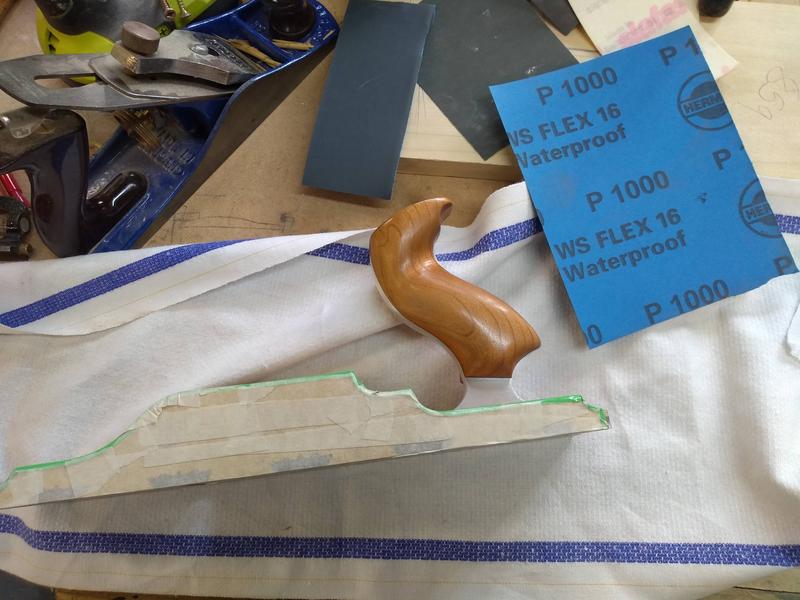
Next I returned to the blade.

From the beginning of the project I wanted to add a makers mark to the plane which is normally placed onto the blade.
I researched as many methods of doing this as I could and after weighing up the pros and cons decided Electro etching might work out the best.

Again this is something completely new to me and I was uncertain if it was even going to work how I wanted it to, or if I could even achieve it.

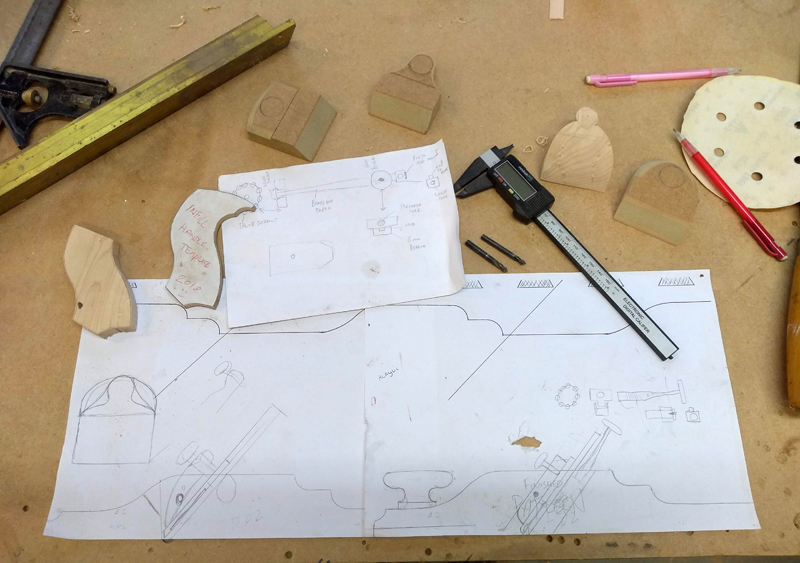
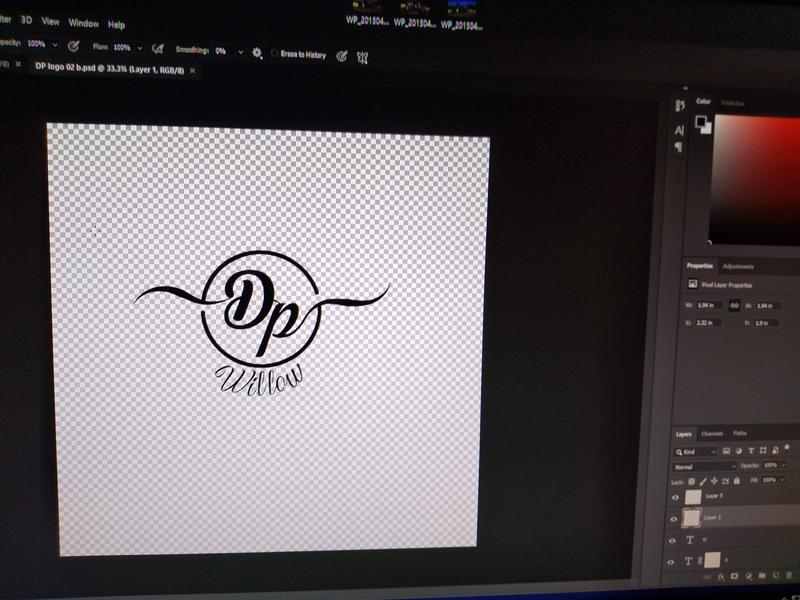
I started by designing a mark in Photoshop. My initials and my daughters name.

CvnFmYp.jpg


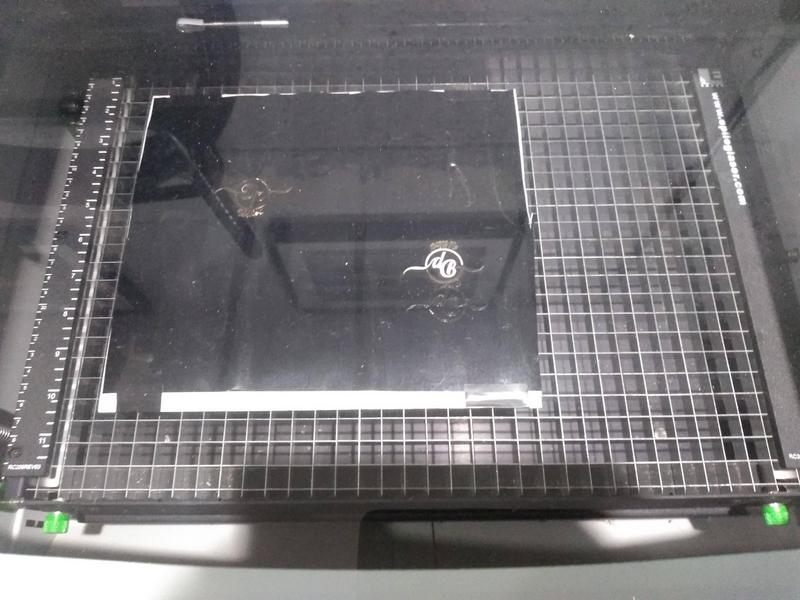
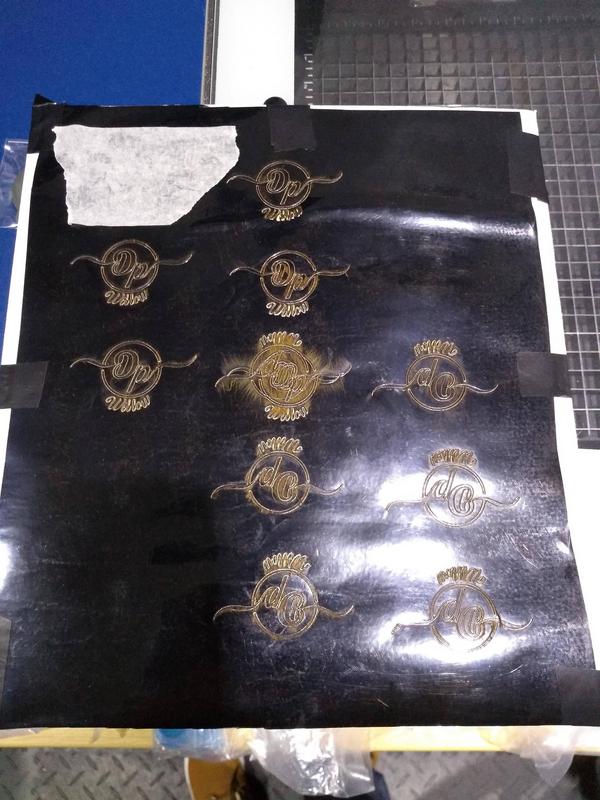
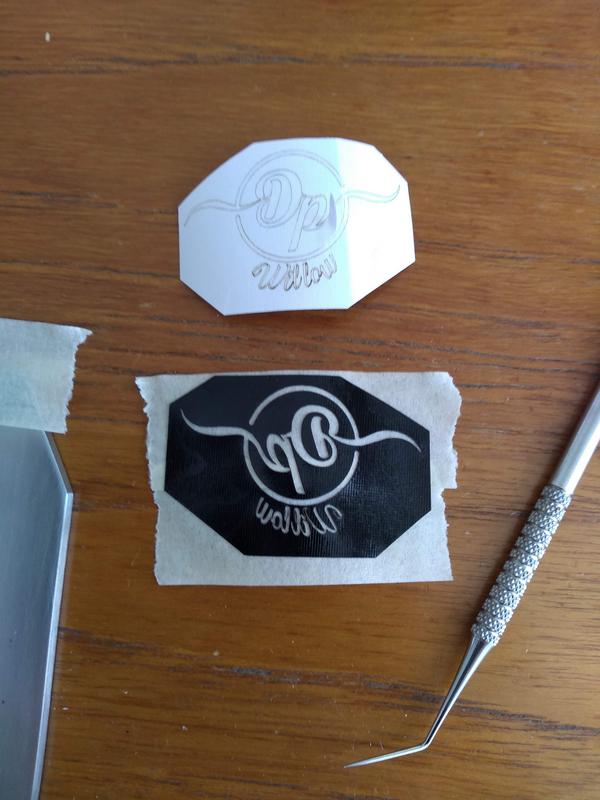
I'm fortunate to have a friend with his own laser cutter. Its not powerful enough to etch steel but can cut a perfect stencil.

I'm using black vinyl wrap for the stencil and after a few tries and creating a small fire inside his machine we get the settings dialled in for a perfect cut. (He wasn't happy about the fire!)

oIdBNEO.jpg


Unsure of how many attempts it would take me I asked him to cut a few to practise with.

7fSXrp7.jpg


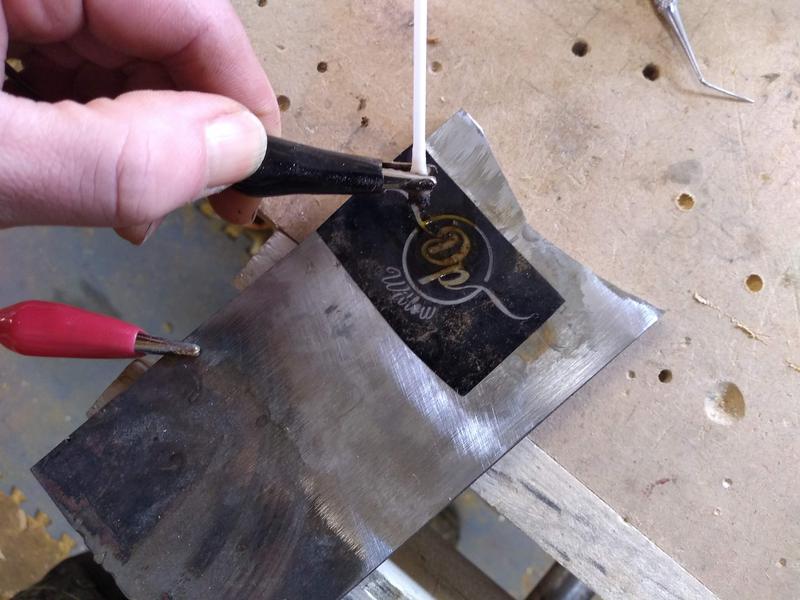
I cut one of the stencils out and stuck it to an off cut of steel.
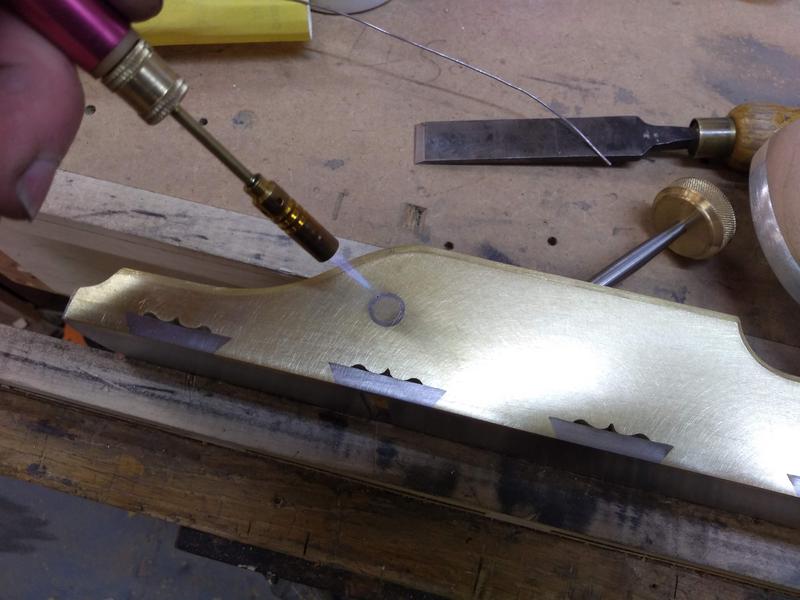
Using an old 12 volt battery charger I connect the positive wire to the steel and the negative to a cotton bud that had been dipped in a salt water solution, 1 part salt to 4 parts water.

I then moved the cotton bud around the stencil holding it in place for 5-10 seconds before moving on to a new part. Changing the cotton bud regularly as it starts to blacken and burn.
after 15 minutes or so I removed the stencil.

YxM7Frh.jpg


I ran my finger over the mark and disappointingly it had not etched at all but only left a burn mark through the stencil that was now rubbing away with my finger.
I'd done something wrong and my first guess was connecting the positive and negative incorrectly.

So after changing them over and another 15 minutes later I removed the stencil and to my surprise it had worked and, worked far better than I was anticipating!

9u4XdG8.jpg


Happy with the results It was time to try it on the real thing.

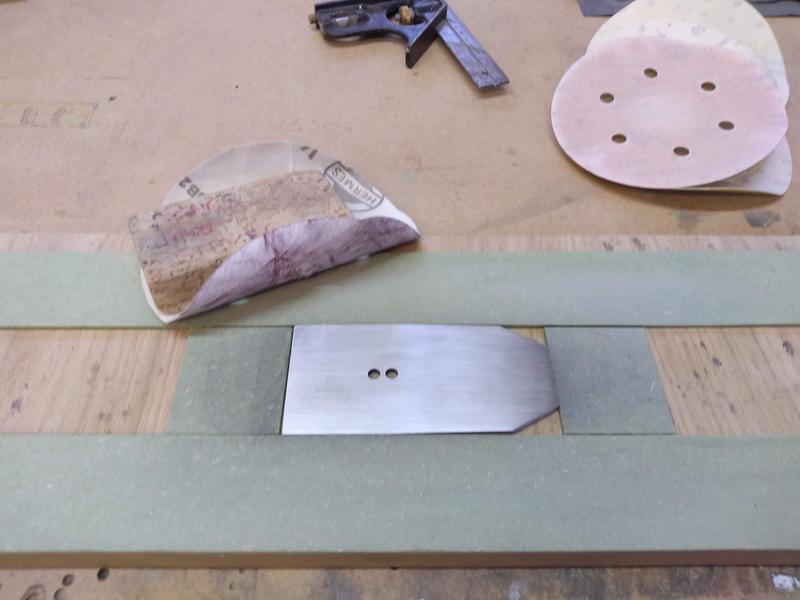
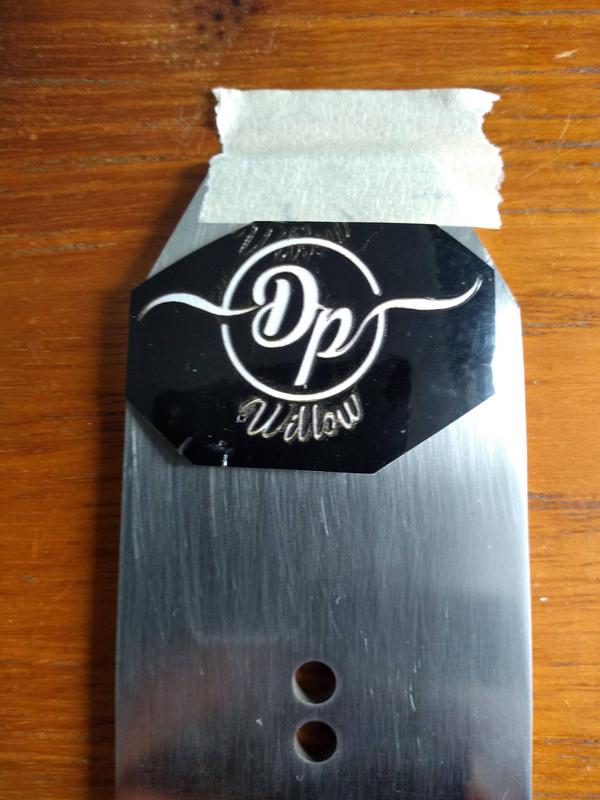
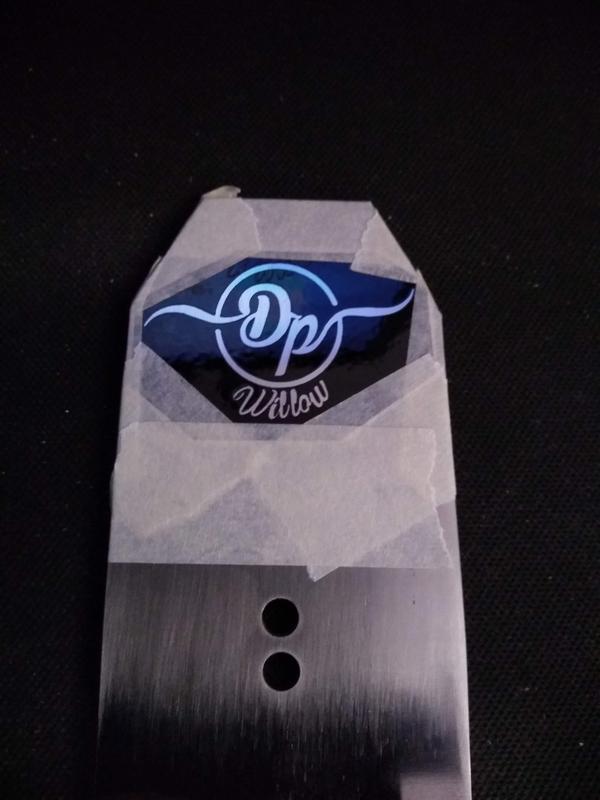
Good placement of the stencil was important. After a few attempts I got it where I wanted it.

xZhWxlZ.jpg


I stuck the stencil to some masking tape and carefully removed the backing.

lTxSrI2.jpg


The masking tape helps to place the stencil and once stuck down is removed. I then masked out around the stencil to prevent any salt water etching where I didn't want it to.

jdhuind.jpg


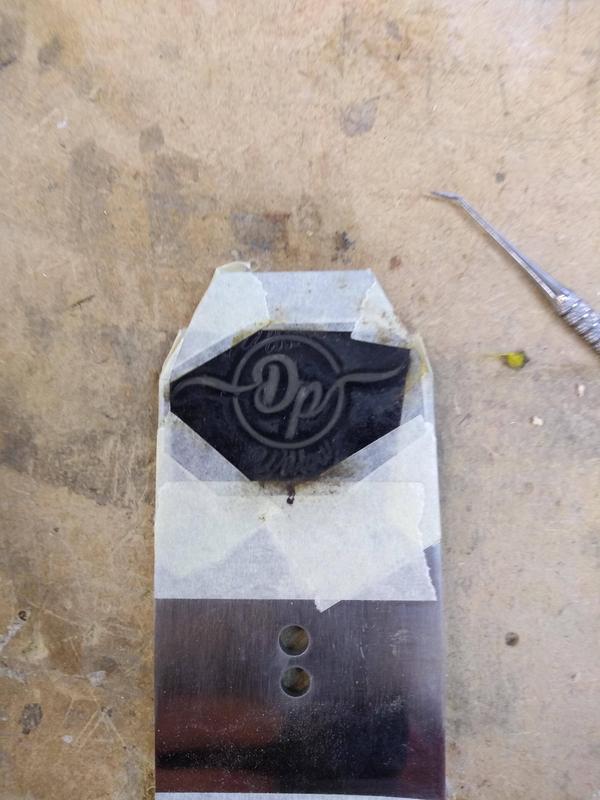
I spent more time etching the blade as I knew the steel was harder than my test piece and I wanted a deep etch. It took around 35-40 minutes

g0q3hi8.jpg


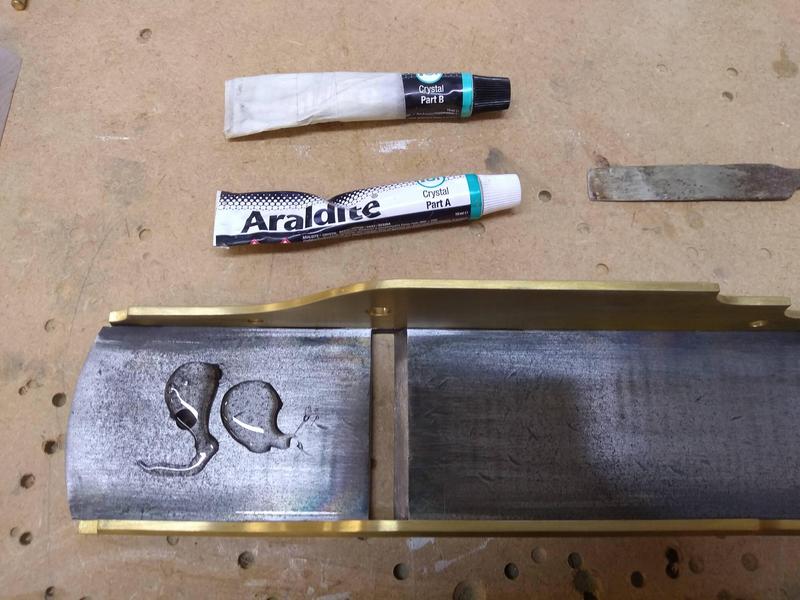
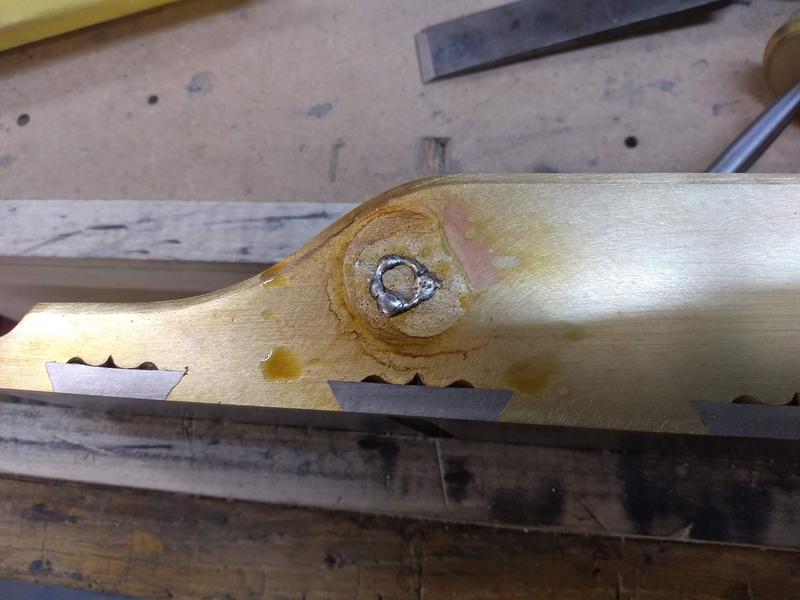
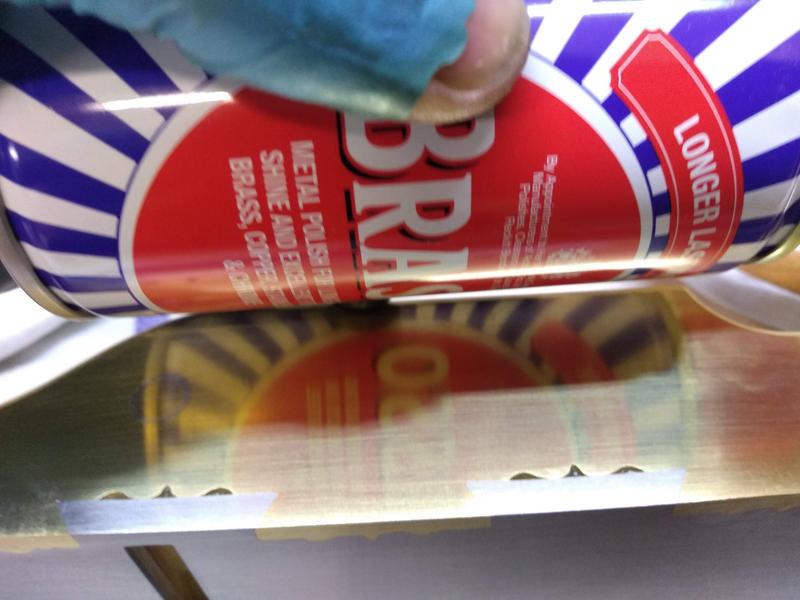
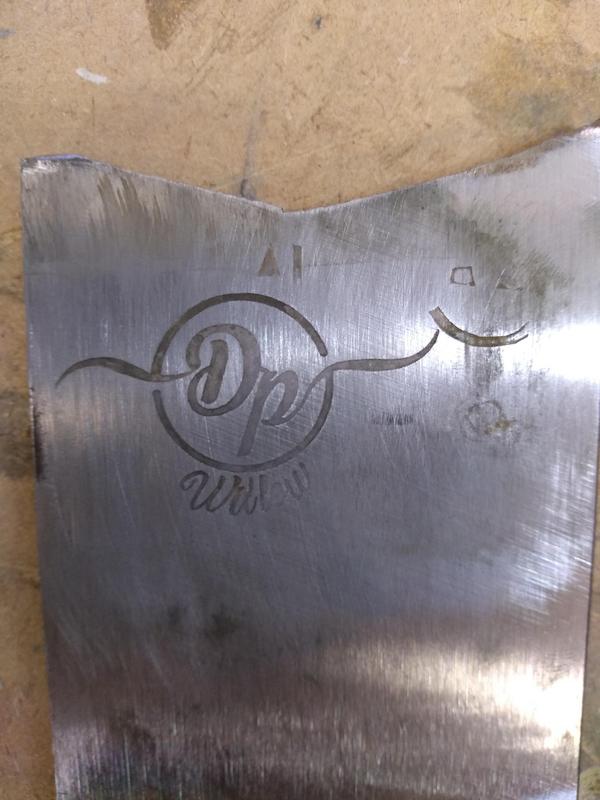
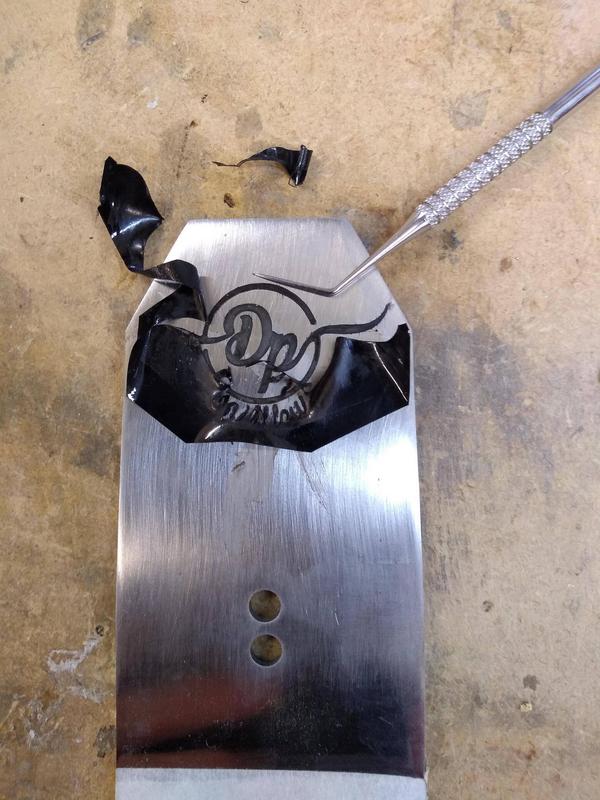
Removing the stencil the etch is looking good so far, there is a little water bleed through in parts.

ymcRrgt.jpg


With the stencil removed you can see the etch is darkened by the burnt salt water and cotton bud.
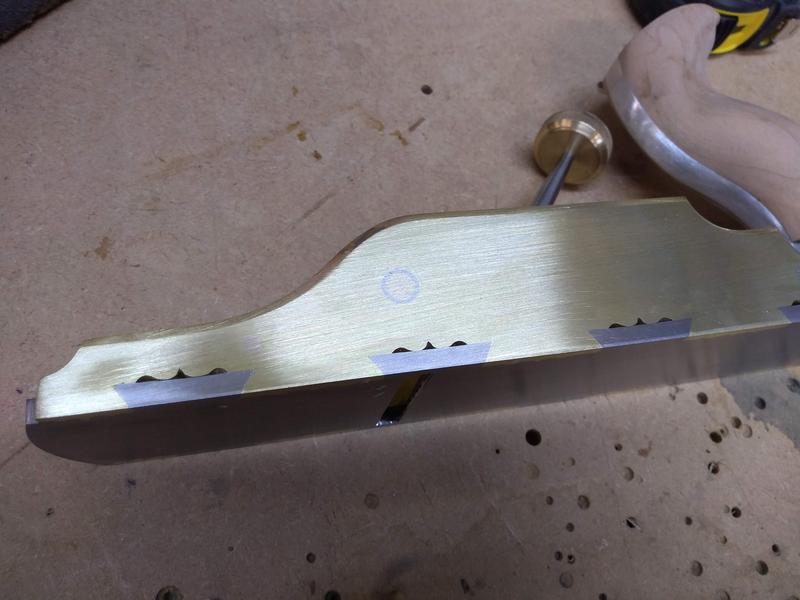
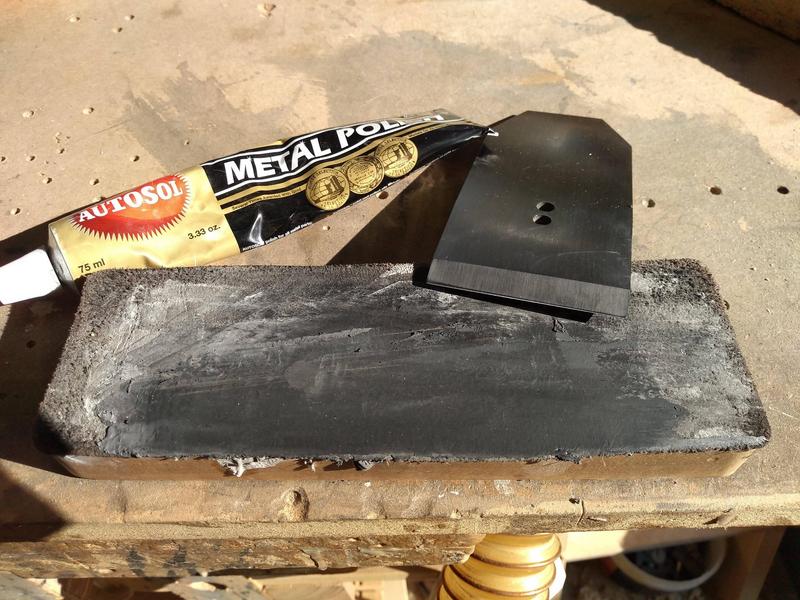
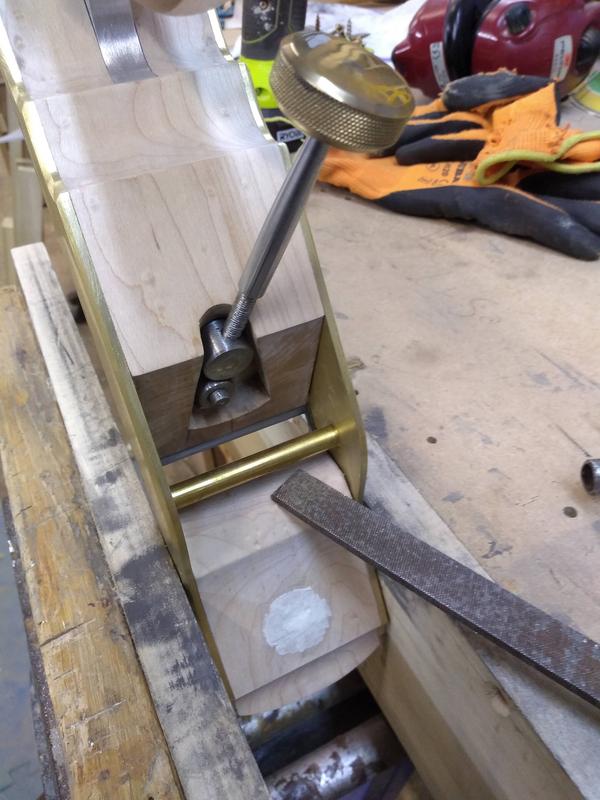
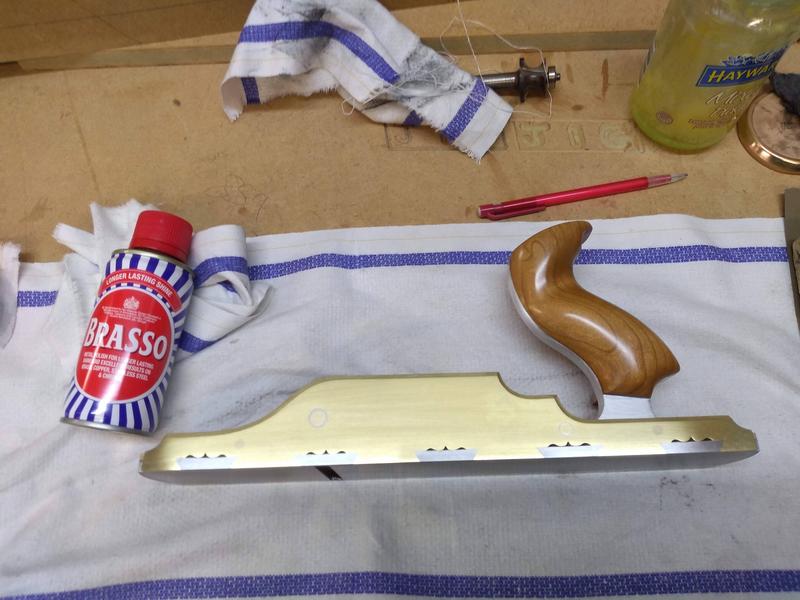
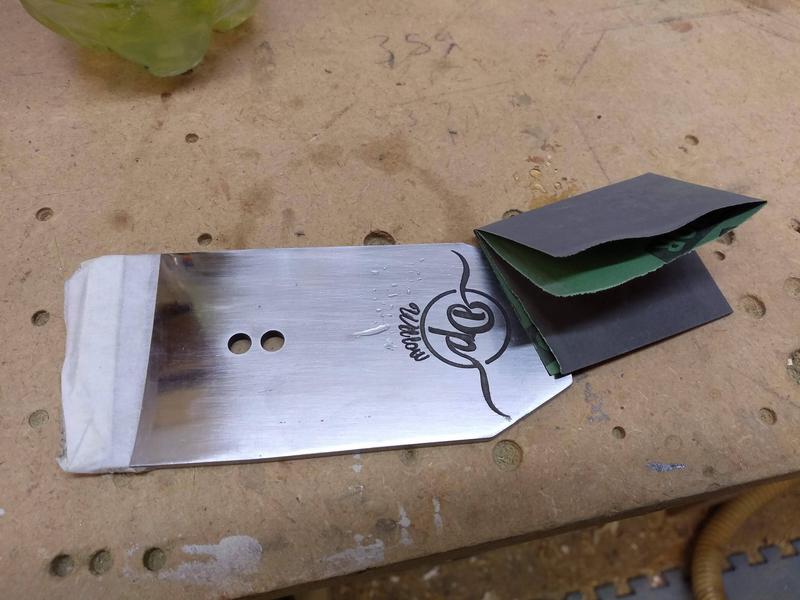
I used fine wet and dry paper to clean it up and remove the water marks.

ZvpnbLu.jpg


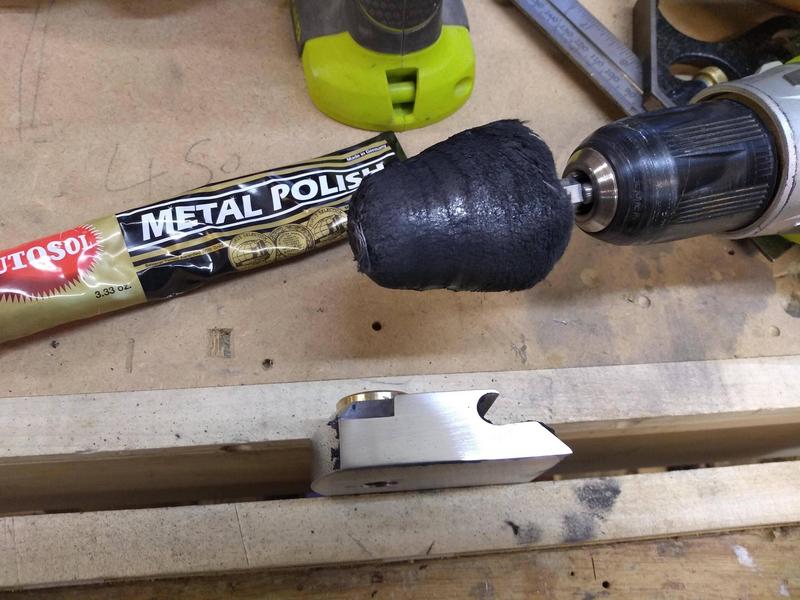
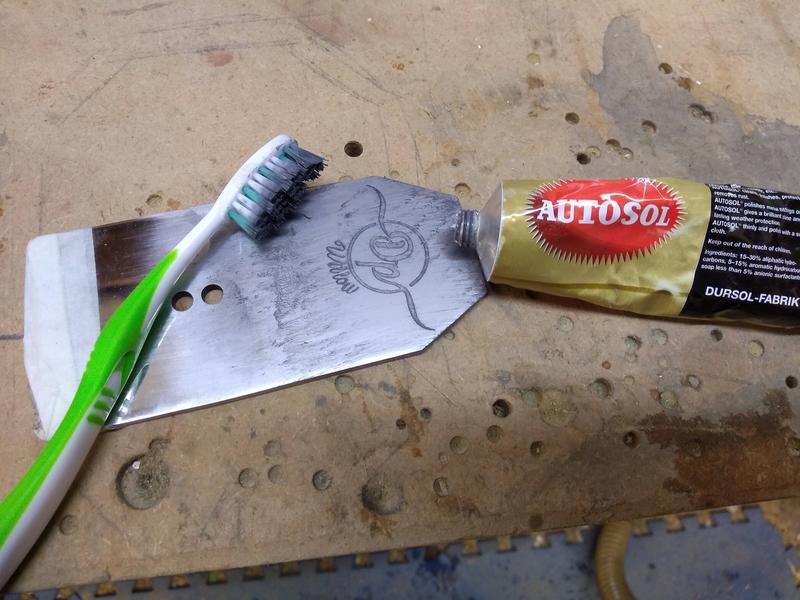
I then used a tooth brush and some Autosol to clean the burn marks out of the etch. Once I was happy I gave the blade a quick polish too.

4cybmrM.jpg


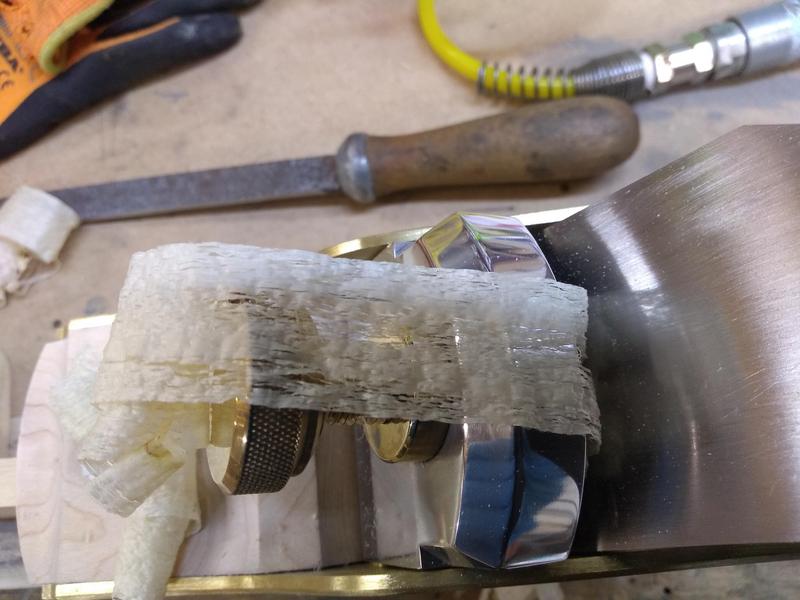
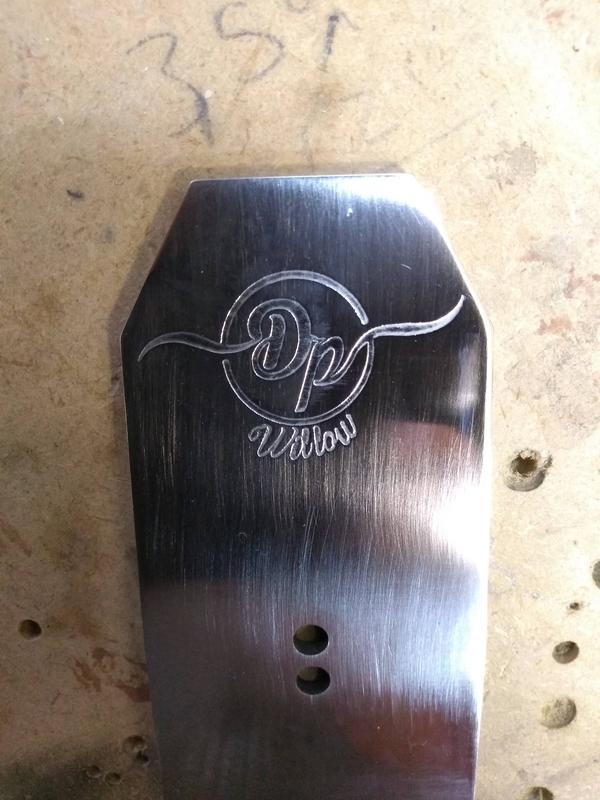
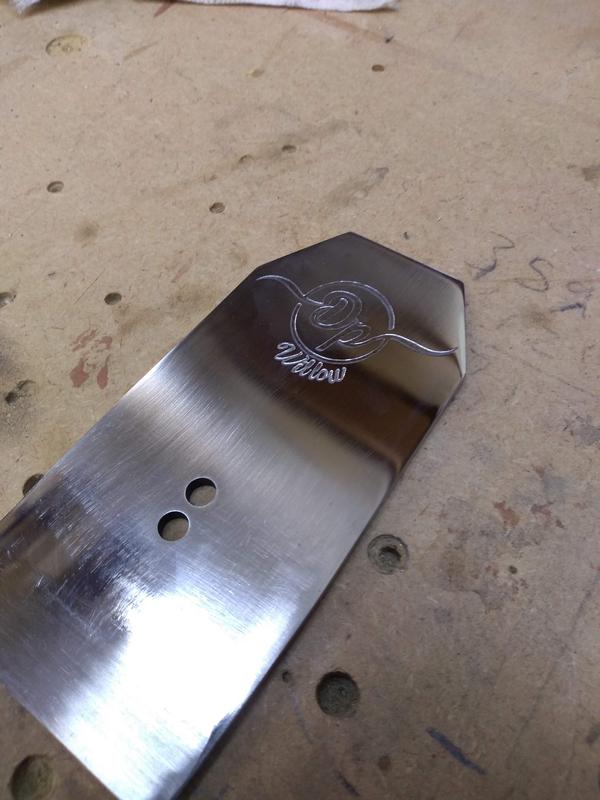
I'm absolutely delighted with the results, I never expected it to come out so well.

DEhLp3Z.jpg


While I'm sure the mark isn't to every ones taste it means something to me and I'm really happy with it.

sSbAndc.jpg


It's also another process I've learnt through the making of this plane which I'd never know about in my day to day work.

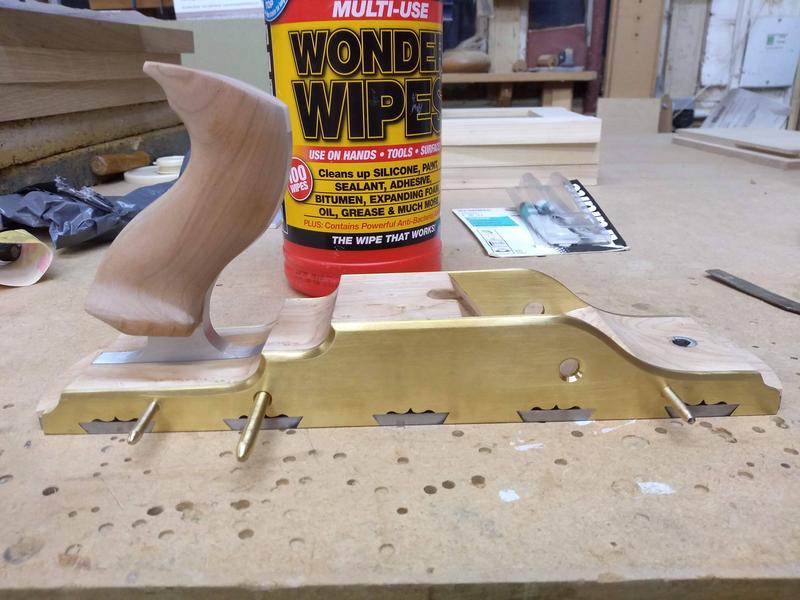
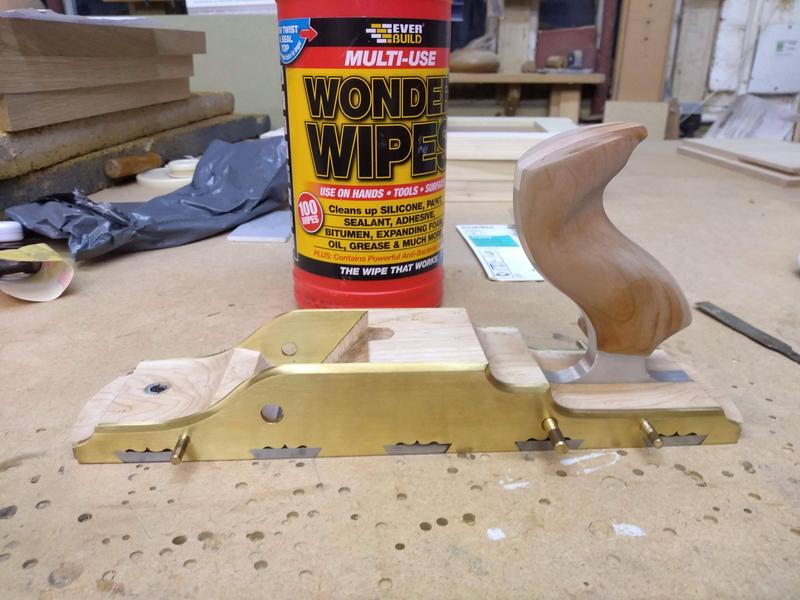
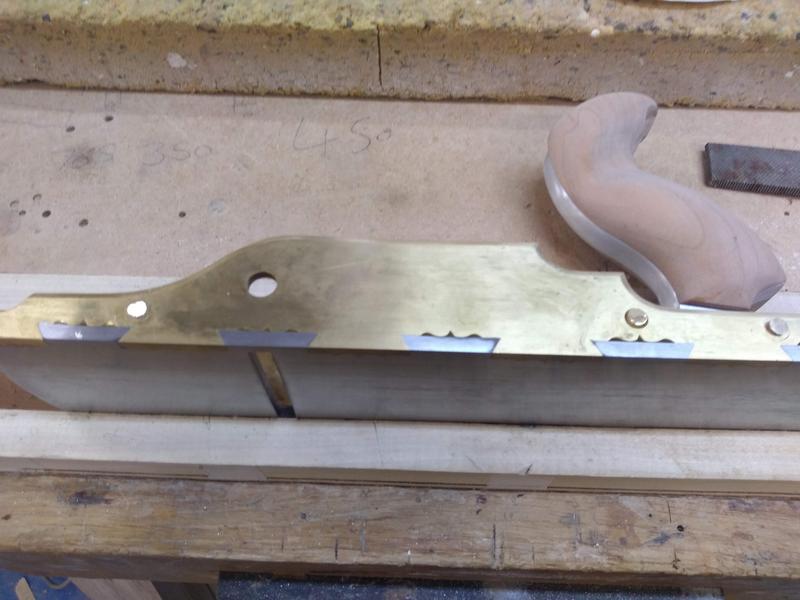
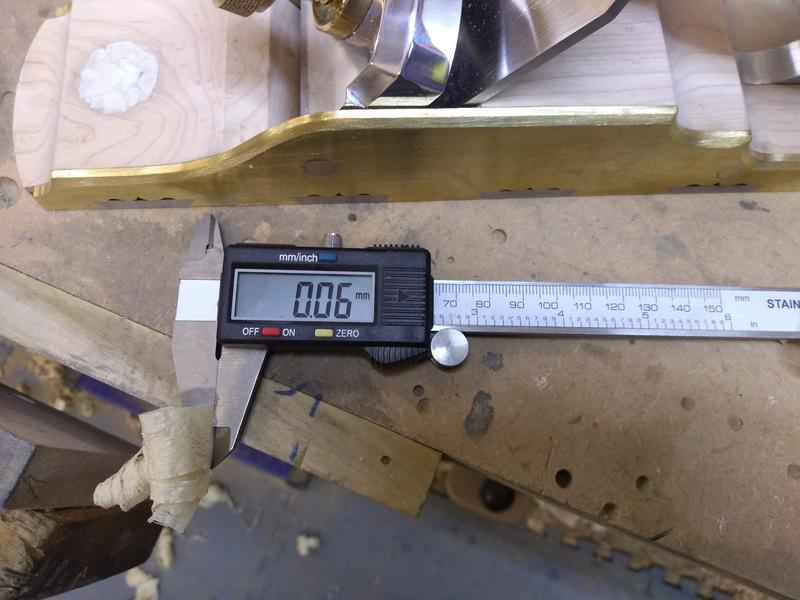
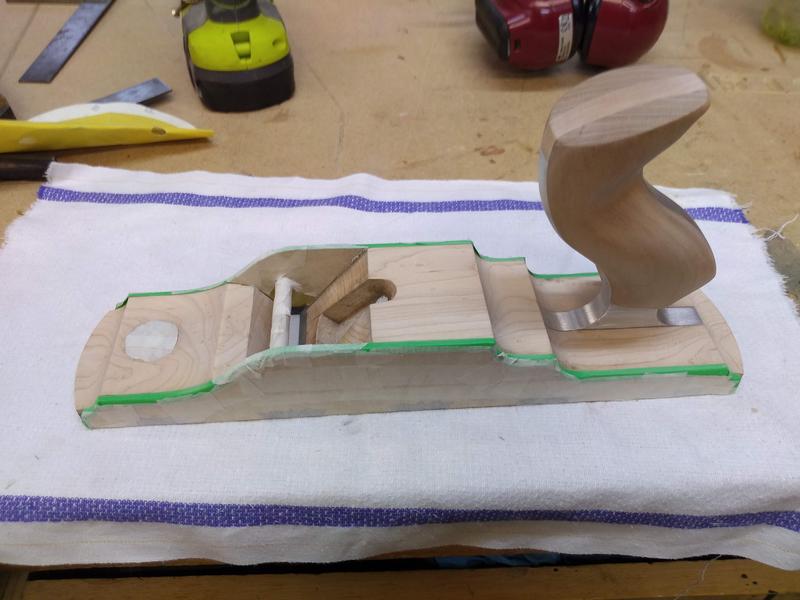
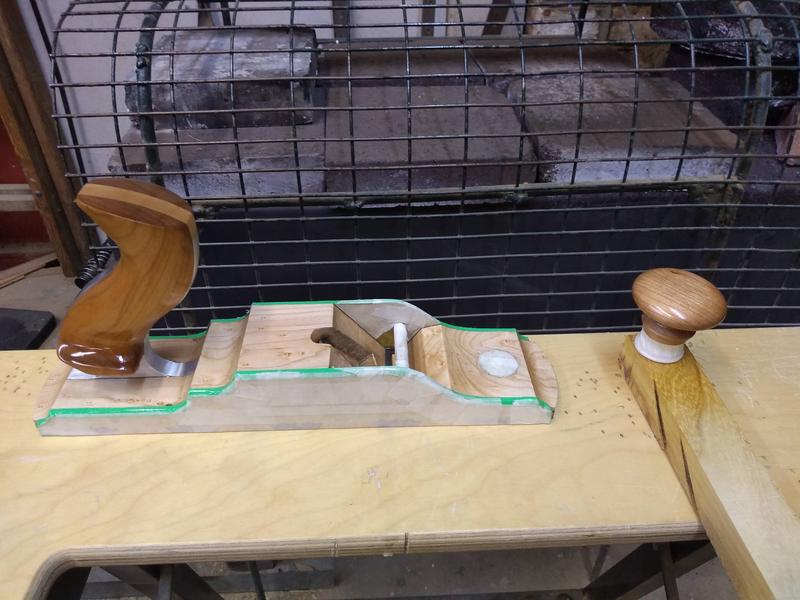
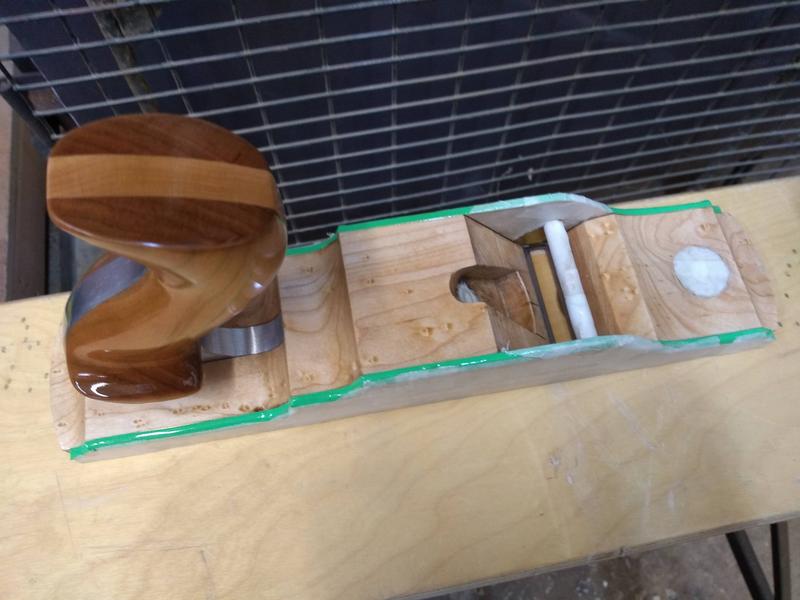
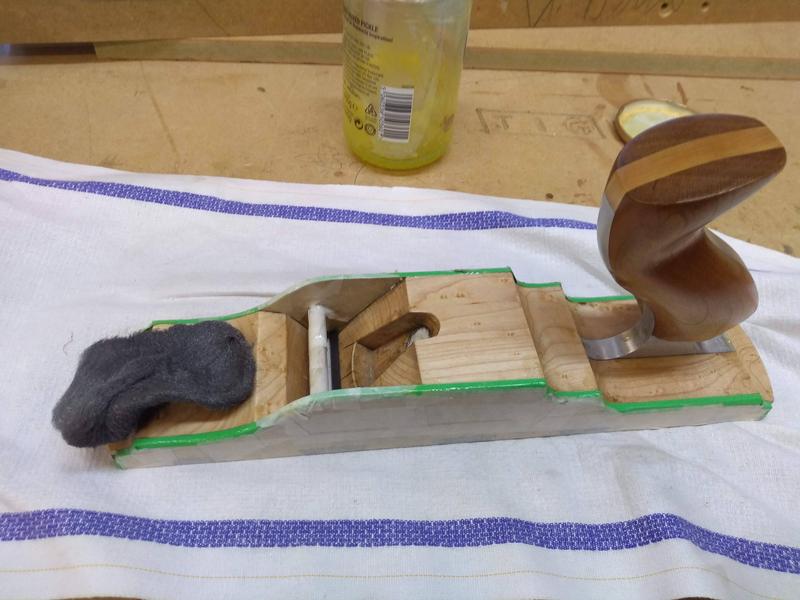
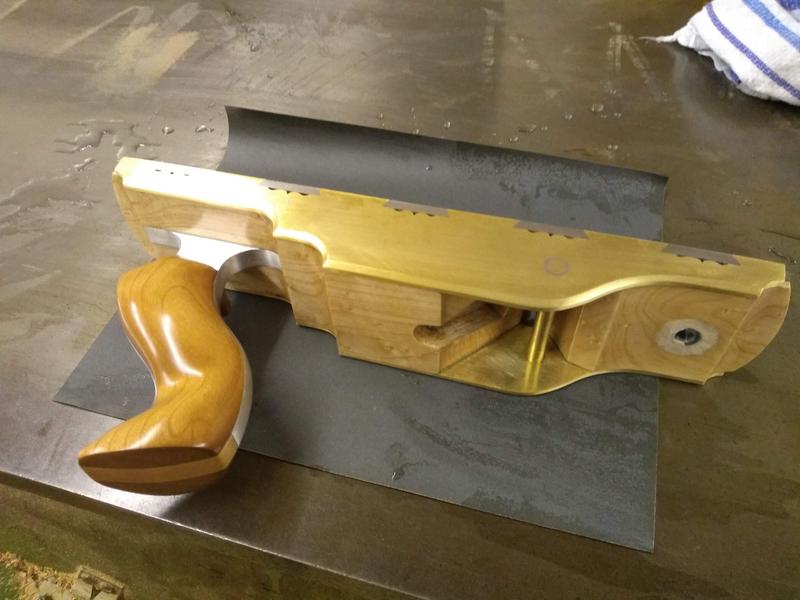
The plane really is starting to take shape now, there isn't long to go.

Merry Christmas all.
 
This is not just inspirational, it's fully detailed and clear for anyone wanting to try the technique for themselves. Thank you!
 
Hope you've all had a good Christmas and maybe got some new shiny tools to play with.

It's back to the grind stone now.

With all the hard work that's gone into the plane so far I thought it would be a good idea to make a box for it to live in.

I Didn't want any thing too traditional looking. I wanted something with a modern twist so people are unaware of whats inside.

I had an image in my mind which involved an irregular octagon, and with that I set about making it.

I started by Ripping up some Birch plywood to the required dimensions.

JI5JWAd.jpg


Next I set up a spindle moulder to 22.5 degrees and ran the edges of the plywood through.

mj7UL14.jpg


I then trimmed the plywood to length and used masking tape to join all the pieces together.

OeNmjbQ.jpg


I applied a healthy amount of glue to the joints

452ZcKR.jpg


And used the masking tape to hold it all together.

JRU1u5F.jpg


Finally I add ratchet straps to pull the joints up tight.

jRVeDS3.jpg


I cleaned off any surplus glue with a damp cloth and left it to dry overnight ready for the next stage tomorrow.
 
With the outside of the box made I started work on the plane holder.

The plane will be secured in the holder and the holder will slide in and out of the box.

First I cut out and shaped the sides.

ga5O9jB.jpg


Then rounded over the edges on the router.

h4IfJWk.jpg


I cut out the bottom and front for the holder.
I then cut a dovetailed groove on the under side of the bottom, then glued the bottom and front to the sides.

9n5VidR.jpg


While that was drying I cut out some guides that are the same shape as the ends of the plane.

DqHhvxo.jpg


I then glued the guides to the bottom of the holder. The plane sits tightly between them.

rYsG7vG.jpg


Next I cut and fitted the front and back of the box. The back will get glued in place to the box while the front will be fixed to the holder.

aLqewmL.jpg


Here you can see how the holder slides into the box.
I fixed a dovetailed rail to the bottom of the box that corresponds to the groove on the underside of the holder.

Bj4GlzA.jpg


Lastly I set up the spindle at 45 degrees and ran a chamfer around the ends of the box.

nYu29nr.jpg


All that's left to do now is sand it up ready for paint.

xA2ty0T.jpg
 
Back
Top