


katellwood
Established Member
I don’t think I have posted in wood turning before and I must confess I tend to concentrate on furniture and joinery as opposed to turning. That being said a few weeks ago I fitted some shelves for a neighbour and was asked to suggest the best way to display some books on the shelves I fitted.
I decided on bookends and following a bit of googling and with inspiration from Chippendales director came up with this
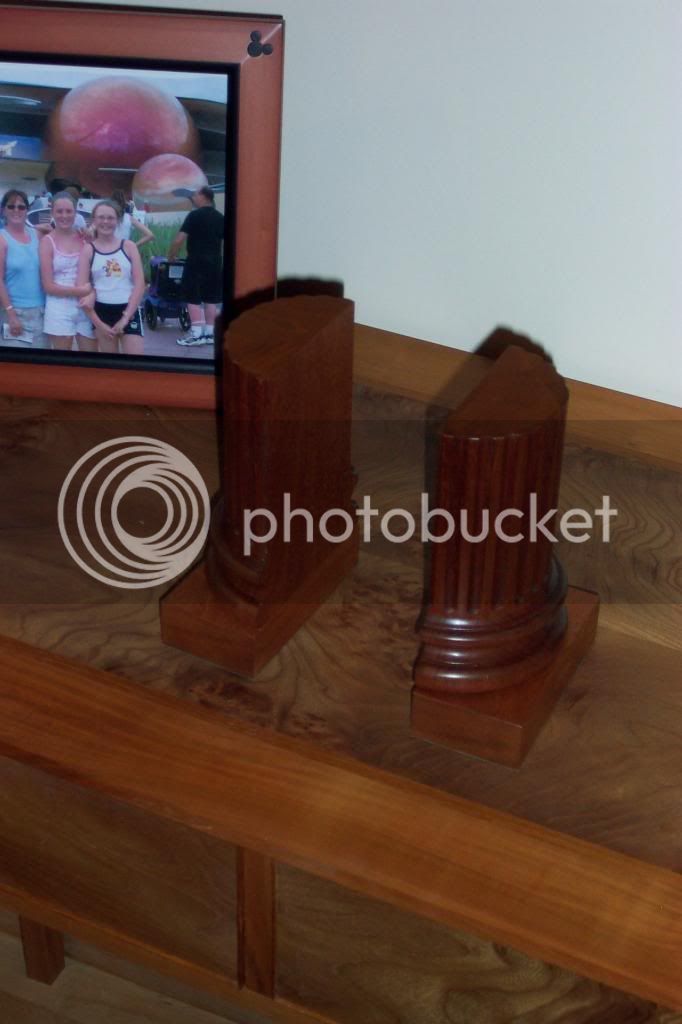
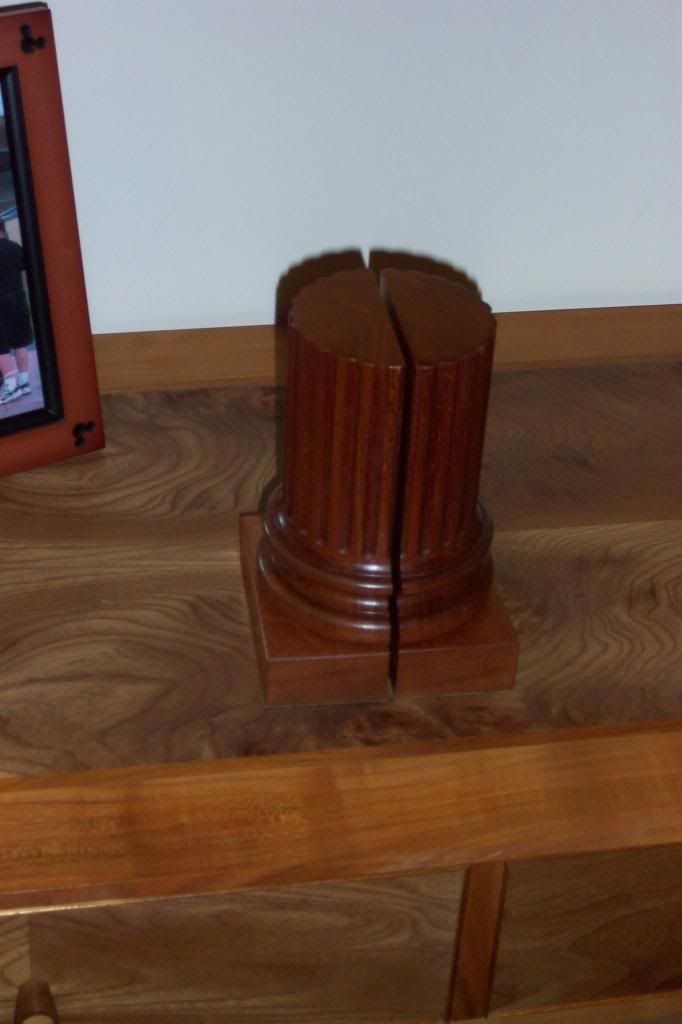
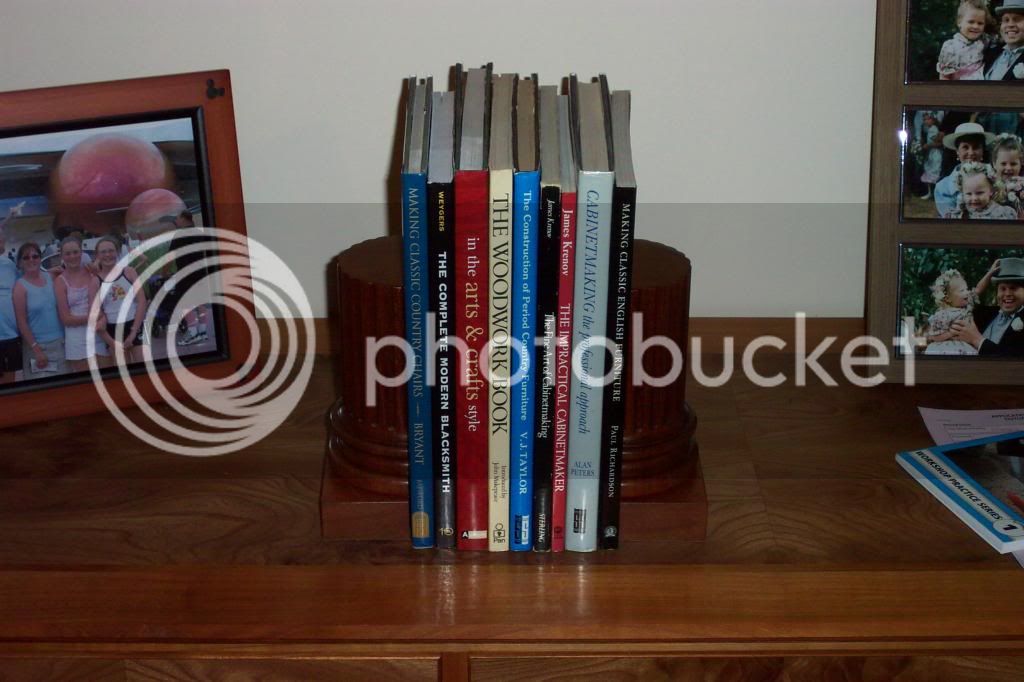
However that’s not what I am asking for your thoughts on
I was given the timber from a full-size snooker table and wanted to consider what to do with the legs
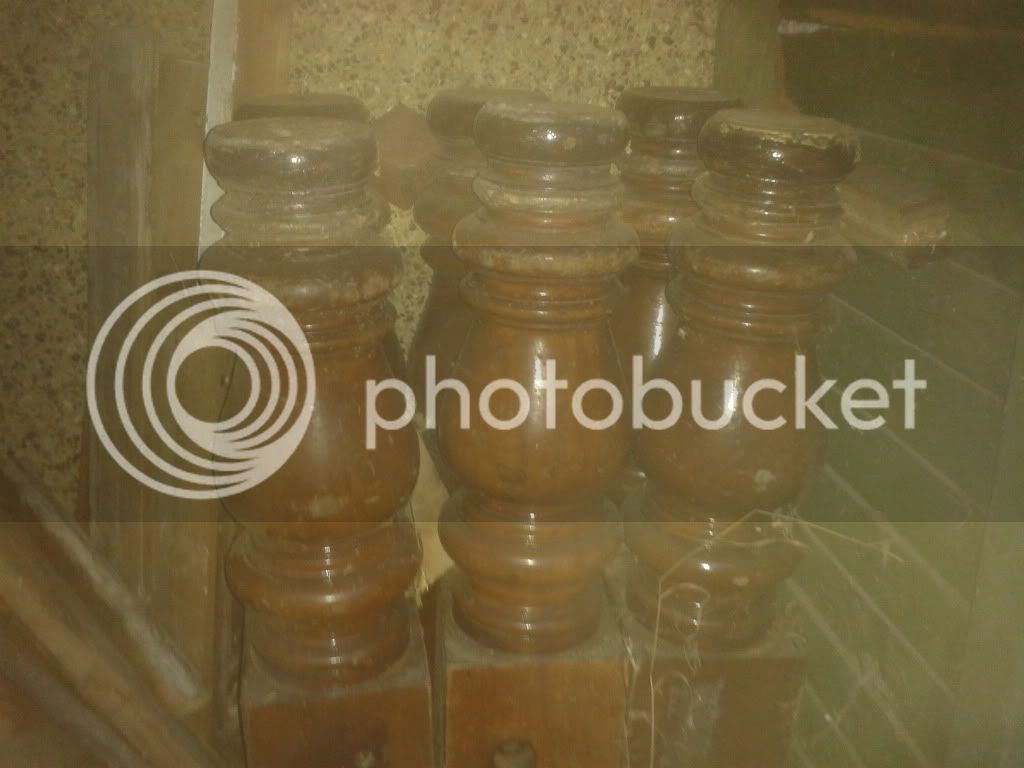
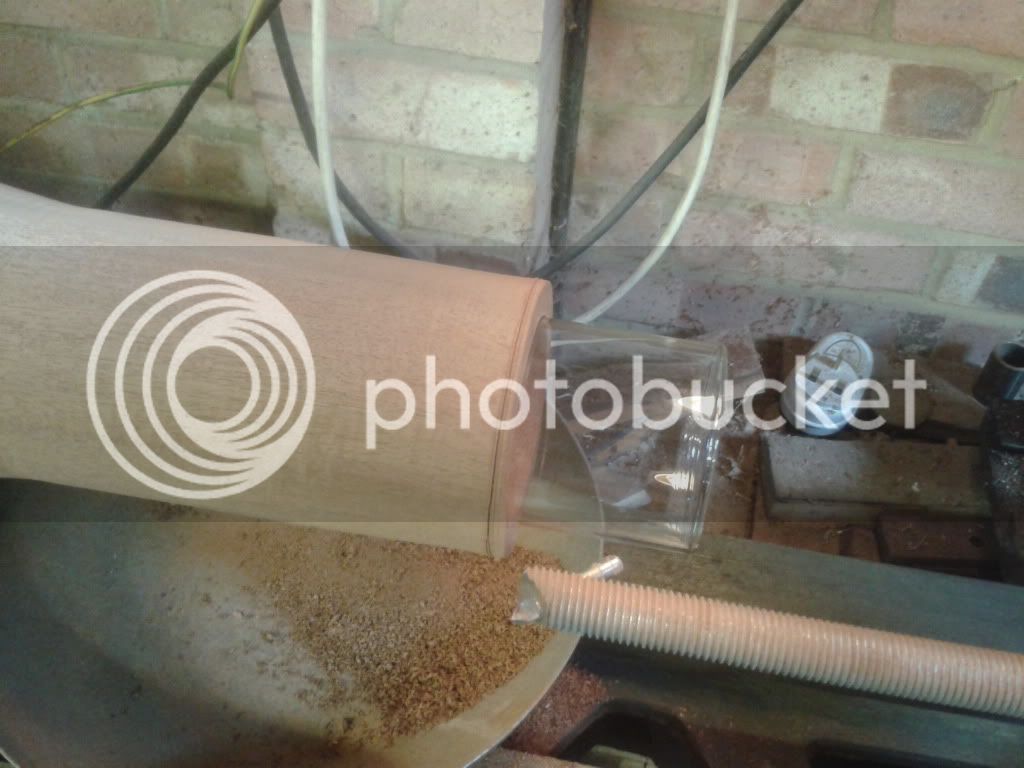
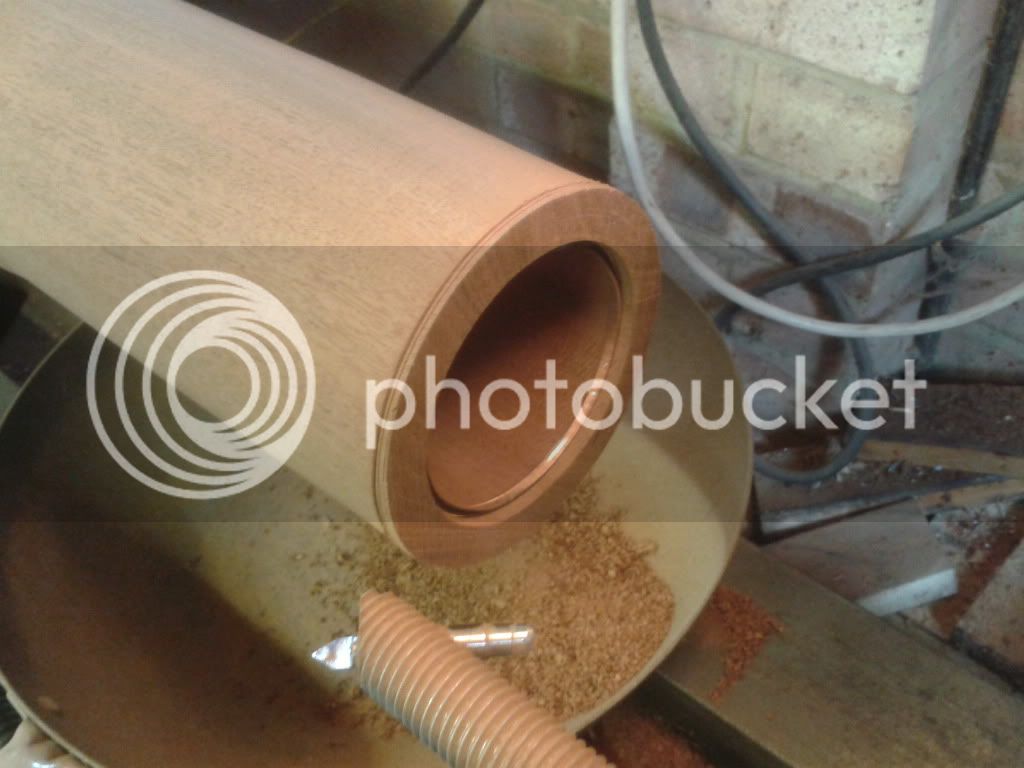
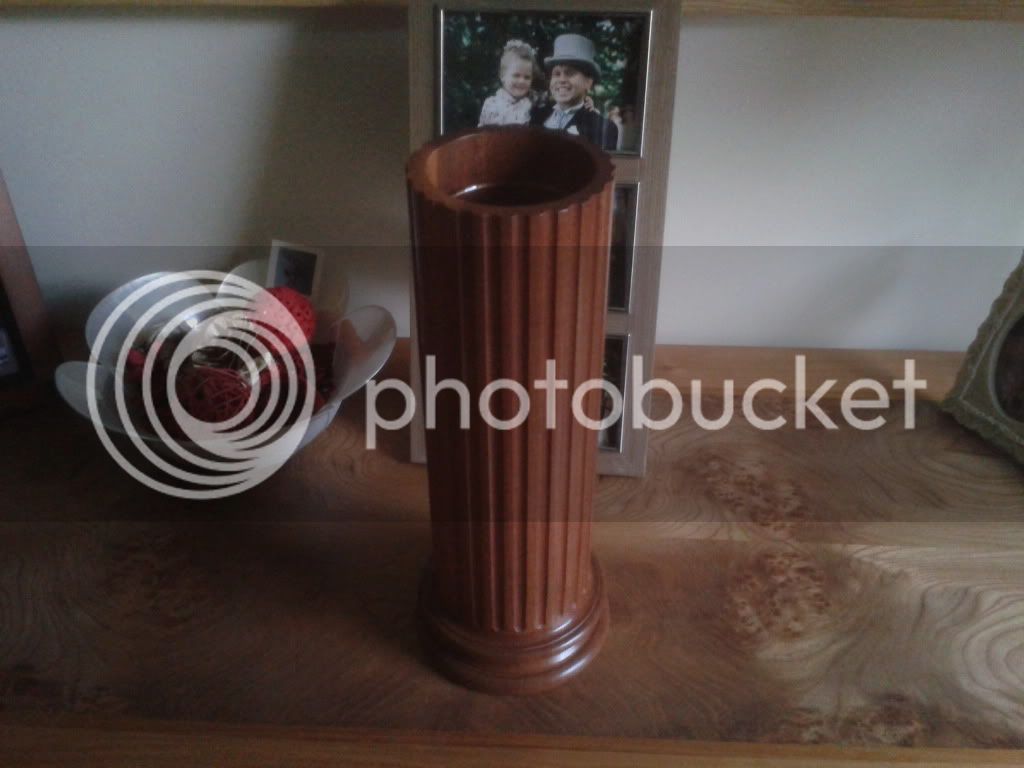
The first thing to come from the legs were the above bookends however today I have had a go at something to go with the bookends and came up with a wooden vase
A picture paints a thousand words so take a look at this short WIP and give me your thoughts positive or negative both on my technique/methods and the finished article
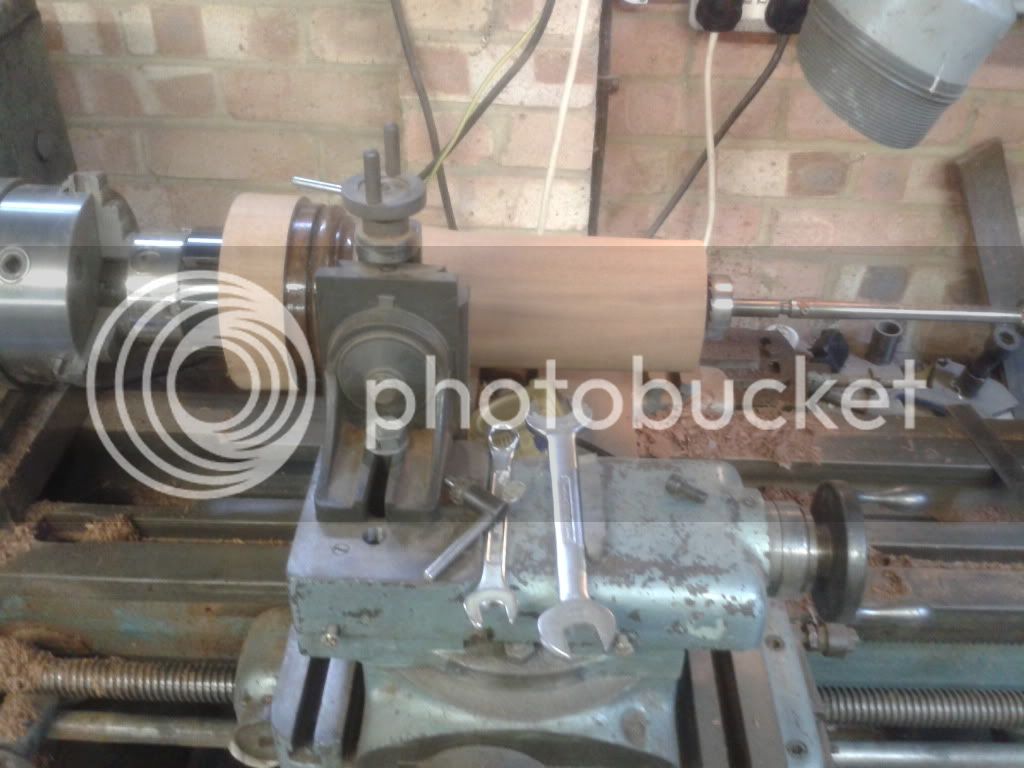


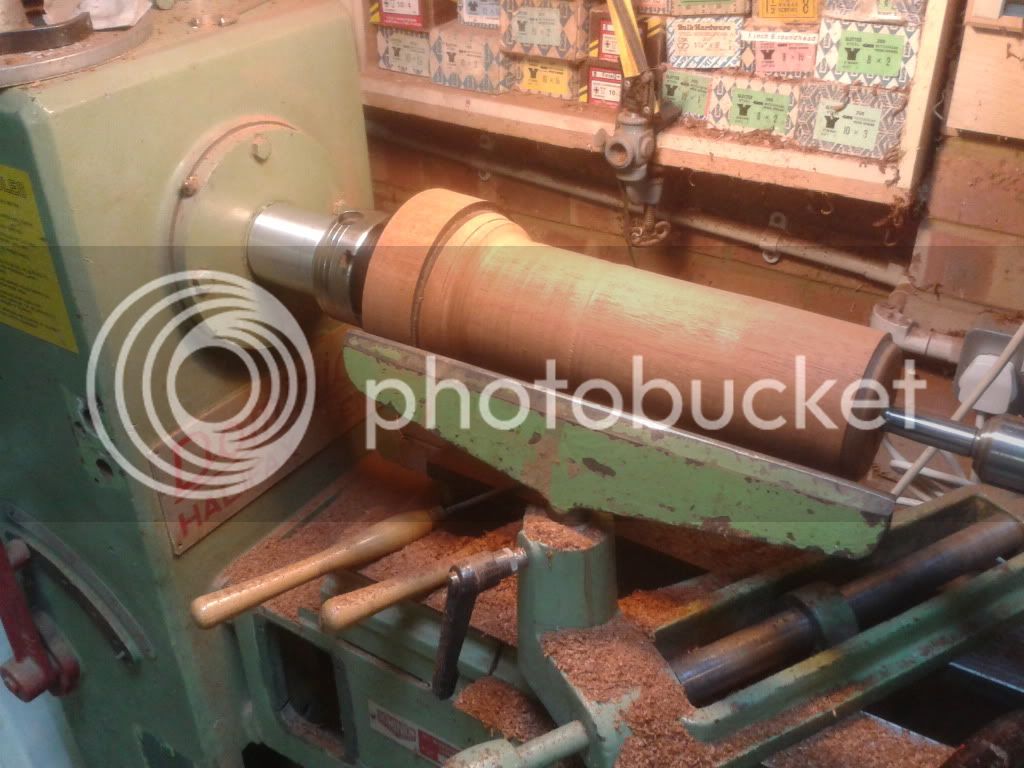
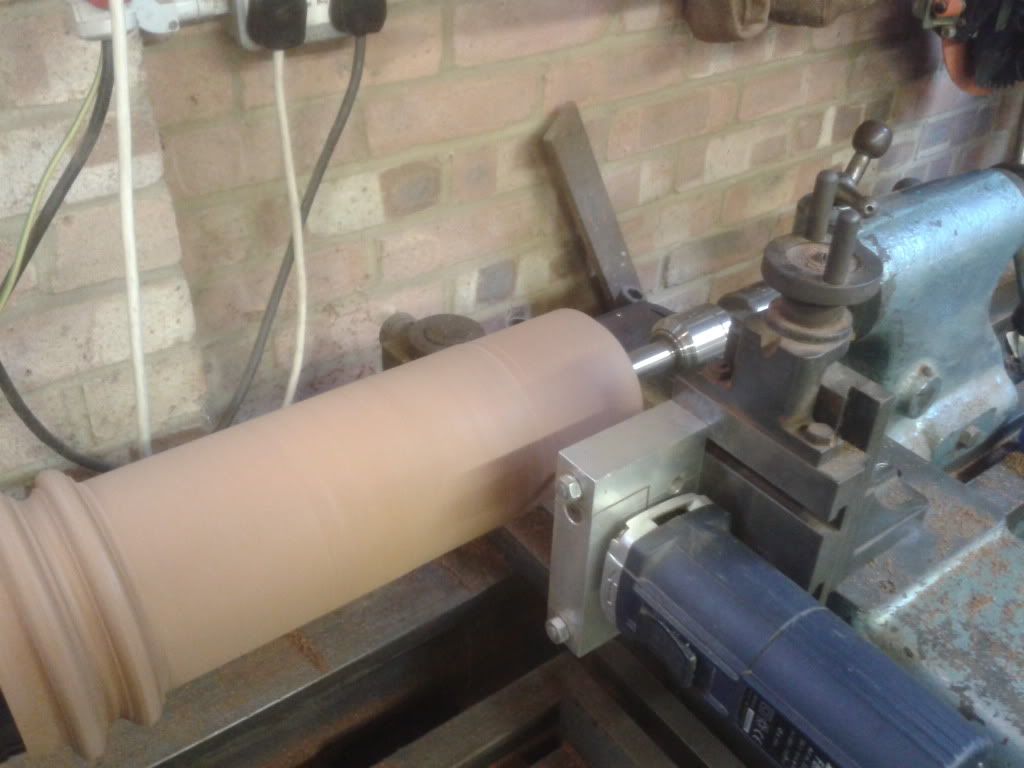

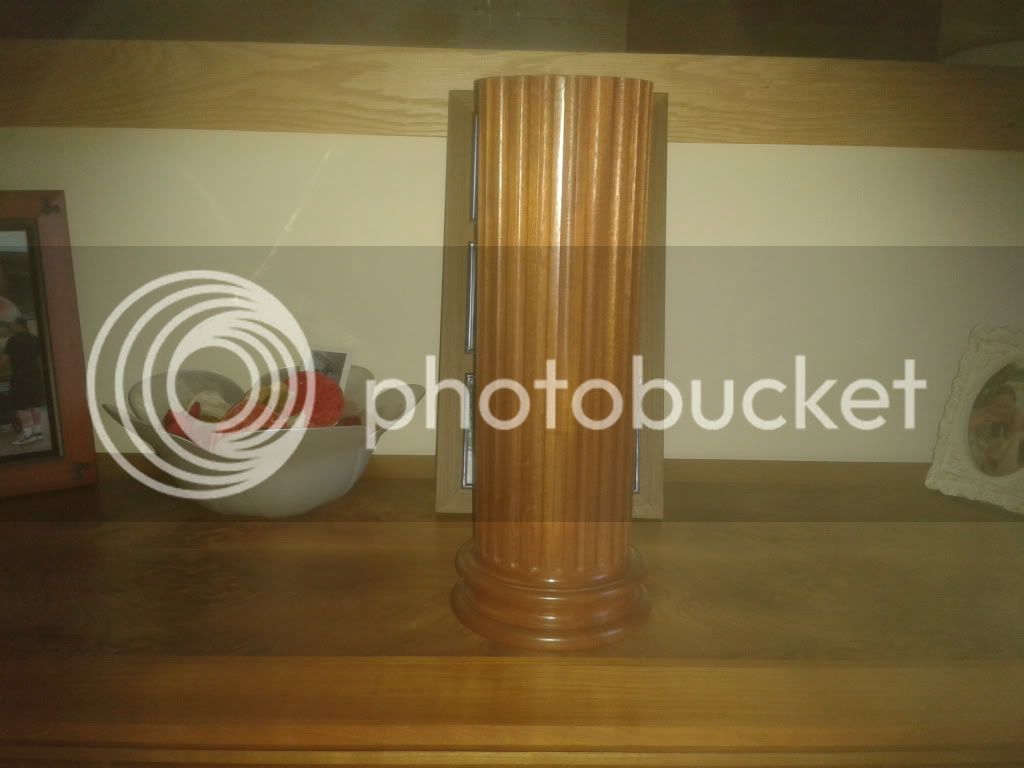
Forgot to take photo’s of the fluting but that was also done on the engineering lathe
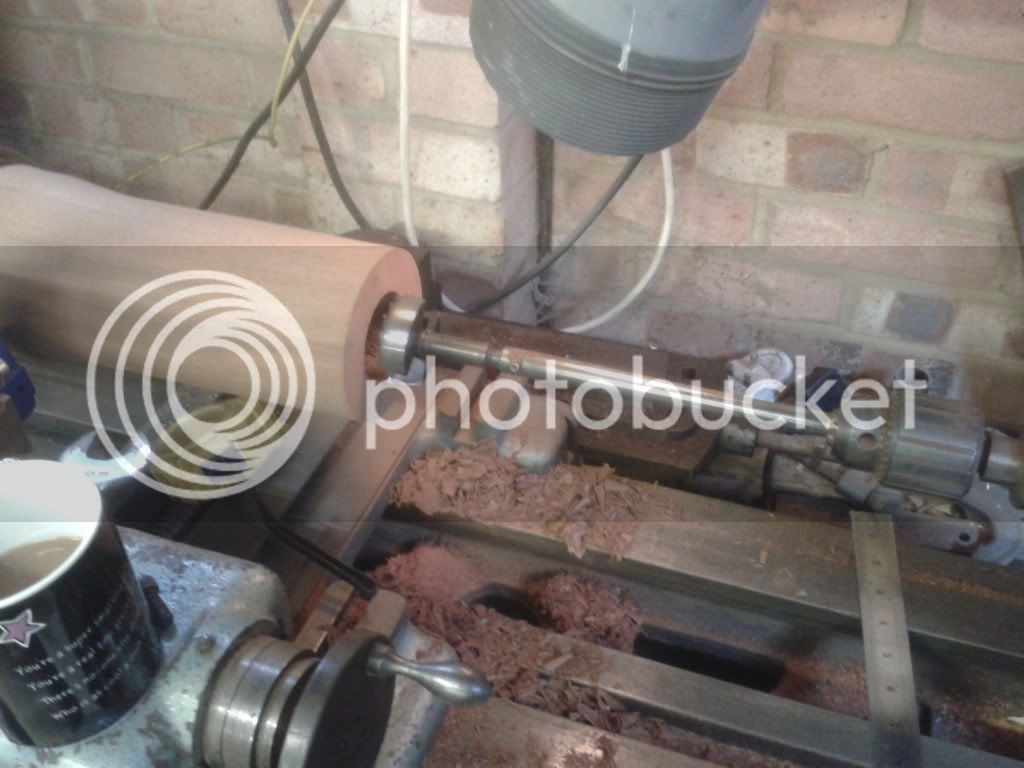
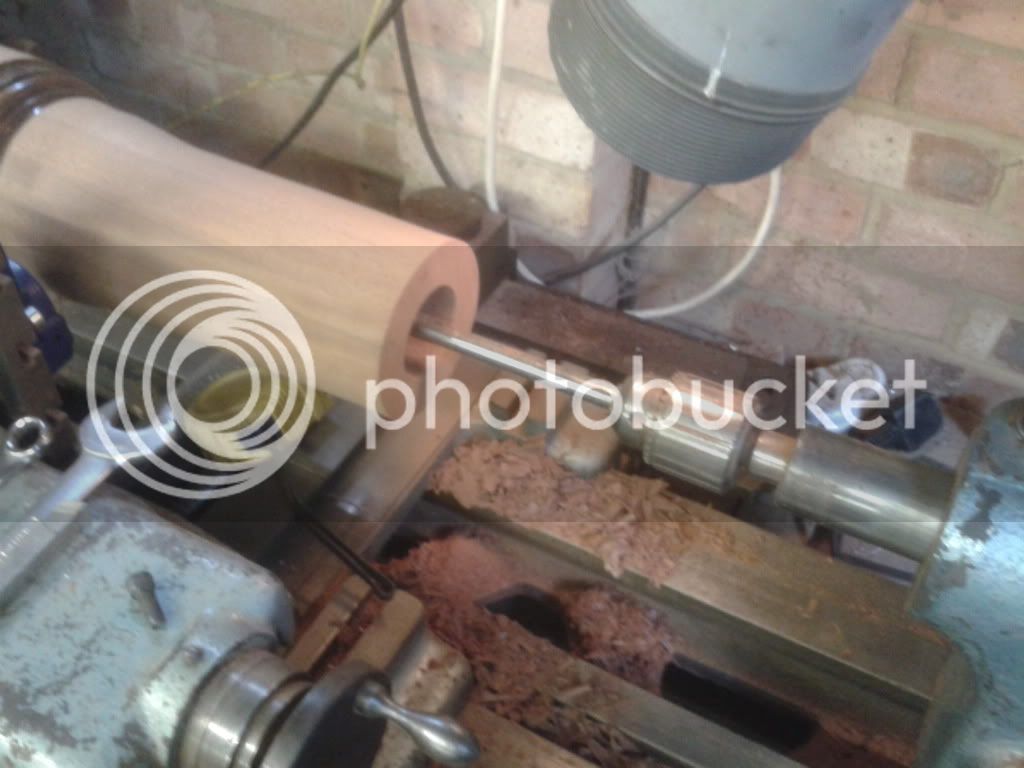
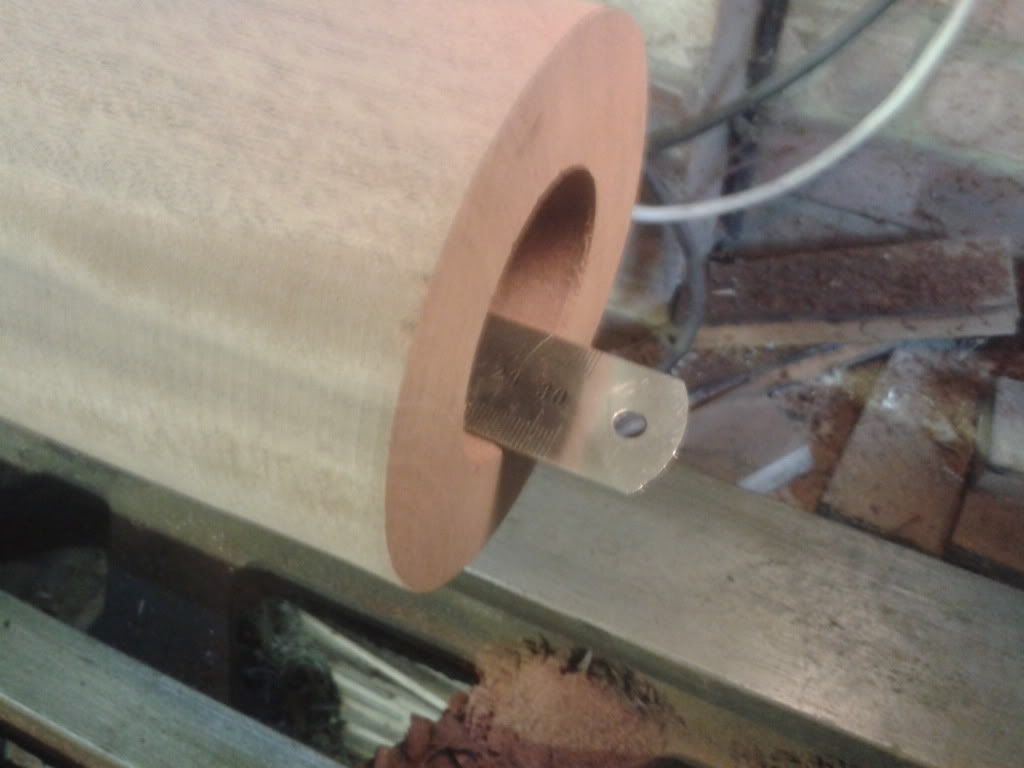
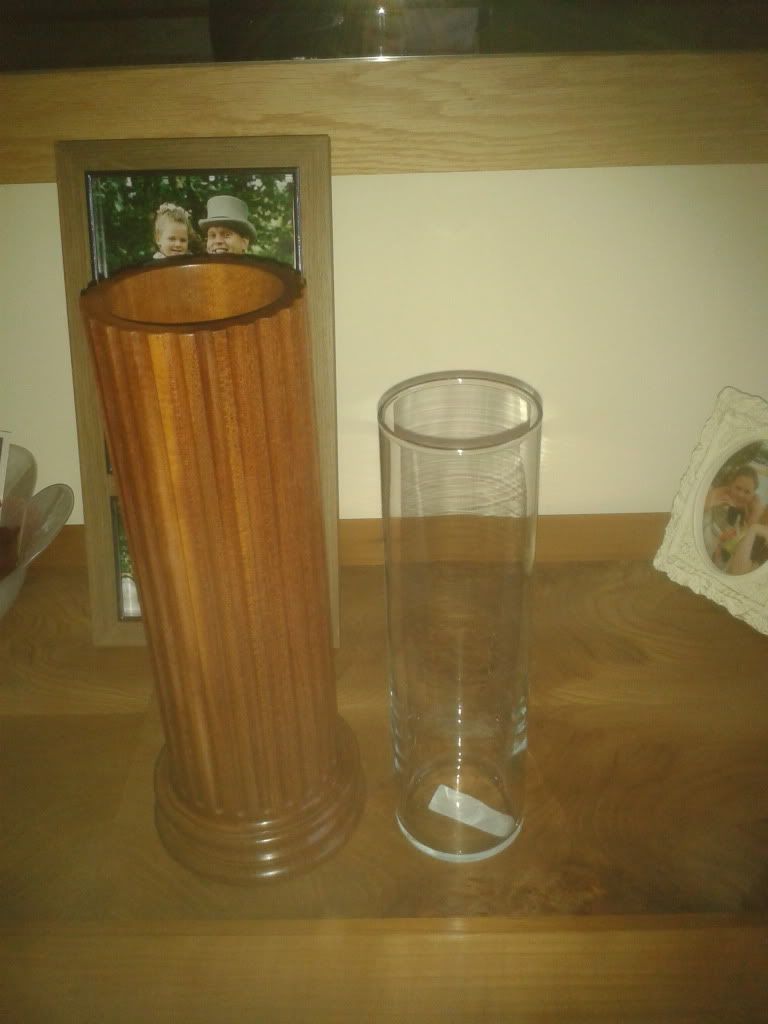
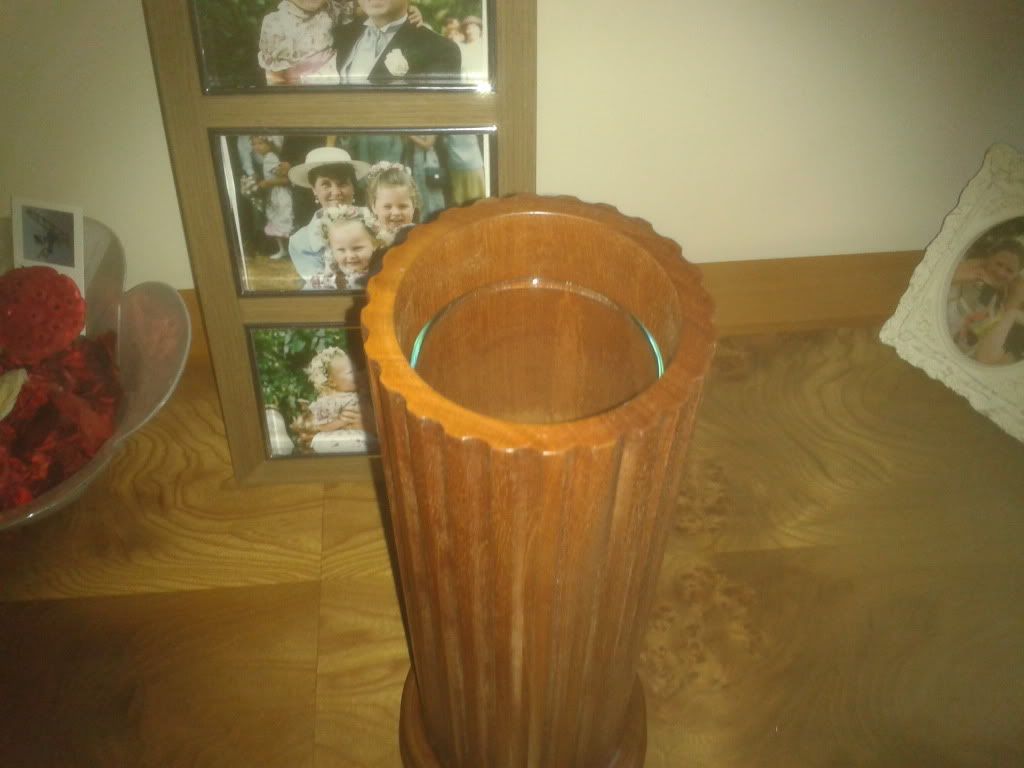
If I were to make others I think I would invest in a 3” forstner bit as the boring for the glass got a little bit laborious
I decided on bookends and following a bit of googling and with inspiration from Chippendales director came up with this


However that’s not what I am asking for your thoughts on
I was given the timber from a full-size snooker table and wanted to consider what to do with the legs

The first thing to come from the legs were the above bookends however today I have had a go at something to go with the bookends and came up with a wooden vase
A picture paints a thousand words so take a look at this short WIP and give me your thoughts positive or negative both on my technique/methods and the finished article


Forgot to take photo’s of the fluting but that was also done on the engineering lathe
If I were to make others I think I would invest in a 3” forstner bit as the boring for the glass got a little bit laborious