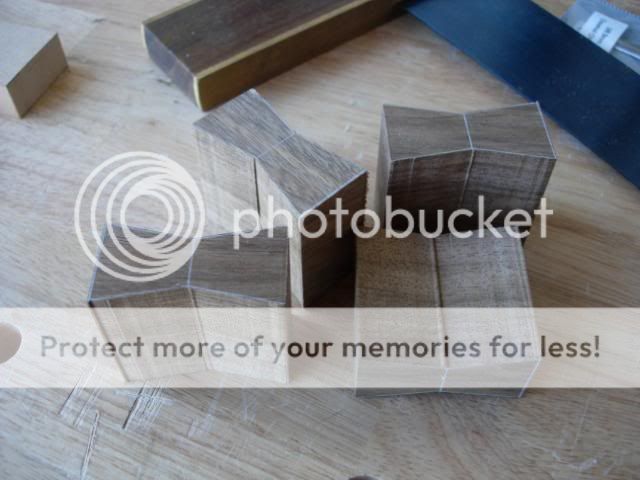
Got the mating surfaces on the rear legs sorted
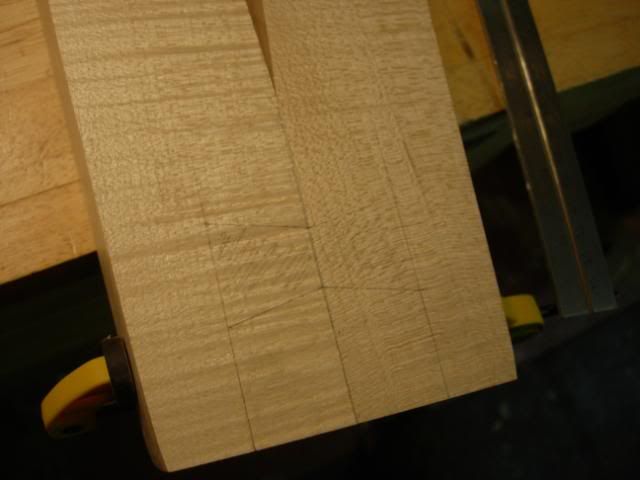
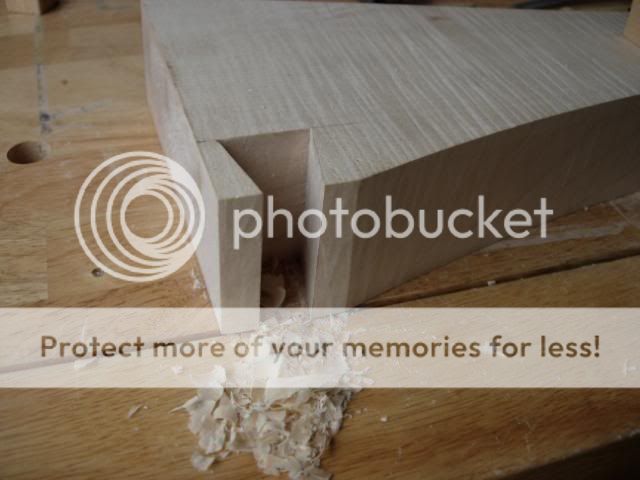
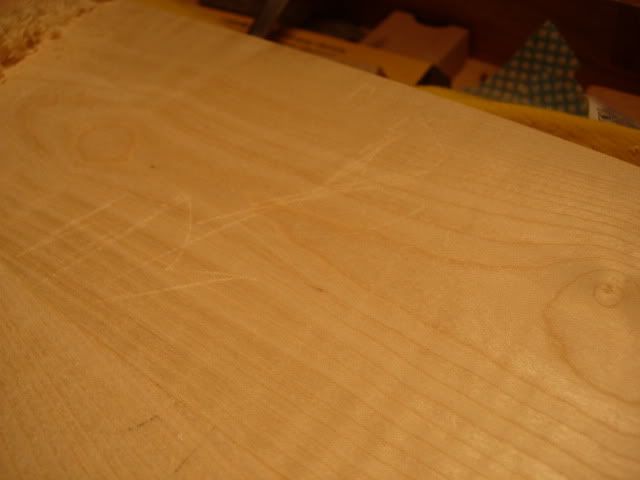
Then marked out the dovetails on the legs, can just about make it out on this picture
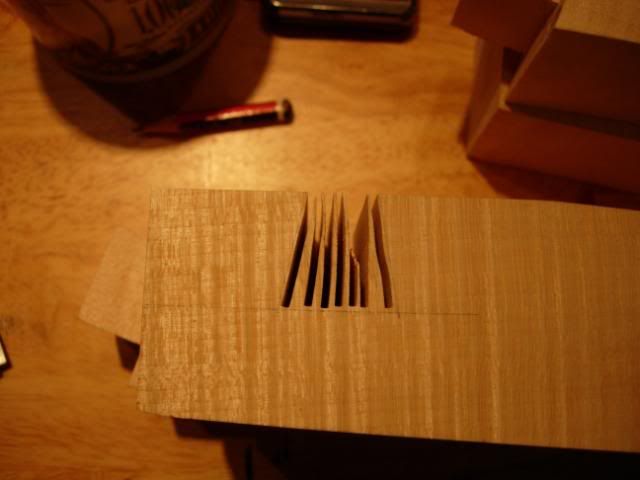
Then it was off to the bandsaw to hog most of the waste out and making paring a bit easier
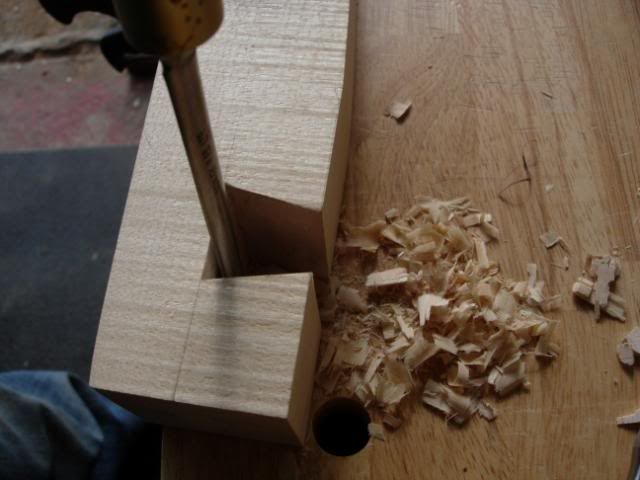
This is a slow process and if I was having to do it more often I think I'd invest in a big enough dovetail router cutter. It's also not a good idea to have these thoughts when you're paring hard maple and have broken your golden rule of using a chisel - always have soft fleshy bits behind the blade. At least the cut wasn't too bad :roll:
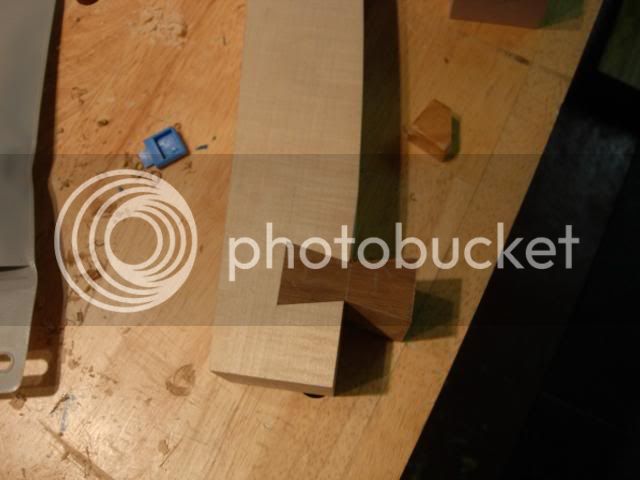
Was a bit worried about these dovetails at the bottom of the rear legs, i noticed it when marking up, they're a bit close to the end and I'm going across the grain. However I didn't have any choices about re-positioning. Shouldn't be a problem as it won't be a stressed joint, just need to take care when paring...
And I did!
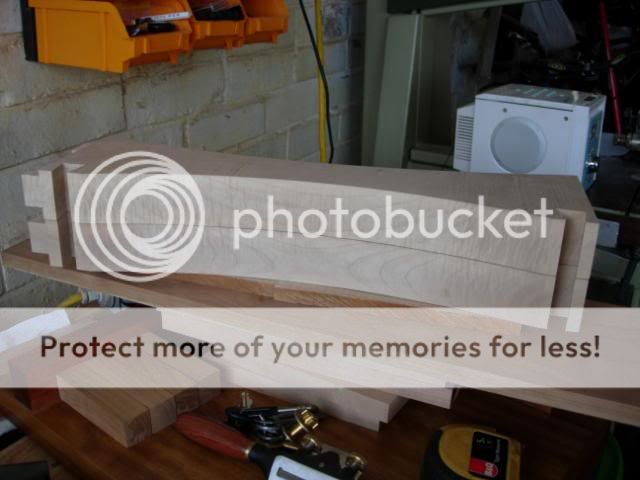
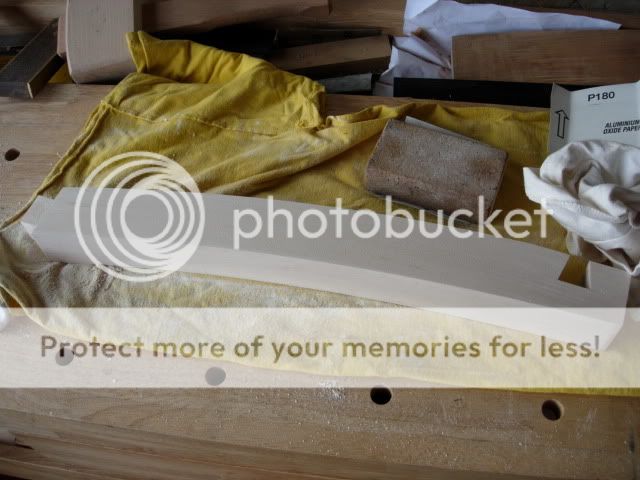
All the legs done, a long and back breaking job and I had to remember to re-sharpen the chisels periodically. Made a big difference
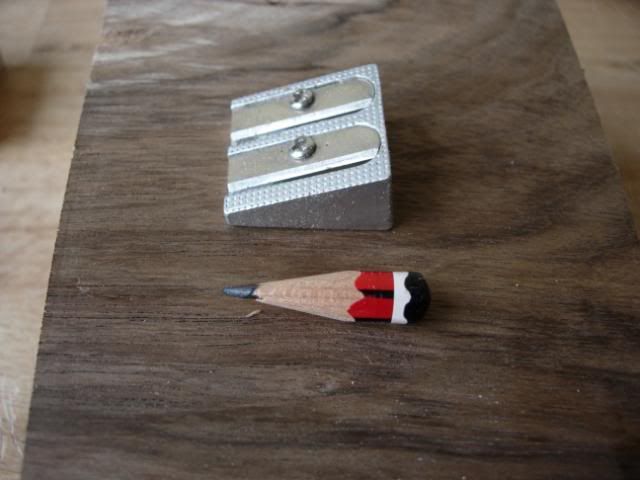
I think faithful 2B has nearly had it, I can't grab enough of it to turn it in the sharpener. It's served me well though
Ebay delivery today, a box full of shelf supports, should do the job nicely
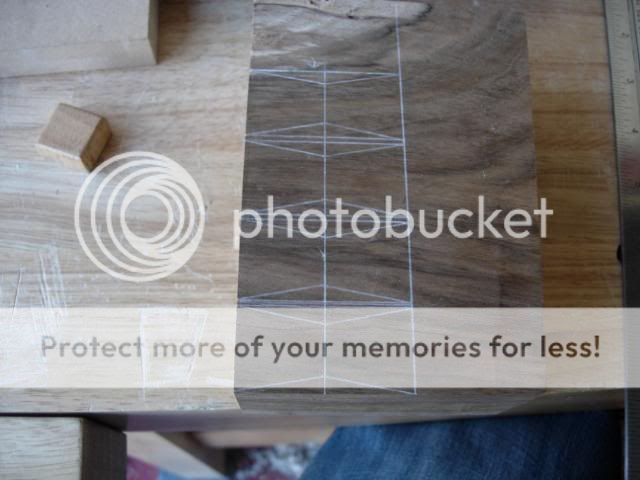
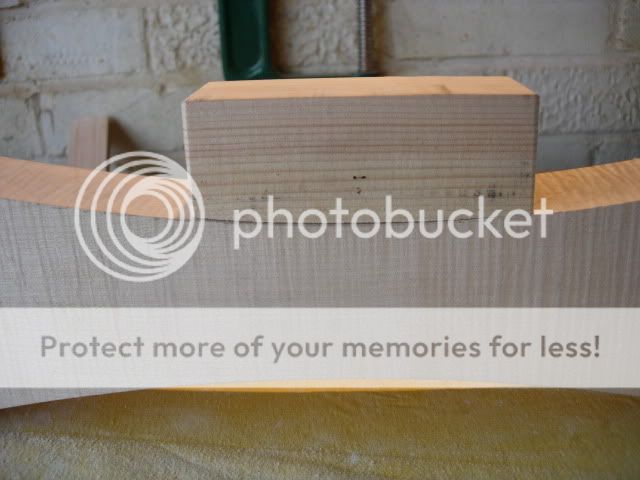
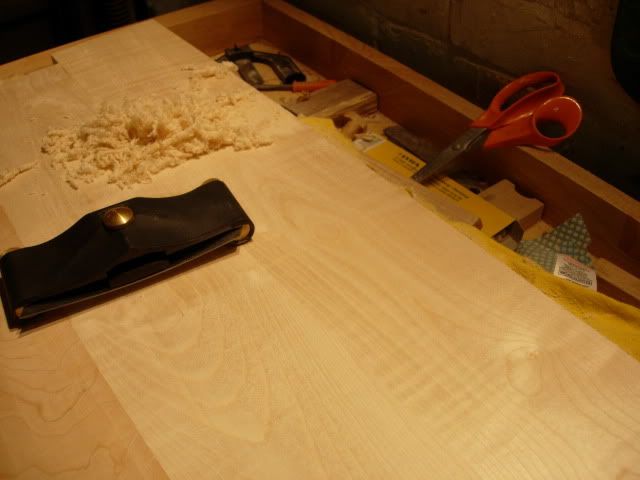
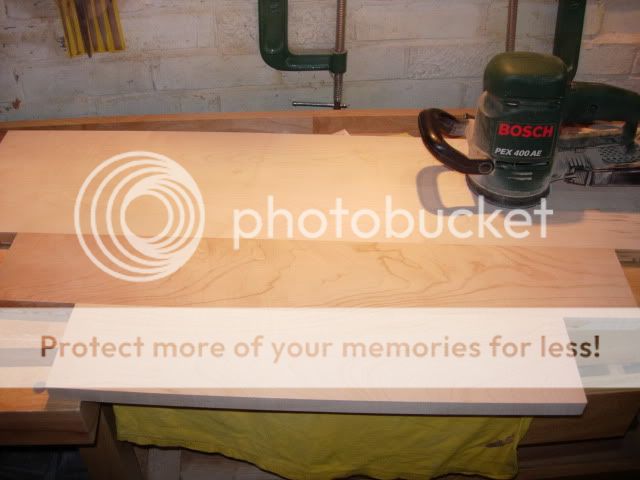
That chunk of walnut is now dimensioned and so I needed to mark out the dovetail keys, erred on the oversize side to allow trimming for fit
Then chopped them out on the bandsaw, mind those fingers!
Decided to mark up the keys for their eventual home and will then fit them in "halves" to keep it simple. Again a slow job and I've done half of one so far, just another 7 halves to go. pipper...