WIP Comp entry - TV Stand in maple - FINISHED!!!

UKworkshop.co.uk

Help Support UKworkshop.co.uk:

This site may earn a commission from merchant affiliate links, including eBay, Amazon, and others.
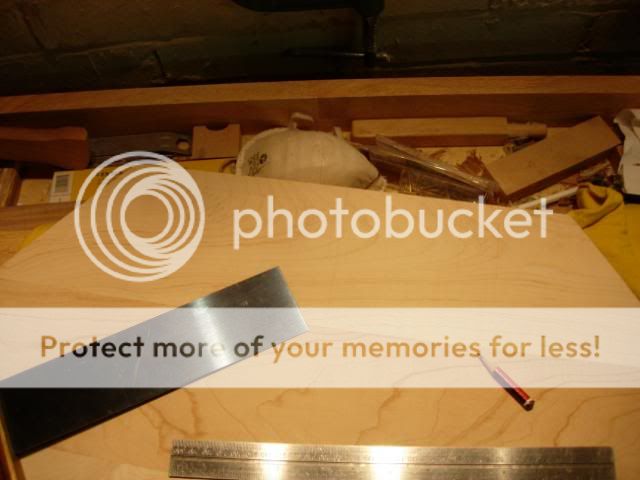
Okay, have been able to steal chunks of time over the last week and make some progress. My next job was to mark up the mortices, made sure I checked from the glued up legs rather than the plan, to allow for any deviation, there was some but not much.

tv72.jpg


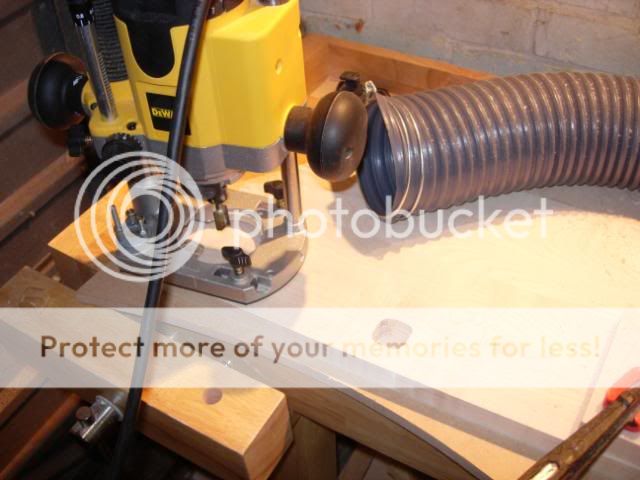
My attempt to drill out most of the waste was thwarted by my cheap Clark forstners, I've always thought that sycamore is a softer hardwood, my experience on this piece is that it's about as hard as maple, ie very. So out with router to freehand the waste from the middle.

tv73.jpg


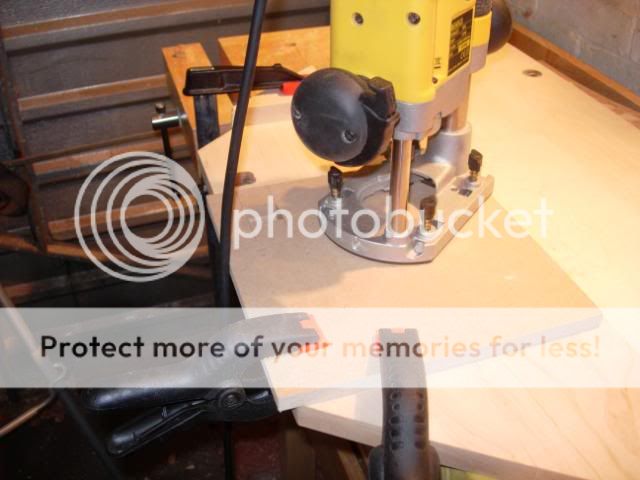
This worked fine but left far too much waste to pare away as I was losing the will to live. So made a template to use with a smaller bit, this would leave much less paring

tv74.jpg


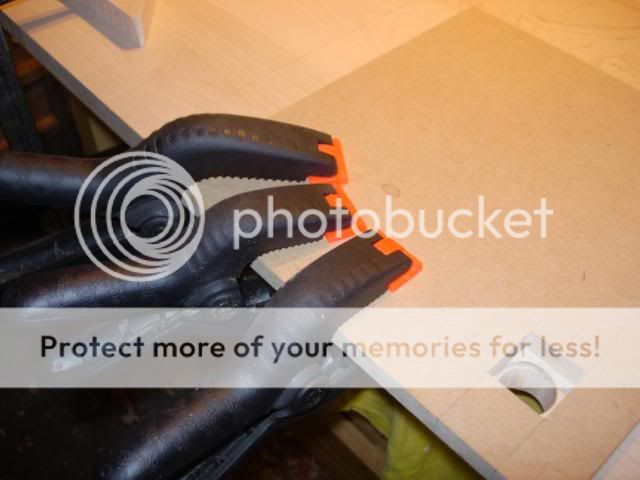
All was going well until the template slipped, was it on the back, no, of course it wasn't, it was on the front...

tv75.jpg


There's a nick out, not too big and I'll until the leg is in before deciding what to do about it. Added another clamp

tv76.jpg


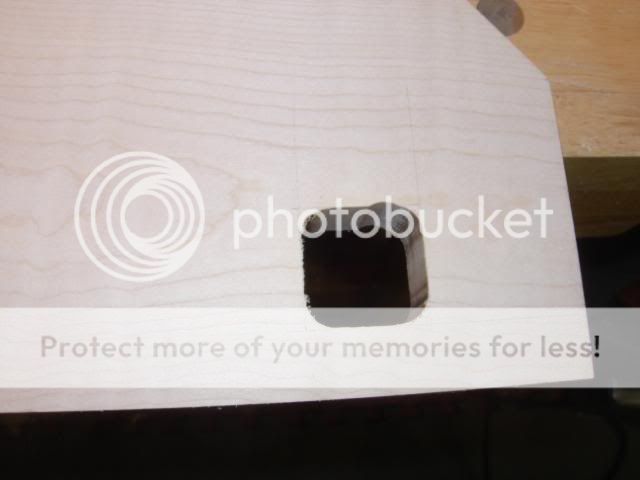
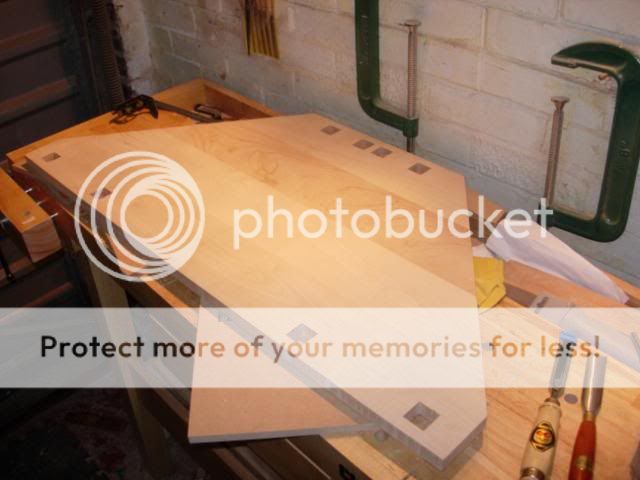
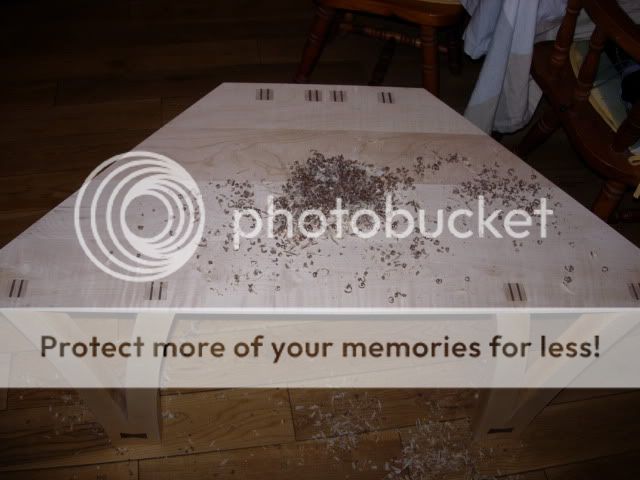
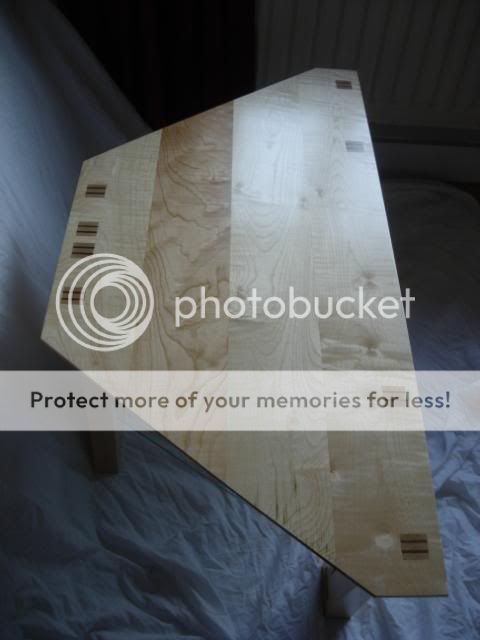
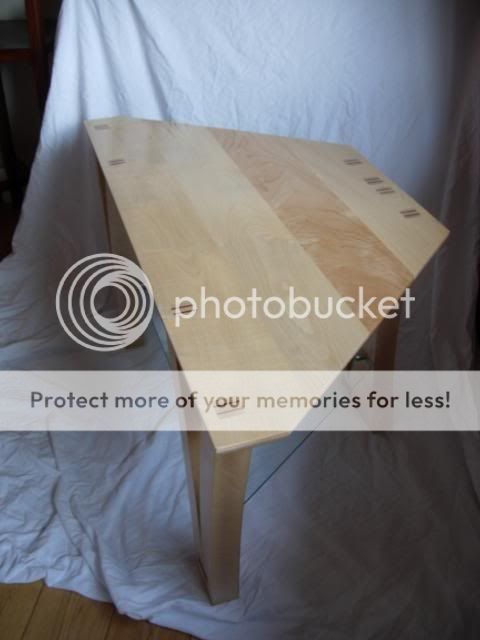
Here are the finished mortices, the paring to fit after routing took all of the afternoon football on Saturday. My hands are mincemeat but on the bright side, Up the Villa

:D

tv77.jpg


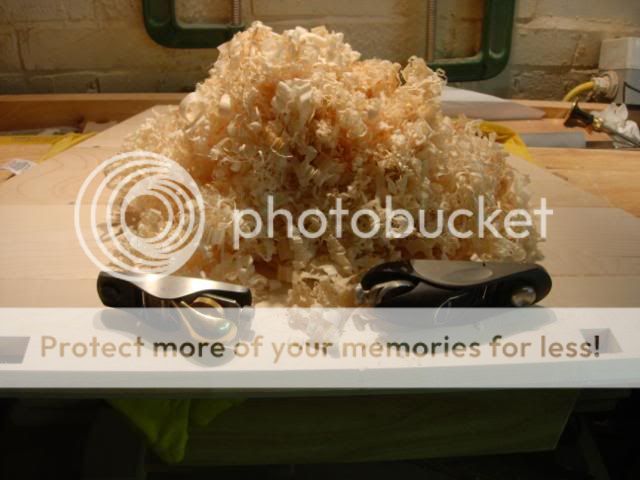
Went for a steep angled chamfer on the edges eventually, hopefully will blend in the curve of the legs. Once again there wasn't a router bit to fit and I didn't fancy attempting it on either saw. So out with the handplanes, slight gloatage again but both planes were well used. Mincemeat hands now burger meat

tv78.jpg


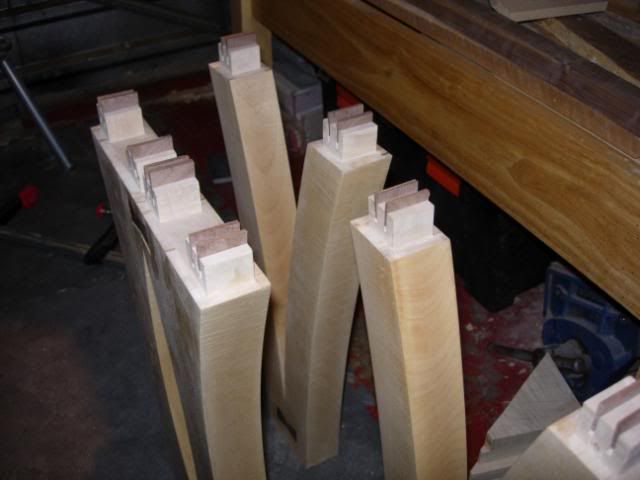
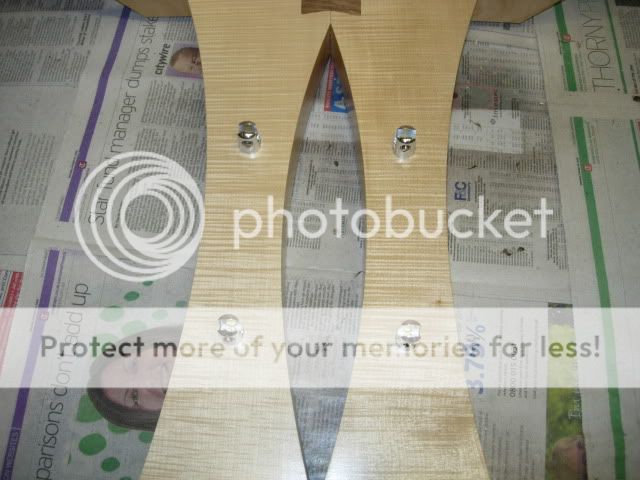
Back to the legs, bit of masking tape on the glue areas to protect from the finish

tv79.jpg


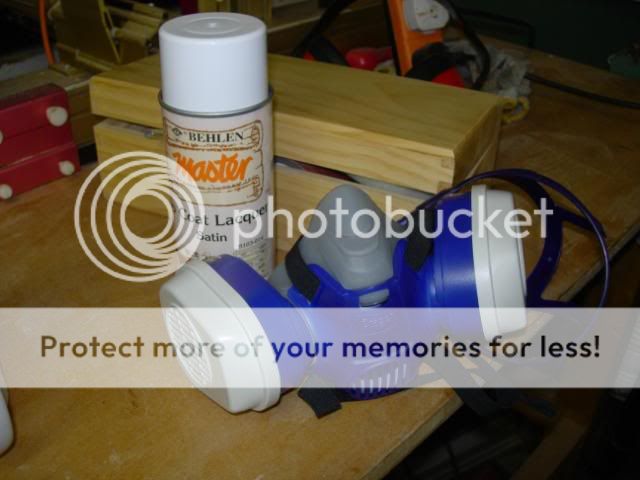
Which is this, a spray lacquer. Never used one before so a bit of a leap into the unknown. Having used rattle can spray paint before I know that a mask is essential, this is one of Screwfix's finest chemical masks, works a treat.

tv80.jpg


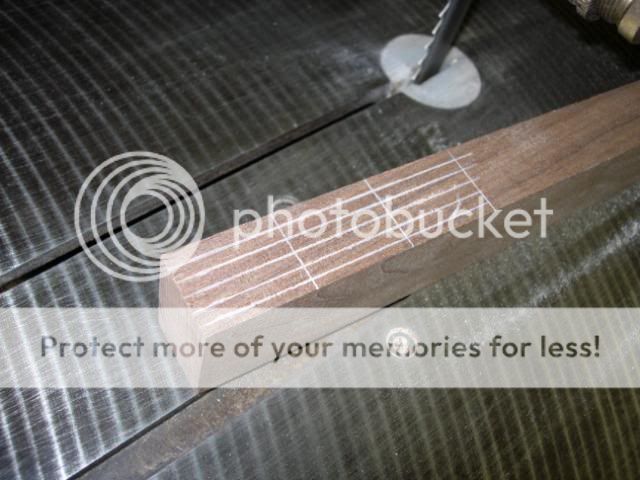
Legs received all bar the final coat before attaching to the top. Look good so far though. Cut the tenon slots on the bandsaw, marked up a line and then cut just either side of it to have accuracy and a wide enough slot

tv81.jpg


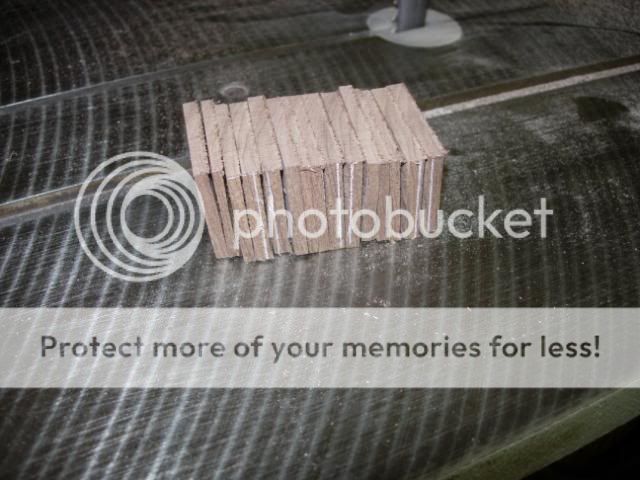
Dug out a bit of walnut and marked roughly the wedge width, before bandsawing

tv82.jpg


tv83.jpg


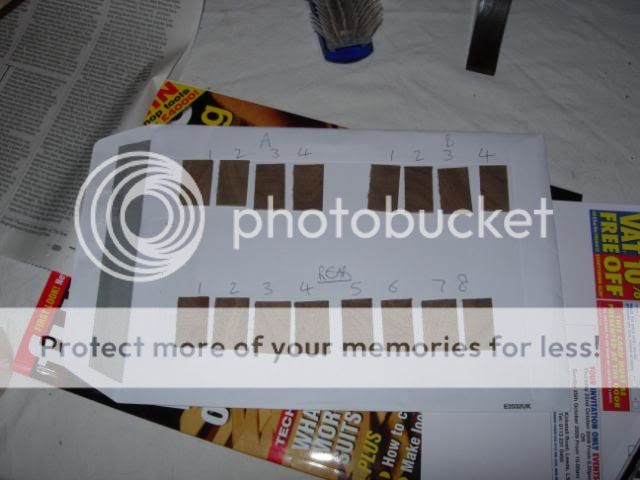
Initially got out the sandpaper to shape and fit each wedge to the slots. Approximately 48 seconds later realised that this was a bad idea and moved on to the power sander. Worked well and only re-profiled my fingertips a couple of times

tv84.jpg


As I had fitted them individually to their slots I decided I could do without any more stress at glue up, so marked up where they were going to go once I took them out

tv85.jpg


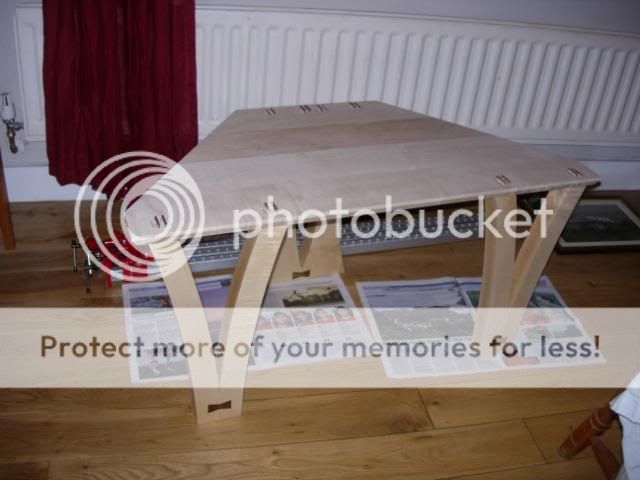
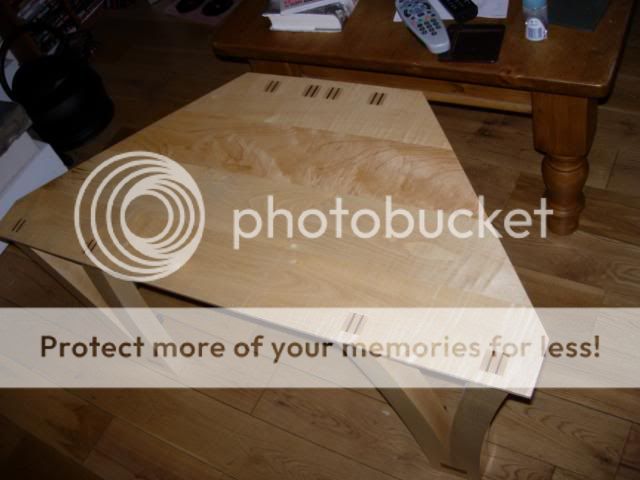
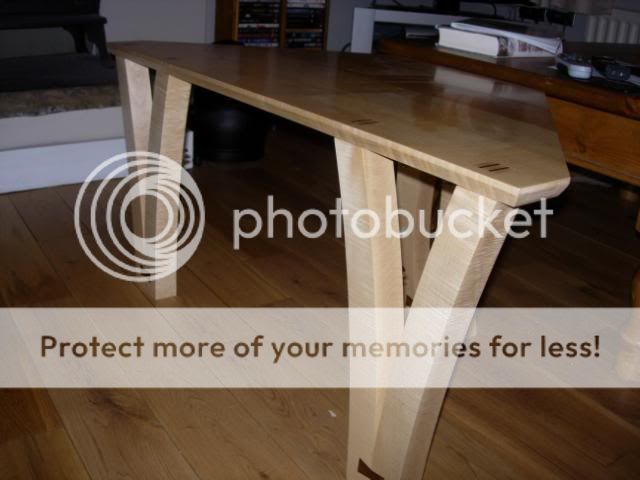
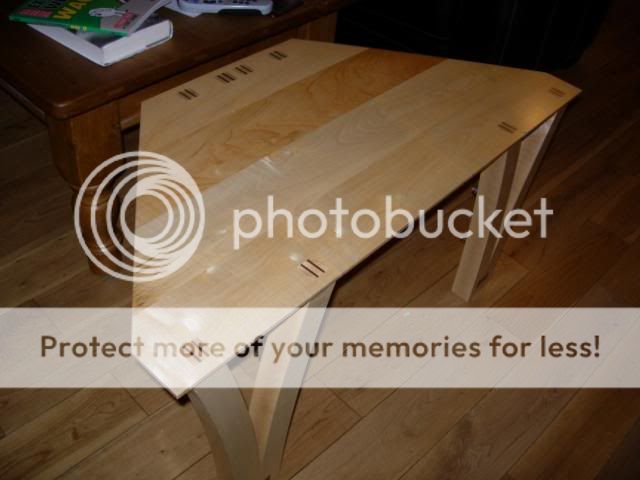
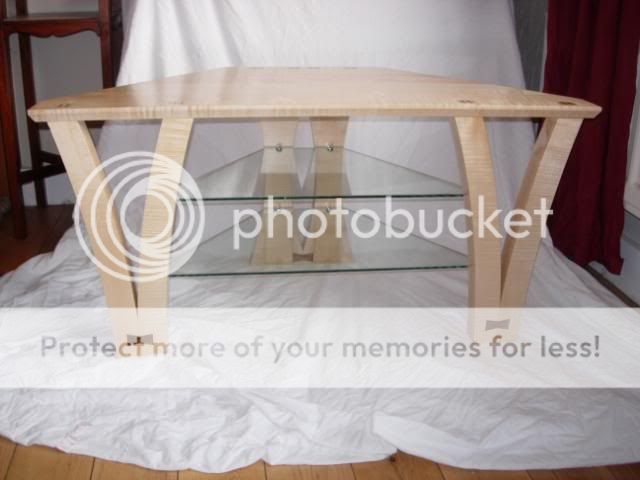
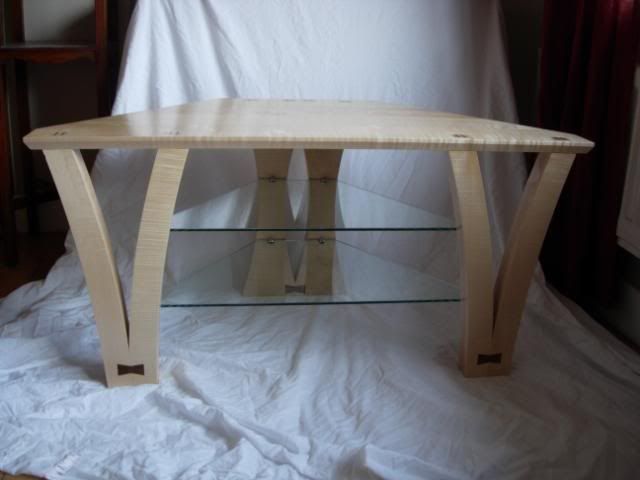
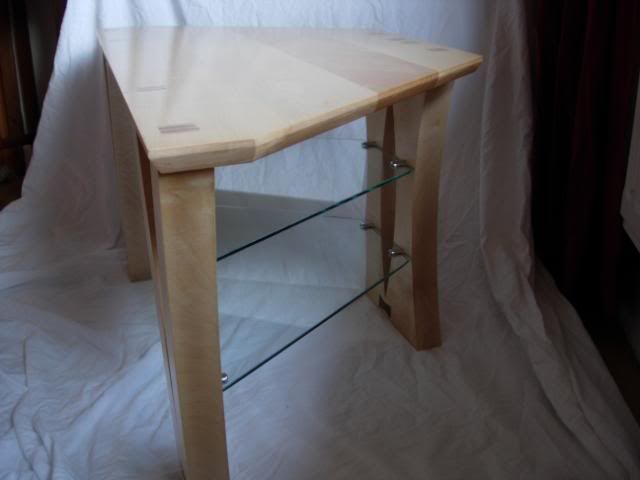
Finally onto glueing the legs in, fairly painless (unlike the dovetail keys) and inserting the wedges went well and it was most satisfying to drive them home with a solid twatting from the mallet. Here the legs have been rubbed down to accept their final coat and the top has no finish at all yet

tv86.jpg


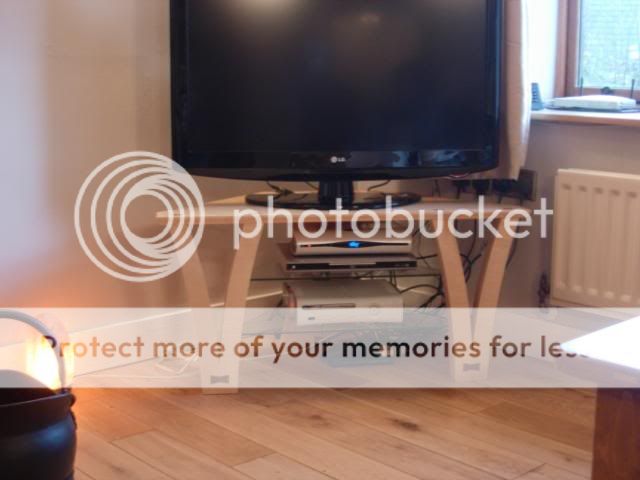
Pressure is on to get the finish on so I can take it to the glaziers
 
Bloody hell, one rattle can down and I still have two more coats to go on the top. May have to get on the phone to Behlen again....

Bit darker than I wanted but boy does it bring out the figure in that sycamore and maple
 
Not that my critique means much but I think it looks great. Good photography will be the killer touch. Showing how the inverted curves on the single leg side matches those one the two legged side is fundamental.

Great stuff.
 
The curves on the rear legs are a slightly different radius than the fronts, but deliberately so, I mucked about for ages at the design stage to get them right. The problem I had with the rears was that they kept coming out looking like cooling towers, not what I was after!

Feel free to comment away, whether about construction techniques or design, anyone can comment on the look of something as it either appeals to your eye or doesn't.

This is the first piece of furniture I've designed so am on a pretty large learning curve
 
Looking good mate. You need a spray gun though. You'd have half paid for one with the price of those cans 8)

This made me laugh "and it was most satisfying to drive them home with a solid twatting from the mallet" :lol:
 
Thanks Matty, I aim to please!

Okay, after the fun of the glueing and whacking it was time to appraise the results. All looked okay so out with the block planes again to remove the excess wood and glue, wasn't worth sawing off as they weren't that proud and I wanted to avoid potential damage to the top.

A quick plane of the first tenon (which I had deliberately made 1mm proud remember) showed that we should be alright. As a plus this was also the one where I had the routing accident and I managed to whack the wedge into the gap so that the nibble is almost gone

tv87.jpg


20 mins later and a lot of fun planing and even more fun listening to the whingeing scousers on 5 live following the loss to Lyon and I arrived at this...

tv88.jpg


I could then move to a finish sand for the top and spray it. This went very well, I ended up giving it two coats before cutting back with 400 grit paper (which loads up very quickly with lacquer) and doing the last coat. It has come out beautifully but you aren't going to see it just yet.

Once dry I marked up the holes to be drilled for the shelves, again a nice simple job and it felt fairly final to be screwing in the hardware, a bit like the woodworking was behind me and I was adding the final touches.

The chrome looks nice I think

tv89.jpg


After that I sprayed another sealing coat on the underside and it was then ready to be taken to the glaziers today. Dropped it off with them and now feel a little nervous in case it takes any knocks and/or doesn't get done in time. Used them before though and they're good chaps so should be okay. Final pics and the submission a week today hopefully
 
Wow! That finish has really bought out the grain! 8)

I also find that lacquer can clog 400g paper quite quickly. So, instead, I've started using 320g very lightly, which does seem to last longer.

Looks like another project on course to finish in time. :)
 
Bump. Only because we were asked to.

First progress chasing call goes in to the glaziers tomorrow, fingers crossed for a positive answer [-o<
 
Another stunning entry.

From what I've seen so far this competition is going to be so hard to judge, the standard is exemplary.

Well done all, I look forward to viewing them as the posts continue.
 
So desperate to edit the first post and change the title to "finished"

Call went in today to the glaziers, no word yet but they're chasing through and ringing me back. They're still aiming for Friday but did utter the dreaded words "it's out of our hands"

Sphincter setting now moved up to Defcon 3 :?
 
My special toughened glass hasn't come back from the folks the glaziers had to outsource it to, it won't be till next week.............. however, because the nice chaps at Designs on Glass in Leeds are such pros and they knew I was on a deadline they have used their templates to cut some temporary shelves from offcuts.

They haven't got the nice rounded egdes and aren't toughened, but they do fit nicely and will allow me to install the TV stand and thereby finish it and fulfil the design brief.

In other words. The project is complete. Just need to do the photos and write the smegger up \:D/
 
Ironballs":165e68eh said:
My special toughened glass hasn't come back from the folks the glaziers had to outsource it to, it won't be till next week.............. however, because the nice chaps at Designs on Glass in Leeds are such pros and they knew I was on a deadline they have used their templates to cut some temporary shelves from offcuts.

They haven't got the nice rounded egdes and aren't toughened, but they do fit nicely and will allow me to install the TV stand and thereby finish it and fulfil the design brief.

In other words. The project is complete. Just need to do the photos and write the smegger up \:D/

Good news mate. I'm looking forward to seeing this finished.
 
Sounds like a decent company who will no doubt receive your business again in the future. I'm also looking forward to seeing how it all comes together. :)
 
They are a good company Olly, used them before on the shelves for my hi-fi stand.

Right then, final assembly and transferring the TV and other rubbish onto the stand and taking of the pictures.

Here's the glass

tv90.jpg


And a few pictures of the top with the finish on it

tv91.jpg


tv92.jpg


tv93.jpg


What the hell, and some more, the figure in there is great

tv94.jpg


tv95.jpg


tv96.jpg


And now the erm, "studio", shots for the compo write up. At the last minute I had a design change, the original plan had the shelves going across all the legs at the front. However, they didn't need that much support and I thought it would look neater if they didn't extend beyond the inner leg. Which was borne out when the glass went in

tv97.jpg


tv98.jpg


Couple of angled shots

tv99.jpg


tv100.jpg


tv101.jpg


And finally, in place doing the job it was made to. Makes the corner look much lighter and airier now and the TV balances out the shape of the stand - I was worried it looked a little like the legs were too far out to the sides before. In house design approval committee thinks it's wonderful and loves it - thumbs up for more pieces :D

tv102.jpg


tv103.jpg


Really enjoyed doing this, I'm still learning most of my skills and beginning to hone a few more. Doing your own design has been one of the biggest challenges and the dovetail keys and through tenons also required some detailed and accurate work.

Hope you enjoyed reading the build thread

Cheers

Damian
 
That looks very smart mate. The legs look great. You'll just have to get some cable tidys now!
 
Excellent work Damian.

The only thing that would bug me is the board with a differing shade in the top - you may not see it with the TV in-situ, but it would annoy me just knowing that it's there. But perhaps that's just me.

Good luck in the competition.

Cheers

Karl
 
True, if I'd had more time and timber choice I would have left it out, however it is under the TV so you can't see it. In its defence it has some great grain and figure on it :)

Might play around with Scribble It and knock up a design or two for a similar styled DVD storage unit to go next to the TV
 
Back
Top