WIP Comp entry - TV Stand in maple - FINISHED!!!

UKworkshop.co.uk

Help Support UKworkshop.co.uk:

This site may earn a commission from merchant affiliate links, including eBay, Amazon, and others.

Ironballs

Established Member
Joined
9 Mar 2008
Messages
2,693
Reaction score
0
Location
Huddersfield
Right then this is my WIP competition entry for't big compo. As a reminder, my brief was to design and make a stand for the TV that would also hold the assorted paraphernalia that lives with the TV. The need arose following the demise of our behemoth of a CRT TV that had a dedicated stand, we decided to get a reasonable flat screen and went for a 37" LCD, which is not too heavy (about 12.5kg).

So the stand has to safely hold the TV at a good viewing height and underneath hold the several other boxes. The look had to be reasonably modern and as elegant as possible. So a fairly free reign.

Okay, that was about 3 ish months ago and to be fair, progress has been slow. In fact your average alpine glacier has made more progress, but that's okay, I have a reputation to uphold for speed.

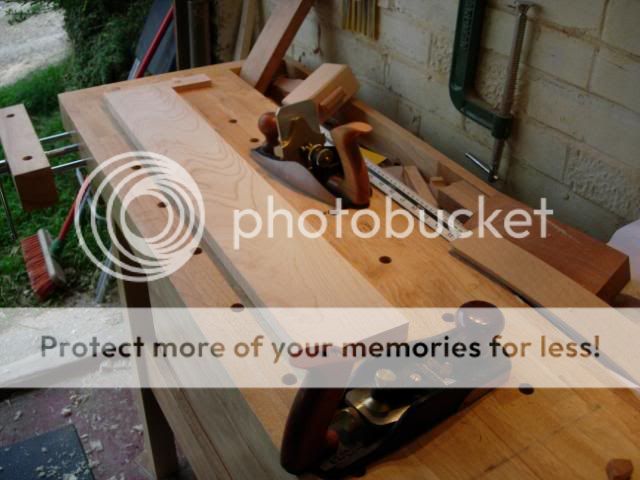
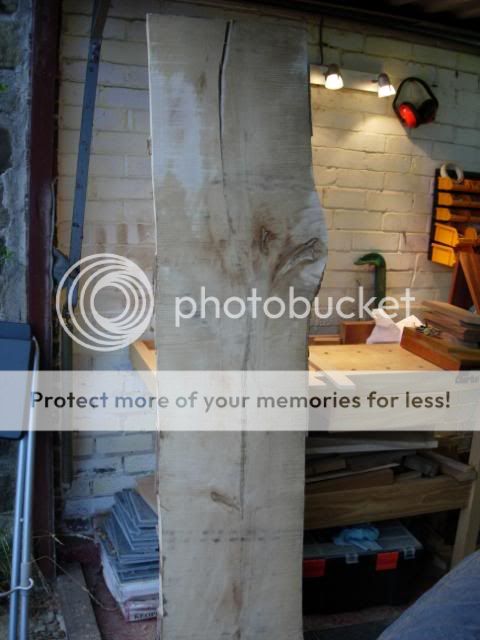
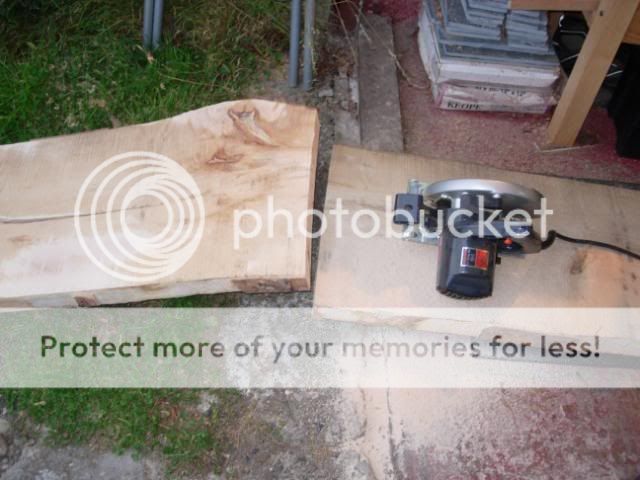
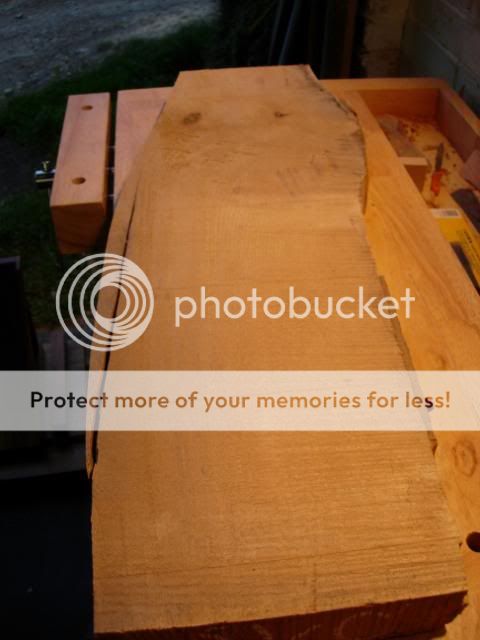
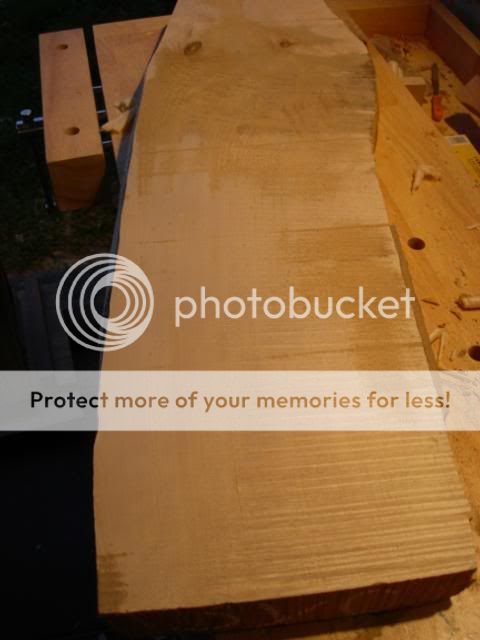
Job number one then, manage the poor readers expectations (and here I feel like a bit of a charlatan), there is no progress. Well not exactly none, but close. I have in the traditional fashion gone and purchased some wood before the design is finalised. Why? Well, because I had a wood buying scratch to itch, you know what it's like...

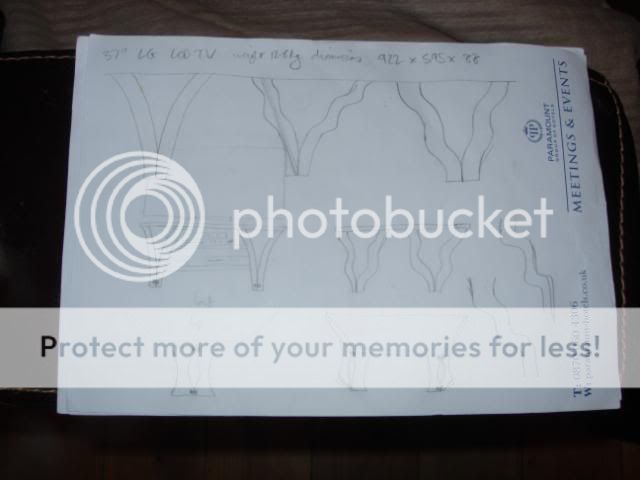
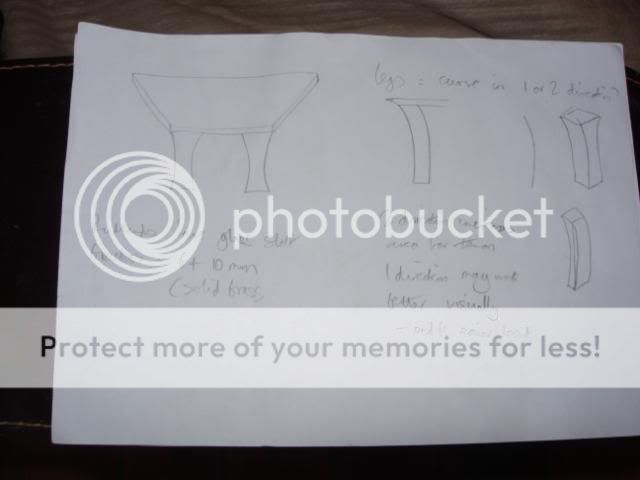
What I have done is spent some time beavering away on Scribble It (Patent Pending) and come with some world class half assed drawings. These Da Vince-esque sketches have been beautifully rendered and at least allowed me to flesh out some thoughts and put them in front of the in-house design authority. Initial approval granted so I can move to the next stage. Erm, more scribbling.

I have a little time off coming up, so I plan to work on a few projects that need a boot up the rear, this being one. However, my design thoughts have thrown up a few questions so part of my process is to chuck some of these ideas and questions on here and consult the UKW hive mind. You know, cheat.

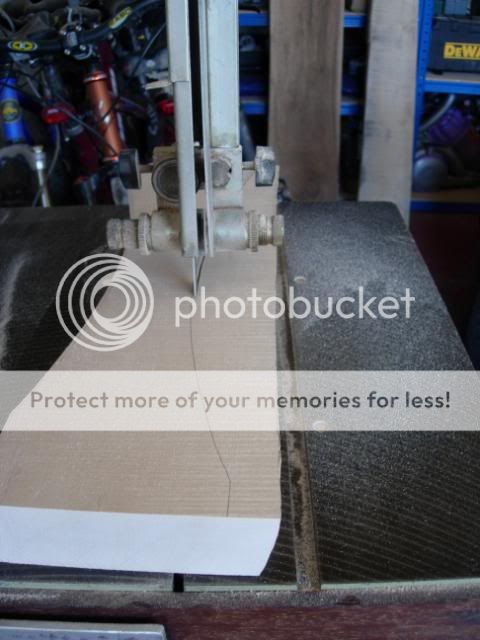
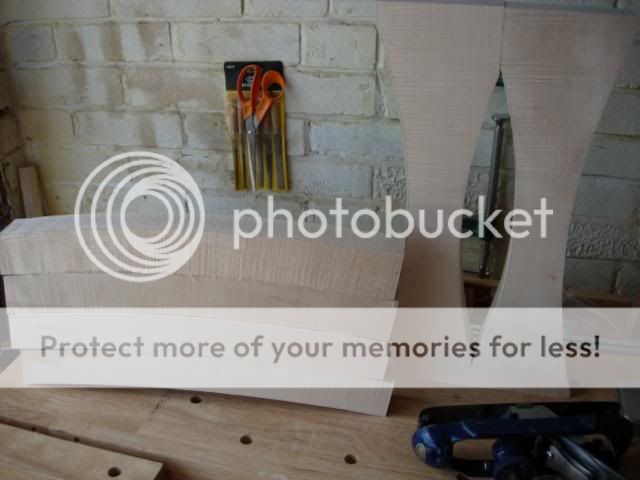
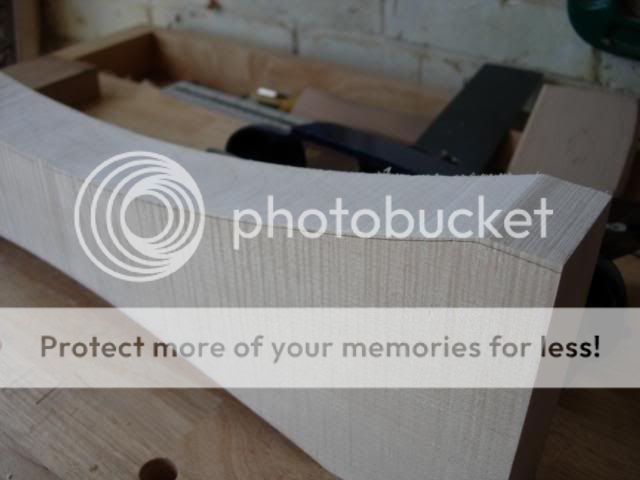
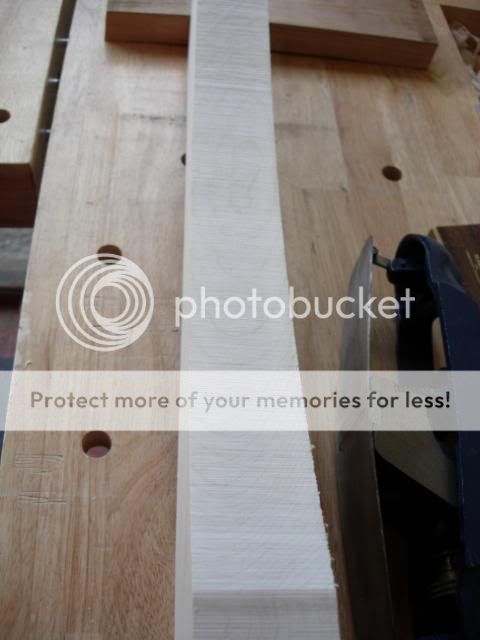
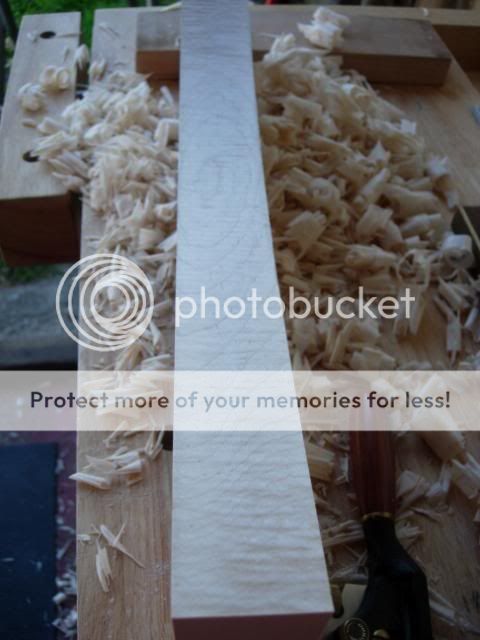
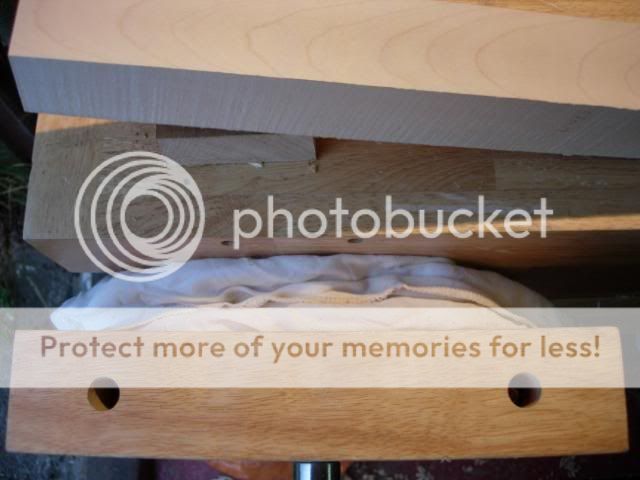
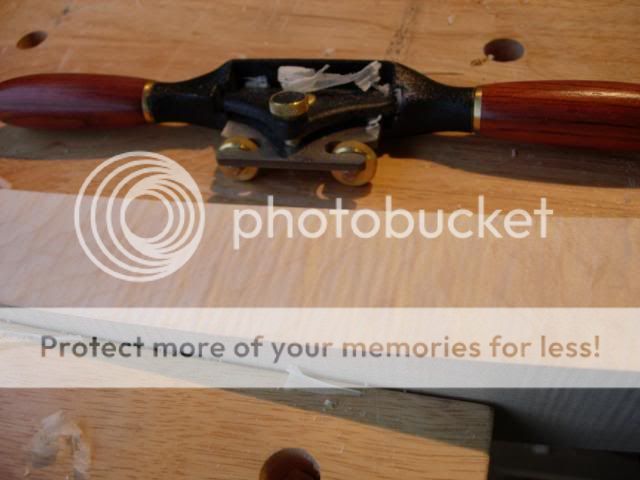
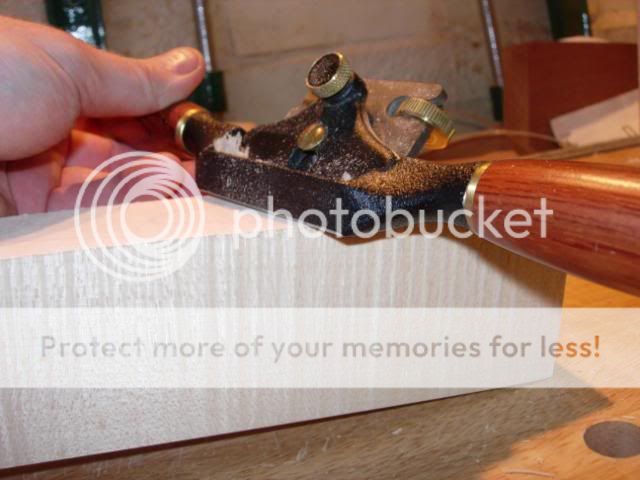
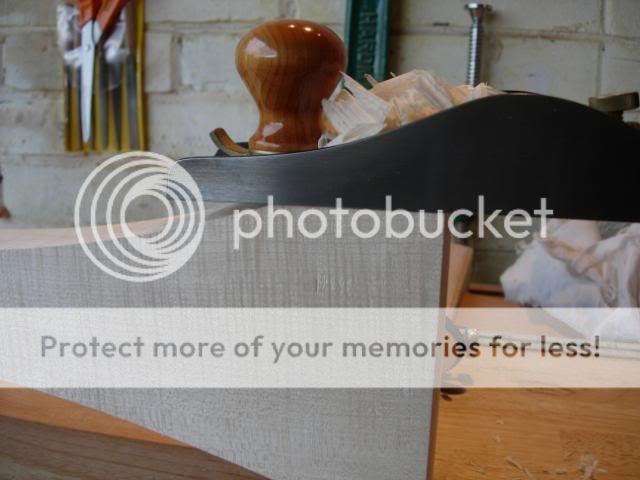
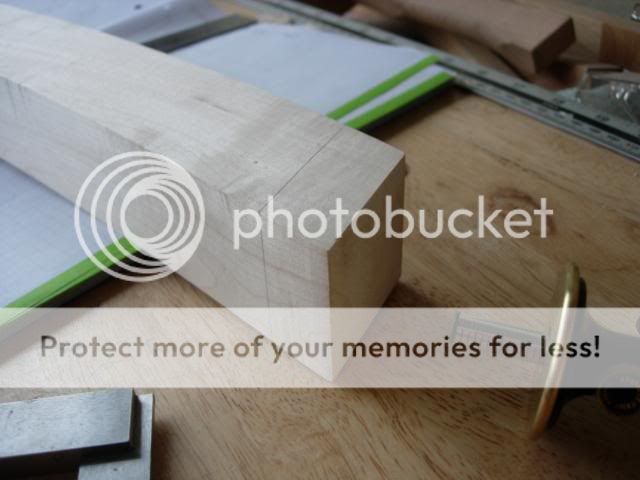
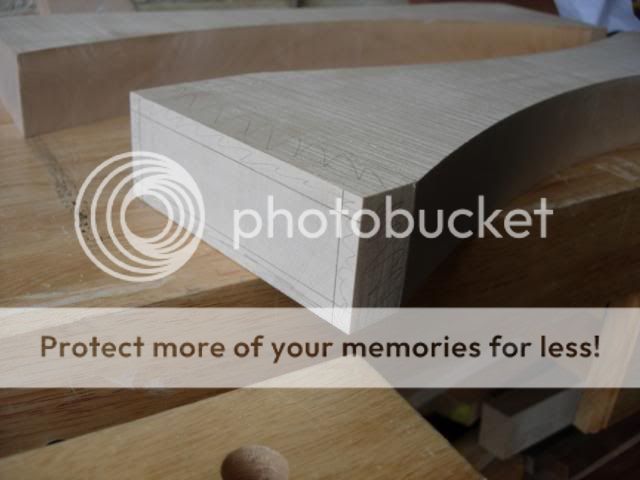
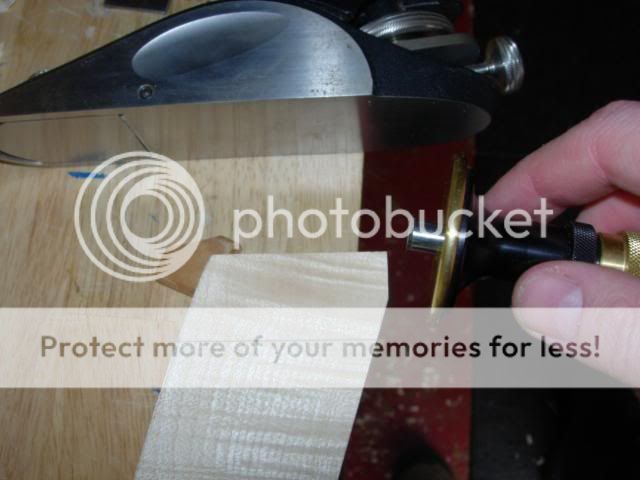
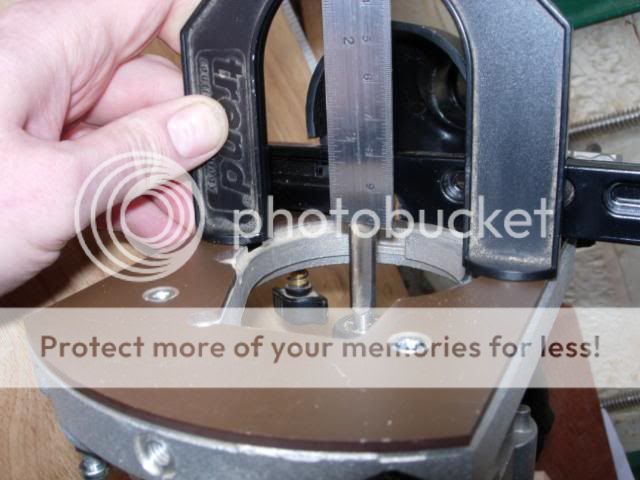
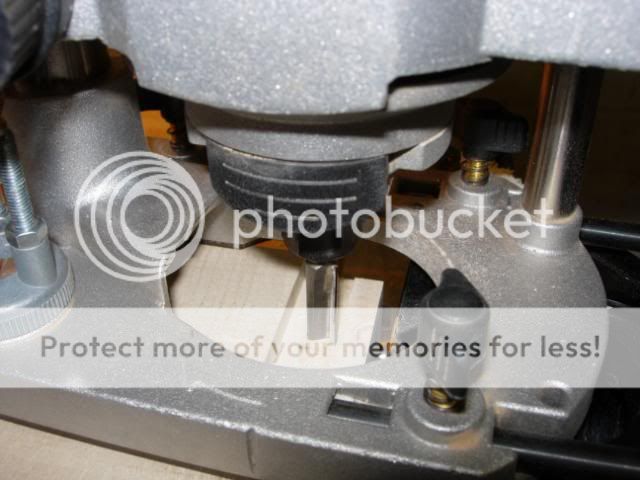
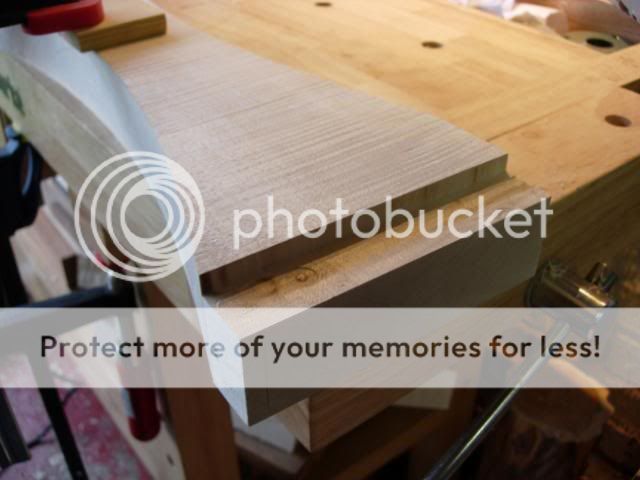
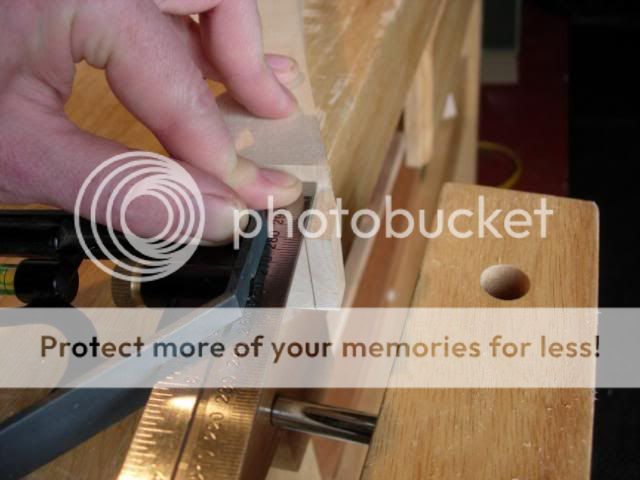
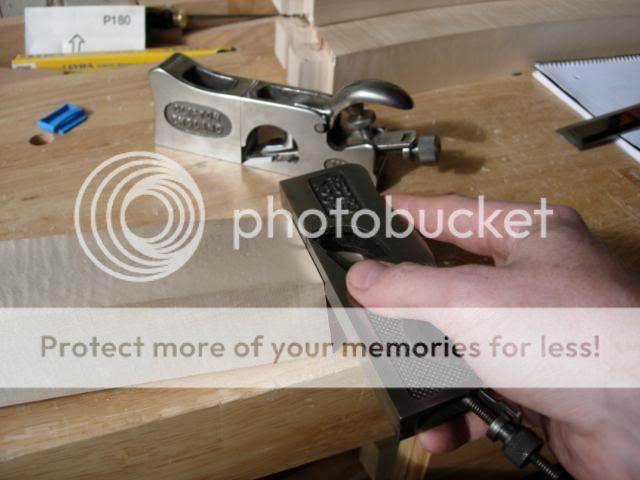
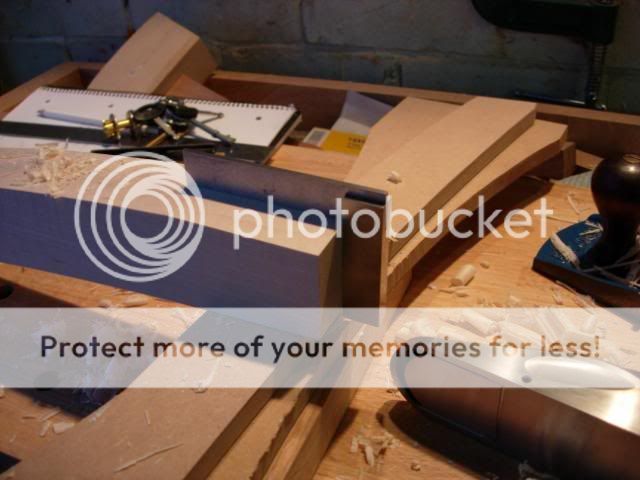
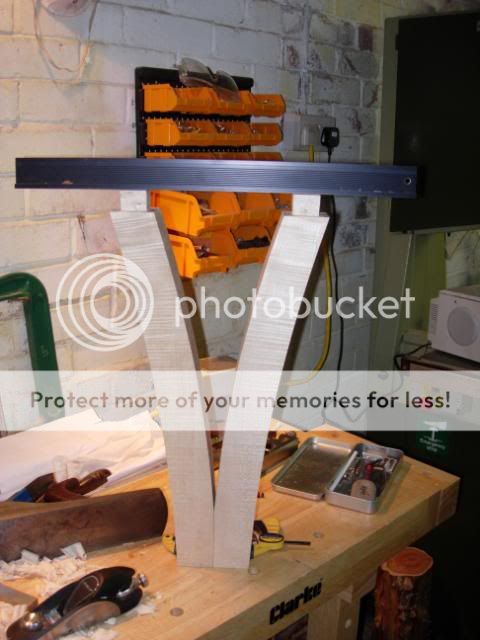
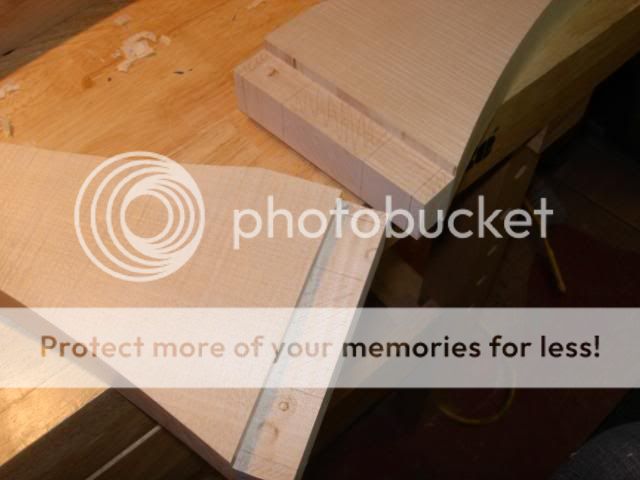
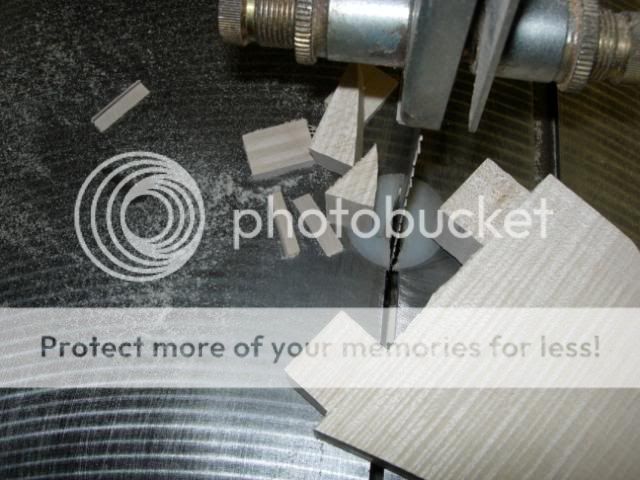
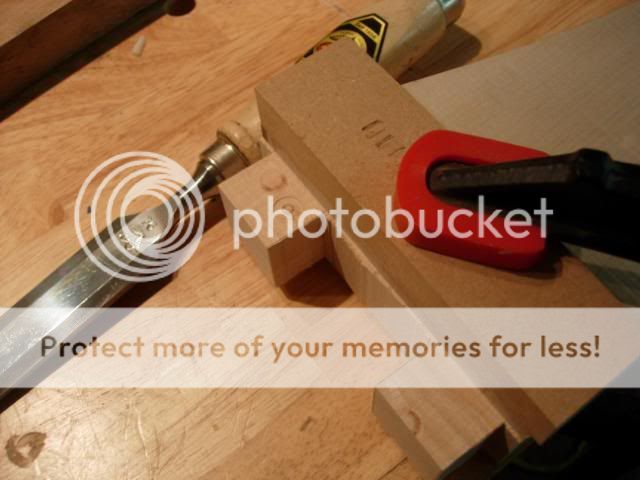
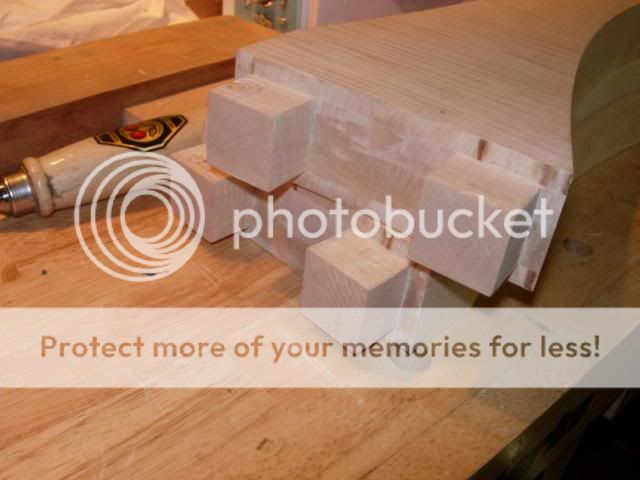
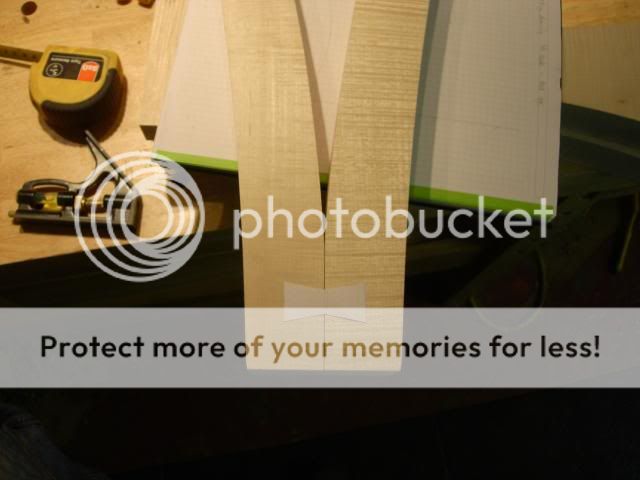
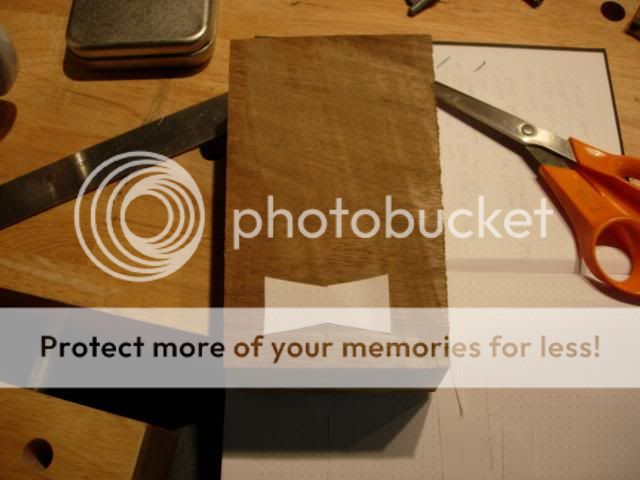
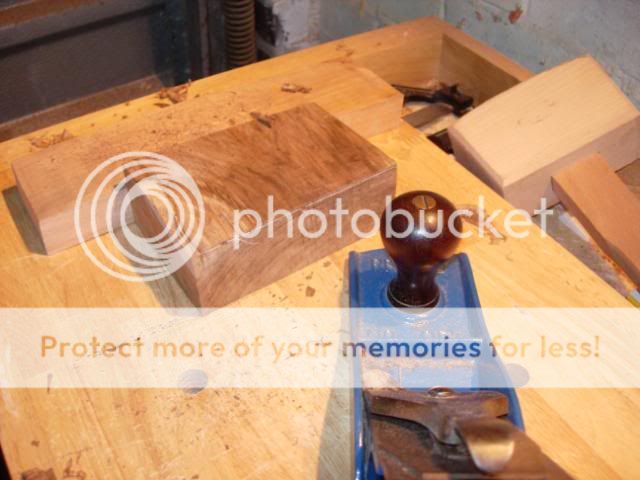
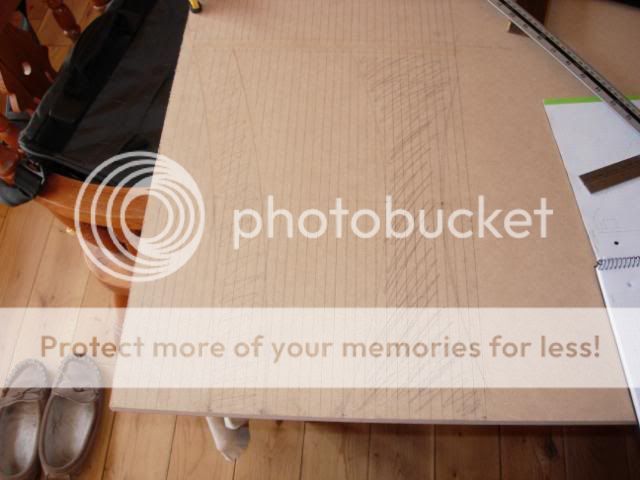
Anyway, here are some out of focus pictures for you to squint at:

ebay002.jpg


ebay003.jpg


ebay004.jpg


ebay005.jpg


Quality work I'm sure you'll agree.

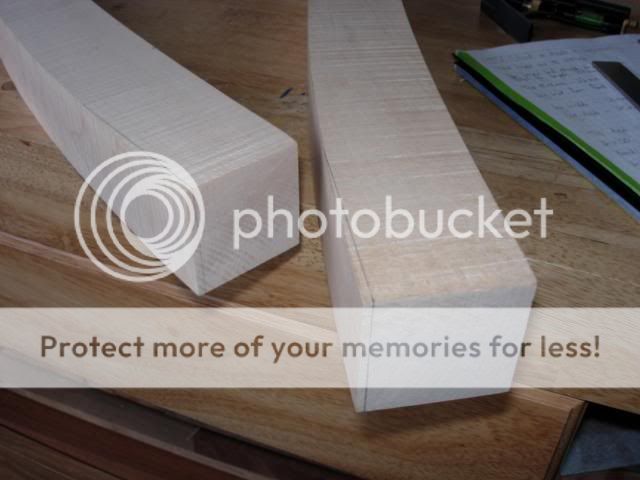
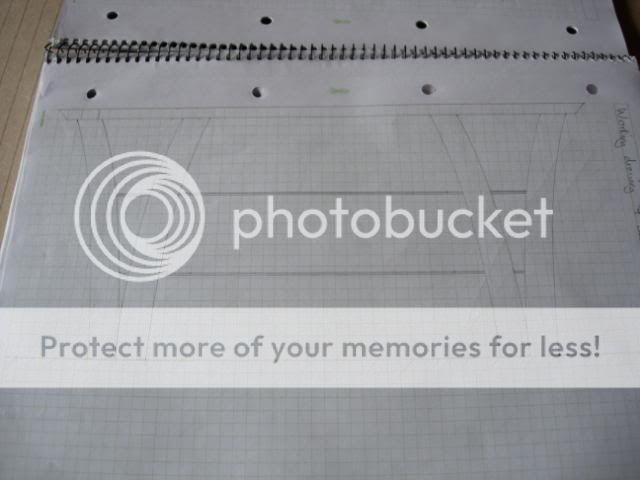
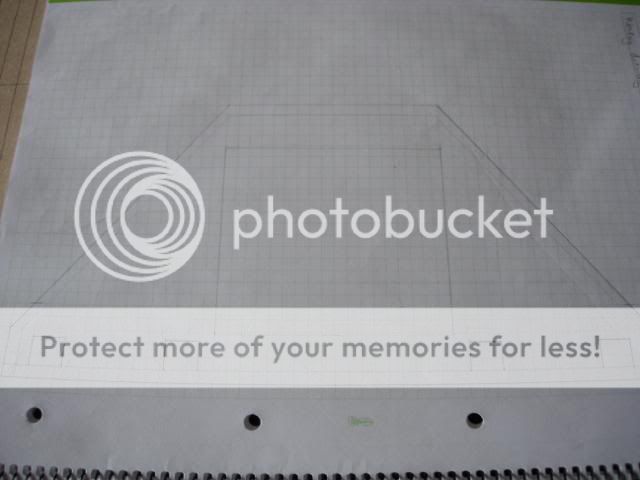
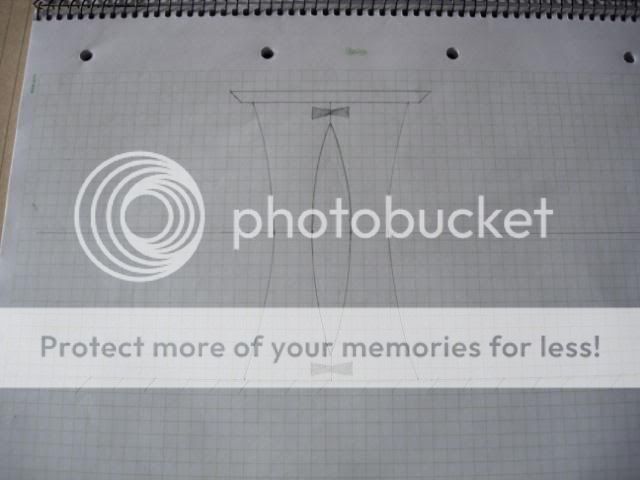
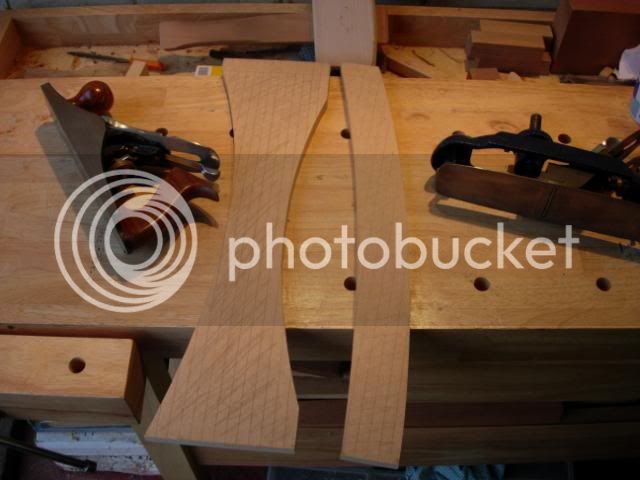
You'll be pleased to hear that I'm not planning to making wavy legs, I just had to draw them to prove that a) they didn't look right and b) they'd snap. I will be going for a gentle curve in the legs and a useful debate with Colin on his curved legs (on his project, not the things below his waist) has given me a few ideas for getting round the short grain issues.

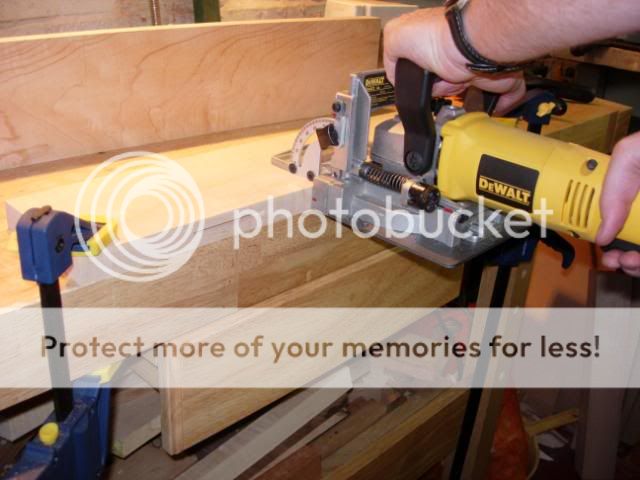
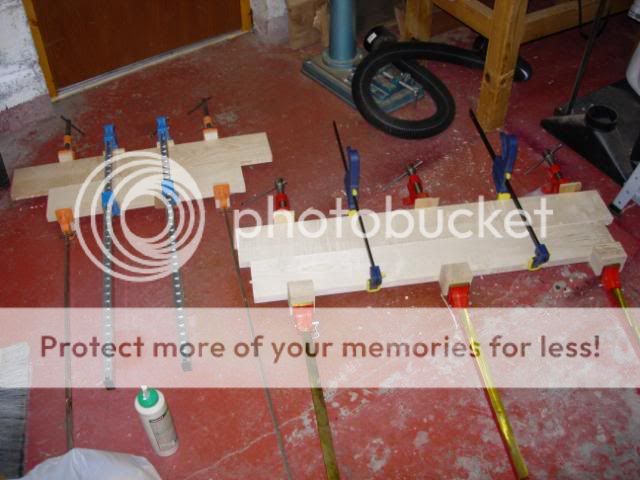
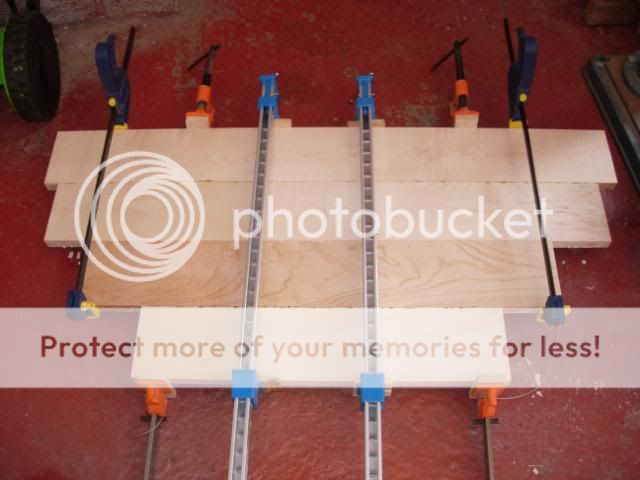
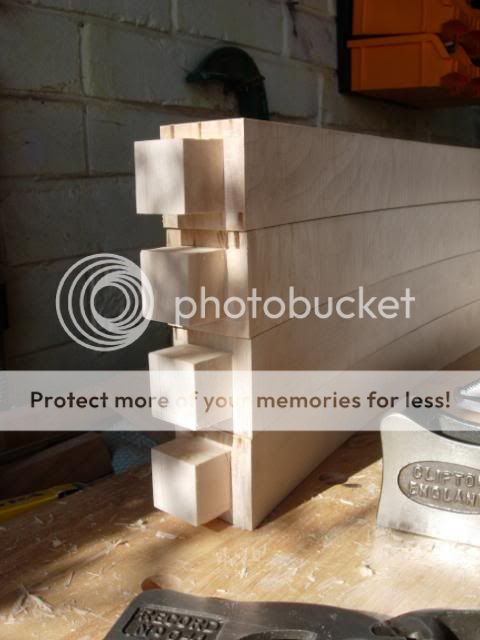
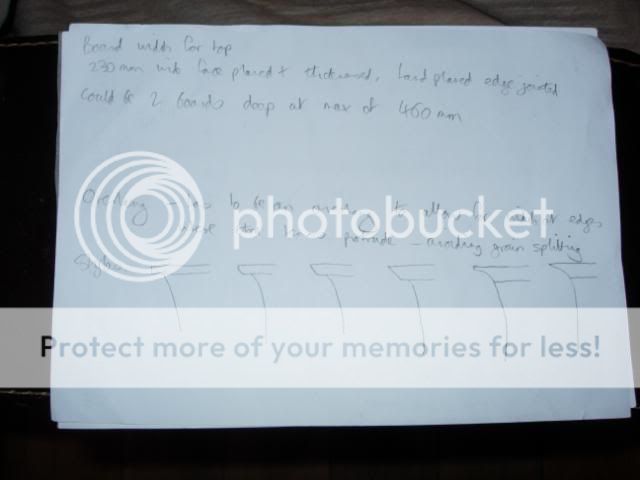
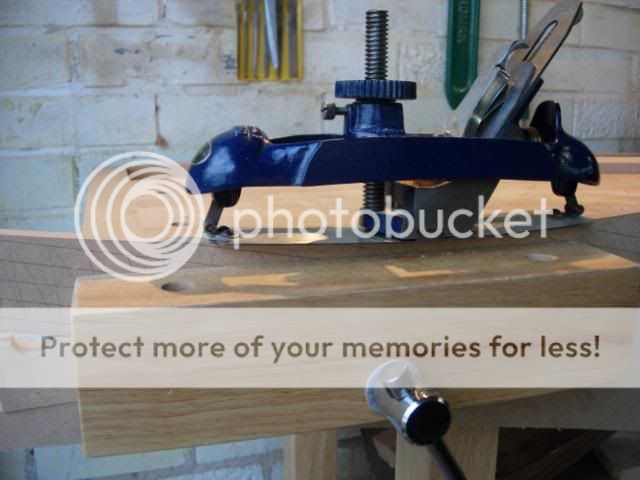
I plan to join them at the bottom with through dovetail pins and attach them to the top with wedged through tenons. Rear legs/support are very much a fluid idea at the minute and could be one leg or two; as is the top, I need to lay out the various boxes and see what shape I have to work around. The top itself will be glued boards of approx 200-250mm and may be biscuited, I'm trying to decide if I need a batten underneath to give additional support. Sagulator and glue strength indicator says no, but I don't want to gamble with a TV - top width will be approx 20mm IIRC.

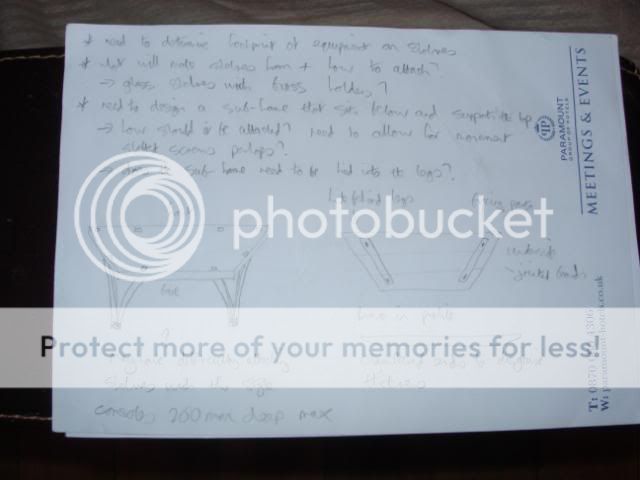
Components below will sit on 2 glass shelves, again numerous design issues to work though there, don't want the top expanding so much that it moves the legs apart and the shelves drop out of the supports.

Any road, all comments welcomed, if you see me heading down a blind alley or approaching the cliff of design stupidity please feel free to tap me on the shoulder before I motor on over it
 
Ironballs":ugul5o0p said:
...before I motor on over it
Whilst I said I wouldn't comment on these WIP threads, this has to be worth it.
What's happened to your bike Damian? :lol: - Rob
 
I keep falling off the damn thing (or things), actually it's not so much falling off as sailing over the handlebars into rocks and nettles. The run I'm on at the minute I daren't ride my bike near a cliff, it would be rolling out the red carpet for fate and waving a cold beer in his direction
 
Hi Damian

I like the design - your design drawings are nearly as bad as mine!

I reckon the top should be thick enough to hold the TV - and if it does start to sag, could you not just pop the battens on afterwards???

Cheers

Karl
 
Finally got round to posting an update on this, go to Projects and cycle back a couple of pages I thought, well 5 or 6 pages in I found it and realised that it was late July for my one and only update.

Well I did have a week off in August and on the Monday I sat down and drew out some scale drawings, what you might call "progress". Sorted the design issues and got the shapes as I wanted/needed them and even produced a cutting list. Displacement activities were fairly minimal (walnut reading stand aside) and the next day promised lots of cutting and wood prep.

That's when my inbuilt prevarication chip kicked in and decided that progress was being made far too quickly. The solution? Kick me in the stomach and ensure I was never too far from the khazi for most of the week....

Since then it's been busy at work and I've been too knackered to go in the garage and get some work done. What I needed was to feel the insistent pressure of a deadline at the back of my mind. That pressure arrived today...

So, here are my finely crafted scale drawings, quarter scale in case you're interested (probably not).

stand001-1.jpg


stand002-1.jpg


stand003-1.jpg


The last pic shows the rear leg(s), I re-drew these several times as I couldn't get the shape right and they kept ending up looking like cooling towers. Think they look alright now though. Think

Next job was to make the templates for the legs, not too much of a job as there are only 2 shapes. Decided to draw a grid straight on the mdf and put the shape on there, thus enabling me to get the reference points right for the curves. Bit dull though and I had a break part way through to watch the grand prix.

stand005-1.jpg


Once done it was off to the bandsaw to rough out the shapes and then break out the compass plane to finish the curves off. First time I've used it in anger and what a treat it is, beats the pants off sanding

stand006-1.jpg


The result, a couple of leg templates. This looks dangerously like progress

stand007-1.jpg


Best ratchet things back a notch then. And here's a golden opportunity, this fine piece of maple is where all the legs are coming from, there's far more wood in there than I need but I do have to work round the split, the knot and the rubbish around the pith line.

stand008-1.jpg


I did have the option of buying a straighter and cleaner piece, but this one has a nice ripple to it so will hopefully be worth the extra work. Next job was to cut the wood to make it a little more manageable, a cross cut below the knot leaves ample room for maneuvre. Hate using the handheld circular saw but it does do the job well.

stand009-1.jpg


Before making further cuts so that I can take it to the P/T I need to know where the best grain is and what bits I can waste, therefore a bit of hand planing is required. Some nice ripple in there.

stand010.jpg


stand011.jpg


Hopefully you will be swayed by the quantity over quality and will not see through the pics of drawings and wood and realise that I've still not done much.

Let's see if I can get another update in this week. Just need to build a time machine first
 
I'm liking the way the design has progressed in to something with stability. As you've already made your templates and have begun looking at your timber properly, you can rest assured that you are already several steps ahead of me! :( :wink:

...If I were you, I wouldn't take ScribbleIt anywhere near the Dragons' Den until that patent has been granted - Duncan Bannatyne rarely seems interested at the best of times!! :D

Look forward to seeing more progress. I also like how you have proposed (in your design) to treat the edges of the top. :)
 
Okay a fruitful bit of shop time over the weekend. Had a good look over the wood and decided where I was going to take all my legs from and then it was off to the bandsaw and P/T. Not very exciting so no pics of that, suffice to say that I filled an entire bag of shavings that went to a friend for their guinea pig.

Then it was back out with the templates to mark up the legs:

stand012.jpg


Also did a plane (smoother and scraper) to remove the machining marks on the boards for the top:

stand08.jpg


Little bit of biscuiting to help line up the top boards and make the glue up less stressful than it need be. Don't know what it it about glue, as soon as that cap is off the blood starts to flow faster and you can feel the sweat beading out:

stand09.jpg


Glueing of the top, exciting stuff:

stand10.jpg


Done in 2 stages to minimise chances of cupping:

stand11.jpg


With that lot drying it was off to the bandsaw again to cut the legs out:

stand013.jpg


...and I made this little pile of parts, rear legs at the, well, rear

stand014.jpg


Next up was what I thought would be an easy job to clean up the legs and plane to final dimensions, starting with this:

stand017.jpg


stand016.jpg


It was here that I learned the compass plane is not my friend, whether it's my technique (or lack of) or it's just that the maple is hard and rippled. Either way I couldn't get it to cut properly, adjusting the blade by a gnat's nut meant it when from no cut to a great big thunk at the beginning of the cut.

Ended up using a combo of sanding in the pillar drill (not fun) and planing with the flat bottom spokeshave. Given that even that was finding it hard going I'm inclined to think the wood may have been the issue. On the plus side when it did work it gave up a lovely glassy finish with shimmer, ripple, birds eye and wavy grain

stand018.jpg


Rear legs down, 3 and a half front legs to go. Night class starts again this week so maybe someone will be using their Wadkin oscillating sander a lot...

After that I can start work on cutting the tenons and planing up the mating surfaces where the legs meet; I can also cut out the final shape on the top and plane that smooth
 
...And only one week ago, you were loving that compass plane! :D

I've never used one but I have found sycamore (vaguely similar to maple) can be deceptively tricky to plane with a spokeshave. Round-bottom 'shaves are awkward to use at the best of times but I usually get by alright keeping the iron dead sharp and setting it up (after lots of trial and error! :roll:) to take a very, very fine cut. :)
 
Okay, another update time. First update, took the compass plane to college to get the experts to cast their eyes over it and they also couldn't get it to plane properly. Decided it was a combo of cap iron screw not going down far enough and incorrect mating between cap iron and blade, this was leading to chattering. Anyone know if a stay set cap iron fits a compass plane?

Right, back to the real update. Seeing as the compass plane was throwing a hissy fit I abused the bobbin sander to get the curves close to the line, not hugely accurate but good enough for this stage. To clean up I went back to abusing the flat bottomed spokeshave, which just about coped with the degree of curve I wanted to do. To protect the piece I put a bit of cloth over the vice screw.

tvstand001.jpg


Came out quite nice

tvstand002.jpg


tvstand003.jpg


And made this, which is great for lighting the fire in the lounge

tvstand004.jpg


Next I had to plane the flat sections where the two halves of the legs will meet, fiddly job as the area you're planing is small and it can be difficult to to keep the plane level and the cut even

tvstand007.jpg


After that it was time to do a little marking out for the tenons. You know how you can be stood there thinking what is the correct ratio/orientation/angle etc etc, well I was trying to remember the rule for tenons and the thought popped into my head that it was one third of the width.

Didn't seem right and I'm a visual person, so made a little paper tenon to check

tvstand008.jpg


That was when I thought, you daft pillock, it's two thirds tenon, one third waste. Like this

tvstand009.jpg


Out with the marking gauge to scribe out the tenon

tvstand010.jpg


The rear legs will be cut into two tenons the same dimension as the fronts later on

tvstand011.jpg


To accurately mark out the two curved sides of the front legs I had to plane a short flat section into a waste area of the leg top (it also had to be square), block plane was the job for this task. I could also use this reference face to mark out the far side - waste plus tenon width, as the gauge would not sit on the other side, it being a curve.

tvstand012.jpg


Decided I would rout out the waste on the flat sides of the legs, after the fiddle of setting up it would be quicker overall and should produce consistent results with clean and square shoulders that will need minimal cleaning up with the shoulder plane.

Setting up the fence was easy and did the old trick and holding up the router to the piece to check the distances. This was when I realised I'd measured off the wrong side of the cutter and nearly had a cut twice as deep as I wanted. Once rectified it was a simple job to set the depth of the cutter, dead easy with these Trend depth setting gauges

tvstand013.jpg


Routing away was quite straightforward but I did have to be careful, the area for the router to rest on is very small and it's easy to tip over. Not only that but the direction of tip changes halfway through the piece. Did get some minor dig ins as I went along but only in the middle of the tenons, not at the shoulder or top

tvstand014.jpg


End result was this. Will remove the remaining waste with bandsaw, tenon saw and shoulder plane. Then it will be onto joining the legs together before turning attention back to the top

tvstand015.jpg
 
This is coming on nicely Damien (You daft pillock :lol: ). Looking forward to seeing it done.
 
You were actually correct the first time - tenons are generally cut using the one-third rule! :D But, in your situation, it is often a bit different... I would've done the same as you and maximum the tenon width by cutting a smaller shoulder.

One month to go and it looks as thought you're on course to finish in time. :)
 
These little ruler/square things are dead handy, today I was using mine to mark up the next cut one the tenons

tv38.jpg


Which gave me this, exactly what I had planned in the drawings

tv39.jpg


However... looking at where the tenon was in relation to the leg I had an uneasy feeling, I had a load of waste on the inner part of the leg where there was more wood below it and the tenon itself was out on the weaker edge. Proper angel and devil moment on each shoulder, angel says, you know that's wrong, re-do the tenon marking, devil says, but you've already marked it out and it'll probably be okay. And quicker.

Well, part of the luxury of following your own plans and having time on your side is the ability to amend as you go along, I had already left a little length on the tenons so they could be planed flush, so i moved them over and knew the marking lines would be removed.

Cut the remaining sides on the bandsaw as it's quick and accurate, then finished with a pair of shoulder planes and a nice wide chisel. Bit of a traditionalist, I like to use shoulder planes for cleaning up tenons and they do the job very well

tv40.jpg


Having cut half with the router and half with the bandsaw/planes/chisel I'd have to say that I prefer the latter. A bit slower, but much more controlled, much less chance for cock up and much more satisfaction derived. As a result the quality was higher. This is what I ended up with and you can see the difference between the different methods

tv41.jpg


Next job was to create a flat area on the front legs where they will be joined to each other, this needs to be accurate and consistent. Decided to come in 3mm from the faces. Marked up on 3 sides for accuracy and also put a mark on the cut area to show the limit of the amount to be removed

tv42.jpg


I mucked about trying to decide which was the best method to do this, accuracy was most important, followed by ease. Quickly ruled out table or bandsaw as I would struggle to get the pieces square and me safe. My shooting board and plane combo were not deep enough. Finally decided upon a bit of a heath robinson combo involving a bench stop and a pile of scrap. Took off the bulk with a No 5.5 and then moved to the block plane - these new Veritas blocks really are the dogs, the winner of this category is really going to get a nice plane.

Kept checking the lines but also used the square to keep and eye on progress

tv43.jpg


I'd already put my legs in pairs, so once I'd got them planed and square I married them up to each other to check for fit. One pair was fine, the other required a minor fettle. This was the result, a pleasing moment

tv44.jpg


Because of the curves it was vitally important that I cut the legs perfectly square and to final dimensions before I cut out the leg shapes. This was the only way I could get datum points for cutting the tenons and the faces described above. I can always do some fettling later, but I'm saving myself pain by getting this right up front.

Next jobs, rear leg tenons and the joining dovetails on the legs
 
Damien,

I'm sorry I hadn't spotted this thread before. It's been interesting catching up on your progress though. I'm glad that you do your design work the same way as I do, although mine is a bit more minimalist than yours usually.

You do seem to have an excess of fancy tools, but much more importantly, that looks a really nice piece of wood. You are clearly doing a thorough job both on the bench and on the computer, with some excellent photos and explanations so far.

My one slight worry is about the design. I wonder if it will seem to have too much wood and not enough air in the final analysis? In my view it doesn't need such chunky legs either structurally or visually......but I may well be wrong.

All the best with this......keep the photos coming!

Mike
 
Mike, I to have just seen the thread and thought the same - I have made a number of items in the past and ended up reducing the thickness of the legs once the item was 'real'. On paper/computer they looked fine but the opinion of management was that they were too thick.


Damien, looking at the thread and the challenge you had of planing the joining pieces of the legs, was there a reason why you didn't do that before cutting the inner curve profile (as then you would have had a long straight edge to plane). I know hindsight is wonderful!

I'm looking forward to watching this progress.

Dave
 
Thanks chaps, I did do a lot of pondering about the leg thickness and decided to err on the side of caution given what they would be supporting. They also fit with other furniture in the house, so hopefully won't look out of place. I'll be doing a dry assembly before the glue up so should get a good idea of whether it will work or not. If they need to be thinner then I can plane/sand some more thickness off - I really do hope not as that stuff is a pipper to plane and my spokeshave is the only one that cuts it (pun intended).

I know what you mean about the straight edges too, where possible I have kept and used the straight edge from the thicknesser, but it only really worked out for the rear legs as they came from one piece each each. For the front legs I had to cut them as close to each other as possible to minimise wastage and maximise the ripple as that petered out across the board, so there was little opportunity to build in a straight edge. I also made use where possible of the grain direction, one of the reasons for selecting this board was that the grain had a natural curve, which the legs could follow, plus on some of them the grain straightened at one end, so I could have vertical grain at the tenons transitioning into the curved leg grain.

Looked up some glass shelf brackets in brass from Rutlands last night, nearly sh*t myself, 20 quid a pop and I need 12 of them (maybe 8 at a stretch). Could buy a new TV for that.

Did some google-ising and found a place on good old fleabay that knocks them out much cheaper, think I can get all of them for under 20 quid. Jaw retrieved from floor....
 
Rear leg tenon time, bit of marking up first

tv47.jpg


Then chopping out on the bandsaw

tv49.jpg


Temporary extraction system until a bin type extractor arrives on Monday :oops:

tv48.jpg


Decided to go for the paring approach rather than shoulder plane for cleaning up these. Used the piece of mdf clamped over the shoulder line technique

tv50.jpg


One set of cleaned up rear legs

tv51.jpg


Once again, deciding final dimensions of non-critical parts on the hoof, drew up a little paper dovetail template. Seems to fit well so I think I'll go with that

tv45.jpg


The dovetail pieces are coming out of this lump of English Walnut

tv46.jpg


Unfortunately it's not square in any plane, so needs dimensioning. Against my better judgement I decided I could run it over the planer using a push block :roll: After some bad snipe and a nasty kickback, I turned the planer off and cursed my laziness and stupidity.

So it was out with the trusty number 5.5 and with Planet Rock on the radio I got down to some hand dimensioning. Rewarding but slow. Really slow. I'll finish it tomorrow

tv52.jpg
 
I look forward to seeing how you tackle those 'butterfly' dovetail keys as it's something I haven't done before. George Nakashima used to use them frequently in his work, which I quite admire.
 
Great progress mate and it looks to be an interesting design. I like the dovetail idea especially.
I do agree with Mike about the 'weight' of the legs though, an alternative to cutting them down if your concerned about the loading they will have to take, is some chamfering, maybe even some tapered chamfers. I think these could look especially nice and you will still maintain the bulk of the wood whilst giving a lighter look.
Keep the pictures coming.
Ps- you sure you have enough handtool bling there..! 8)
 
Back
Top