custard
Established Member
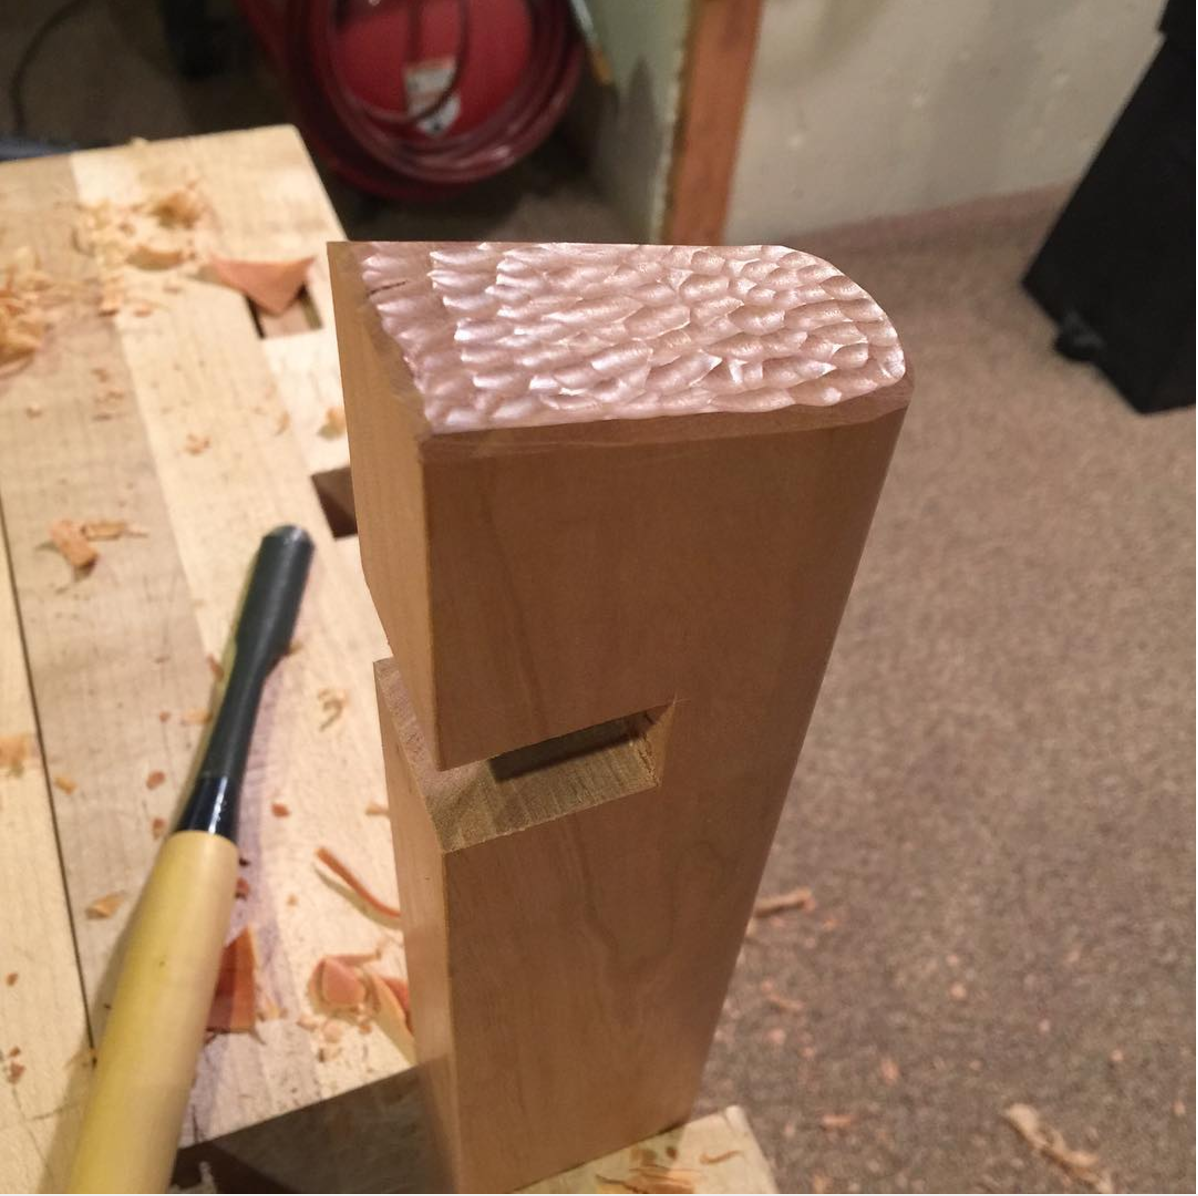
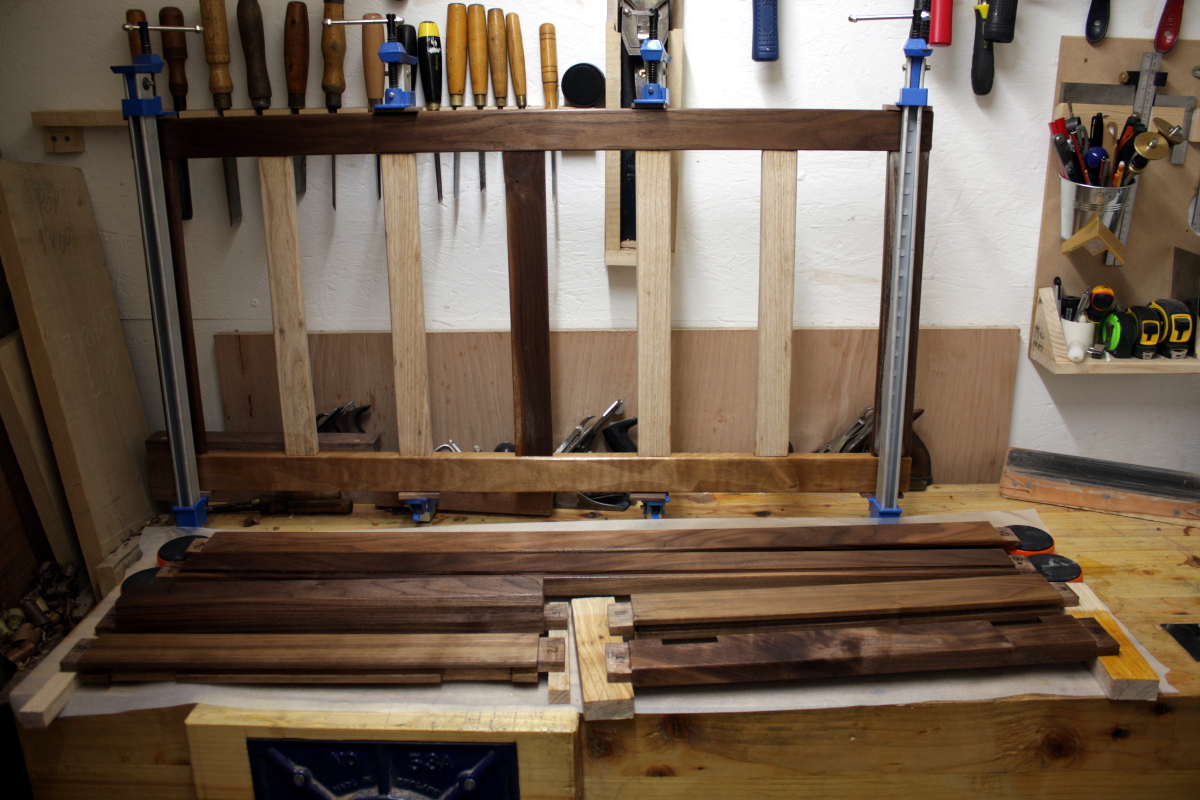
MarkDennehy":3pxk2sdl said:I'm just hoping those gaps close up enough that it's not embarrassing when its all assembled.
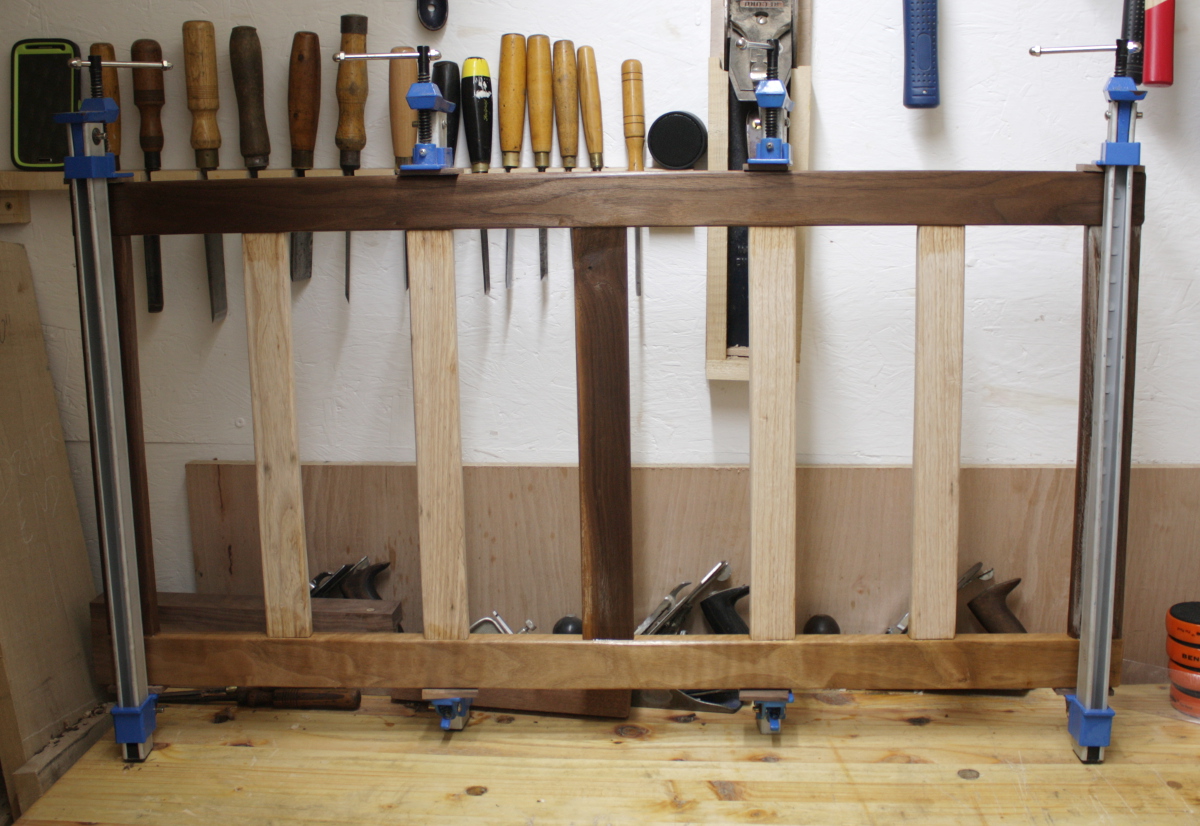
Good for you for having a crack at it! But if you do it again there's a trick for getting those tenon shoulders perfectly fitted into a curve. Imagine a chair with a curved crest rail (the rail at the top), the bottom rail, and a series of splats or back bars running between them and jointed in with mortice and tenons. Basically it's the same cabinet making conundrum that you're faced with. Here's how you resolve that problem in chairmaking,

You make the mortice at "A" about 2mm wider than the tenon, so it can float over to the left. Then you do a dry assembly and scribe all the tenon shoulders at "B" by an amount equal to the largest gap (which if you're reasonably competent will be less than 2mm!). In fact with chair making you're normally trying to close up gaps of about 0.5mm, so you generally allow a "float" of about 1.5mm and that will give you two or even three attempts to achieve perfectly tight fitting shoulders, even against a curve, across multiple mortice and tenons.
Easy peasy when you know how!