Tool Cabinet - FINISHED

UKworkshop.co.uk

Help Support UKworkshop.co.uk:

This site may earn a commission from merchant affiliate links, including eBay, Amazon, and others.
hi tony

Paul wrote
Great cabinet

As for the drawer runners, I think I'd be inclined to stick with the metal ones. It is, after all, a tool cabinet and tools weigh a lot (especially the number you have ). I reckon that, long term, the metal ones will wear better and give you less grief.

If you were putting it in the lounge, that would be a different matter.......

(i cant' agree enough tony leave them as they are they are not out of place at all .hc
 
Waka.
That is a beautiful looking tool cabinet and well deserved for the tools it's going to hold.
I quite like the runners as Paul says it does now give it that workshop look to it.
I would keep em as they will no doubt get a lot of use,and last a lot longer with trouble free use :D
Can't wait to see it finished.
 
Fantastic looking cabinet imho.
Yes, the drawer runners look unsightly and let the piece down somewhat. But given the weight of tools I don't see any other sensible option. It'll be an interesting journey but there must be a way to disguise the runners somehow.
 
This is a dream project, I'm just going to keep plugging away and learning, someday I will have the skill to do this type of project.

Absolutely fabulous, keep up the magnificent work and please keep us informed of the progress.
 
Waka

Had a read as you suggested and that is coming on superbly mate. I am inspsired to make one when I get enough free time and the the other jobs that have been added to my to-do list for me are completed.....

Keep the piccies coming.
 
Fantastic toolbox looks like high quality furniture very nice.
Don't listen to the b@llox about the slides they were designed to overcome
the sagging and sticking drawer sagas of the good old days.
 
IMGP3108.jpg


Apart from a top shelf to make the inside of the cabinet is now finished. To support the shelf I've used the brass inserts with brass shelf supports, I think this looks better than securing with a bracket.

IMGP3107.jpg


IMGP3109.jpg


So its the doors to do, I've got the wood ready, these are the last two planks of the rosewood I have left, and by my judgement assuming nothing goes wrong should be enough to complete the job.

Ordered the piano hinges and screws today, so no reason now to hang back, my projected finish date is the middle of October because I've got a couple of other projects that need seeing to and I want to fit in 3 weeks on the Narrow Boat.

Thought I'd give you a little look into a few of the drawers that I've started using, mainly the planes and chisels.

IMGP3110.jpg


IMGP3111.jpg


Nice thing is that I don't think I'm going to be able to fill all the drawers, might have to go on a spending spree to celebrate the finishing of the cabinet

IMGP3112.jpg


Thanks for your interest.
 
I can vouch that the planes and chisels do look very tidy (slight use of the understatement there) in the drawers and indeed that some of the drawers have mostly fresh air in them. Should Waka invest in a few more shinies, then we all need to stand by for a few 'drive by' gloats from the 'Master' :lol: - Rob
 
Absolutely beautiful Tony, the design really compliments the knobs. (He says tongue in cheek)

Not been around for a while, but glad to see it is moving towards completion. Enjoy your break on the water when you get there.
 
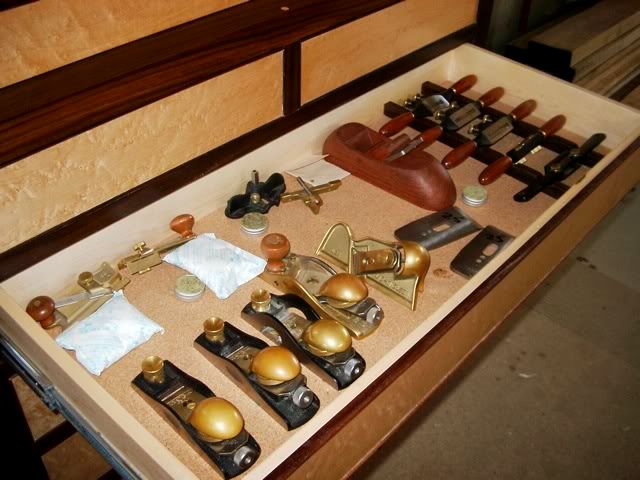
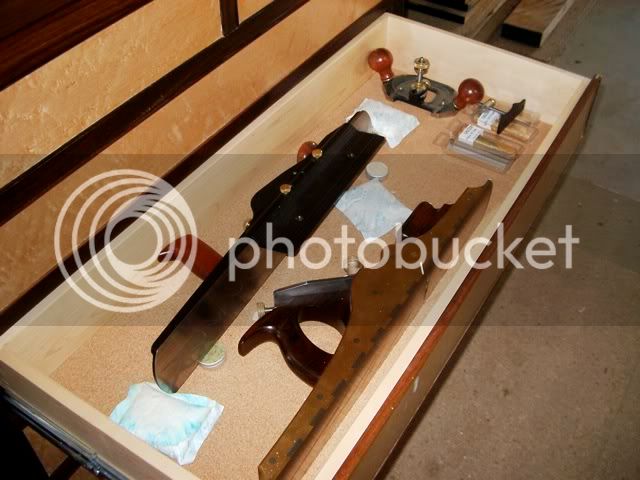
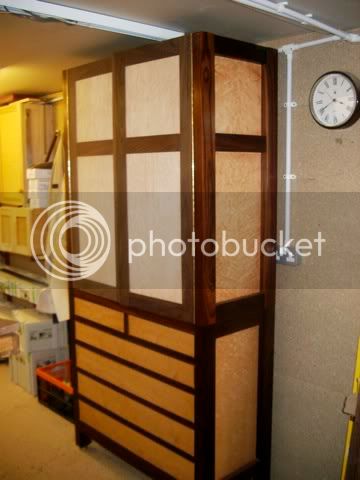
I wasn't sure I would get to the doors so soon but the other little job I had planned is on the back burner for a few weeks, so I thought I'd start the bit of the cabinet I've been dreading.

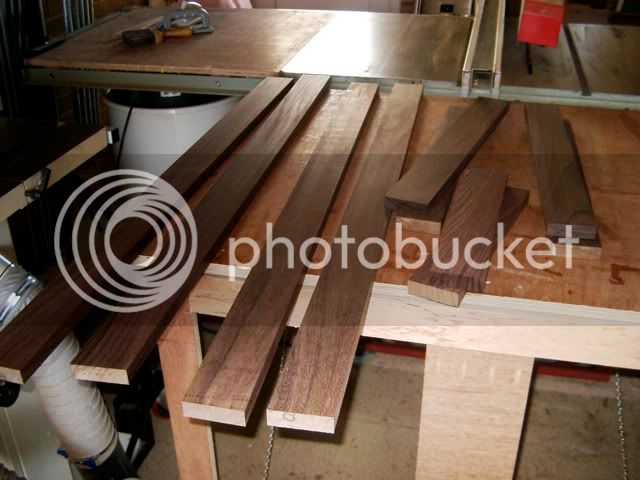
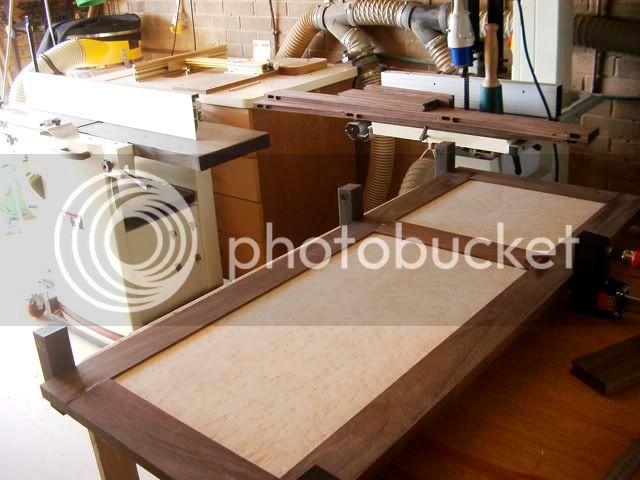
First off I cut the stiles and rails for the doors.

IMGP3116.jpg


In the past I have always used biscuits for this sort of job, but in this case I thought I'd use the Domino, this is the first time I've used it on a project and I have to say I'm really impressed, I've only done the basic joints with it so far, but as time goes on I'm sure I'll get to the angled stuff.

IMGP3119.jpg


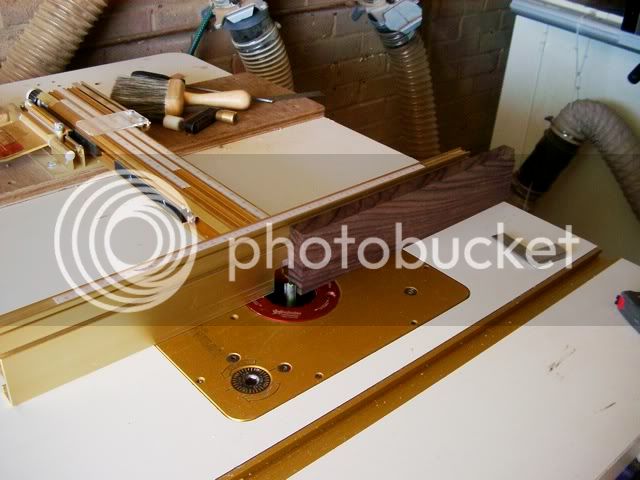
Now for a quick run over the router table for the rebates, these will hold the panels in place.

IMGP3117.jpg


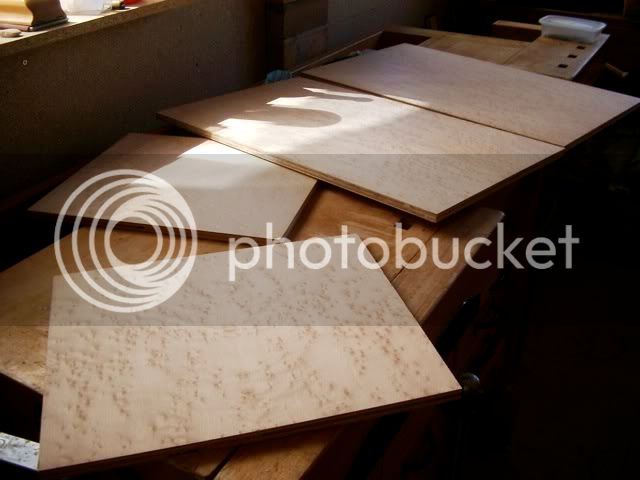
Quick check of the panels ensuring that I've got the right two going together in the panel.

IMGP3118.jpg


Couple of clamps and glue and hay presto one panel in the making.

IMGP3120.jpg


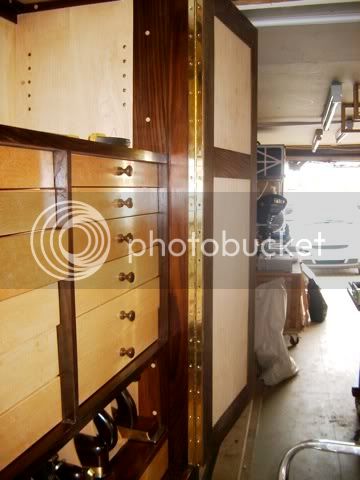
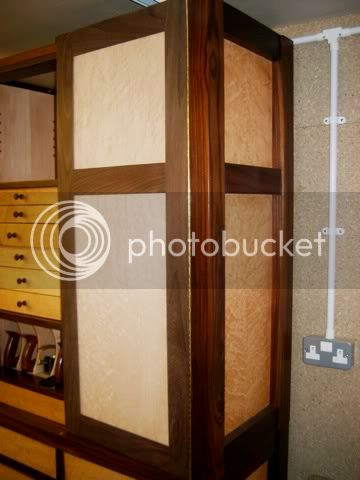
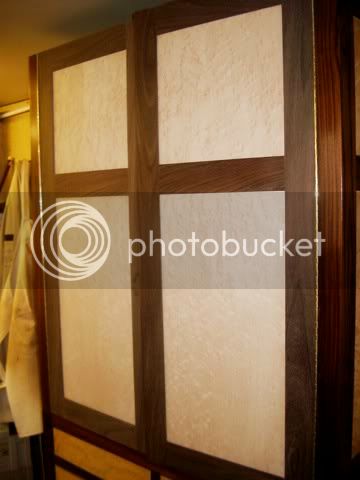
Now comes what I call the tricky bit, the fitting of the piano hinge. I have to say that in the past I've let myself done by not buying quality hinges and also not having the knack of fitting them, this is with reading books, watching videos and getting advice from people.

So I got some solid brass quality hinges from Ironmongery Direct, I then played around with scrap pieces of wood to get the right distances. The last thing I wanted to do was start putting them on the cabinet without having everything measured accurately. Once this was done I scribed a line on the door and also on the frame and started fitting the hinge.

IMGP3130.jpg


I was pleased with the result and I'm sure the hour or two getting the settings right played off.

IMGP3131.jpg


It was now quite easy to set the other door in place.

IMGP3133.jpg


IMGP3134.jpg


The actual doors when in the closed position overlap slightly, each door the thickness of the hinge, these will be planed down so that (hopefully) I'll have a 1 mm gap between the doors.

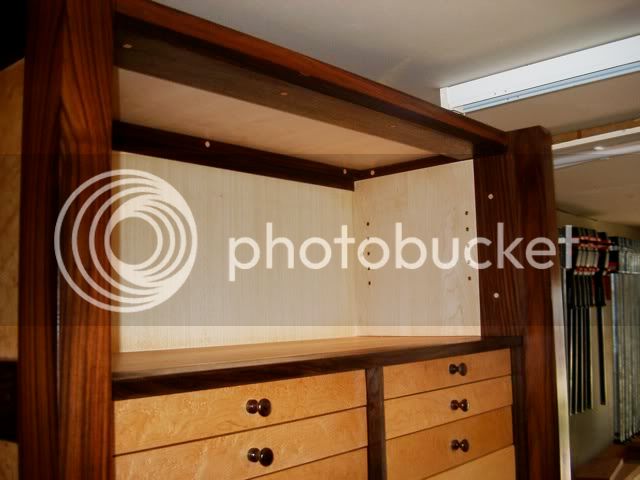
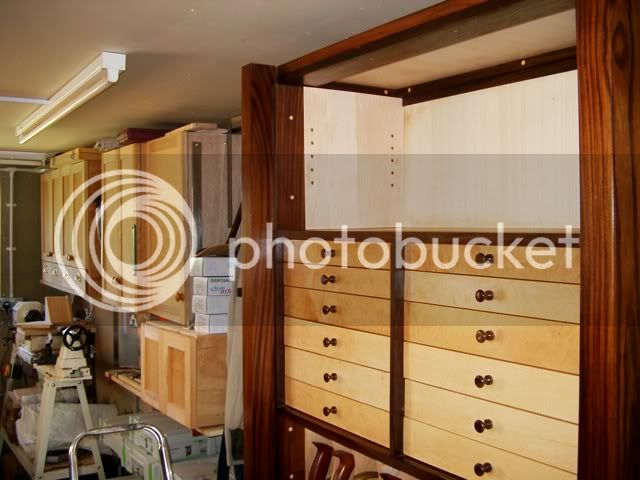
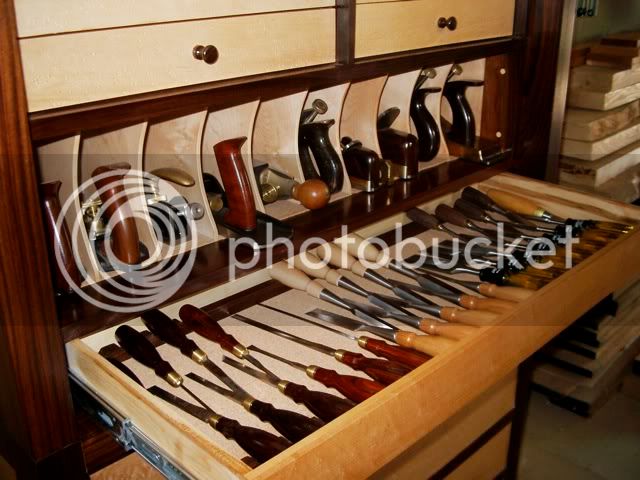
When this is done the framework of the door will be made an added to the inside of the door allowing a space to hang tools.
 
Looks brilliant!

I have to say a trip round your workshop must be like Tool heaven with Festool and Jet and Incra scattered all over the place.

In your plane draw it looks like you have 3 of the small lie-Nielsen block planes why do you have 3?
 
Chems

Good question, the first on is the Rabbet block plane and the other two are the adjustable mouth Standard and Low angle block planes.
 

Latest posts

Back
Top