Tool Cabinet - FINISHED

UKworkshop.co.uk

Help Support UKworkshop.co.uk:

This site may earn a commission from merchant affiliate links, including eBay, Amazon, and others.

Waka

Established Member
UKW Supporter
Joined
8 Mar 2004
Messages
4,495
Reaction score
7
Location
Weymouth
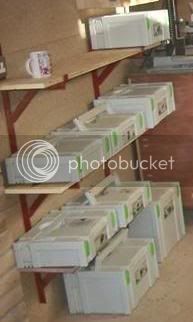
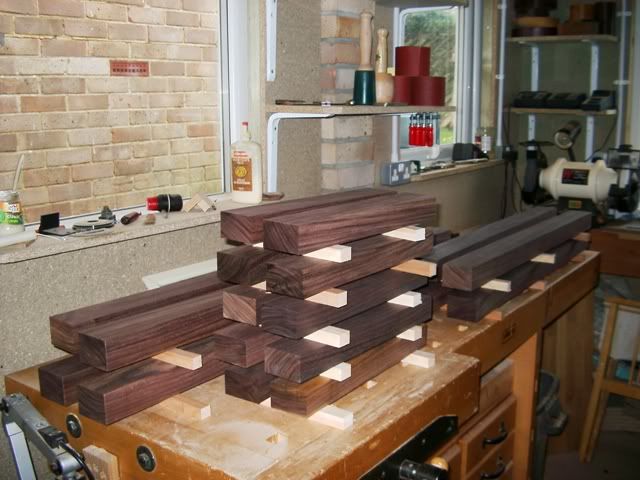
Up nice and early Monday and started the tool cabinet. First thing was to sort out some Indonesian Rosewood for the main frame.
Four nice big chunks should do to start with.

SelectingWood.jpg


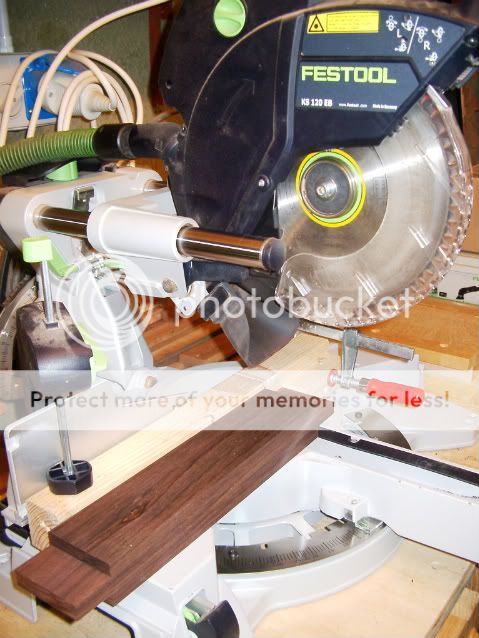
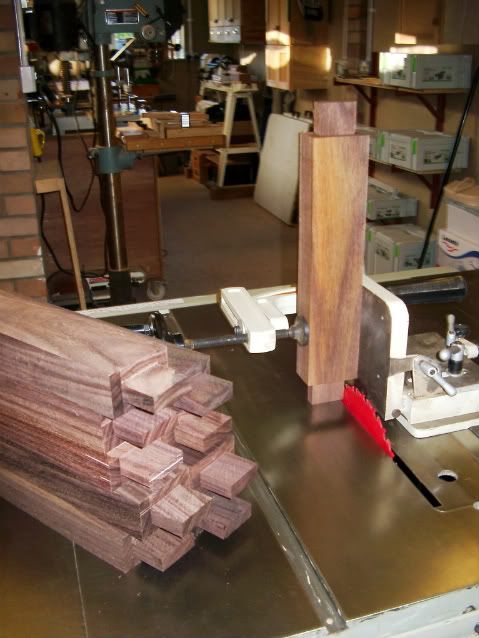
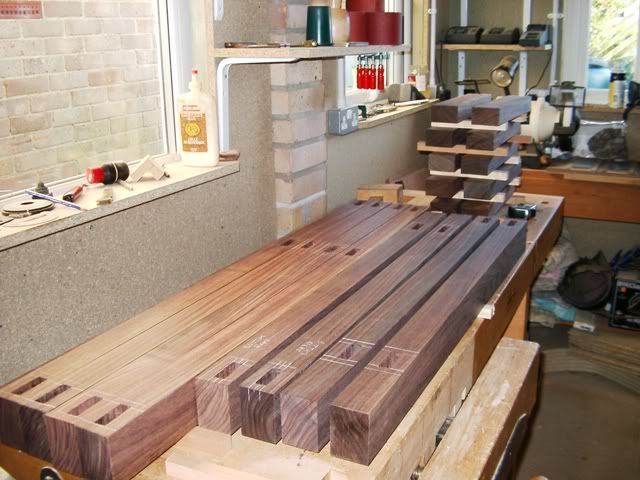
Having been supplied all the dimentions from Chris (Waterhead37) it was just a matter of slicing through on the table saw and doing the final trim on the PT

The styles are 2 3/4" X 2" with the base being 36" long and the top section 44" long. The top is slightly shorter than Chris's because I don't have the head room.

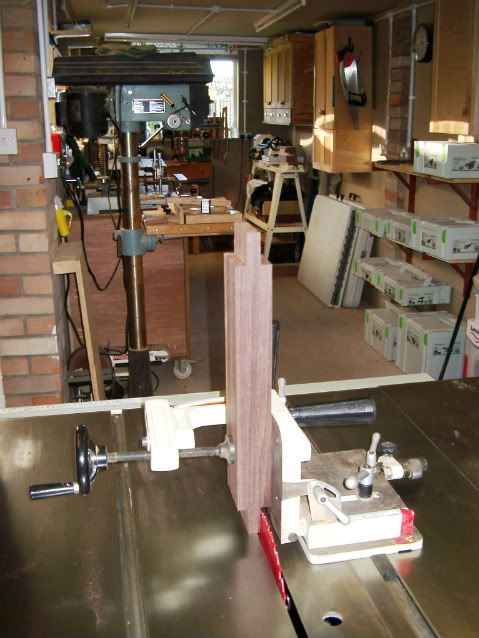
The 2 3/4" x 2" might seem a little chunky, but I can assure you it doesn't look out of proportion when you see the real thing.
The rails are 2 3/4" X 1 3/4", this allows for a 1/4" reveal on the outside, this is another thing that looks right on the real thing.

CuttingMainFrametoSize-1.jpg

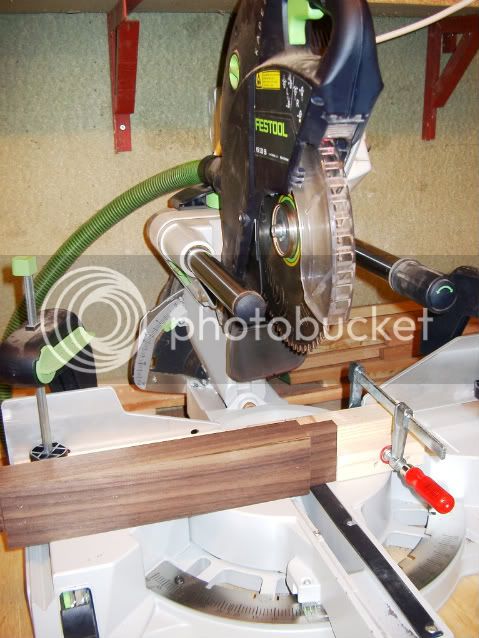
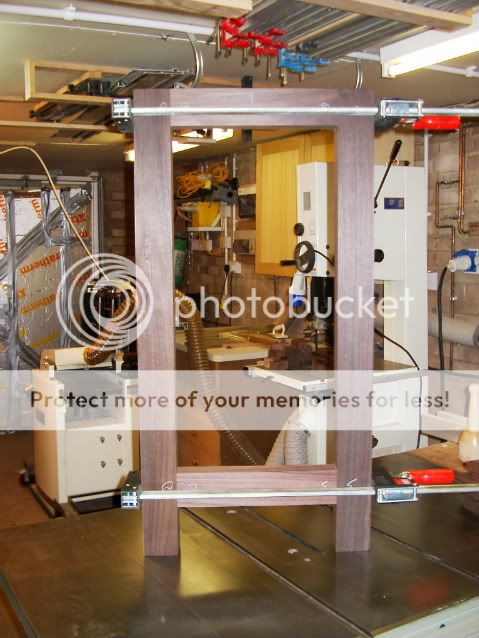
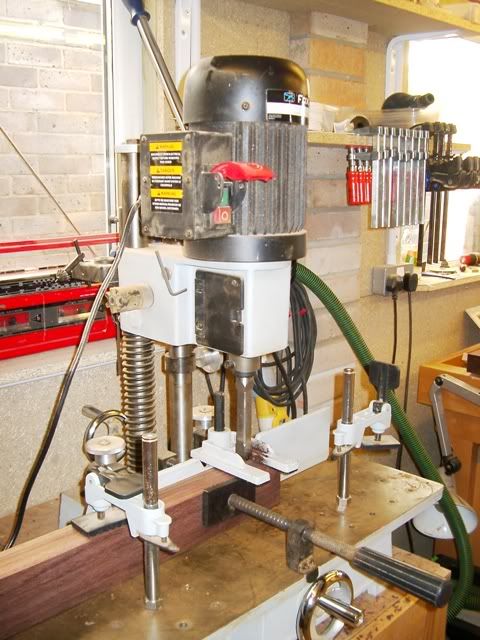
Spent today making out the styles for the mortises, then did the upper and lower side panels. Once the machine was set up it didn't really take all that long.

Mortiser.jpg


All in all a good days work.

StylesRails.jpg


Hopefully tomorrow I can size the upper and lower stretchers and get the mortises done for them. The plan for next week is to concentrate on the tenons.
 
Wow that rosewood looks lovely. Would it be rude to ask what is cost?
 
crikey bet that rosewood wasent cheap :shock: and must have been hard to find that much? looking good :)
 
wizer":o0kvvxqd said:
Wow that rosewood looks lovely. Would it be rude to ask what is cost?

The rosewood wasn't all that expensive. I was lucky (through Mahking) to meet a cabinet maker who was giving up work, therefore he wanted to get shot of his wood stock. He had approximately 8 cuft of the rosewood and I paid £300 for the lot, the nice thing was that he'd had it for 30 years and it still had the original prices on it.

When I bought it I had the tool cabinet in mind and I really think this is a fitting project for such beautiful wood.
 
Waka I'm watching with interest, now if I recall correctly your design is based on Chris's now his is wall mounted from the length of the rosewood yours appears to be floor standing am I right? If so any chance of showing us some plans or dimension cos I want to do one :lol:
 
Looking good Waka. I'm interested to watch this as one day when I have the time I'd like to do a similar cabinet.

Cheers, Ed

NB - nice stealth gloat on the Festool collection, although I suspect its appeared previously...
 
Lord Nibbo":2ac4cjni said:
Waka I'm watching with interest, now if I recall correctly your design is based on Chris's now his is wall mounted from the length of the rosewood yours appears to be floor standing am I right? If so any chance of showing us some plans or dimension cos I want to do one :lol:

LN

Sorry to disappoint but Chris's is floor standing
 
Waka":3smlb97u said:
Lord Nibbo":3smlb97u said:
Waka I'm watching with interest, now if I recall correctly your design is based on Chris's now his is wall mounted from the length of the rosewood yours appears to be floor standing am I right? If so any chance of showing us some plans or dimension cos I want to do one :lol:

LN

Sorry to disappoint but Chris's is floor standing

Thats what I want but I want to put it on wheels :lol:
 
The big question is whether that will prove to big enough for all the tools in the future :wink:
 
Lord Nibbo":lvn0epst said:
Waka":lvn0epst said:
Lord Nibbo":lvn0epst said:
Waka I'm watching with interest, now if I recall correctly your design is based on Chris's now his is wall mounted from the length of the rosewood yours appears to be floor standing am I right? If so any chance of showing us some plans or dimension cos I want to do one :lol:

LN

Sorry to disappoint but Chris's is floor standing

Thats what I want but I want to put it on wheels :lol:

Chris's is on wheels but I'm not to, sure I will do that because I have a dedicated location for it, but the option always remains.
 
Waka":unz76gja said:
Corset":unz76gja said:
The big question is whether that will prove to big enough for all the tools in the future :wink:

I've thought of that and will build it like the tardis.

Clever stuff.

That rosewood is a major gloat - it's going to be stunning.
 
Hi,

Oooo, I bet your workshop smelled great, I love the smell of Rosewood in the morning :lol:

Pete
 
Racers":s3gnmbza said:
Hi,

Oooo, I bet your workshop smelled great, I love the smell of Rosewood in the morning :lol:

Pete

I would not like to be in your shoes when your wife finds out about this Rose Wood you are sniffing in the morning.
 
Never mind the tools, I'd be making a cabinet for these babies:


Systainers.jpg


Seriously nice wood, Waka.

I'd have snapped it up and then waited for someone to commission a piece in rosewood.

Then, when I was retiring in around 2035, I'd be flogging it to some bloke who wanted to make a tool cabinet!

:lol:

Dan
 
Another good day in the workshop and some significant progress made. I mentioned in the last post that I wouldn't start the tenon's until next week, well I thought I'd do them today so I could dry fit the side panels, thereby giving myself a better idea of the stretcher sizes and length.

I adjusted the SCMS to give me the required depth, this way I could ensure of a nice clean cut on the cheeks of the tenon.
Notice I have made a very crude jig and clamped it to the SCMS, this ensure that the tenons are all the same length.

I have to say that the set up of both machines probably took longer than doing the actual job.

IMGP2710.jpg


Same sort of set up with the Delta tenoning jig, I've had this jig for a couple of years and never actually used it, nice piece of kit

IMGP2711.jpg


Same here for the side cheeks.

IMGP2712.jpg


IMGP2713.jpg


Always a telling time when you come to do the first dry fit, wondering if you've got it spot on. I always tend to make the tenon a tad bigger that the mortise, then resize by hand, this ensures a nice snug fit.

IMGP2714.jpg


Both side panels are in the dry fit state, so the next job will be to make the stretchers.
 
Back
Top