Chris Knight
Established Member
Looking good! 


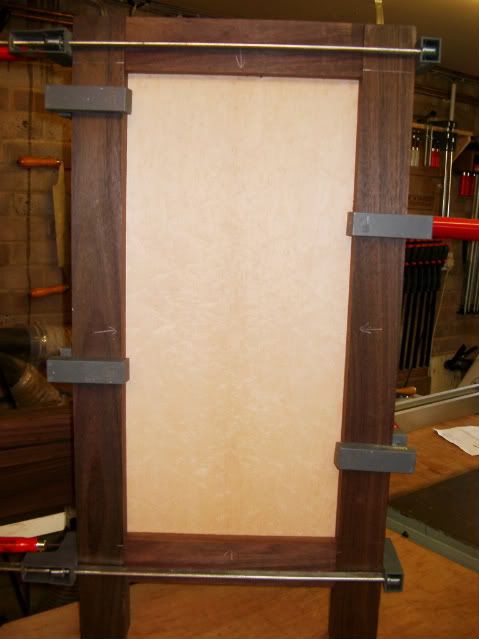
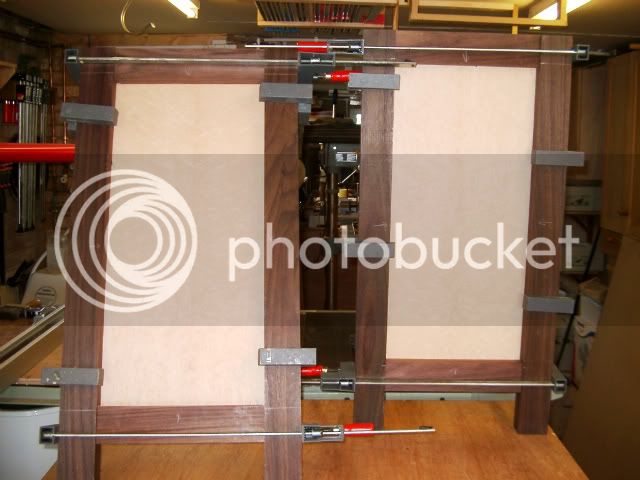
joiner_sim":g6k1zziw said:Looking good, and I must add, you do exactly the same as me. Once a joint is right it's labelled up so that it fits exactly the same come the glue up time!
Waka":onxcdamn said:joiner_sim":onxcdamn said:Looking good, and I must add, you do exactly the same as me. Once a joint is right it's labelled up so that it fits exactly the same come the glue up time!
I've made the mistake in the past where I've not marked them up and got into all sorts of difficulty. As this final fitting together is going to be like a jigsaw puzzles its essential, yo mark everything.


Waka":ejfe2qc0 said:joiner_sim":ejfe2qc0 said:Looking good, and I must add, you do exactly the same as me. Once a joint is right it's labelled up so that it fits exactly the same come the glue up time!
I've made the mistake in the past where I've not marked them up and got into all sorts of difficulty. As this final fitting together is going to be like a jigsaw puzzles its essential, yo mark everything.
- Rob
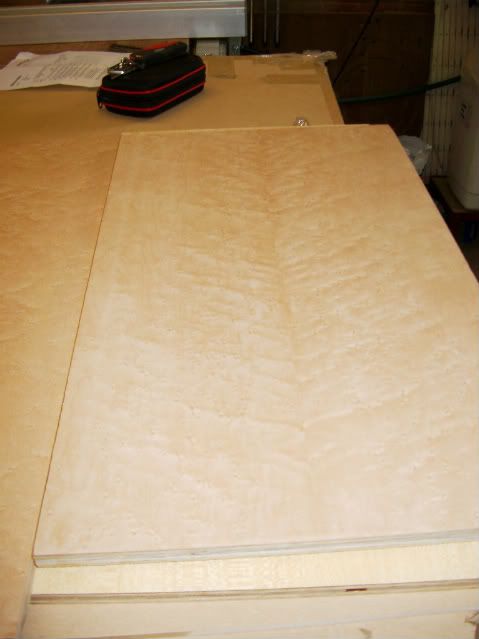
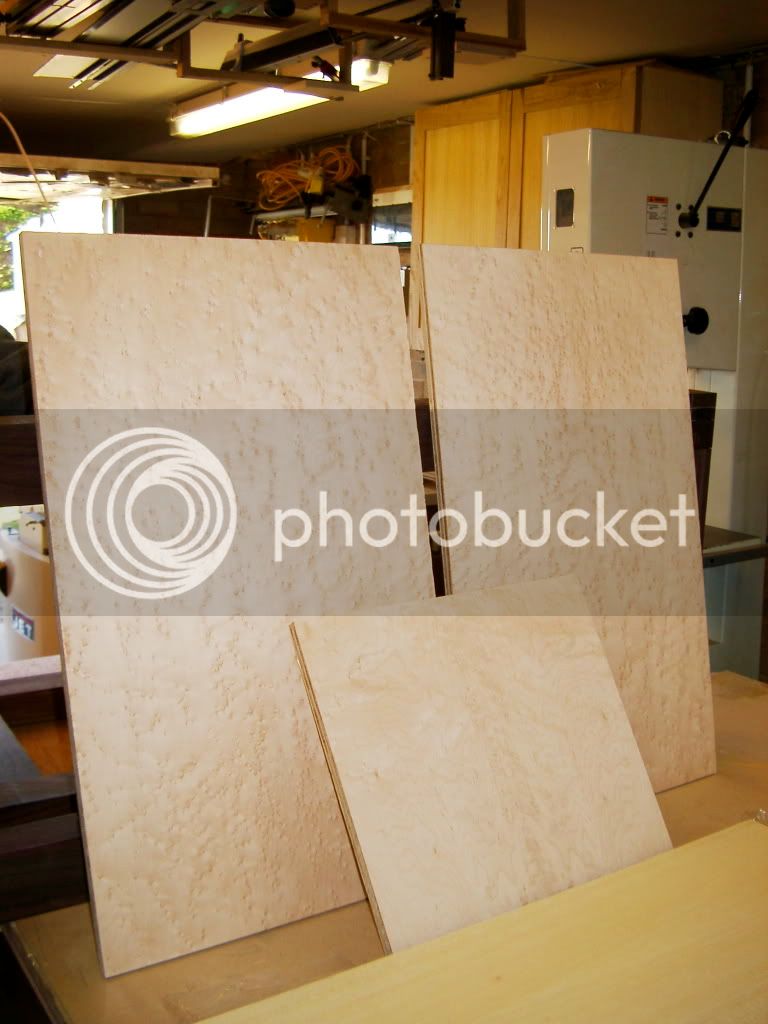
noddy67":1cqa6jlb said:Waka looking great. Can I ask you did you buy the maple panels already veneered or did you do it yourself? If so did you use a vacuum bag to do it?
Thanks
Enter your email address to join: