The (almost) no plans bench build

UKworkshop.co.uk

Help Support UKworkshop.co.uk:

This site may earn a commission from merchant affiliate links, including eBay, Amazon, and others.
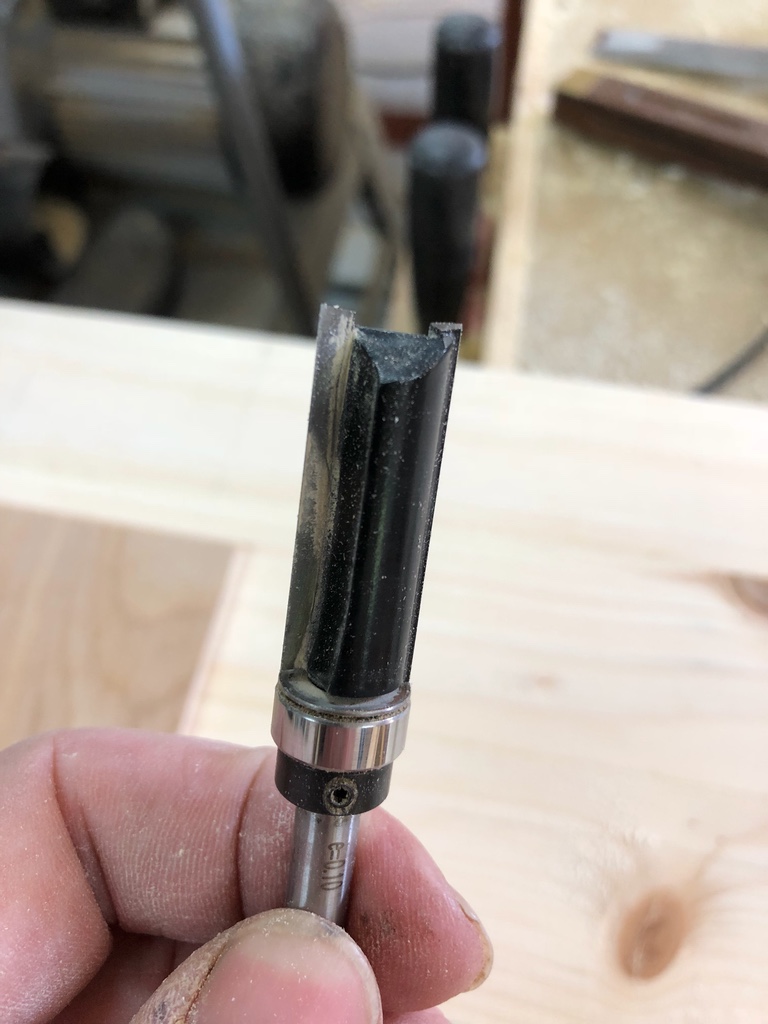
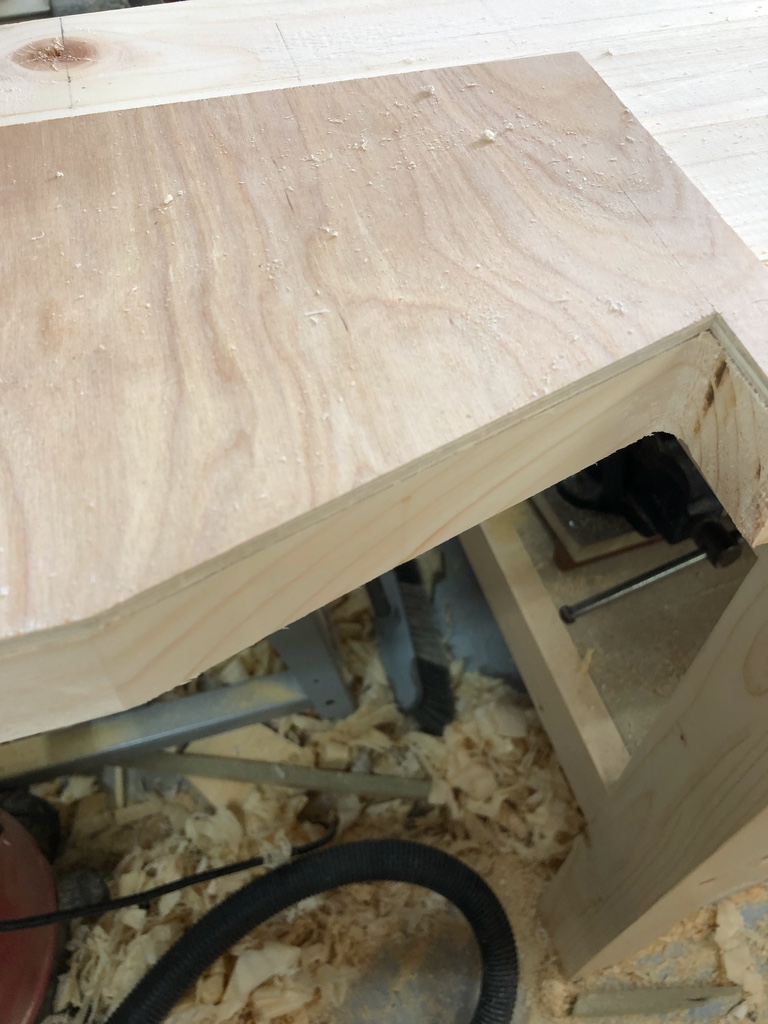
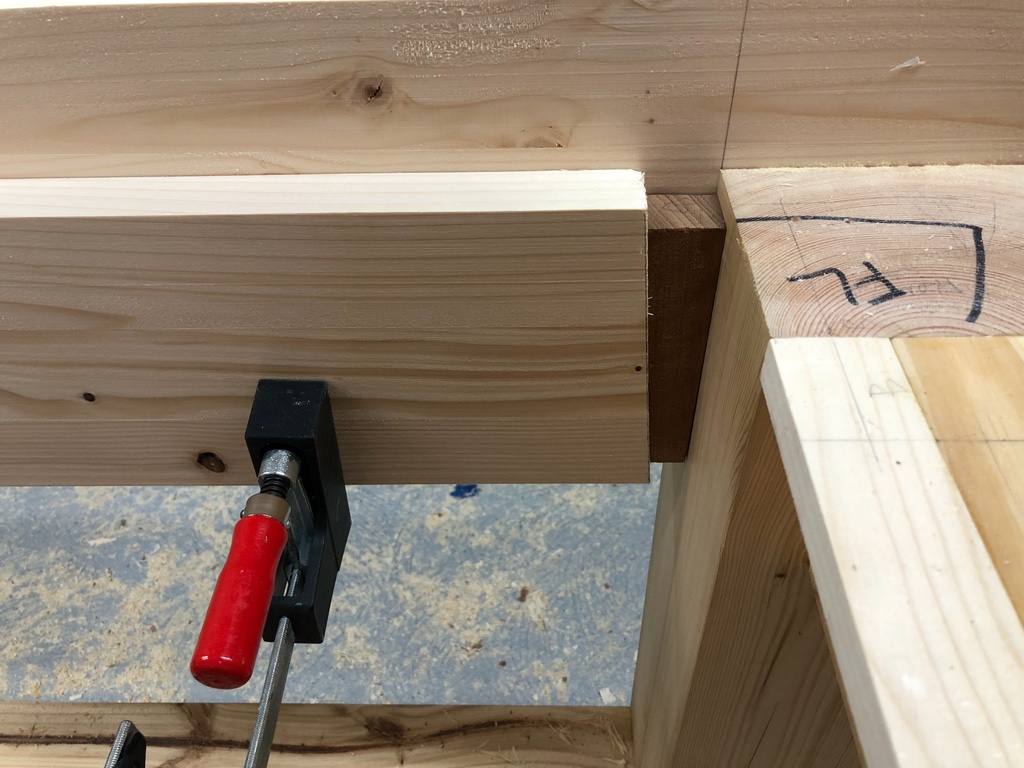
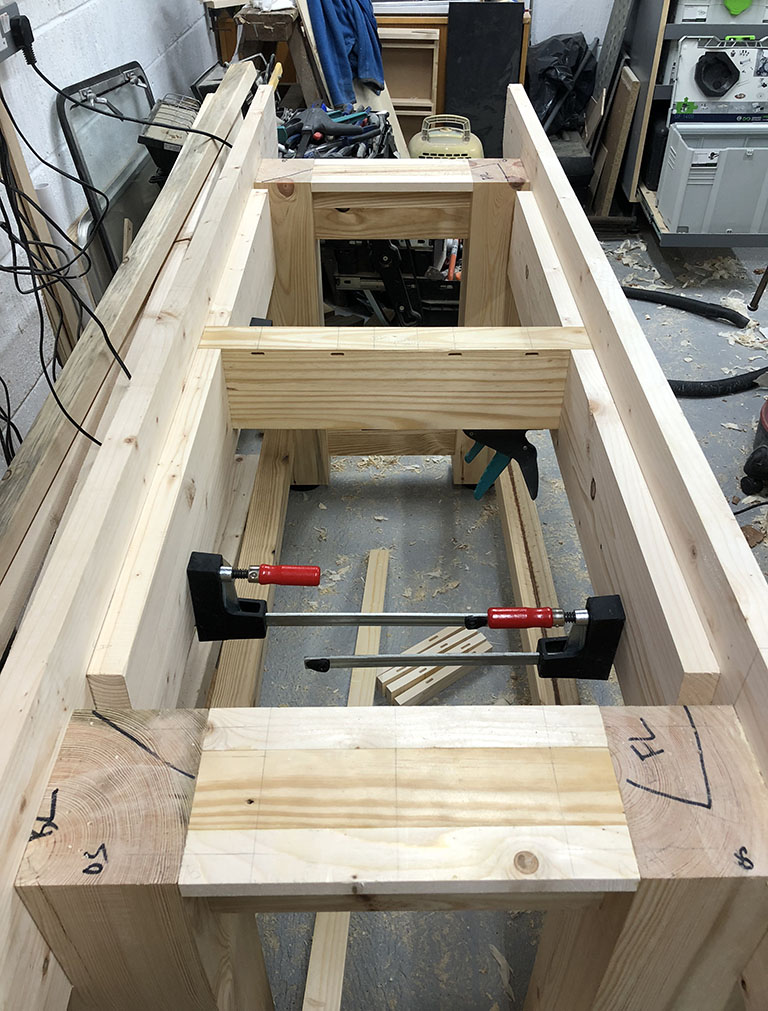
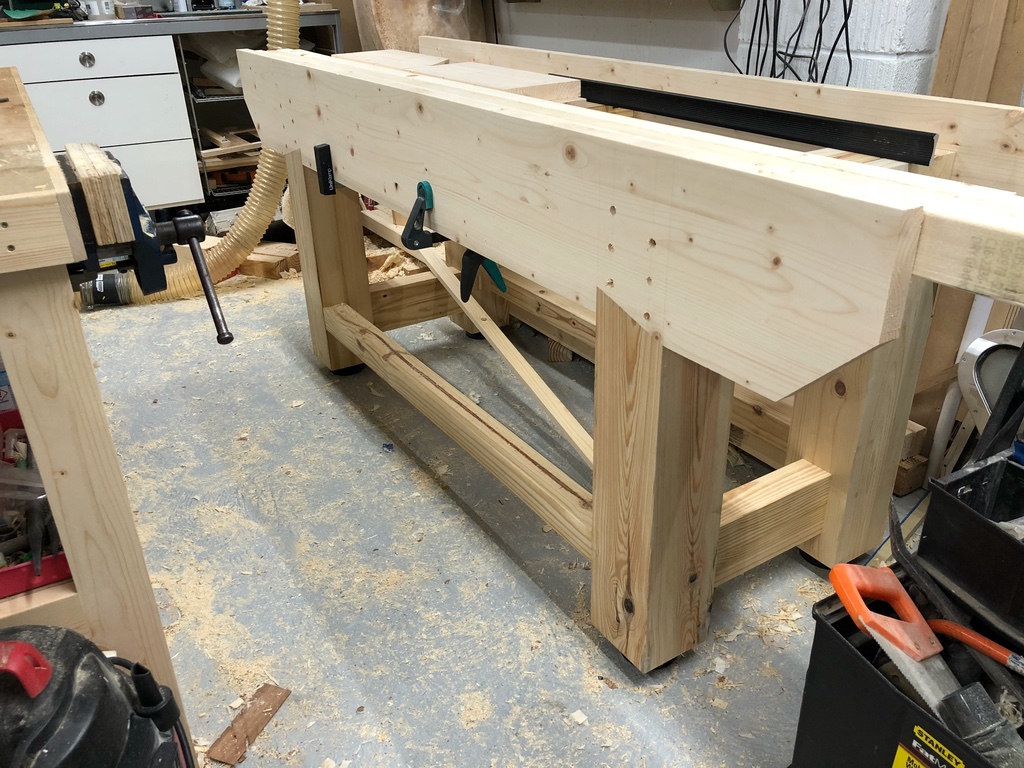
Interesting question... on my other bench, I can’t say I’ve noticed, but then again, I don’t tend to pound out mortices by hand. There’s definitely a big difference between the ‘holey’ area and the solid area of the top - where the webs of the torsion box are filled in.

I'd be interested to know the physics of this. Does the mass absorb the shock or does it help transmit it to the floor? Or a combination of the two perhaps? Does the hardness of the material make a difference - would an thinner section oak bench be less ‘dead’ than a beefier softwood one of the same weight?

If it wasn’t so heavy, I’d remove the feet when the bench is complete and try and see if there was any noticeable difference.
 
Surely the mass absorbs the shock?
Lay something heavy, say a club hammer on a nail and then try and bang the nail in by striking the opposite face with a hammer.
Be interesting to see how it performs with and without the feet.

Nice bench build, any details on the mft bench.
 
mindthatwhatouch":13ewil7c said:
...any details on the mft bench.

I didn’t document it fully, but there’s a few pics etc in this thread

post1220843.html#p1220843

Quite simple really, L shaped legs; area by the vice is filled in solid; flap supports have adjusters to level; MFT top £40 (if I recall) on eBay and very good, as are the aluminium dogs.

Anything specific you want to know just ask...

Cheers
Simon
 
Managed to get another few hours work done. Started by sorting the wood for the top and aprons - best bits for the top, second best for front apron, reserving the worst of it for the inner apron lamination.

I'm laminating the aprons to be thicker, adds a bit more mass and I think I can be more certain of holdfasts gripping in a deeper hole. Have a couple of other reasons too, but I'll get to that in a later post.

Began by cutting the timber down slightly over length. Found an interesting use for a practice dovetail piece - my mitre saw fence wasn't quite long enough, so improvised a stop...

stop.jpg


Then planed and thicknessed the timber for the apron, didn't bother to joint these by hand afterwards as an immaculate glue line's not really an issue here. Won't be sorry when all the timber's machined as it's so tedious to do. The knotty pine's really hammering the blades as well. I really regret not buying more of the 3x3 timber that I used for the base. The CLS is ok but a lot of work to lose the rounded corners - but hey-ho, hindsight and all that...

Have also decided, at some point soon, the Record Power DX5000 dust extractor's got to go! Too loud, generates too much heat and blocks too often with resinous timbers. You might see it in the for sale section soon...

I used a few dominoes to help keep the laminations aligned, making sure I didn't place any where the corners are to be cut away. Then on to the glue up.

firstapron.jpg


When I make the front apron, I'm going to have to mark out carefully so I don't put dominoes where the dog holes go - or maybe just leave the dominoes out altogether.

Having got a better sense of scale since the base has been built, I've lengthened the bench by 100mm, it's now going to be about seven feet long - better proportions and no real impact on workshop space.

Need to think about how I'm going to mount the vice, before I get too carried away with the aprons.

Time: 43hrs
Weight: 74kg
Cost: £66

SImon
 
transatlantic":2o2fnf5m said:
Well if I had all those tools then maybe I could build one too....
:roll:

it is looking good doingupthehouse . I don't think you'll regret making it a bit longer, my shed is quite small I had to make mine just under 6' to fit and it feels a bit cramped in some circumstances.

I am glad you are tracking time taken - it shows that making a bench is a pretty large undertaking (regardless of what tools you have!)
 
nabs":2hb3gvow said:
it is looking good doingupthehouse . I don't think you'll regret making it a bit longer, my shed is quite small I had to make mine just under 6' to fit and it feels a bit cramped in some circumstances.

I am glad you are tracking time taken - it shows that making a bench is a pretty large undertaking (regardless of what tools you have!)

Thanks Nabs. It's certainly time consuming and I don't get as much time on it as I'd like. Really enjoying this project though, as I've not attempted any joinery on this scale before. It does rather take the pressure off using cheap materials.

Already thinking of some of the accessories I might build when it's done... So many ideas, so little time!

Simon
 
Managed to get a couple more hours in today and started on the rear apron to leg joints. I started by making a template out of some scrap ply. Cut it on the bandsaw and cleaned up with a chisel.

templatetrim.jpg


I marked out the positions of the joints on the apron and cut away most of the waste with a jigsaw..

jigsawwaste.jpg


I aligned the jig with my knife lines and stuck it down with carpet tape. Then used a top bearing template trim bit to follow the template and cut the joint.

Image%2068.jpg


Trimmed.jpg


Then just a matter of squaring up the corners with a sharp chisel.

Right hand joint pretty well perfect, no fettling needed. The left hand side required just a little paring to achieve a good fit.

goodfit.jpg


Pretty happy with how these joints turned out. Only slight issue, I snapped the template after the second joint. The tape’s very strong! Won’t take long to make another, but it’s a shame as the fit was spot on. My own fault for not leaving enough material on one side.

futt.jpg


Have left the aprons a fraction thick and will plane down flush with the legs.

I need to think about how to proceed. I want to minimise how often I turn the bench around, as it’s bleedin’ heavy already, and I don’t have enough space in my workshop to turn it without upending it.

Time: 45½ hours

Simon
 
That moment when you realise you've cut the wrong corner off of something! :lol: :oops: =D>

stoopid.jpg


Lord knows what I was thinking? It's so obviously the wrong corner #-o - I'd just cut the first apron correctly too. I'm making a new one, but at least I can salvage this to make one of the inner aprons/bearer supports.

Have done a bit more work on the bench, but will do an update later, just thought I'd leave this here :lol:

Simon
 
MattRoberts":q6z9p87l said:
I see you're going with the through domino look? :D

As soon as I saw it my heart sank, knew the cut was in the wrong place as the dominoes were strategically place not to get cut into! #-o

Have now re-made the apron, but didn’t use dominoes this time. It took ages to work out the positioning, what with the dog holes, vice location, corner cuts etc. Wasn’t worth it just for an easier glue-up. Leaves me free to change my mind about hole locations - which I’m sure I will.

On the plus side, I’m getting faster at cutting the leg to apron joint - getting plenty of practice :lol:

Simon
 
Finally got some time to do a bit more work on the bench.

Managed to re-purpose the apron that I c*cked up as on of the inner aprons. I also machined up the timber for the second inner apron and glued that up. I've now produced my 4th bag of shavings and really must change those planer blades.

bag.jpg


I cut the joinery for the centre bearer. Not sure what you'd call this joint - part housing, part halving kind of thing. I cut the stopped housing first using a router and my exact width housing jig - have plans for a MKII version of this jig with adjustable stops. The jig is set from the actual component and is very accurate.

dadojig.jpg


After the housing was cut, I sawed out the waste to accept the halving portion of the joint.

sawing.jpg


To leave this...

allcut.jpg


and the finished joint... The domino mortices are to attach some wings to screw the top to.

finishedjoint.jpg


I've cut the ends of the inner aprons at an angle and cut some wedges from scrap sapele. I don't really think the bench needs wedging as it's incredibly solid, but it's not a lot of extra work - so belt and braces it is. I also pegged the leg to stretcher joints with some oak dowel, again not really necessary.

wedge.jpg


I'm simply screwing and (probably) glueing the aprons on so I used a plug cutter to make the plugs for the screw holes. The holes are a bit of a mess, as both of my 12mm drill bits are awful - but hey, its a bench!

plugs.jpg


Here's the bench with the inner aprons dry fitted. I still need to cut the parts for the areas on the outside of the legs.

undercarriage.jpg


I've been having a lot of thoughts about fitting the vice. I was originally going to fit it flush, but I'm now starting to favour offset fitting. My other bench has an offset vice and I can't say I've every wished it was flush - on the rare occasion I need to secure something long, I just use a packer. I'm not sure the flush fitting is worth the hassle. I need to make up my mind before I attach the inner aprons permanently.

So I'm almost at the stage where I can start making the top.

gettingthere.jpg


Time so far: 55hrs
Weight: 80kg
Cost: £75

Simon
 
After using a flush vice for 40 odd years, I changed to offset fitting, trying it out with a temporary spacer first then making it permanent. I now much prefer it. Easier to introduce work for clamping, and possible to clamp a component with sticky-out bits near the end. As always, depends on the work you do. I do a fair amount of restoration, where components (e.g. of chairs) often have sticky-out bits. A pattern-makers vice would be cool but ....


Keith
 
MusicMan":322t5r43 said:
After using a flush vice for 40 odd years, I changed to offset fitting, trying it out with a temporary spacer first then making it permanent. I now much prefer it. Easier to introduce work for clamping, and possible to clamp a component with sticky-out bits near the end. As always, depends on the work you do. I do a fair amount of restoration, where components (e.g. of chairs) often have sticky-out bits. A pattern-makers vice would be cool but ....


Keith
Thanks for that Keith. I'm certainly coming round to the idea. I've also realised that I prefer to plane on the bench against a stop where possible, rather than in the vice. It's much less faff to just pick up the pieces, turn them, check for square etc.

Simon
 
As Music Man said, it all depends of what you make.

If you're a furniture maker then you're edge jointing for almost every project, and these are amongst the most critical and demanding joints that you'll cut. An advantage of a flush vice is you can quickly secure workpieces at both ends like this,

Bench-Edge-Jointing.jpg


and the bench itself is helping keep the workpiece rigid and flex free along it's length.

To Music Man's point, a pattern maker's vice is brilliant for chair making,

vice photo 2.JPG


But it's absolutely rubbish for dovetailing, so much so that I have to drag out a big lump of a Moxon vice each time I dovetail, which then commandeers half the bench throughout the drawer making process. A Record QR is just a better all-rounder.
 

Attachments

  • Bench-Edge-Jointing.jpg
    Bench-Edge-Jointing.jpg
    87.4 KB · Views: 506
  • vice photo 2.JPG
    vice photo 2.JPG
    195.8 KB · Views: 506
Thanks Custard, food for thought...

Jointing edges is certainly something I’m doing more and more of. My thinking was to have some wide packers backed with 3/4” spigots. These could be slotted into the dog holes in the apron to allow solid clamping on the same plane as the vice. Perhaps not a solid or convenient as clamping directly to the bench though.

What you say about the Moxon taking up valuable space is interesting. I was considering building a small supplementary bench to sit on top of the main bench for more comfortable joint cutting.

Cheers
Simon
 
phil.p":15xq3api said:
My thinking on this is that if you have a flush vice you can space anything as far out as you wish, but if your vice isn't flush you can't bring the work any closer to the bench than the rear face of the vice.
Yep that was my thought as well when I fitted my vice. Whatever works for the user though as I can see pros and cons either way. Since I finished my bench I haven’t once wished the vice was proud but that's down to how I work. Paul Sellers always has a proud vice and he has probably forgotten more about woodwork than I will ever know!
 
Back
Top