jpt
Established Member
I think it is catching I started one the other day, that came from others on line as well. ")
Isnt the internet wonderful. \/
john
Isnt the internet wonderful. \
/ john


 /
/ TEP":3nbz170t said:Mornin' beejay, PM sent.
Tam":3rzh10s8 said:Mornin' Bill.
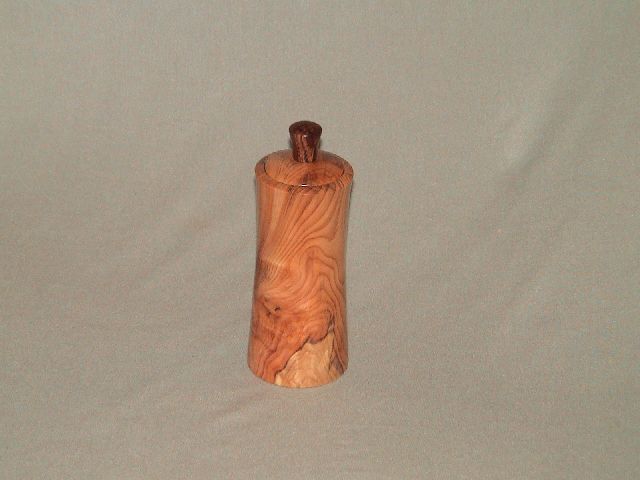
Just saw your post about the top of the above. Sorry I forgot you had asked me about it. There are probably a few ways to do it so the grain matches, how I did it was to mount the blank in a chuck. Turn a short stub on the end to the size you want your lid to be, drill a small hole in the centre (to take the thin spigot on the centre shaft, and to glue the finial onto). Then part off the top of the stub using a thin parting tool.
This piece is your lid, now all you do is drill down through with a fostner bit, slightly smaller than your lid dia. so as you can turn a small recess for the lid to sit in. Make all the other pieces and stick together.
Good luck.
 ___
___
And by her a magnet just in case
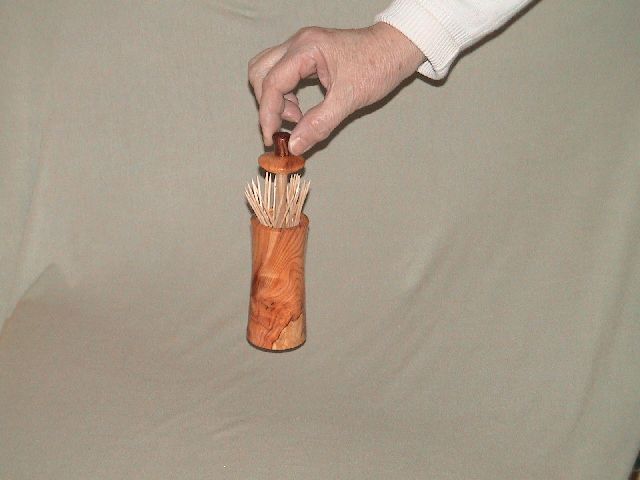
You'll need to keep the cup a good fit in the bore (dry wood) to avoid needles wedging in the gap, also chamfer the inner face of the cup to encourage the needles to slip towards the centre.
We did use a magnet to 'sweep' the carpet, eventually
An alternative design would be to have the needles in an insert cup that is about 3/4 the length of the lid, which would be another cup, a bit like a lipstick holder.
Anyone noticed that when thinking of solutions to design problems, we, or at least I, nearly always start off think of complicated designs, before suddenly thinking of a really simple and effective solution.
 ___
___
 ___
___
 ___
___
 ___
___
Enter your email address to join: