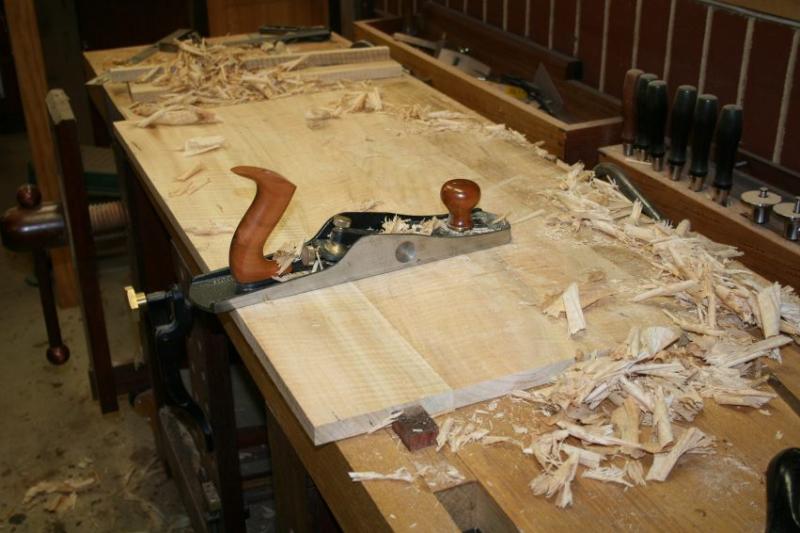
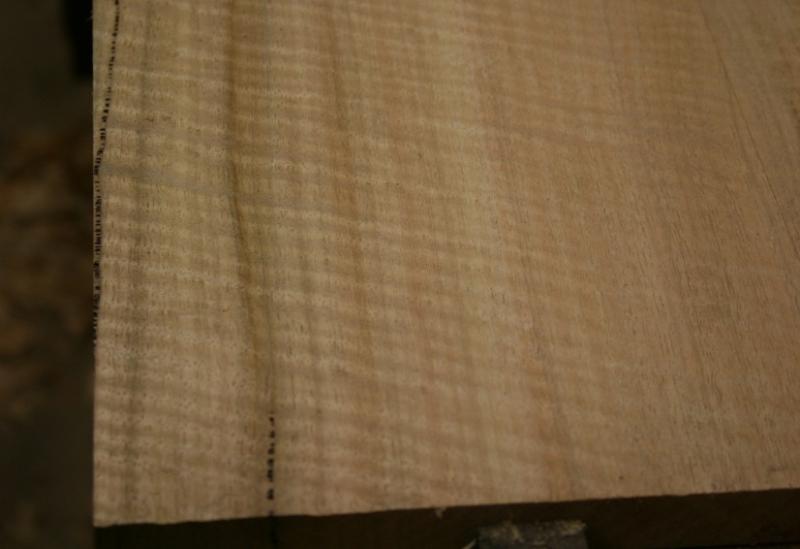
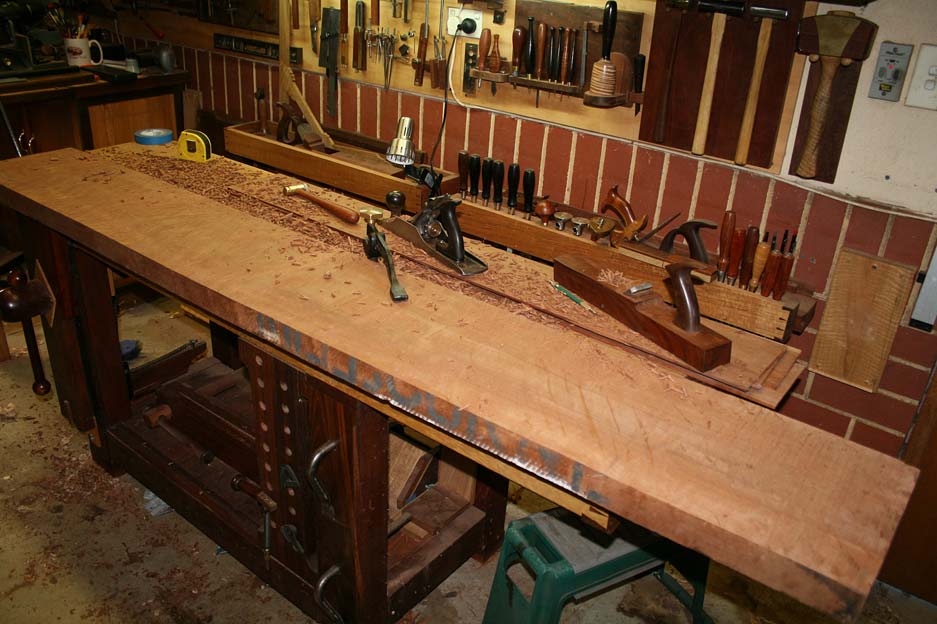
Smoothing Tasmanian Oak (a Eucalyptus) with a LN #4 1/2 and closed chipbreaker ...
Tom, it is not so much "dimensioning stuff too short for the beds of the machines", but dimensioning panels which are
too wide. That is a common issue.
I have a Hammer A3-31 jointer/thicknesser, which was purchased around 2012 or 2013. Before then, I relied on a tablesaw, 14" bandsaw and hand planes for all dimensioning.
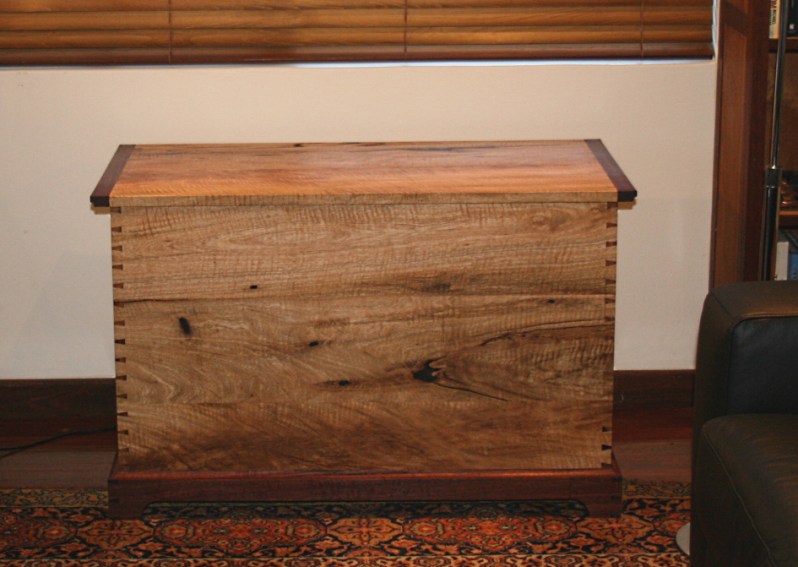
Here are a few photos from the build of a blanket box ("kist"). The wood used was Fiddleback Marri, a West Australian timber - VERY interlocked and tough wood! The full article is here
http://www.inthewoodshop.com/Furniture/Kist.html
Note that this build was in 2013, just as we were exploring the use of a chipbreaker. A dreaded Veritas BU Smoother was used to finish the panels (and we all know that one does not work). The grunt work was with another dreaded plane, the Veritas LA Jack, used for traversing (!! we all have been told that this is a no-no), and flattening was done with a single iron high angle jointer I build (again, we know these do not work).
The point I wish to make is that, while a closed up chipbreaker is something I now prefer using, because it does control tearout better than high cutting angles, this is really only apparent on the more extreme examples of interlocked grain. The moderate - moderate-severe examples are worked pretty well with a high cutting angle (60 degrees).
Extract:
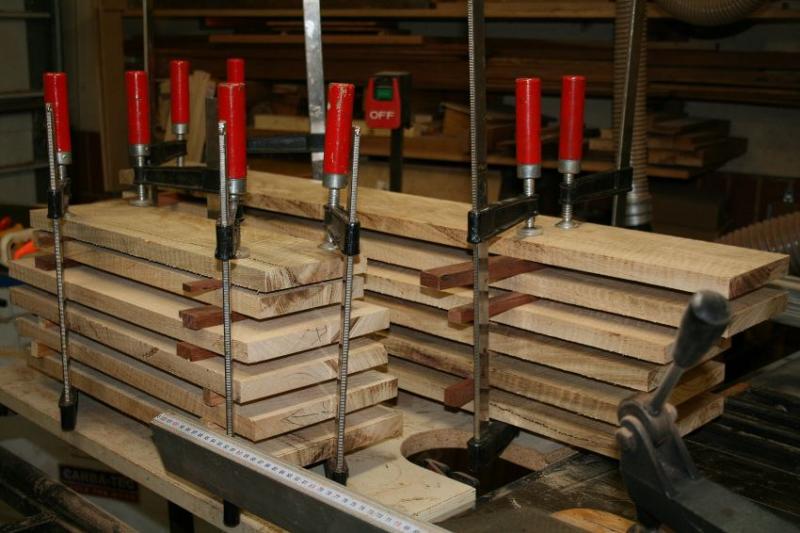
The boards all had significant cup and twist, and to retain the maximum thickness the boards were sawn into shorter and narrower lengths, jointed on one side, and then resawn and thicknessed to 3/4" (what is saved from this process runs from 1/4" - 1/2" and will be used for the lower shelf and, possibly, drawers).
This all sounds quite standard and, indeed, this preliminary work was done on machinery, however it was not straight forward. Curly Marri is very hard and the grain is extensively interlocked. My 8" jointer struggled, and stalled at times. The lunchbox thicknesser left noticeable tearout. And I began to ask myself whether I should just burn the boards instead of building with them.
“Ordinary” Marri is not as hard as Jarrah, and it is not as abrasive. However the colour can vary quite a bit, and there are pockets of resin that dry and fall out leaving voids. These voids are not attractive, and it is usual to fill them with black-tinted resin. This is “Curly” Marri. It is harder to match boards. Not only does one need to match for colour, but for figure and for curl direction. It is like working in 3-D rather than 2-D.
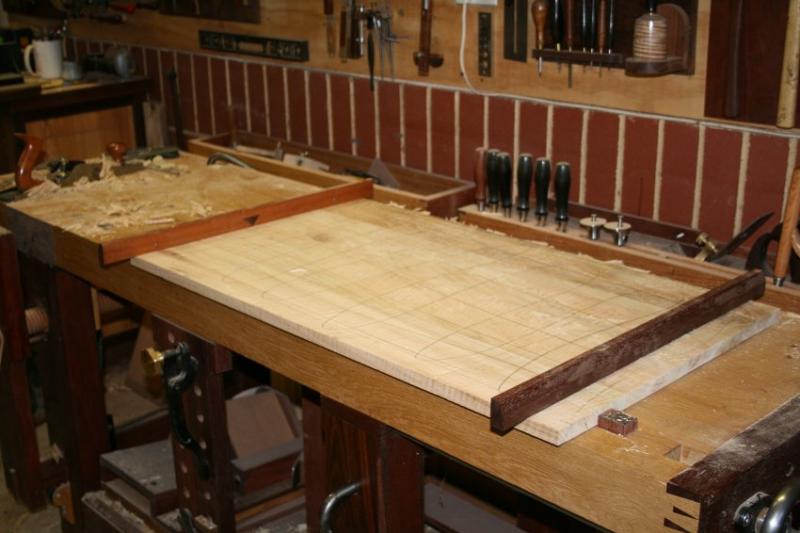
The sawing and jointing took one weekend. This past weekend I glued up panels on Saturday, and then began planing then to final thickness on Sunday. Here are a few photos ...
Traversing ..
Checking for twist ...
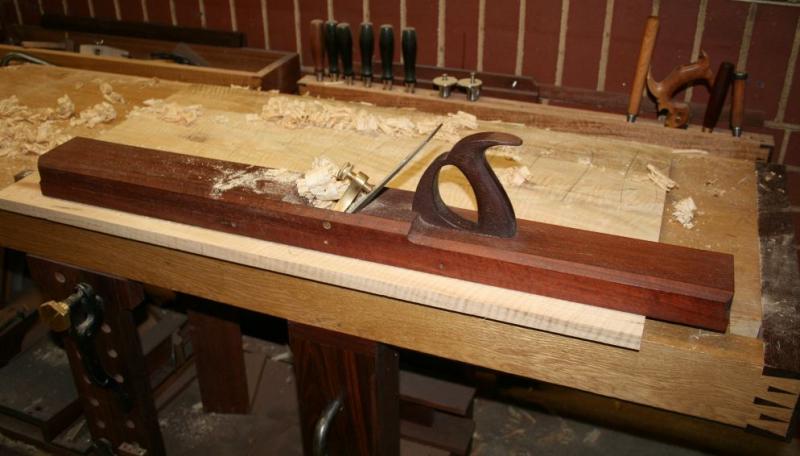
My secret weapon - flattening with a 36" heavy Jarrah jointer with a 3" wide Berg blade ...
Smoothing ... aaahhh, as the curl becomes clear we see what all the fuss was about ...
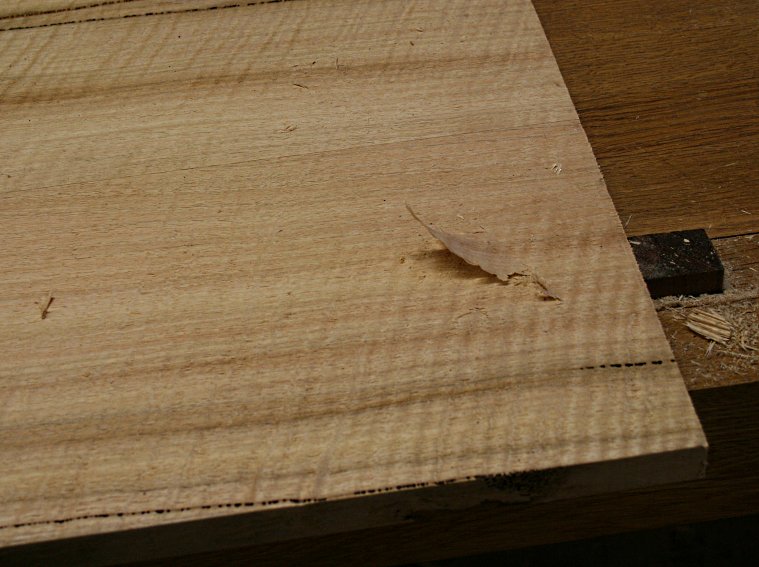
The grain switches back-and-forth. Some tearout is inevitable.
Here's an example of the tearout that occurs with little warning. The only possible (?) tell is that the grain changes direction in this area - but it changes direction like that elsewhere without similar results ...
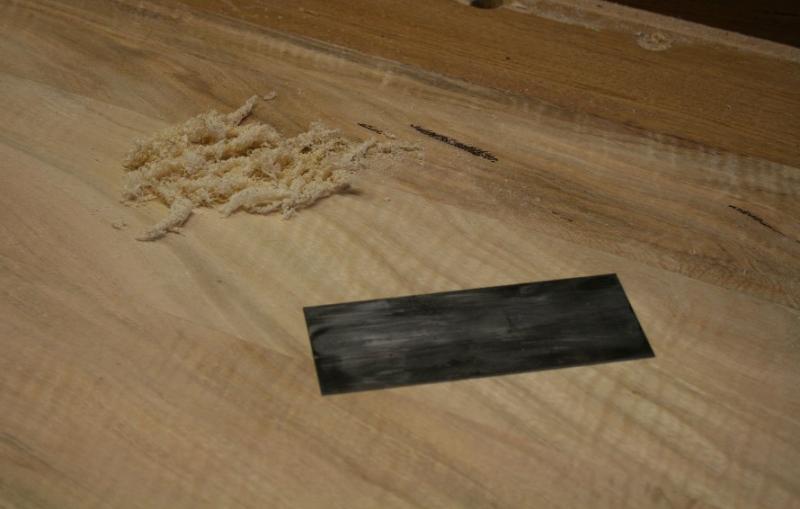
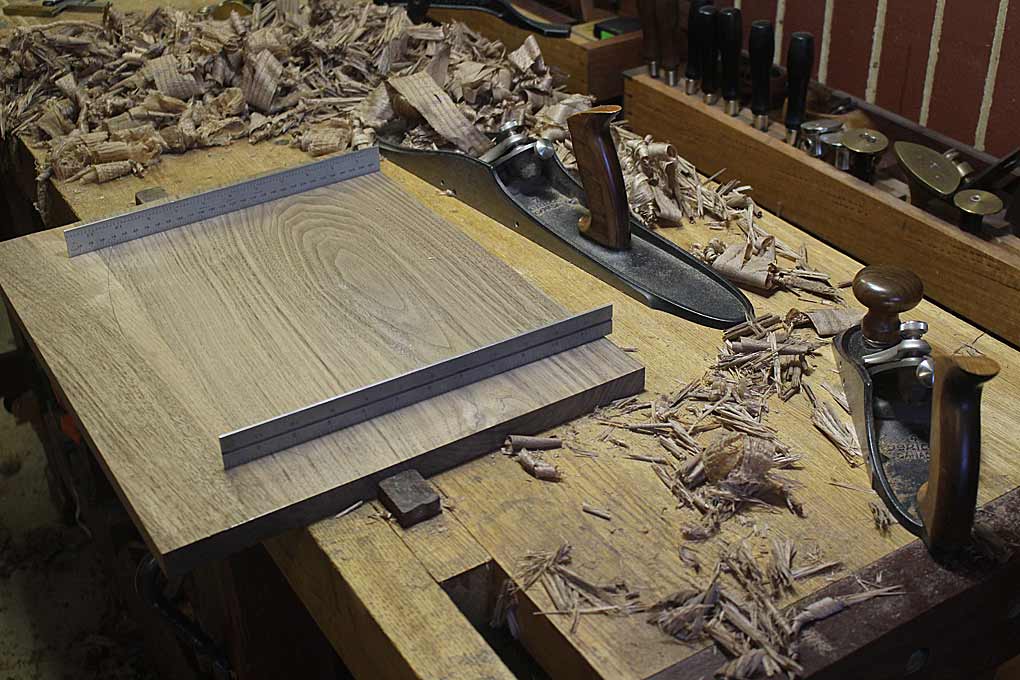
Here is closer look at some of the curl. Some of it, like this, is quite raised. And it makes it difficult to traverse across the grain as it can still tearout (picture taken after the above tearout was smoothed with a cabinet scraper) ...
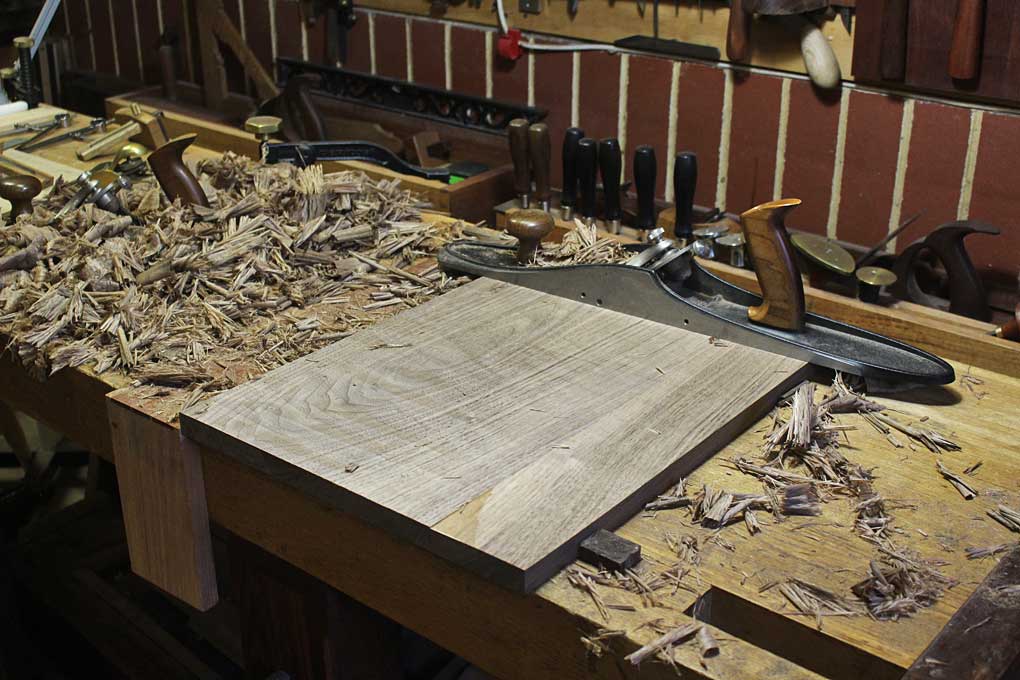
Out come the cabinet scrapers ..
Final piece ...
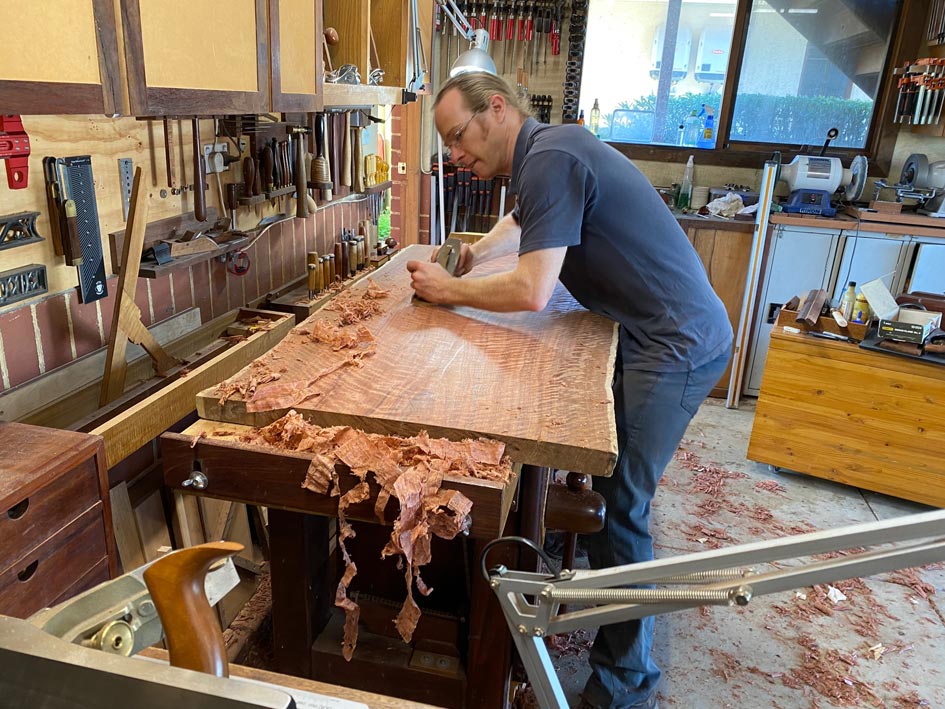
For fun, a recent example of working with a board that cannot fit on or in a machine: I was approached to teach a local woodworker how to plane down a Fiddleback Jarrah panel he planned to build into a table. The panel had a serious cup through the centre. This was removed traversing with a jack plane (Stanley #605) and then planing down the centre with my 36" wooden jointer (as above). Daniel had little experience with hand planes before this day. Here he is smoothing the panel with a LN #4 1/2 set with a closed chipbreaker ...
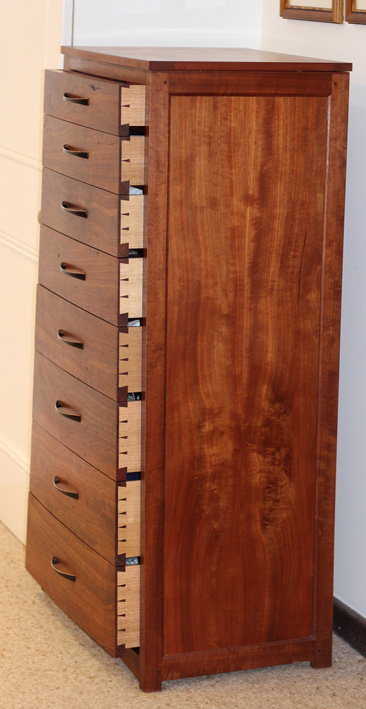
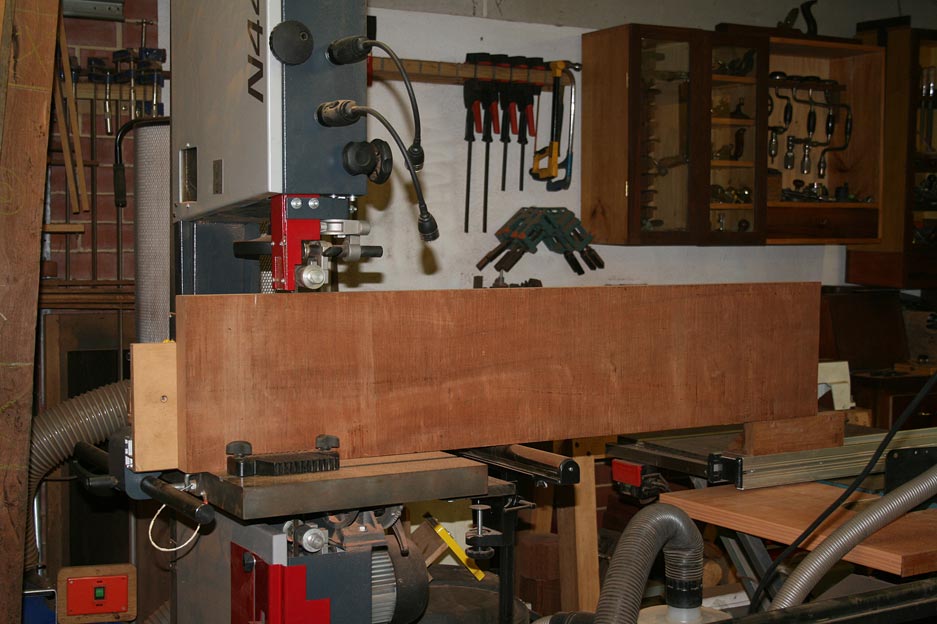
Incidentally, the chest of drawers ("Lingerie Chest") in an earlier photo started life as a rough sawn board 11 1/2" wide and 2" thick. This was flattened with a jack plane ...
... before re-sawing on a bandsaw ...
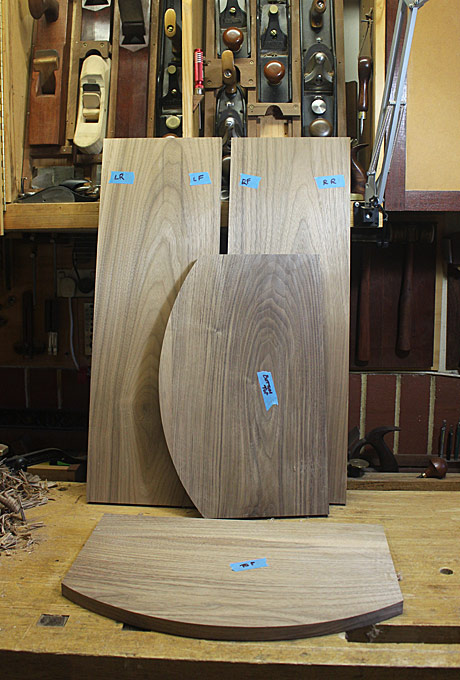
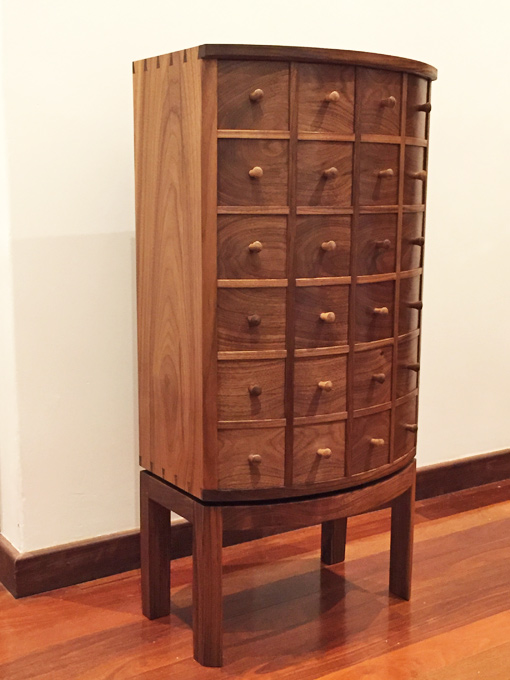
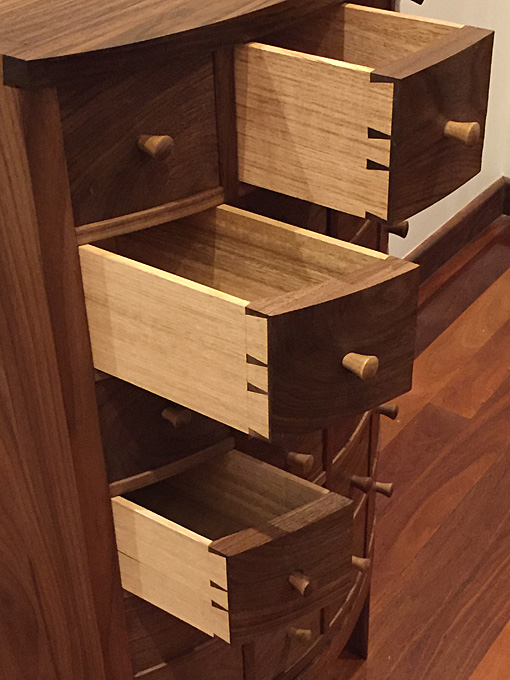
More traversing (the start of a bow-fronted apothecary chest, below). This time Black Walnut from the USA. This is so easy to work compared with Oz timbers ...
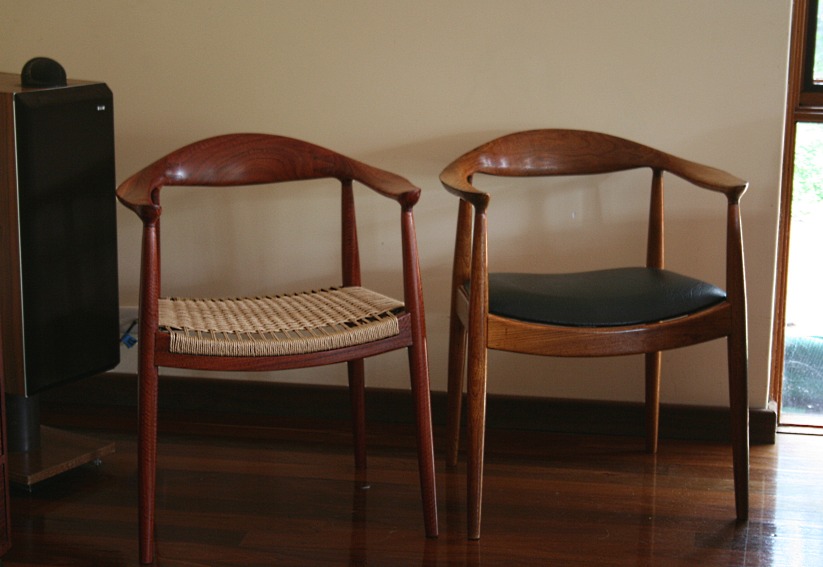
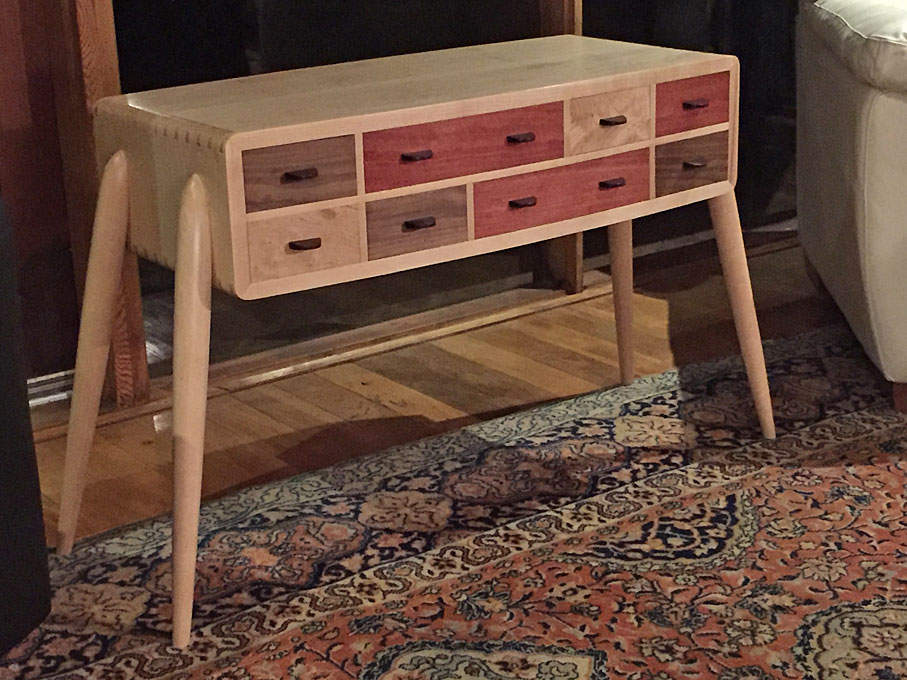
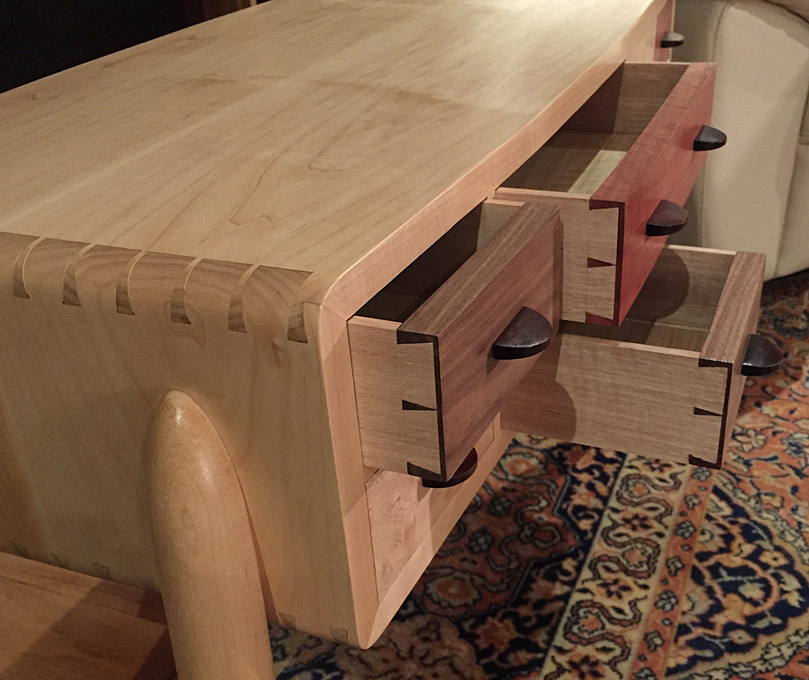
More of the "flat furniture" which David accuses me of ...
Again the point is that I really doubt that any woodworkers today would work with just hand planes if they are serious about building furniture in a reasonable period of time. A combination of power and hand is inevitable for hand tool-orientated furniture makers.
Regards from Perth
Derek


 To which I'd add "over-thinking"