Les Paul build - update fingerboard inlays

UKworkshop.co.uk

Help Support UKworkshop.co.uk:

This site may earn a commission from merchant affiliate links, including eBay, Amazon, and others.
Was the mother of pearl from Stewmac too? How thick is it? In the photos it looks quite thick.

Im really impressed with that marking up! What are your plans for the side dots?
 
The MoP was from a place called Smallwonder Music here in the UK, they've got a nice website and offer a great range of pre-cut and sheet inlay, ranging from plastic to MoP to thin rock/agate. Can't recall the thickness but I can measure it if you're interested.

Side dots are also from Smallwonder. Did try and make them from tortoiseshell picks but couldn't get them to punch out to a decent finish/shape
 
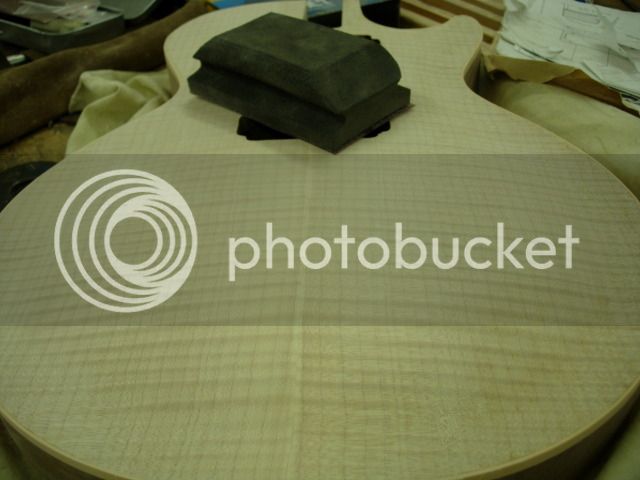
Now then, here's an old project that anyone with a long memory will have thought would never see the light of day again (me included...). I finally decided to MTFU and tackle the fiddly jobs and take this to a finish. So, where were we 2 years ago, ah yes I'd glued on the binding and needed to clean up the body and remove the excess superglue.

Quick picture of that

LP3-1.jpg


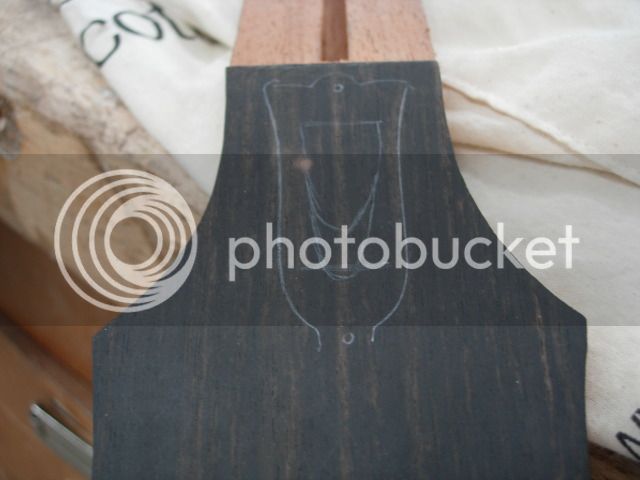
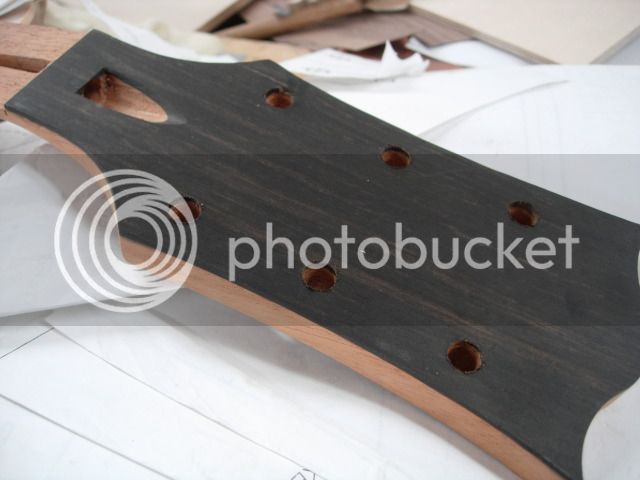
The headstock has been shaped and I now needed to excavate the access point for the trussrod adjustment

LP1-1.jpg


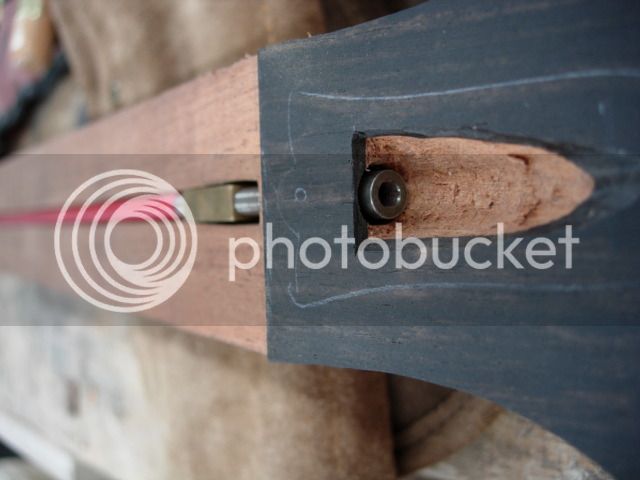
Out with the carving chisels and we had this

LP2-1.jpg


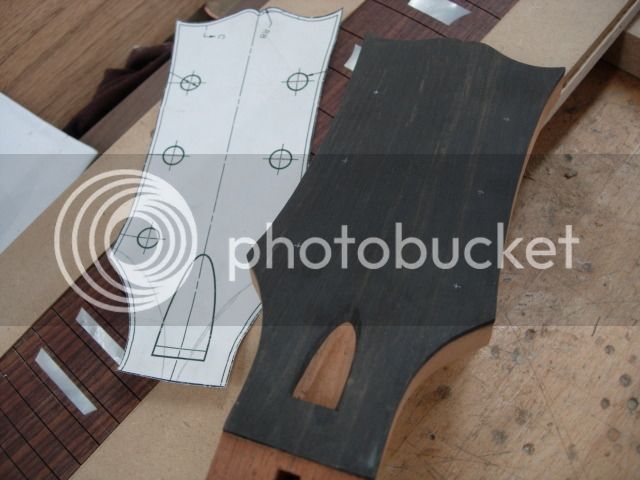
Then moved on and drilled the holes for the tuners

LP4-1.jpg


LP5-1.jpg


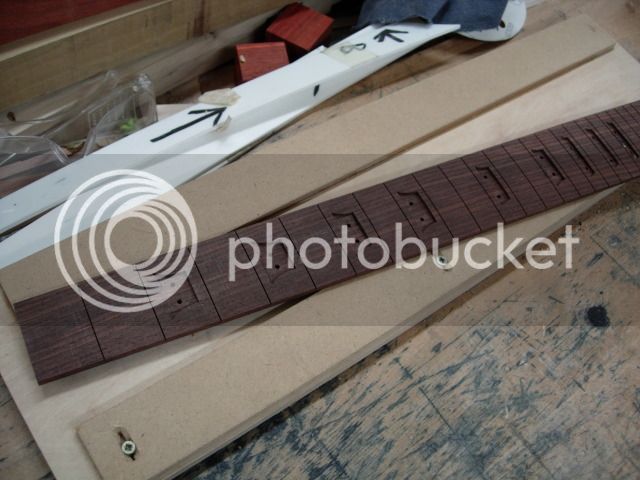
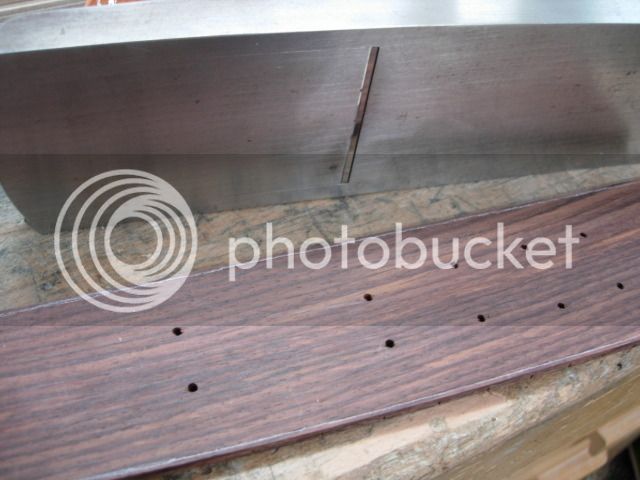
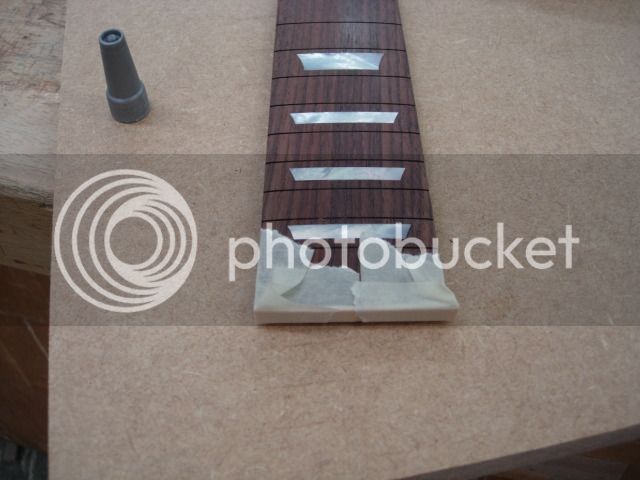
Now, back to the fingerboard which after making a couple of minor breakout repairs looked like this

LP6-1.jpg


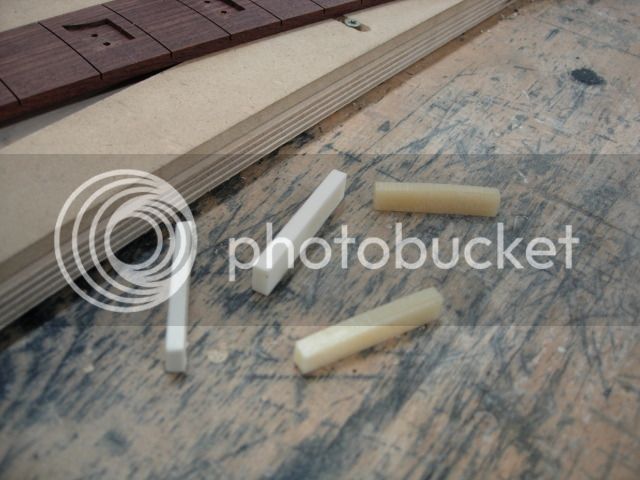
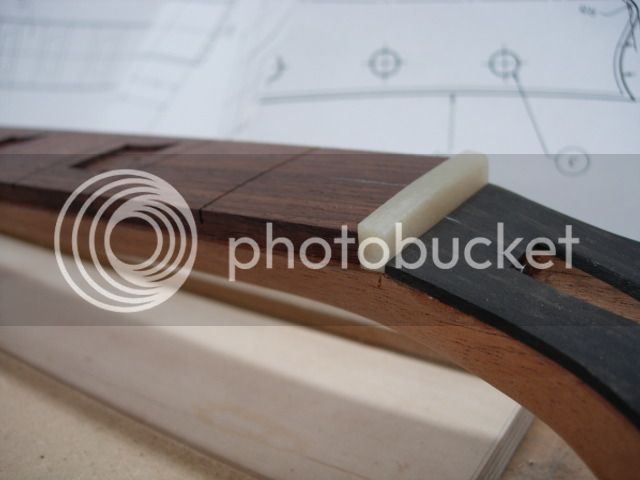
I needed to lay the fingerboard on the right place on the neck to get the profile marked up accurately, to do so I needed to put the nut on (not glued at this point). I'd bought several nuts as each one didn't quite cut it for me, eventually went for the big one made out of cow bone

LP7-1.jpg


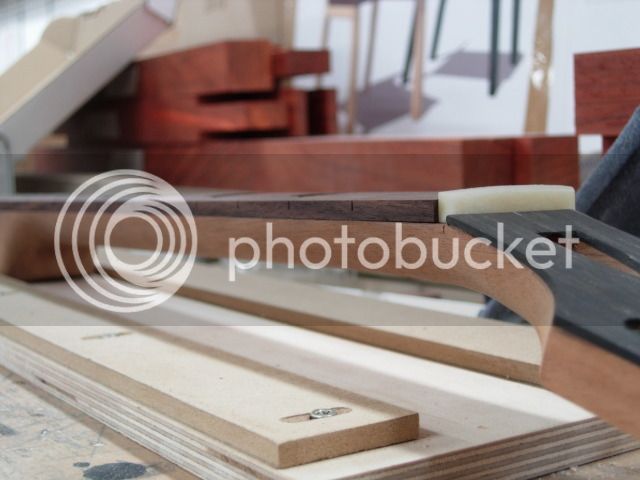
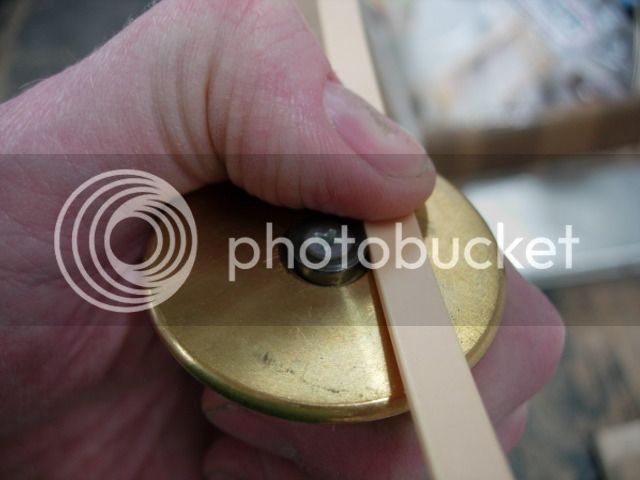
A bit of careful planing yielded a good fit

LP8-1.jpg


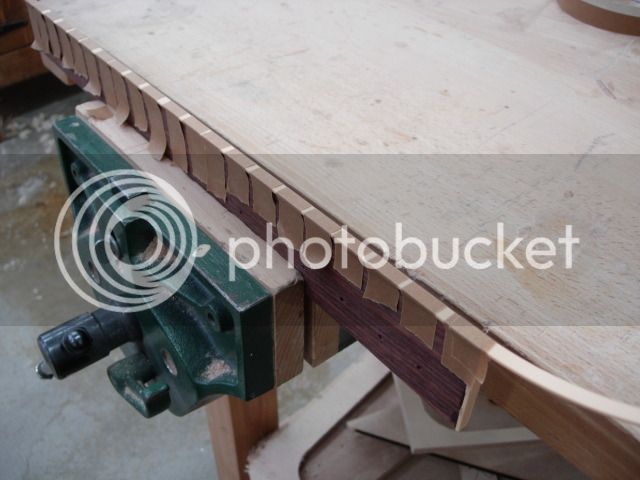
The fingerboard is also bound so I set the gauge to the thickness of the binding and marked up the board for more planing

LP9-1.jpg


LP10-1.jpg


Et voila!

LP11-1.jpg


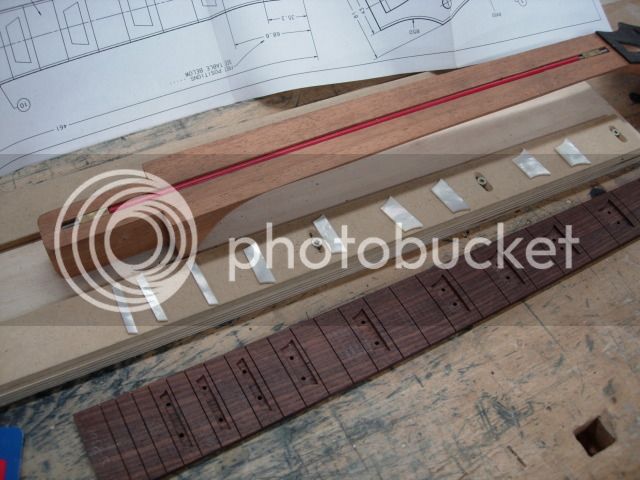
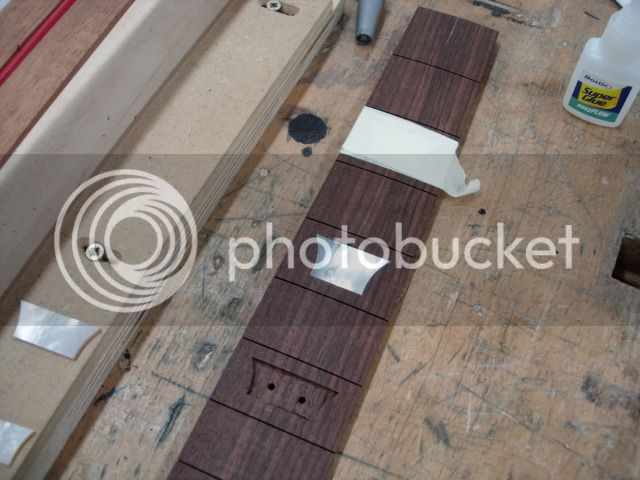
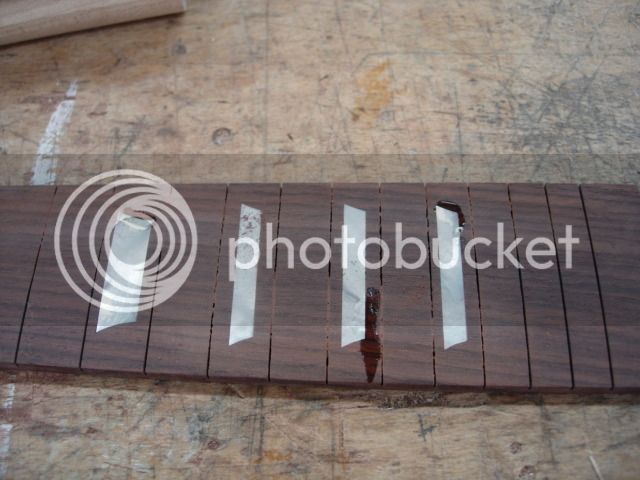
Fingerboard and inlay are ready to meet each other for the final time

LP12-1.jpg


So out with the superglue again and some tape to hold the inlay in place

LP13-1.jpg


LP14-1.jpg


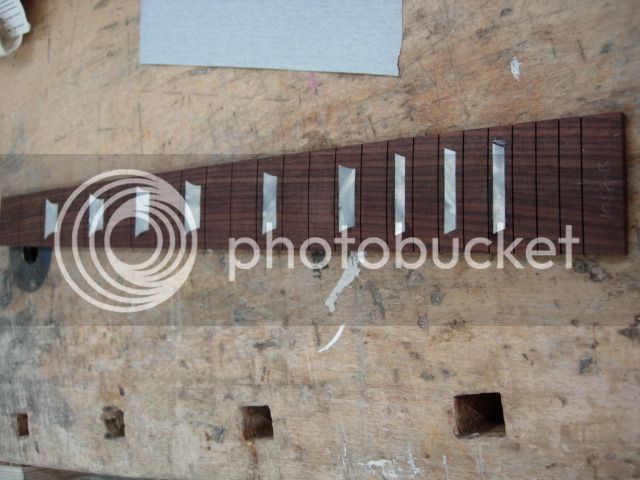
Shown there with some trimmed fret wire too. Here's what it looked like once the tape had come off

LP15-1.jpg


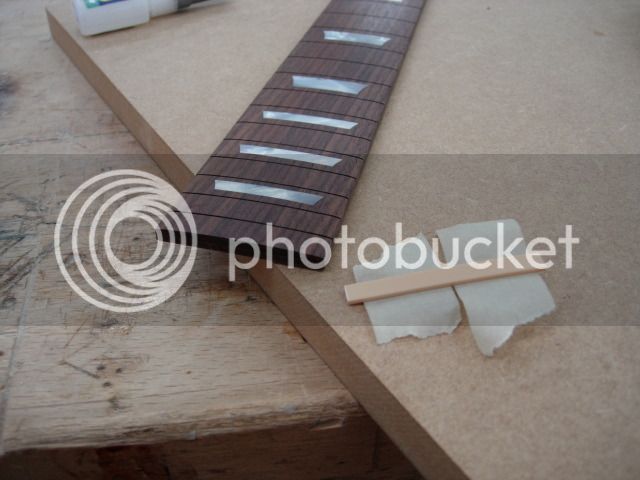
First pass with the radius sanding block

LP16-1.jpg


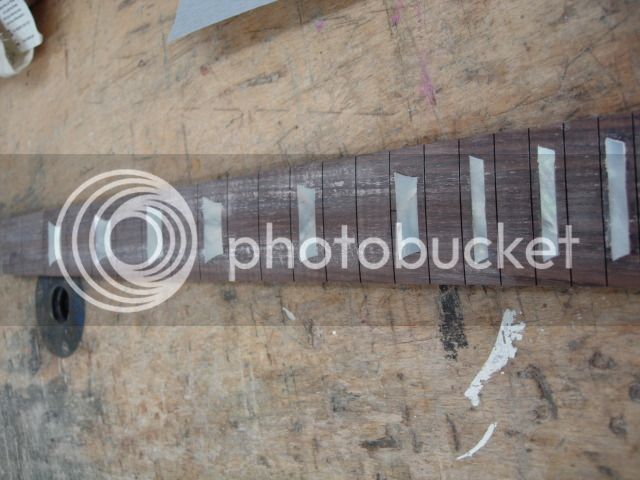
My inlay hole trimming wasn't perfect, there were some very thin gaps, so I sanded and filled the gap with sawdust and then dribbled on some superglue to fix it

LP17-1.jpg


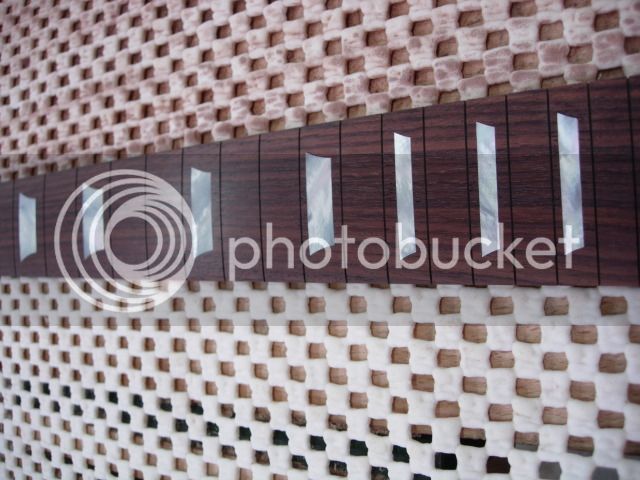
Going up through the grades and we had quite a nice finish

LP18-1.jpg


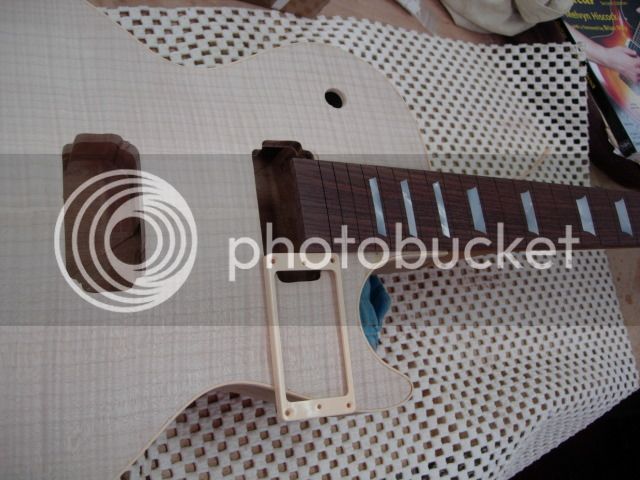
Just double checking how much of the fingerboard to cut off, don't want to get that wrong...

LP19-1.jpg


Now ready to start binding the fingerboard with that horrible pastic rubbish again

LP20-1.jpg


LP21-1.jpg


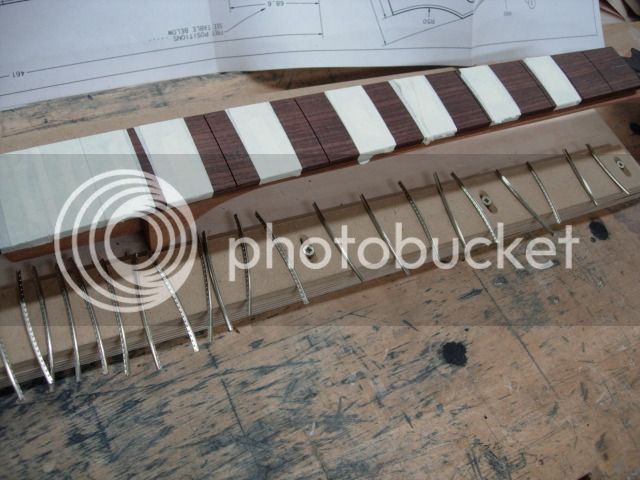
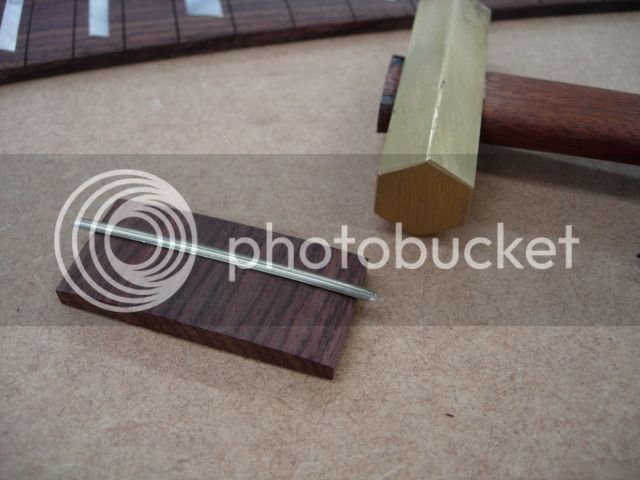
Quick test fretting with the hammer, Philly fans make recognise the hammer

LP22.jpg


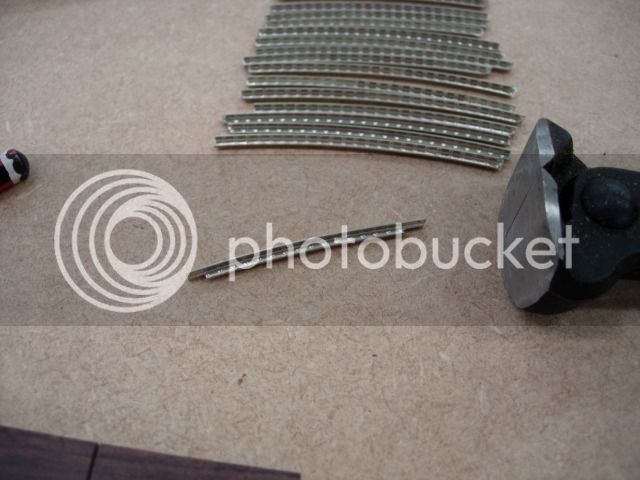
Yet another of the rather tedius jobs, trimming the fret wire closer to length and removing exactly the right amount of tang - and not getting the frets out of order

LP23.jpg


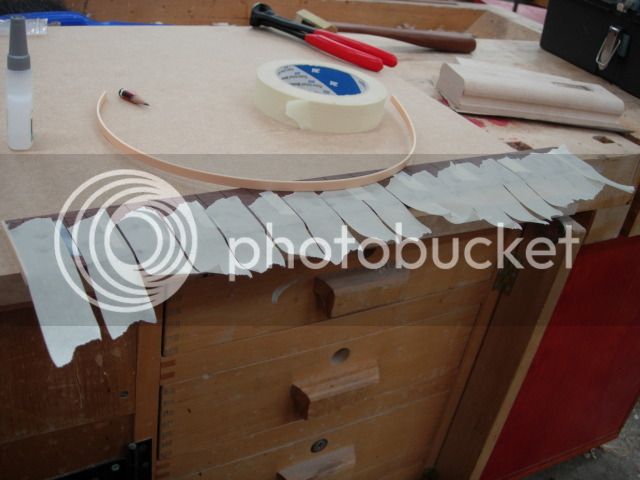
Getting ready to do the long binding on the fretboard, using binding that insists it wants to be curly

LP24.jpg


LP25.jpg


There's a couple of jobs I haven't shown (drilling the jack plug hole and pickup selector switch hole) but you'll see those on the finished body. Next up is fretting and then glueing the nut and fingerboard to the neck, then I have to drill the most important holes of the entire project, the bridge and saddle
 
I have just discovered this thread, and it makes for a fascinating read - your guitar is looking quite spectacular. I have collected the bits n bobs to make a couple of electrics ( my version of an EVH and an all Scottish timber beastie) and acoustics (the rosewood and spruce plates sitting upstairs thicknessed right now). I just need the proverbial kick up the rear to get going!
The maple top you have is stunning - and the carving subtley done. I look forward to future updates :)
One question regarding your fingerboard markers - what is the purpose of the drilled bits on each crown inlay recess? (apologies if I have missed it in the text)
And how do you plan to finish the guitar, now it is nearing completion?

Cheers,
Adam
 
My guess would be vents for glue, to stop the inlay popping up under hydraulic pressure. I opt for sloppy routes to stops this happening... :)

I also have enough top and back material for 6 acoustics, and at least that many electrics, plus 2 electrics which are ready fro lacquer, and have been for about 6 years - I could do with that kick up the buttocks too!
 
The holes on the fingerboard were a bit of forward planning, I knew the inlays wouldn't fit perfectly first time and that some fitting and fettling would be required so I'd need to pop them out. As the fit is supposed to be snug I felt the easiest way to do this without damaging the routs was to drill some holes in the back so I could push the inlays back out. Worked very well.

Finish is old school nitrocellulose and will be a burst, precise one is still to be decided. I've decided that I'm going to farm that job out to a pro, me doing it for the first time with cans is not a good idea
 
Ok, that makes sense about the holes, though unless they were wedged in and needed fettling, then a blob of blu-tack should provide enough grab to lift the inlay out without the need for holes in the fretboard.
Im going for Tru-Oil on my electric and going to attempt rattle cans for the acoustic.....

Cheers,
Adam
 
Ironballs. That is a fantastic job your doing. I made an electric guitar when I was 17 for my leaving certificate. So I have a fair idea what it takes to make one. I will keep a close eye on this to see how you get on.
Keep up the good work
 
Back
Top