Les Paul build - update fingerboard inlays

UKworkshop.co.uk

Help Support UKworkshop.co.uk:

This site may earn a commission from merchant affiliate links, including eBay, Amazon, and others.

Ironballs

Established Member
Joined
9 Mar 2008
Messages
2,693
Reaction score
0
Location
Huddersfield
Okay chaps, finally taken the brave pills and have embarked on this years evening class project, a Les Paul copy, in no small part helped by the previous builds I've seen on here.

Over the summer I've been doing the research, read Melvyn Hiscock's book, bought the plans, bought some tools, bought some wood, trawled the net and stared longingly at Messrs Page, Perry and Slash in action.

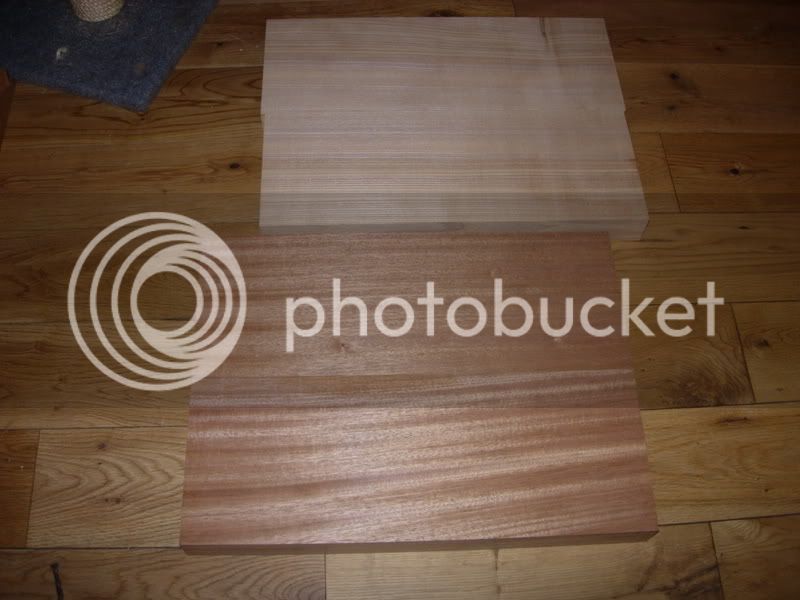
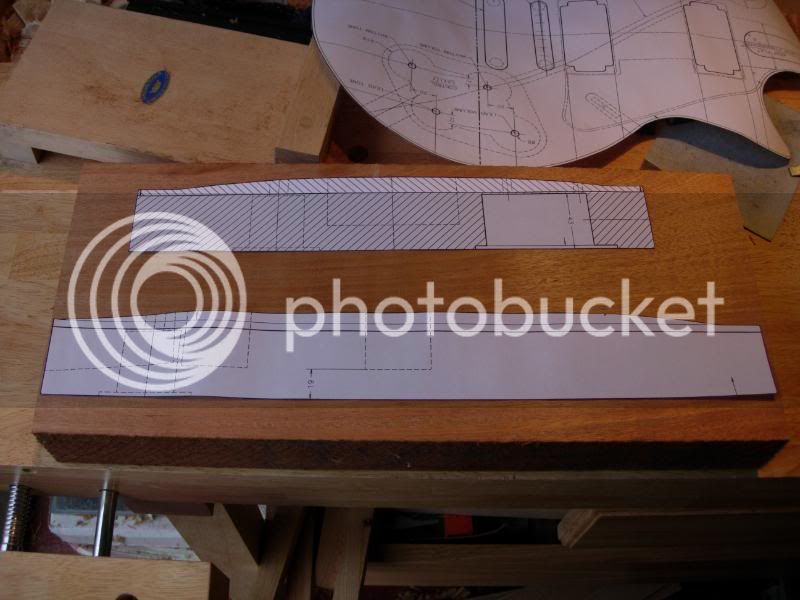
So, you have to start somewhere and I started with with a length of mahogany that needed converting into a 2 piece body blank. First up I gave a good going over with a jack plane and a number 6 to remove the rough and have a look at the grain underneath. This was partly because I wanted to practice my hand planing and partly because I needed to cut the 5ft board up before introducing it to the P/T and wanted to see where best to make my cuts. See below

lp1.jpg


lp2.jpg


lp4.jpg


lp5.jpg


lp6.jpg


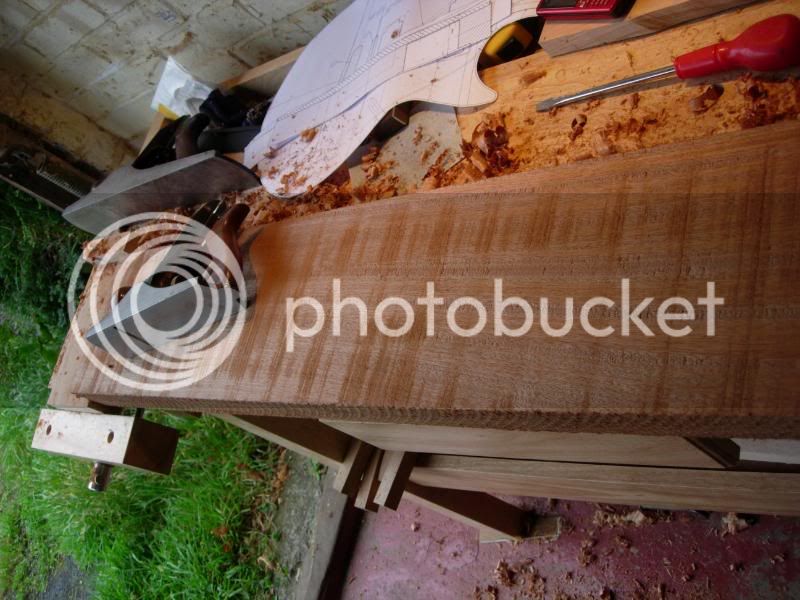
Tell you what, mahogany shavings are great for starting fires in the stove

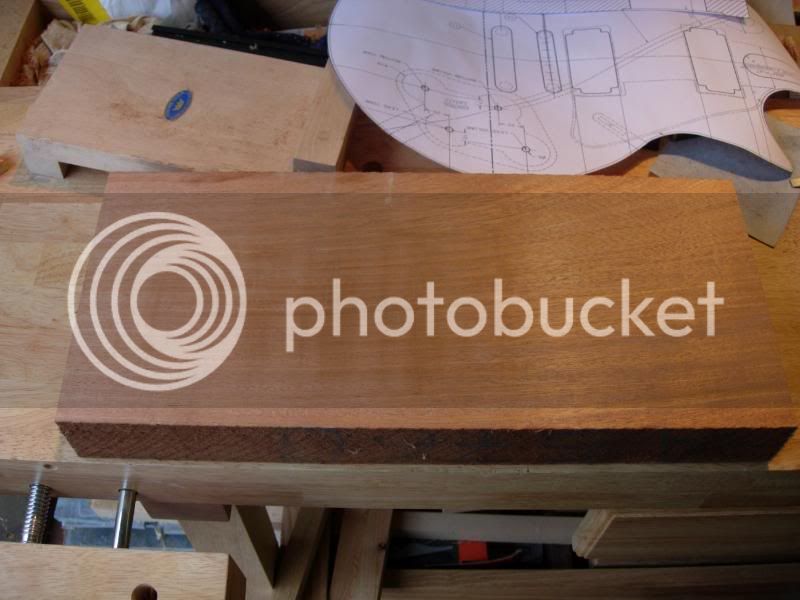
Once I had the boards roughed out I laid over the cut outs from my template for no particular reason at all. Have created some plywood templates from these to use as references for doing the body carve.

Next step would have been glueing the body together but further research revealed that my titebond 3 was heavily frowned upon for instrument making but titebond 1 was perfect. Shame I didn't have any. Ebay solved that.

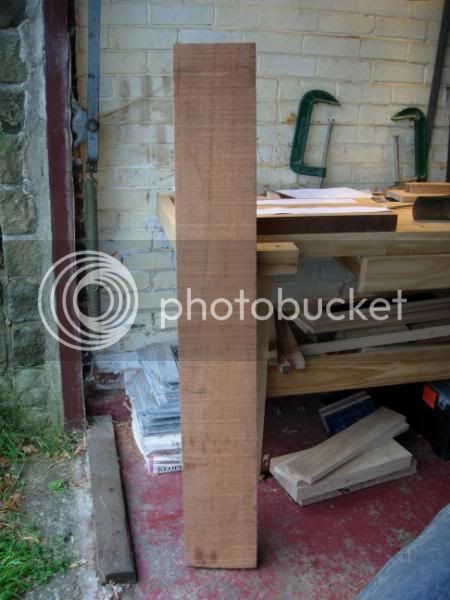
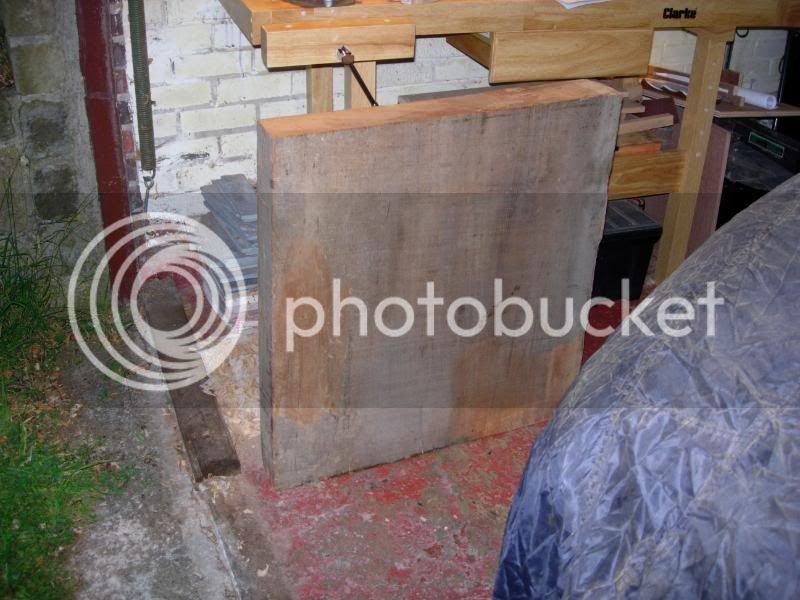
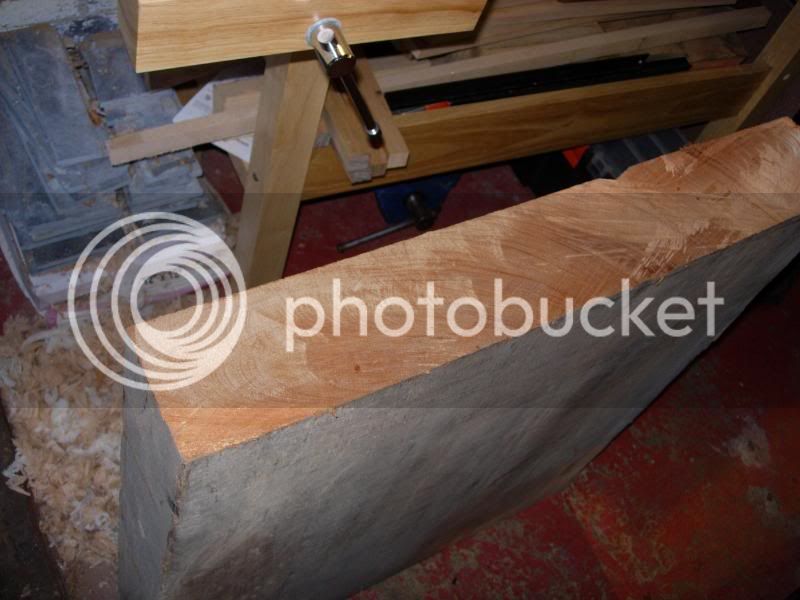
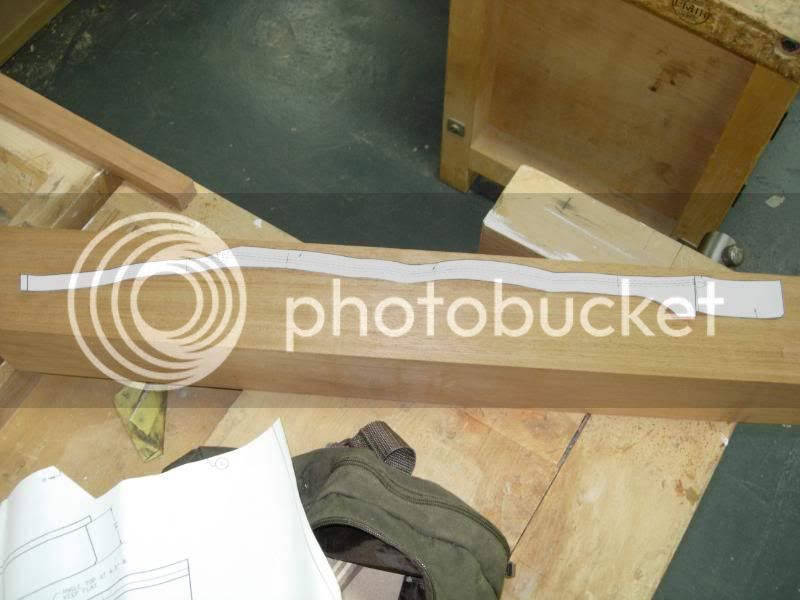
Whilst I was waiting I took my neck material and started preparing that. You may have seen in another thread that I got my hands on a large piece of 4" mahogany and I need to go about converting that. This is where having access to a college workshop really is a plus, first cut was on the bandsaw, this little fella stands about 8-9ft tall and takes no prisoners. After taking one length off planed up the end to square-ish and used the fence on their TS to cut the rest of the lengths.

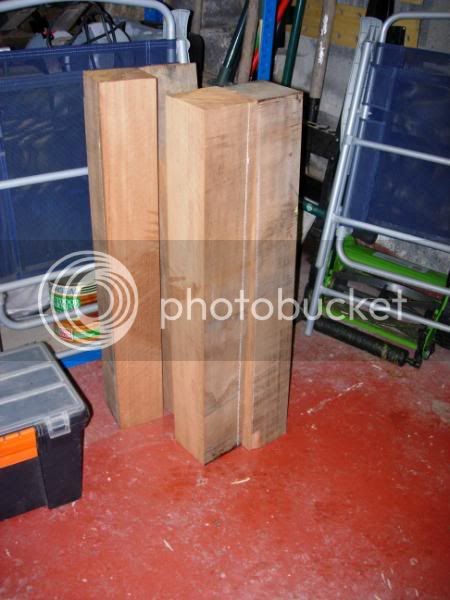
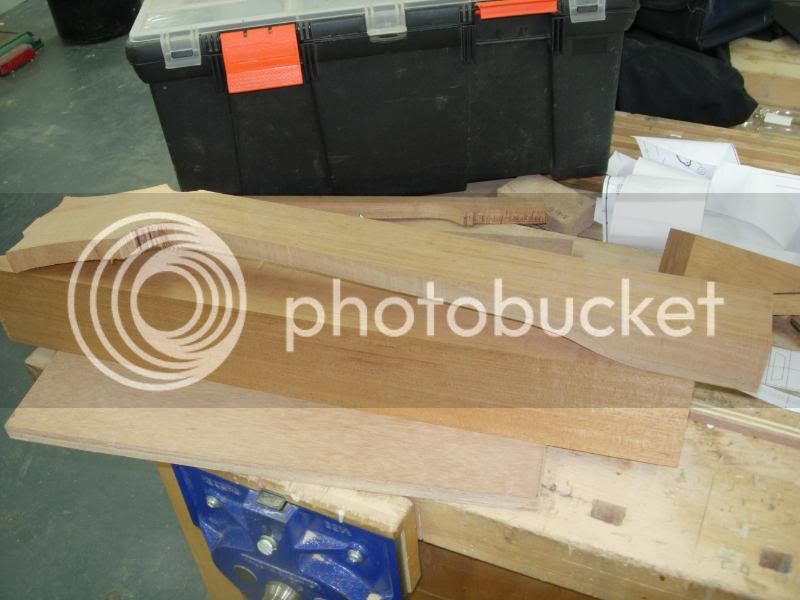
Not sure what I'll do with the rest of the neck blanks but you can get 2 one-piece Les Paul necks per blank so might stick them on the bay. All nice and straight and a couple show a bit of quarter sawn flecking.

lp7.jpg


lp8.jpg


lp9.jpg


lp10.jpg


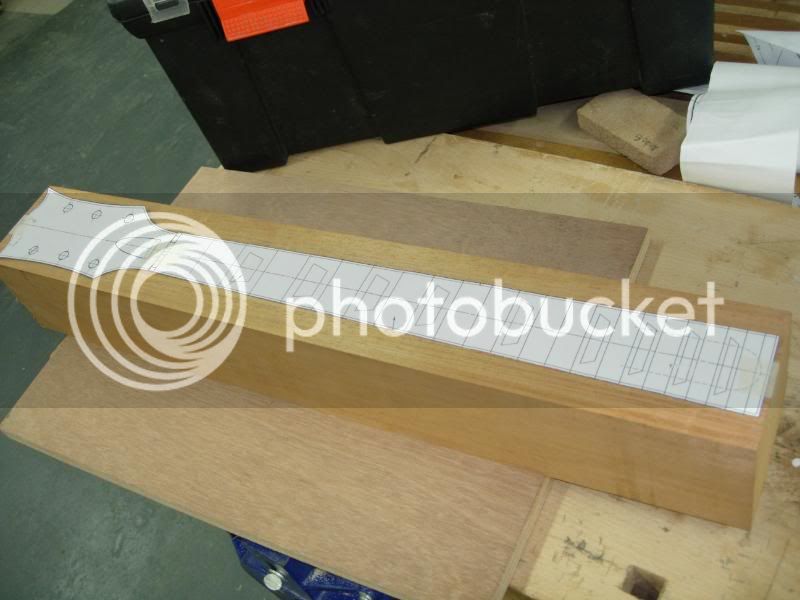
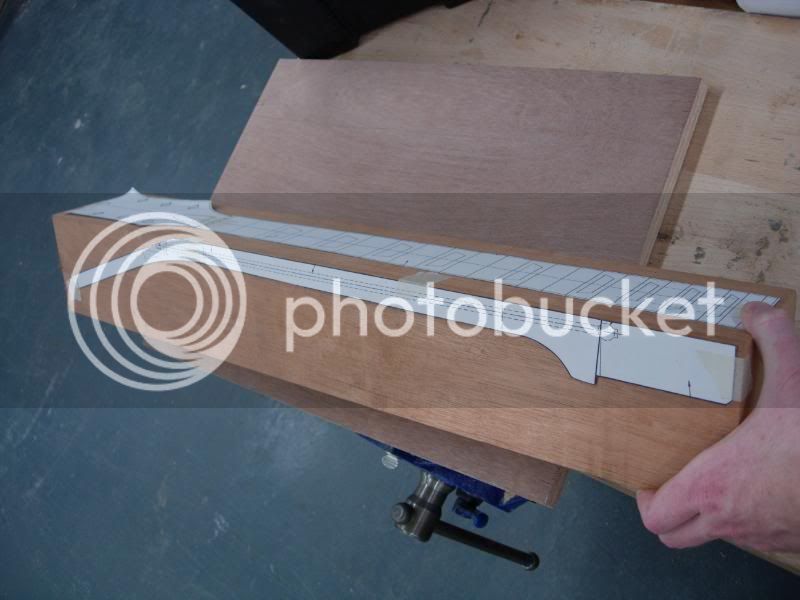
Took one of the blanks to college this week and set about it with the templates and the bandsaw, was quite pleasantly surprised to find that hidden in there was a neck shaped object and it didn't take too long to find it. A very rewarding evening

lp11.jpg


lp12.jpg


lp13.jpg


lp14.jpg


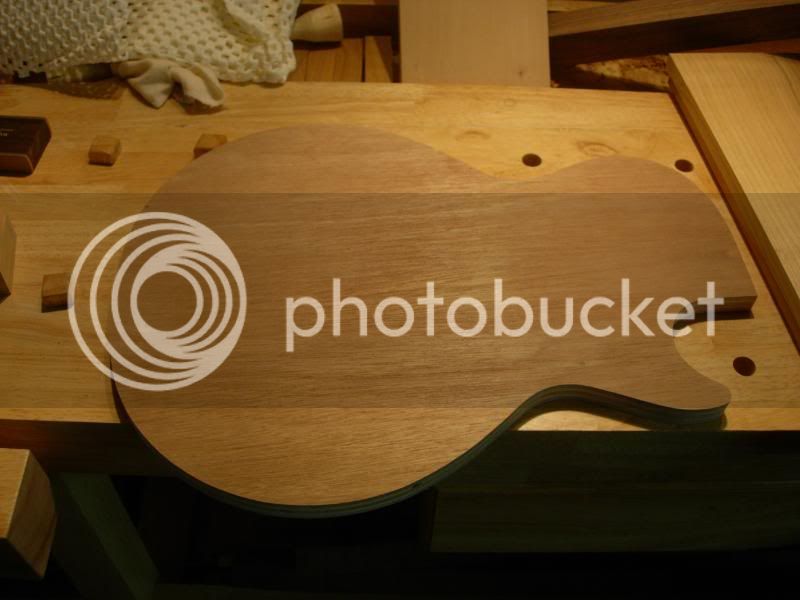
Last job was to take a paper template and create my very own plywood Les Paul. What an axe! Step aside Angus the real deal is here

lp15.jpg


This will be a slow burner and is likely to take me the full three terms but I'll post updates as I go along. I've already bought the wood for the top and I think you'll like it......
 
I'm loving the guitar-build threads, I'll have to update mine or start a new one for a couple of the projects I have going at the moment.

Solid looking work you got there so far, should be a good-un

Do you still have the neck blanks? I might be interested in them if you are looking to sell.

What hardware/pickups are you going to use?

A little tip for any future builds - those neck blanks will probably give you more necks each if you scarf-joint the angle on the headstock. This will also make the headstock a lot stronger and less likely to snap-off which is common with LP's.
 
Use Stewmac's truss rod - it's more logical and easier to fit than any other out there...

Hint when doing your neck. Make sure that taper is even, carve the heel first, then the volute and use a spokeshave to connect the two curves. See my neck carving video here:
 
This is looking great! :D Where did you get your templates from? Or, did you draw them yourself?
 
Thanks for the replies and kind words, early days yet so plenty of time for Mr Cock Up to take up residence. Replies to questions in no particular order:

Template was from a place in the UK, can't recall who it was off the top of my head, but it cost about 15 quid and is the same as the Stewmac ones. I had a couple of copies made when they arrived so that I could cut them up for templates.

Have made plywood templates for the body carve and also for the neck at the fret positions indicated on the plan. Pete thanks for the tip, I'd already planned on taking that approach having read countless build threads already :)

Hardware will be fairly traditional, Seymour Duncan SH1 pickups and I came across a great site called fake58 that does a lot of replica electronics and hardware. I'm considering getting their ready wired pot and jack loom to make life easier for a first build.

With regard to the neck I did um and ah a lot about whether to scarf or not, you certainly get a lot more necks per blank and they can be a bit stronger. But, I thought I have wood of sufficient thickness and the grain is straight so let's give it a go. I am trying to remove the mahogany in big enough chunks that will mean I can use it for something else rather than just firewood.

If all goes well then I will build another to my own design and the neck on that will be a hybrid of a Gibson and Fender to reduce wastage. Currently I'm planning to keep 2 of the neck blanks and will probably sell the remaining 4. If interested pm me for dimensions and pics. WRT species, it's definitely different from the body, the body smelled sweet when being planed, one tutor said ah yes, that's brazilian and the other said, oh no, look at the interlocking grain, that's African. What do I know!
 
I bought a victorian post on eBay - it's Honduran. If the wood is pink then it's South American your lump looks like the Brazilian I was buying in the early 80's. Honduran/Brazilian can have interlocking grain. African woods tends to be peppering and nasty to work - you can almost hear it abrading your cutting tools. The dimensional thickness is about right for Brazilian because it usually came in thick boards. People kill for one piece necks BTW :wink:
 
Thanks Pete, I forgot to ask, which of the Stewmac truss rods would you recommend as they have a few? Which truss rod to use is one of the questions I've been mulling over for a while, ie do I go for a traditional LP type with fillet or one of the more modern U-shaped ones that require no fillet.

I've also realised I've made mistake number one after reading an article over brekkie this morning, should have routed the truss rod slot whilst the blank was still square to make life easier. Not a major issue, just means I need to make up a little routing jig which of course costs time
 
Damian, in-terms of truss-rod, the best one to go for is the dual-action Stew-Mac Hot Rod

http://www.stewmac.com/shop/Truss_rods/ ... _Rods.html

You'll want the 18" one. No need to use a filler, just route the groove through the top and then stick on your fingerboard.

If you can get a little silicon then use this at each end of the rod where you have the brass block, this will stop the dreaded rattling tross-rod happening over-time.
 
Yep those hot rods are hot! But you need an imperial rather than metric cutter to cut the slot. I think it is 7/32" - I bought mine when I lived in Ohio which was a nuisance really because I got hammered for sales tax when I bought from Stewmac. At least it was less than the VAT charged here in the UK.
 
Pete Howlett":cdq2scnh said:
Yep those hot rods are hot! But you need an imperial rather than metric cutter to cut the slot. I think it is 7/32" - I bought mine when I lived in Ohio which was a nuisance really because I got hammered for sales tax when I bought from Stewmac. At least it was less than the VAT charged here in the UK.

I cut mine with a metric, doesn't seem to cause any problem, I just add a touch of silicon or ptfe tape to the brass blocks to stop it from rattling in the future and it's a good-un. I've got a guitar that I made about 4 years ago with one doing it this way, and it's still rock solid. OR if the metric is slightly smaller, then you just ease the slot with some 80 grit on a stick, nice tight fit.
 
Having never built one of these can you explain what steps you take to stop moisture uptake and wood movement, which will keep putting the instrument out of tune I would have thought?
Mike
 
It's a combination of things from what I can tell, first use a stable timber like mahogany that moves very little, second use a glue like titebond one that sets solid with no flexing, third the neck is the most likely to move and this has a steel truss rod in it which is adjustable and lastly there's a good finish all over which effectively seals the wood from moisture ingress.

It's actually quite pleasant working with mahogany, with cherry and maple you're forever having to make allowances for movement and look out for cupping
 
Ironballs":3cxsru4f said:
It's a combination of things from what I can tell, first use a stable timber like mahogany that moves very little, second use a glue like titebond one that sets solid with no flexing, third the neck is the most likely to move and this has a steel truss rod in it which is adjustable and lastly there's a good finish all over which effectively seals the wood from moisture ingress.

It's actually quite pleasant working with mahogany, with cherry and maple you're forever having to make allowances for movement and look out for cupping

Thats pretty much it. The wood-movement won't really affect the tuning. It's the fret-spacing and scale-length that determine the tuning. The truss-rod is used to adjust the neck to keep it straight (preferably with a small amount of relief). The woods used are usually sealed with oil or a nitro style finish. Most necks are laminations and these reduces almost any chance of twisting or bowing over time, this is another reason why one-piece necks can sometime be a pain in the future as they are more likely to move, but as mentioned the truss-rod will prevent most of that and as long as they are sealed correctly, the wood-movement should be neglible, after-all its a relatively small piece of wood.

Maple is actually one of the best woods to use, take a look at fender, almost all their necks and some of their bodies are exclusively maple. It comes down to tone choice at the end of the day. I prefer the deeper tones from mahogany and walnut, but maple gives a much brighter middely tone.
 
Not sure about the tone debate of woods on an electric guitar - after all, the sound is a processed electronic single from an oscillating string. If it were an acoustic then it would be a different ball game but it really is all down to the pickups IMHO.

Fender used Maple because it was cheap and easy to machine and finish - remember he was an engineer, not a luthier and his early solutions are typical 'engineer's designs'. The strat was a collaborative effort that gave way to some of the design ethos of the day - even down to that famous 'red' paint finish.
 
It's pretty easy to make a truss rod if you have the correct die. I made one from Stainless Steel - the older style that sits in a curved channel with the wood fillet covering. They obviously work because countless thousands of guitars were made using that type.
 
Absolutely Mignal, though I'm going for the easiest/most foolproof on this build :D

Appreciate all the hints, tips and debate, I'm learning as I go here. Only had a little time on the guitar this weekend as I had to work on a brithday present project that is running close to one month late. All I did was glue the ash practice blank (the source of the chopping board offcuts) and the mahogany real thing.

bodyblanks.jpg


I'm getting close to cutting the shape of the body and glueing on the top, in addition I'll be routing the pick up holes and am trying to work out the order of things. I'd like to rout the pick up holes and some wiring channels in between before glueing on the top, but am worried about alignment issues when glueing the top on - though I won't be routing the slots in the top until I have it glued to the body. Any advice appreciated.
 
Pete Howlett":2o5hnmiv said:
Not sure about the tone debate of woods on an electric guitar - after all, the sound is a processed electronic single from an oscillating string. If it were an acoustic then it would be a different ball game but it really is all down to the pickups IMHO.

Fender used Maple because it was cheap and easy to machine and finish - remember he was an engineer, not a luthier and his early solutions are typical 'engineer's designs'. The strat was a collaborative effort that gave way to some of the design ethos of the day - even down to that famous 'red' paint finish.

I'm sorry, but wood choice makes a massive difference on electric guitars. If you play a mahogany bodied guitar next to a maple bodied guitar, you would have to be tone-deaf not to notice the difference, this applies also to fingerboard and neck material, and even scale length. It doesn't matter that the sound is processed, the sound has characteristics before it gets to that stage.
 
Ironballs":1yrc3r79 said:
Absolutely Mignal, though I'm going for the easiest/most foolproof on this build :D

Appreciate all the hints, tips and debate, I'm learning as I go here. Only had a little time on the guitar this weekend as I had to work on a brithday present project that is running close to one month late. All I did was glue the ash practice blank (the source of the chopping board offcuts) and the mahogany real thing.

bodyblanks.jpg


I'm getting close to cutting the shape of the body and glueing on the top, in addition I'll be routing the pick up holes and am trying to work out the order of things. I'd like to rout the pick up holes and some wiring channels in between before glueing on the top, but am worried about alignment issues when glueing the top on - though I won't be routing the slots in the top until I have it glued to the body. Any advice appreciated.

Personally, I would route the cavities and pickup holes with the top on, as it reduces your routing jobs by a half, I don't see the benefit of routing the body and then the top - although it's easily done with a bearing bit, it just seems more work than is needed.

One little tip - plan where you are going to put your grounding wire now so that you can make provision for it, a popular location is one of the studs for the tailpiece or bridge of the tune-o-matic, this will require a hole drilled from the electronics cavity to the stud hole to allow the wire to run back to your ground.
 
Back
Top