head clansman
Established Member
hi jim
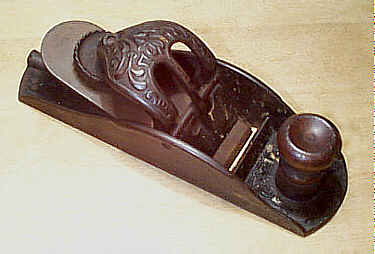
yep here it is ,
http://www.oldtools.co.uk/tools/planes_ ... pl1786.php i'll post some more when i get it .
hc
yep here it is ,
http://www.oldtools.co.uk/tools/planes_ ... pl1786.php i'll post some more when i get it .
hc
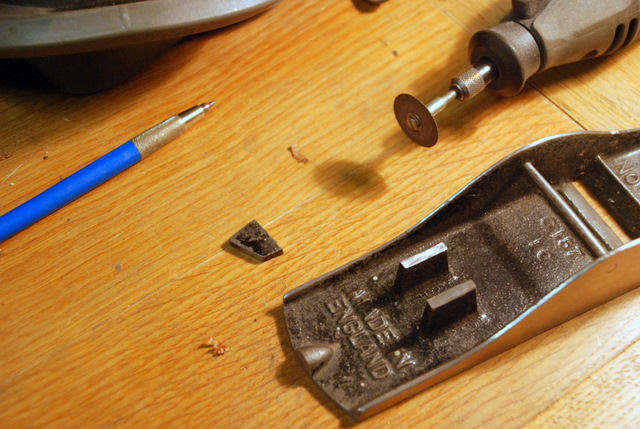
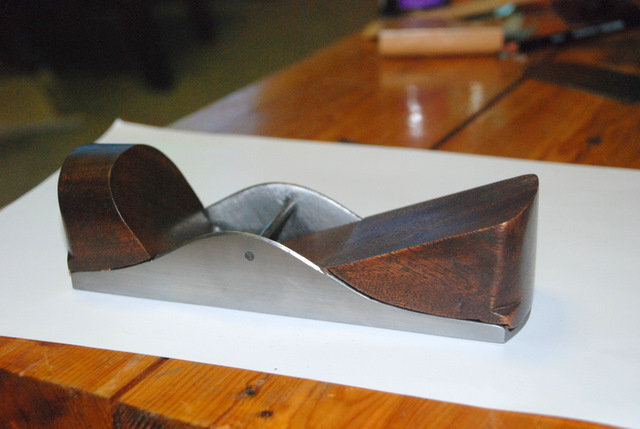
 :roll: it fitted the ticket real nice for what i want to do to it .hc :wink: