Finished! Making a ukulele

UKworkshop.co.uk

Help Support UKworkshop.co.uk:

This site may earn a commission from merchant affiliate links, including eBay, Amazon, and others.
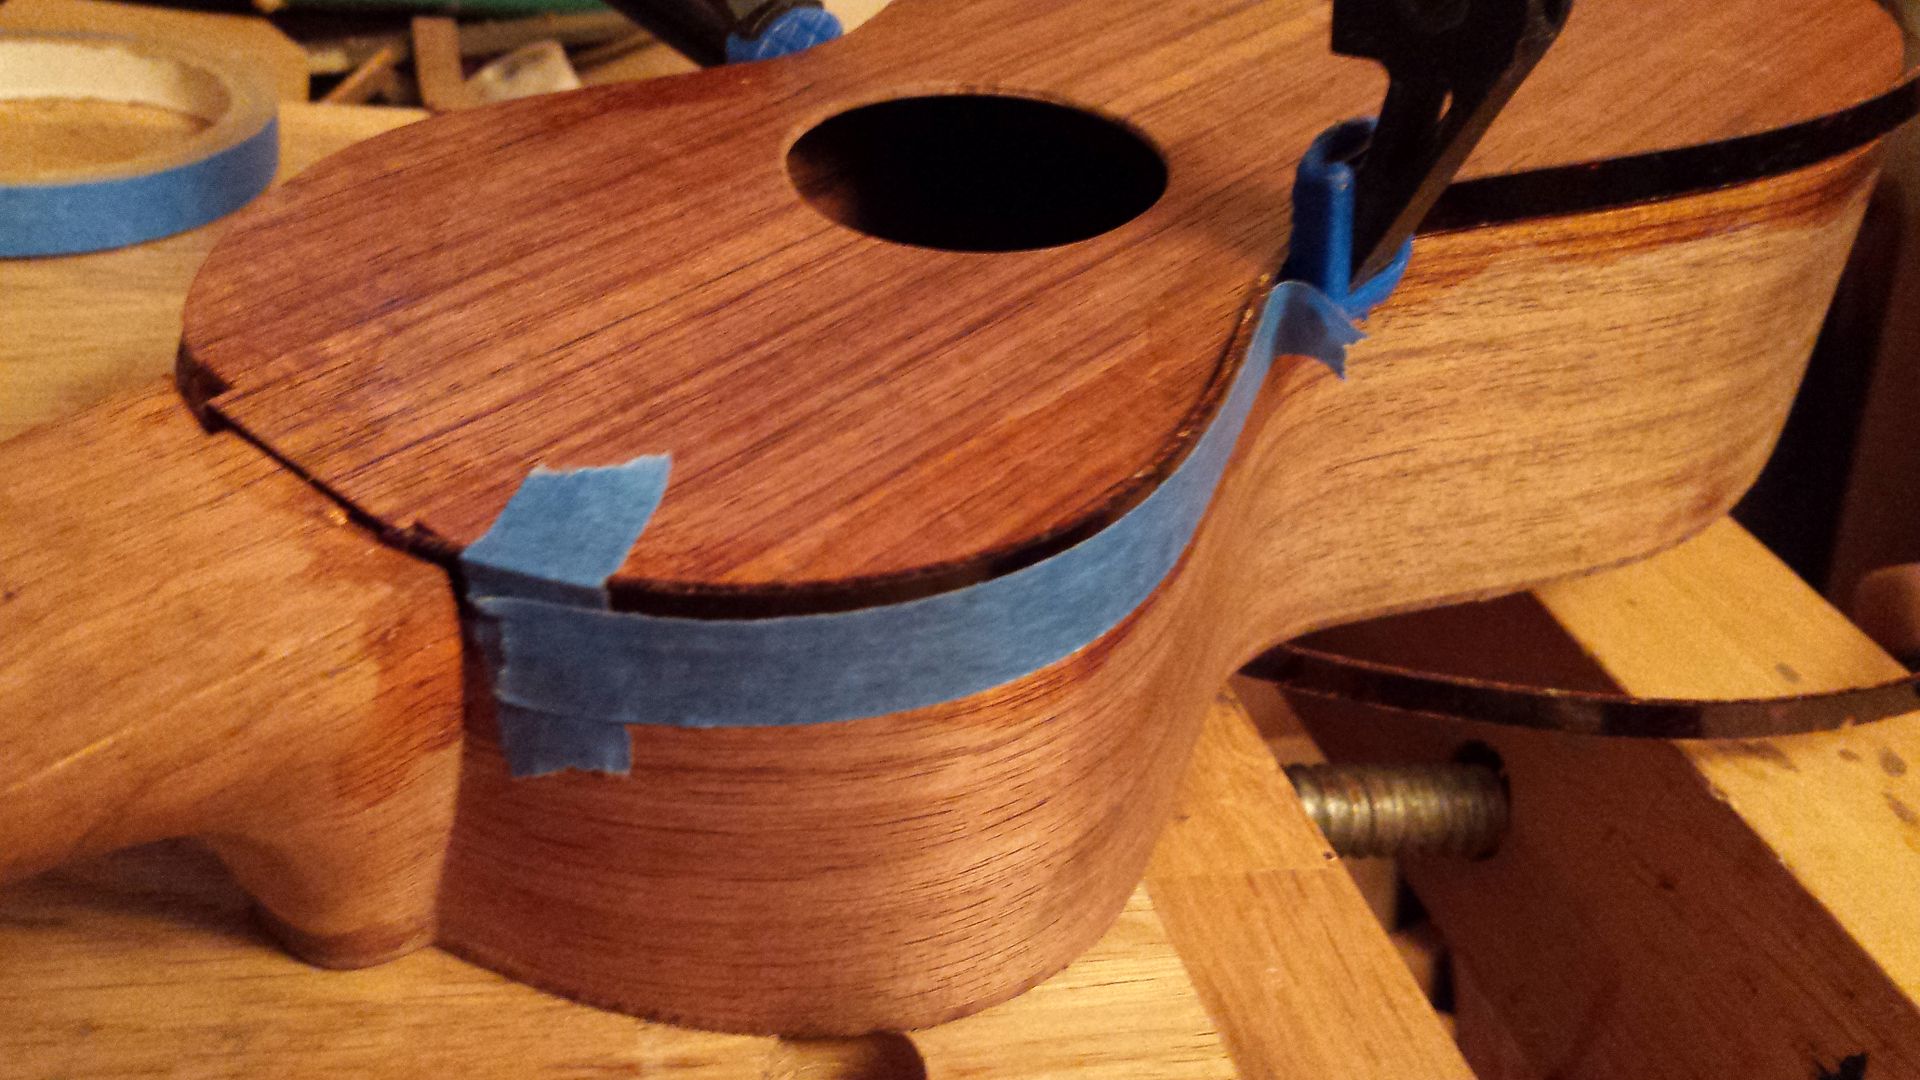
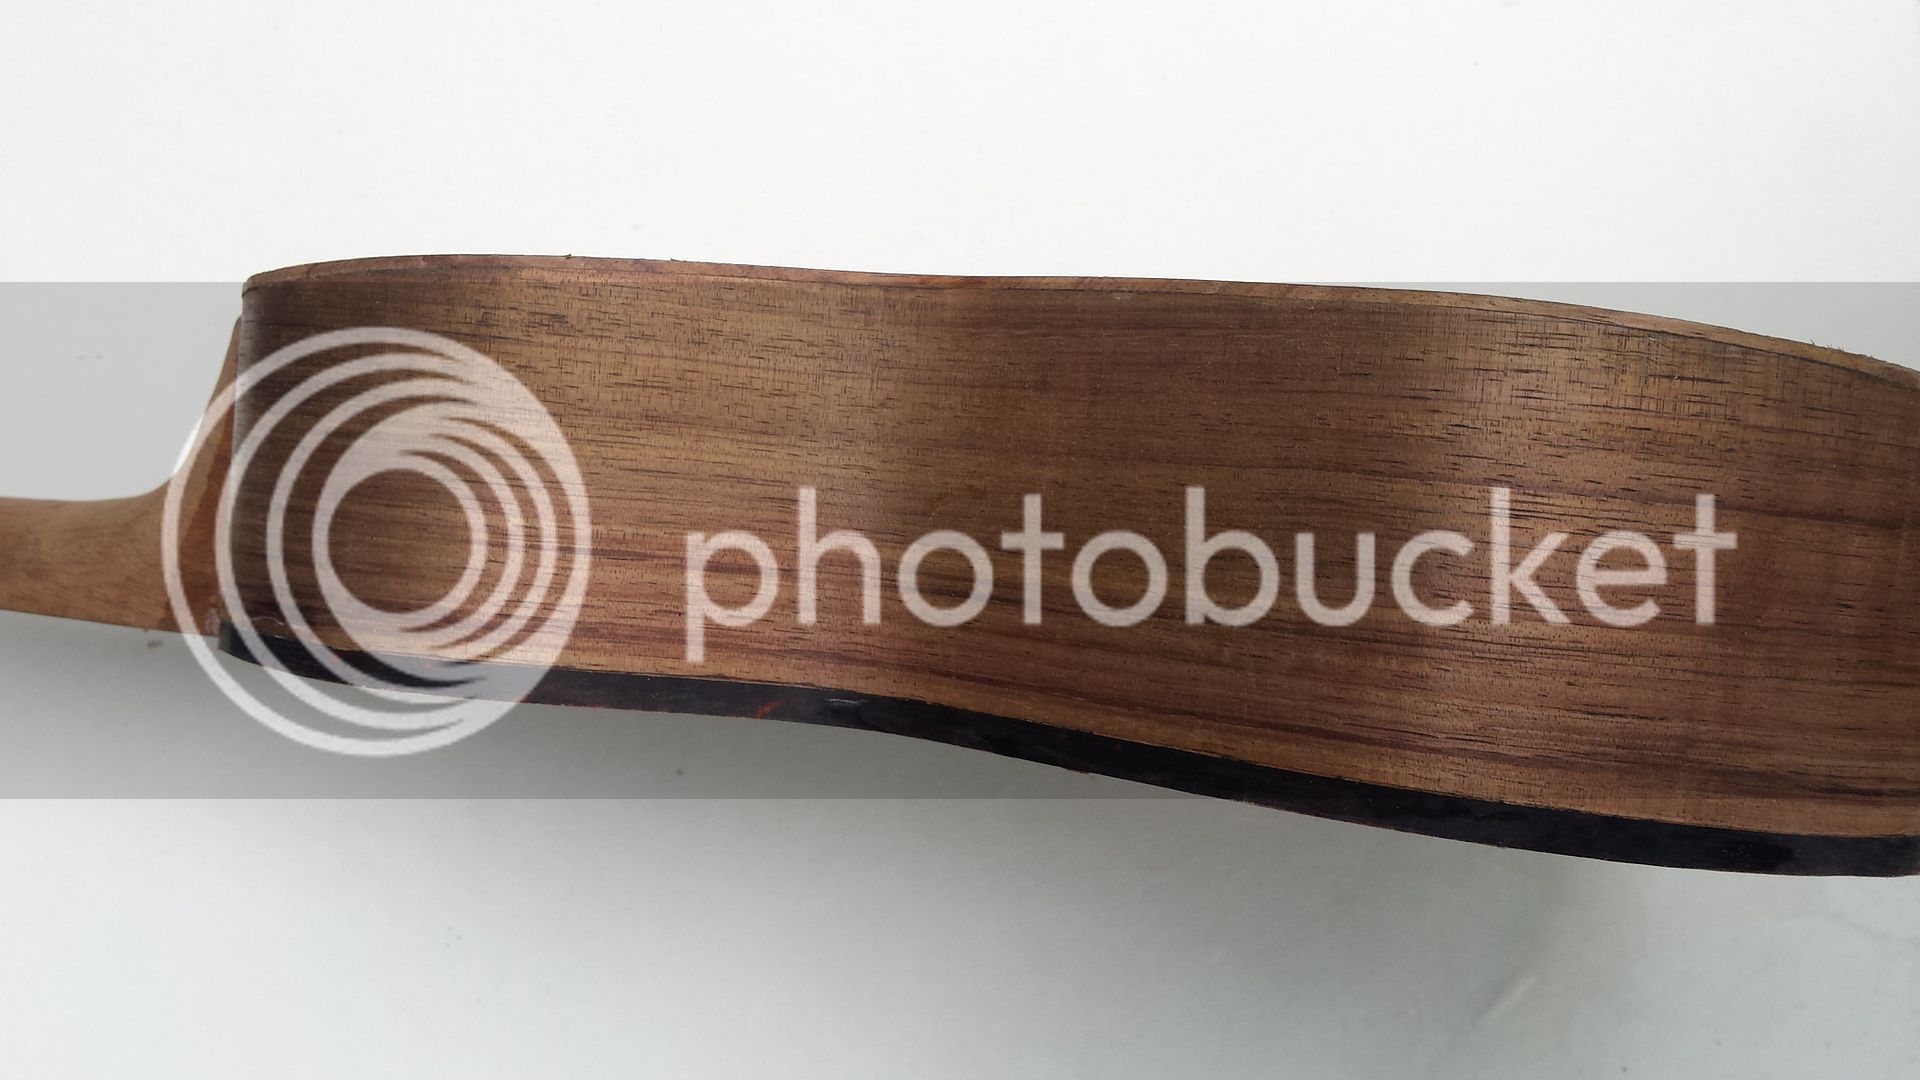
On Monday I completed the linings, including making pockets for the back brace to sit in.

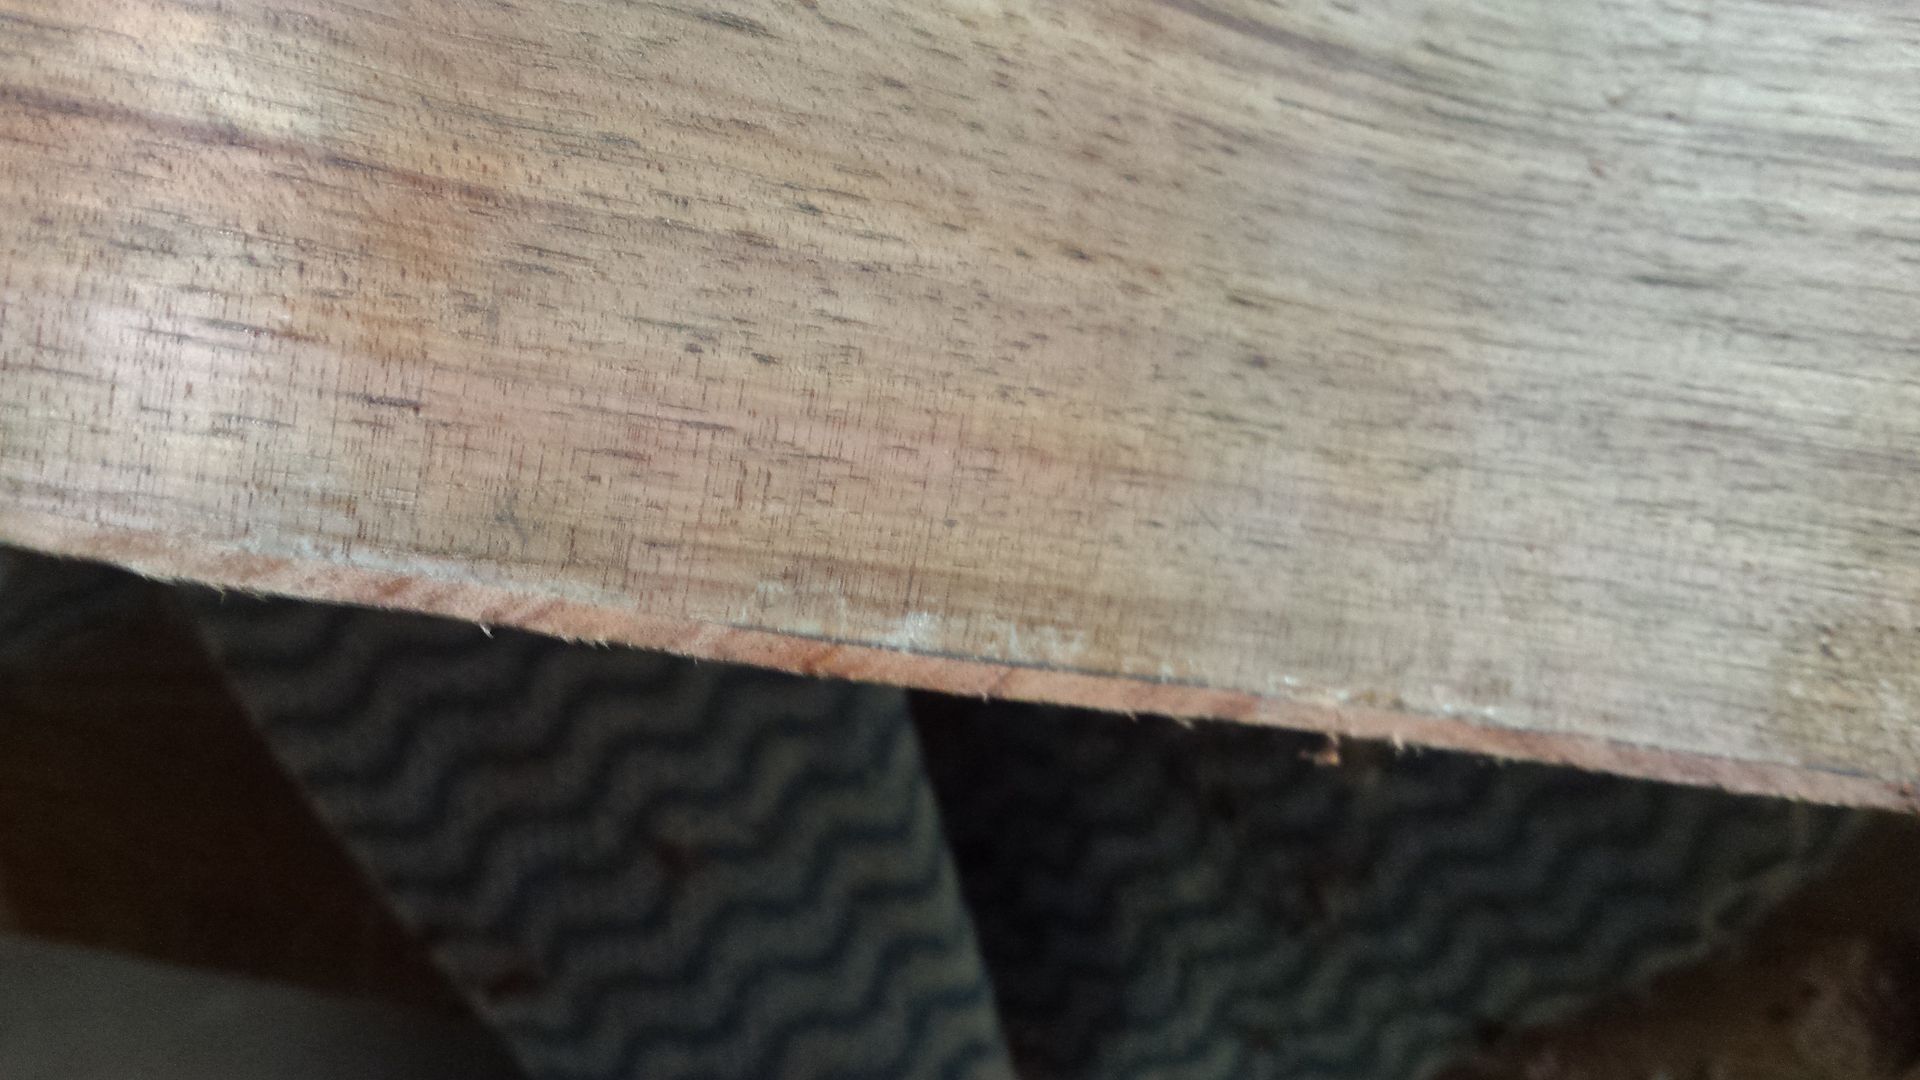
The linings are glued on a little proud of the sides and then taken down (initially with a plane, then by sanding) until they are EXACTLY the same height as the sides. How is "exactly" achieved?

Simples, my children. Rub pencil along the top surface of the sides and keep sanding until all the pencil is gone. Then you know your linings match the sides.

20160912_171834_zpsbmpdyuly.jpg


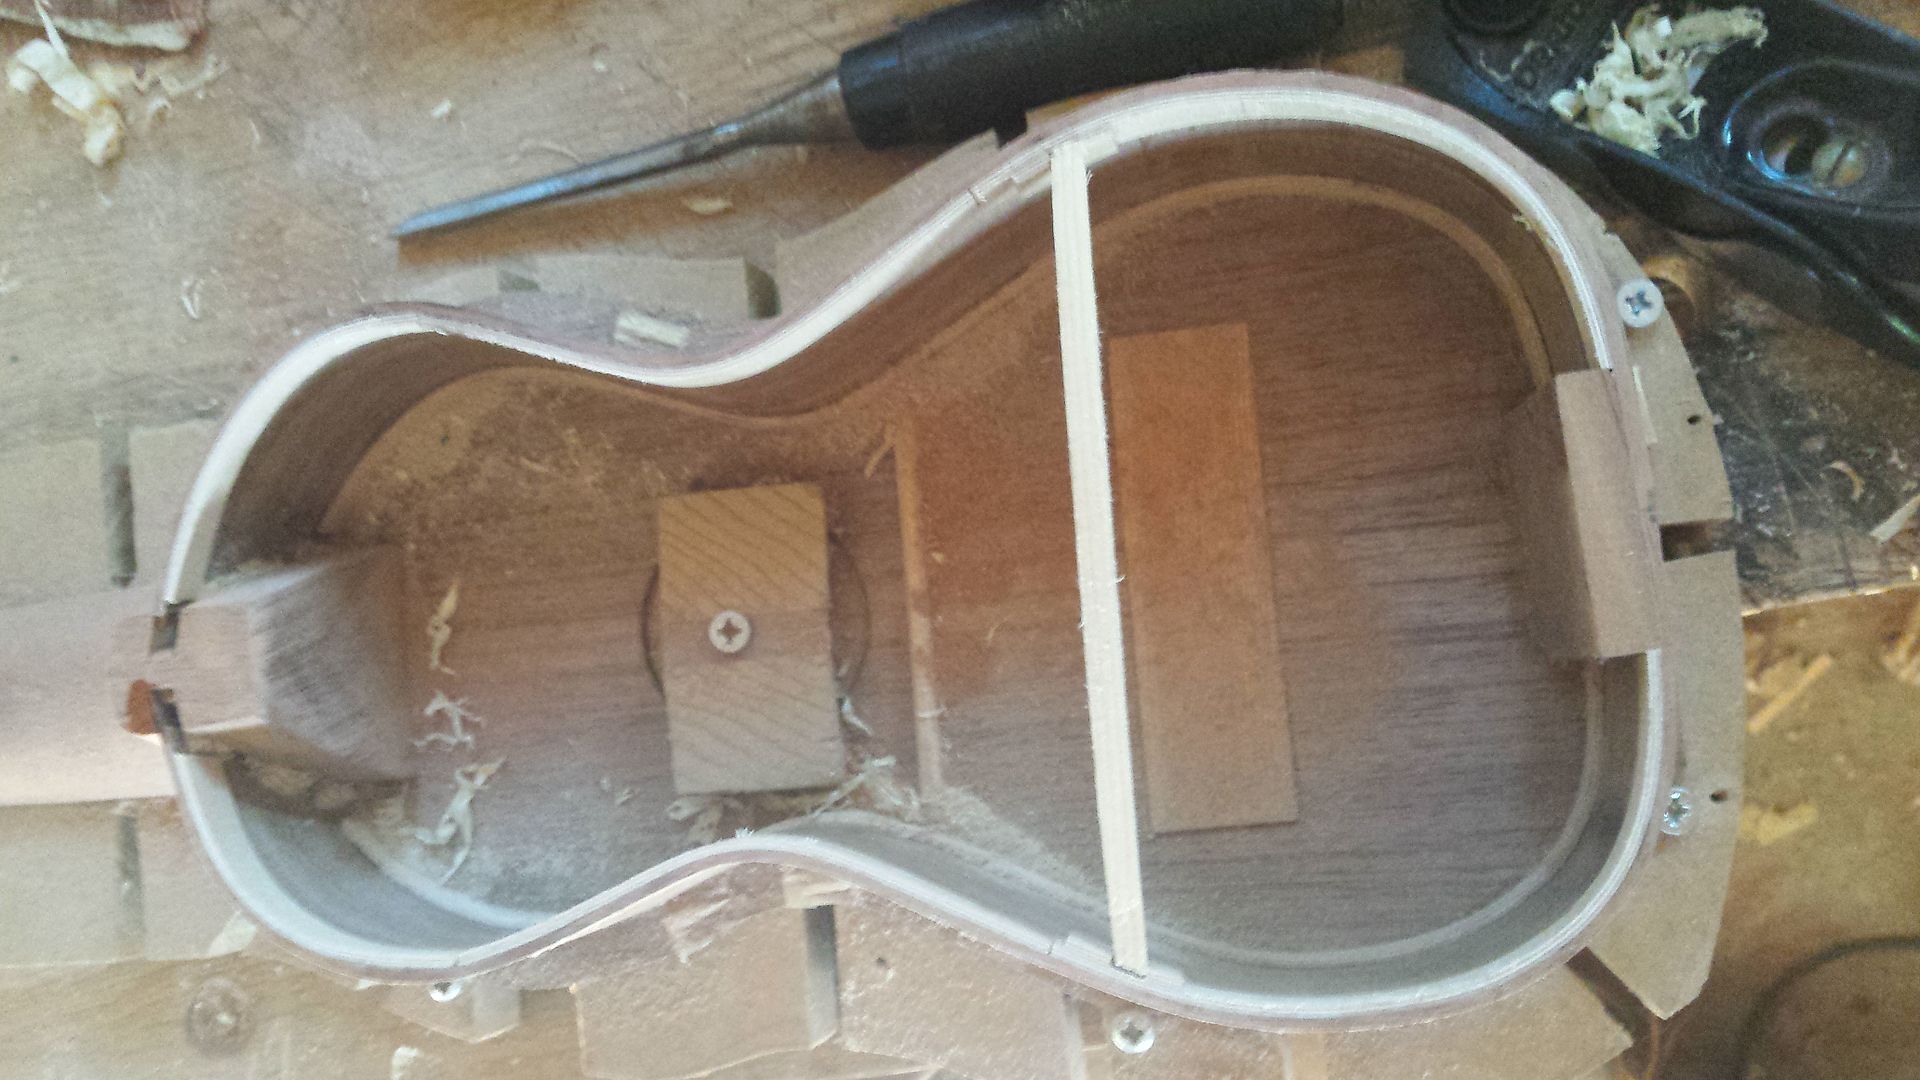
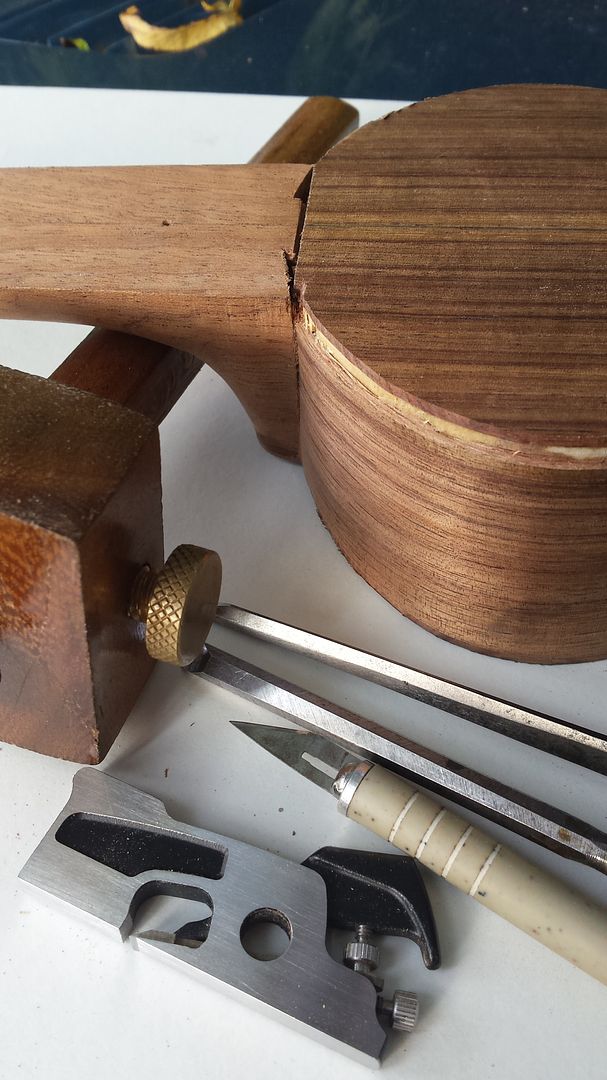
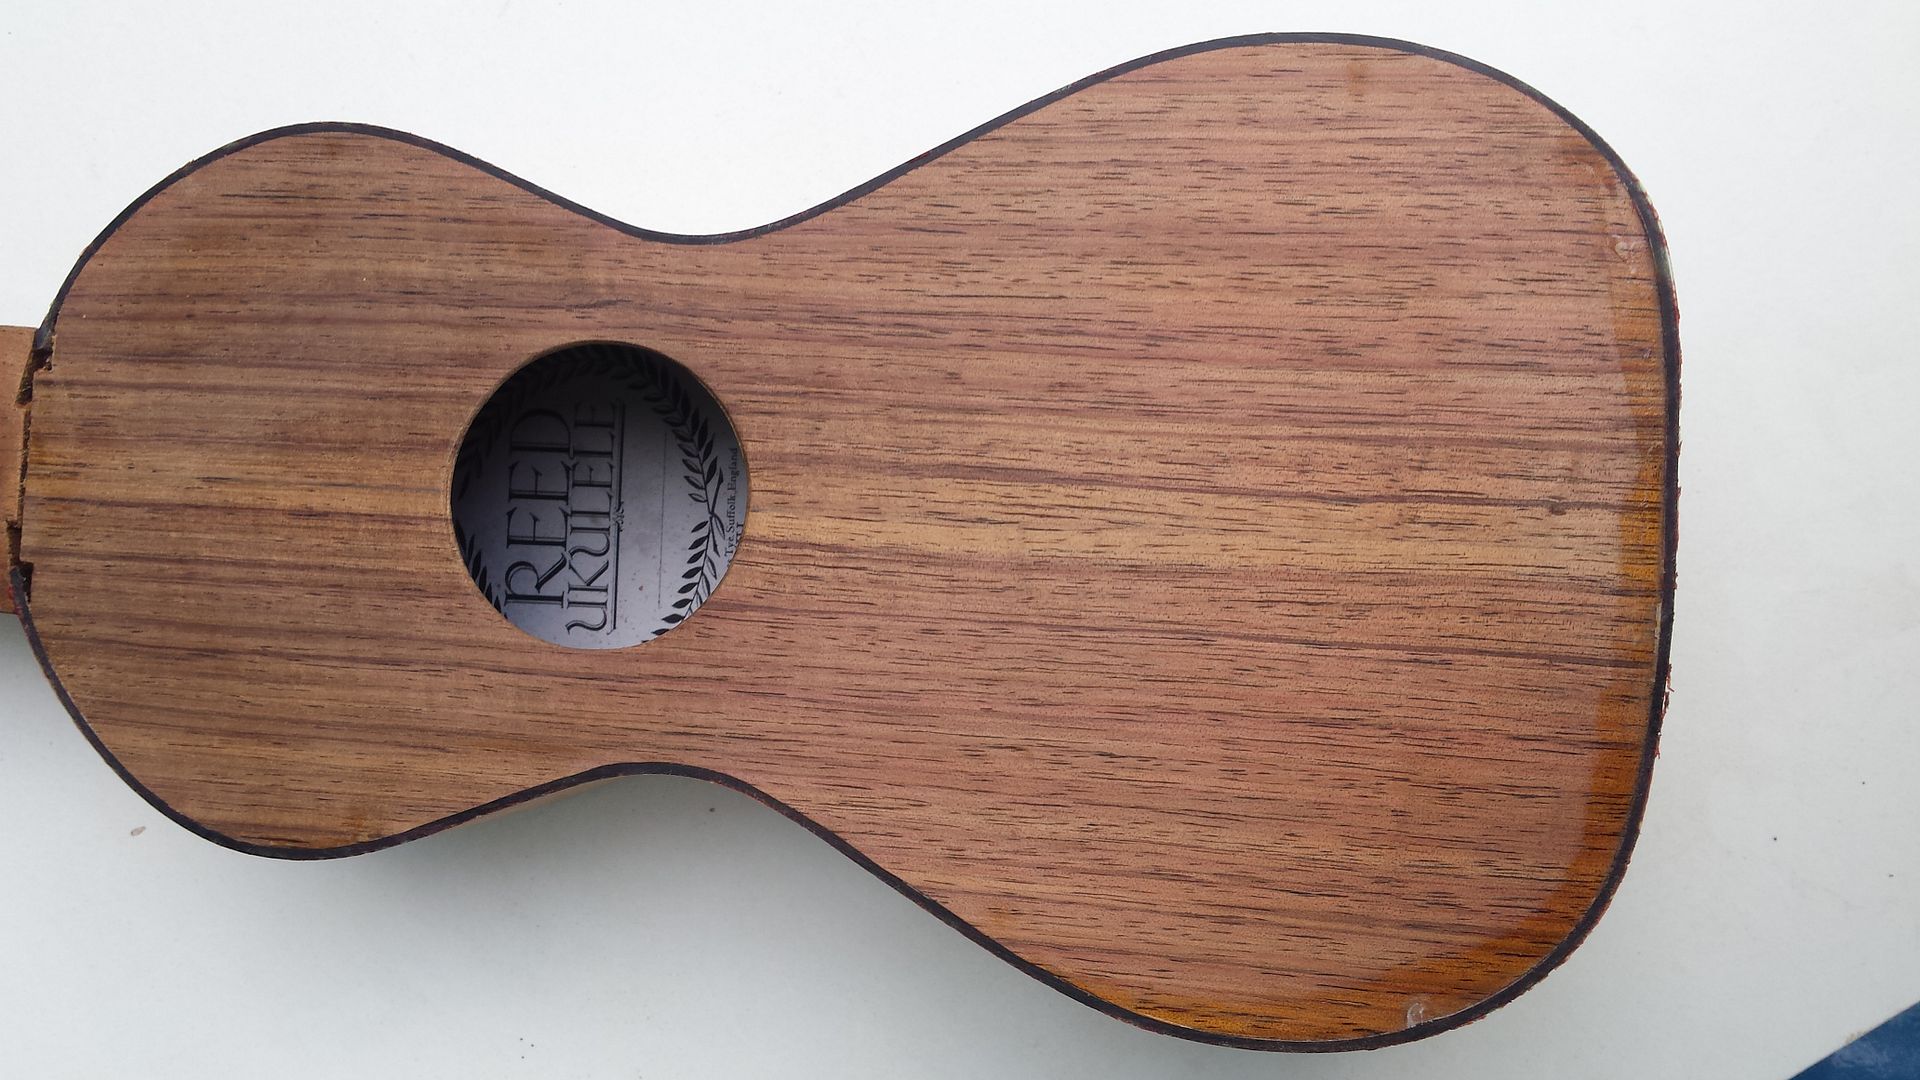
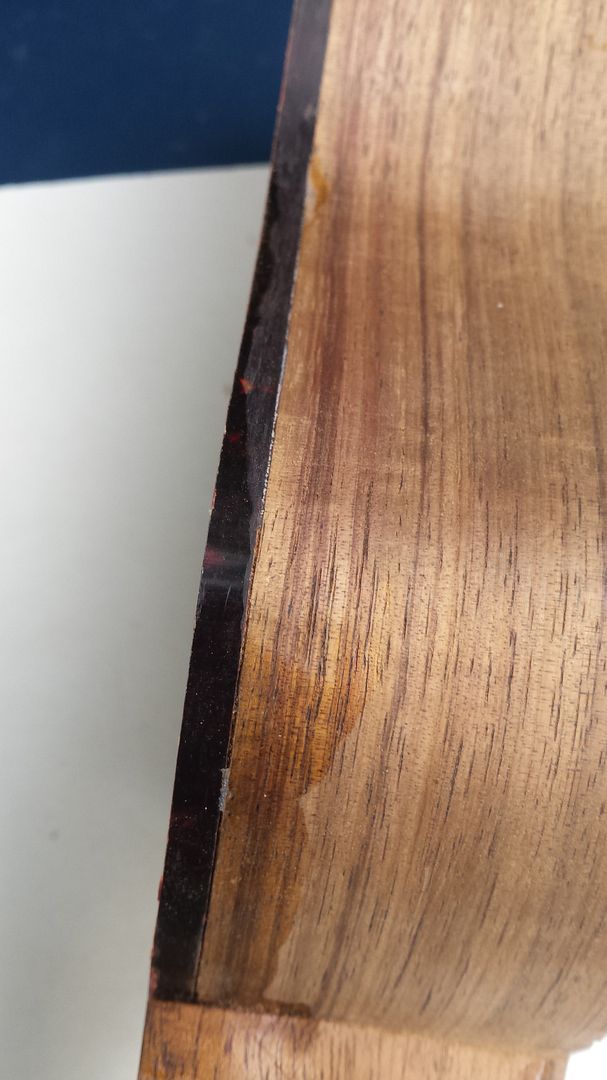
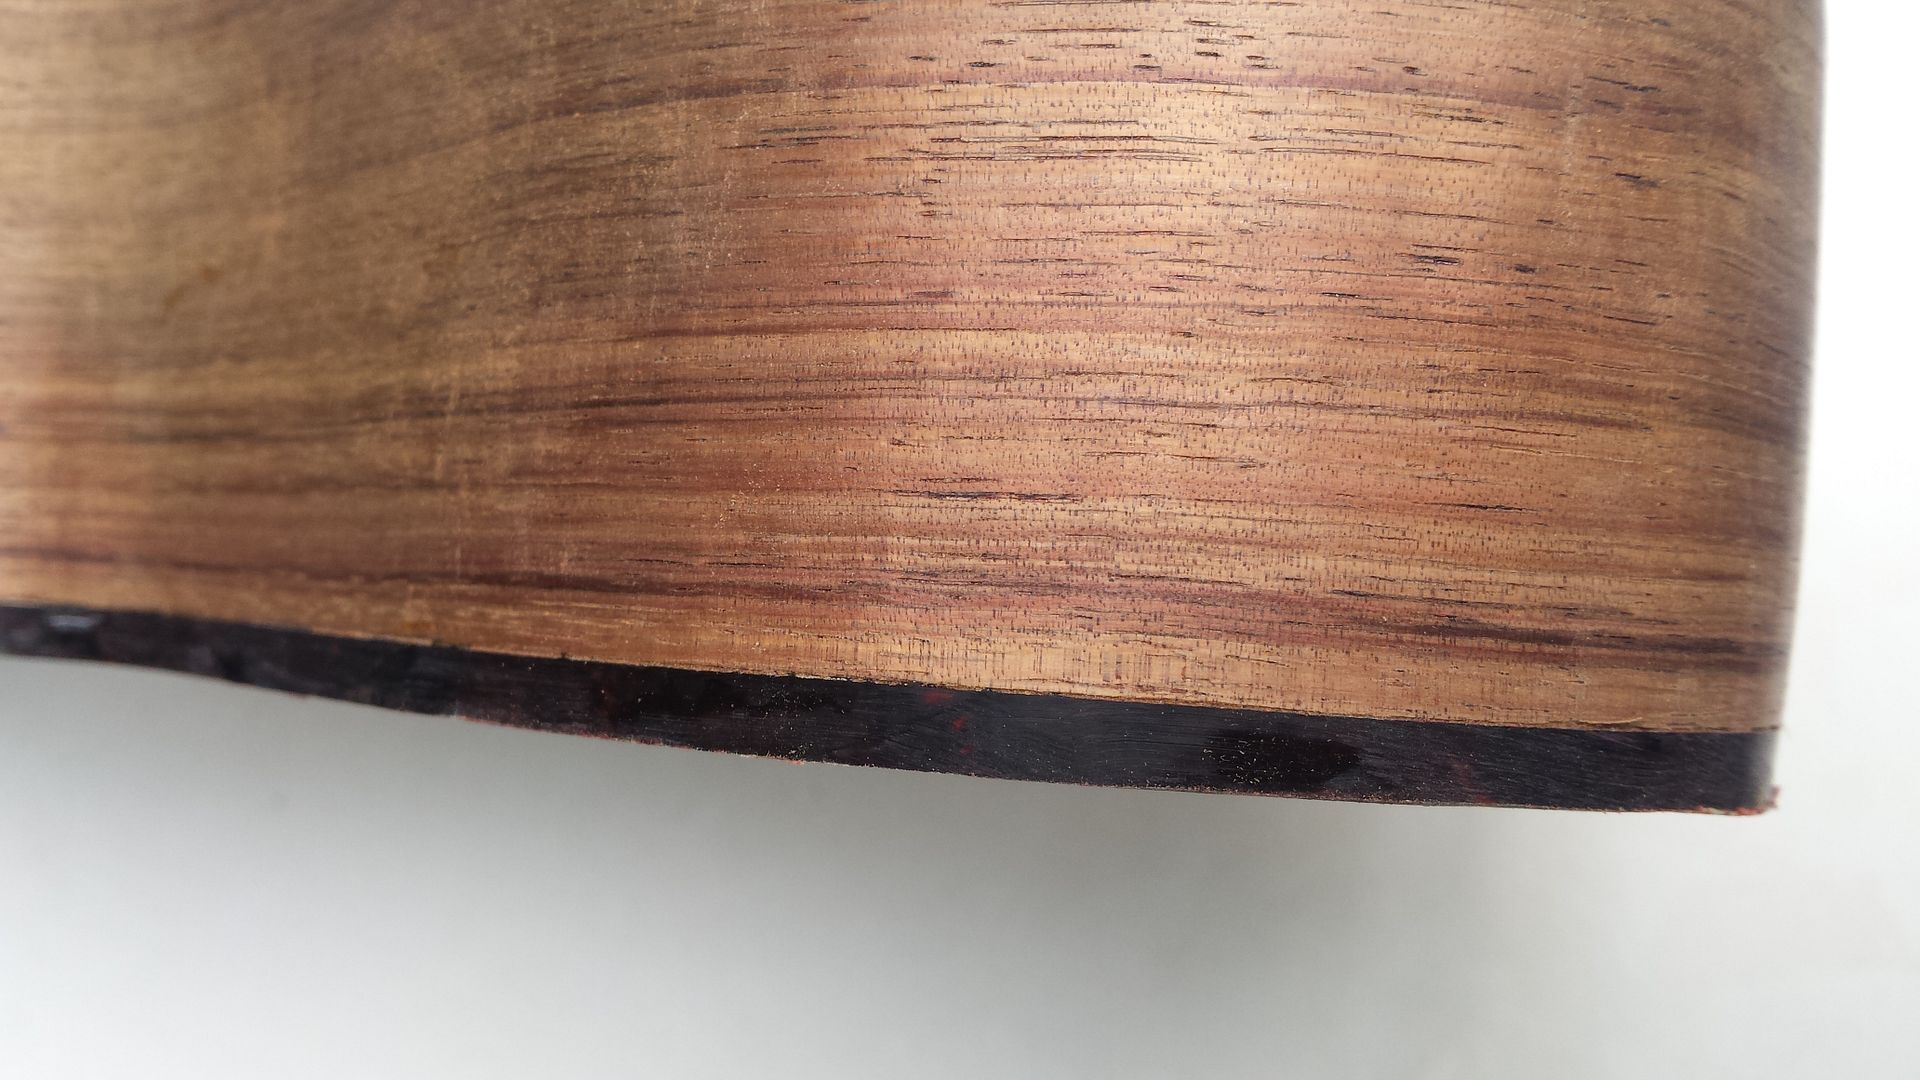
Once all the sanding is complete, it's a good time to take out that block screwed over the sound hole, as it won't be needed any more.

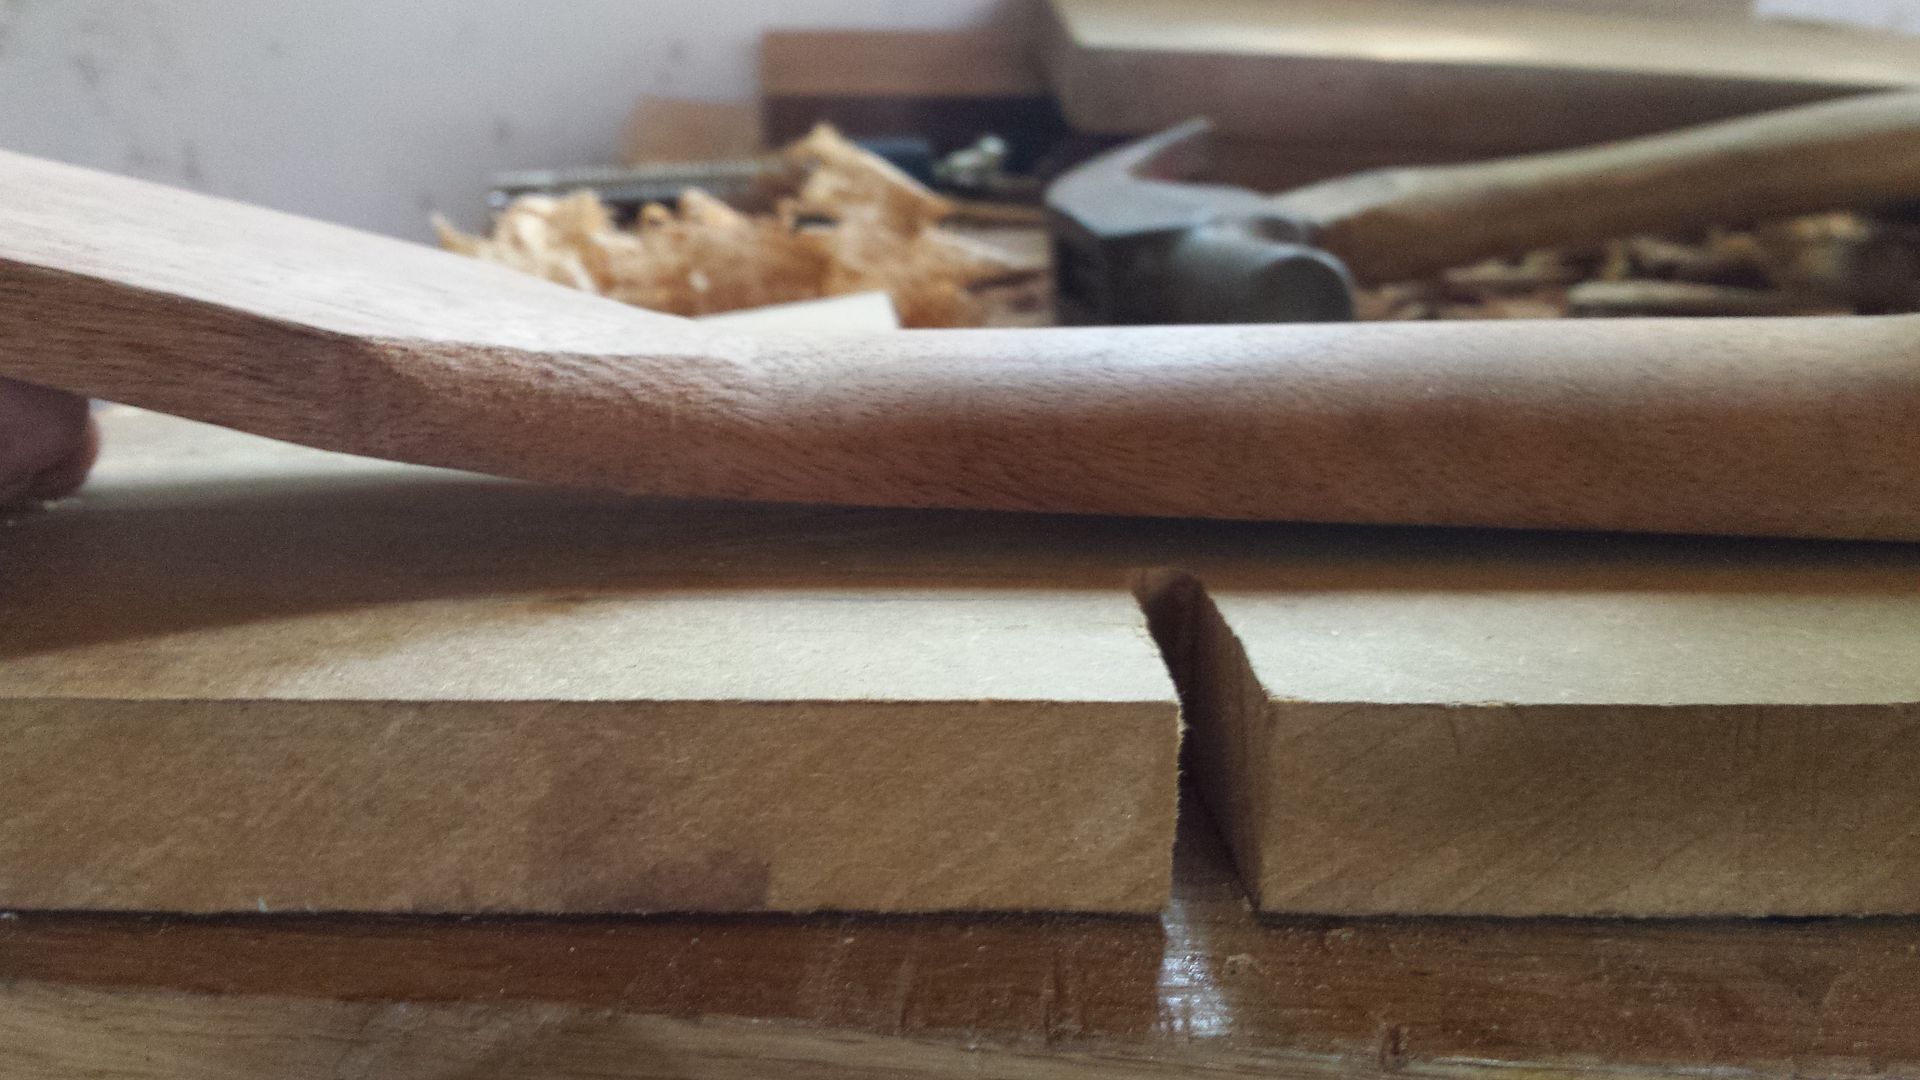
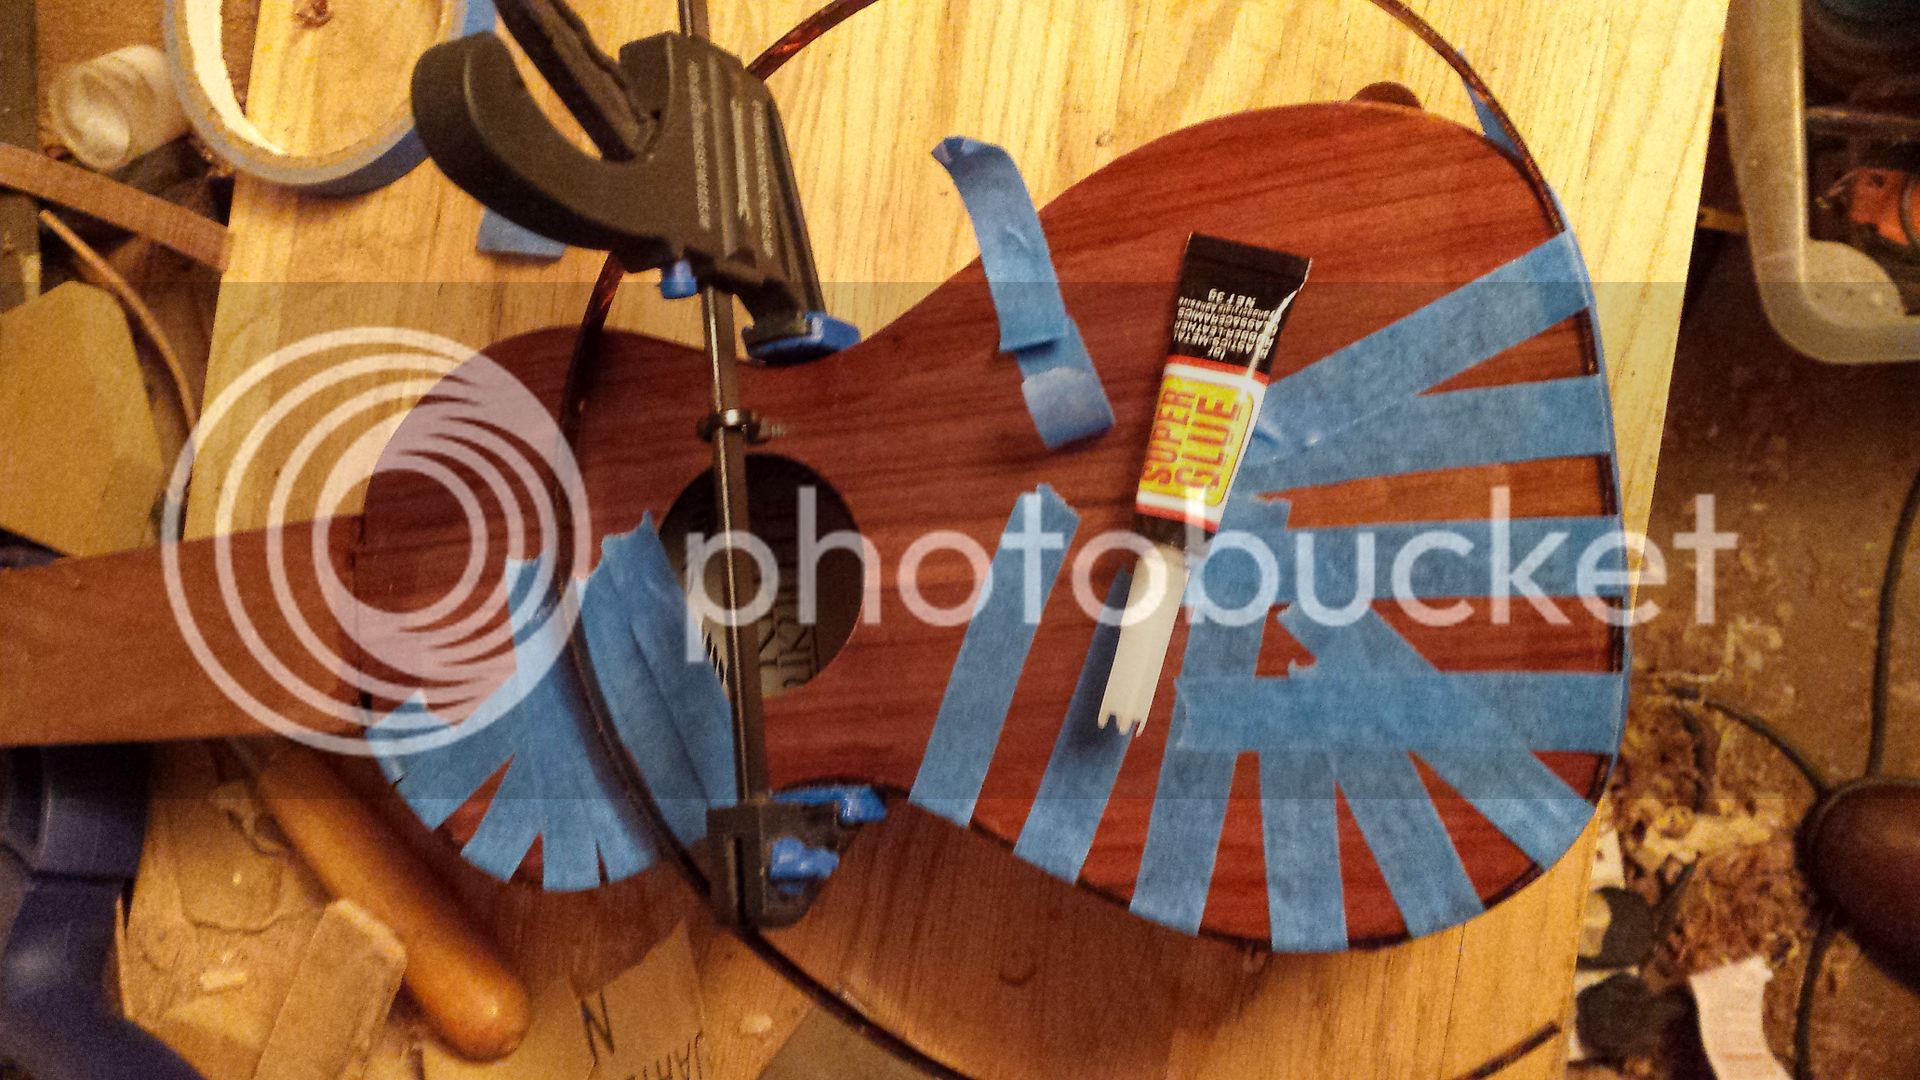
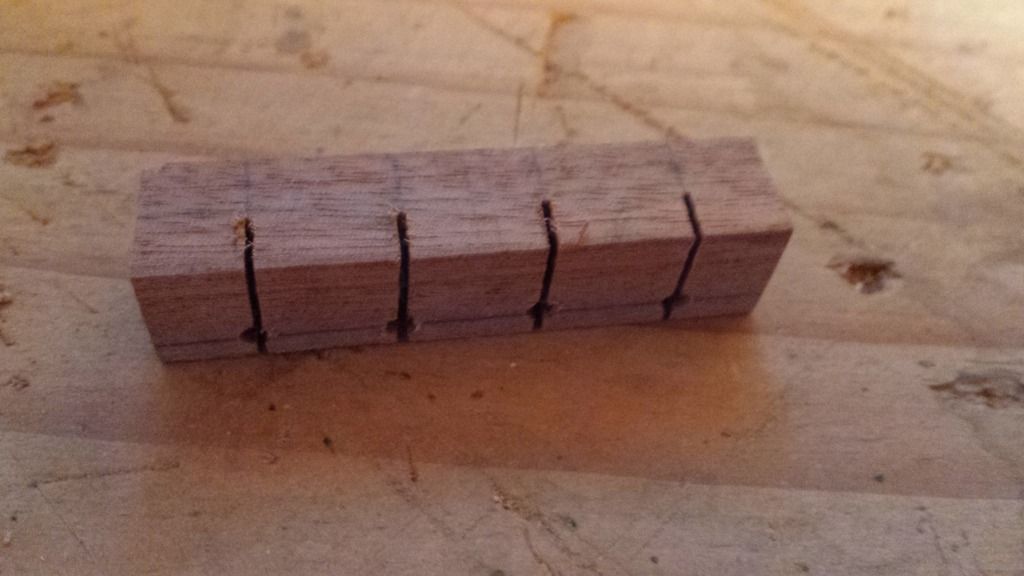
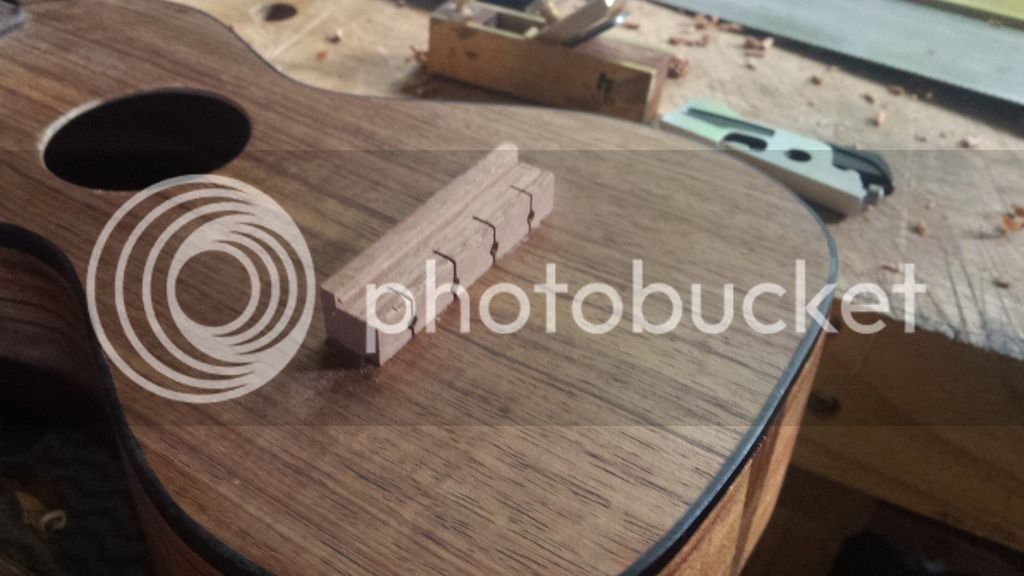
The back brace is made so it sits in the pockets and is gently curved, the centre being about 2mm higher than the sides.

20160912_171854_zpslldhwzkb.jpg


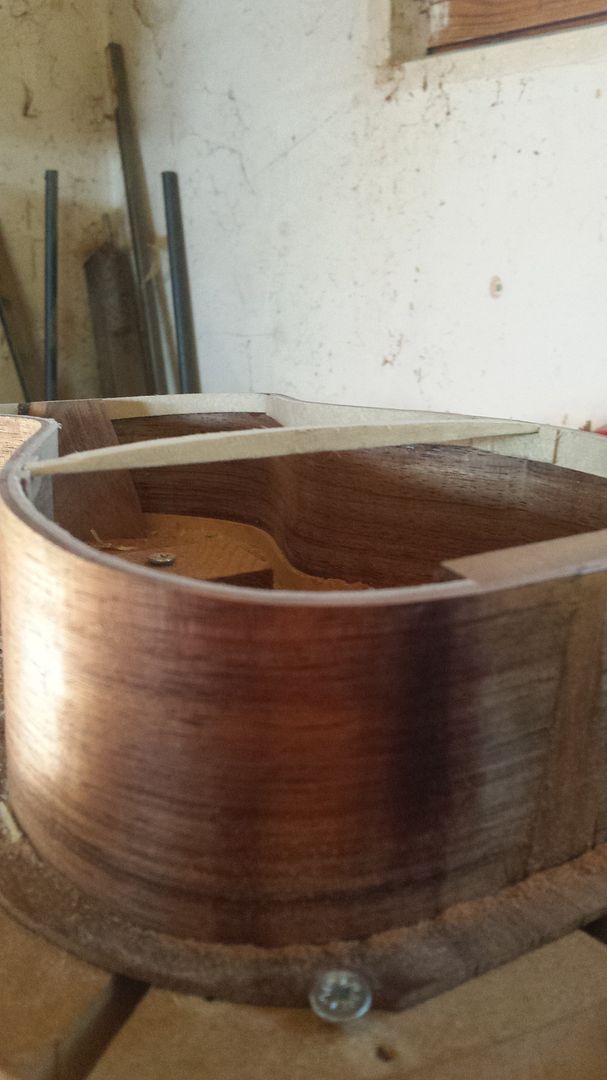
There are two reasons for this. The first is aesthetic - you don't really see the tiny side-to-side curve, but it does just enough to make the back look even better. The second is more important - the back has to be glued firmly to the brace, but I find it easier to glue the brace to the sides now, and then when I put the back on I make sure it is also glued to the brace. The slight arch ensures that the brace pushes up into the back, so I'm confident there is contact all along the length of the brace when glueing.

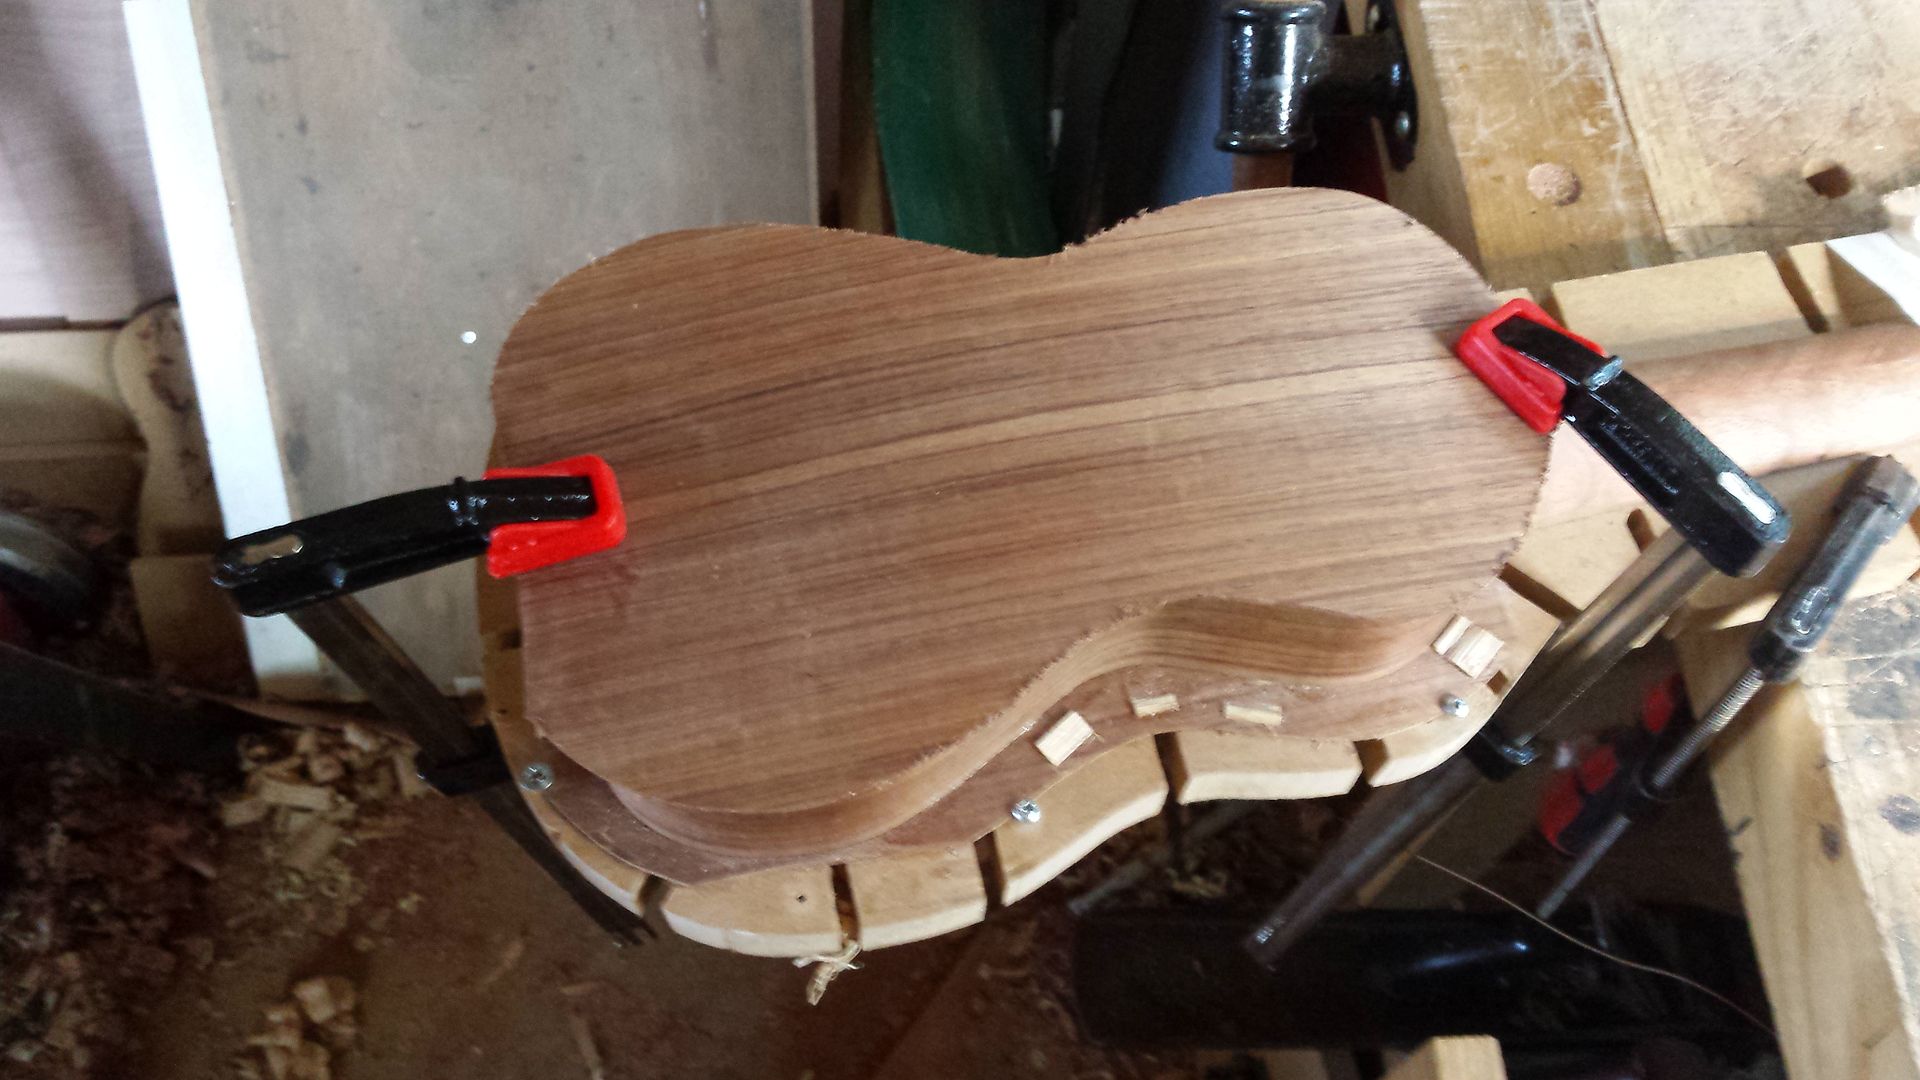
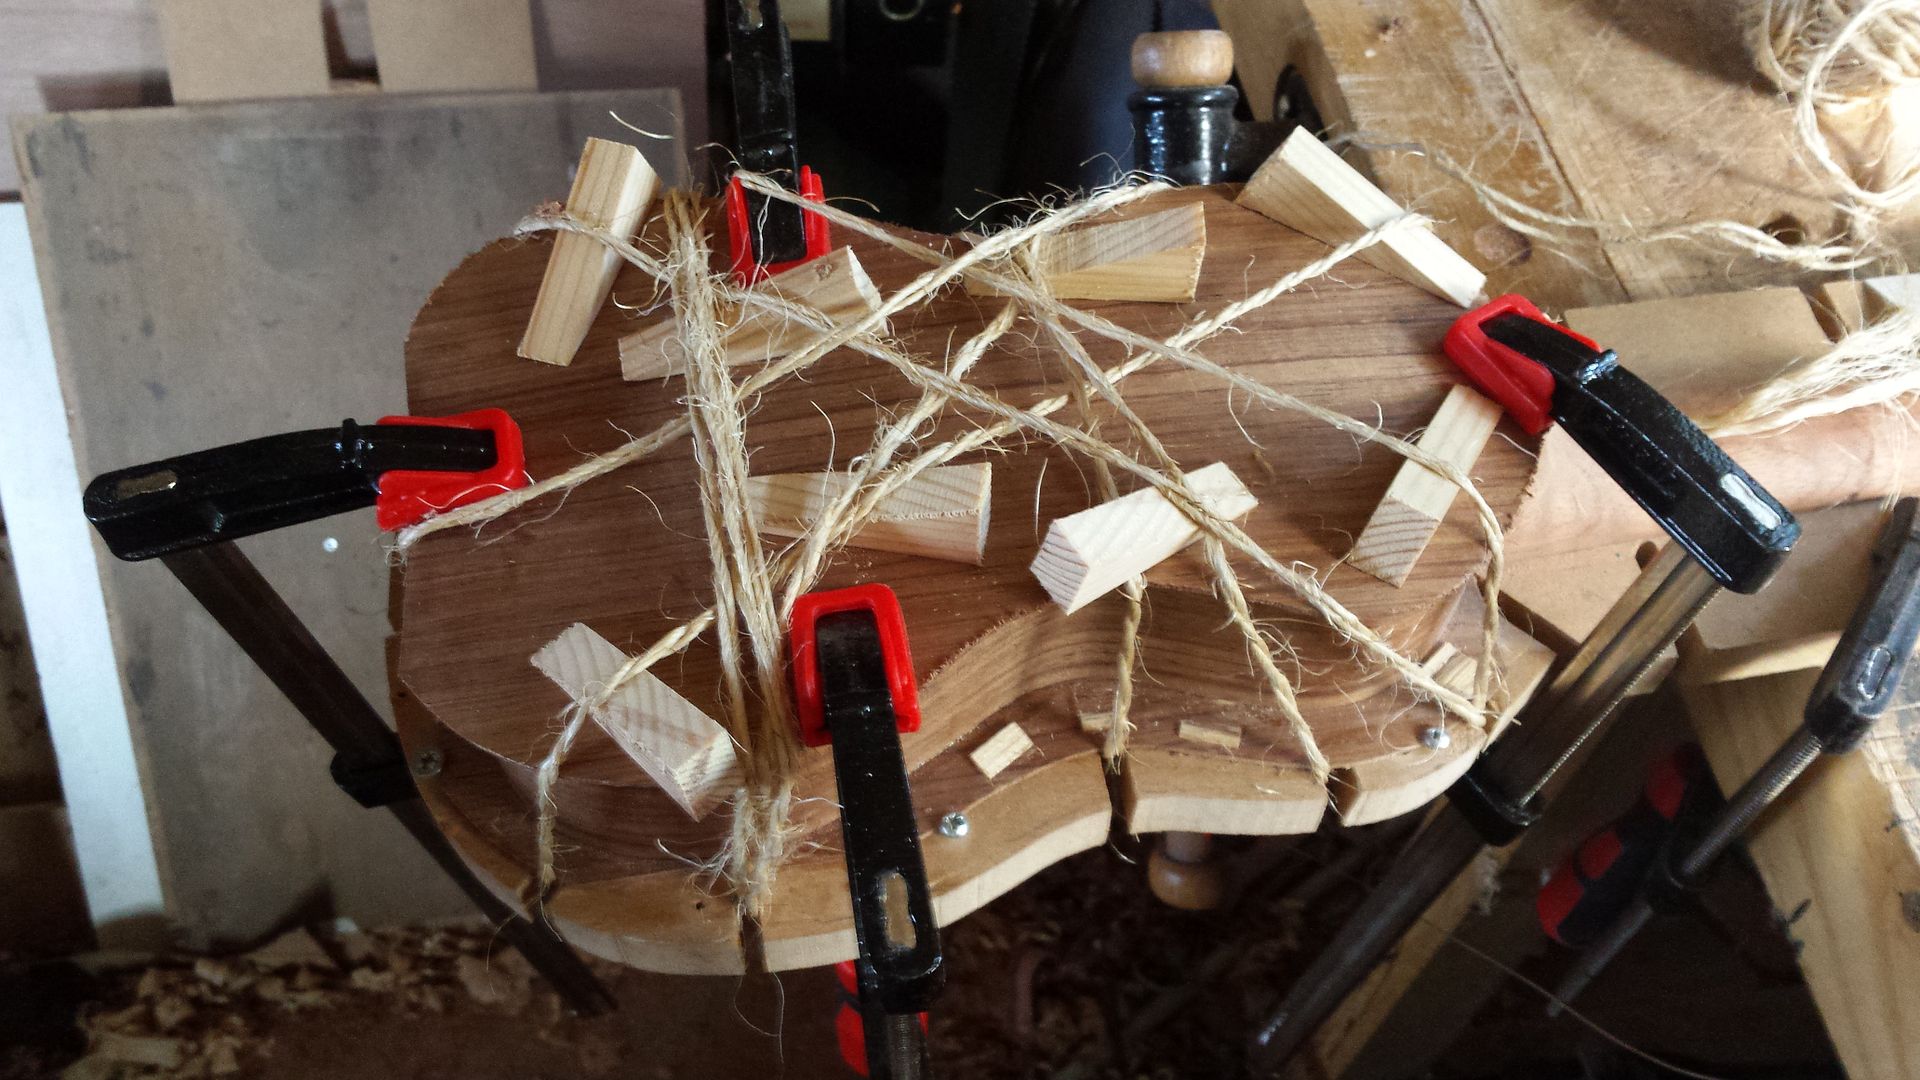
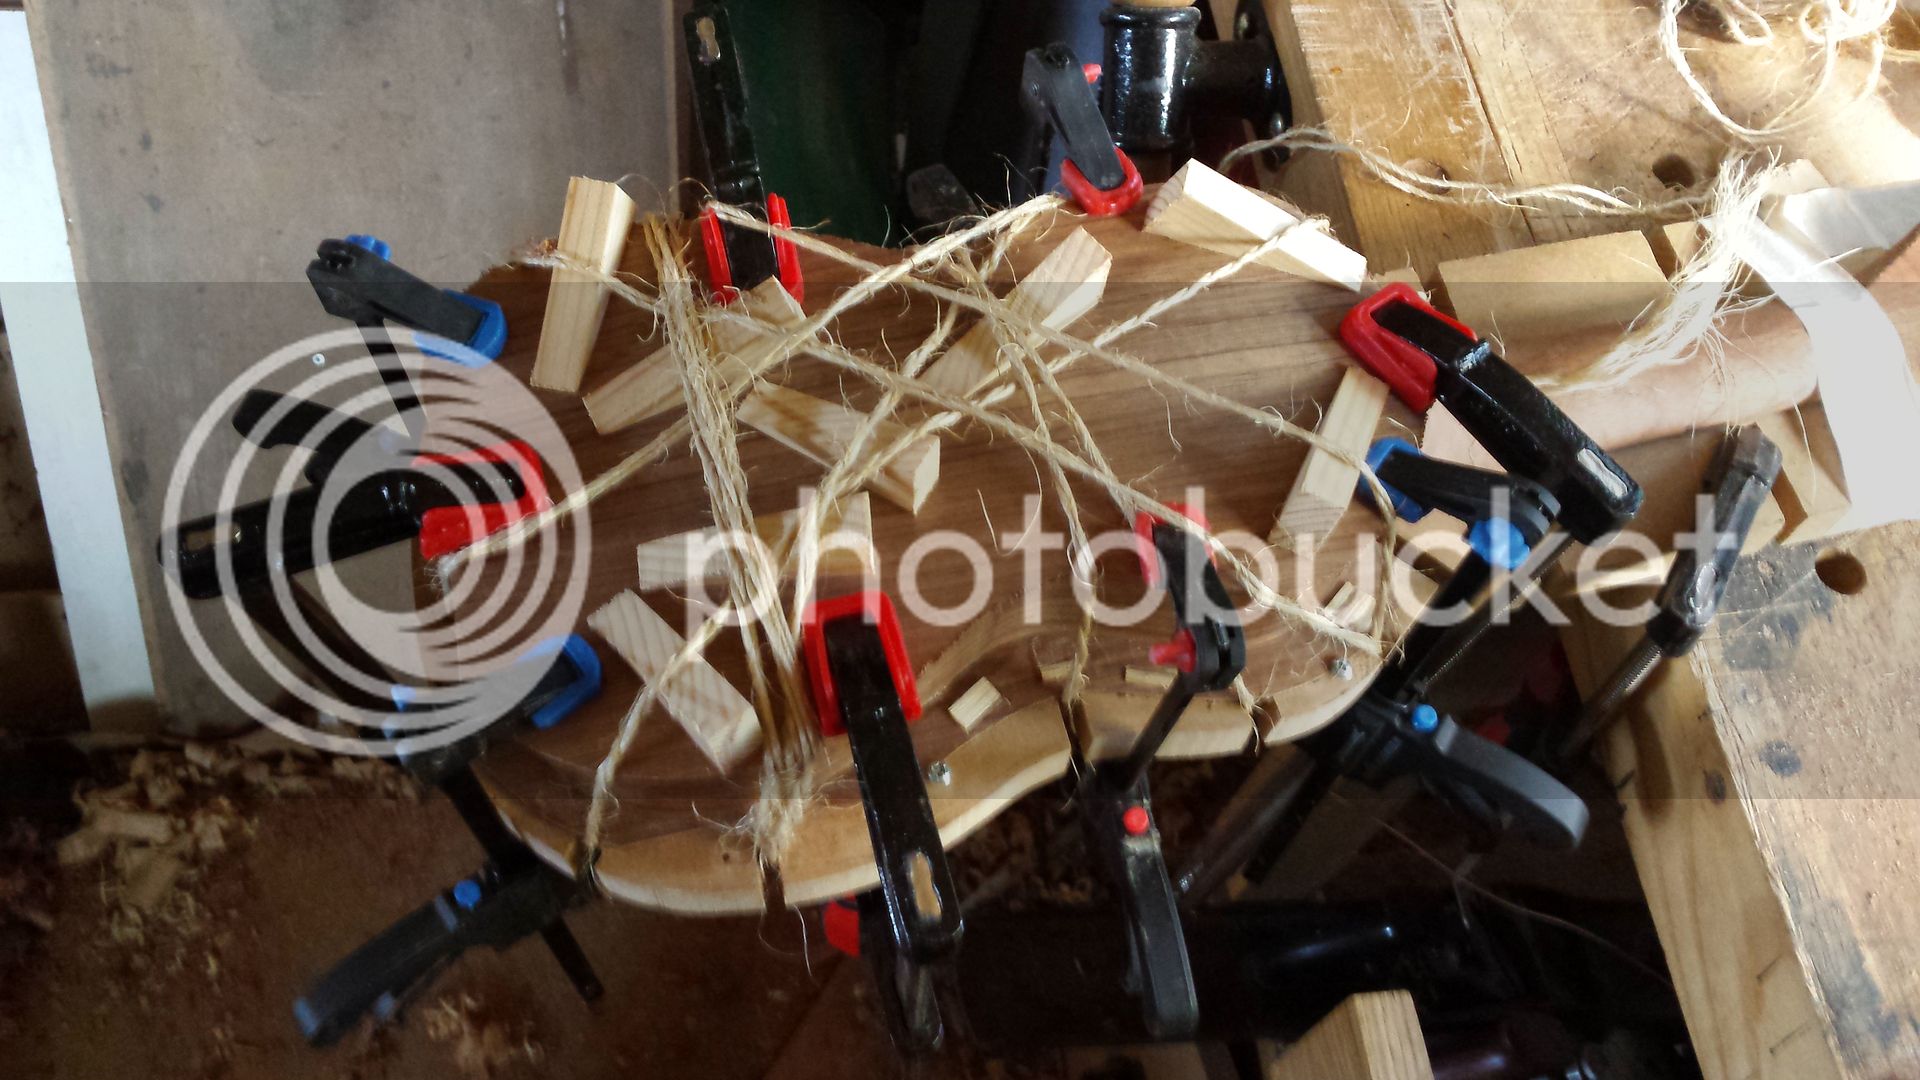
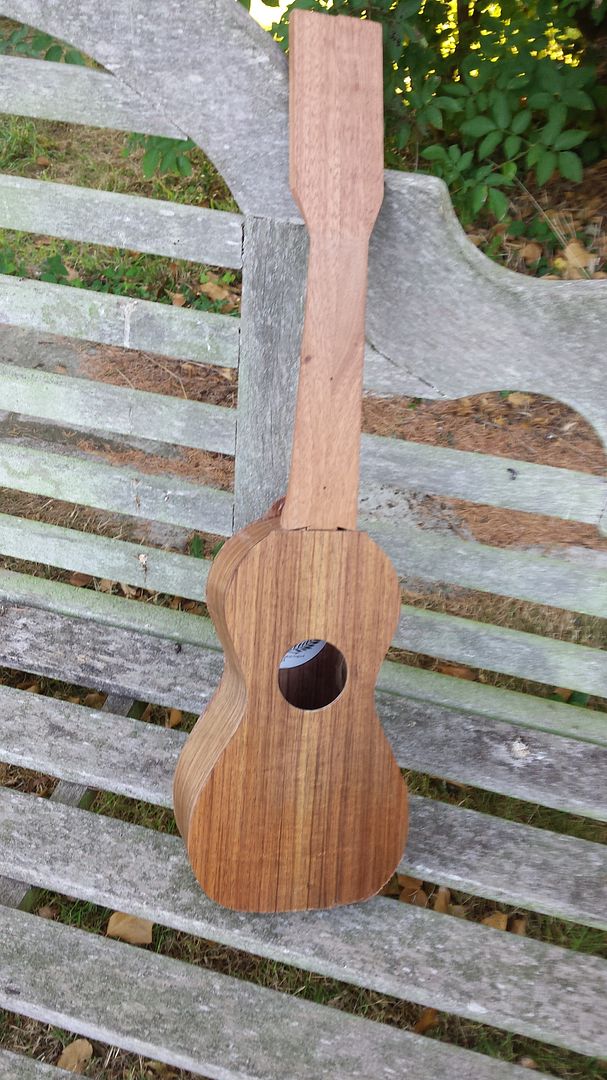
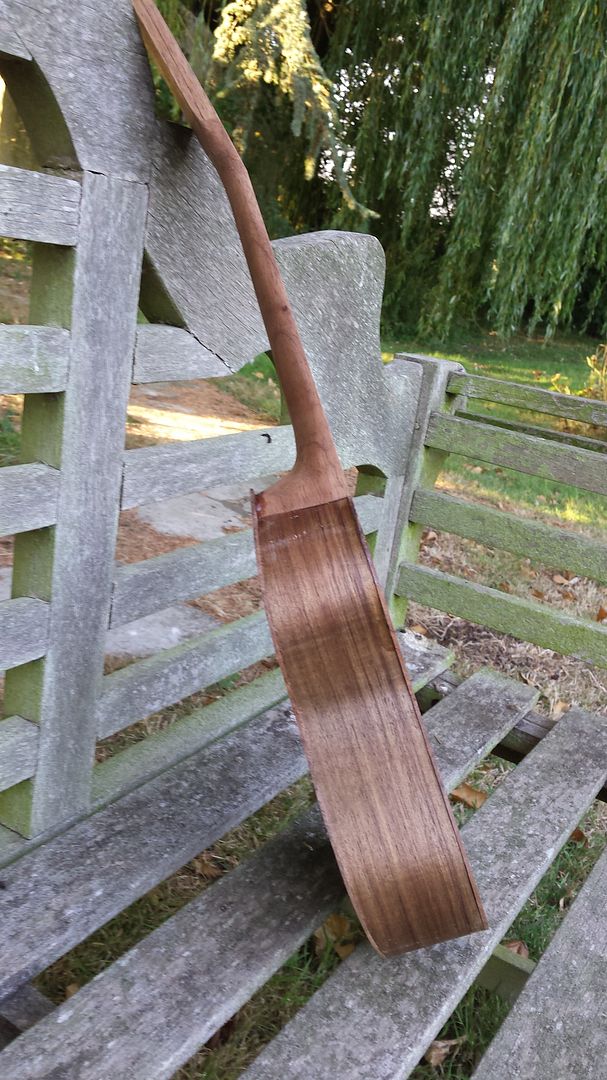
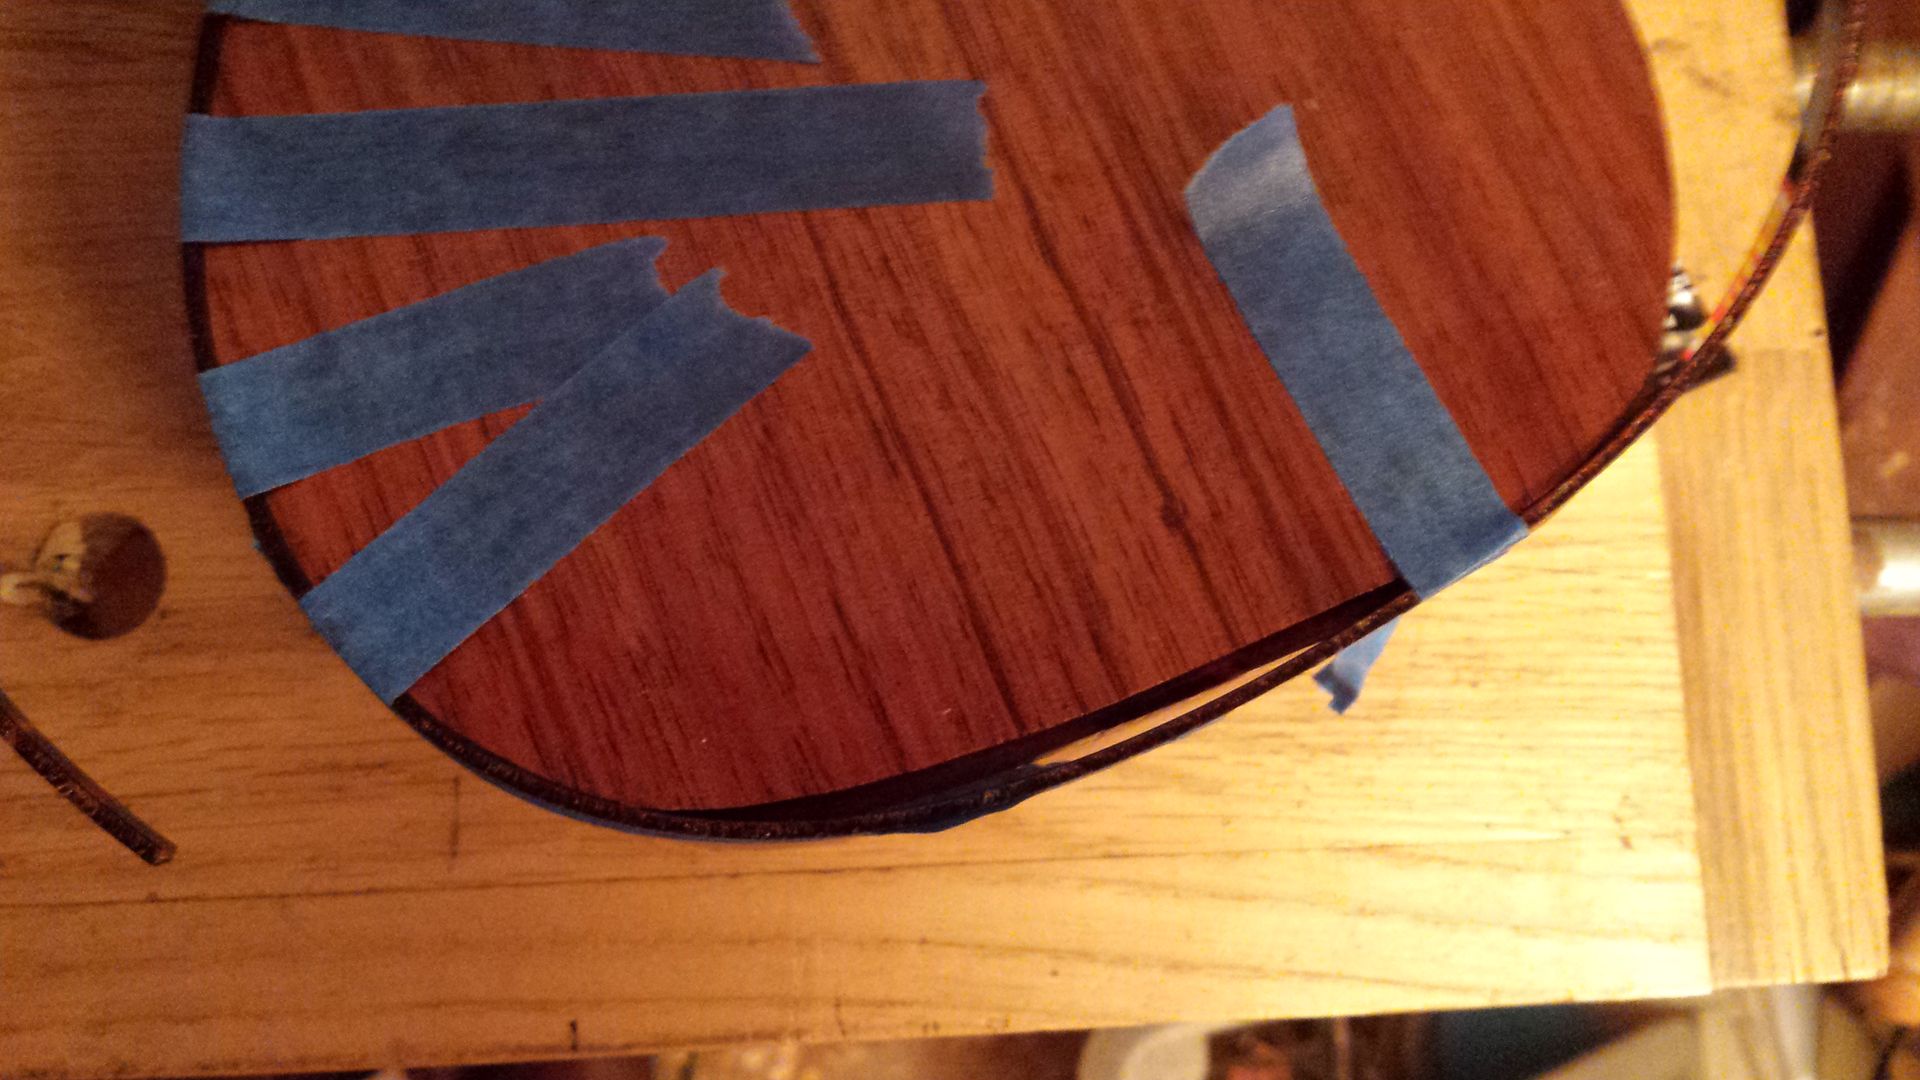
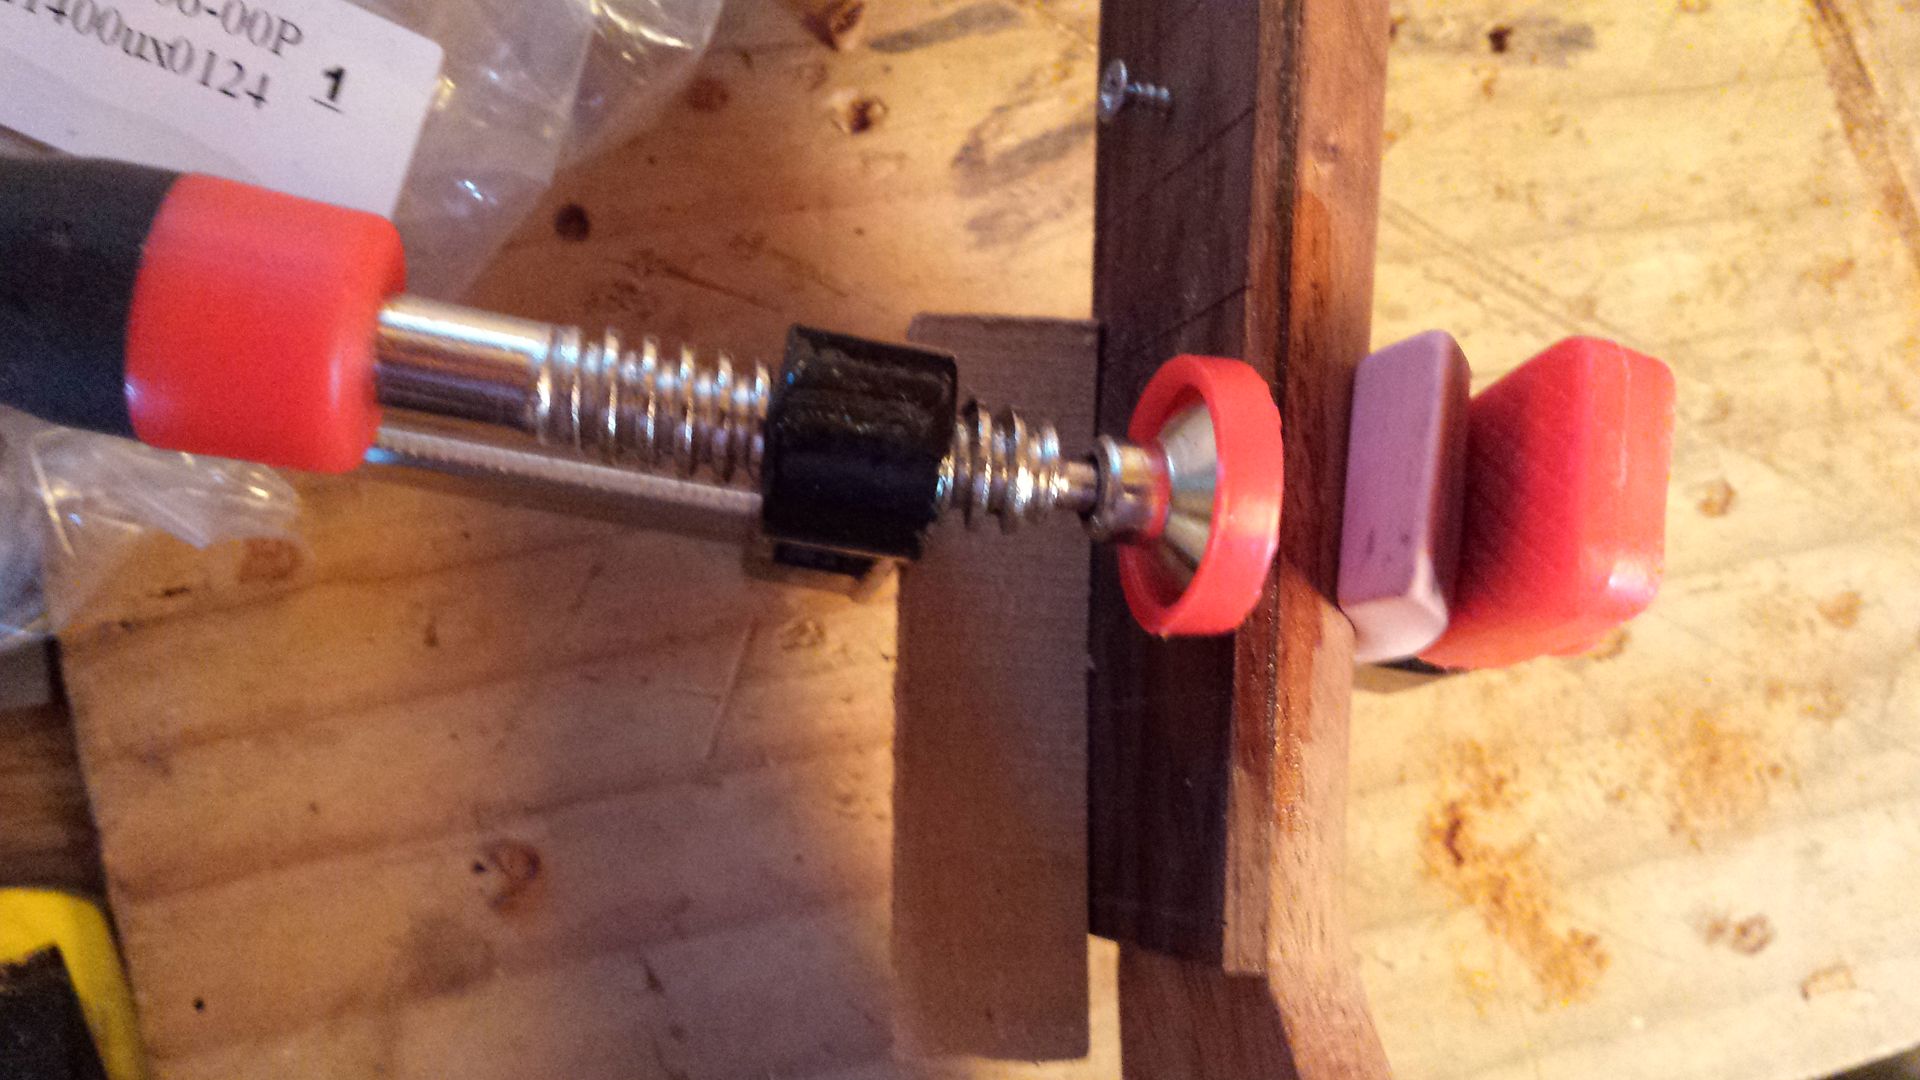
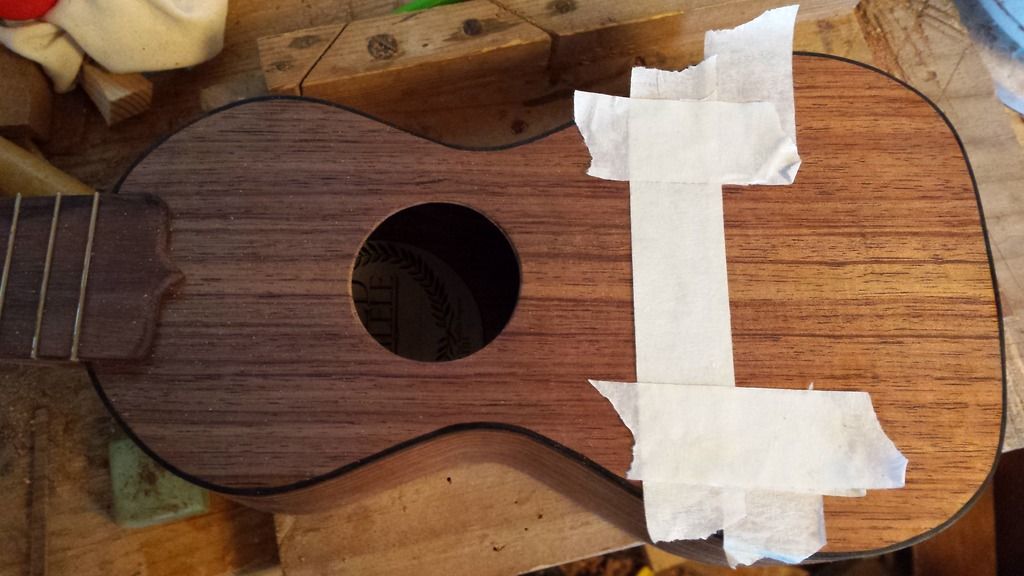
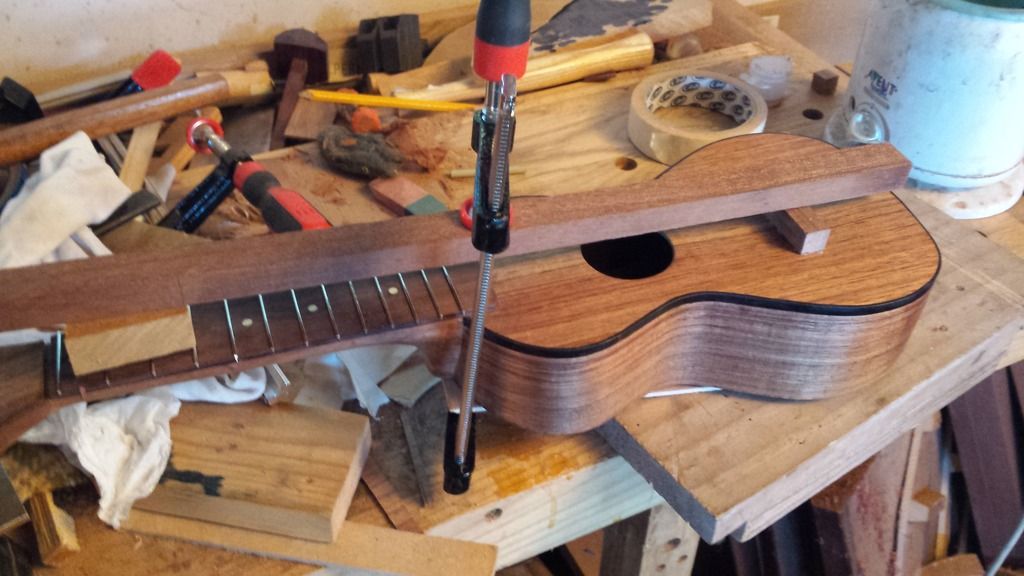
Finally for today I clamped the back in position and marked the shape on the underside. then I cut it about 1/4 inch bigger all round. I don't want a big overhang when glueing the back on, because if I put any pressure on the unsupported edge it might crack, so the less unsupported edge the better.

20160912_172730_zpstlnnzujj.jpg


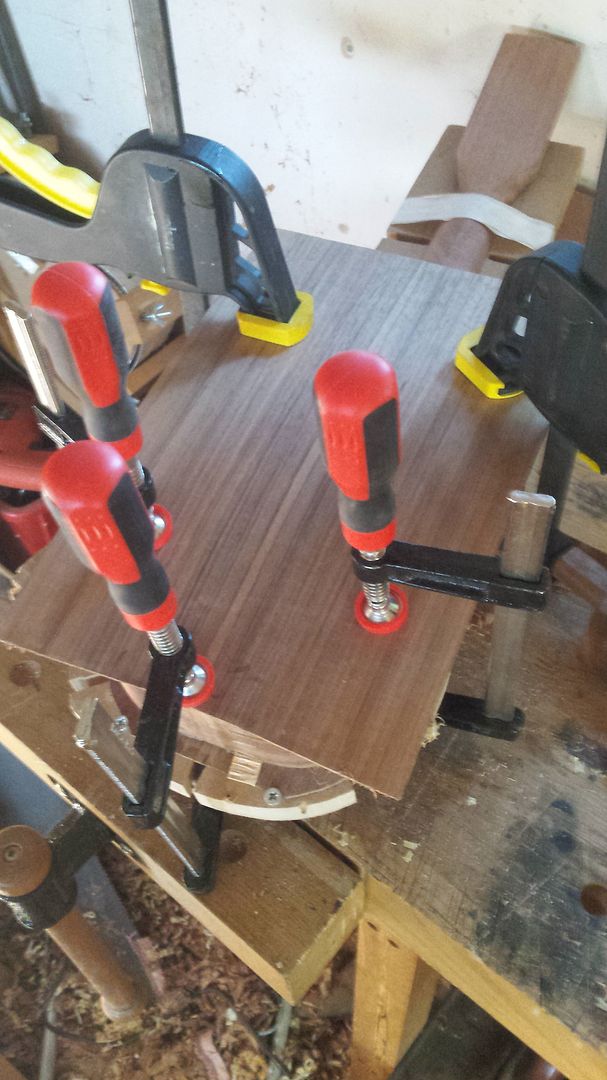
But as we shall see, by using hide glue I can rectify any glueing gaps between back and sides once the glue has dried, so I'm not going to be too desperate about clamping pressure there.

No glueing the back on today though, as evening is here and I have a long day in the office tomorrow. I will need to wait for a low humidity day to glue the back on, so everything is on pause until then.
 
And, having survived the heat in London on Tuesday, today the back goes on! (drum roll, maestro please)

Humidity is down to around 50% in my workshop which is important. Once the back is on everything is locked in place, so if the wood shrinks something will give - usually the back or the top cracks (but I glued the top's brace and bridge patch on in lowish humidity, so it would probably be the back).

This is the last chance to rethink the neck angle, because the neck can flex at this stage - I'm making the gap at the zero fret about 10mm with just light finger pressure.

20160914_135342_zpsbt6od5p2.jpg


I'm still convinced by my earlier calculations, so the 1.5mm spacer goes in and the neck is held down to the board.

A light sanding round the rim and I can start glueing. This is where hide glue is particularly helpful, because it reactivates when warmed (until it has dried properly). So I paint glue around the rim and along the brace, wait a couple of minutes for it to gel, and then paint on a second coat. Once the back is closed I can't get in to clean up squeeze-out, but one coat might not quite be enough.

While the glue is still liquid I place the back in position and clamp it at heel and tail. This is important to get right, so as to line up any figure or book matching in the appropriate position. Within a minute the glue will start to hold, so the back shouldn't move.

20160914_140555_zpsz2fp8n85.jpg


Now I can slow down. I clamp either side where the back brace meets the sides, because I want pressure all along that brace to get full glueing, and wrap all round with rough sisal string (this string grabs on itself, but baler twine would do the job).

20160914_140946_zpsexjuo5kb.jpg


A traditionalist would complete the clamping by inserting wedges under the string, to add pressure where needed.

20160914_141143_zpsookayxdy.jpg


But I add a few more clamps as well.

20160914_141702_zpsck3urhx1.jpg


I could probably have managed without the string, but wanted to show you that technique.

Now all the clamps are on I simply warm the back with my heat gun, testing with my hand - once it feels hottish the glue will have reactivated and I can tighten clamps/push wedges further in.

Woodworkers will say, "Not enough clamps - there will be gaps!" And they're right. But hide glue lets me sort these out later as we will see.
 
Two or three hours later the clamps can come off and I pare the overhang of top and bottom roughly back to the sides. Knife, chisel, small plane - whatever works for you. Beginners should note to remove wood "downhill' so they are not trying to cut into the grain - this means you trim towards the waist, so you can gouge that, the neck, so you can jam a chisel into it, and the tail (no hazards there). Try not to make marks you can't sand out! I leave the last half millimetre to be sanded away, as I will be sanding the sides anyway.

At this stage I can fix any obvious gaps in the back/sides seam. Heat up my glue pot, dip my brush in he hot water and dribble a little hot water into the gap. If it's a big gap, add a little more glue. Clamp, heat and allow to dry.

At sanding time small gaps might become visible, and they get the same treatment.

And this is what I now have:

20160914_173357_zpsdex2blpg.jpg


20160914_173418_zpsxhma3j9r.jpg


I thought I'd weigh it to see if I was achieving my aim of light building. 240 g/8.5 oz. For comparison the lightest soprano uke I've come across is 220 g (with wooden pegs and no separate fretboard), so this is only about 15g heavier. That'll do me. With fretboard and tuners it should turn out around 275 g. Factory made Chinese ukes, i.e. the whole mass market, usually weigh in around 320 g.

And we're now caught up with the build, so updates will come in real time. Next up - binding the top.
 
beautiful build, my former business partner was a guitar maker before we teamed up, I always thought he would build some in our workshop one day, i never got to see him make any before he got out of the wood work game, love the craft & Uke's are just so inviting to look at as an instrument.
 
Once I've trimmed back the overhang of top and bottom I can check for any places where my glueing was less than perfect. There are no gaps (hurrah!) but a couple of places where the glue line is visible, which means the join wasn't clamped enough there.

I can improve these by dribbling a little hot water onto the glue line, let it soak in for 30 seconds or so, apply a clamp and warm the joint with my heat gun. I can see the glue turn back to liquid, and at that point I tighten the clamp enough to get a little squeeze out. Then leave to cool.

Before:

20160915_095306_zps5ov0tiw4.jpg


After:

20160915_103924_zpsb1n8dixr.jpg


The line still looks a bit thick but I suspect it will disappear once I've sanded some more. If not I can repeat the process until the line won't improve.

This method only works for hide glue, and its beauty is that the joint is just as strong (if not stronger) afterwards. With Titebond you could warm the joint and clamp - Titebond softens with heat, so you should be able to close up gaps somewhat. However, that part of the joint is probably weaker afterwards. This won't be a problem for a few spots, as there is little stress on these joints. If you apply stress, e.g. by sitting on the uke, then failed glue joints is the best possible outcome!

Now we come to binding. This is quite easy in theory, but requires you to be in practice with chisels. The binding is 6mm high x 1.5mm thick, and fortunately my sides are about 1.5mm thick. So I use a marking gauge (sharpened to a chisel profile, not a point) to scribe a line 5mm down from the top. Then I deepen that line with a scalpel.

Now all I have to do is chisel away until I've removed the sides portion. My choice of plywood as a lining is helpful here, because it's a different colour from the sides. Once I've removed the wood I don't want, I clean up with a tiny shoulder plane.

20160915_173551_zpsgbc2efyc.jpg


You can see in the picture that I've started creating a pocket in the side of the neck to take the end of the binding. This will be hidden by the fingerboard, so doesn't need to be elegant or accurate (helpful as it's hard to get tools in, so I'm largely nibbling out wood with the scalpel).

Tips for cutting the binding channel:

1. Chisel from low point to high - here I started next to the neck and worked back to the top of the curve of the upper bout. Then I started again at the waist and worked up to the top of that curve.

2. It's easiest to remove the wood between your scribe line and the joint of the top first, and only then take the top back to match. Any slips when cutting away part of the top will be visible, so stop early and switch to the shoulder plane.

3. However, if your chisel is not narrower than this, there is a risk of jamming it in between the shoulder of the binding channel and the top, and levering the glue joint open. With hide glue this is fixable (see above) but best not to. So I swap from my 1/8 to my 1/4 chisel regularly.

4. Sharpen regularly. I've cut 1/4 of the channel, about 5 or 6 inches, and it's time to resharpen.

5. Go slow - I do this in 5 or 10 minute sessions. Of course, if you're a chisel maestro you can cut the whole thing in one curving swoop.

There are brave souls who cut their binding channels with a router. Only occasionally do they hurl an instrument across the workshop as the cutter catches.
 
Onward with the binding.

I completed the binding channel and this time really worked on the three aspects which I get wrong.

1. Making the curves flow nicely when looked at from the top. Any angles really stand out, so I smoothed them out. At this stage I don't care too much if the channel is equally deep all the way round, so long as it's at least as deep as the binding. If the sides stand proud I will scrape them back to the binding.

2. Getting the channel deep enough at the waist - for some reason I tend to cut it too narrow there.

3. (most important) Getting the base of the channel (i.e. where the binding will meet the sides) flat. It's so easy to leave this sloping outwards, and if you do there will be an obvious gap. I scrape with a chisel held at an angle, as well as planing, so that if anything the base slopes inwards rather than outwards.

Now to glue the tortoiseshell celluloid binding on. I'm using CA/superglue, so I brush a thick coat of shellac along the binding channel and over the adjacent edges of the top and sides. This is to stop the glue wicking into the wood. The alternative is some kind of acetone-based cement (Duco is the favoured brand, but hard to get here in the UK), which creates a huge gooey mess in my hands at least. Neither hide glue nor Titebond hold celluloid to wood.

I start by sanding the side which will sit in the base of the channel, because binding is often rather rough at the edges. Then I use a cabinet scraper to knock off the inside corner, so that if I've left any bumps there in the channel the binding will still sit flat.

Then I put one end into one of the pockets at the neck and taped it round to the waist along the binding/side join like so:

20160916_183232_zpswj3m7x6l.jpg


The clamp is to stop it springing out, which it wants to do. It's a good idea to heat the binding gently until it is JUST hot to the touch at the waist. This will set it into shape and make it easier to get tight to the body. But gently is the word - a fraction too much heat and celluloid starts to distort (you all know how I know that!).

Now I run a little CA along the join between top and binding for about an inch, press the binding close, and tape it applying tension. Repeat, repeat, repeat.

20160916_183900_zpso8or6d8b.jpg


How much CA? two or three drops per inch I'd guess. For the entire binding I won't use a full 5g tube of glue.

Once I get close to the waist I add more tape around to the tail (i.e. I only tape up the binding/side join about 1/4 the way round each time, say 6 inches). This is because, as I press the binding in tight, a gap opens up further along.

20160916_184355_zpsveg56nba.jpg


If you attach the binding all around and then glue, you'll find that gaps are unclosable because the binding is in fact too long.

I stopped here because it was dinner time, and this is a point where the binding is not under strain so won't try to spring away from the sides. Will finish off tomorrow.

20160916_184745_zps5bafzmdb.jpg


And immediately after I took this pic I realised I'd forgotten to add the clamping caul at the waist (wine cork cut lengthwise) - the clamp is not putting pressure at the lowest point of the waist curve and was leaving a gap.
 
Now the binding is glued on it needs cleaning up. The best tool is definitely a cabinet scraper.

On the top the binding is installed proud of the top (see at the tail, which is still to be scraped). So all I need to do is to scrape until the shellac is removed, and then I know the binding is flush to the top. No significant gaps, which is very pleasing. Even a tenth of a millimetre gap is quite noticeable here.

20160918_170801_zpsow8gnbsu.jpg


The sides are slightly different. In theory the binding channel was always a little deeper than the binding, but in practice it wasn't. If the sides stand proud of the binding I simply scrape away wood until I knock the shine off the binding. Then I know they are level. If the binding is proud of the sides I need to scrape carefully, trying to remove as little as possible from the top surface. I don't mind if the binding slopes inwards a fraction, because that will be largely invisible. But if I narrow it as seen from the top, that is very noticeable.

I'm aiming for something like this - all shellac gone, gaps are tiny and should fill with finish.

20160918_170822_zpscpksrymw.jpg


But there are, of course, spots where the gap is quite noticeable.

20160918_170906_zpssa67a7jx.jpg


I can sort these out by applying shellac to the wood if needed, and then dribbling the minimum possible CA into the gap, to melt the binding into the CA and leave a surface I can scrape flat.

Here's a similar gap, now filled and scraped.

20160918_170837_zpschhkvkfu.jpg


You might notice there is a common thread running throughout - make all the parts a fraction over size, attach them, and then remove the excess to get the best possible joint. Making the parts exactly to size and then joining them doesn't work for the hand builder - it might be OK for a factory using CNC technology and jigs/moulds, but even there I suspect there would be inaccuracies which spoil the look of an instrument.

Once all is as good as I can make it I'll do some more work on the top, and then attach the fretboard.
 
Glued the fingerboard on using hide glue.

The problem with fingerboards is that they tend to curl up at the edges if you use water-based glues (this includes PVA and aliphatics like Titebond), so many builders use epoxy for this. But I was cunning - I wetted the upper surface as well as applying glue to the lower surface, and then clamped putting the pressure along the edges of the fingerboard.

It still curled!

Fortunately I can reactivate the glue with moisture and heat, apply pressure along the edge and close the gap. If, that is, I can work out how to apply pressure just to the edge.

This is my eventual solution (having made and discarded various-shaped cauls):

20160923_180259_zpsbynvexfv.jpg


The block between the horizontal bar of the clamp and the fingerboard prevents the clamp from tilting backwards, and the eraser stops the head of the clamp from sliding across the back of the neck.

So the procedure was: dribble warm water into seam, wait two minutes, heat, apply a little more water, wait 30 seconds, clamp. The seam closed up and I got squeeze-out of glue, so all is good. I'll repeat this down the fingerboard on both sides, and eventually I'll have the damn thing flat.

The head plate, which is next, will have the same problem, but because the back of the neck is flat it will be easy to clamp.
 
The clamping method didn't work, so I reverted to a tried and true favourite - PVC electrical tape which is stretchy and thus applies pressure at the edges.

The patient undergoing treatment:

20160925_170234_zpsmp1pn122.jpg


And of course we need a headplate; this is primarily decorative, though it does strengthen the headstock a little, and it also provides a slot for the nut (strictly, string spacer because I'm using a zero fret) to sit in. I found a piece of pretty koa which couldn't be used for the body because it had structural weaknesses which caused it to crack along the grain lines in various places. This is no problem for a headplate because it's glued down to solid wood:

20160925_184229_zpsvsjzjqvr.jpg


Next I shall cut the headplate back to the final headstock shape, and then start fretting the fingerboard.
 
Headplate is shaped, and fret slots cut. This is how we're looking at the moment.

20160930_161456_zpsgd5huyux.jpg

20160930_161511_zpsz59jz4gx.jpg

20160930_161529_zpssrnlnm81.jpg


I've also added markers at 5th, 7th and 10th frets. Rather than buying fiddly mother of pearl dots, which I don't much like the loo of anyway, my local charity shop has supplied me with a 4mm plastic knitting needle. 4mm holes, dab of CA glue, cut off just above the board and level once the glue is dry.

The fret slots obviously have to be at least as deep as the tang on the fretwire, but not very much deeper or you have very visible slots in the side of the fretboard. Also, cutting all the way through the fretboard weakens the structure of the neck, because the fretboard is a laminate layer which therefore adds strength. But the most important thing is deep enough - if too shallow at any point the fretwire will sit high, and this causes problems when fret levelling.

So you need a specialist luthier tool, which takes a couple of minutes to make:

20160930_161602_zpsalfiig83.jpg


Bend the fretwire (cut through the tang first), and then file off the barbs on the tang of the short leg. The short leg is then used to check the depth - if it sits down flat, the slot is deep enough. I make one of these quite regularly, as they get lost in between fretting jobs.

Note that soprano ukulele fretboards are usually flat. Steel string guitars and some of the larger ukes have a radiused fretboard. i.e. it's taller in the middle than at the sides. Same tool for checking fret depth, but the leg can be shorter because it's only checking the depth at a single point.

Next job: installing frets.
 
And by the way ....

I bought a packet of decorating scrapers/spatulas in a local bargain shop, £1 for 4. They are thin spring steel, and I thought they might come in useful. The two thickest make excellent scrapers for fine work - no need to work on getting a nice square edge or burnishing and turning a burr, just hold upright and swipe a couple of times on a diamond stone and scrape away! The edge doesn't last very long but takes only seconds to restore, and the thin bendiness gives me very fine control. Worth investing £1 if you find any and have small areas on which you want to get a fine finish. I plan to do no sanding at all on back and sides of this uke, so no dust!

20160930_164335_zpsa9joibhc.jpg


And finally a question for the remaining readers (if any!) of this thread. Pretty much all the woodworking is now done - I have to install and level frets, glue on the bridge, drill holes and install tuners, and then finish the whole thing (brushed shellac is my plan).

Do you want to see all these processes in the same detail, or just a couple of updates as each stage is completed? From the comments I can tell that some of the construction techniques are interesting to other woodworkers, but I've never seen a table with frets.
 
i want to see it all please, if you don't mind
i made a cbg ages ago....i know nothing like this at all quality \ skill wise
but i could have learnt so much from watching this build

Steve
 
SteveF":1t2fgljr said:
i want to see it all please, if you don't mind
i made a cbg ages ago....i know nothing like this at all quality \ skill wise
but i could have learnt so much from watching this build

Steve

One loyal reader is enough! (though I see that 20 others have looked in since my last post, so you may not be alone). And I'm documenting this in full on a ukulele board for Jenna, my "client", so it's just cut and paste to reproduce it here.

If anyone is inspired to try their hand at building a uke or guitar, I must stress that what I do is only one of the possible ways to build. For example, the Spanish Heel I use is not right for a steel string guitar, because the tension of steel strings tends to distort the body over a number of years so that the playing action rises. At some point the neck angle needs to be changed (called a neck re-set), and that's really hard and messy with a Spanish heel. Dovetail or bolt-on is the answer there, research online will reveal how. And for a cigar box guitar, which has a nice flat side to mate the neck to, some kind of bolt (or even a long wood screw into the neck) would be easier. In other words, you need to modify your building to suit (a) what you're making and (b) the way you work best. Some people just hate hot hide glue, and there are very fine makers who use nothing but Titebond Original (never TItebond III or, horror, PU glue!).
 
I was inspired to fret the uke this evening, and all was done in 30 minutes (a new record for me). The critical factor is fret slots which are the right width and depth, and I nailed it this time, so every fret went in right first time with no fuss. Additionally, I brushed a smear of hot hide glue along the tang before inserting the fret, and this did indeed lubricate the insertion.

[This line left intentionally blank for off-colour jokes]

Equipment is as below:

20160930_185910_zpsmgaqoilf.jpg


Soft faced hammer (plastic or brass), flush cutting side cutters, hide glue (optional), sandbag. The sandbag provides a backing for the neck when hammering frets, though I'd probably have been OK without it because these went in easily but not loosely. But it would be sad for the headstock to break off at this point, so I use the sandbag (sand from a pet shop, for parrots etc, which is clean and comes in small quantities. Sand inside stout plastic bag, all inside an old pillow case because the plastic bag will split at some point).

I tap in the far end of the fretwire, tap along to the near end, wipe off glue squeeze out. Then cut the wire off as flush as I can, and tap again until I'm sure the fret is fully seated to the fretboard. Several light taps are better than a few heavy ones, which can dent the fretwire. If it won't go in easily , the fret slots need attention. For really tough fretboard woods like ebony, it might be sensible to chamfer the slots slightly with a triangular file.

Next: fret ends, fret levelling, re-crowning.
 
I've loved the thread, really lovely work and a fantastic write up. Thank you
 
We need a bridge.

First I have to work out where the bridge has to be glued on. If I just work from the centre line it might look wrong, and even be in the wrong place if the neck doesn't line up 100% with the centre line. The bridge is made from a block of suitable, vertical grain wood (I'm using sapele, an offcut from the neck), 12mm x 12 x 57 mm, which gives enough glueing footprint to hold the string tension and looks about right once it is shaped.

So I put masking tape on the top and extend the edges of the fingerboard to draw lines on the tape. Then I can draw a line parallel to the frets and offer up my block. Here I can slide it left or right until it looks good, whilst using those lines to work out where my strings have to go ('cause they need to run over the fingerboard with a margin at the edges, otherwise it won't play). As it happens this bridge sits pretty symmetrically, but you can cheat by running the strings slightly off the symmetrical to get a good visual effect.

Then I measure along the centre of the fretboard - I want twice the zero fret/nut to 12th fret distance plus a fraction, called compensation. When I press a string down I stretch it, which makes it sound a bit higher. So I compensate for that by making the string a little longer. I know from experience that I need 2-3mm, so I place the front of the bridge 2mm beyond the scale length. I can add more compensation once the strings are on, by working back the front edge of the saddle.

Then I scribe round the base of the bridge, remove the tape, and build up the edges with more tape so I have a pocket to slide the bridge into while glueing.

20161002_170239_zpswrerjpp4.jpg


[the front edge of the tape is in fact parallel to the frets, just the camera angle makes it look off]

I'm using the simplest possible style of bridge, copied from a 1920s Kumalae which I own. The block is simply drilled and cut to hold the strings. The front edge becomes the saddle, across which the strings break, and the portion behind that is shaved down.

This is how it looks after careful marking up, drilling and slotting:

20161002_170257_zps8bel4koz.jpg


The 4mm holes take knots on the end of each string, the strings run through the slots and over the (to be constructed) saddle. The strings are spaced 13mm apart - this measurement isn't set in stone, but less than 12mm feels cramped and more than 14mm can make strumming difficult.

The pencil lines show the string paths and there was a horizontal line to ensure i got my string end holes lined up. You might just see the line scribed in 3mm from the front edge, which marks out the saddle area. I will work the back portion down after the bridge is glued on, because that's easiest for glueing.

The disadvantage with this style of saddle is that it can only be adjusted downwards. So if I make a mistake, all I can do is remove the bridge and glue a new one on. But I've found that, assuming I get it right, either the action (string height at 12th fret) stays stable over time or increases because the top pulls up slightly. So downward adjustment is all that should be needed, by planing or sanding down the top of the saddle.

Finally I glue the bridge on, having made sure its base is an exact fit to the top. I use hot hide glue, which is the best for bridges because it won't creep over time or if the uke gets hot - either it holds, or pops off. Clamping is clearly an issue, and you can buy or make clamps which fit in through the sound hole. But much simpler is to do a rubbed joint (rubbing the bridge beck and forth on the top until the glue starts to grab, and then holding it in position for a few seconds). Once it's in place I clamp it like this:

20161002_171413_zpshpmbukap.jpg


The block over the fretboard keeps pressure level on the top of the bridge, and the clamp is at the neck block area which is solid all the way through. However, the top is unsupported under the bridge, and remember it is 1.5mm thick plus just over 1mm of bridge plate. So gentle pressure only!

Once the glue is dry I can shape the bridge. But before that I need to level the frets, as I'm using the height of the strings at the 12th fret to determine the height of my saddle. Currently the bridge gives me 3.5mm at the 12th fret, and I'm looking for 2.5mm. So I'll need to lose 2mm off the bridge, which will bring it down to 10 mm, just above the middle of my target range (6-12mm).
 
I look forward to new instalments of this thread more than House of Cards, and House of Cards has Kevin Spacey!
 
We can't keep Custard waiting ...

Today, frets.

You can see from this pictures that the ends of the frets are sticking out, and they are really sharp! Not good for playing.

20161004_102106_zpsudq8cl2d.jpg


So step one is to file them back to the edge of the neck. I use a file angled at about 30 degrees, so the fret ends slope in from the edge of the fretboard, and then finish off with a diamond stone. The test is to run your fingers along the fretboard edge - if you can feel bumps, you're not there yet. There is a risk here of dinging the body or the headstock, so I put several layers of masking tape on the danger areas.

Once the fret ends are sorted we need to make the frets level. They might look level, but they're not. So tape across the board leaving the frets visible, and I tape over the zero fret because I want to keep that one at its full height.

Now use a magic marker to put some ink along the top of each fret. You can see why I taped the board, as at one point I slid off the fret (and magic marker doesn't easily come out of wood).

20161004_104607_zpsnu2jo103.jpg


Once that's done, slide a diamond stone back and forth along the frets until you can see a full width line of metal across each one. I watch the first fret (nearest the headstock) - once that has a line I concentrate on the next fret along, and so forth. I'm OK if the fret plane falls away towards the body; the important thing is that no fret is higher than the fret before it.

This is the result:

20161004_104908_zpsvyij9sgb.jpg


You can see that on some frets the stone has just touched the top, whilst on others (the high ones) it's ground a flat.

Now, playing on flat frets is uncomfortable and produces poor intonation, so I need to restore their curve. This is known as crowning. I have a curved crowning file, but it's really designed for larger guitar frets. So I use that to start on the frets with the big flats, and then finish off using a small triangular file. I'm aiming to curve over each side of any flat, so that my curves meet in a line across the middle of the fret. It can help if you reapply the magic marker, and then file until there is the thinnest possible ink line across the top of the fret. Frets are soft, so file gently!

Here are the crowned frets:

20161004_112657_zpshkh0xnsk.jpg


Now I just use my files to take away any sharp corners at the fret ends, and then polish up with wire wool.

20161004_112813_zpspofkqsti.jpg


And we have a fretboard with flat and smooth frets, ready to play.

Finally today I've worked down the bridge. I simply sawed down about 4mm, removed the wood I didn't want, and then reduced the height of the saddle part until I got an action of about 2.75 mm at the 12th fret. Final height and intonation adjustment will be made once the strings are on. And a bit of sanding to clean up any chisel or plane marks.

20161004_144725_zpse49tvbw2.jpg


All (all!) that is left to do is finishing, making the nut/string spacer, drilling and fixing tuners, and then final fettling so it plays well.
 
Back
Top