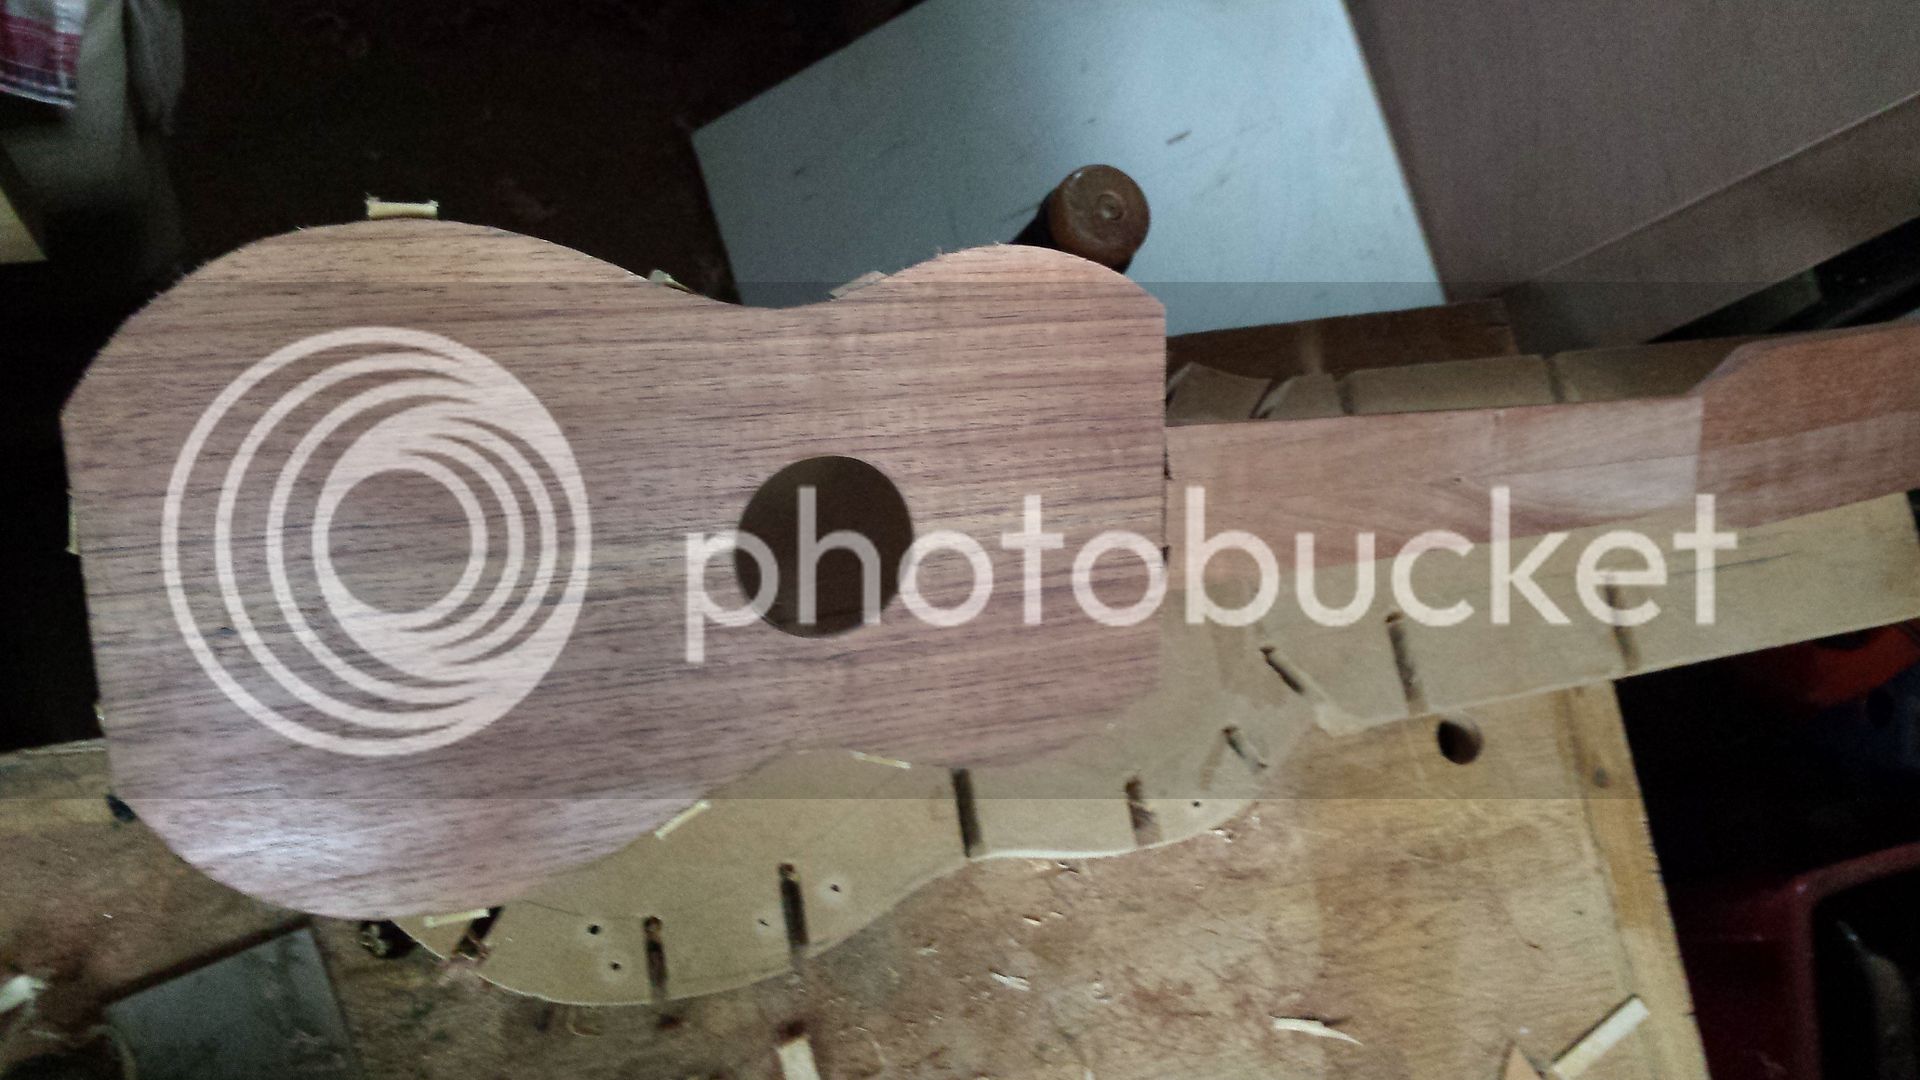
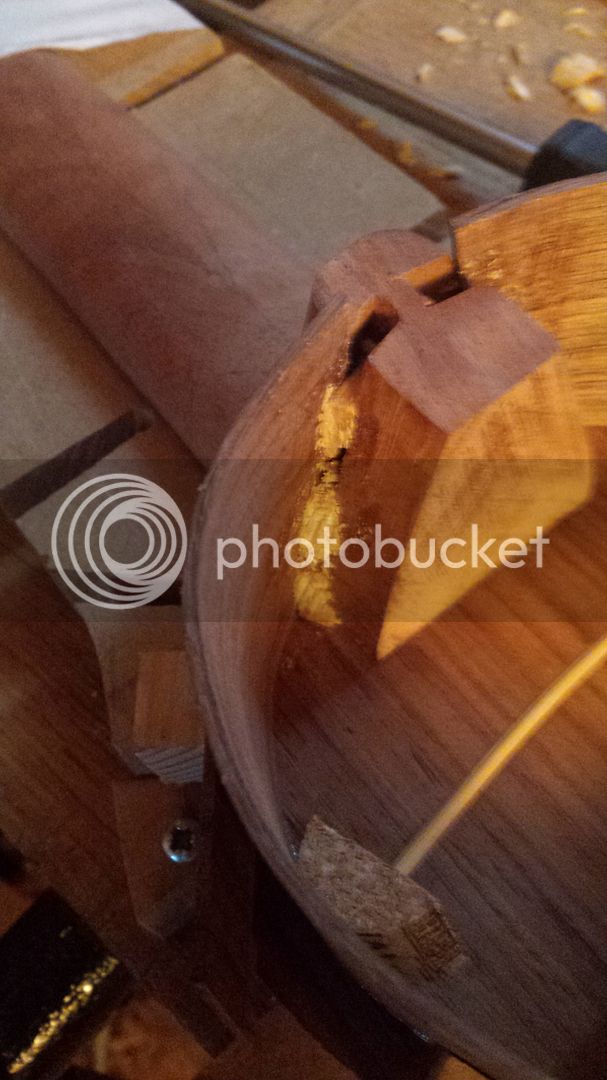
Finished! Making a ukulele

UKworkshop.co.uk

Help Support UKworkshop.co.uk:

This site may earn a commission from merchant affiliate links, including eBay, Amazon, and others.
I was interested in your home made plane scraper. Very interesting technique and not one I have used.
Presumably a uke neck never needs a truss bar because it is short and presumably with four strings the tension is a good deal less too.
 
Most excellent thread - thoroughly enjoying the explanation of processes along with the underlying reasons for the build :)

AJB - I've built only a couple of ukes and neither of mine had a truss rod (though did use a bolt-on neck joint), and my research at the time led me to believe that whilst truss rods are generally considered unnecessary, for the reasons you state, some builders install carbon fibre rods for added stiffness.

I am looking forward to this ukes completion, and the gentle kick in the bum I need to get back to building (I keep finding excuses not to!)

Cheers,
Adam
 
AJB Temple":3oe7ttto said:
I was interested in your home made plane scraper.

If you mean the toothing plane, it (was) a standard factory product.

This article popularised them (in some circles)

https://anthonyhaycabinetmaker.wordpres ... -our-time/

Although Dunbar's book spent a good deal of time on them, a good deal earlier.

Very much a tool of veneering and luthiery.

(more on the blades;

toothing-a-blade-t62336.html?hilit=toothing

Paul Chapman's mega thread on toothing blades in "normal" planes.

toothed-blades-for-bevel-down-planes-t25170.html

)

BugBear
 
No truss rod required for nylon strings - even classical guitars don't have 'em.

The non-toothed iron in the woodie was a sudden brainwave, inspired by my Stanley no 80 scraper plane which I don't use any more. The problem with the Stanley is the handles - on these tiny plates they foul the clamps, whilst the woodie is narrower and slides past the clamps.

Think I might attempt a Krenov style body so I can keep both set up rather than swapping blades.
 
this is an excellent thread, looking forward to seeing the end result, it looks great so far.
 
I think (I'm not a very systematic builder) that the last step before starting to put things together is to sort out the fretboard. If you were attaching the neck separately, as a bolt-on, dovetail, etc, you could leave the fretboard until later. But with Spanish Heel construction the neck gets attached to the body very early, as we will see. It's much easier to shape the fretboard to the neck if the neck is not attached. So, I sort out the fretboard now.

I've selected a board which is a bit stripy, and I think it will go nicely with the neck and the body. The board is thicknessed to my desired dimensions, in this case 3mm.

Next I plane a straight edge along one side, and I'll do all my marking out from that. With a scalpel against a set square I mark out the end of the board and my zero fret position (you can just see two faint lines to the L of the ruler), mark a centre line, and then tape my ruler down along the centre line.

[For non-luthiers, usually strings terminate in what is called the nut, a piece of bone, plastic or ebony which sits at the peghead end of the fingerboard. The slots in the nut dictate the string spacing, and the height of the nut dictates the string height at the lower frets. But it's possible to replace the nut with another fret, called the zero fret (in which case you need something to space the strings, and that looks very like a nut). The zero fret guarantees that you get the action height right, and is (possibly) easier to build. Whether a zero fret is a good thing or not is somewhat a religious issue, though not as bad as the sharpening wars. But I use one.]

2016-08-29%2011.48.01_zpso6ntjtab.jpg


2016-08-29%2011.47.51_zpskthwcehl.jpg


Then I calculate my fret positions and mark them out by nicking the centre line with my scalpel at each point (this is 330mm scale, or 13 inches, and has 12 frets). Once I've done that I can use my set square on the planed edge of the board to mark out the fret positions - place scalpel back in each nick, slide set square up to the blade, score line.

2016-08-29%2011.56.29_zpsnnrj2ogl.jpg


Once that is done I make shallow cuts along each line using my fretting saw (in this case a Zona Thick Kerf Dovetail Saw, about £12 delivered online). I nick one end of the line with my scalpel, place the saw blade in the nick, slide the set square up to the saw (checking the square lies along the line) and then gently run the saw along the set square for a few strokes. I only want to go down about 1mm, enough so that when I sand the board later I can still see where the fret slots are supposed to be.

2016-08-29%2012.55.46_zpsgjchecwj.jpg


(The important thing here is that the saw must be sharp, and you don't press down, just let it slide and cut. Go slowly and you won't jump about and scar the board. If your saw is blunt or you press, there will probably be a mess.)

Finally I drill small holes at the 5th and 10th frets, where the fret markers will go (I drilled the 7th while I was at it), and use these to screw the board to the neck. Measure up the centre line of the board from the 12th fret to the 5th fret hole, and then measure the same distance from the 12th fret/body join line of the neck - that's where the 5th fret screw goes. If you mark your centre line under the board as well, you can line that up at the heel end of the neck and tighten the 10th fret screw.

2016-08-29%2014.59.47_zpsmjhsjdcz.jpg


The board is now in the right position on the neck, and I can mark and trim away the overhang. I'll leave the board attached during final sanding of the neck, so as to get a really good fit when I eventually glue it on (much later).
 
Now it's nearly time to start sticking stuff together, rather than making it smaller. But first I need to get the soundboard down to its final thickness. I'm finding my wooden smoother plane is working very well on this wood - note the wispy shavings which fill it - and the cabinet scraper deals with the final fraction of a millimetre.

20160901_112345_zpsty40aq0l.jpg


This Tasmanian Blackwood is amazingly stiff! The soundboard is only about 1.5mm thick, and it still feels on the stiff side. But if I make it too thin, the uke will sound empty and twangy like a banjo.

Fortunately, because I've chosen Spanish Heel construction I can't finish (i.e. make shiny) the uke until it's completely built. This means I can put strings on it before I finish it and see how it sounds. At that point I can sand or scrape a little more off the face of the soundboard until I'm happy with the sound.

Next I mark out the shape of the body on the inside of the soundboard and cut out the sound hole. This requires a high-tech tool - a scrap of thin ply with a hole in it, a drill and a scalpel.

20160901_175713_zpsdajle26l.jpg


Drill through the soundboard at the centre of the sound hole, making sure the drill goes deep into the wood block you've put underneath. Stab scalpel through ply at required radius, and gently score round your circle. Keep going to deepen the cut. After a bit, turn over the sound board and cut from the other side. A few minutes later you can pop out the circle of wood, and then tidy up by sanding (my half wine bottle cork is useful here, using the round side as my sanding block).

With Spanish Heel construction the neck is attached to the soundboard as the first major building step. So I cut off the extra from the neck block, and then chisel a step in it which is the same depth as the soundboard is thick. This is where the soundboard will glue to the neck.

20160901_183308_zpslvssgut3.jpg


But before I glue it on it will be easiest if I glue the bracing and bridge patch on the underside of the soundboard. Spruce is the best bracing material, and I have several chunks of grand piano soundboard.

20160901_181342_zpsspton1jo.jpg


The grain in these is not quite vertical, which is strongest, but if I split off a chunk then the split will follow the grain direction, and I can then plane up the bracing so the grain orientation is as I want it.

20160901_181632_zpsb9c4jufn.jpg


And after planing, and finding a scrap of spruce for the bridge patch, I have these:

20160901_183317_zpsgqfuo67t.jpg


So here is my kit of parts to glue up, placed as they will fit together. Once I've glued them together I can show you all how I plan to build up the uke from face down, on a board.

20160901_183404_zpsxxuc4ifv.jpg
 
Assembly begins!

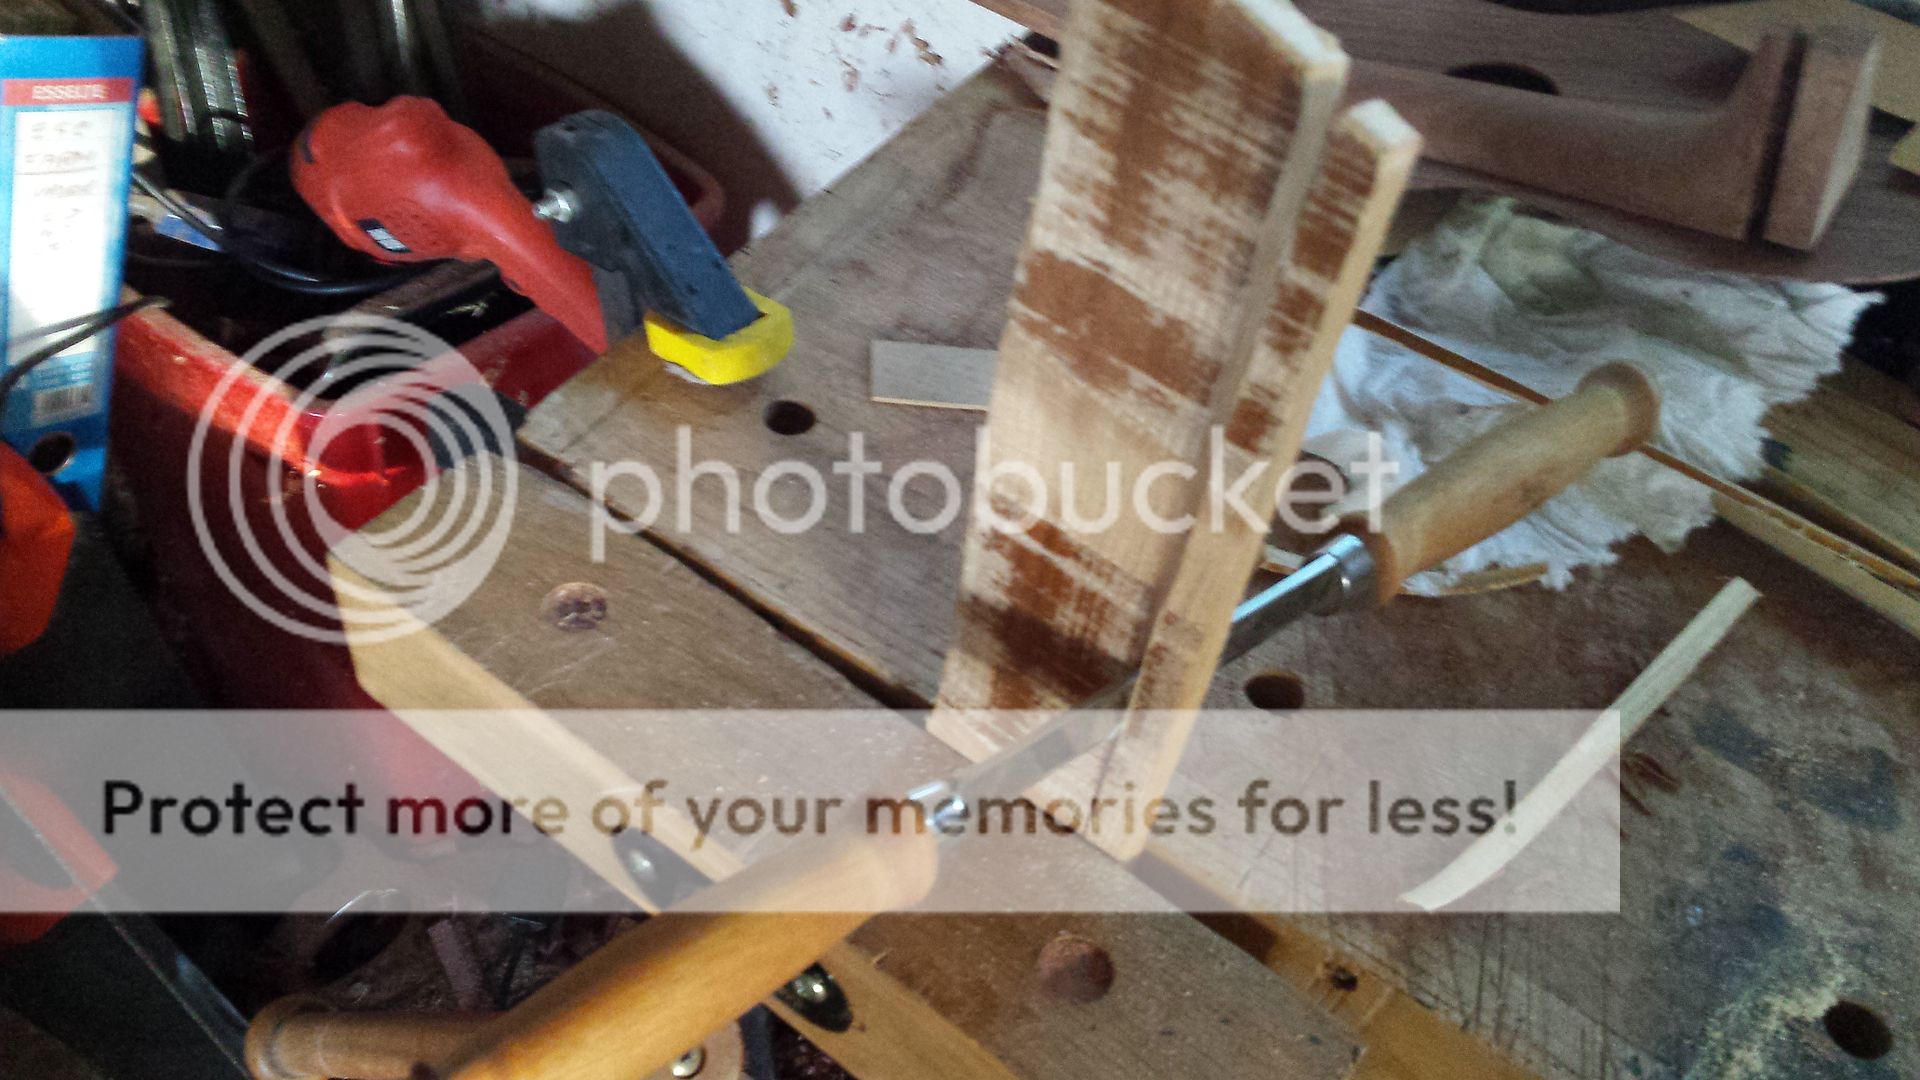
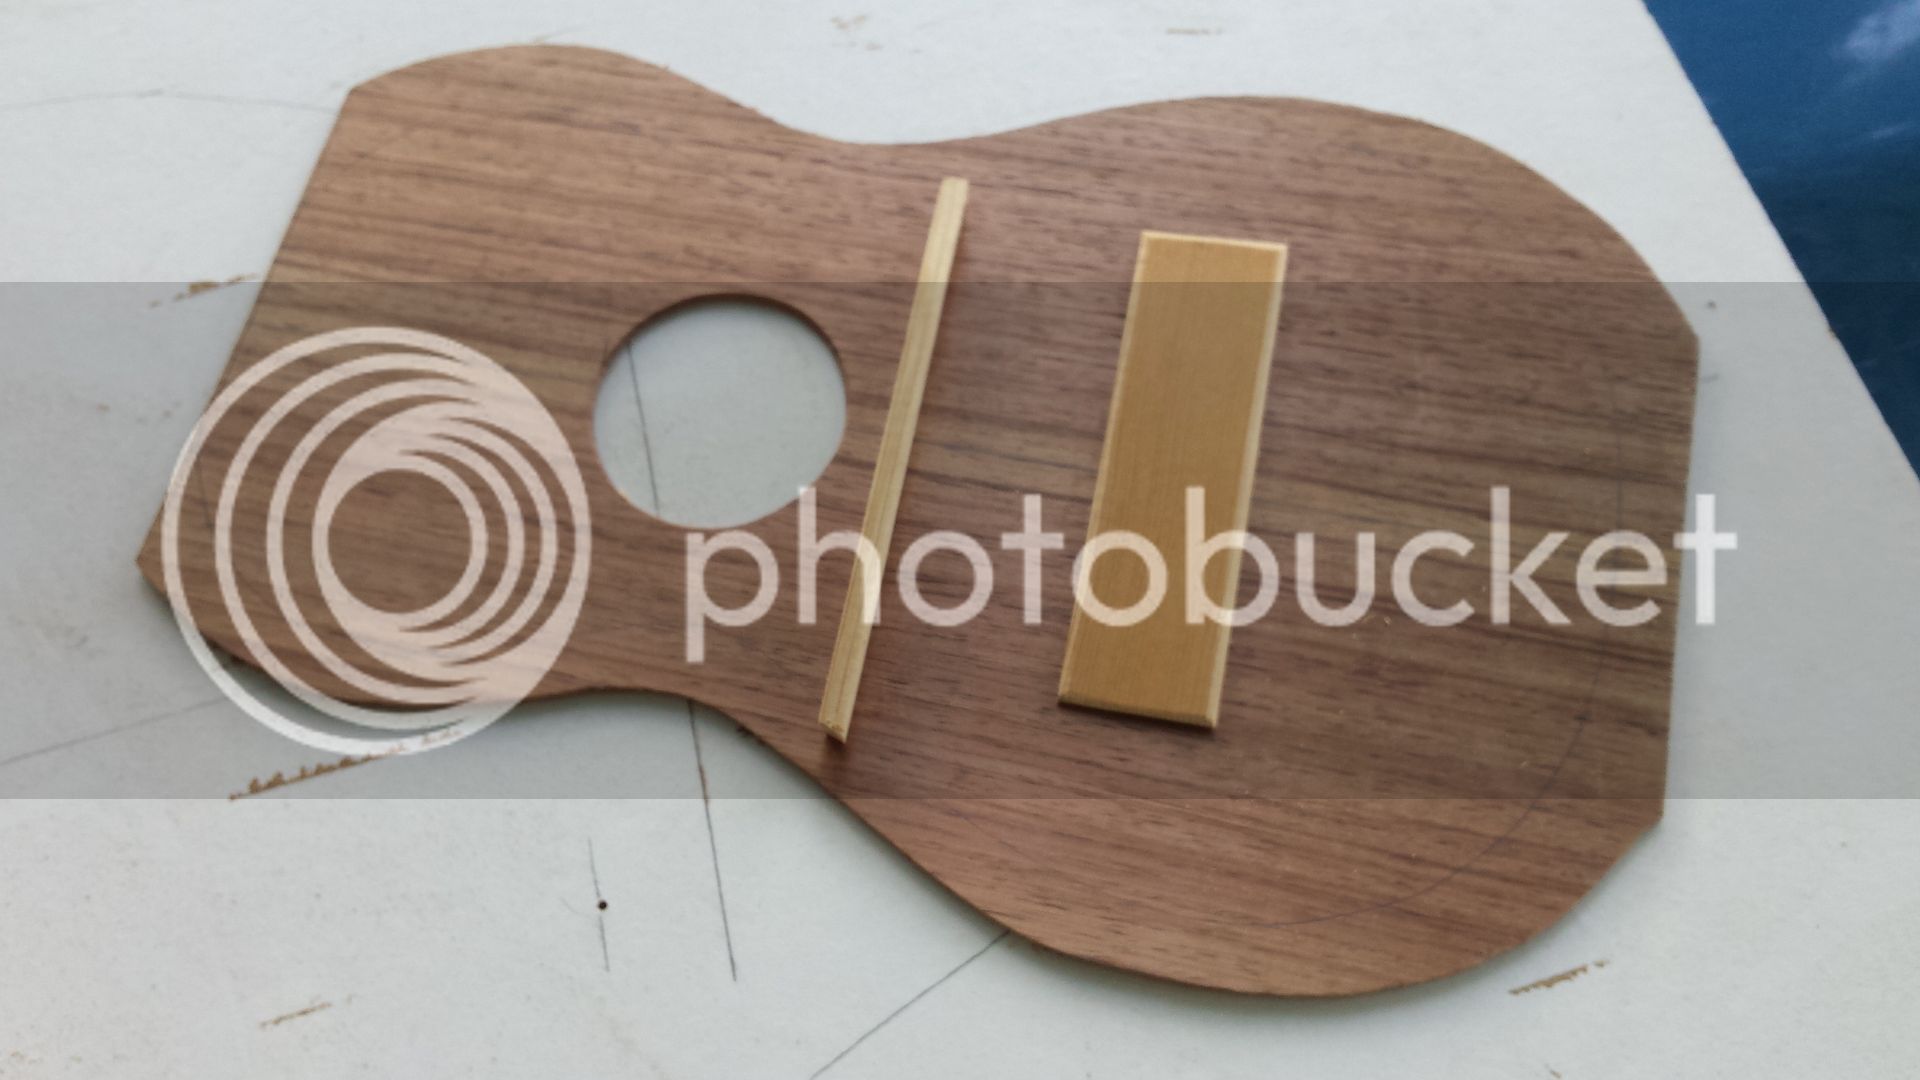
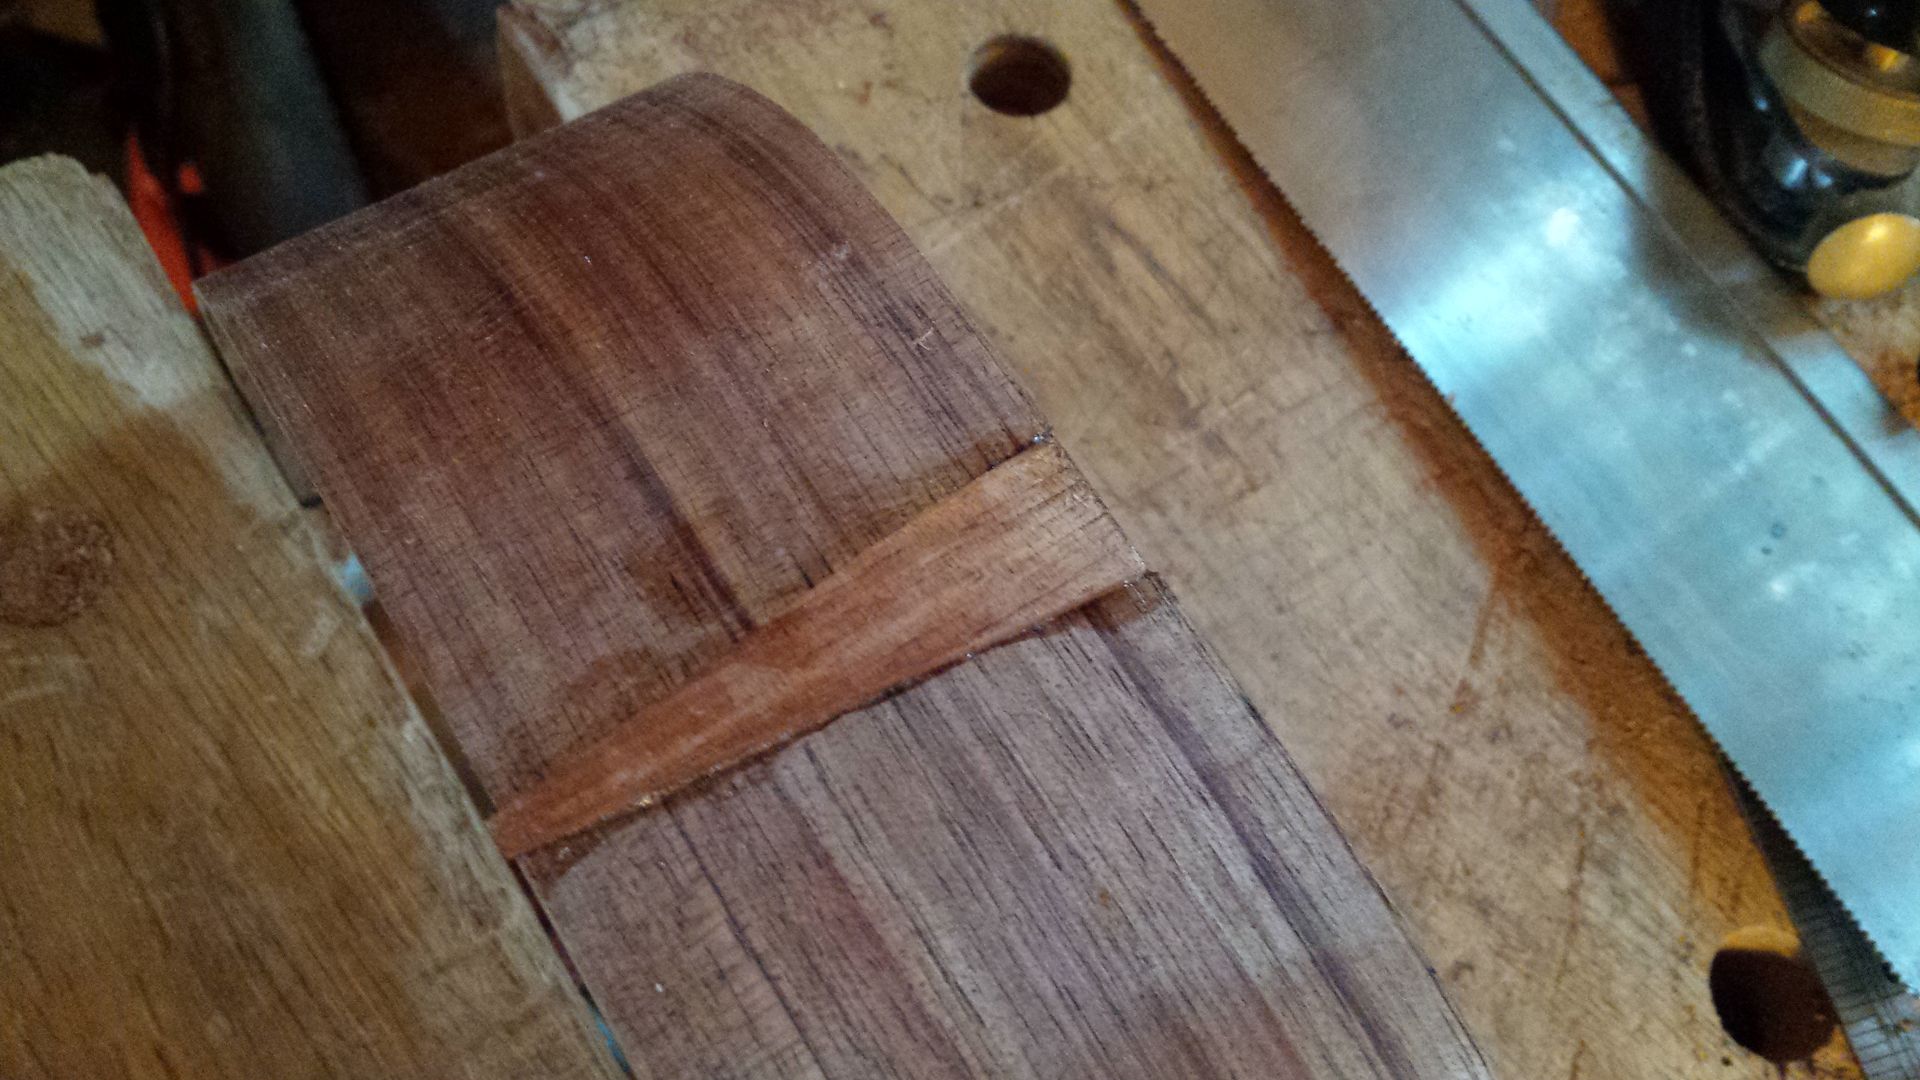
Brace and bridge plate being glued on:

20160902_111013_zpswrz9ysob.jpg


Most sopranos have two braces, one above and one below the sound hole, to stop the uke gradually folding up into its own sound hole. But the narrow waist on this shape, copied from a Dias uke of the 1890s, makes the upper bout stiff enough not to need the upper brace, so I leave it out - the lighter the better for me.

I wasn't sure whether to glue up (this was a few days ago) because the forecast humidity was on the high side, around 70%. The top expands sideways with humidity, and shrinks back when the humidity goes down. So if I glue these parts on in high humidity, as the top shrinks the brace and bridge plate will resist and the whole thing could cup or twist. But I put the heating on in the workshop and checked my home made humidity meter - two strips of veneer glued up with the grain at 90 degrees, so it bends one way if damp, the other if dry. It was bending the right way, suggesting humidity indoors of about 50 %, so glueing could happen.

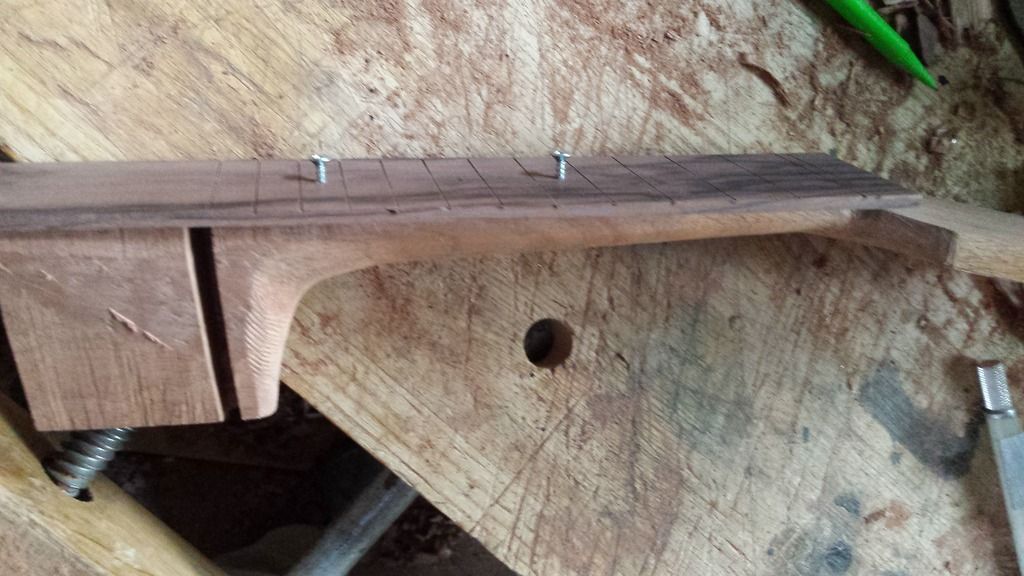
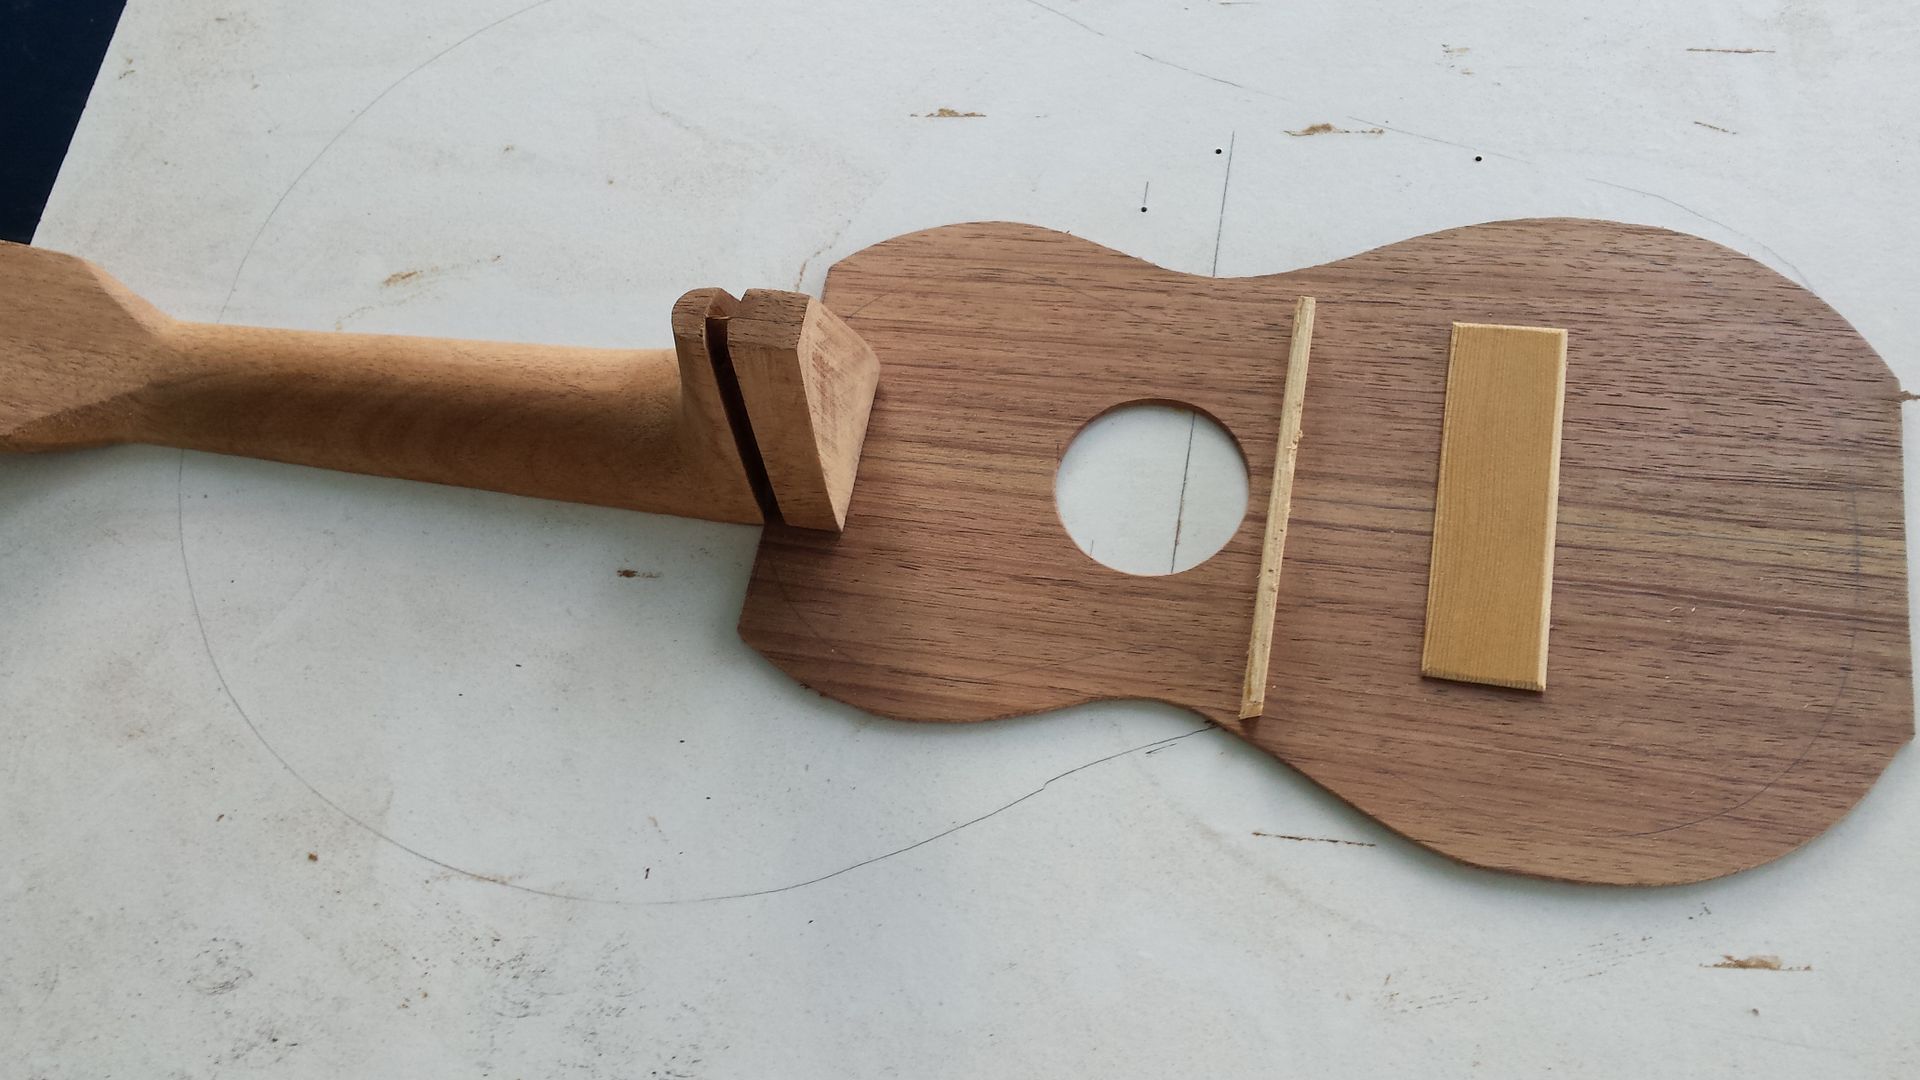
The neck is glued on, making sure the centre line of the top lines up with the centre line of the neck:

20160902_155715_zpsic5cnldv.jpg


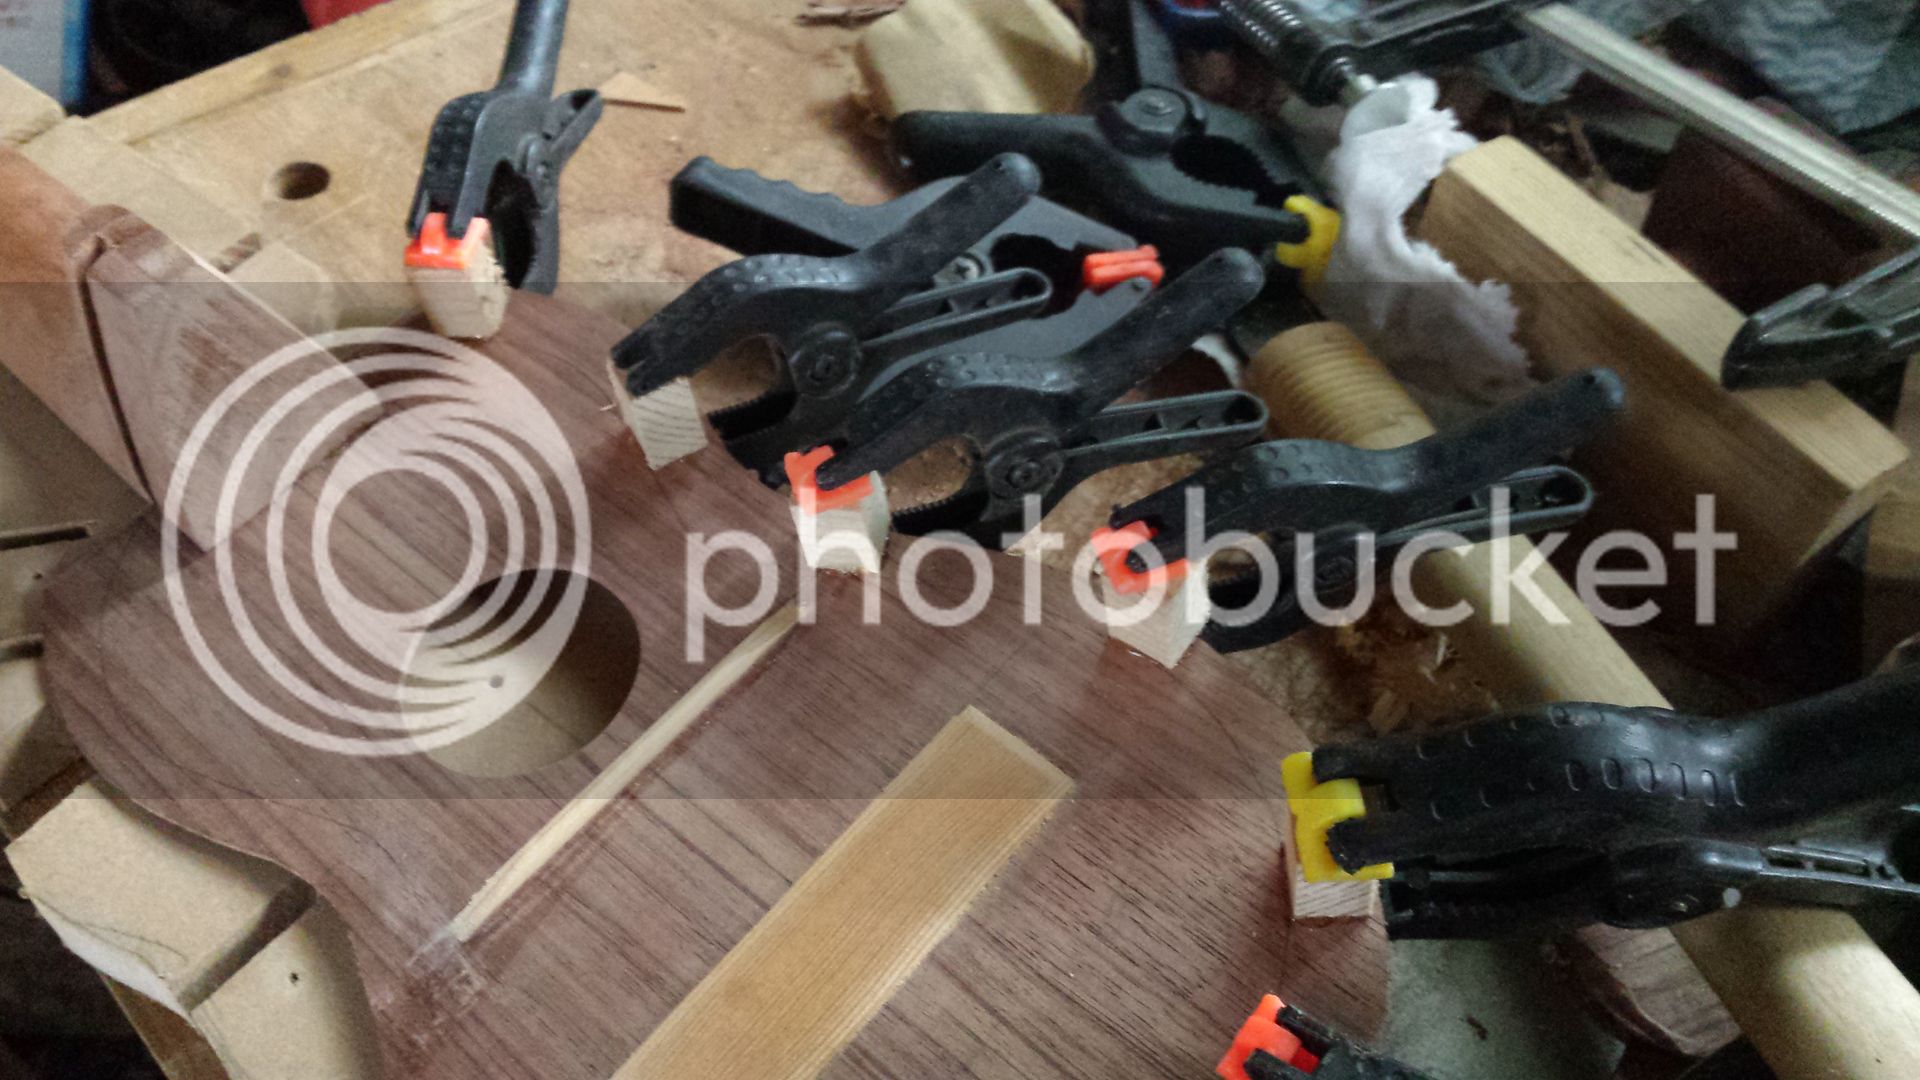
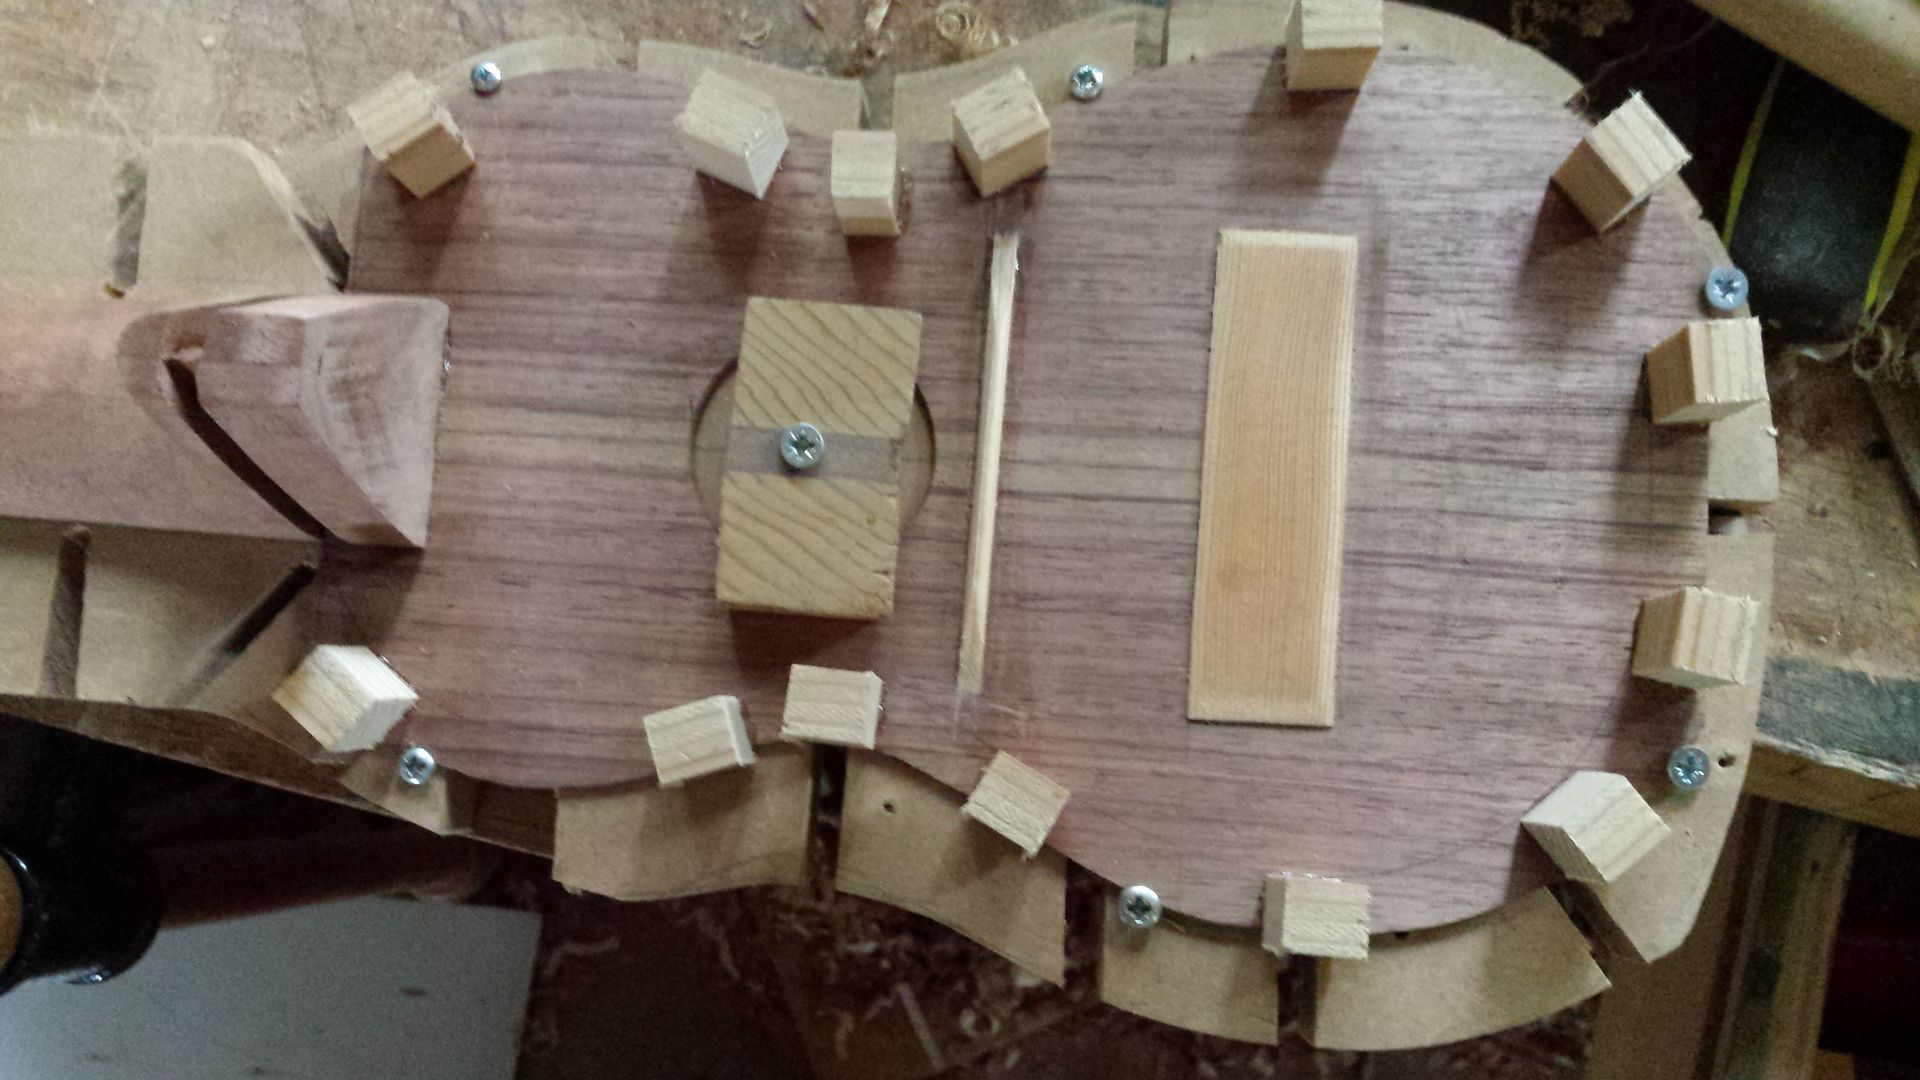
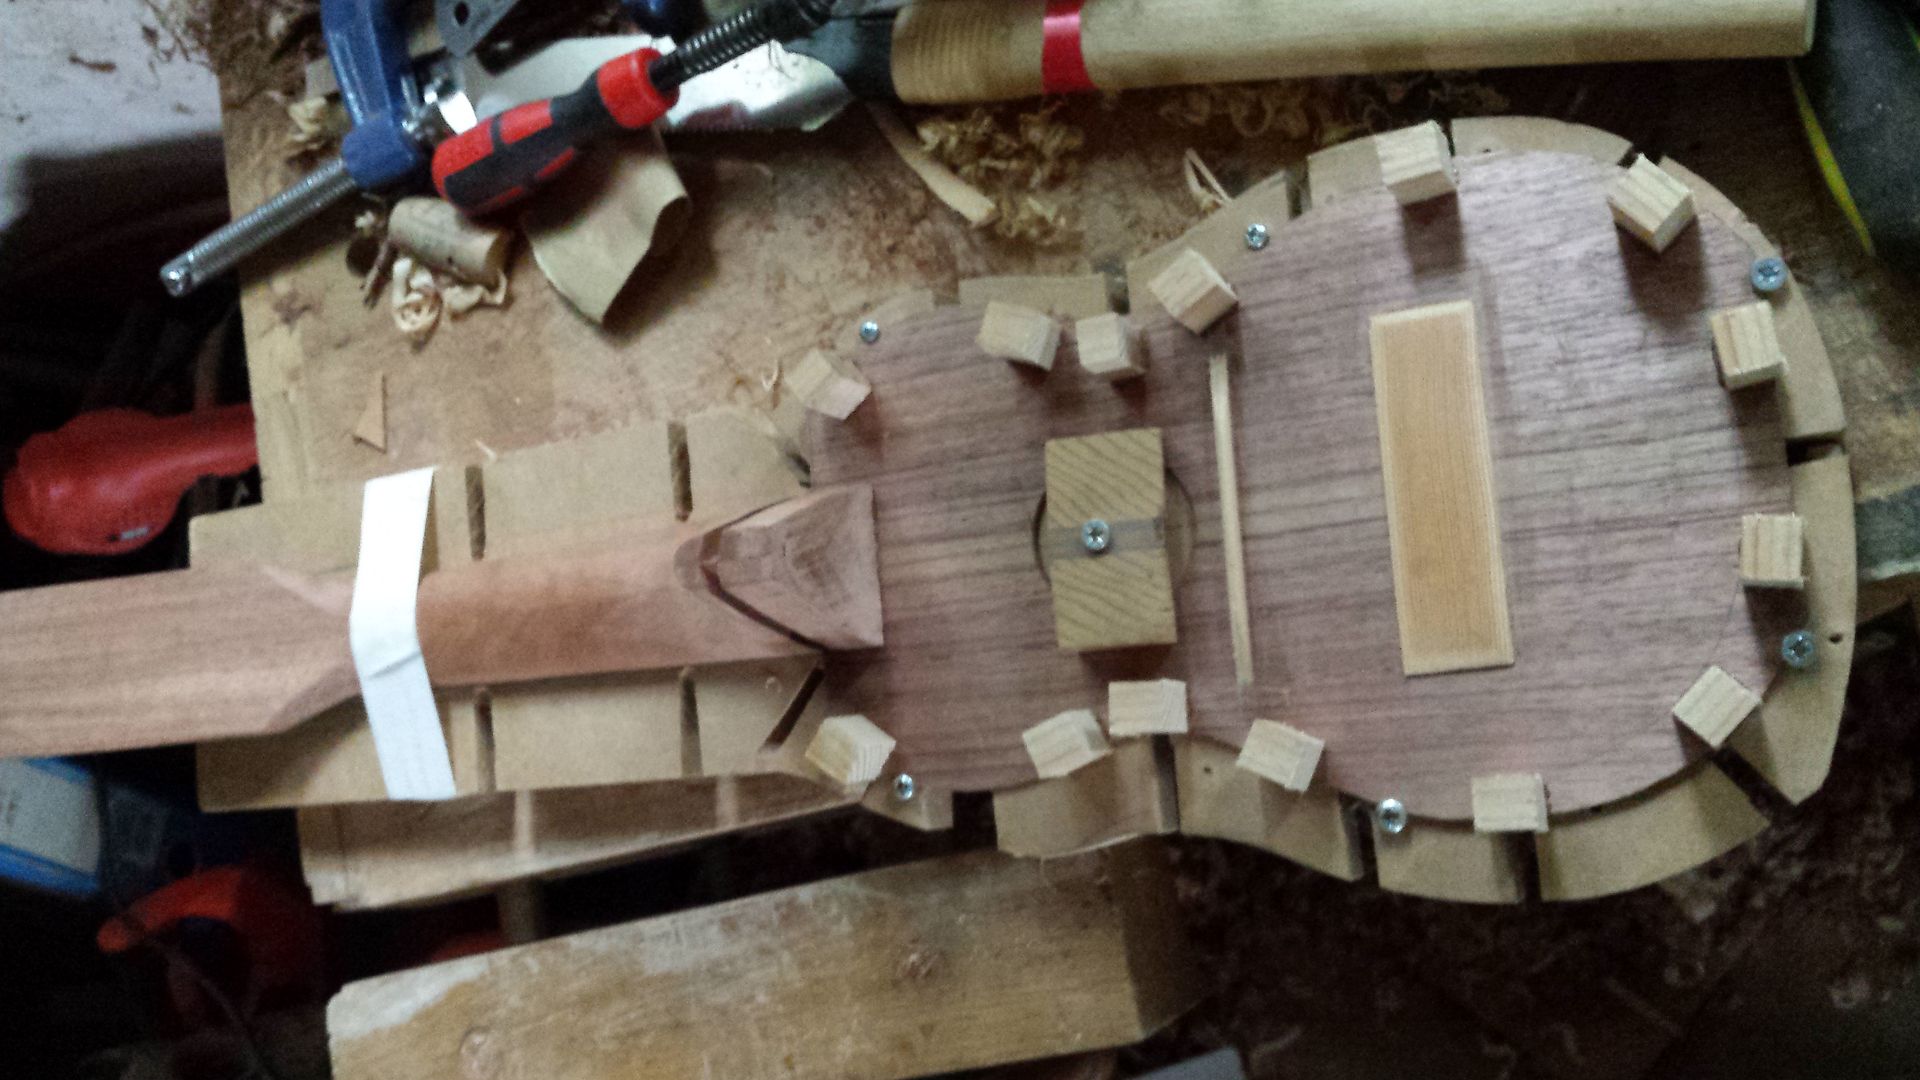
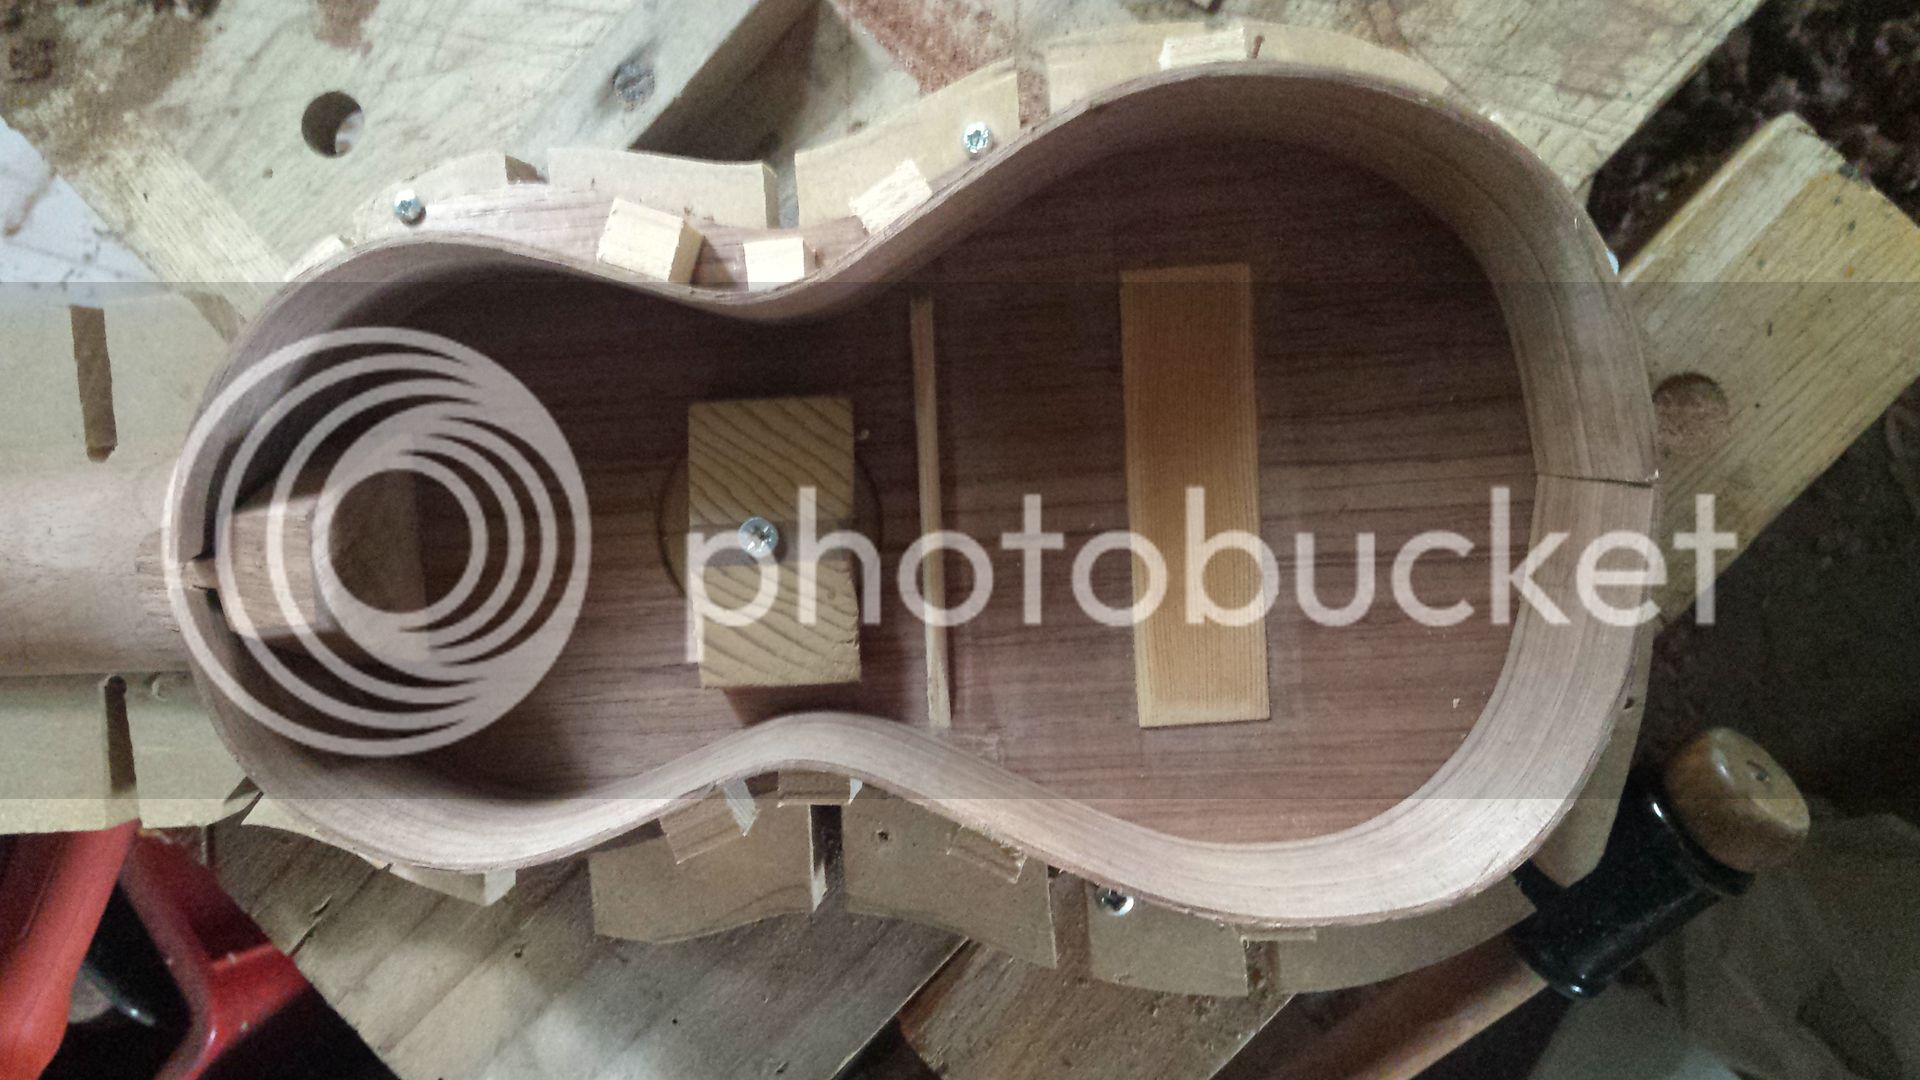
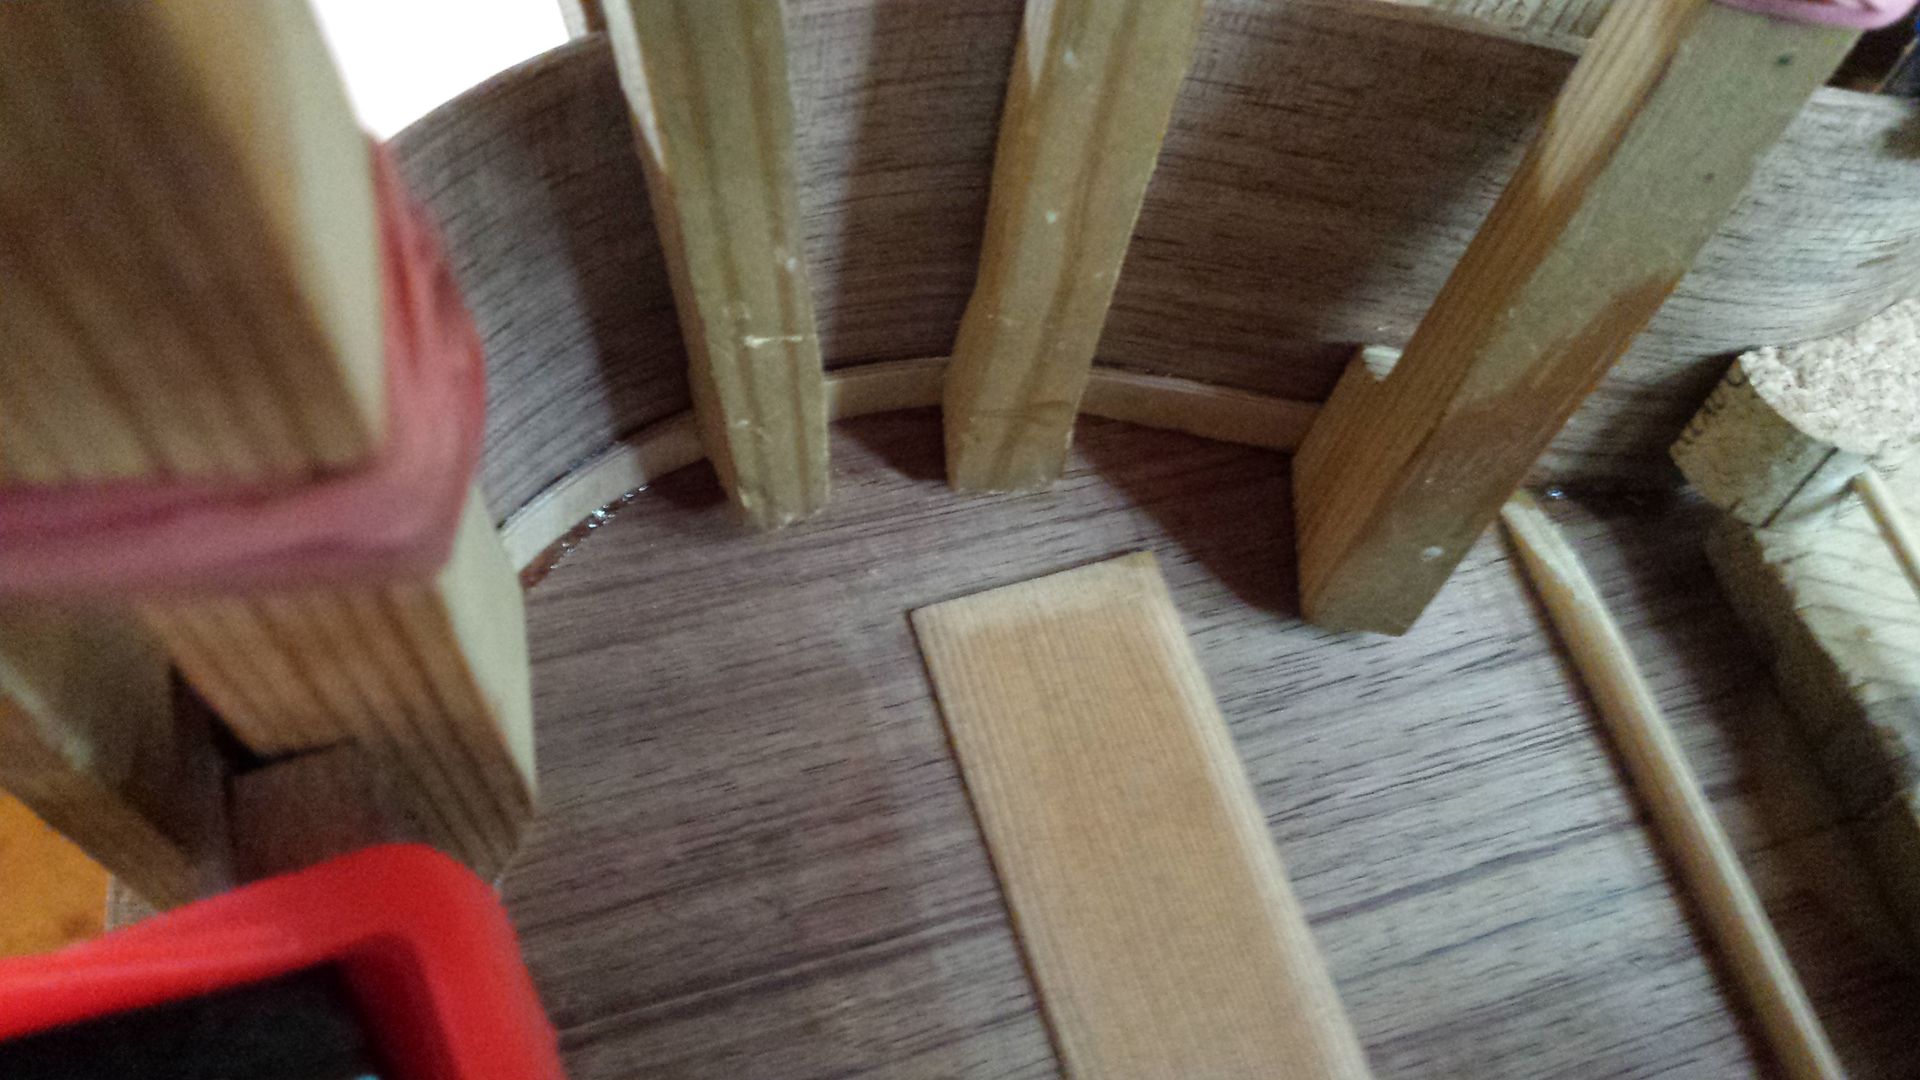
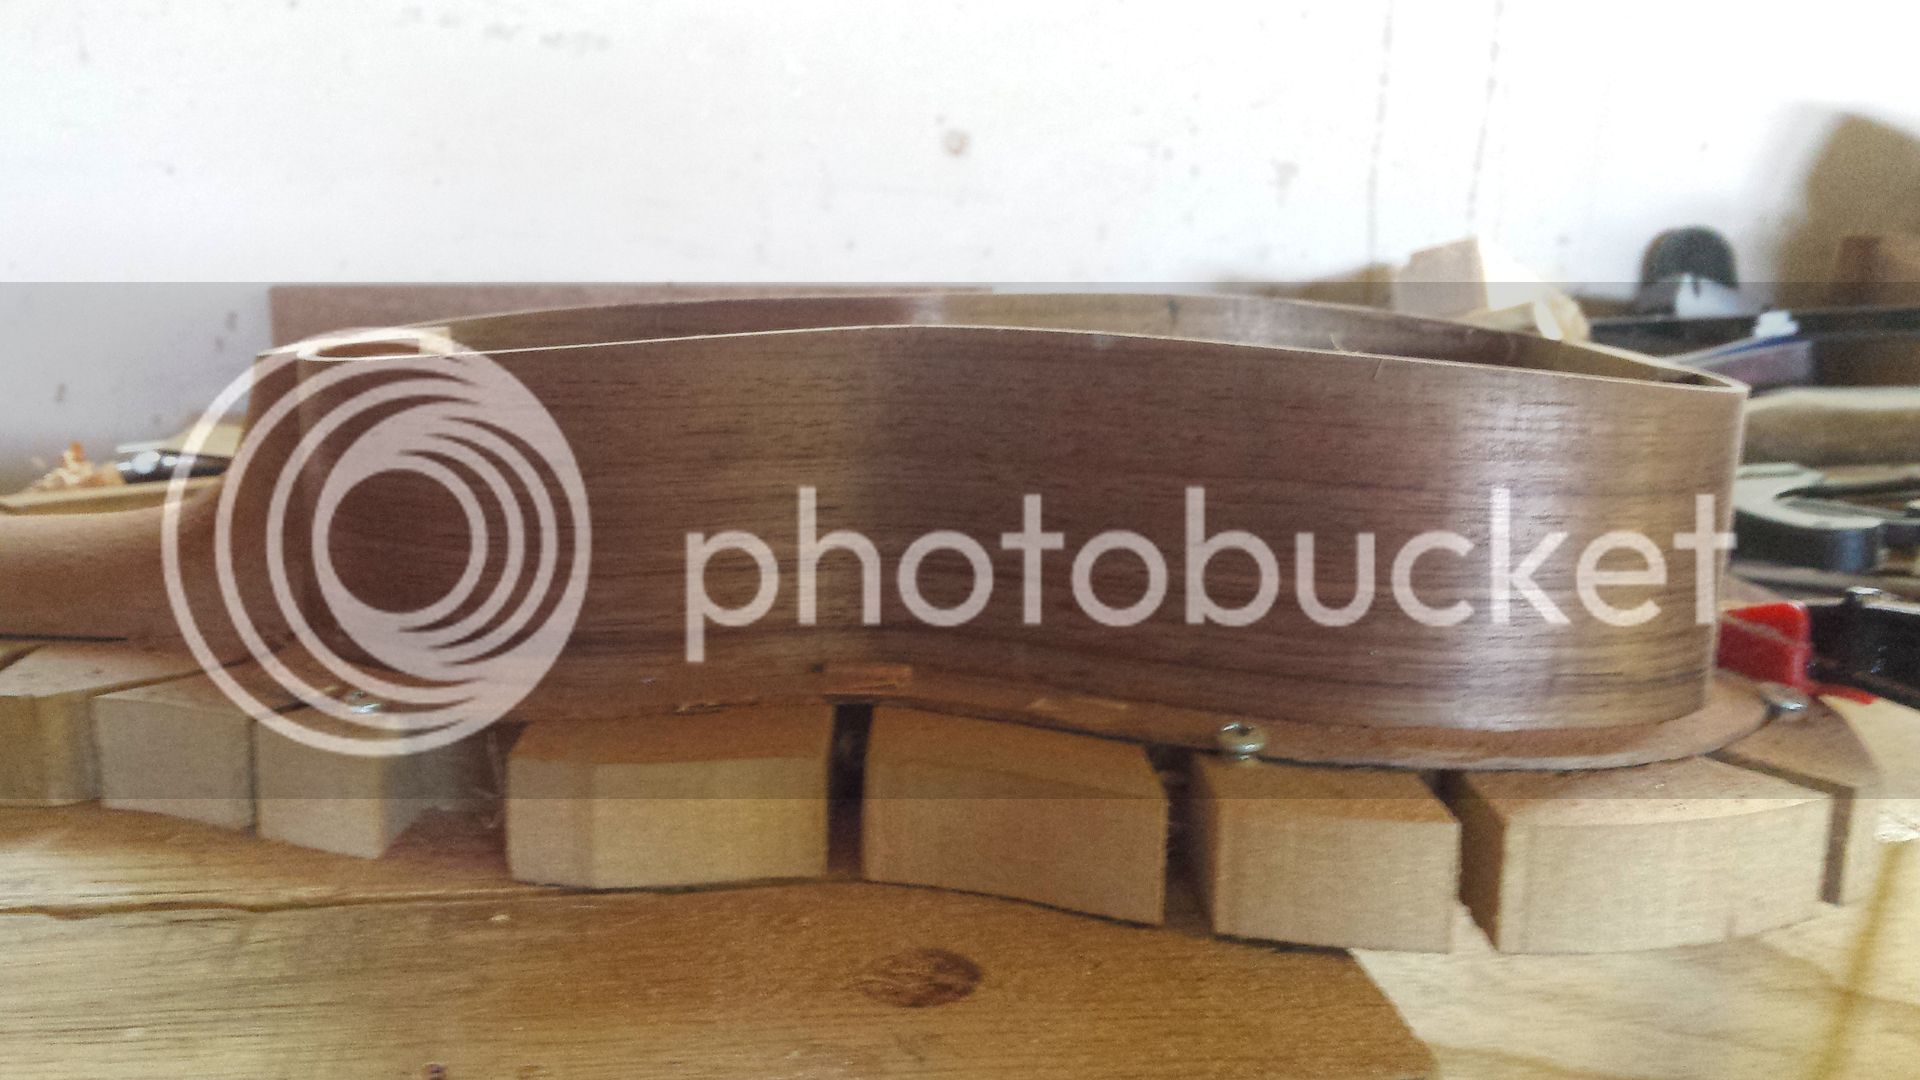
And then - loads of blocks around the edge of the shape I've drawn on my soundboard.

20160902_142504_zpslitf4yxc.jpg


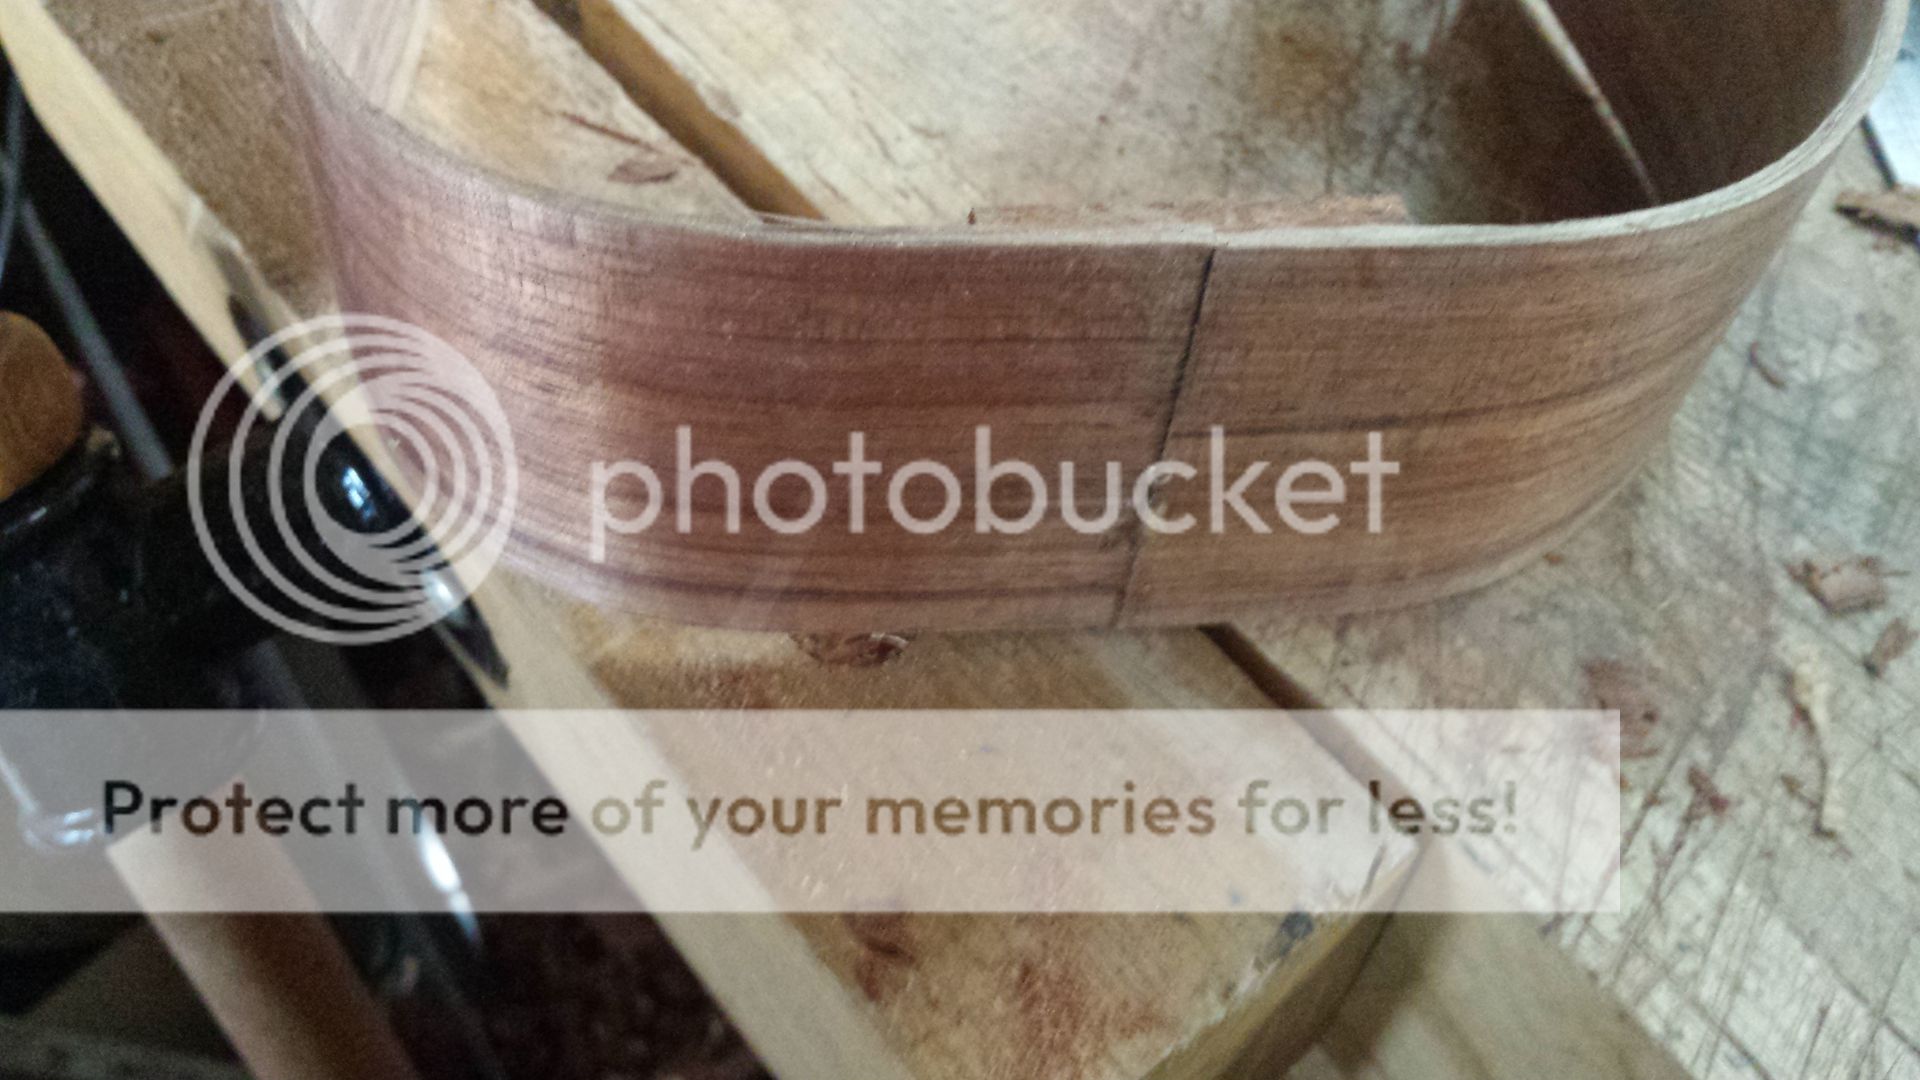
The reason for this is that I'm not using a mould. I will bend the sides to shape, and then trim them until they fit within the blocks. If I do this right, the blocks will make sure the body shape remains correct. Once the uke is complete I trim off the overhang together with the blocks.

As previously mentioned, I often use superglue for these block. But the Blackwood is very porous, as I discovered when I damped it with White Spirit to check the likely effect under finish, so superglue would wick through. Thus all my glueing will be done with hot hide glue. This has the reputation of being tricky, but I find it very easy to use. It has some big advantages, and we'll see one in particular when the back goes on (or maybe even earlier).

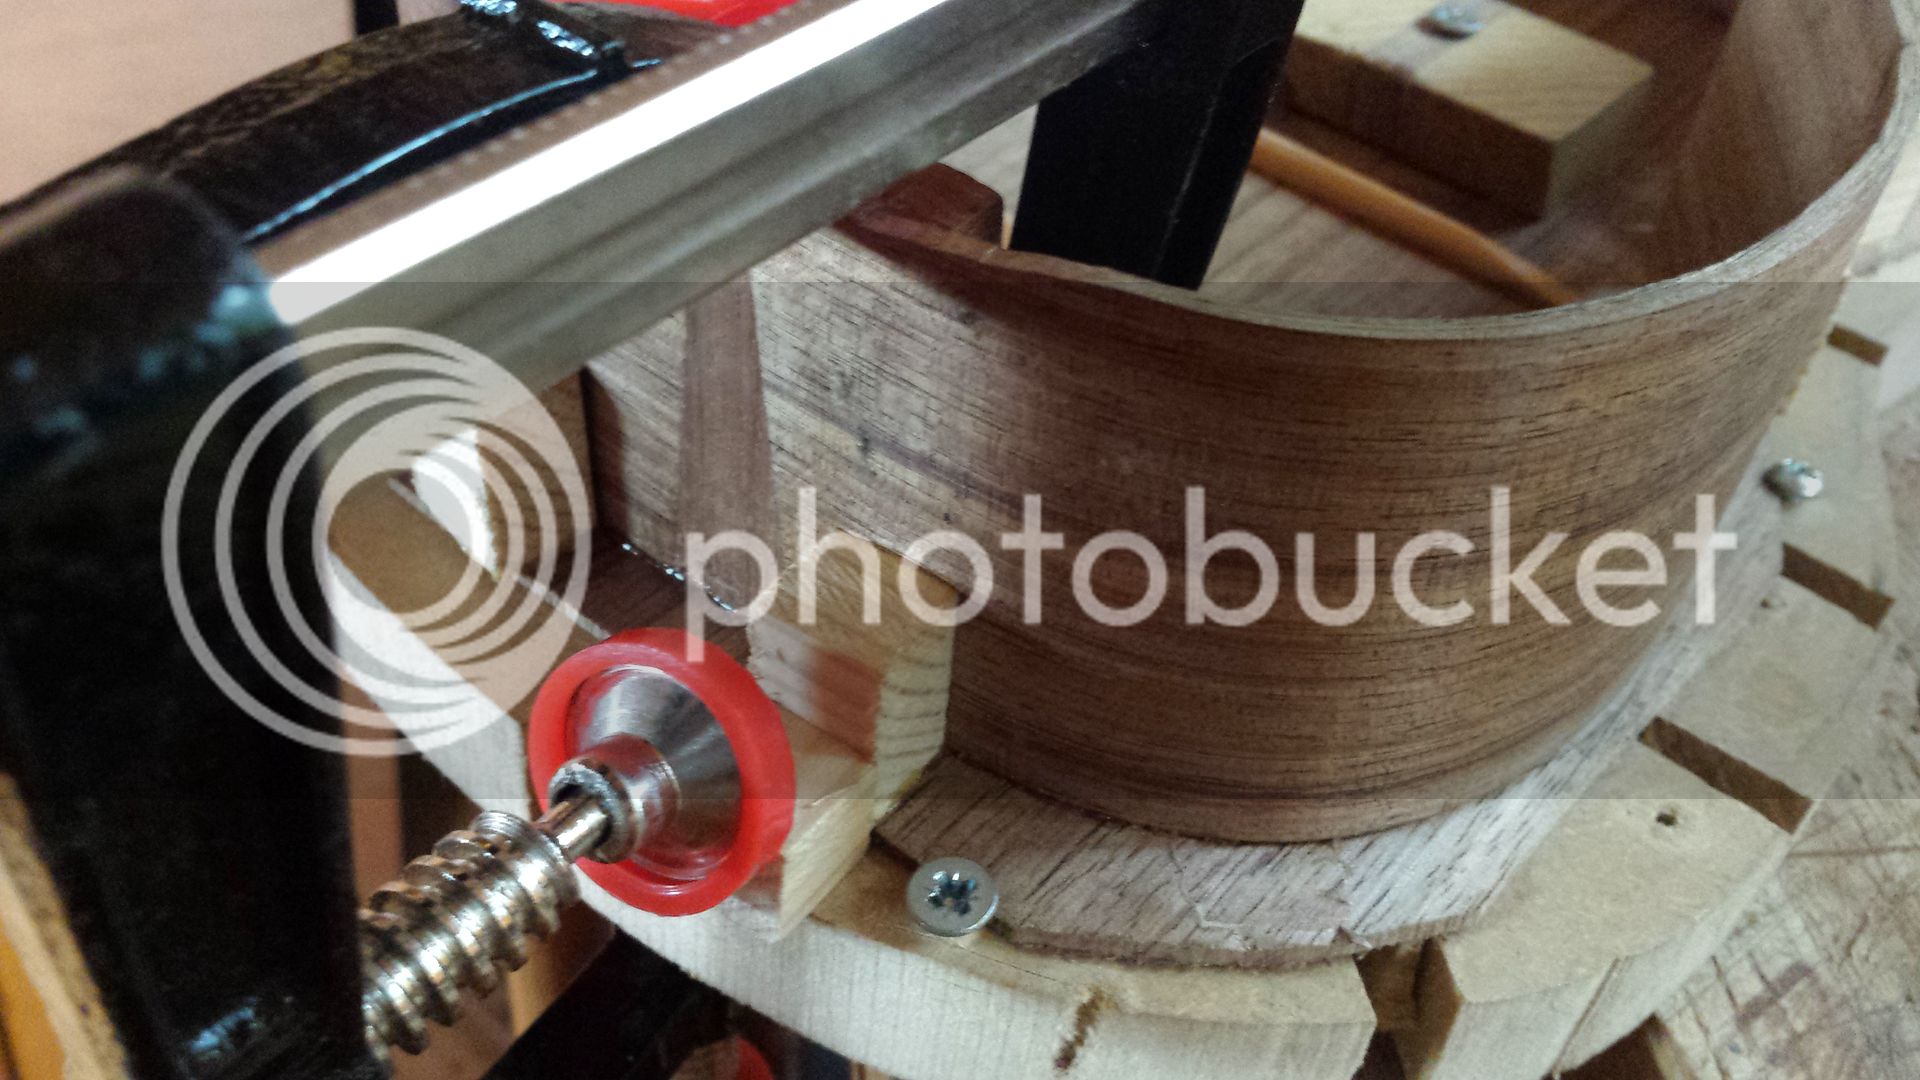
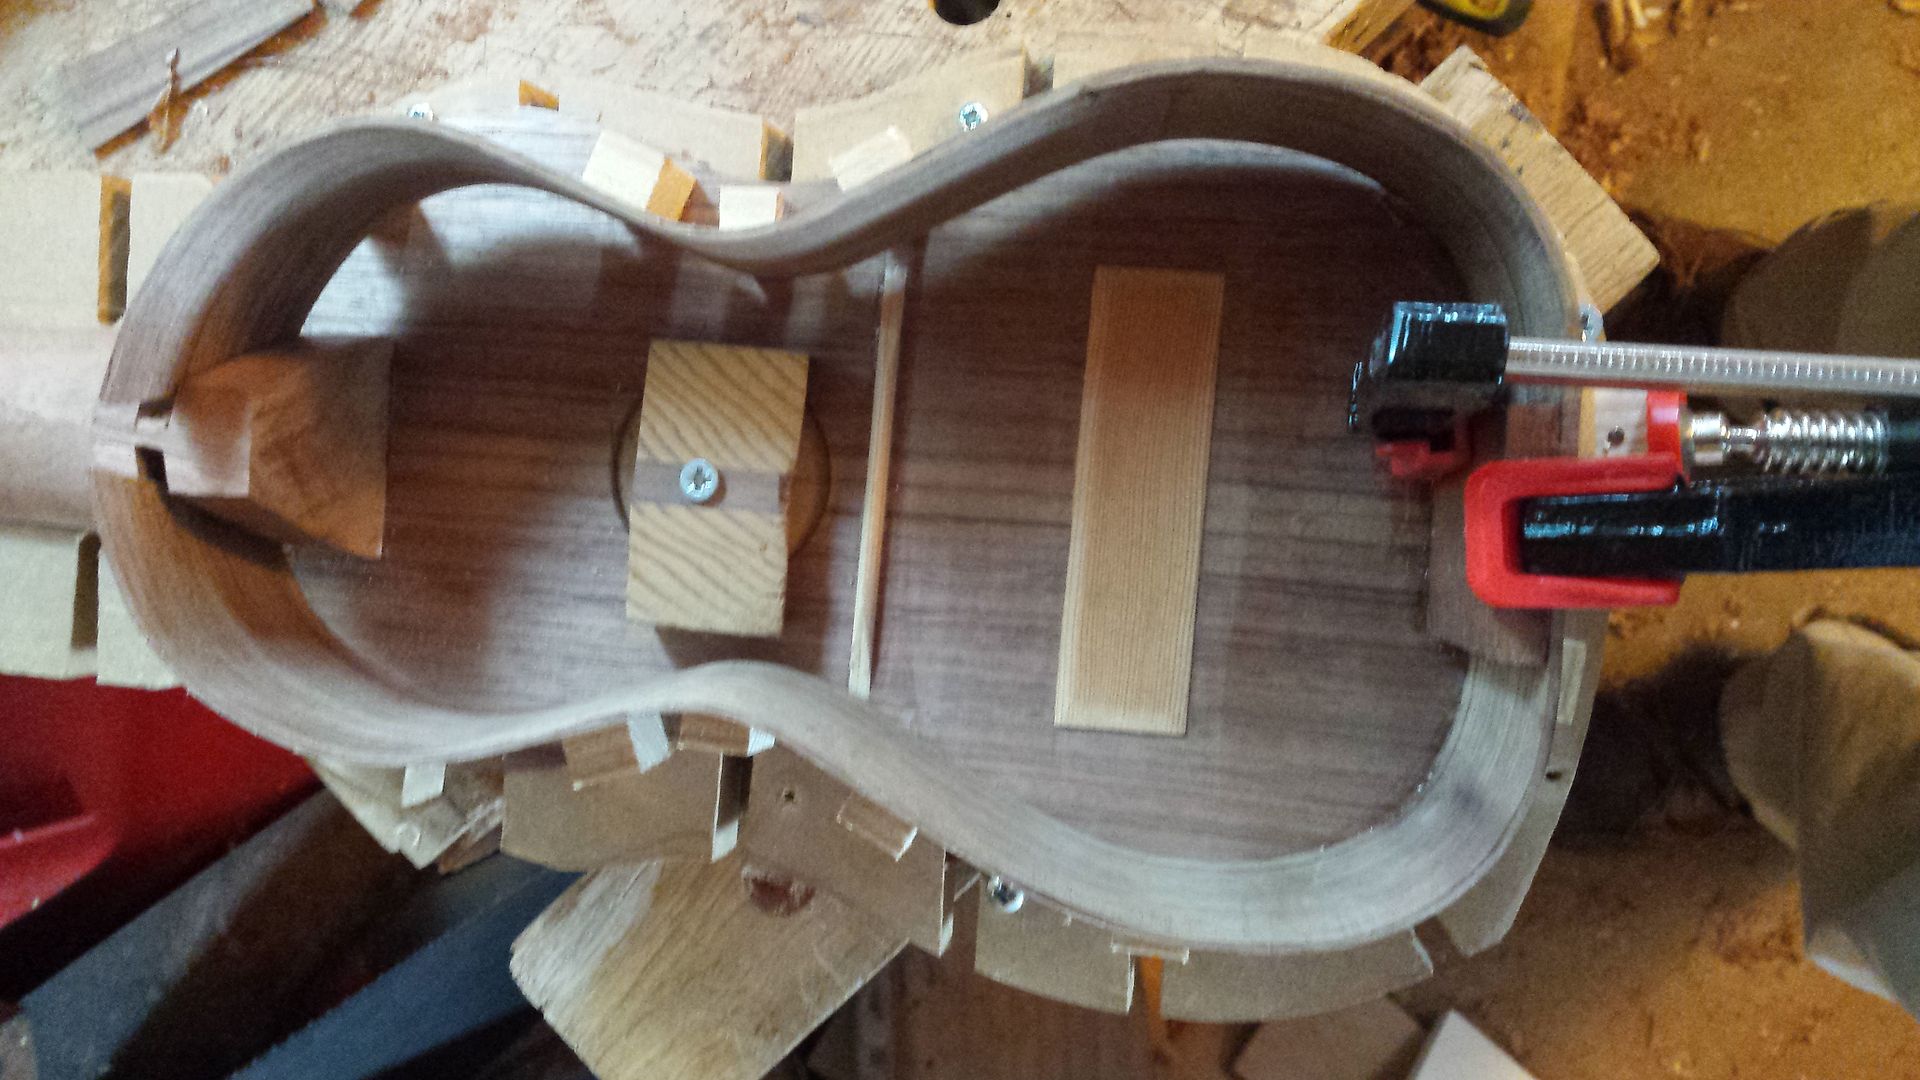
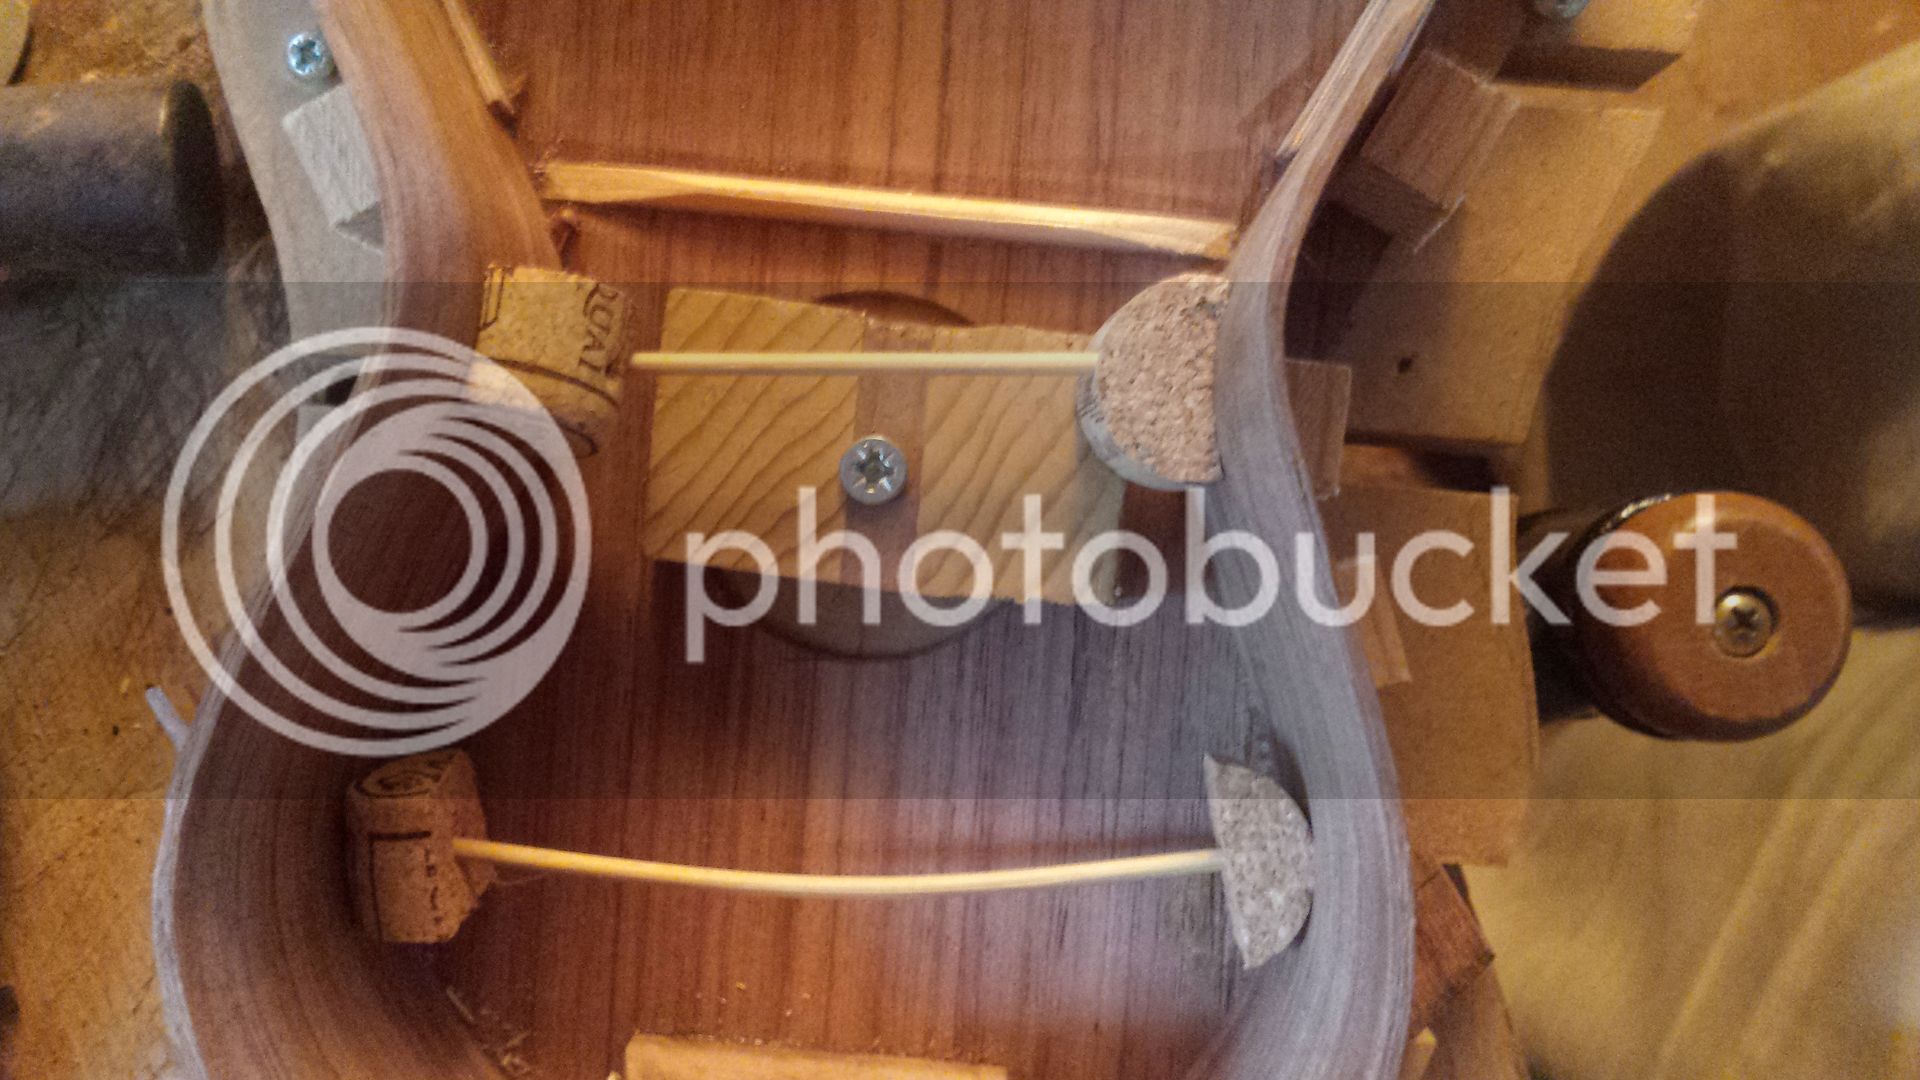
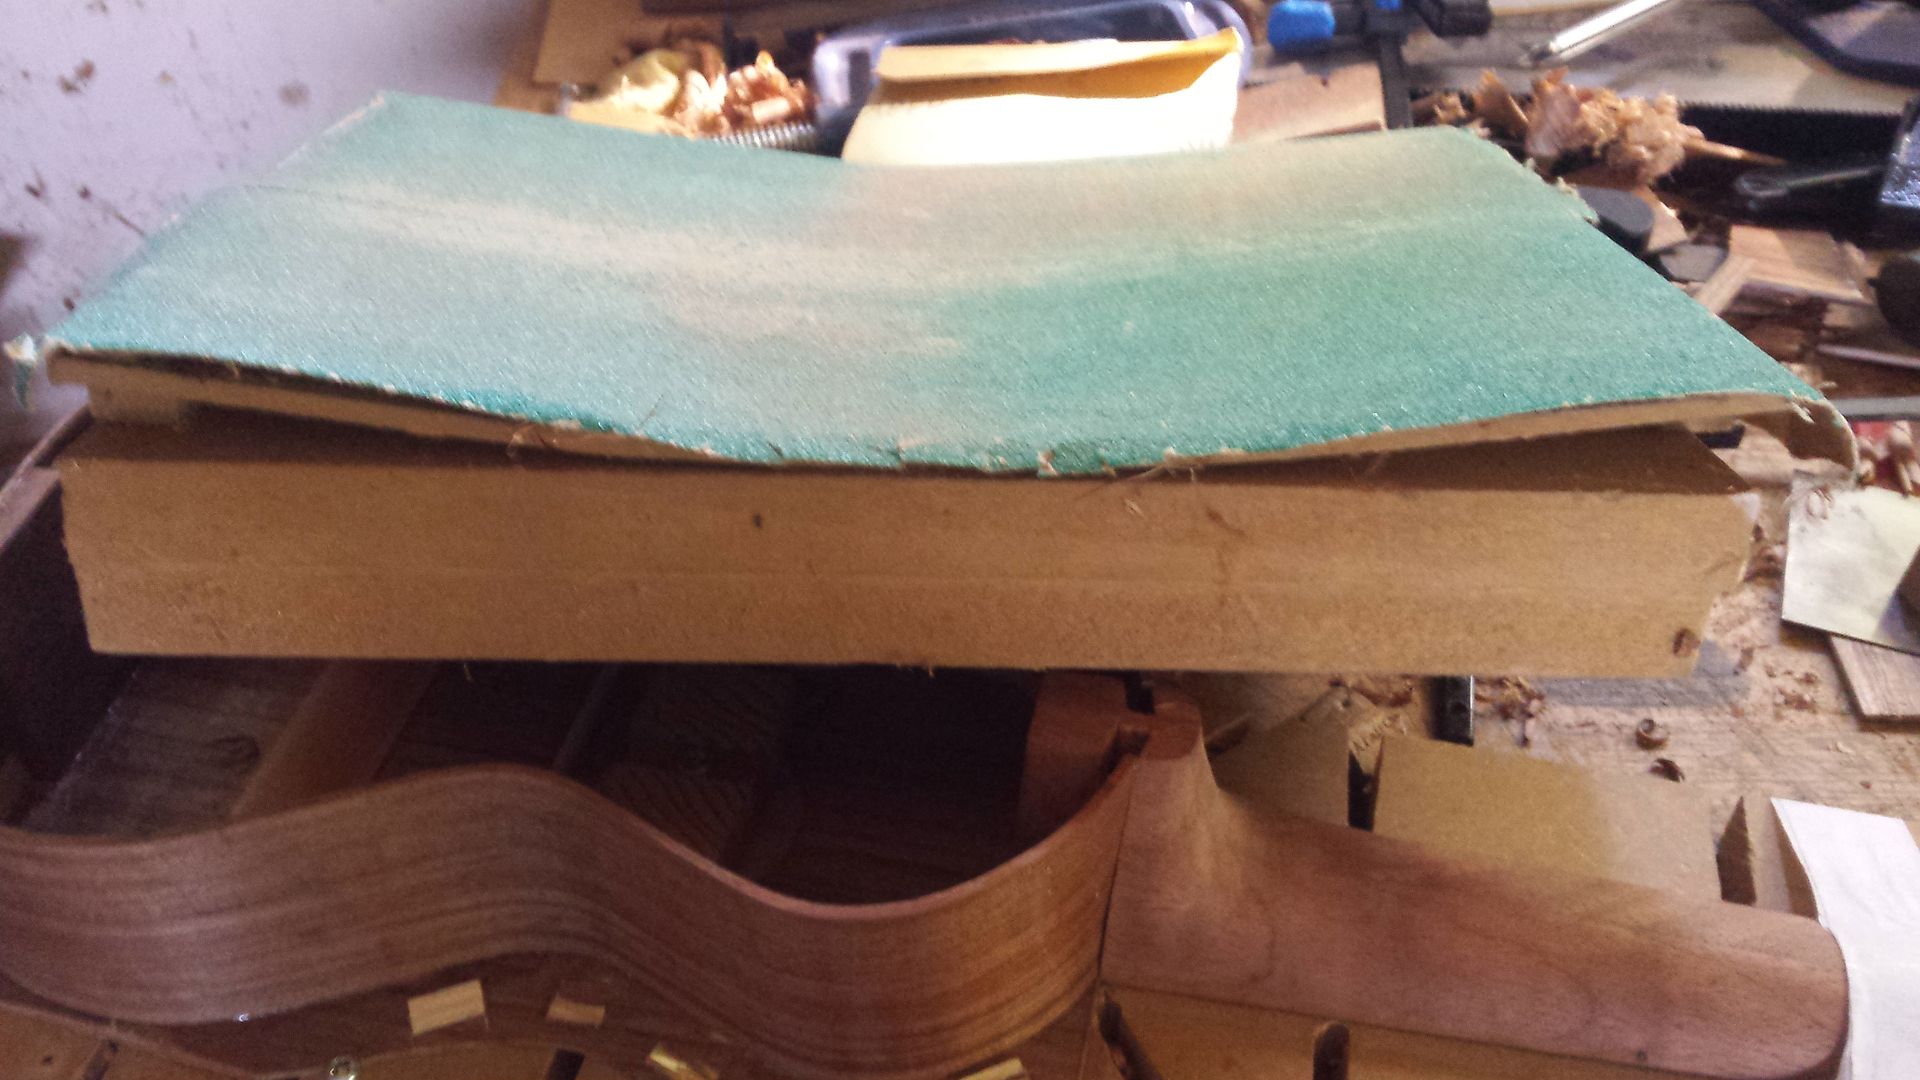
Now I attach the whole assembly to my building board, which is just a thick slab of flat MDF cut a bit bigger, and with slots for the string (yes, string might be involved).

20160902_160654_zpsoytukynt.jpg


The board keeps the top flat, and the neck in the right position, and I build up from there. To ensure the top stays flat I put a few screws around its edge so that their heads hold the top down, and screw a block across the sound hole to keep it flat there. Note to self - remove that block before gluing on the back!

20160902_160654_zpsoytukynt.jpg


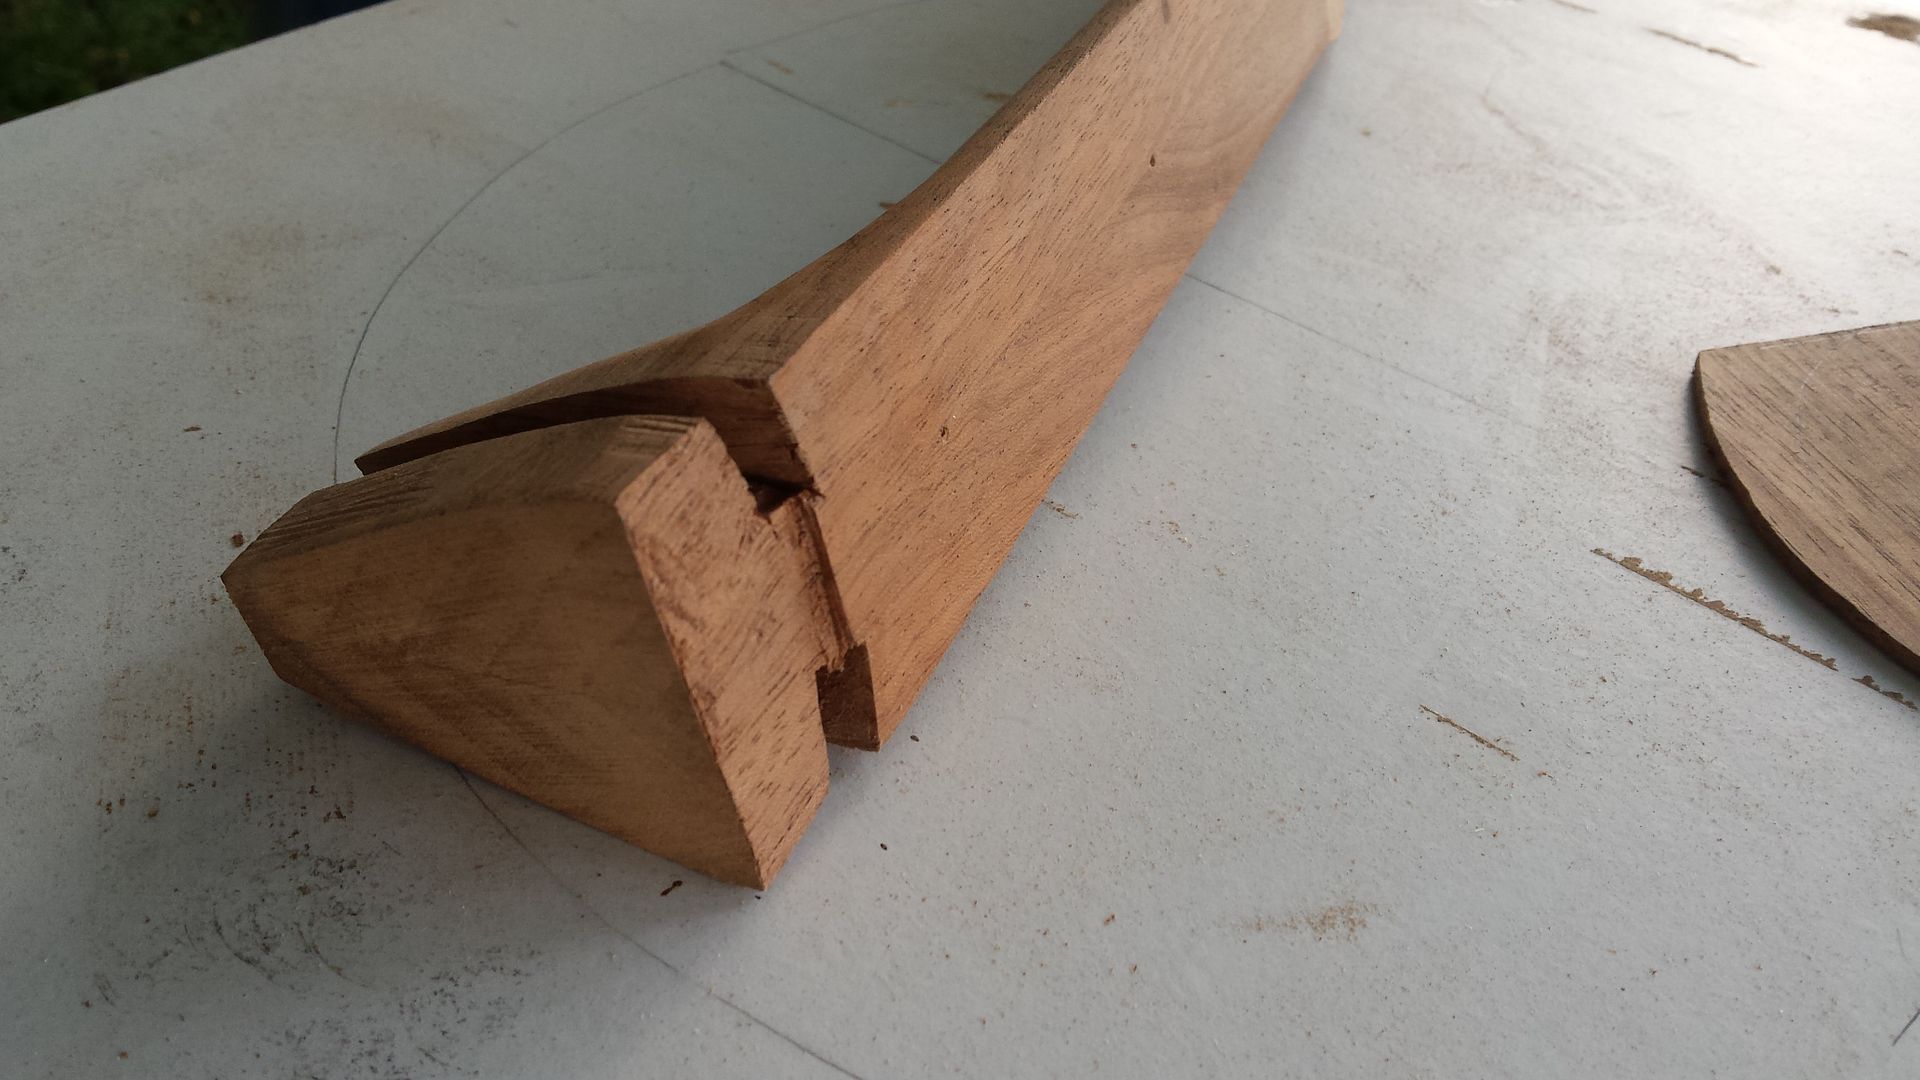
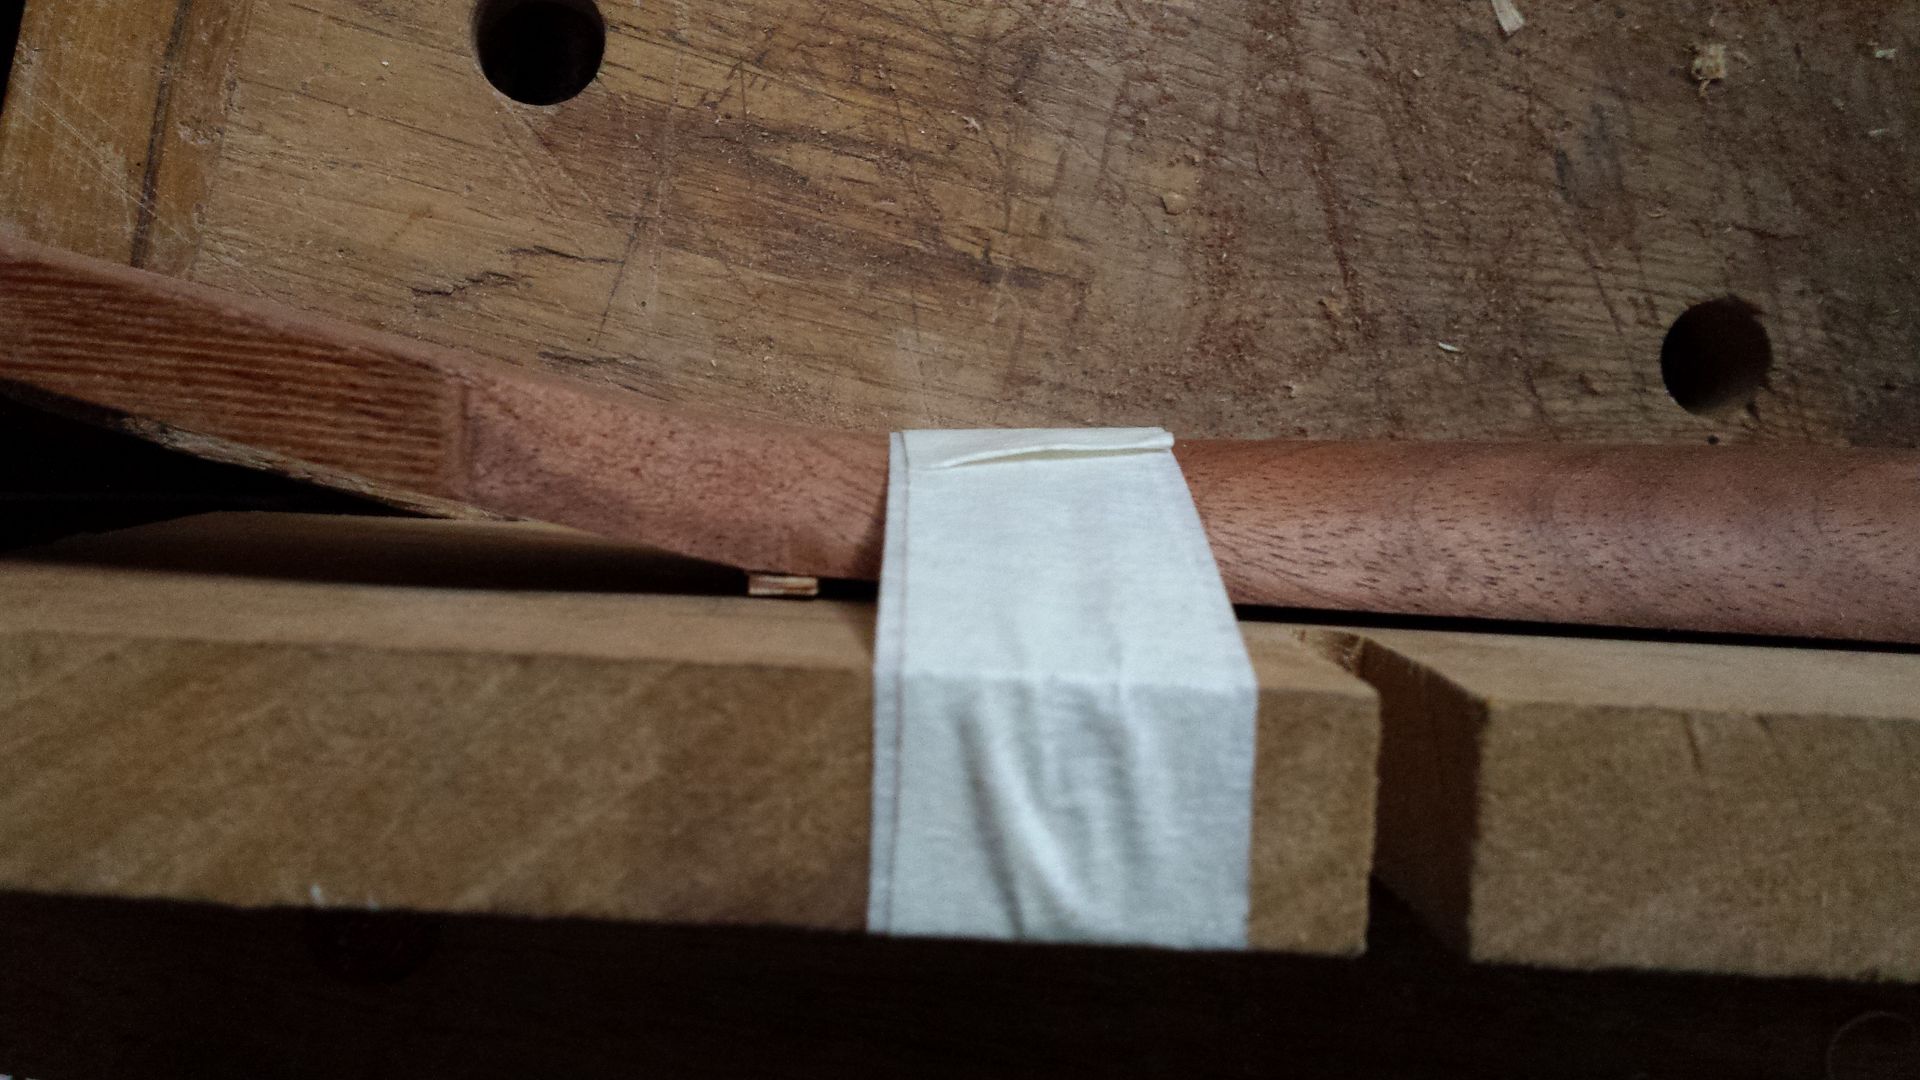
And the board is used to set in my desired neck angle. This is ludicrously easy to work out, without any reference to angles at all. It goes like this:

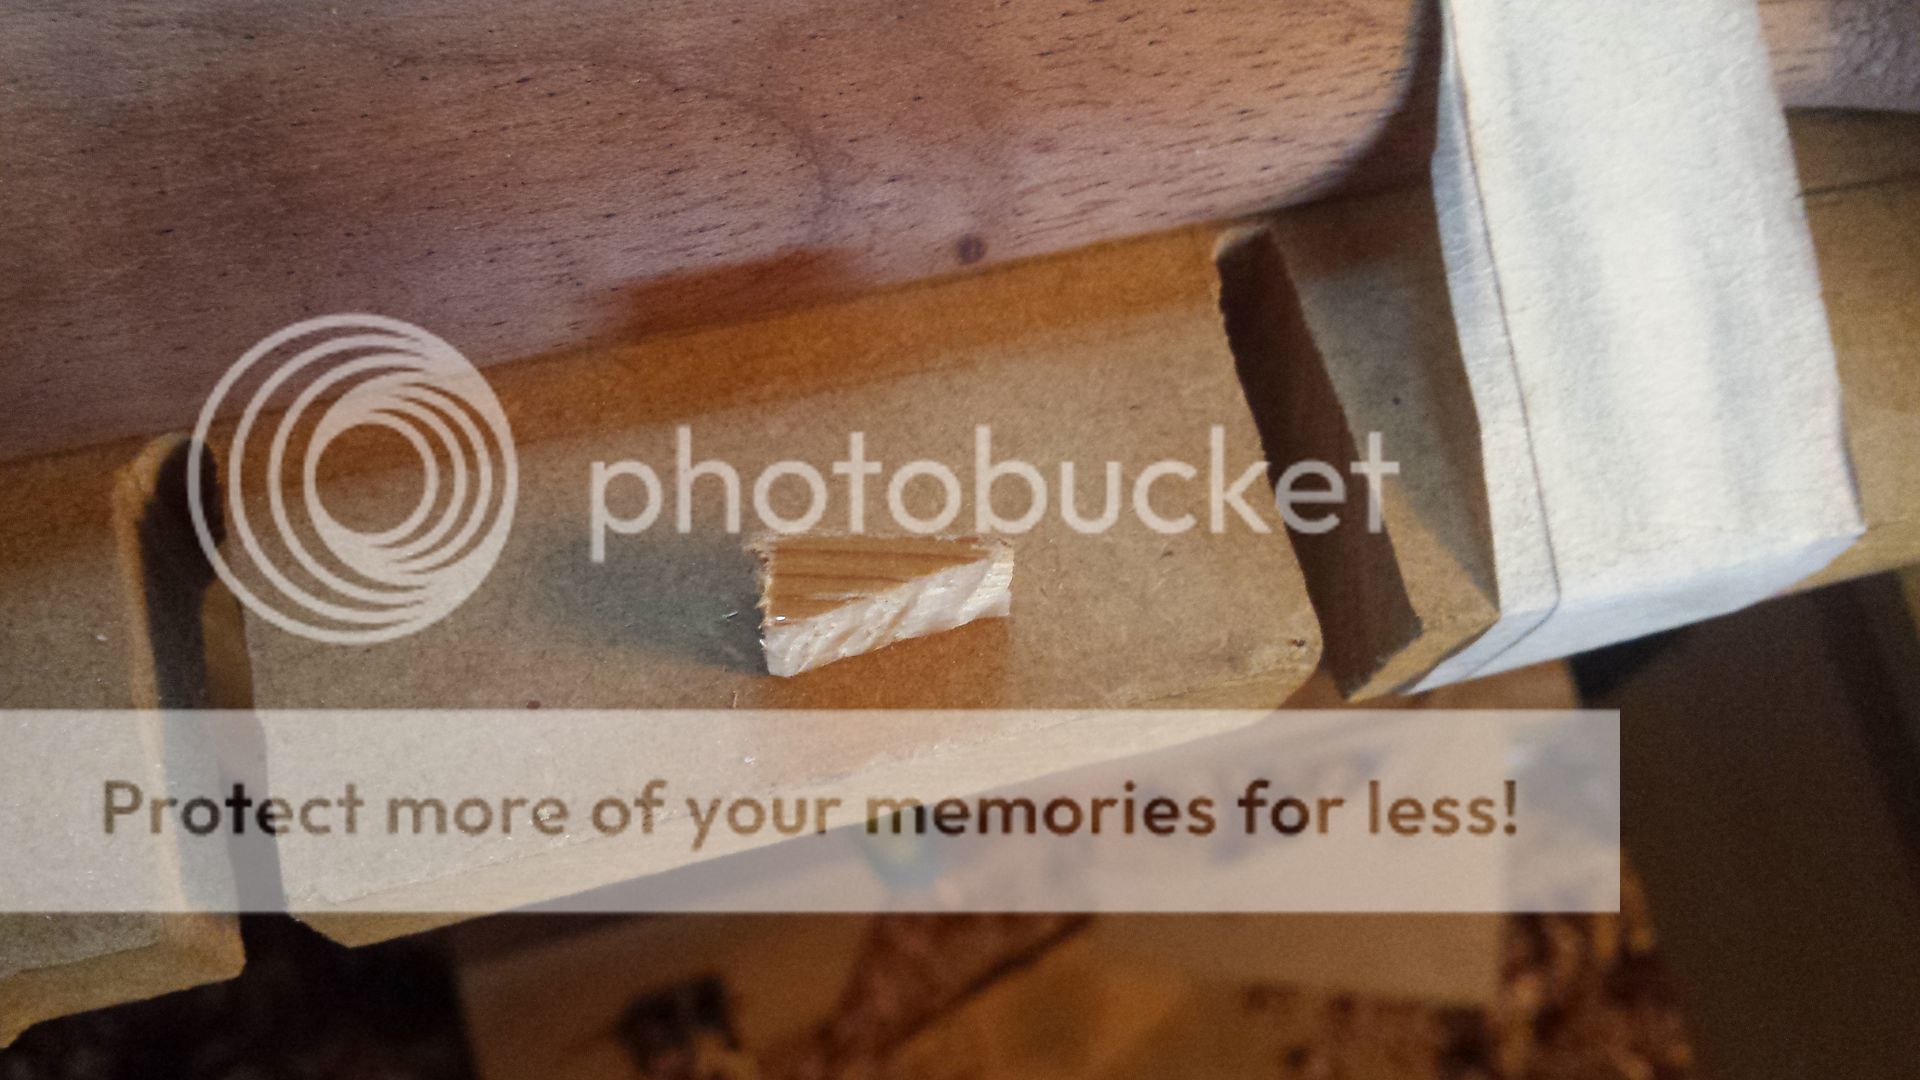
I want the top of my saddle to be about 10mm above the top. The fretboard is 3mm thick, plus about 0.5mm for frets, so I need an extra 6.5 mm. To get 2.5mm string height over the 12th fret I need 5mm above the fretboard plane at the saddle, i.e. twice the 12th fret height, so that leave me short 1.5mm.

But the neck can be envisaged as a see saw, with the 12th fret as its mid-point. So if I need 1.5mm more at the saddle, I need -1.5mm at the nut (or zero fret in my case). I can get that by putting a 1.5mm spacer under the neck at the zero fret position and then taping down the neck.

20160902_160720_zps5nvu698x.jpg


This is such a small spacer that I didn't bother adjusting the angle at which I glued the neck on to the top. But if I'd needed a big spacer I'd have attached the top to the neck at an appropriate angle (put spacer under neck, plane top of the neck block portion until it lies flat on the board, then cut down from that to the thickness of the top).

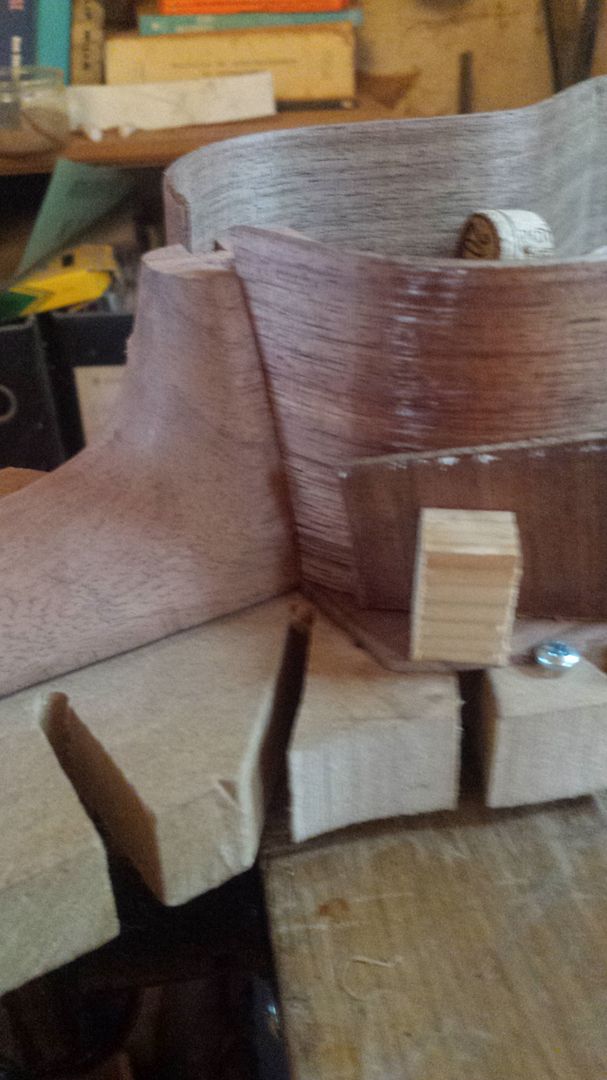
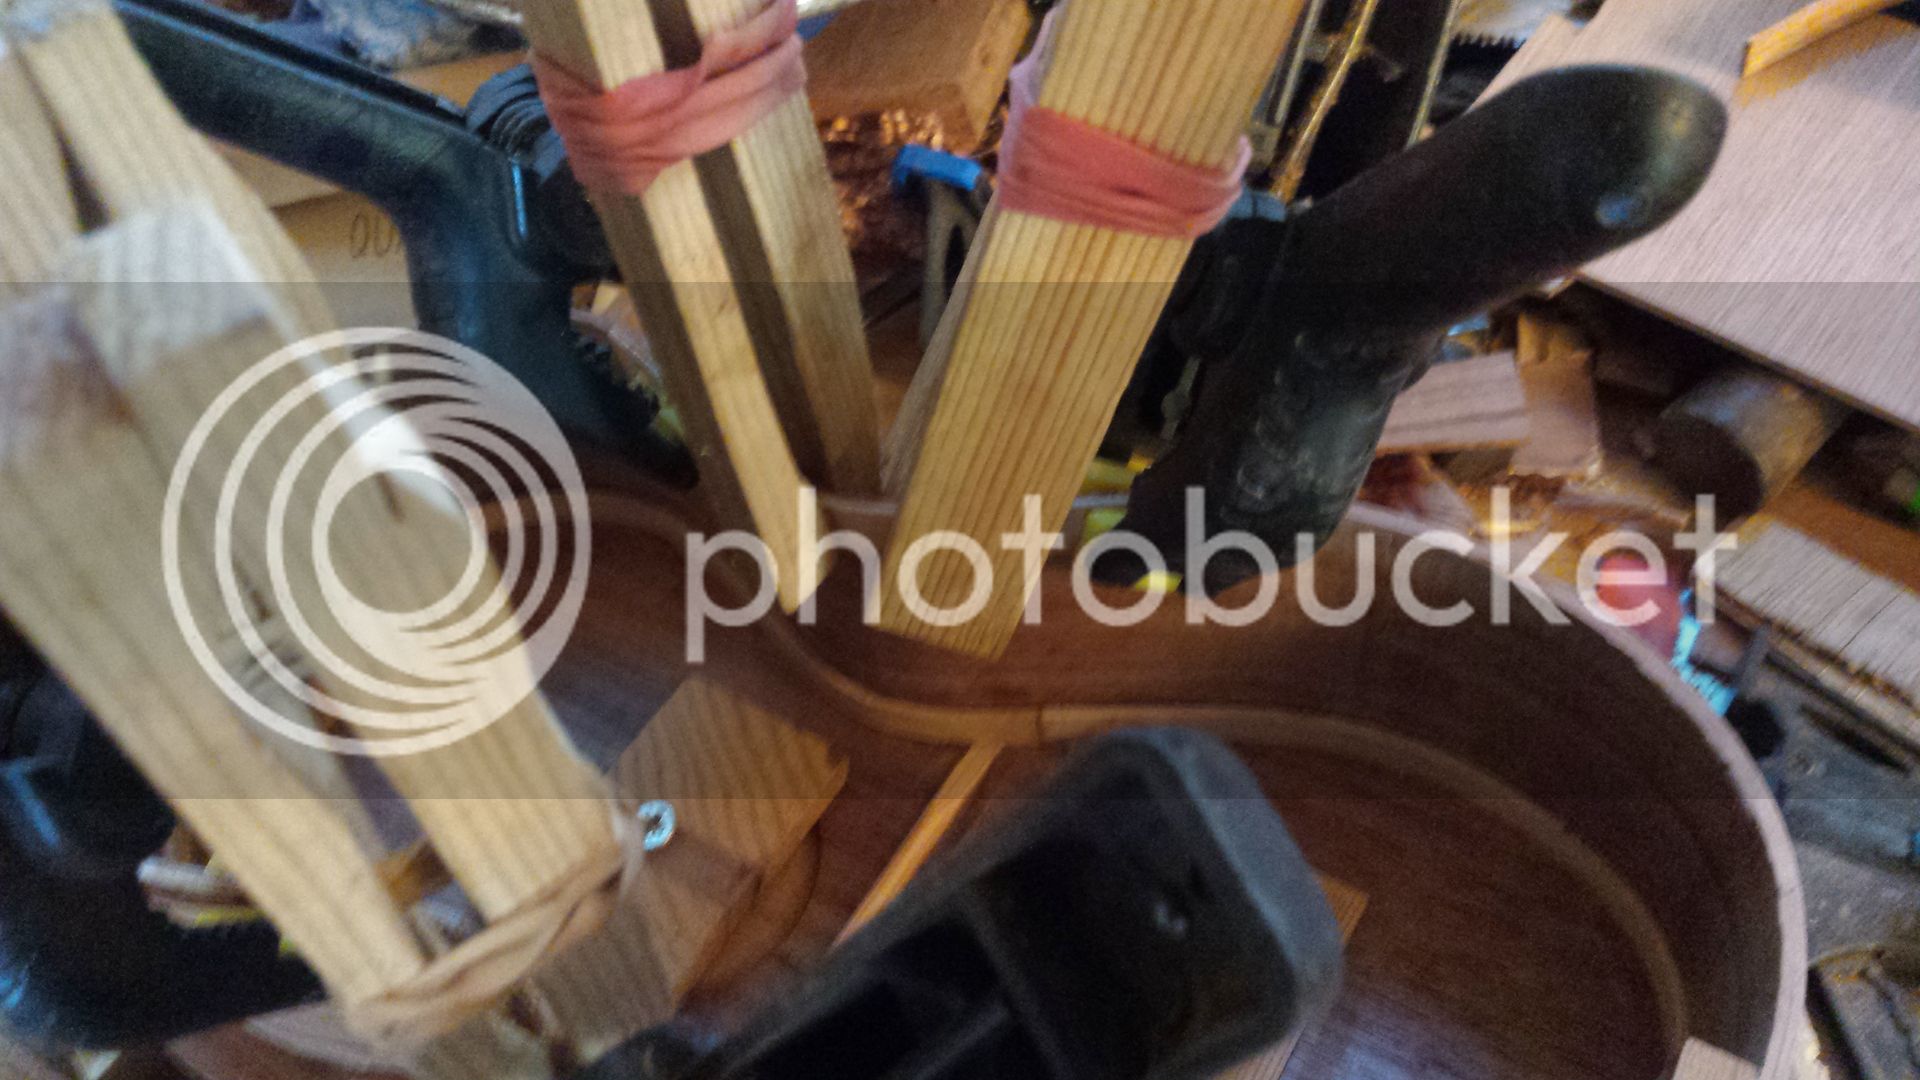
And here it all is, locked in the right place. So long as I keep it on the board, my neck angle and alignment of neck with body will remain unchanged, even if I build the body in a completely cack-handed fashion.

20160902_160733_zps23osgomi.jpg


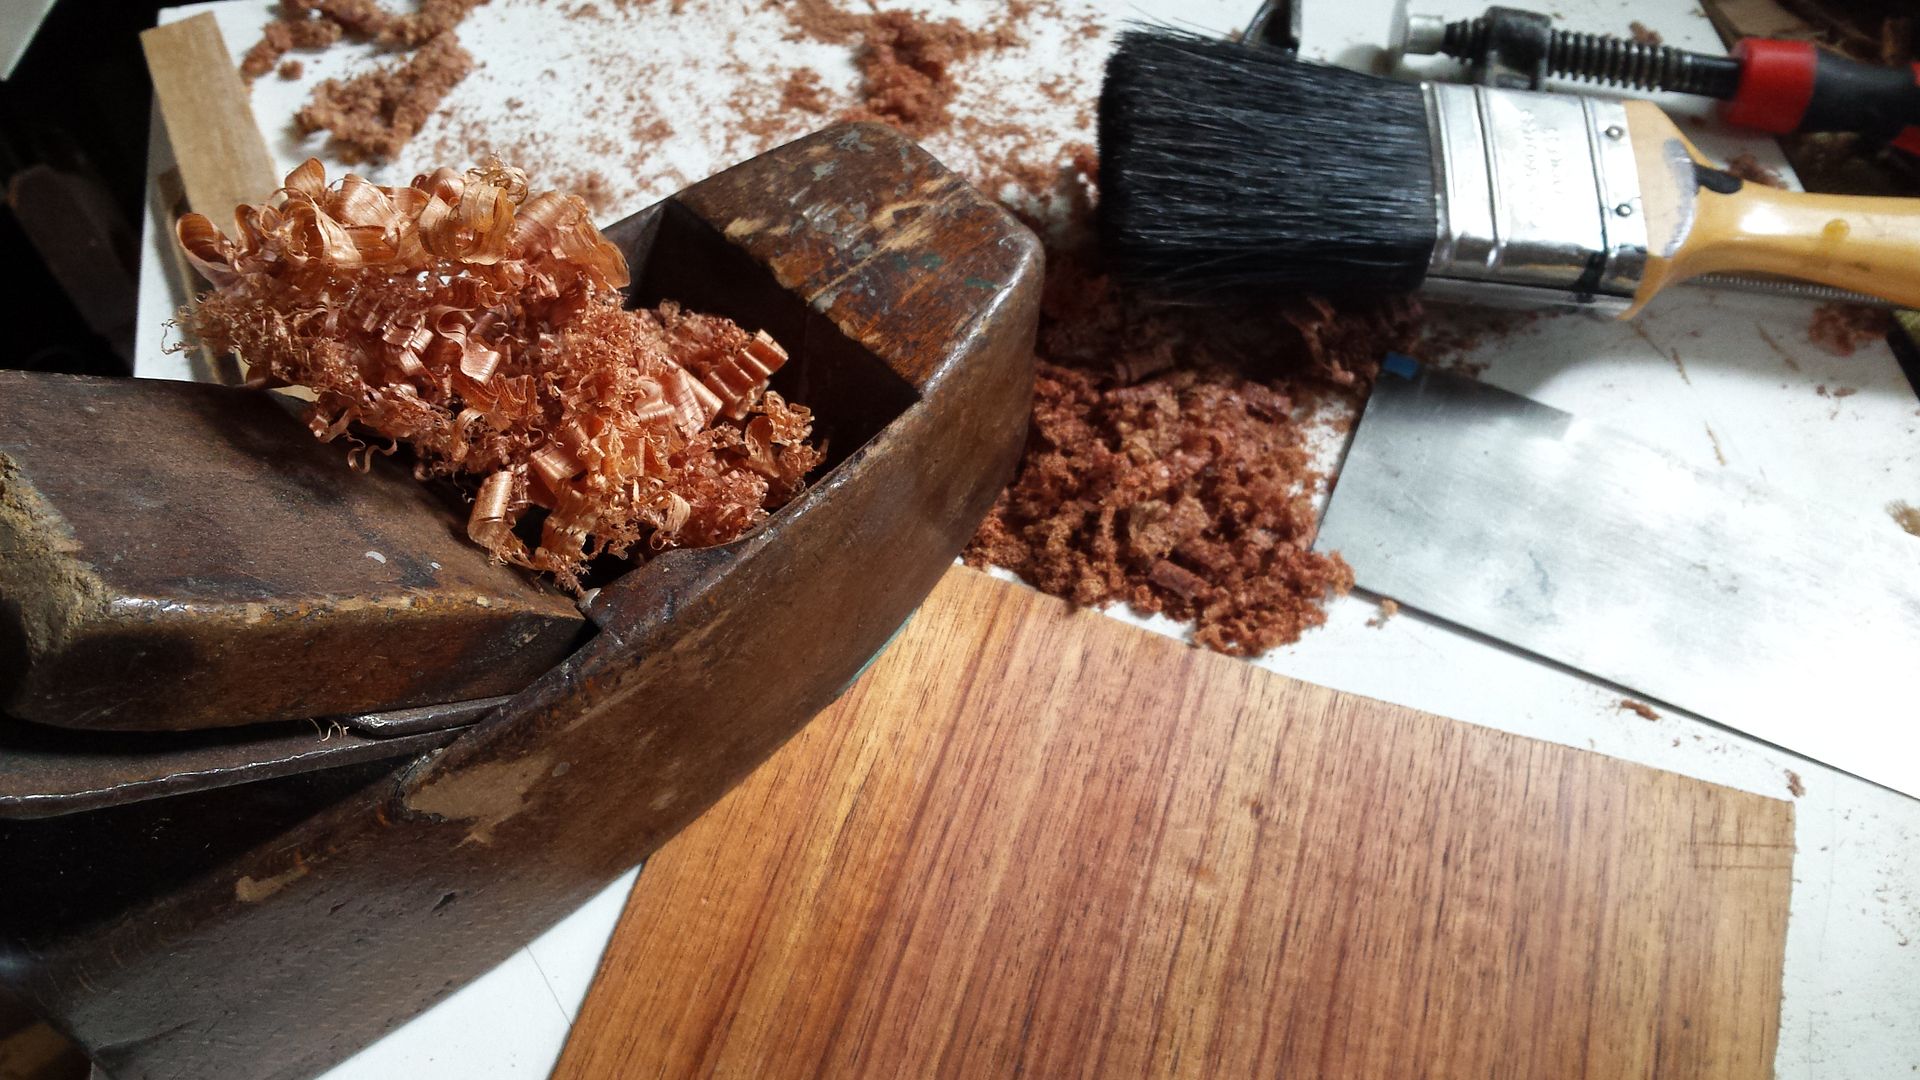
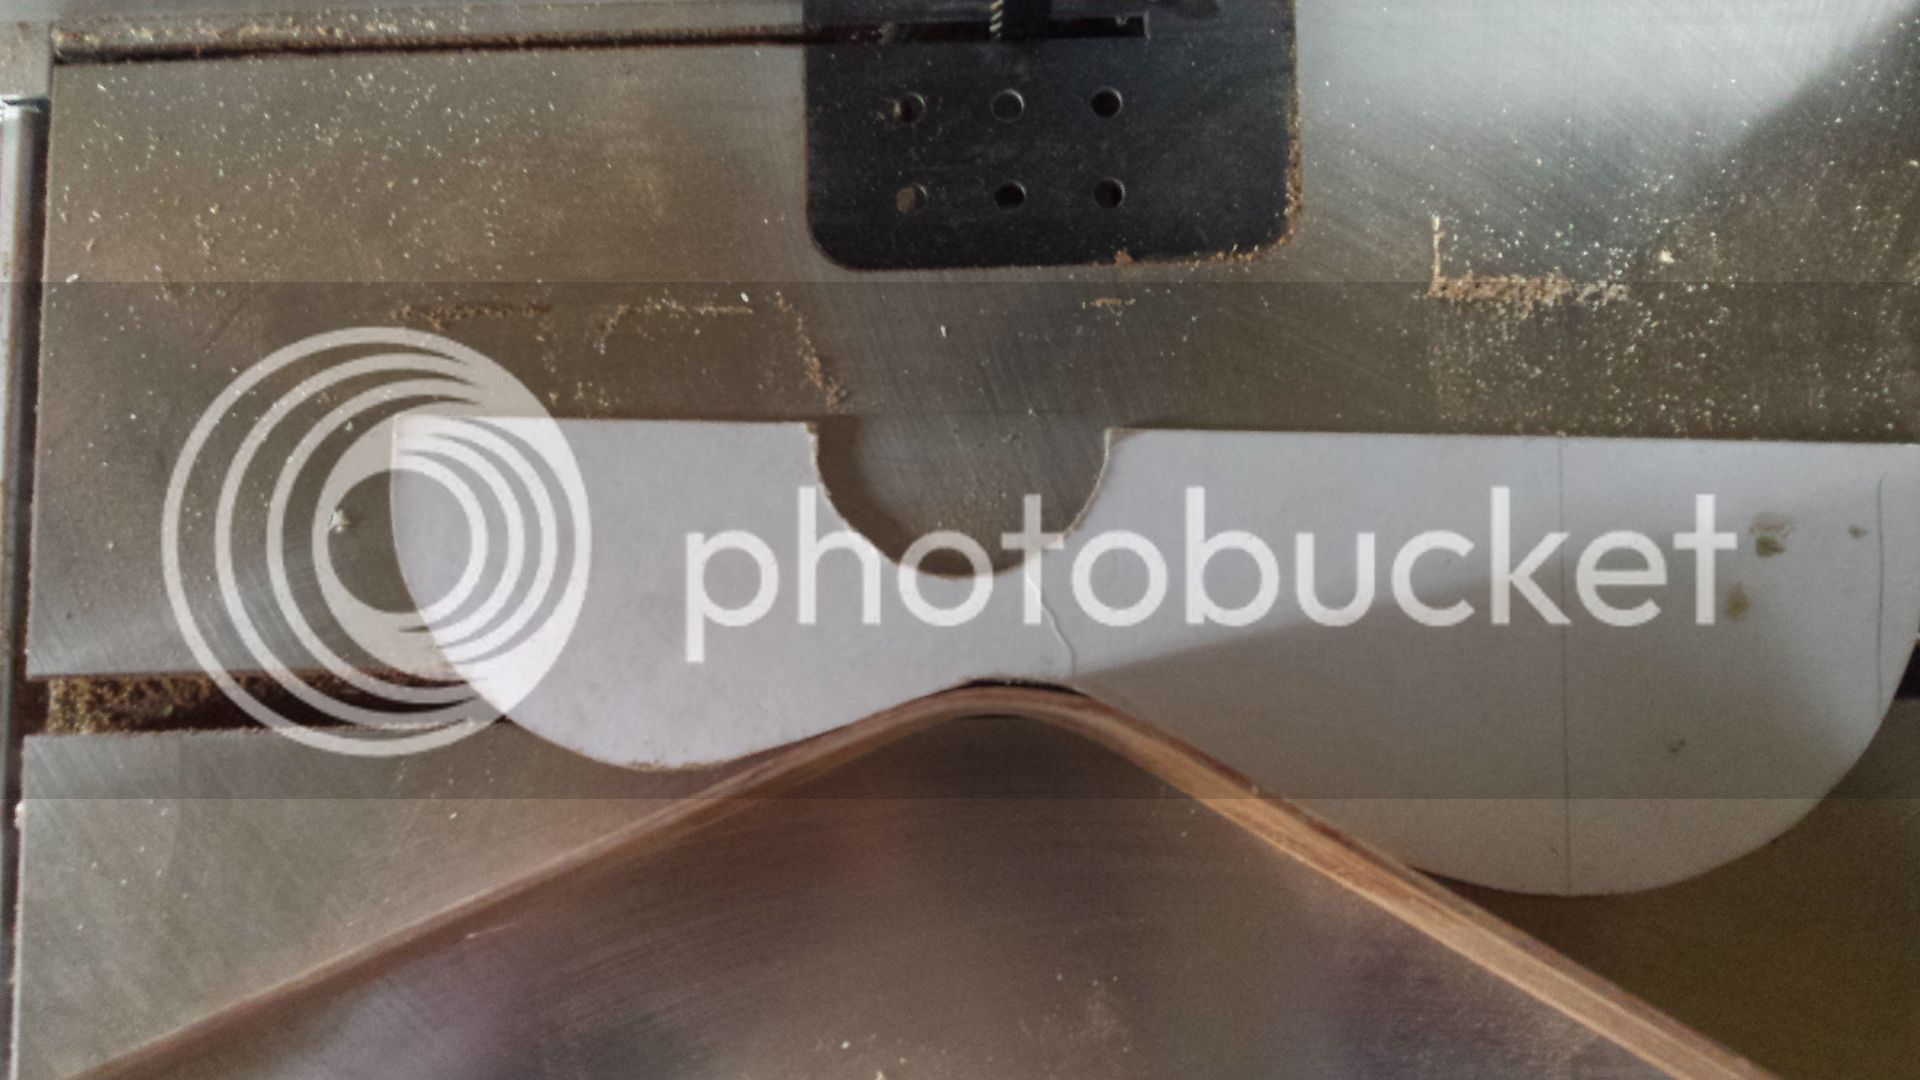
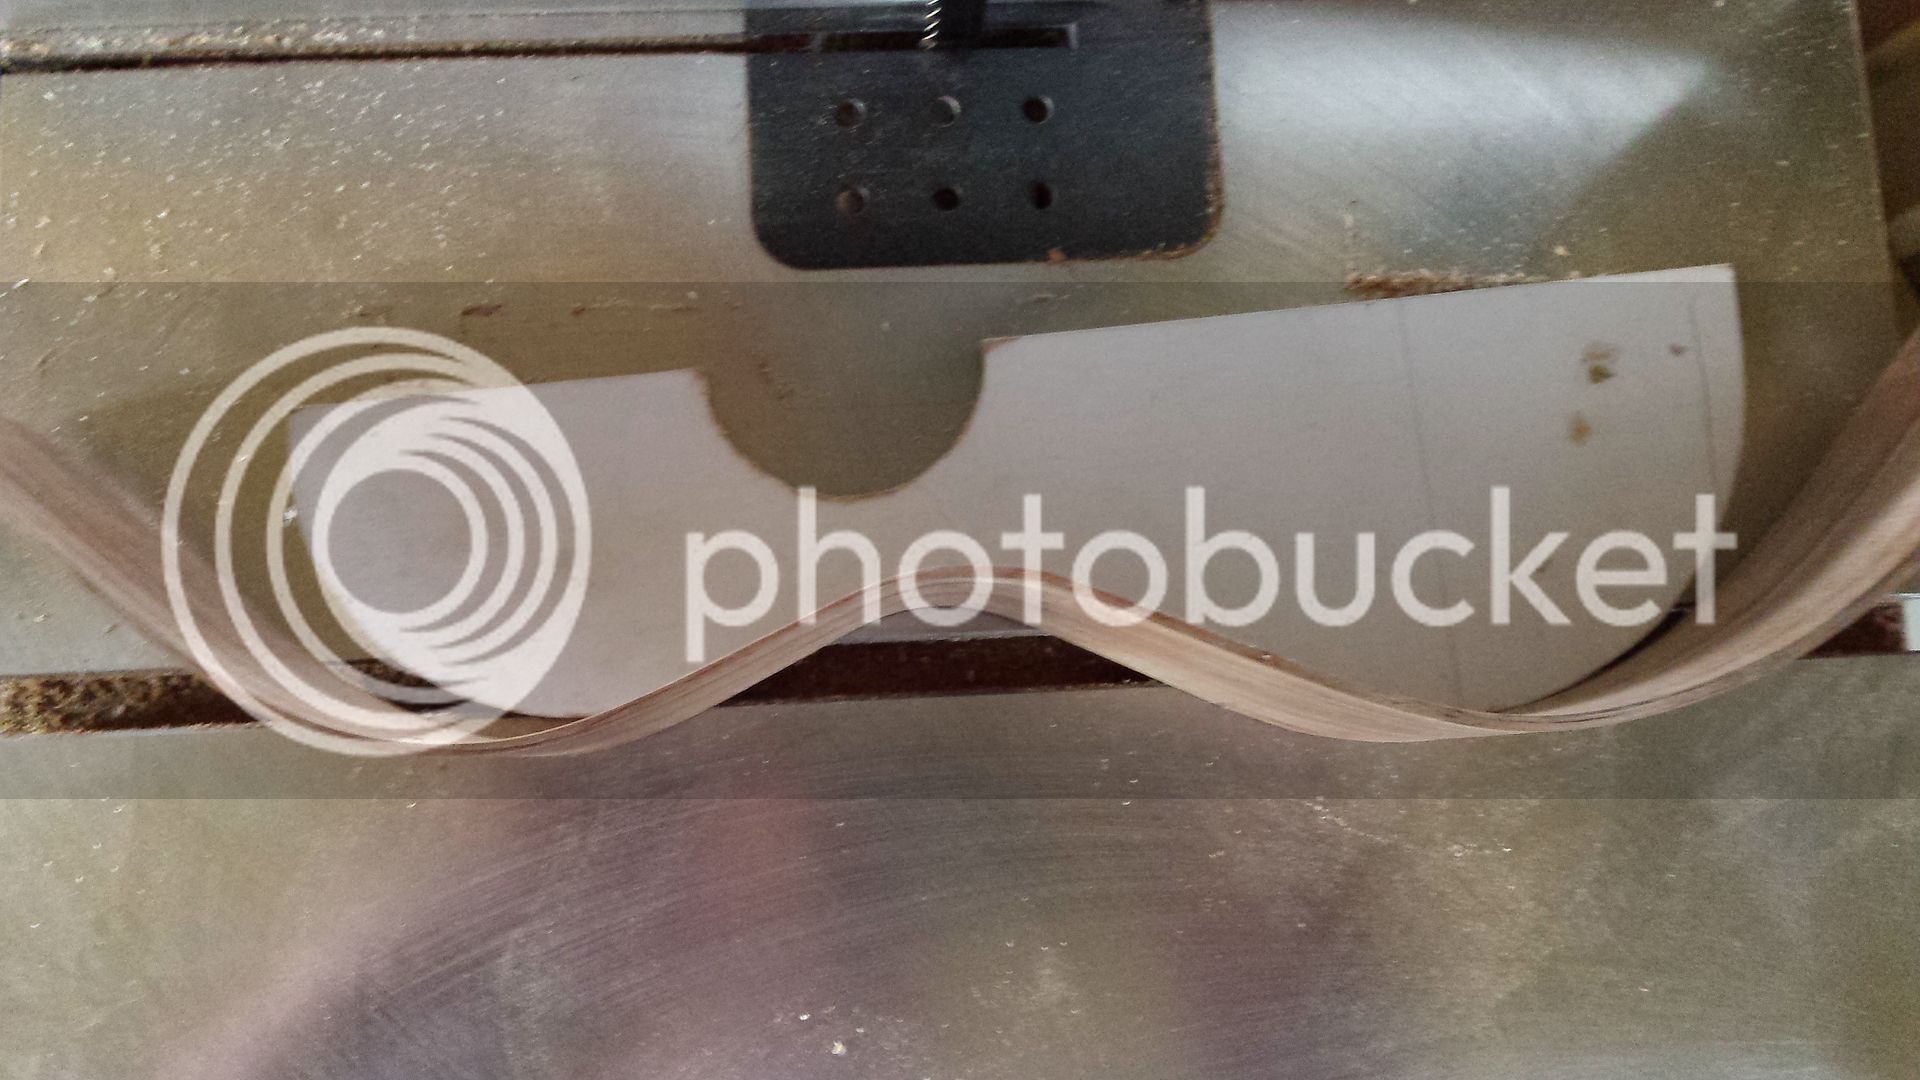
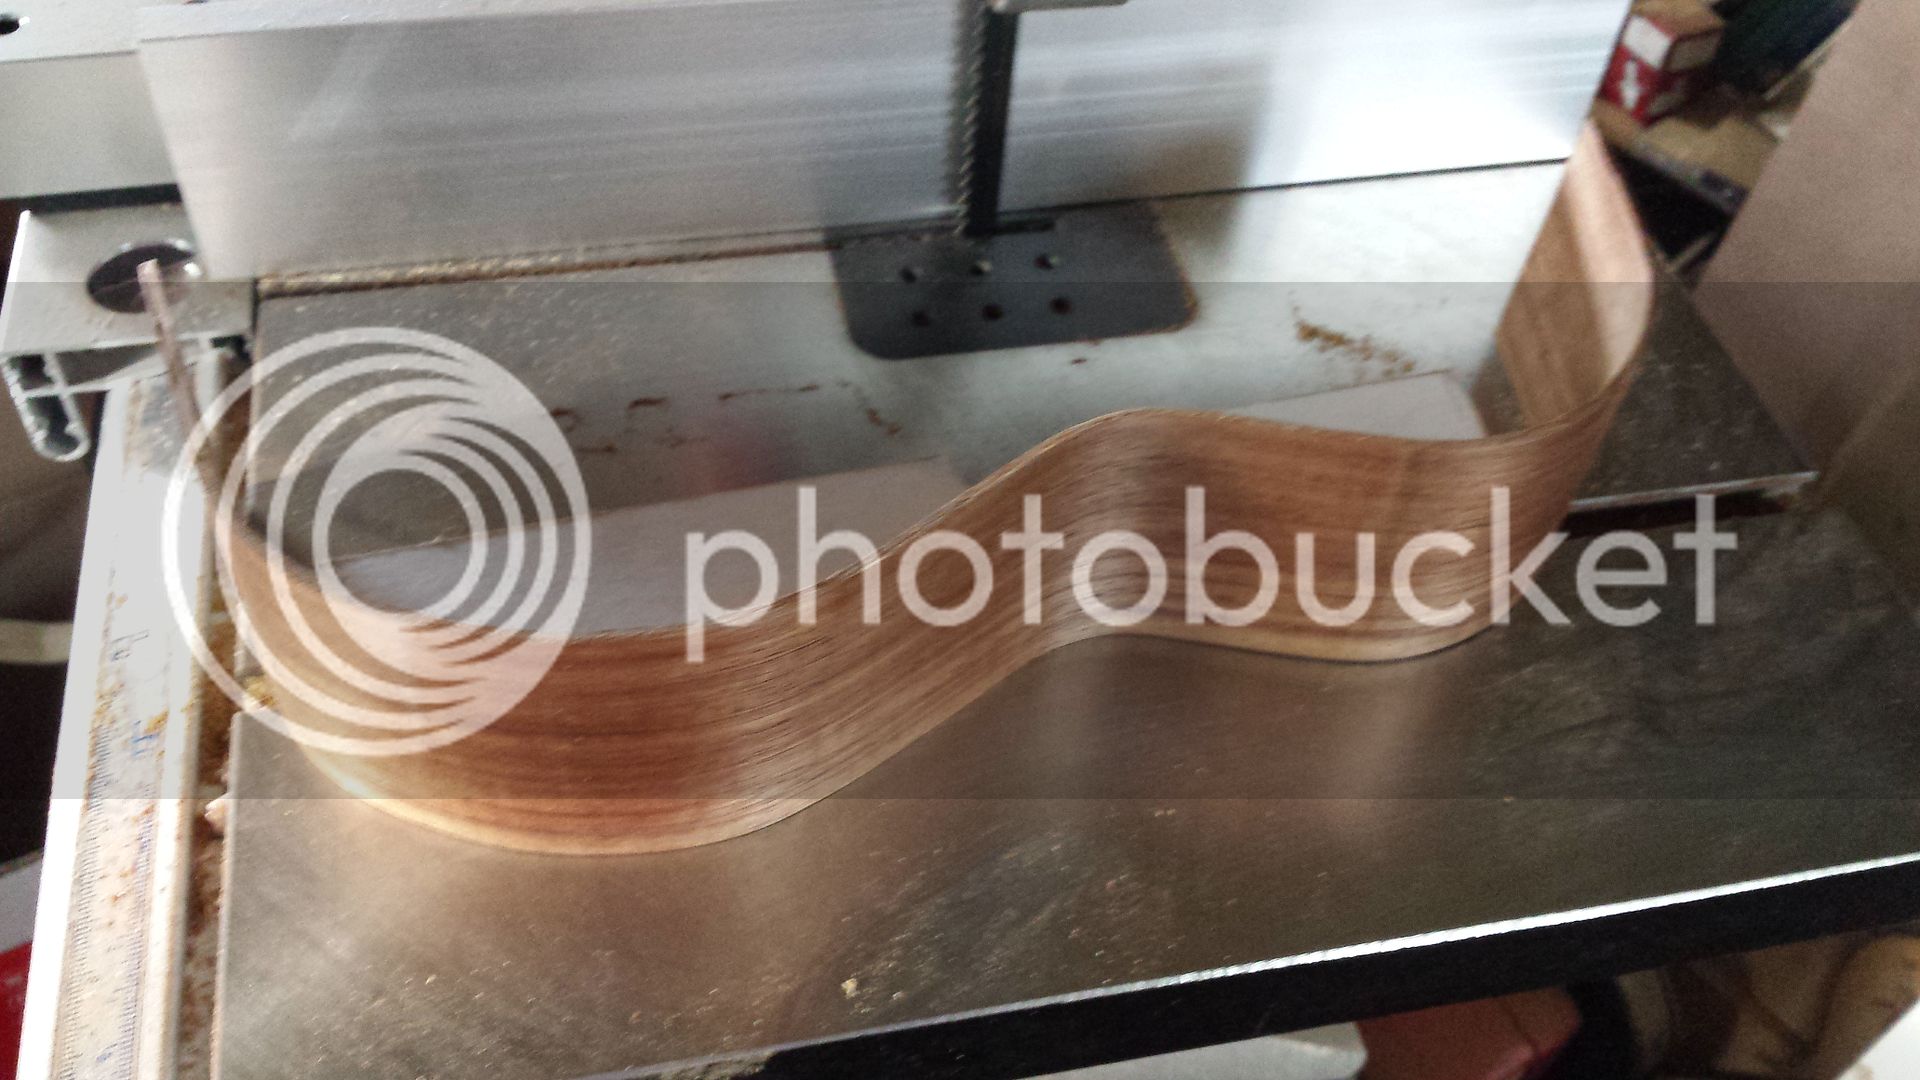
So, on to side bending. But the sides are still too thick, so some final thicknessing first (no pics of that, it's the same as thicknessing the top).
 
The scary part!

Not because bending sides is inherently difficult though. The scariness is because you never know how that piece of wood is going to behave until you try to bend it - some cooperates nicely, others might crease, fold or even break. And I've never bent Tasmanian Blackwood before.

However, it's an acacia like koa, and koa usually bends very easily, so we will hope.

Usefully the sides supplied are wider than I need, so I cut off the surplus and bend a piece of that. It needs to be hotter than koa, and requires quite a bit of steam, but then bends easily. So I approach the actual sides with a little more confidence.

One point - if you buy in a set of wood then the sides will probably be book matched - these are. If so, you need to bend them so as to match up the grain pattern on each side, otherwise it will look odd at the tail where the sides meet. And I plane the edges which will join to the top, so that I have a straight edge to judge my bending against.

Here is the main piece of bending kit, a hot pipe.

20160904_150346_zpsidnxohlm.jpg


The pipe was the outside tube of a trailer jockey wheel, and I drilled and bent tabs on it so that I could bolt it to a slab of MDF. The heat comes from a £10 heat gun which has two settings - hot and really hot. You can use a gas torch, which I did at first, but naked flames and wood shavings don't mix comfortably icon_eek.gif

A piece of damp/wet rag sits on the pipe, to provide steam which helps get the heat into the wood quickly. Some wood likes to be bent fairly dry, but this wood wants plenty of steam, so I regularly pour more water on the rag.

I start with the waist, whose position I've marked with pencil. Place the side on the pipe, keeping the planed side parallel with the MDF plate. Rock it back and forth a little with gentle pressure either side until you feel it start to give. Then persuade it into the curve you want - hint, you need your fingers close to the pipe for a steep curve, further away for a shallow curve. It's a question of feel, but if you're forcing it then you're pressing too hard. If it won't bend it's too thick - stop, thin the wood some more, and try again.

Once bent I check it against my template (or I could use the shape I drew on the inside of the top).

20160904_150403_zpsflrl8eqx.jpg


Once the waist is OK, carry on and bend the upper and lower bout.

20160904_154532_zpsxapyk3uv.jpg


If you're bending just on the pipe, carry on from here until the bend matches the template. It probably takes me 30 minutes to bend the first side, and 10 minutes to bend the second because I now have a better feel for the wood and so can go quicker.

But I have a light bulb bender I made a few years ago. It never really got hot enough with light bulbs, but I can use it to complete my bending.

20160904_170945_zps5hldinsp.jpg


The part-bent sides are gently clamped in, and heat from the heat gun is applied to the aluminium strip (recycled from a caravan). Check temperature with fingers regularly - hot enough to be painful if I press, but not enough to scorch the wood. Then I gently tighten the wing nuts, stopping if I feel any real resistance and applying more heat. Once the wood is held down to the bender, leave to cool for a couple of hours.

Et voila - bent sides!

20160904_171301_zpsfqwuyeev.jpg
 
Loving this thread, really interesting stuff. One question, to get the angle of the neck did you clamp it to the board with the spacer while the glue was still wet on the neck joint?
 
Woodmonkey":34rxcyiq said:
Loving this thread, really interesting stuff. One question, to get the angle of the neck did you clamp it to the board with the spacer while the glue was still wet on the neck joint?

No, I let the glue dry first. Getting the neck and soundboard aligned properly is crucial to it playing right, so I wouldn't risk the joint moving.

Notionally this means that the neck join is raised 0.75mm from my building board, but the top is bendy so it's nearer 0.25 mm. That's small enough to get lost in the wider inaccuracies of freehand building!

And we will, in due course see me rethink the neck angle.
 
Maybe (probably) I'm being dim, but I can't see how clamping it on an angle after you've already glued the joint will acheive anything, surely as soon as you remove it from the board it will revert to whatever angle you glued it at?
 
Woodmonkey":2pns0u1c said:
Maybe (probably) I'm being dim, but I can't see how clamping it on an angle after you've already glued the joint will acheive anything, surely as soon as you remove it from the board it will revert to whatever angle you glued it at?

No, no, nooo! Once I glue the back on it locks the geometry in place. The back is glued to the heel, so the neck can't rotate forwards.

Cunning, huh!
 
I trimmed the sides to fit, cutting them a little over-size at first and then trimming from whichever end seemed best until they fit:

20160905_143428_zpsezqntmuz.jpg


Now the sides need to be attached at the tail using a block of something appropriate - I have some mahogany here.

20160906_144913_zpssvzzat2i.jpg


If you want a perfect seam, this is the time to get that right. I haven't bothered too much as you can see, though this is pretty close.

20160906_144926_zps3kjr0qt0.jpg


This is because I will insert an end graft - a triangular piece taken from an offcut from the sides (though you could use contrasting wood, add purfling, etc) which runs at 90 degrees to the grain of the sides. I cut about half-way through the sides and chisel out the waste.

20160906_151547_zps2hwjixjz.jpg


Then I trim my graft to fit and glue it in.

20160906_175054_zpsjainsdrh.jpg


Once the glue is dry I can shave it back roughly to the level of the sides, and finish that process once the uke is built.

But, Oh Calamity! It was sticky and humid that day, and the sides have sprung back a ludicrous amount. I don't want to force them in, because that will probably distort the final shape.

20160906_183016_zps8skzhd5r.jpg


Fortunately hot hide glue stands up well to dry heat, so I'm going to attempt to restore the shape on the hot pipe. Worst case is that the tail joint releases, in which case I will just have to re-do it and probably cut a slightly larger end graft.
 
Now, I could keep you all in suspense, as I had to do on the uke forum where I started this build description. The previous post was last Tuesday, and Wednesday to Friday I was away speaking at conferences. The malformed sides hung over all of us like the Sword of Damocles.

But on Friday evening I was home and firing up the hot pipe. This time I bent dry and hot, and the sides are now back in shape and the tail block glue joint held.

Phew!
 
So over the weekend I began attaching the sides to the top.

Because the top will be bound there is no particular need to glue the edge of the sides to the top, because that join will be cut away when I cut the binding channel. However, the tail block does need to be glued, so I start there.

The sides are not quite symmetrical, so I have to spring them slightly into the shape I want. Here I'm using a clamp to pull the RH side (as we look at it, LH side when playing) of the lower bout to the right place. I don't clamp on my little blocks because they are only glued to the soundboard, which is thin, so I've nailed an additional block to the MDF as a clamping place.

20160910_141712_zps9fvbyvuw.jpg


Once I've lined up the tail block with the centre line of the top I can glue and clamp it.

20160910_141737_zpshkl53n4i.jpg


Then I work up towards the neck - lift sides slightly, a dab of glue and clamp to hold them in the right place, and then fit linings. 1.5mm plywood makes very good linings, particularly as in one direction it bends easily just under finger pressure. So I cut a strip the same height as the bindings* and glue it to sides and top. I've made clamps to hold the linings out of a stick of scrap wood and an elastic band.

20160910_144726_zpskxaszdig.jpg


*Important note: The binding channel will cut away the sides, so I need the lining to extend further than the amount I intend to cut away. I plan to install the binding so it stands about 1mm taller than the top, and the top is about 1.5mm thick. This means my linings will extend 2.5mm beyond what I'm going to cut away. I reckon that's enough, because once the binding is glued in the structural strength of the top/side join will be restored. But for safety, someone who hasn't cut a few binding channels might want to make the lining slightly taller, in case the binding channel is accidentally cut too deep (if you do that you add a purfling line under the binding to hide the mistake!).
 
Next I make sure the upper bout is in the right position - if you need to spread the sides, bamboo skewers pressing against bits of wine corks are very useful.

20160910_173344_zpsbfxeo5n6.jpg


Before glueing the upper bout to the top I need to fix the sides to the neck. This is the cunning part about Spanish Heel construction.

I cut six small spruce wedges. They don't have to be spruce, but softish wood is probably best.

20160910_172722_zpsgmwdbvum.jpg


Then I tap them into the join between neck and sides, making sure the sides are flush with the top (an occasional tap with the hammer does this). You can't get a hammer in there, so I just put the shaft of a stout screwdriver against the end of the wedge and tap on that until the wedge goes home (thus the mashed up ends of the wedges). Three per side is plenty.

20160910_173455_zpsw3fporeh.jpg


Normally I'd dribble in a little CA glue to stop the wedges moving, but because the top is so porous I dribble in some hide glue instead. The glue is to stop the wedge moving - it's the wedge which holds the sides against the neck.

And the result - a pretty good neck/side join. If I'd angled the slot a fraction more it could have been even better.

20160910_173407_zpsrbfwpa1u.jpg


You could leave the wedges with rough ends, but as I'm letting you look inside I take a couple of minutes with a chisel to trim off the excess.

20160910_174717_zpsf79alxmd.jpg


Now complete the linings and, when the glue is all dry, we can put the back on. I forgot to say that if using hide glue, once the lining is clamped in place you should warm it with your hair drier/heat gun to liquify the glue, then press the linings down with a stick.

20160910_181420_zpsrsipix49.jpg


IMPORTANT - this final stage of closing the box has to be carried out in low humidity (see previous comments about humidity and cracking).

And second thoughts - spruce is a bit soft for this purpose, whilst oak (which I tried first) is too hard. The wedges should deform as they go in, but still put pressure to hold the sides in place. I suspect mahogany is best - will make a mental note for next time.
 
Before the back goes on I need to shape the sides and glue in linings.

I like an aggressive curve to the back of a soprano. It looks good, and I also think it improves the volume and produces a fuller tone. But whether this is true or not I have no idea, though note that Martin and the Hawaiian makers all curve their backs.

To produce the curve I've created a sanding trough. A thick chunk of MDF, with a thin (6mm piece) screwed to it along the centre line, and then battens pushed under at either end. This takes on its own curve.

20160911_144540_zpsufthjgky.jpg


I use this to sand the sides so that they curve fore and aft. The heel and tail are 2 inches tall, and the sides are 2 1/4 inches. With a chisel I remove material from the middle of each bout to the neck heel or tail respectively, to avoid having to sand that away. Then I start sanding. You can clamp the uke body on its board to the bench and move the trough, or clamp the trough and move the uke. Today I did the former.

20160911_145450_zps98cmtwvq.jpg


I stop sanding when (a) I have sanded the whole of the neck heel and the tail block, and (b) the sides are sanded for their full length. If unsure, I run a pencil over the area in doubt and sand until the pencil marks are gone. We will see this used later as well.

Obviously I check that the sides are equal heights, and if not I sand until they are.

Now I glue in linings, which are a bit deeper than those I used for the top/sides join because they have to accommodate the curve. So I glue them on in sections - here are the first two bits going on. When all the linings are in place I level them to the sides.

20160911_175344_zpslcobbq7c.jpg


I was going to use offcuts from the sides for this, as they will be visible through the sound hole. But the wood was recalcitrant, and I got impatient, thus plywood again. Plywood is better structurally, because I don't get gaps in the glue joint where the profile of lining and side didn't quite match, but doesn't look quite so classy.

Some will note that the block screwed across the sound hole is still in place. At this point the body is very flexible and I don't want to crack it during sanding, so as much holding down as possible is good. Feel free to keep reminding me to remove it before glueing the back on. But the good thing with hide glue is that if I forget it's easy to remove the back and unscrew the block!
 
Back
Top