Embroidery table and drawer

UKworkshop.co.uk

Help Support UKworkshop.co.uk:

This site may earn a commission from merchant affiliate links, including eBay, Amazon, and others.
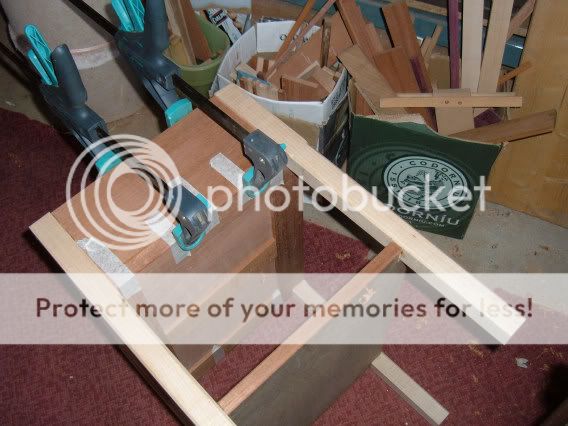
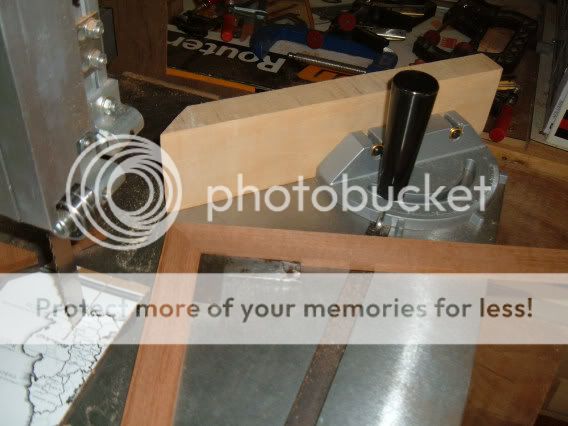
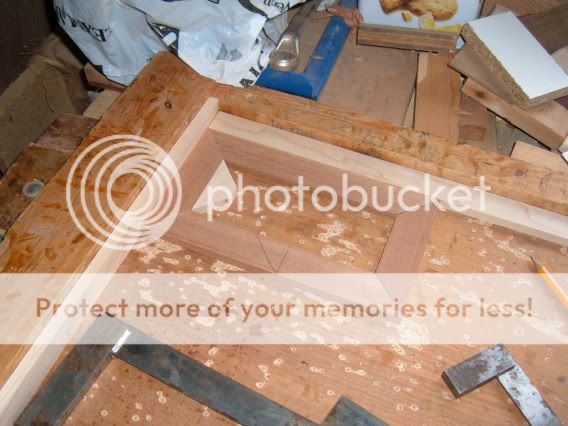
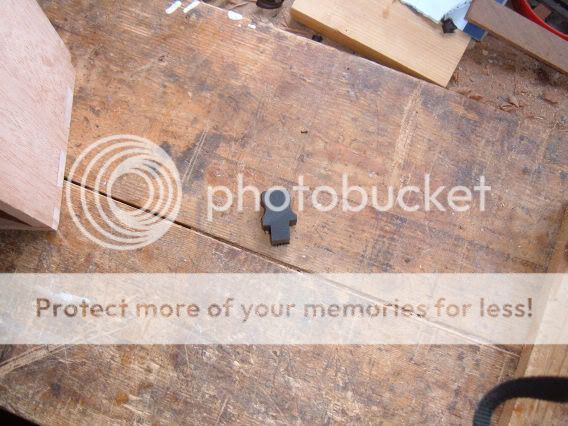
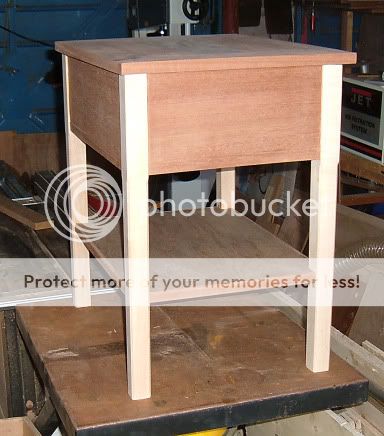
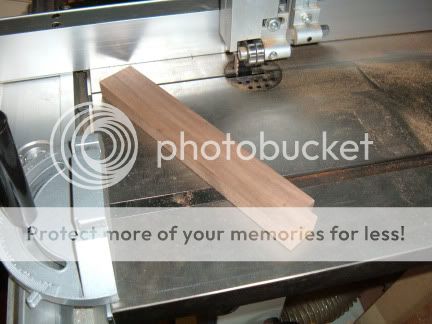
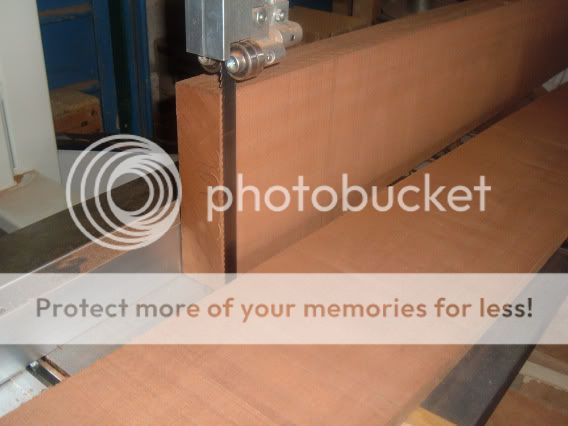
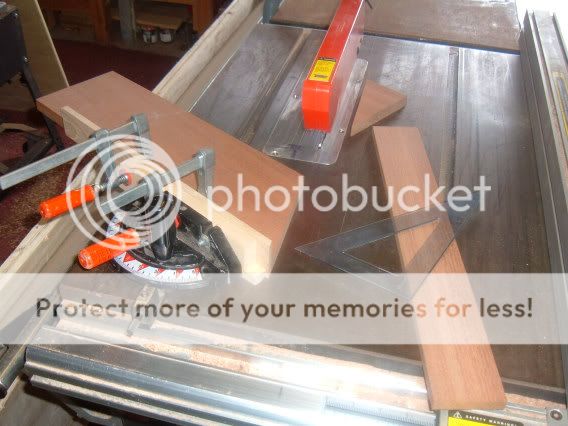
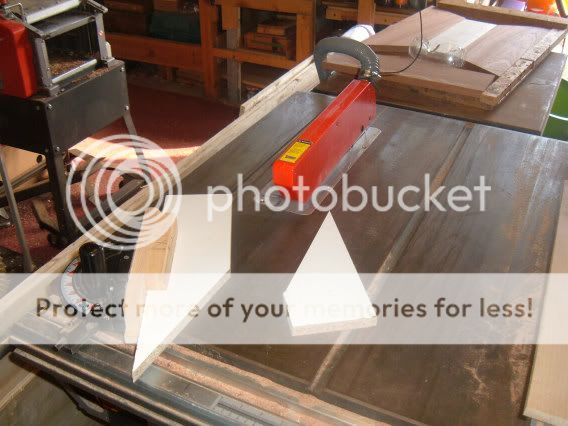
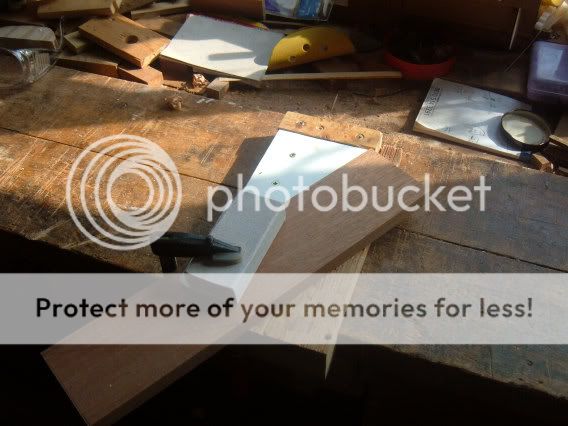
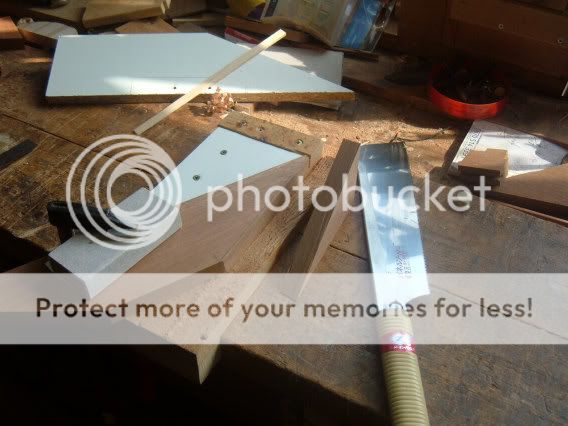
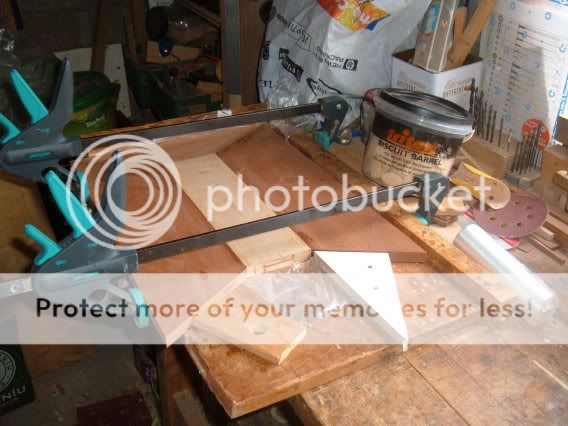
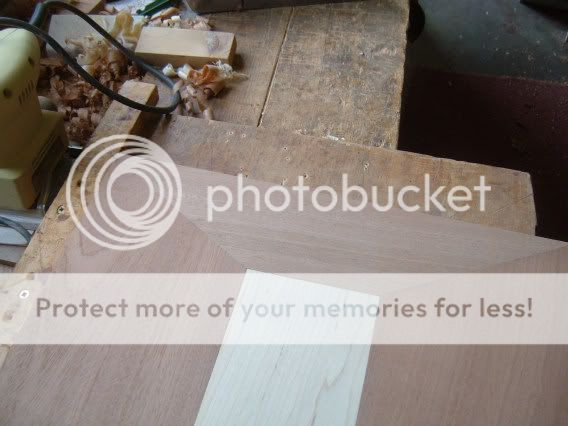
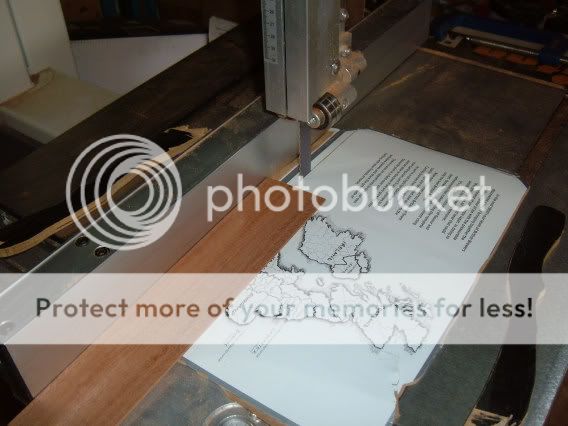
Back on the embroidery table and drawer, however I m becoming spoilt, I cut this corner out of a drawer kicker with the new bandsaw, instead of the japanese hand saw.

47w-2.jpg


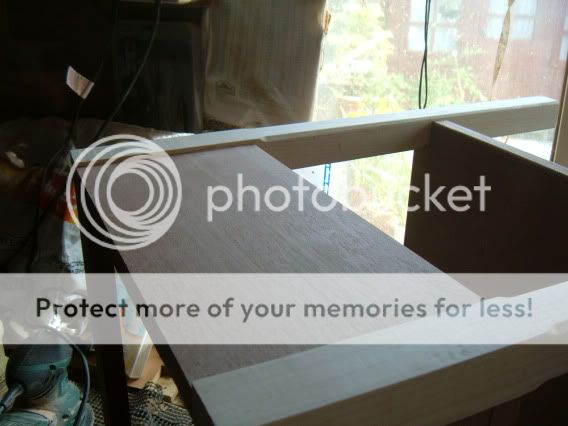
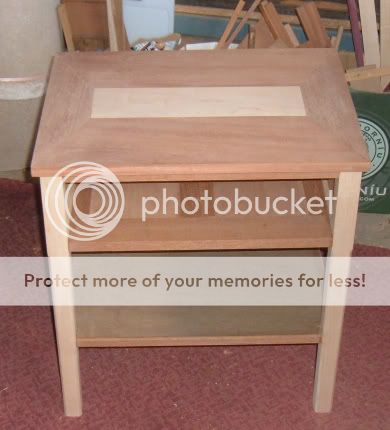
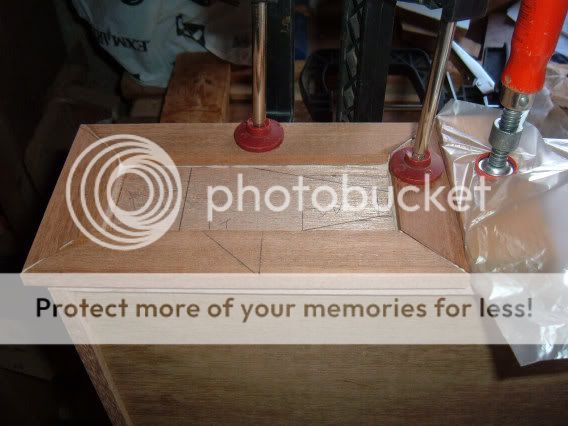
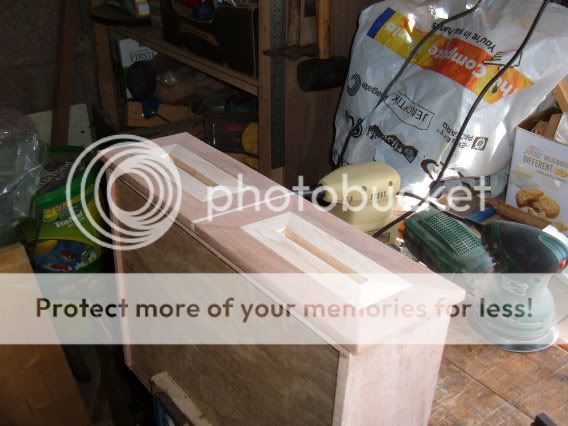
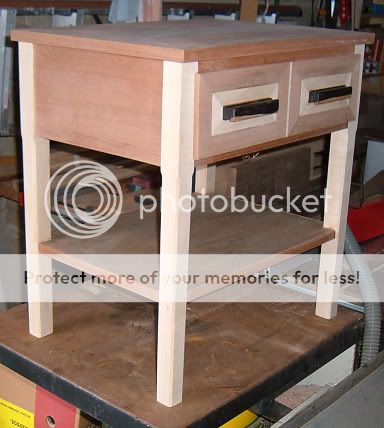
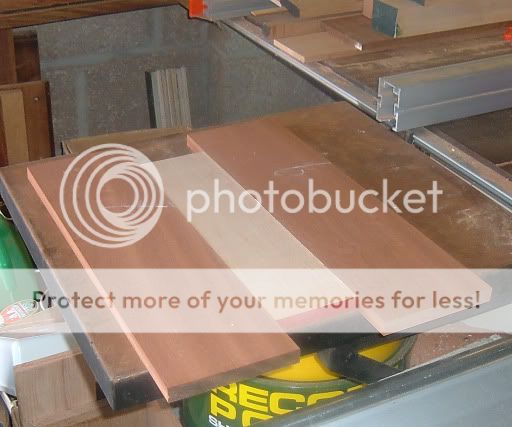
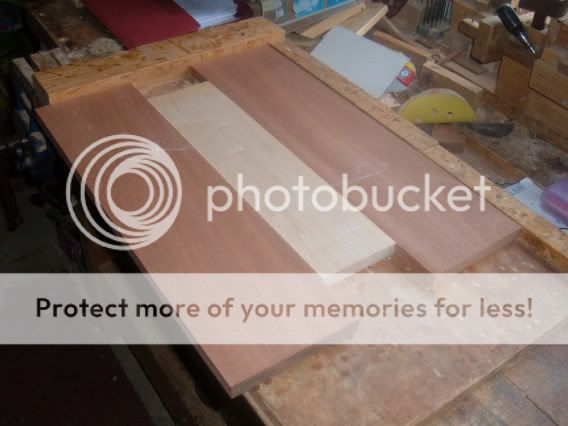
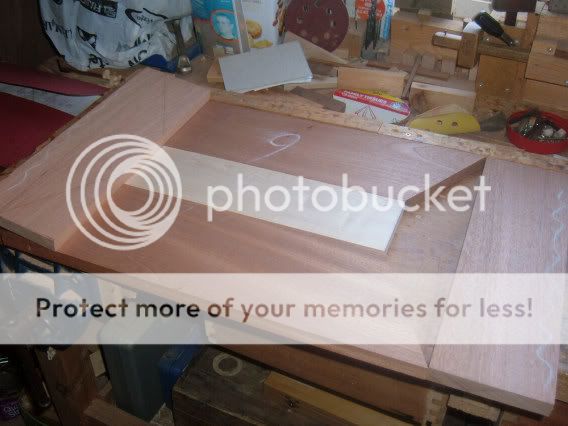
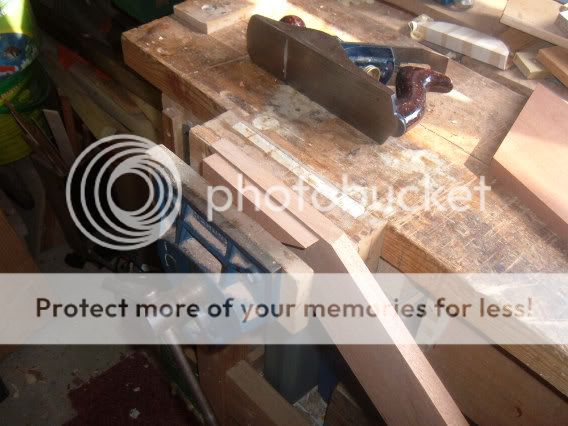
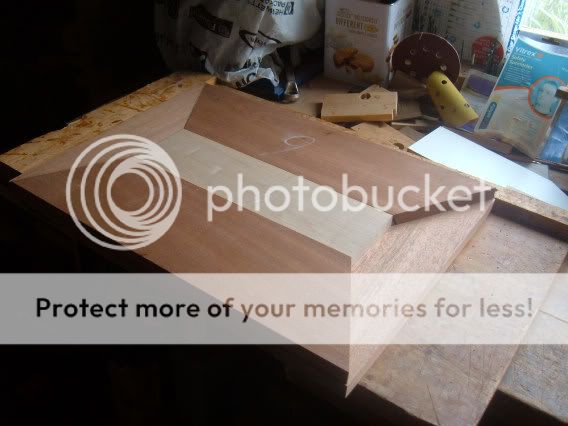
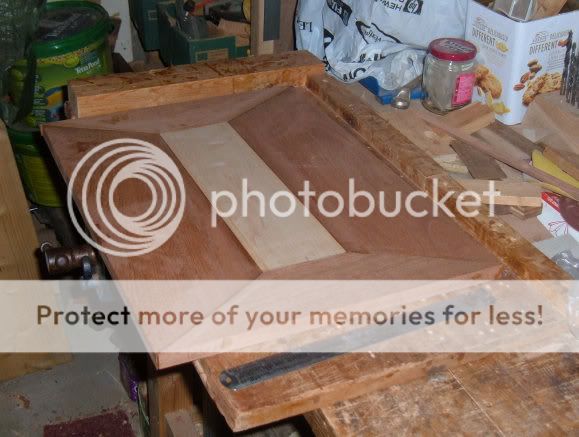
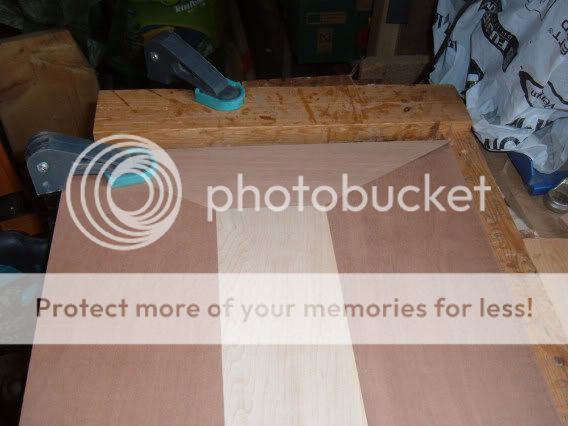
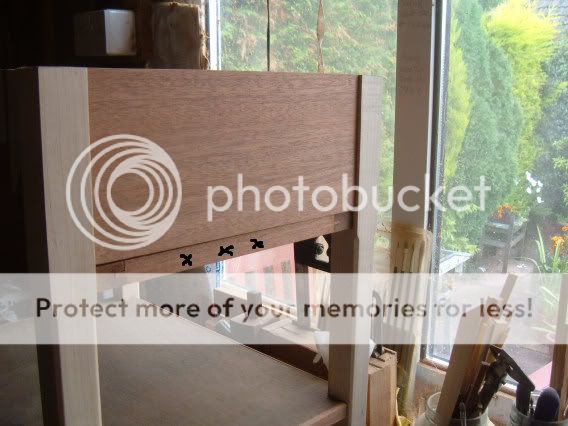
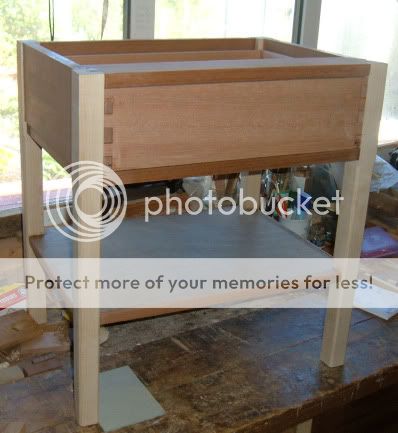
Drawer is also partly made and inserted for fit. The front face of drawer will be decorated in my usual manner.

48w-3.jpg
 
Looks like a great project, following with interest, as thinking of something similar for mum at Xmas.
Would love to know your thoughts on your new bandsaw as this is the exact one I am so tempeted to upgrade to. It would appear to offer so much for the money, in fact the only reason I haven't placed an order yet is the nagging thought that it maybe too good to be true.
When you get a spare minute could you let me know what you think.

Great WIP by the way.
Regards
Rob
 
Thanks for your comments, the best way to know of its capabilites is to pay a visit and give it a test run. My own view is that it has been built to its selling price and todate I have not faulted its performance.
 
I needed to raid the timber stock yesterday, (the bits you want always seem to be at the bottom) and it warmed me up. Some 3" thick sapele and 2" thick maple for the table top.

49w-4.jpg


The table top is to have a design using both timbers and I drew to size on some scrap ply that was the packing that came with the new bandsaw.

50w-4.jpg


Took a 21mm slab off the 8x3 sapele and I was glad that the timber was no longer (around five feet) it cut perfectly for me but the weight and having to control it past the blade was quite onerous. (I shall have to make a high fence for this sort of cut in the future, any ideas how to fix?)

51w-3.jpg


Also got a slice off the 12" maple (but I did cut a short length off first this time).

52w-1.jpg


Planed and thickness up and called it a day.
 
Getting down for me the difficult bit, a two colour table top with diagonals.

So got out my workbench top which has a square corner and must soon be in need of replacement after 7 years.

53w-1.jpg


Laid out my boards, squared them up and prepared to dimensions.

54w.jpg


Cut the first diagonal, going to work a 30 & 60 % angles.

55w-1.jpg


The sides cut but waiting for a cool spell in the day to do the cross pieces they might need some handwork!

56w-2.jpg


Received a couple of new bandsaw blades from Ian at Tuff Saws, (the supplied blade with the new bandsaw I can tell is dulling, it was hardwork pushing the last bit of timber through).

The new blade feels razor sharp, its the Super Tuff fastcut and does not need the same high tension as the carbon blade which came with the saw. Let you know the next time I get into some action.
 
Made a start on the table ends and they required a 60% angle cut, I attempted to cut on the tablesaw using a spacer but doing a test run my fingers were a bit to close to the blade and I thought "I don't need that, I will cut using handsaw and finish with a hand plane".

57w-2.jpg


Screwed the former to my saw board and also clamped down the cutting piece and cut with a Japanese saw.

58w-2.jpg


59w-2.jpg


60w-2.jpg


Fitted the ends individually and the last one I redrew the angles like this.

61w-2.jpg


And got a reasonable joint to complete the top, and ready to put in biscuits later.

62w-2.jpg
 
I set the biscuits up (Triton way) but could not get a satisfactory fit on the fifth (end piece) board. So I glued up as per picture.

63w-2.jpg


When the parts above were set I was then able to fit the final piece and it only needed a couple of strokes with the plane and bingo it went in. I will have to clean up the edges and faces.

64w-1.jpg
 
A couple of close ups of tabletop each end, this is after planing, sanding with 60 & 120 orbital sander, most probably will go to the 300's before varnishing.

65w-2.jpg


66w-2.jpg


Took the carcass and top indoors for a positioning and the lady seems satisfied.

Starting on the drawer fronts next.
 
Before doing those drawer fronts I did a bit of tidying up, its very warm here again today and tomorrow.

So the drawer rail and base need to be smartened at the area marked with crosses.

67w-2.jpg


So I took a slice of around 1.5mm of a short board and then cut two thin slats on my new bandsaw but to avoid a rubbish finish I covered the table throat with a bit of heavy card and got a nice clean cut.

68w-1.jpg


Then did my thing at both ends. :)

69w-1.jpg


Perhaps today I will complete the drawers, although the forecast is hotter.
 
Just a small progress report today, (it was too warm yesterday) I put on those cover strips to the drawer assembly carcass rails and they have gone on nicely.
(see photograph previous post for part mentioned (with crosses)

70w-1.jpg


Status now reached. Drawers to be completed and top to be fitted.

71w-2.jpg
 
Started on the drawer and made it mainly an evening job.

Never in the past have I wanted to do mitred corners on a bandsaw but I thought I would try it this time, and it worked.(even the mitre gauge is accurate and goes to 60%.) Made my self a high fence from an offcut of lime scrap given me some years ago and voila!

72w-1.jpg


Then cut the contrast colour, maple, and I was reasonably happy cutting that small piece on the BS. I do have to use the sanding machine disk to get a good fit.

73w-1.jpg


Commenced gluing the pieces to the drawer front at left hand side.

74w-1.jpg


And finished off the evening putting the maple pieces in, the last small white piece needed tapping in with a hammer, nice and tight it was.

75w-1.jpg


Got in mind some two colour exotic to complete the handle portion, AB are its initials, do you know what that is?
 
Here we come to the final stage of the embroidery table for my wife and pictured below is her latest project, a crossstitch reaching the halfway mark.

84w-1.jpg


The wood chosen for the handles is African Blackwood, its black and has a colour variation to cream.


76w-1.jpg


I machined on the router table to this profile.

78w-1.jpg


It works with hand planes and machinery very nicely and is imo a good and cheaper substitute for ebony.

79w-1.jpg


The drawer fronts were sanded down to 120 grit.

77w-1.jpg


and then handles glued and screwed as per picture and displayed below.

81w-1.jpg


Rear view of table

82w-1.jpg


The table will most probably be fitted with casters, it is quite heavy. I intend to now bring the furniture indoors for a month before fixing the table top and then put on a finish of varnish.

I hope you have found visiting this thread interesting, it was a pleasure for me making and posting to keep up my momentum to the finish.
 
Back
Top