Embroidery table and drawer

UKworkshop.co.uk

Help Support UKworkshop.co.uk:

This site may earn a commission from merchant affiliate links, including eBay, Amazon, and others.

devonwoody

Established Member
Joined
11 Apr 2004
Messages
13,493
Reaction score
25
Location
Paignton Devon
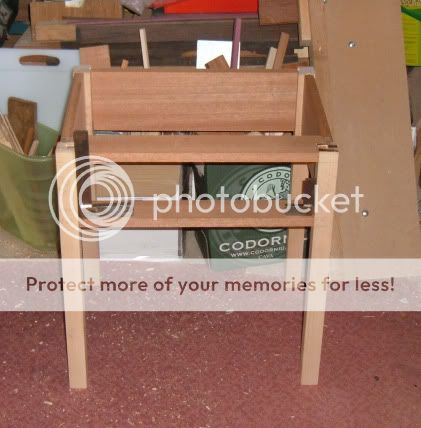
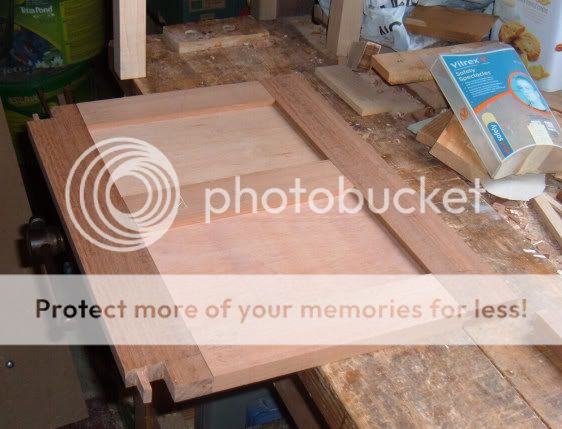
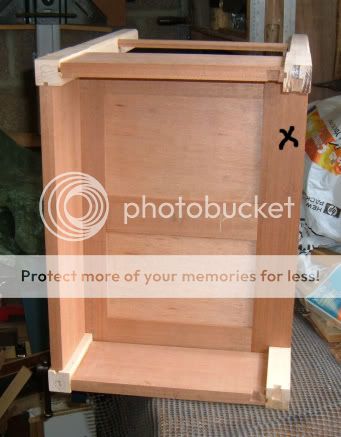
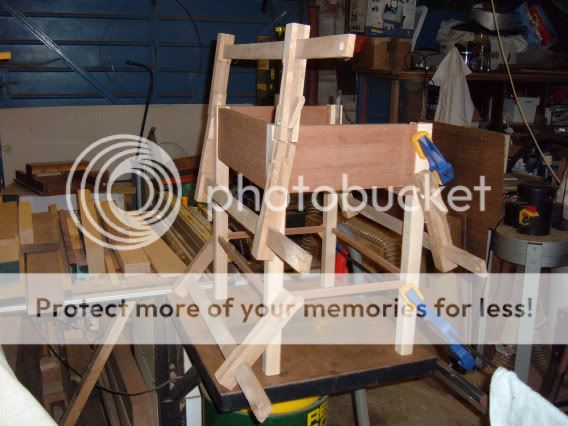
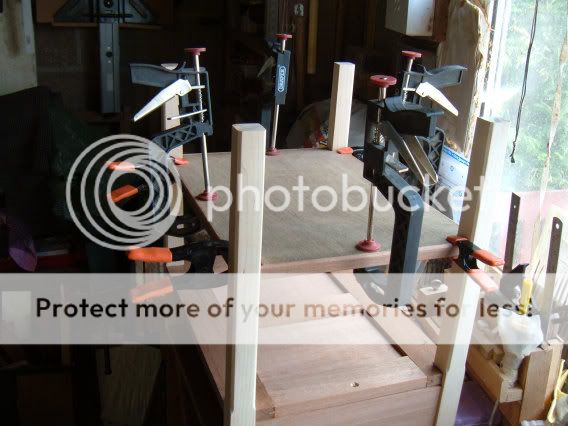
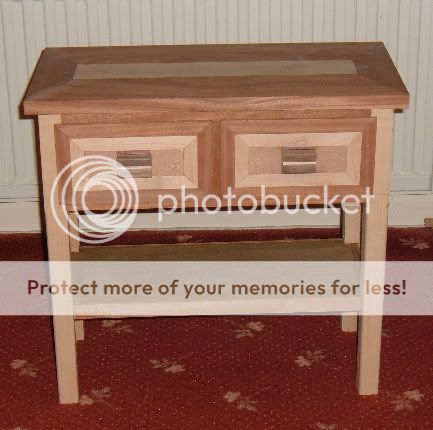
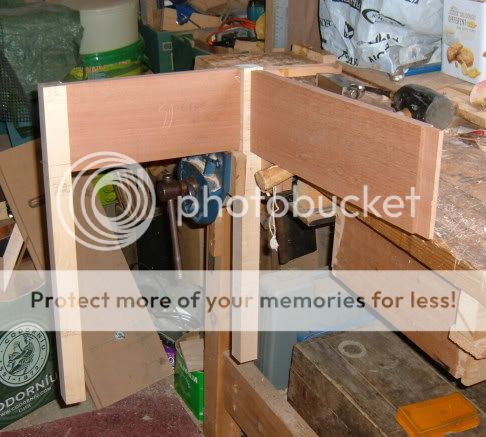
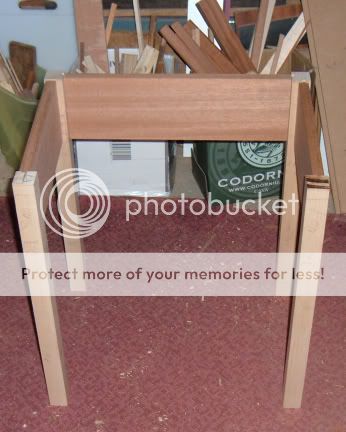
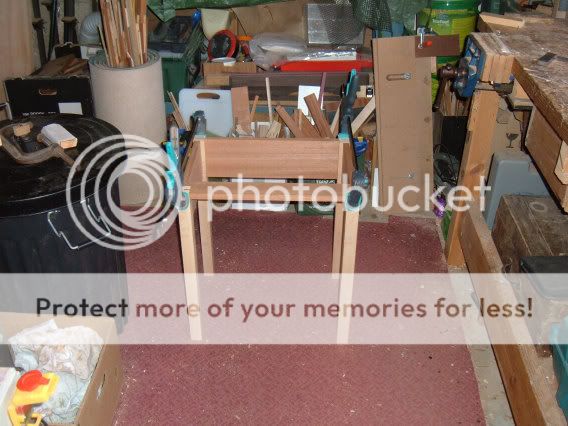
I made this table around two years ago for the wife to store her laptop and tools, it has been a success and the family have all liked it. So another similar table is now under construction for embroidery use and a further table at a later date hopefully so that all our children get one without favour at a later date.

99w.jpg


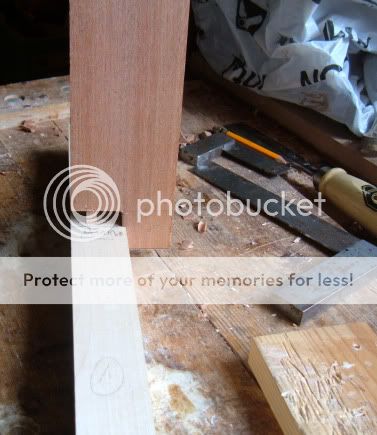
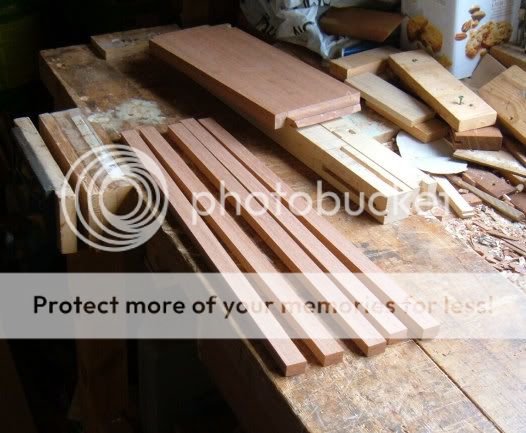
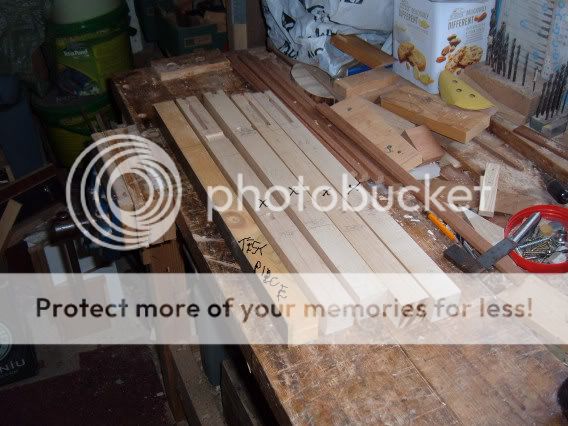
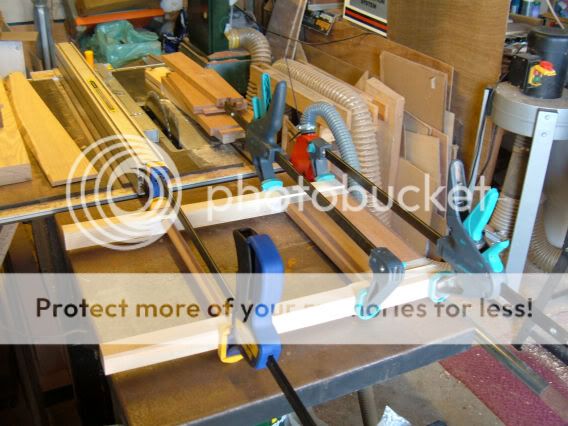
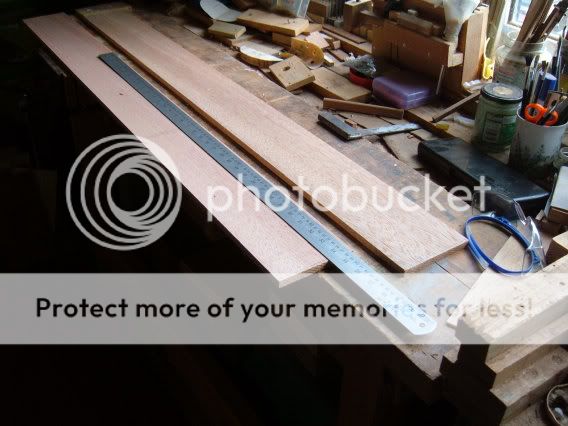
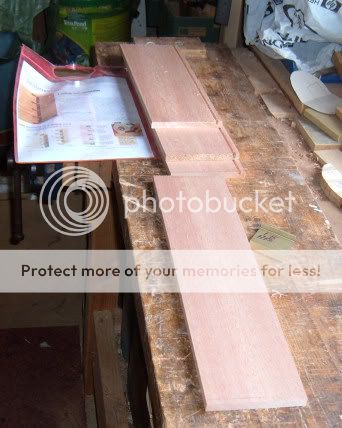
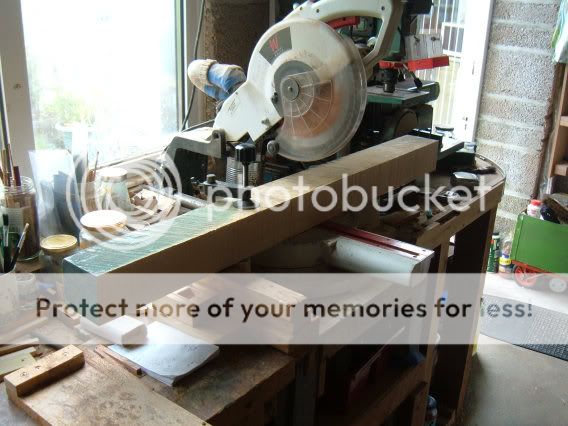
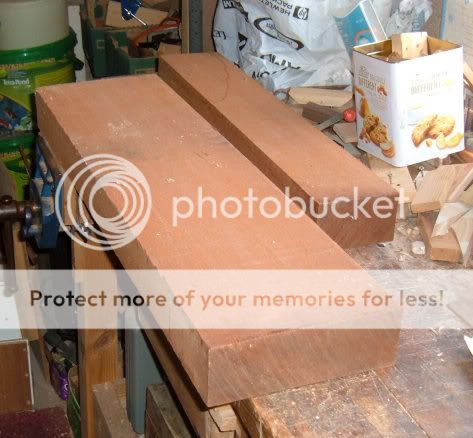
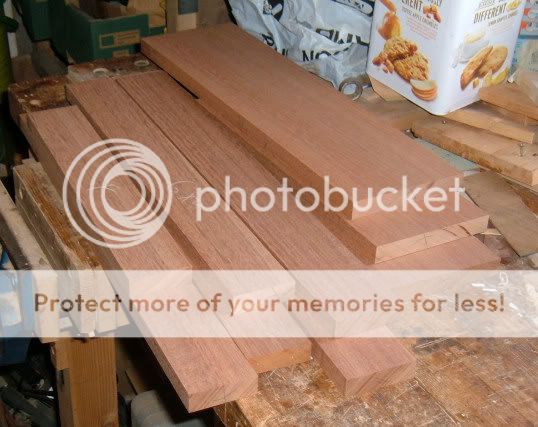
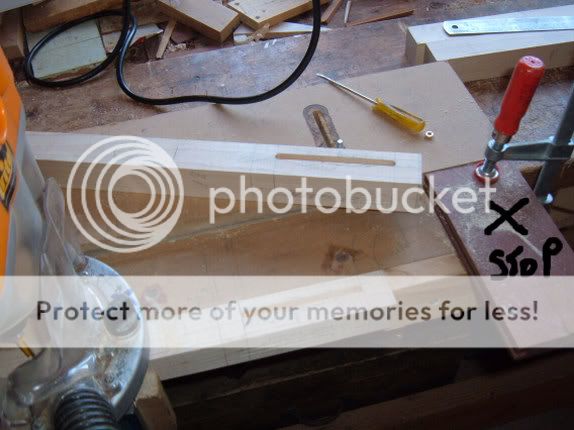
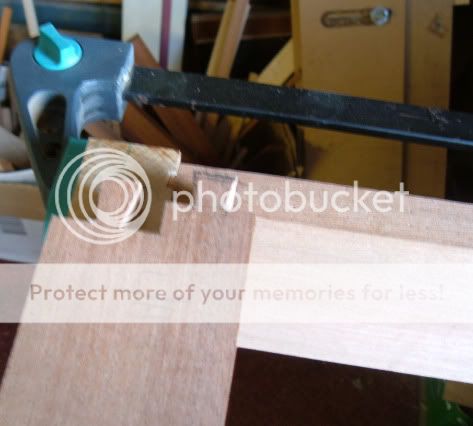
So got out a piece of maple for the legs and ripped off a length which is just right for two sets of legs. Put to my Mitre saw and chopped down 80mm which was just about the maximum capacity of this saw of mine.

1w-26.jpg


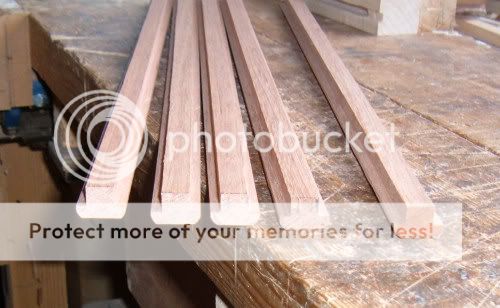
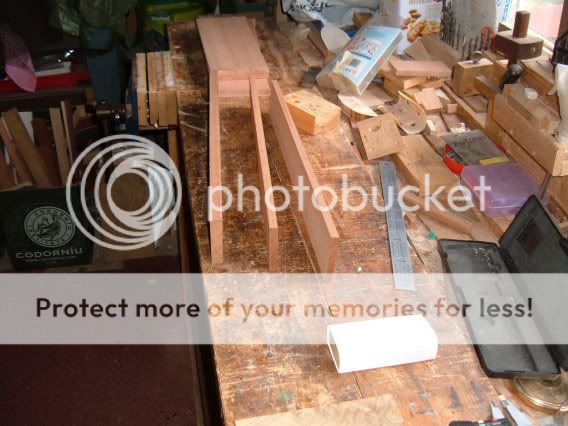
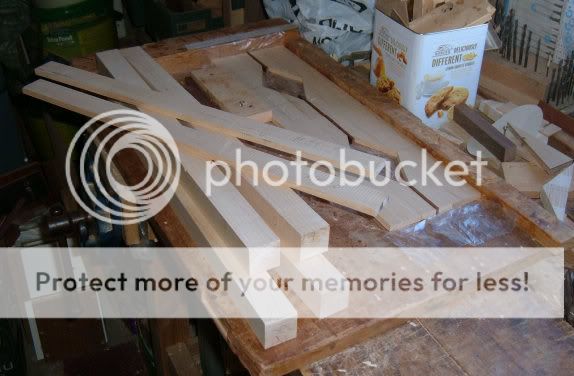
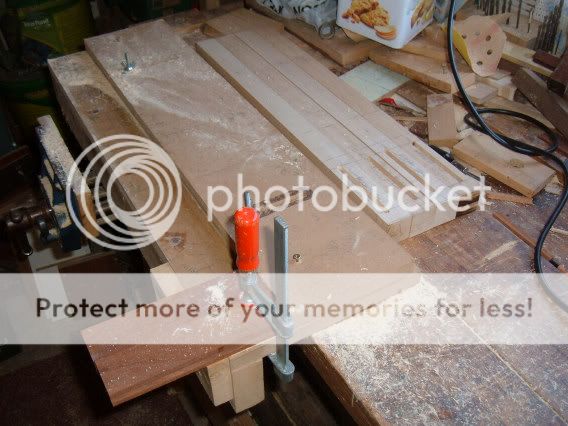
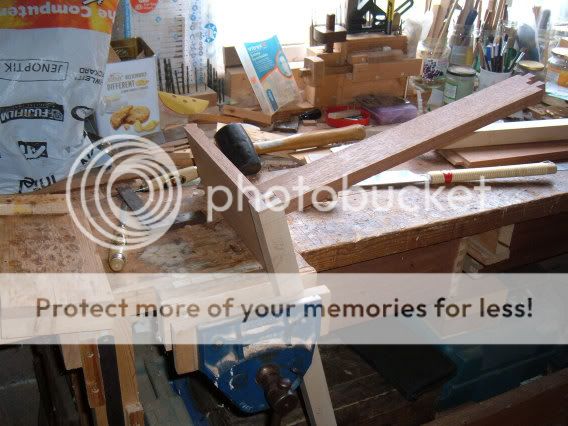
Then finished the session with four legs and just that bit of waste left which means another TB is on the cards.

2w-23.jpg
 
It took me five hours yesterday to prepare those lumps using machinery, what would it take with hand tools I wonder?

4w-23.jpg


A bottom shelf and drawers also have got to be prepared.
 
Its 7.30 Sunday morning and the wife is out picking runner beans in the garden and I am itching to get out to the W/S but the locality I don't think would like to hear my machines running at this hour.

Yesterday I got out my mortise jig which has been buried for around 2 years unused.

There are six mortises at top of legs needed, plus another two for bottom drawer rail and a couple of dovetail joints for top drawer rail.


The mortise jig.

5wjig.jpg


The leg set in position with a stop mark drawn on a leg for lowest mortise position for router.

6w-17.jpg


A stop clamped at top end and a couple of mortises cut out.

7w-18.jpg


Six mortises cut in no time but plenty of sawdust around.

8w-18.jpg


The afternoon was spent marking up the tenons but decided not to cut because workshop was too warm and I might have lack of concentration. 30c !!!!!!!

9w-17.jpg
 
Got started on those six large tenons, I used my sled on the tablesaw, cut accurate shoulders using stops and then wore the waste timber off by passing over saw blade.

10w-18.jpg


The tenons fitted easily without the use of a shoulder plane again.

11w-14.jpg


Apart from this tenon when I forgot to arrange the haunch, however I turned the timber around and glued on a portion.

12w-13.jpg


And finished later in the day with the four legs and top tenon joints in position OK.

13w-10.jpg
 
Got back into the W/S this afternoon for 90 minutes and marked up and cut two of these joints only.
(Haven't done many of these in my lifetime) For the top rail of a drawer unit.

14w-10.jpg


They are going to fit the front legs and side boards like this.

15w-12.jpg
 
Project being delayed, the wife wants a new bathroom suite, she doesnt like Pampas Green which I think is a lovely colour, or was.

So going window shopping this morning.

I might have to suggest she removes 10 square mtrs. of tiling. :mrgreen:
 
Managed to get an hour on the table yesterday afternoon, the new bathroom is an eyeopener. First quote over £4k, so spent a couple more days sourcing and got a trade price out of a few outlets and equipment came to £1500.

Anyway I got the top drawer rail dry fitted and everything is square still.

16w-11.jpg


Excuse the mess, but I have got a carpet!

17w-11.jpg


The mortises for the bottom drawer rail have also been done.
 
That double dove tail looks tricky, so glad I dont venture past glue and screws :)

I hate doing bathrooms, yuk. They do look nice when finished, 1.5k sounds about right for a complete self installed bathroom refit - its amazing how much the tiles and plumbing fittings add up to.

Somebody I used to work with had dolphin or moben (?) refit their bathroom, for what it cost (over 10k) I wouldnt of been happy at all - there was a fair bit of work that had to be redone as well where the installers had tried to cut corners (so to speak :D ).
 
Took a break from bathroom designing, trying to get a quart into a pint pot problem.

So cut the tenons for the lower drawer rail as per picture.

18w-9.jpg


It fits like this.

19w-10.jpg


Couldn't resist another dry run.

20w-9.jpg


So took the rails out and then paneled the lower drawer frame with the cross supports and a back rail added.

21w-8.jpg


22w-5.jpg


It's now going to need eight M/T's for the lower fitted shelf. So I should sleep well again tonight.
 
Did some gardening for an hour then got back to the table.

The table is to have a lower shelf therefore a rail is needed to the four sides plus a centre internal rail.

Found just the right piece of waste timber from the original log and machined these five rails.

23w-6.jpg


Last Autumn I purchased this piece of state of the art equipment, (it might be pre 1940?) and after studying the manual I was not confident in making up the beads and dadoes I wanted .

24w-6.jpg


So I switched to the router and table and produced these pieces.

25w-5.jpg


In the meantime I had cut eight mortises lower down the legs, marked with crosses, also did a test run on some scrap to produce taper legs.

26w-5.jpg


The legs were tapered using a jig which was supplied with my tablesaw (a freebie), to set the angle I put a long straight edge alongside the blade and drew a line down a leg piece to see what the outcome would be. When satisfied I did a run on a scrap piece, I'm glad I did, one of those jig nuts came loose and I got a nasty result.
Set it up again on another side and the test was OK and got 8 inside tapers to those four legs.

27w-5.jpg


BTW, when I started this piece of furniture I cleared the bench well and this is what I had to clear out yesterday since the start of work. I mention this because some do not like a bench well and like a flat top. Me I like the well.

28w-5.jpg
 
Did not post yesterday, crisis in garden, five of our pond fish left this pleasant land, so I had to drain pond and refill with fresh water etc.etc.

However I have made a start on gluing the side frames, firstly I taped up the joint areas to stop glue running all over the place. Titebond glue is good but it is very runny and hot weather effects it even more imo.

The first side.

29w-4.jpg


Clamped up using the tablesaw extension to store. You can all see how tidy I am.

30w-5.jpg


The second side was glued later that day but I have hit a calamity.
The tenon I cut earlier which I omitted the haunch and reversed the joint and recut has dropped down its mortise whilst the glue was setting. The frame is still square but the drawer rails will not be in alignment at the next stage.

So I have had a 24 hour break cleaning the pond and pondering what to do to correct situation.

I could cut off the side panel and make domino type tenons or I might adjust the side panel and do a little trickery. I don't want to make a new side.
 
Resorted to trickery. Although that does create more problems. It reminds me of my grandmother telling me "if I tell a lie it will mean having to tell more lies further down the road". It seems she new what she was talking about and I have endeavoured to follow that advice over many years.

Here is a close up of the problem joint which has slipped down the mortise.

31w-4.jpg


My lie was to get round the error using a Japanese saw and cutting off that 3mm.

32w-4.jpg


The cross on the next picture indicates the rail in question having a trial dry run and I think it will come out alright although at a later date the top drawer rail dovetail joints will need that further lie.

33w-3.jpg


Here is my glue up omitting the top rail for now. You might note the wooden clamps which are OK for holding a joint whilst glue sets but do not have the power to pull a joint tightly, that I do with the metal clamps and then put on the wooden holders.


34w-3.jpg
 
Put in the drawer platform glued the outer frames but the ply inserts are free. Also the back rail of the platform together with the sides are screwed to the carcass. The screw pilot holes are over sized to allow some movement.

35w-3.jpg


The carcass is basically complete apart from the lower shelf which will have a ply boarding fitted at a later date.

36w-3.jpg
 
Fitted the shelf and constructed on what I call a core box system. Hopefully stops any sagging of platform in the years to come.

38w-4.jpg


39w-4.jpg


Got a new bandsaw coming shortly so not pulling another board out yet, saving it for later in the week. Its the Axminster AWHBS 450N.

Might keep the old Record bandsaw with a small blade installed to avoid having to keep changing blades during a project, if it doesnt sell.
 
Could not resist cutting another board on the old bandsaw before it redundancy.

I prepared this length of so called African mahogany but I like to use a long length steel ruler for marking up rather than those tapes, (the end clip always lets you down in the end?)


The piece is for the single drawer.


41w-2.jpg


I routed a dado on three of the pieces and cut the back depth short to accommodate base piece. I also got out an instruction pamplet on how to prepare dovetails, its my memory failing.

43w-2.jpg


I then used the bandsaw again, I got three pieces 10mm thickness out of a 40mm pieces and finished with them prepared, this will be used to decorate the front drawer as per previous table constructed.

42w-2.jpg
 
Back
Top