Dodge
Established Member
Ok for those of you who read the thread I started in general chat under "what a waste of a day" I am actually going to do a proper work in progress for the dresser I have just commenced making.
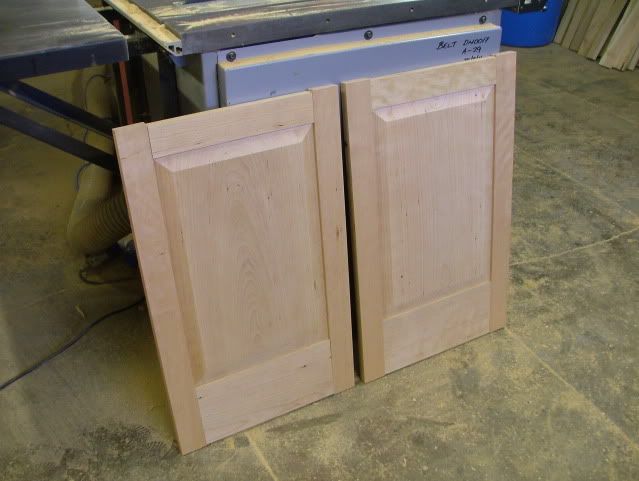
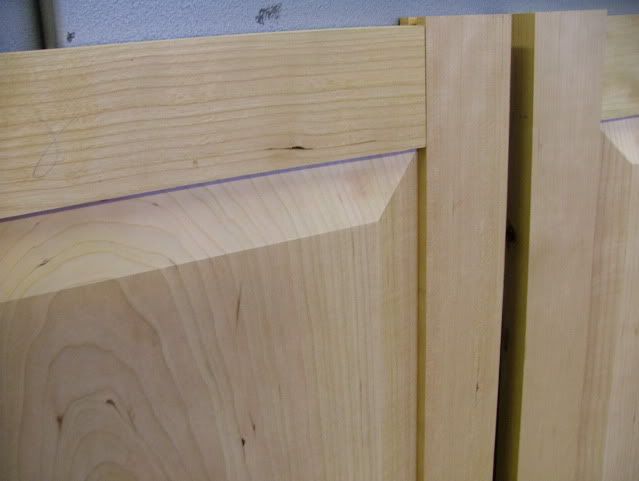
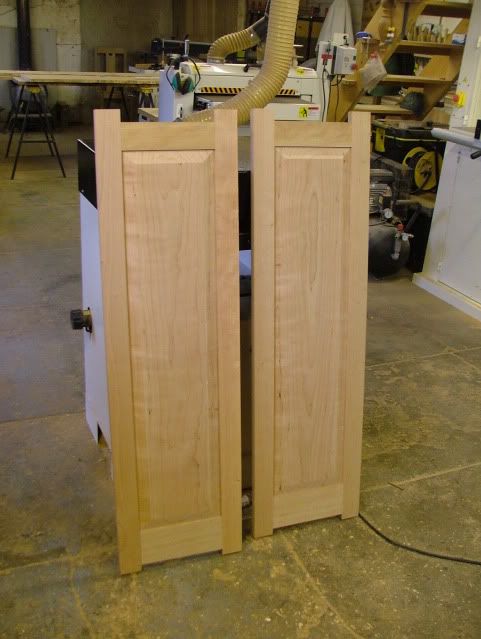
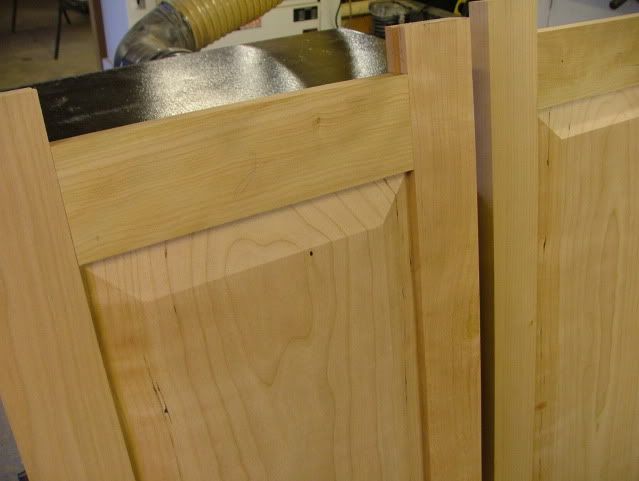
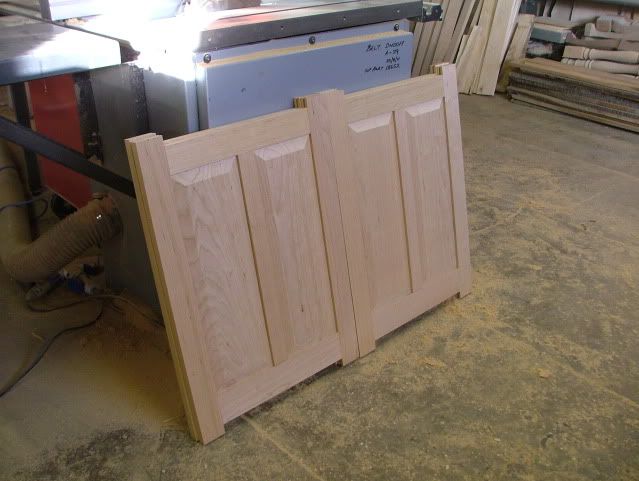
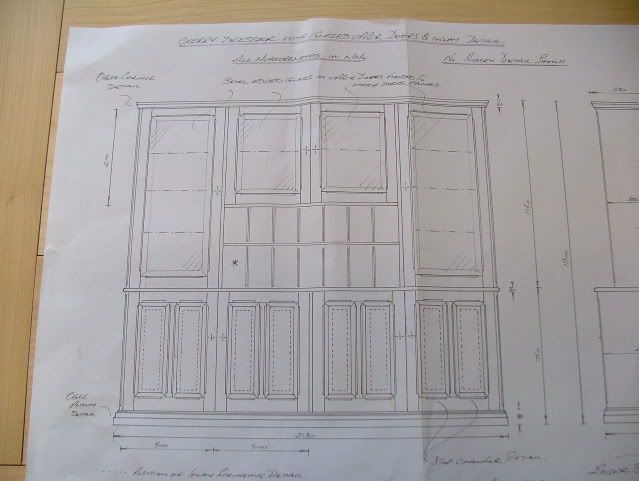
The dresser to be made is quite traditional and is for a client I have made many pieces of cherry furniture in the past - basically the lower section will have four full height doors with raised and fielded panels maximising the storage whilst the upper section will have four glazed doors for display of ornaments etc on glass shelves. The middle two upper doors will be slightly set back giving an inset break front appearance. The panels in the lower doors will have some inlay stringing inlaid again to match the other pieces previously made.
I had previously organised the cherry for this job and brought this from my store where it had been aclimatising ready for use and the wane edge boards looked just the job!
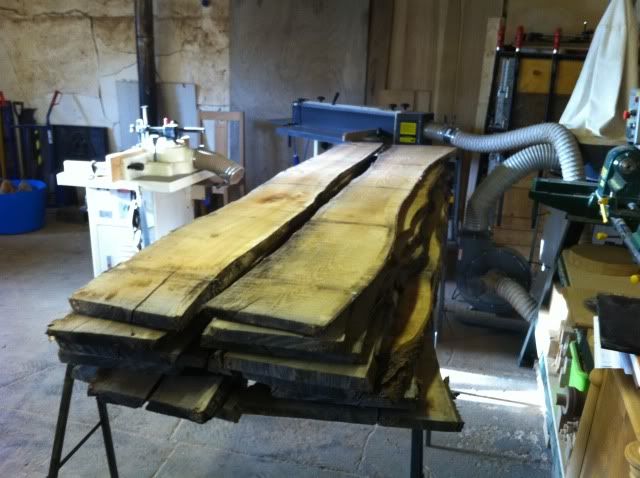
Unfortunately as you may have read in my other thread on starting to prep the timber found that it was riddled with worm, there was no outward sign whatsoever with no flight holes so after a call to the local supplier the offending timber was duly returned.
As I have a committed delivery timescale had a bit of a panic and after making a few calls was lucky to find that a fellow cabinet maker colleague had about 10 cubic feet of cherry in his workshop left over from a previous commission, and as this was in his workshop was ready to use.
Luckily having my new van I was able to head off and collect it, even if the 12' long boards had to hang out of the back a little bit :lol:
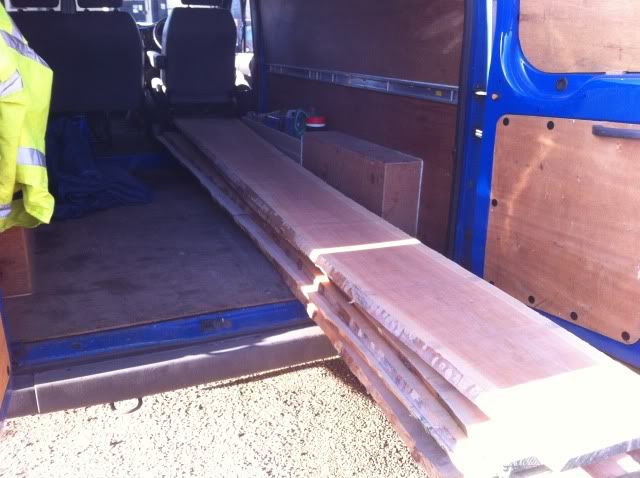
In some ways the problem with the first timber was a bit of a godsend as the replacement timber, albeit dearer is truly superb with the majority of the 12' long boards being approx 400mm wide completely defect free and as flat as the preverbial pancake!
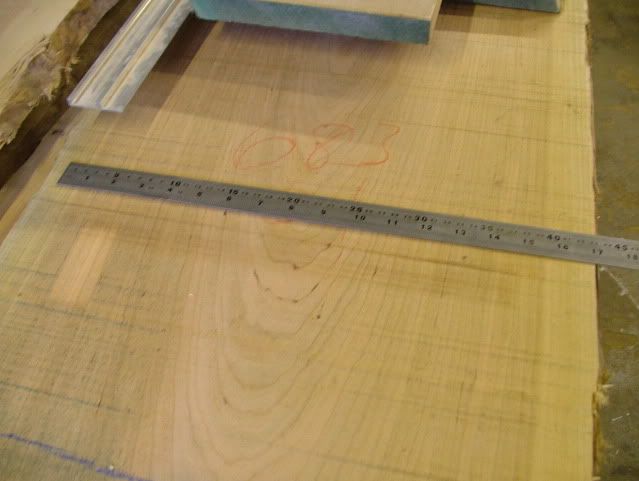
I started by preparing the timber for the top of the base unit from the best board and to make up the appropriate width a strip was biscuit jointed onto the back of a large wide section
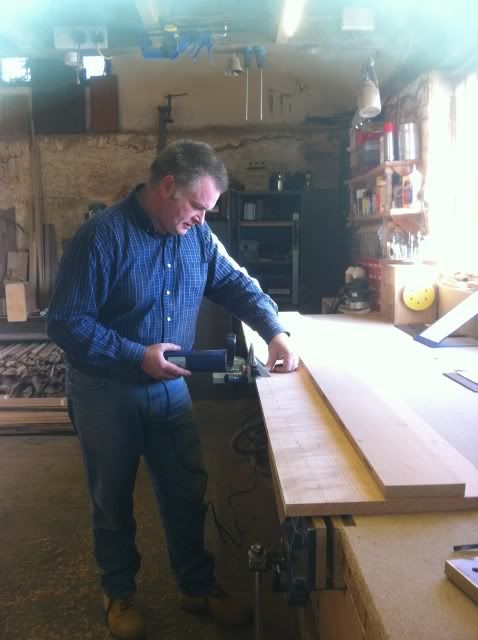
The board was duly cramped up and left and once the glue had dried, passed through the panel sander to flat the surface leaving it ready for final finishing in due course
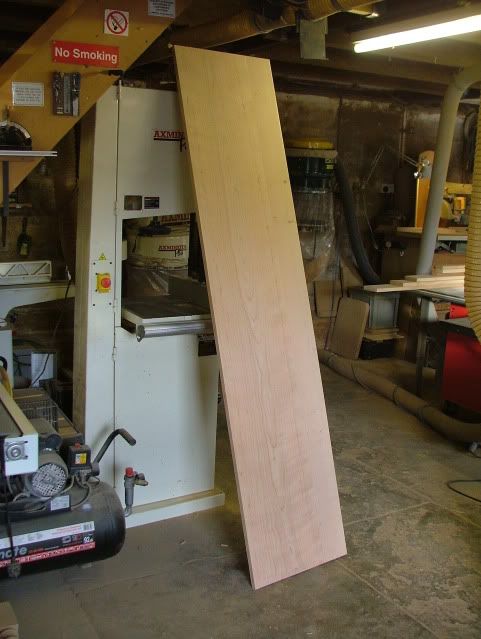
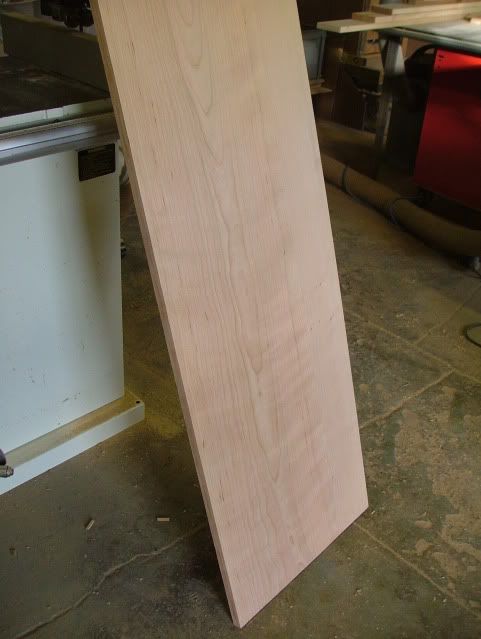
In choosing the timber for the top surface the cherry has a nice ripple in the grain and I think this will show up very nicely when the timber is polished
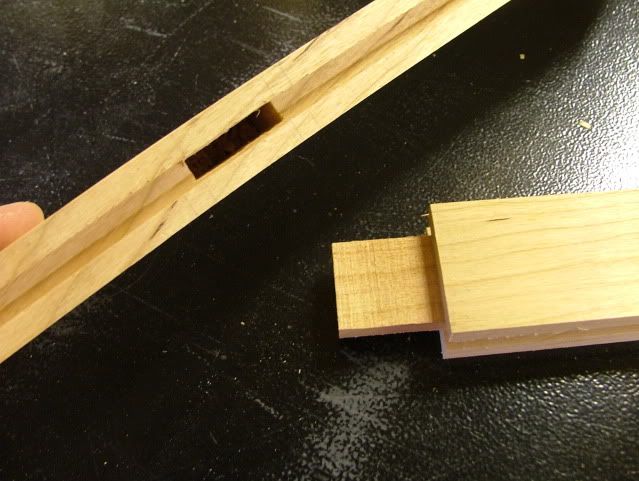
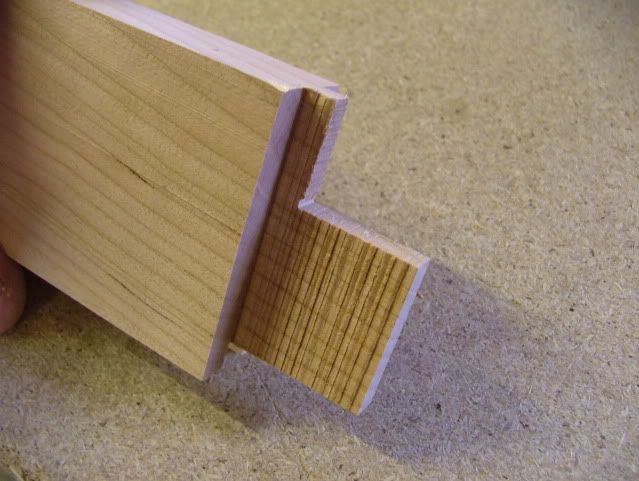
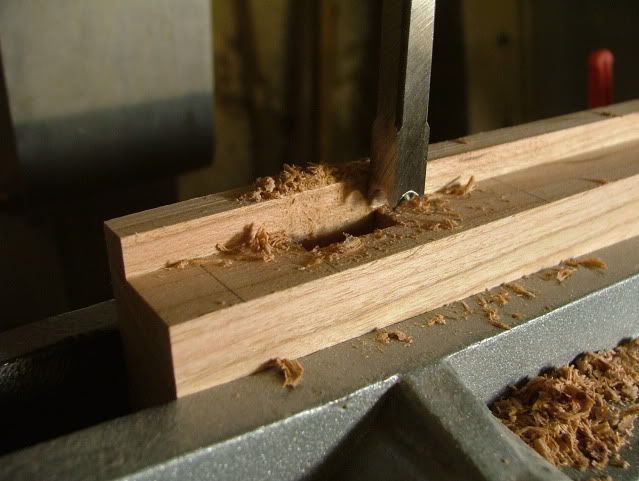
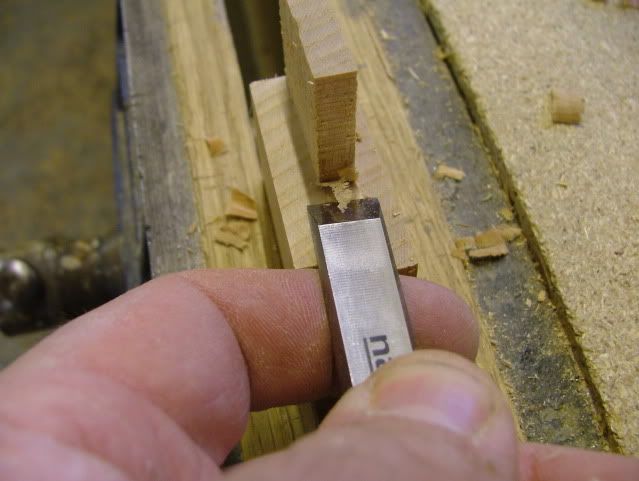
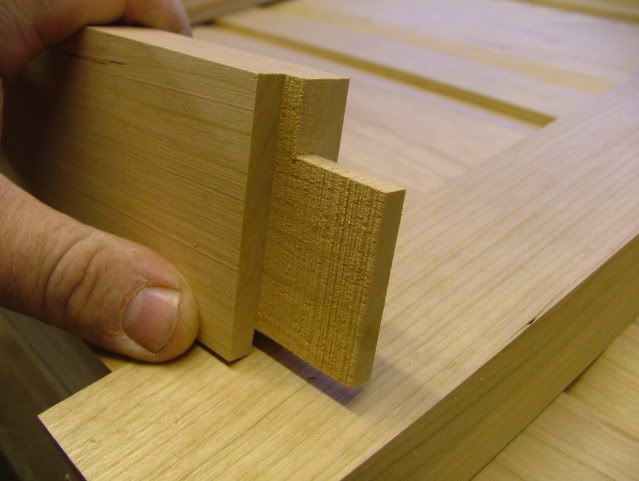
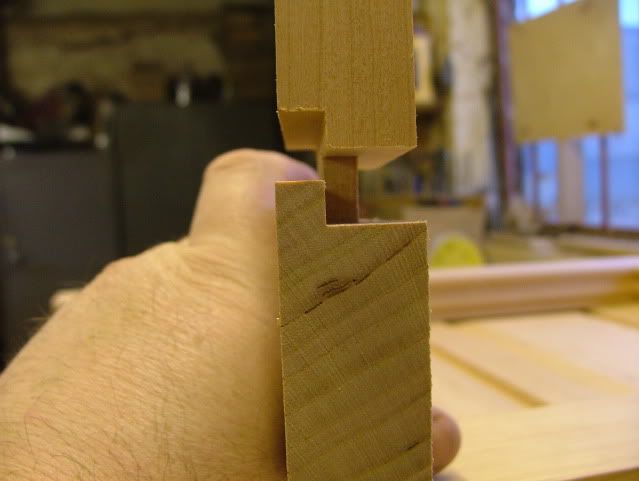
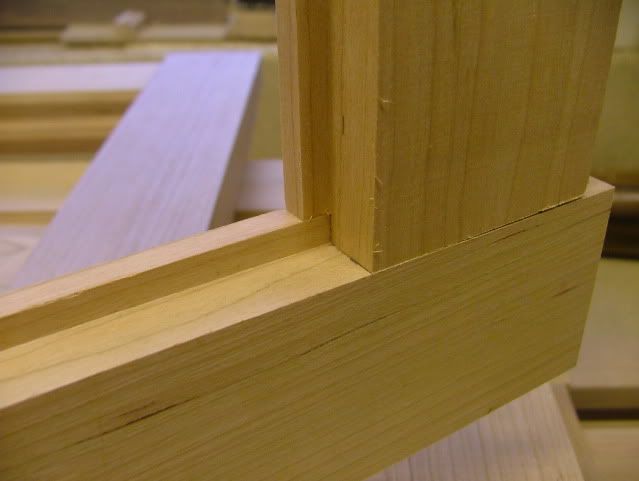
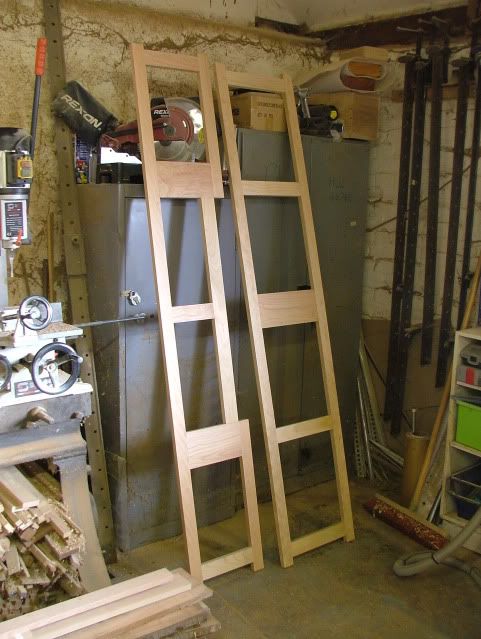
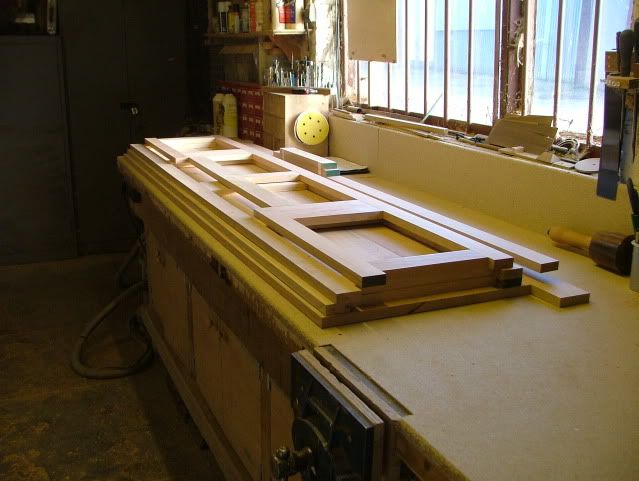
I then carried on making the frames which will form the upper and lower carcase frames, these were duly morticed and tenoned - no dominotrickery here!
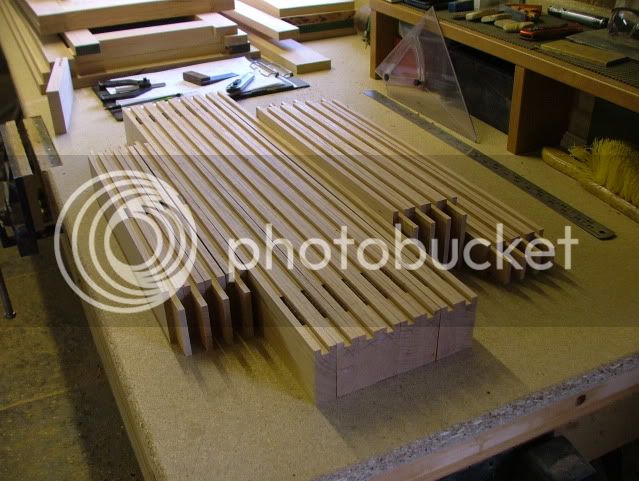
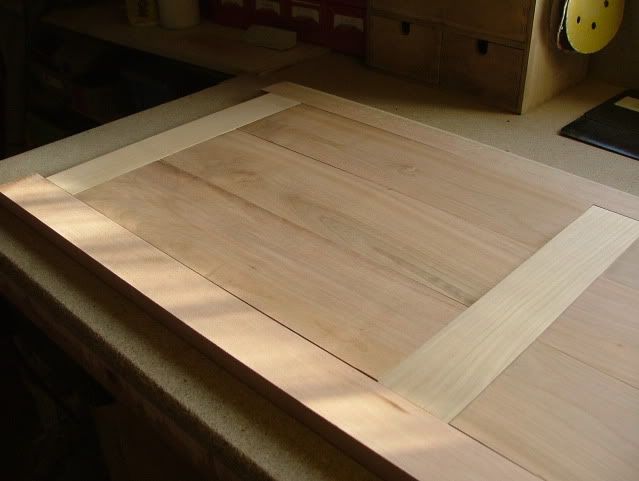
The frame to form the base of the lower carcase was grooved before assembly and tongue and grrove boards were made to infill the frame, this allowing for any possible movement which may occur in the future - The boards were dry assembled into the frames to check the fit but before gluing up I will chamfer the edges of the boards to make a feature of them
Whilst cutting the timber I have also prepared various other components from the offcuts from the other sections
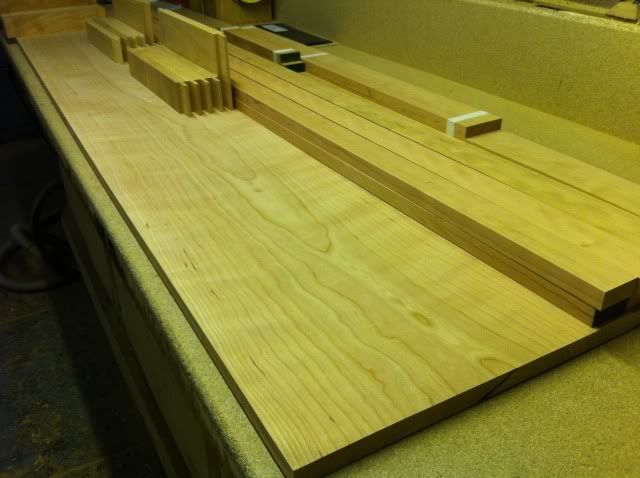
Including the plynth, cornice ect to be used later.
I arrived back at the workshop with the new timber at 11am yesterday, and after picking the kids up from school returned to the workshop after my tea last night working until about 9.30pm - and then worked today from 9am (ish) to 2.30 when I had to pick my daughter up (Dads Taxi syndrome) - so overall a good start on the project as I am working in in "M" mode to catch up the lost time from the wormy wood.
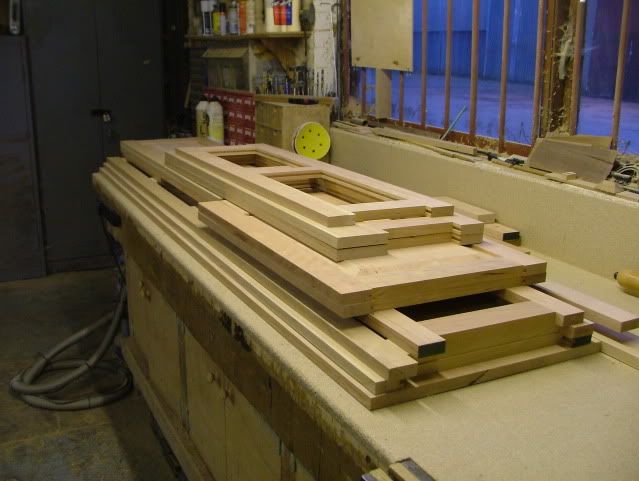
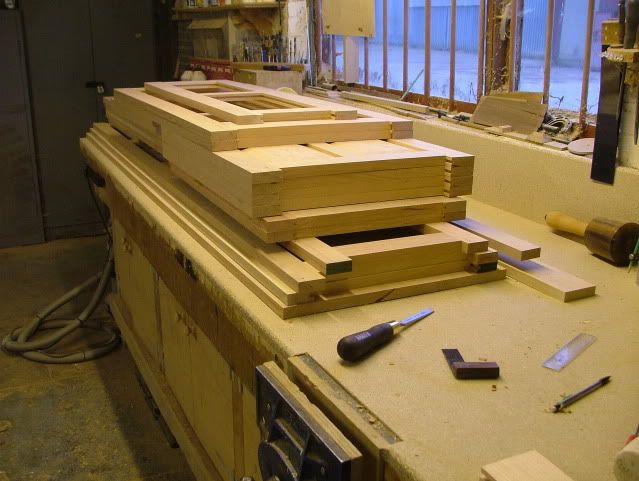
All the parts constructed were left on the bench ready for my return on Monday morning - And yes the workshop left nice and tidy.
I will continue this write up next week as I progress with the carcase construction.
Anyway hope you approve!
Oh and for those of you not in the know - "M" mode refers to the speed you work - M=Mailee i.e. very fast! :mrgreen:
The dresser to be made is quite traditional and is for a client I have made many pieces of cherry furniture in the past - basically the lower section will have four full height doors with raised and fielded panels maximising the storage whilst the upper section will have four glazed doors for display of ornaments etc on glass shelves. The middle two upper doors will be slightly set back giving an inset break front appearance. The panels in the lower doors will have some inlay stringing inlaid again to match the other pieces previously made.

I had previously organised the cherry for this job and brought this from my store where it had been aclimatising ready for use and the wane edge boards looked just the job!

Unfortunately as you may have read in my other thread on starting to prep the timber found that it was riddled with worm, there was no outward sign whatsoever with no flight holes so after a call to the local supplier the offending timber was duly returned.
As I have a committed delivery timescale had a bit of a panic and after making a few calls was lucky to find that a fellow cabinet maker colleague had about 10 cubic feet of cherry in his workshop left over from a previous commission, and as this was in his workshop was ready to use.
Luckily having my new van I was able to head off and collect it, even if the 12' long boards had to hang out of the back a little bit :lol:

In some ways the problem with the first timber was a bit of a godsend as the replacement timber, albeit dearer is truly superb with the majority of the 12' long boards being approx 400mm wide completely defect free and as flat as the preverbial pancake!

I started by preparing the timber for the top of the base unit from the best board and to make up the appropriate width a strip was biscuit jointed onto the back of a large wide section

The board was duly cramped up and left and once the glue had dried, passed through the panel sander to flat the surface leaving it ready for final finishing in due course

In choosing the timber for the top surface the cherry has a nice ripple in the grain and I think this will show up very nicely when the timber is polished

I then carried on making the frames which will form the upper and lower carcase frames, these were duly morticed and tenoned - no dominotrickery here!

The frame to form the base of the lower carcase was grooved before assembly and tongue and grrove boards were made to infill the frame, this allowing for any possible movement which may occur in the future - The boards were dry assembled into the frames to check the fit but before gluing up I will chamfer the edges of the boards to make a feature of them

Whilst cutting the timber I have also prepared various other components from the offcuts from the other sections

Including the plynth, cornice ect to be used later.
I arrived back at the workshop with the new timber at 11am yesterday, and after picking the kids up from school returned to the workshop after my tea last night working until about 9.30pm - and then worked today from 9am (ish) to 2.30 when I had to pick my daughter up (Dads Taxi syndrome) - so overall a good start on the project as I am working in in "M" mode to catch up the lost time from the wormy wood.
All the parts constructed were left on the bench ready for my return on Monday morning - And yes the workshop left nice and tidy.

I will continue this write up next week as I progress with the carcase construction.
Anyway hope you approve!
Oh and for those of you not in the know - "M" mode refers to the speed you work - M=Mailee i.e. very fast! :mrgreen:


