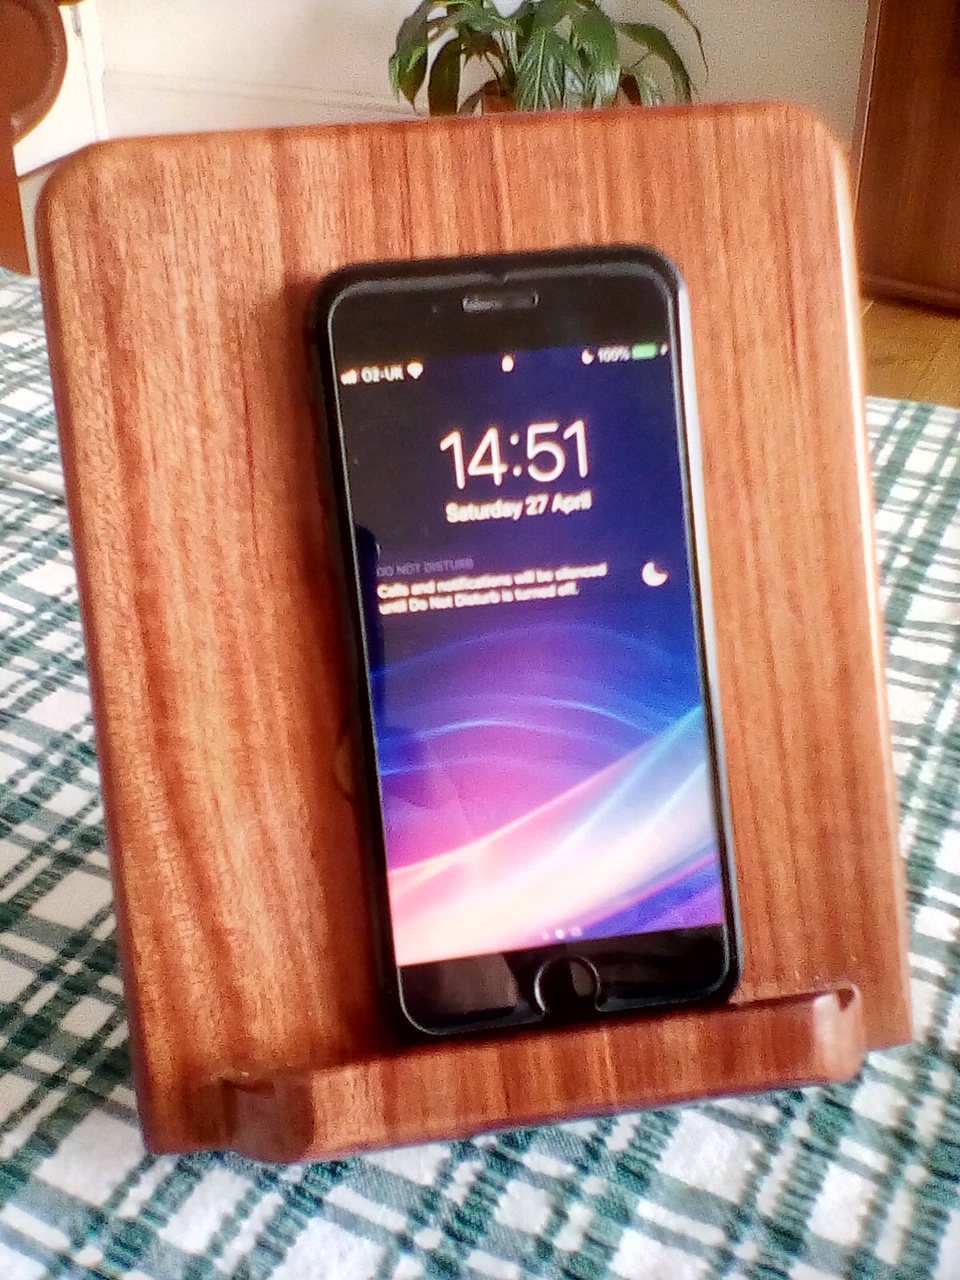
I've seen a few YouTubers make stuff with wireless chargers embedded into tables so thought I'd have a go at something like that.
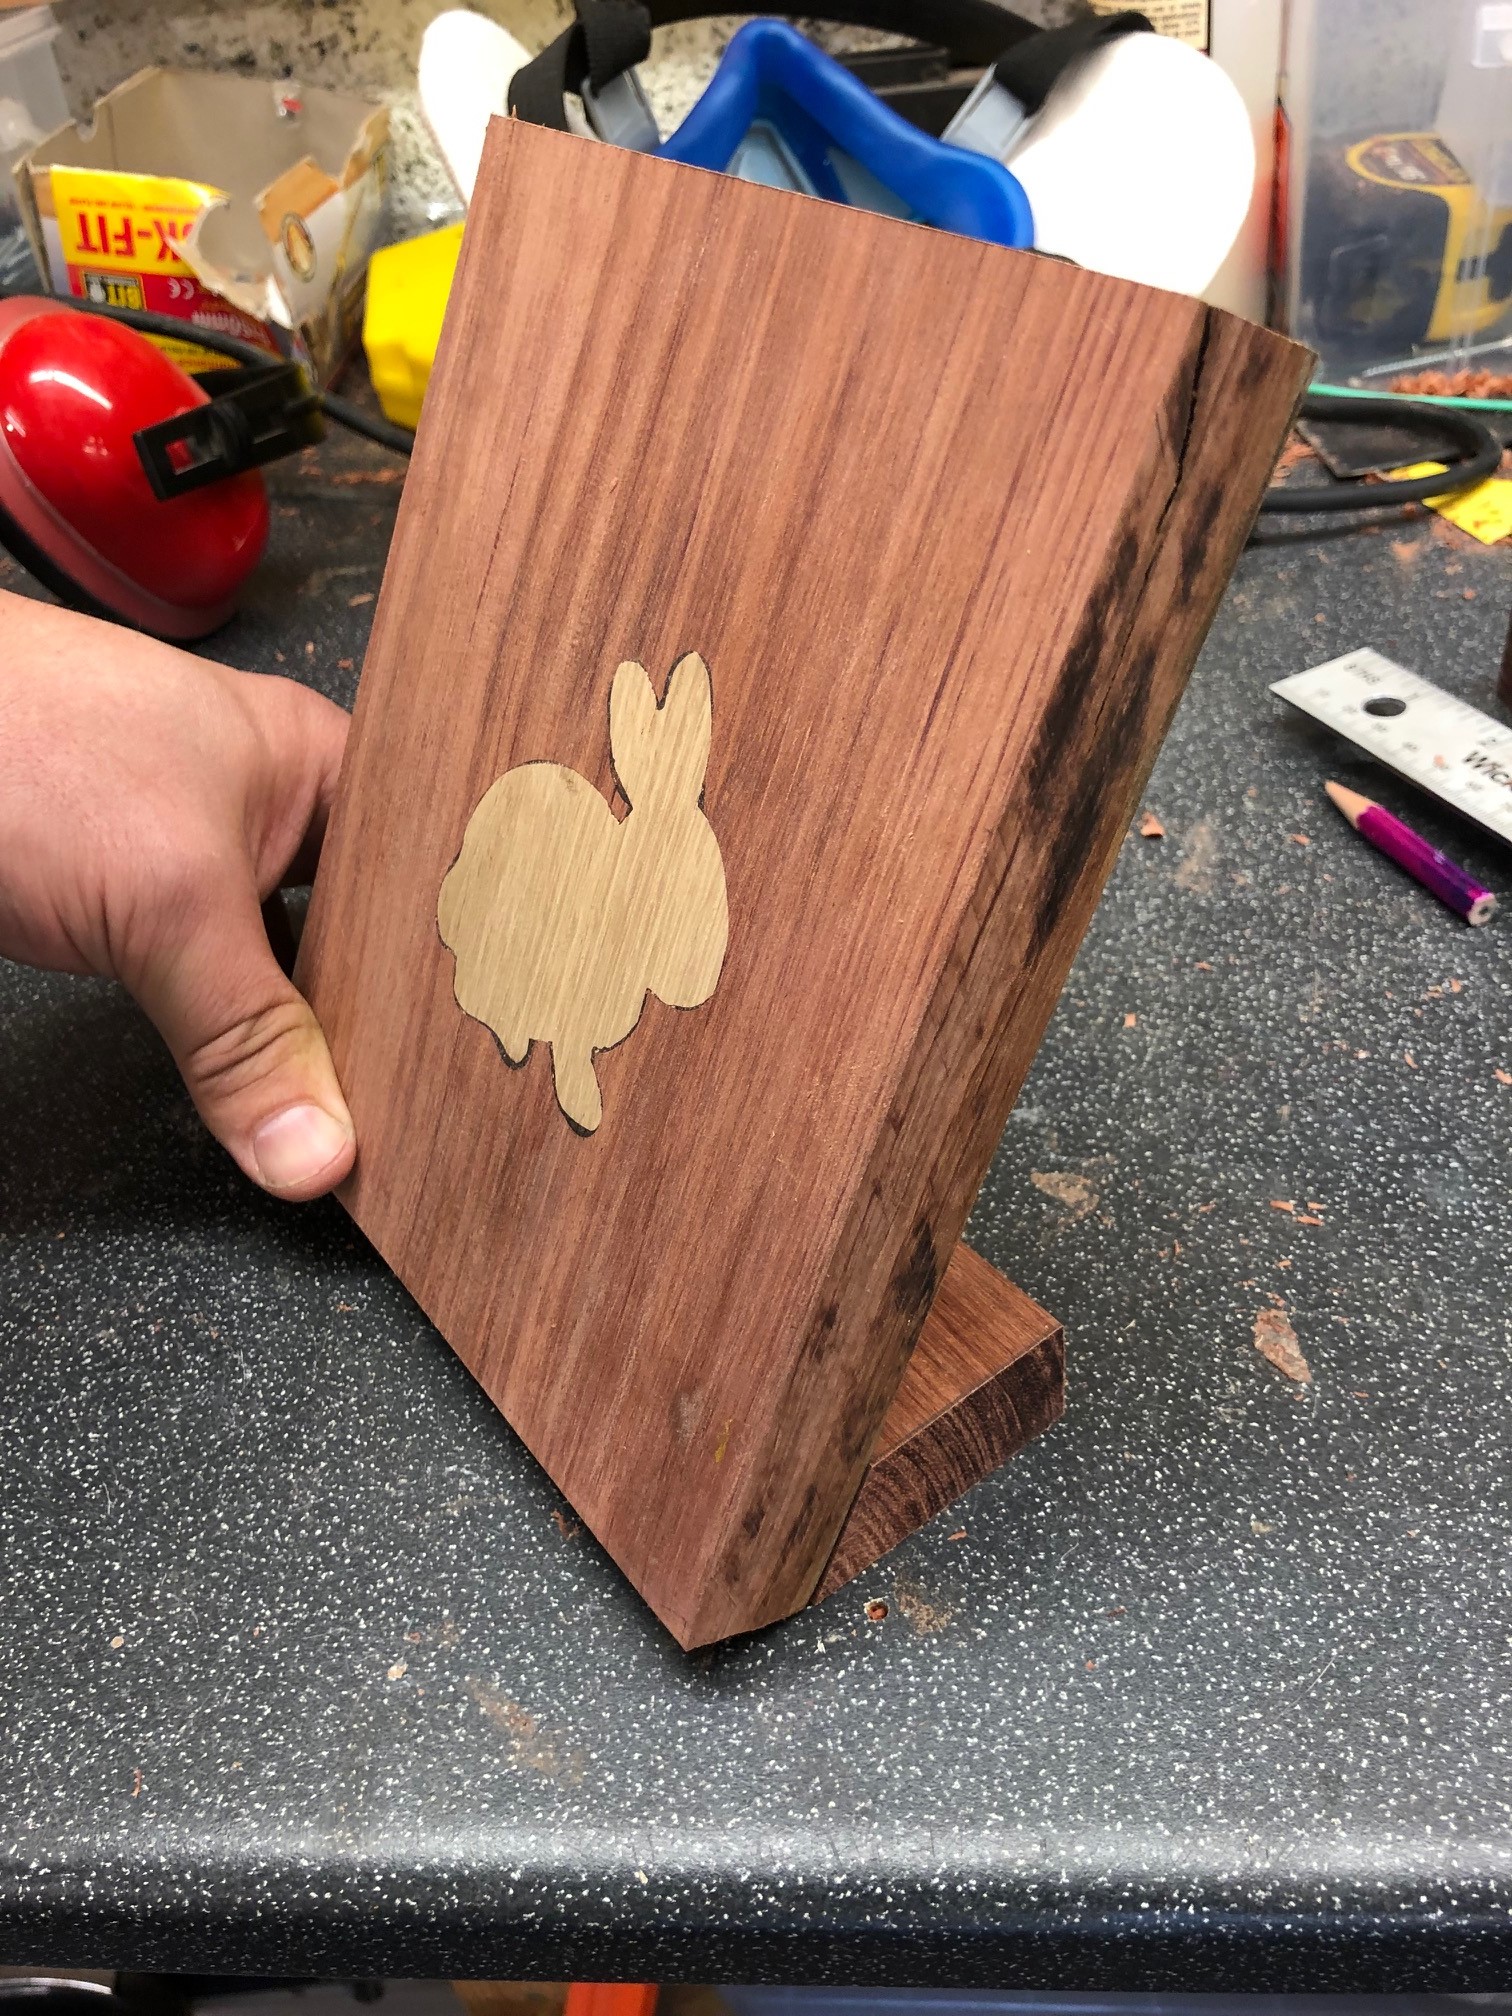
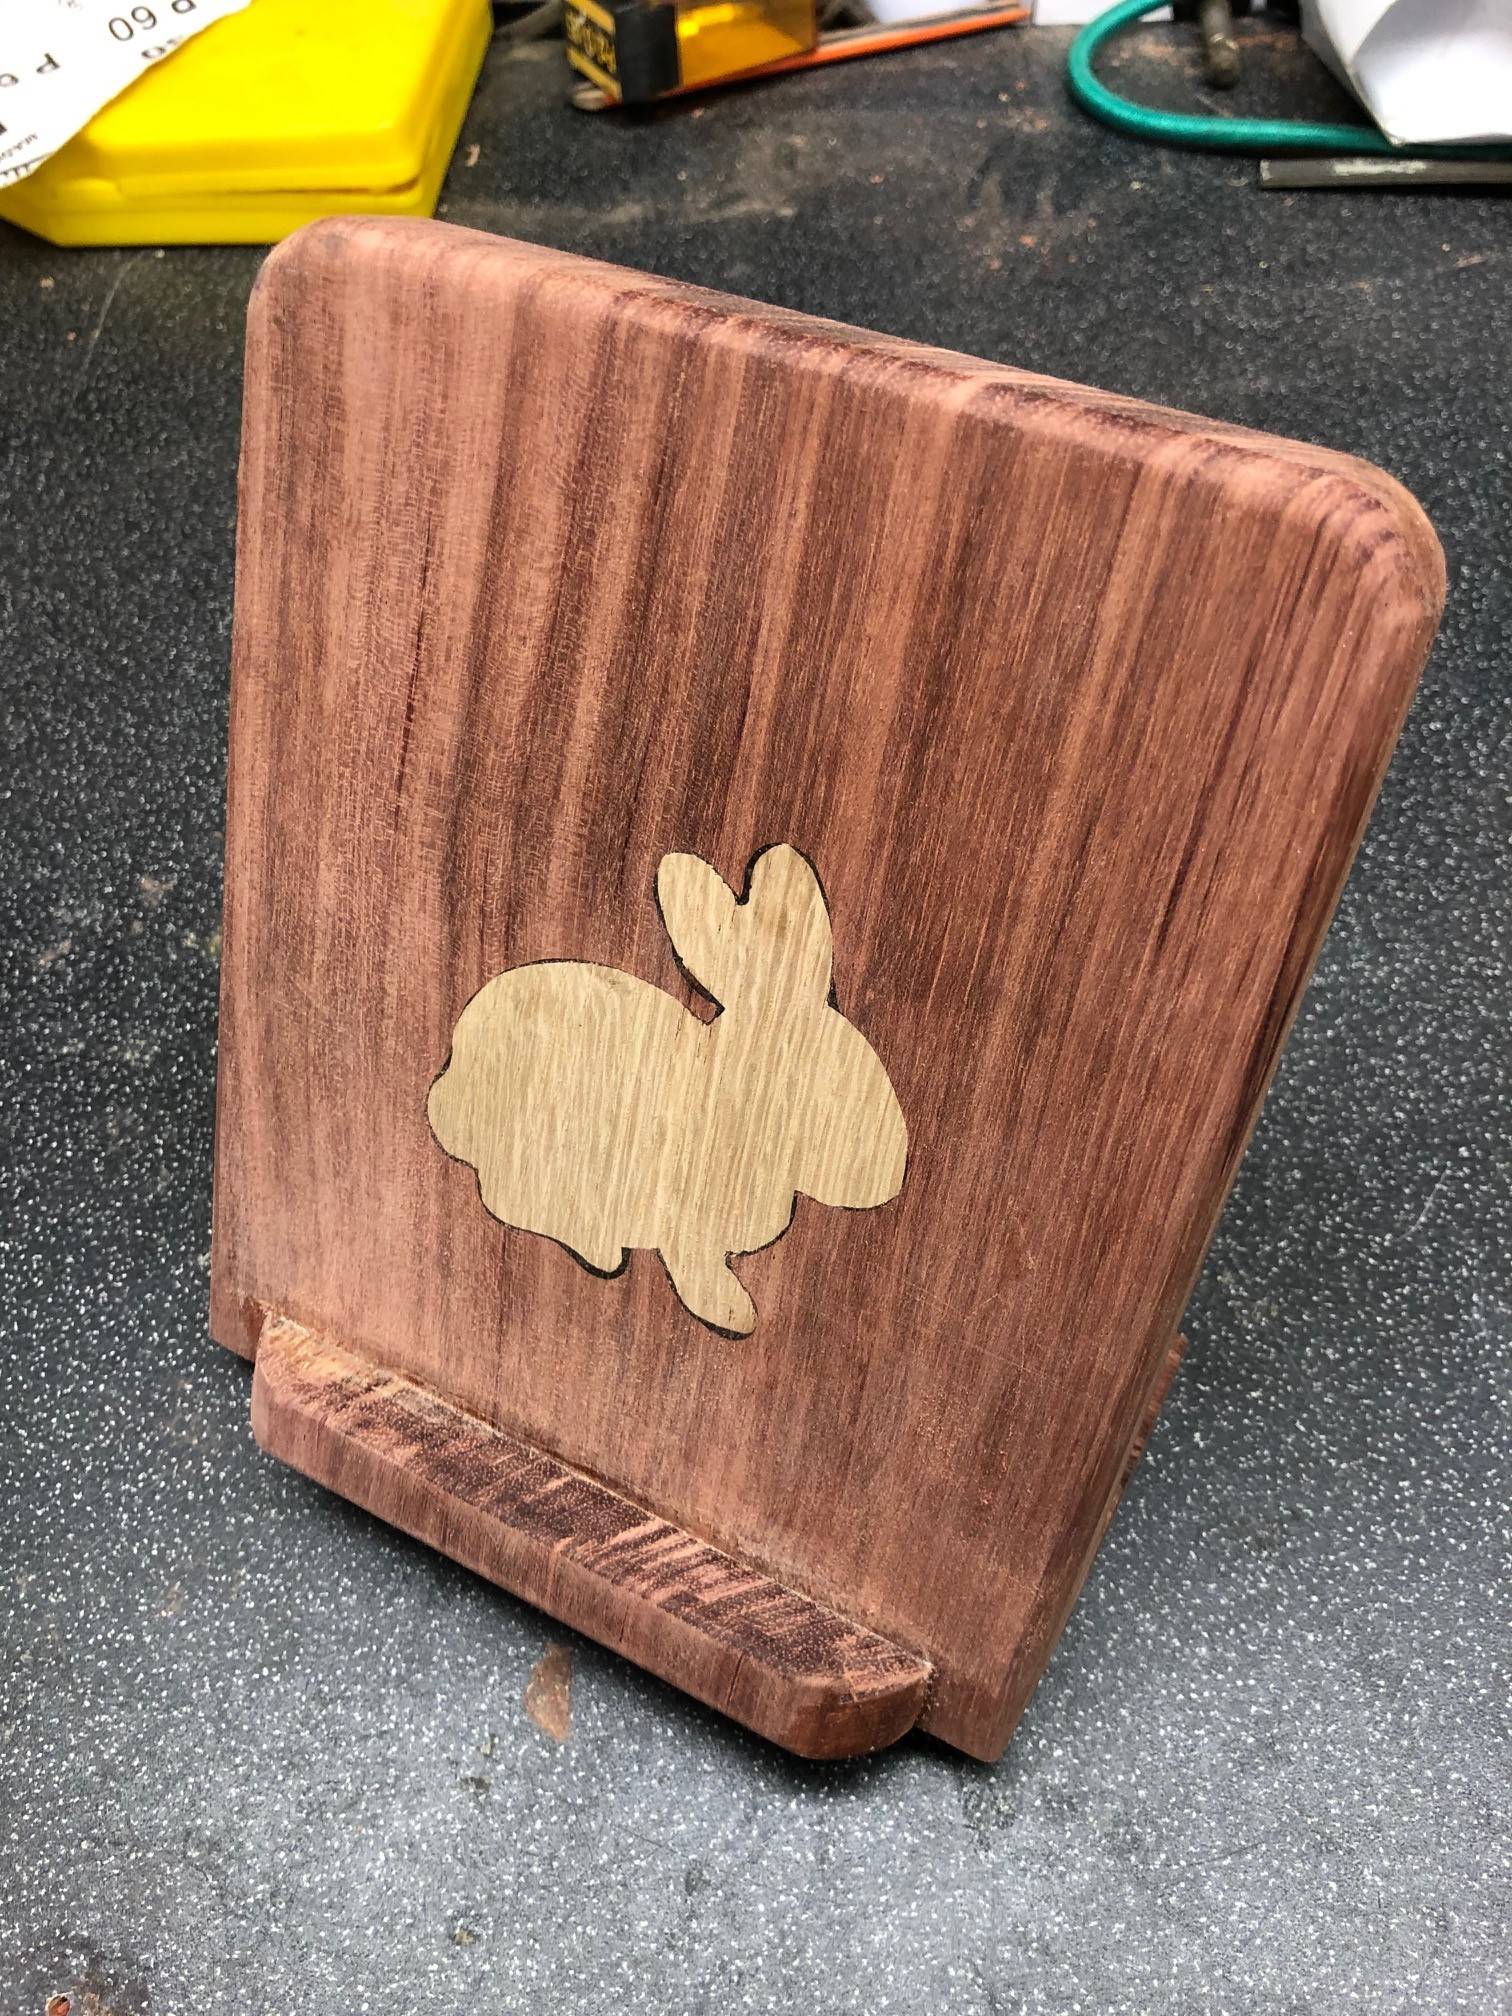
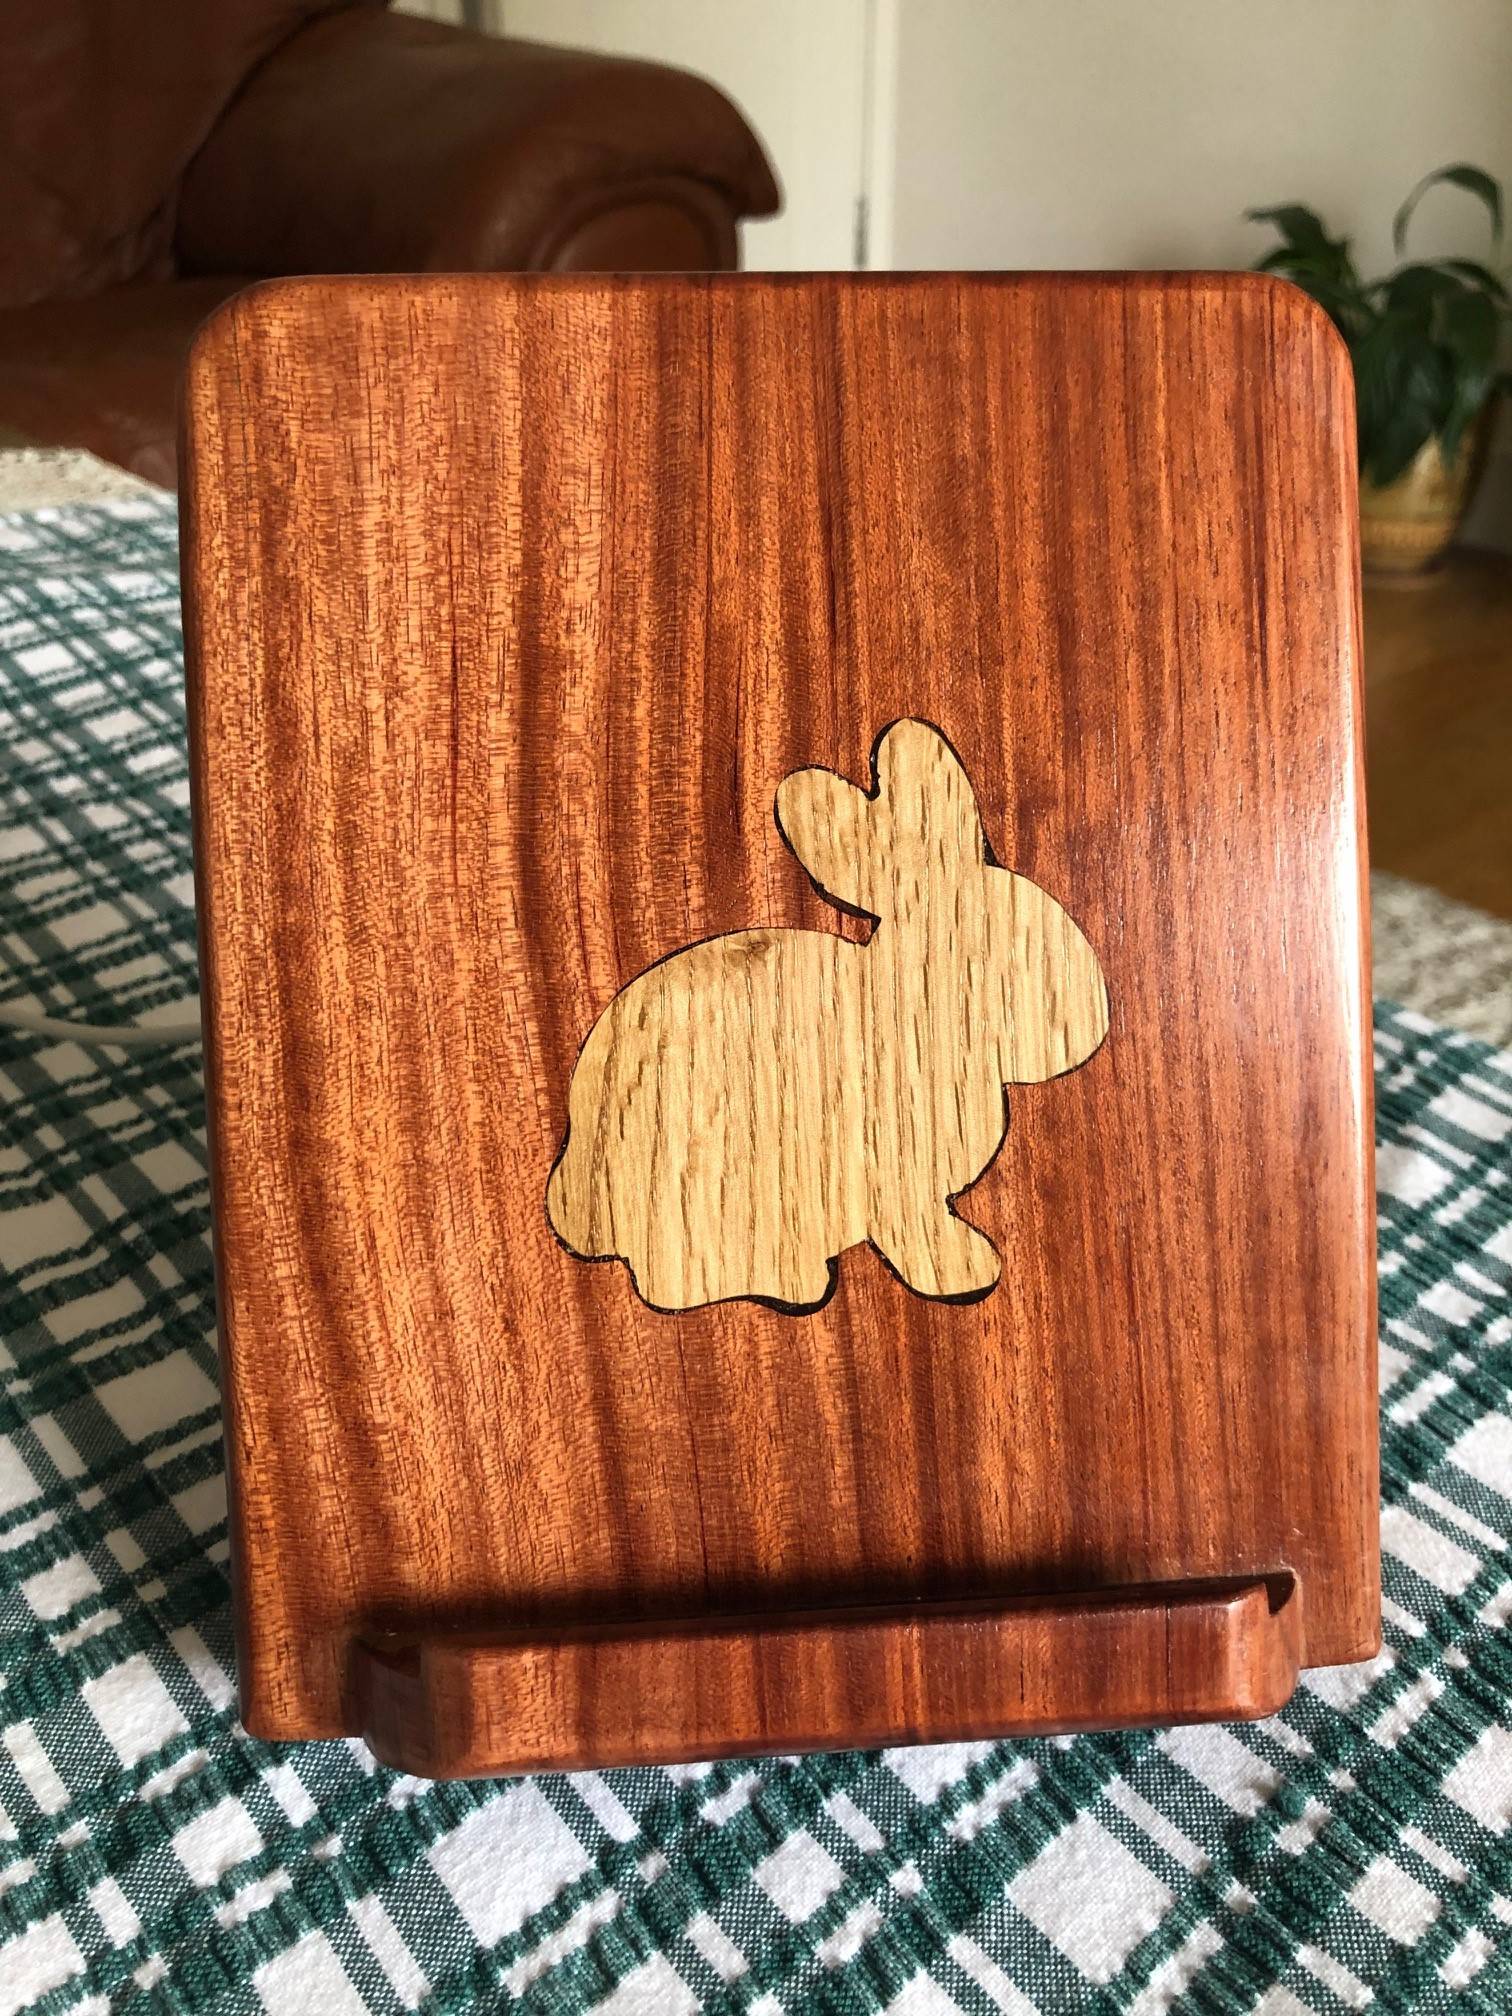
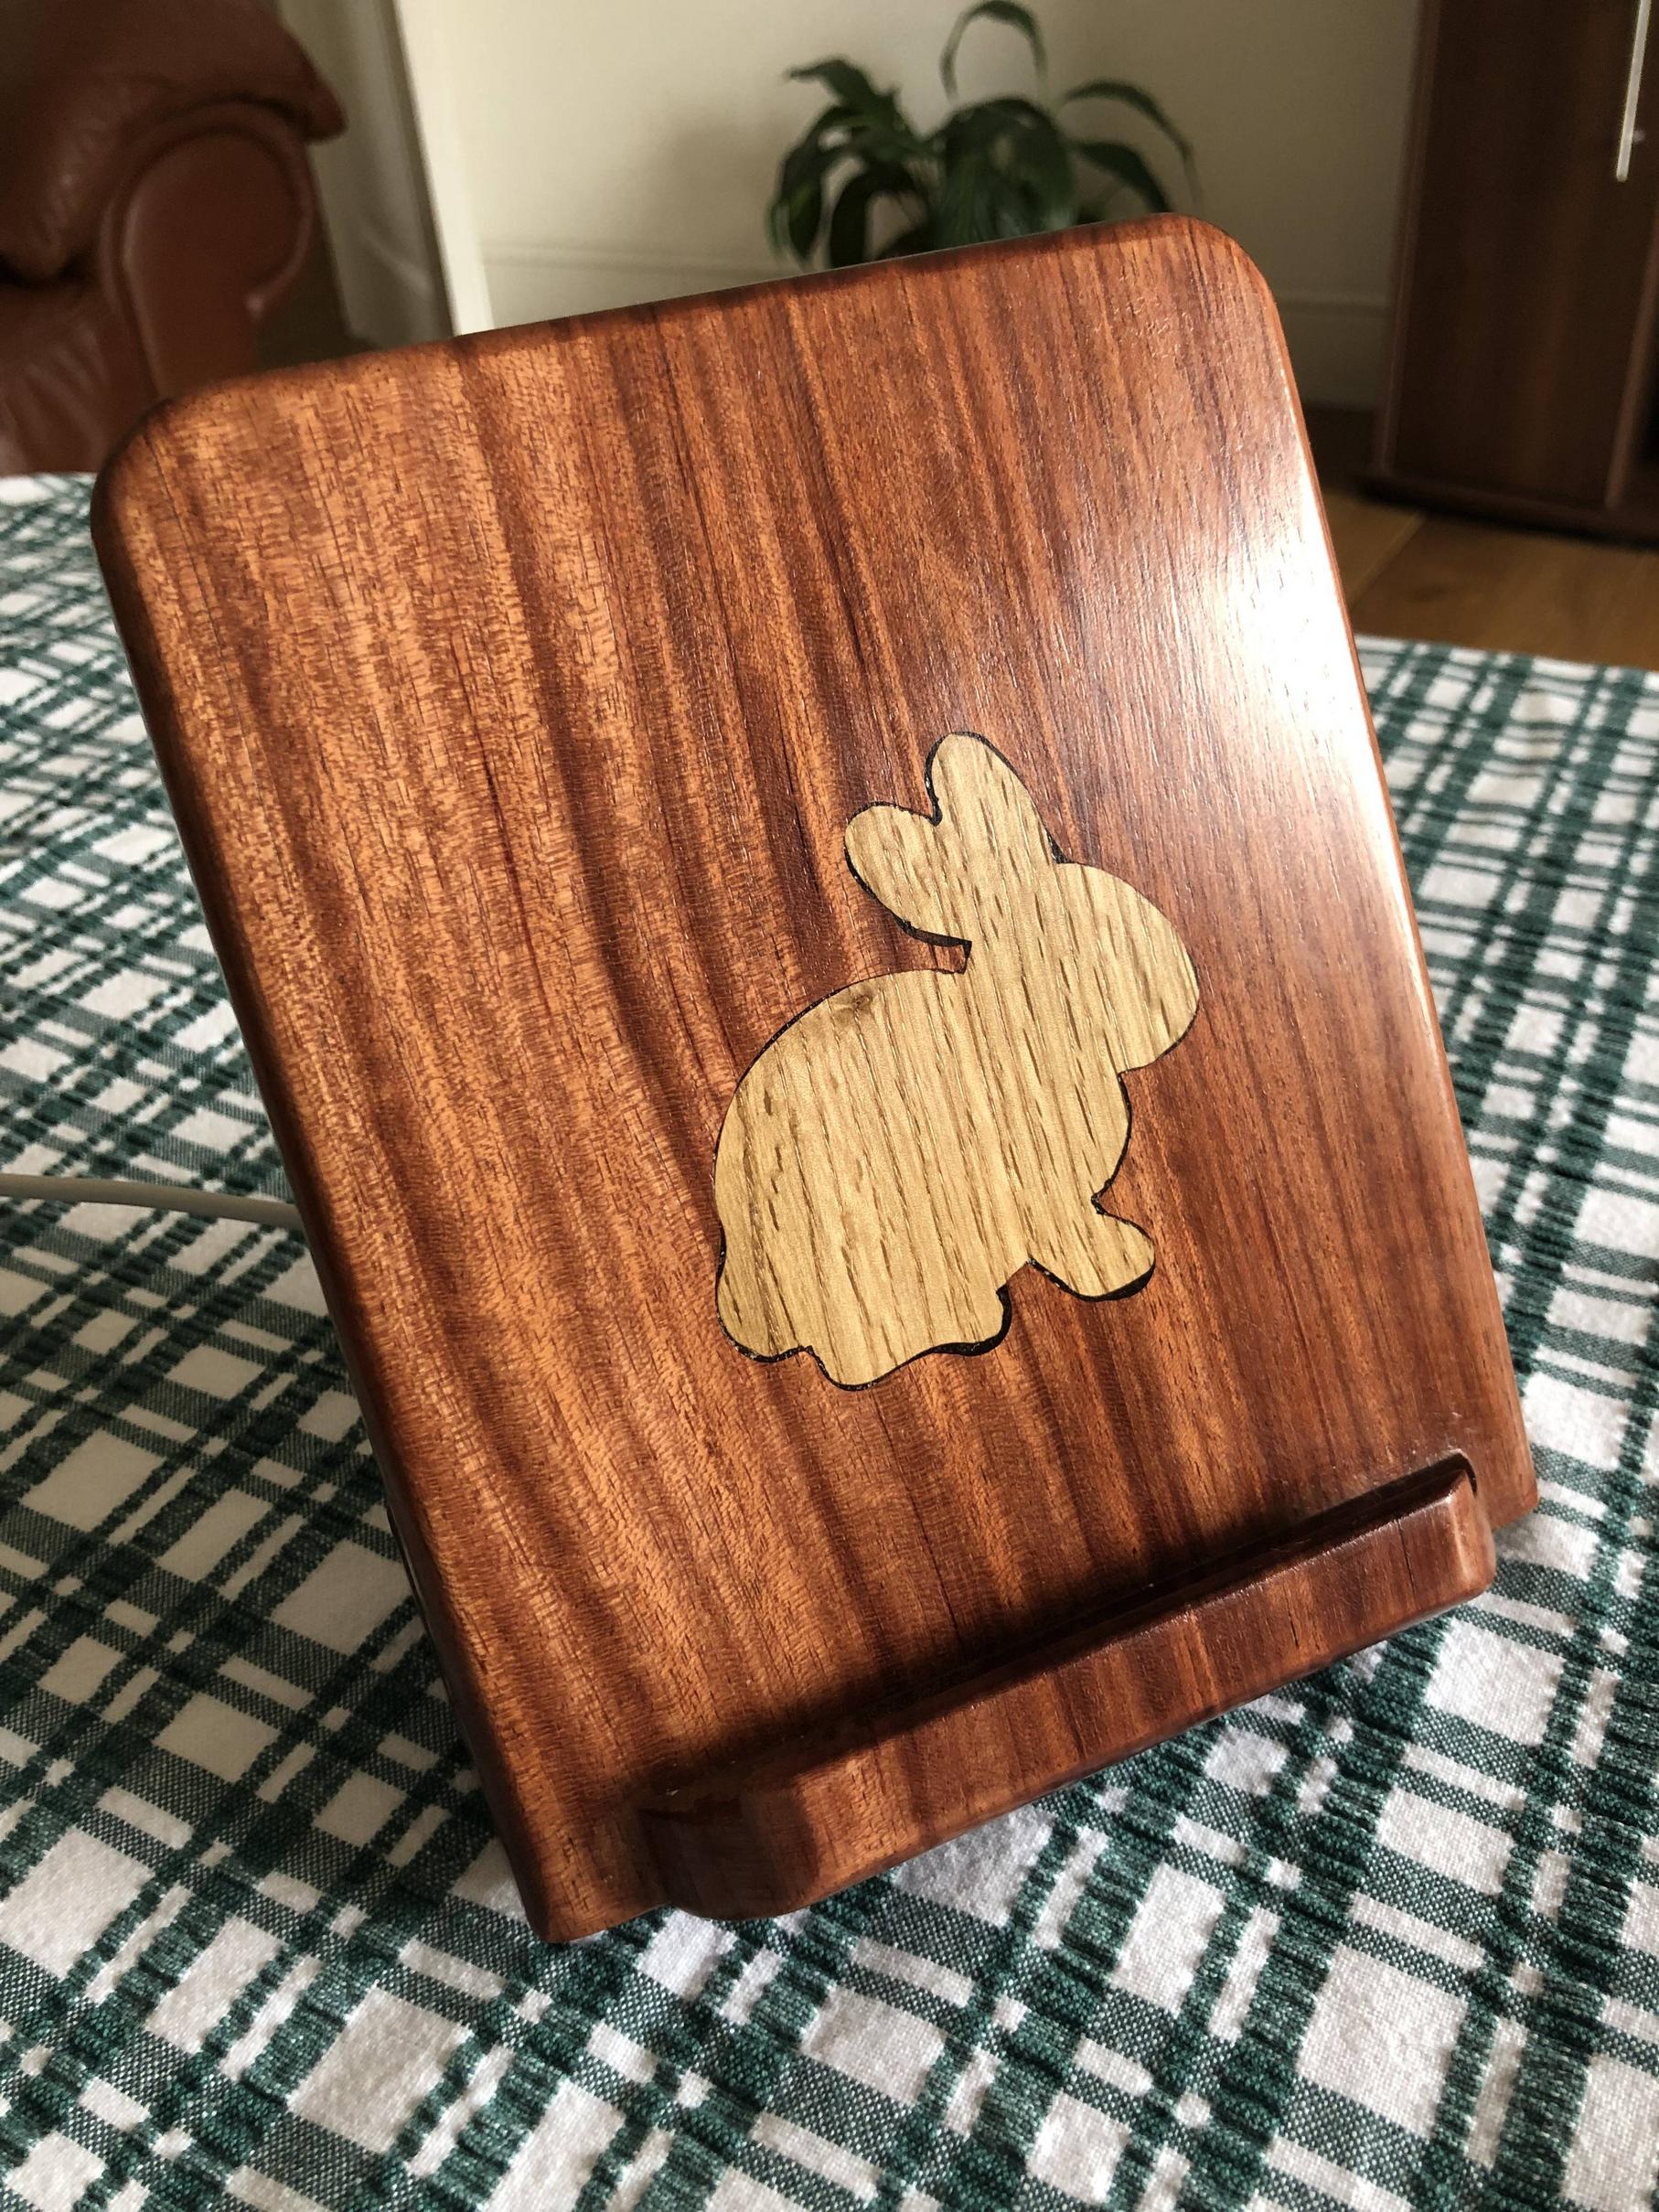
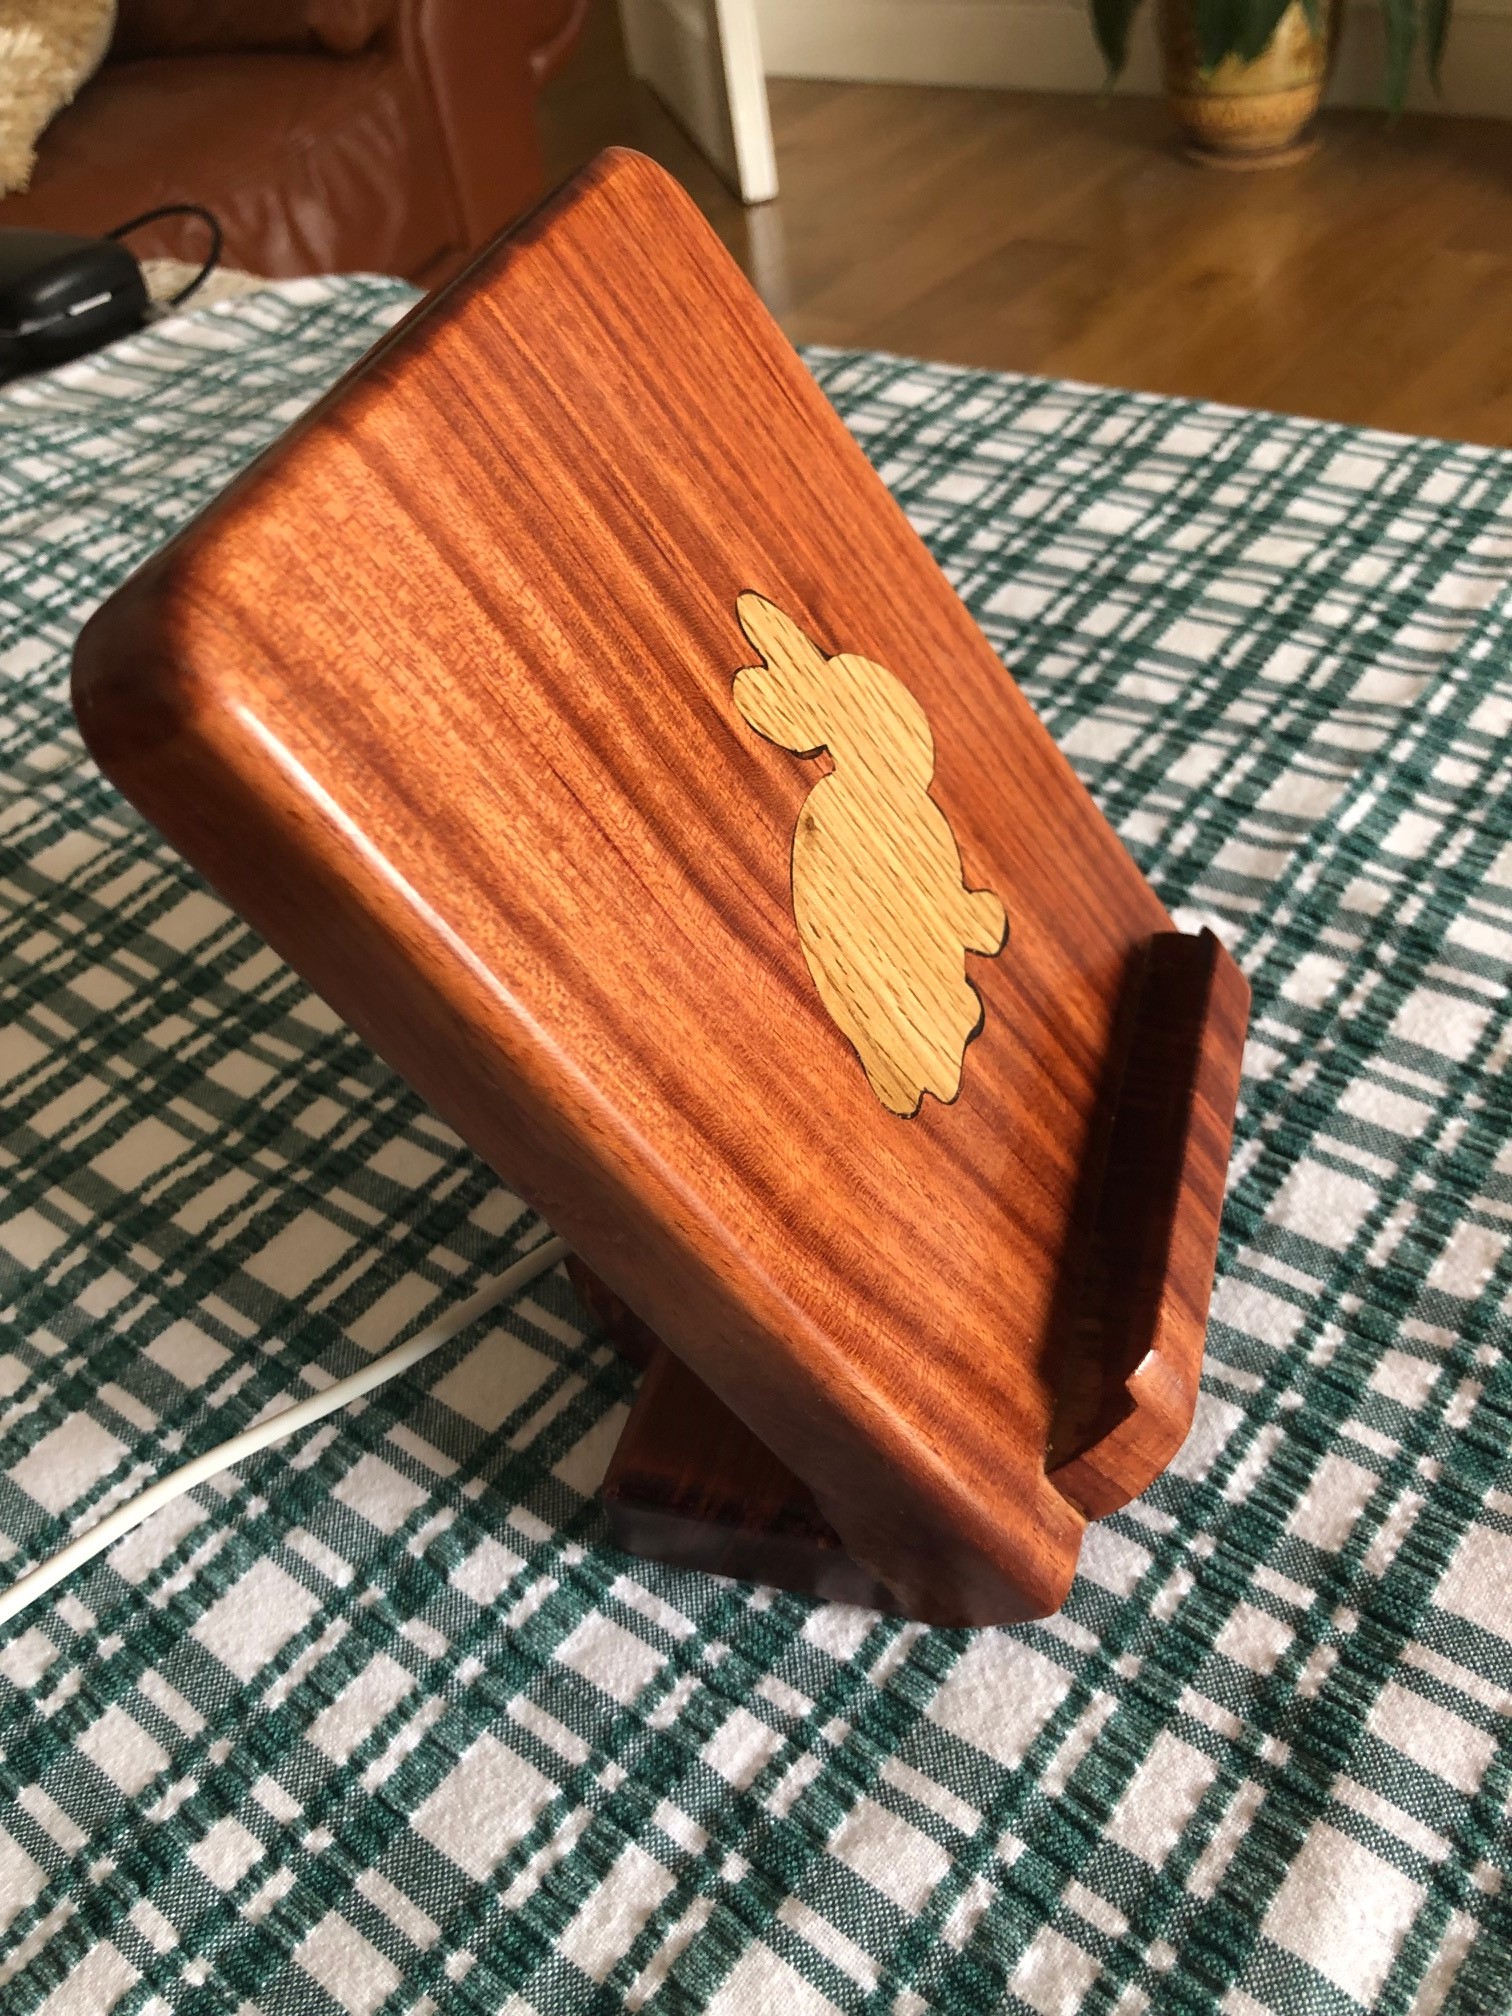
I have an anniversary coming up so thought I'd try and make a bunny shaped charger for my girl (she's mad about bunnies). I figure if I made it into a stand it would at least still serve some function if the wireless charging aspect didn't work.
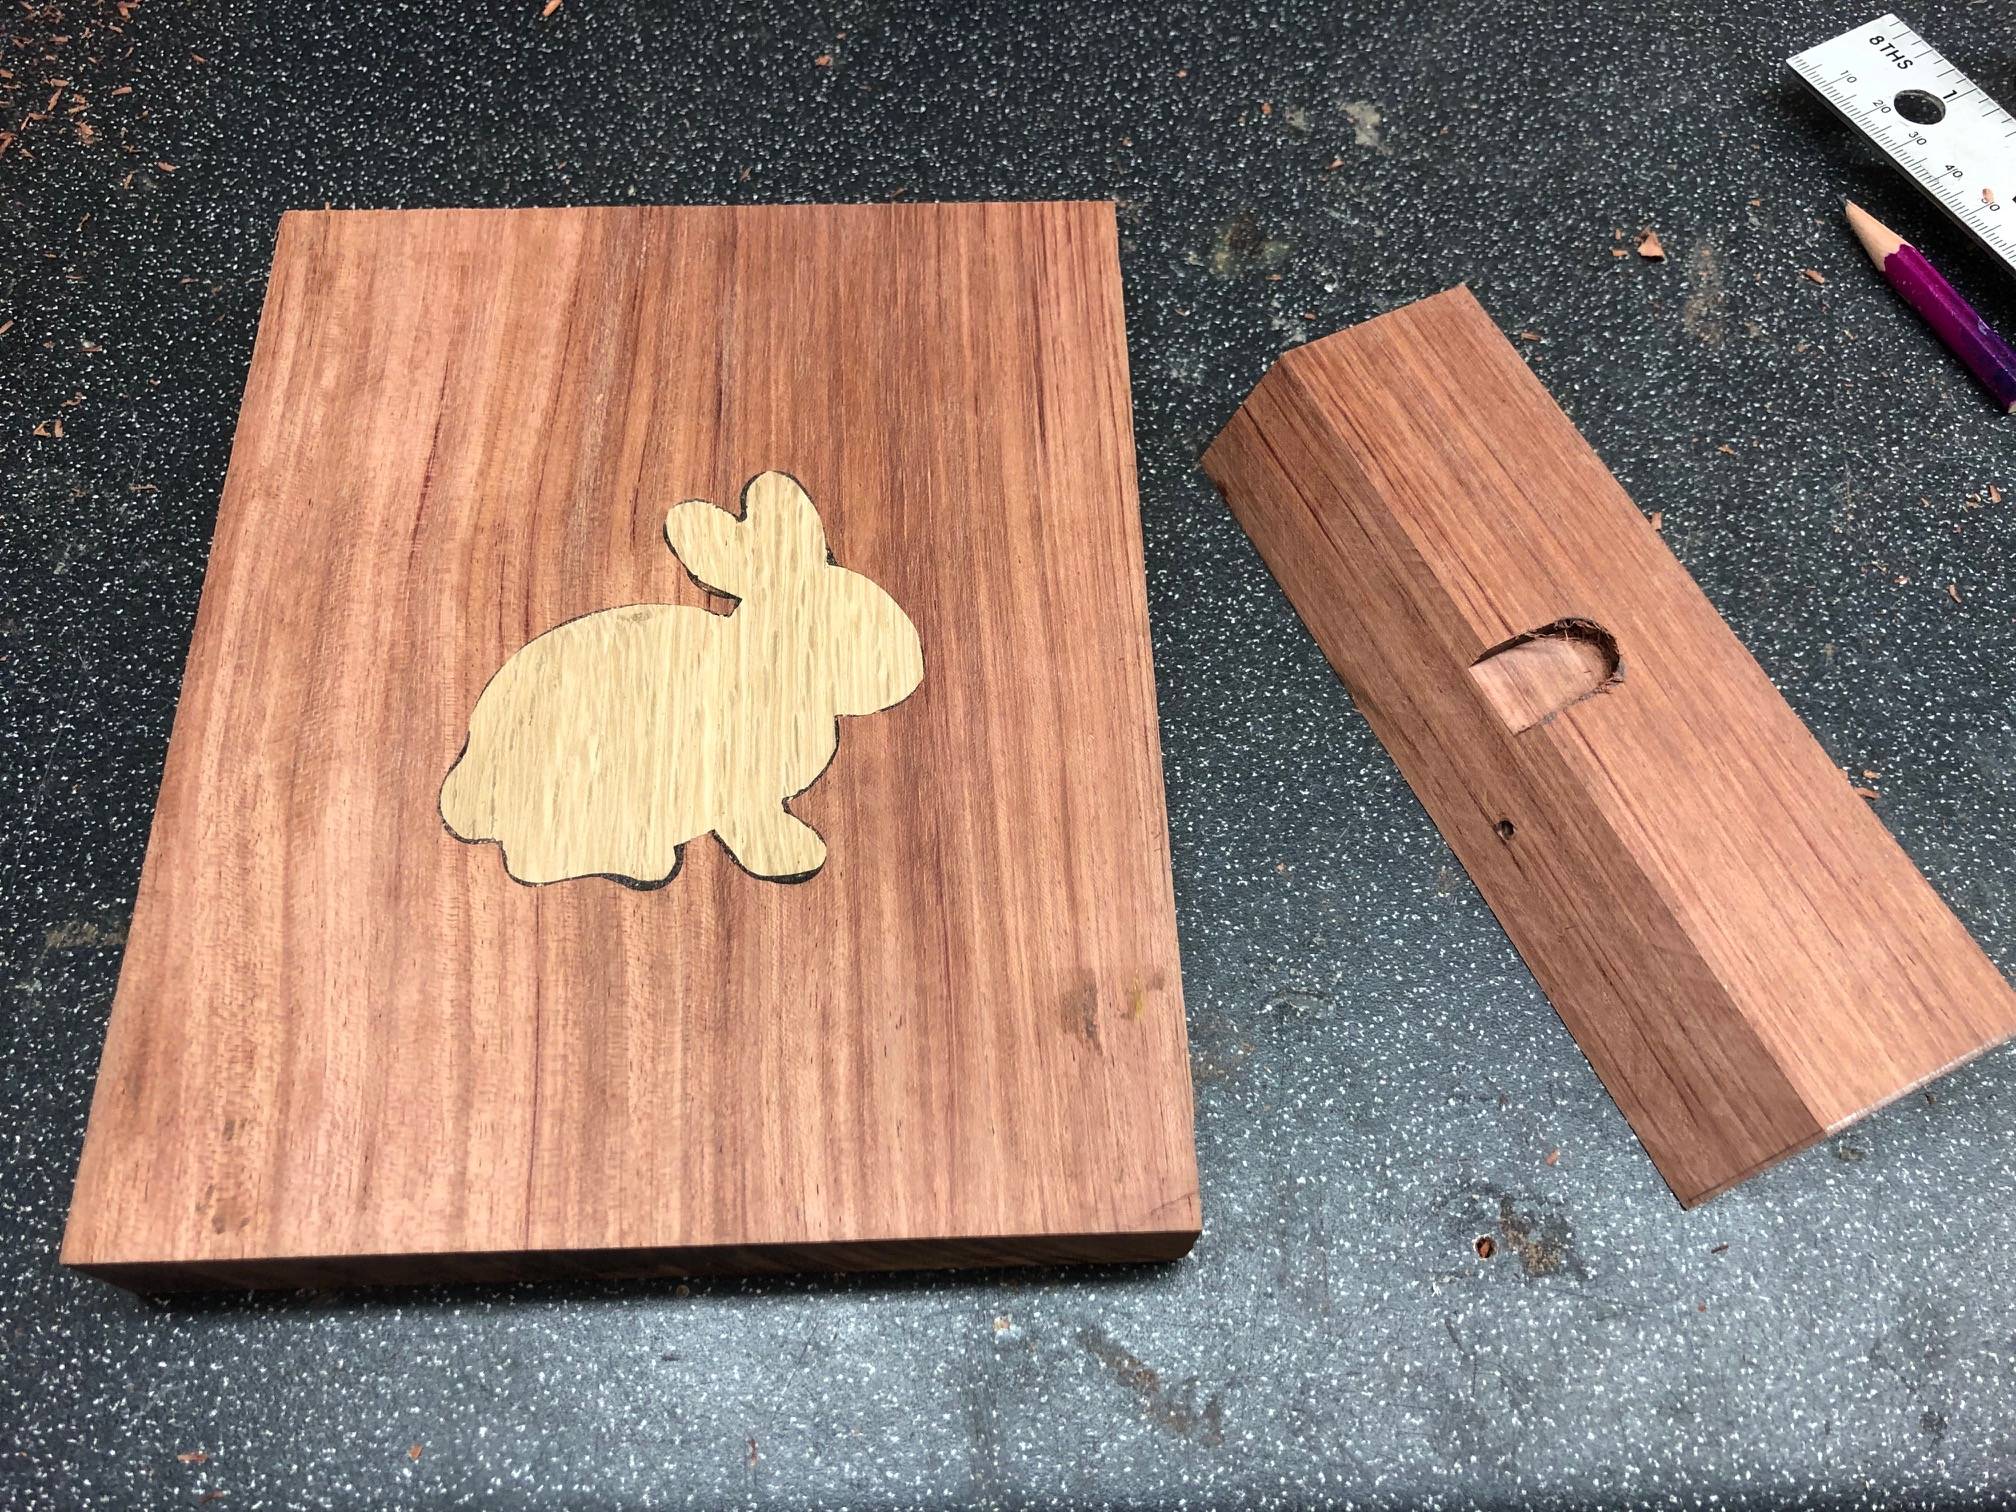
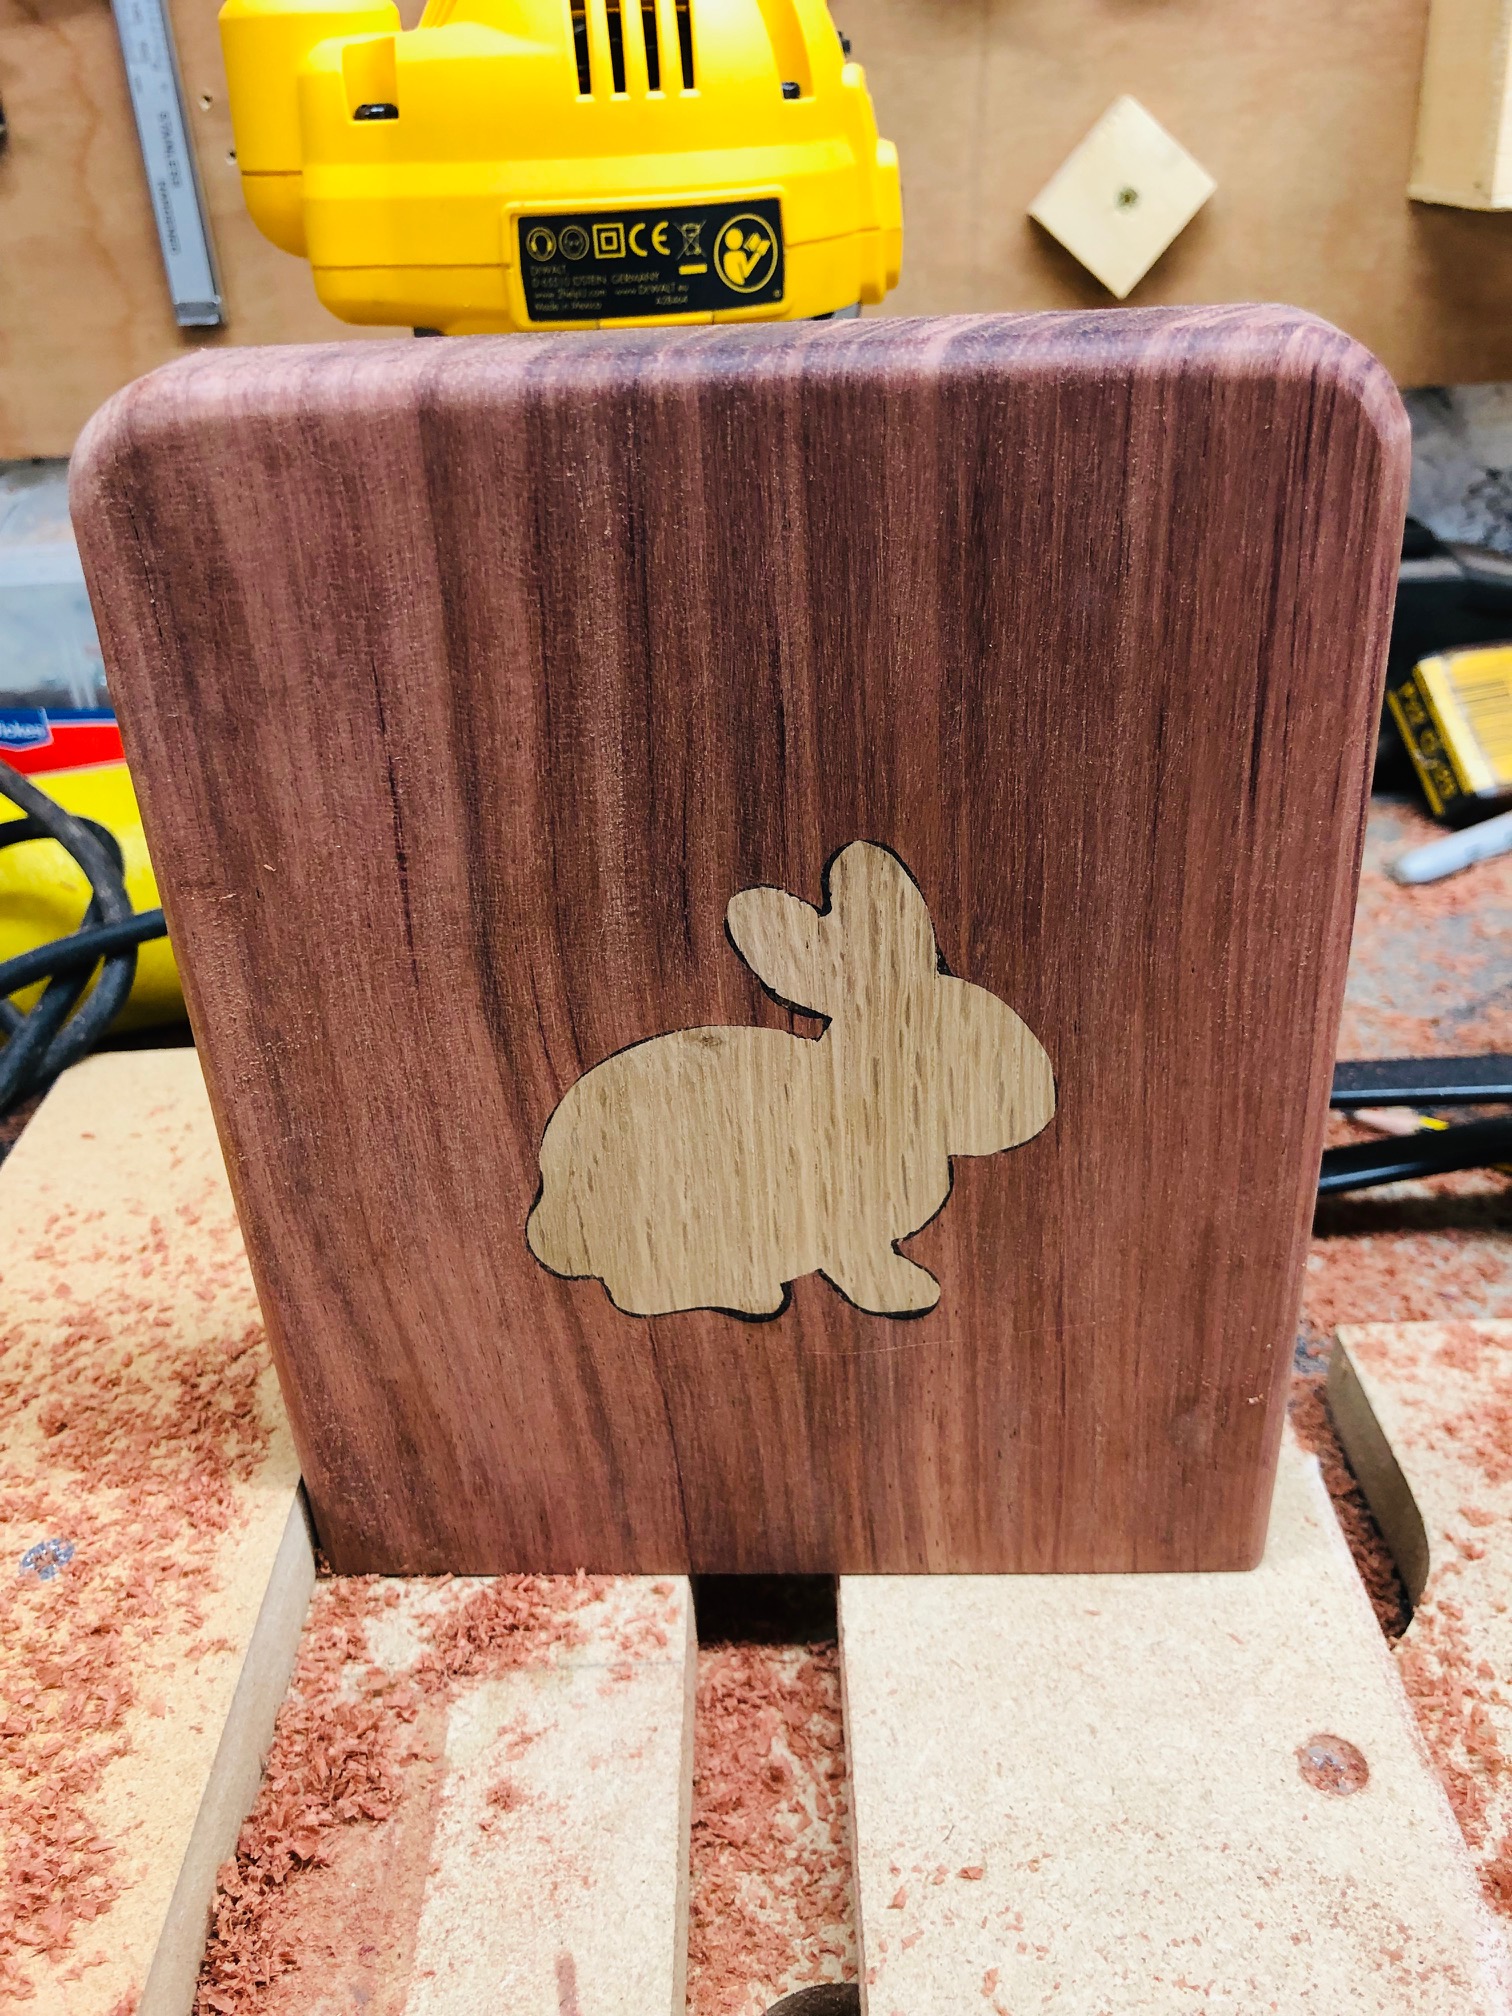
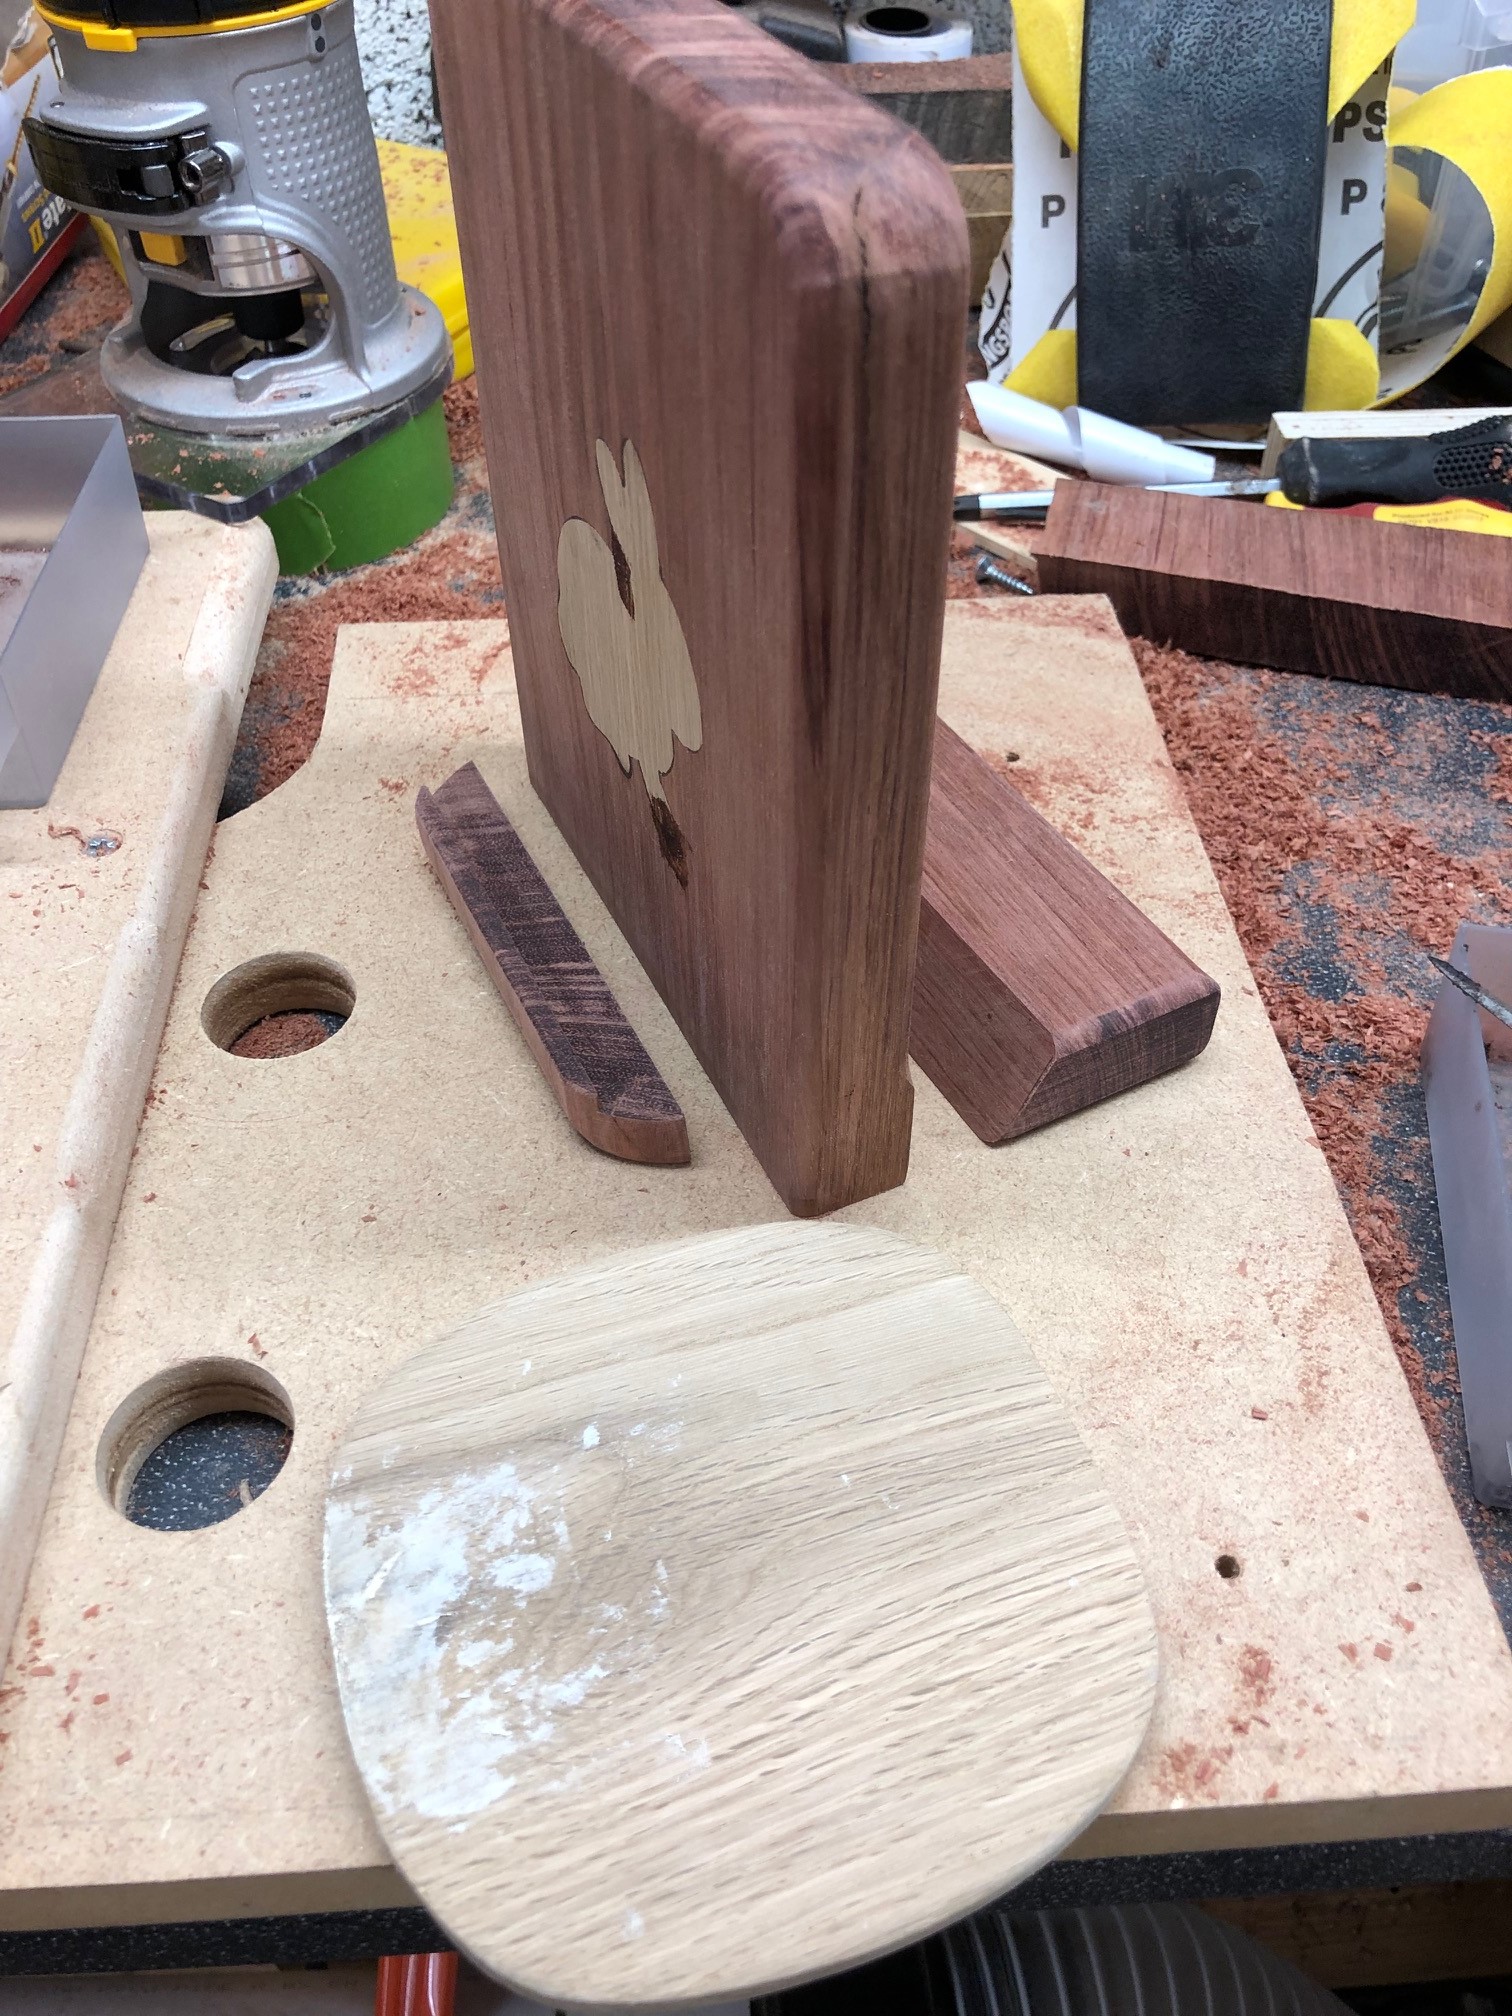
I had a nice piece of bubinga left over from another (bunny shaped!) project but it wasn't big enough to accommodate my Belkin charger and be shaped like a bunny, so I thought I'd make it a regular rectangular shape and try and inlay an oak bunny shape.
Need to have it done by this coming weekend so this is how I made the most of this glorious Easter weather, breathing in bubinga dust :wink:
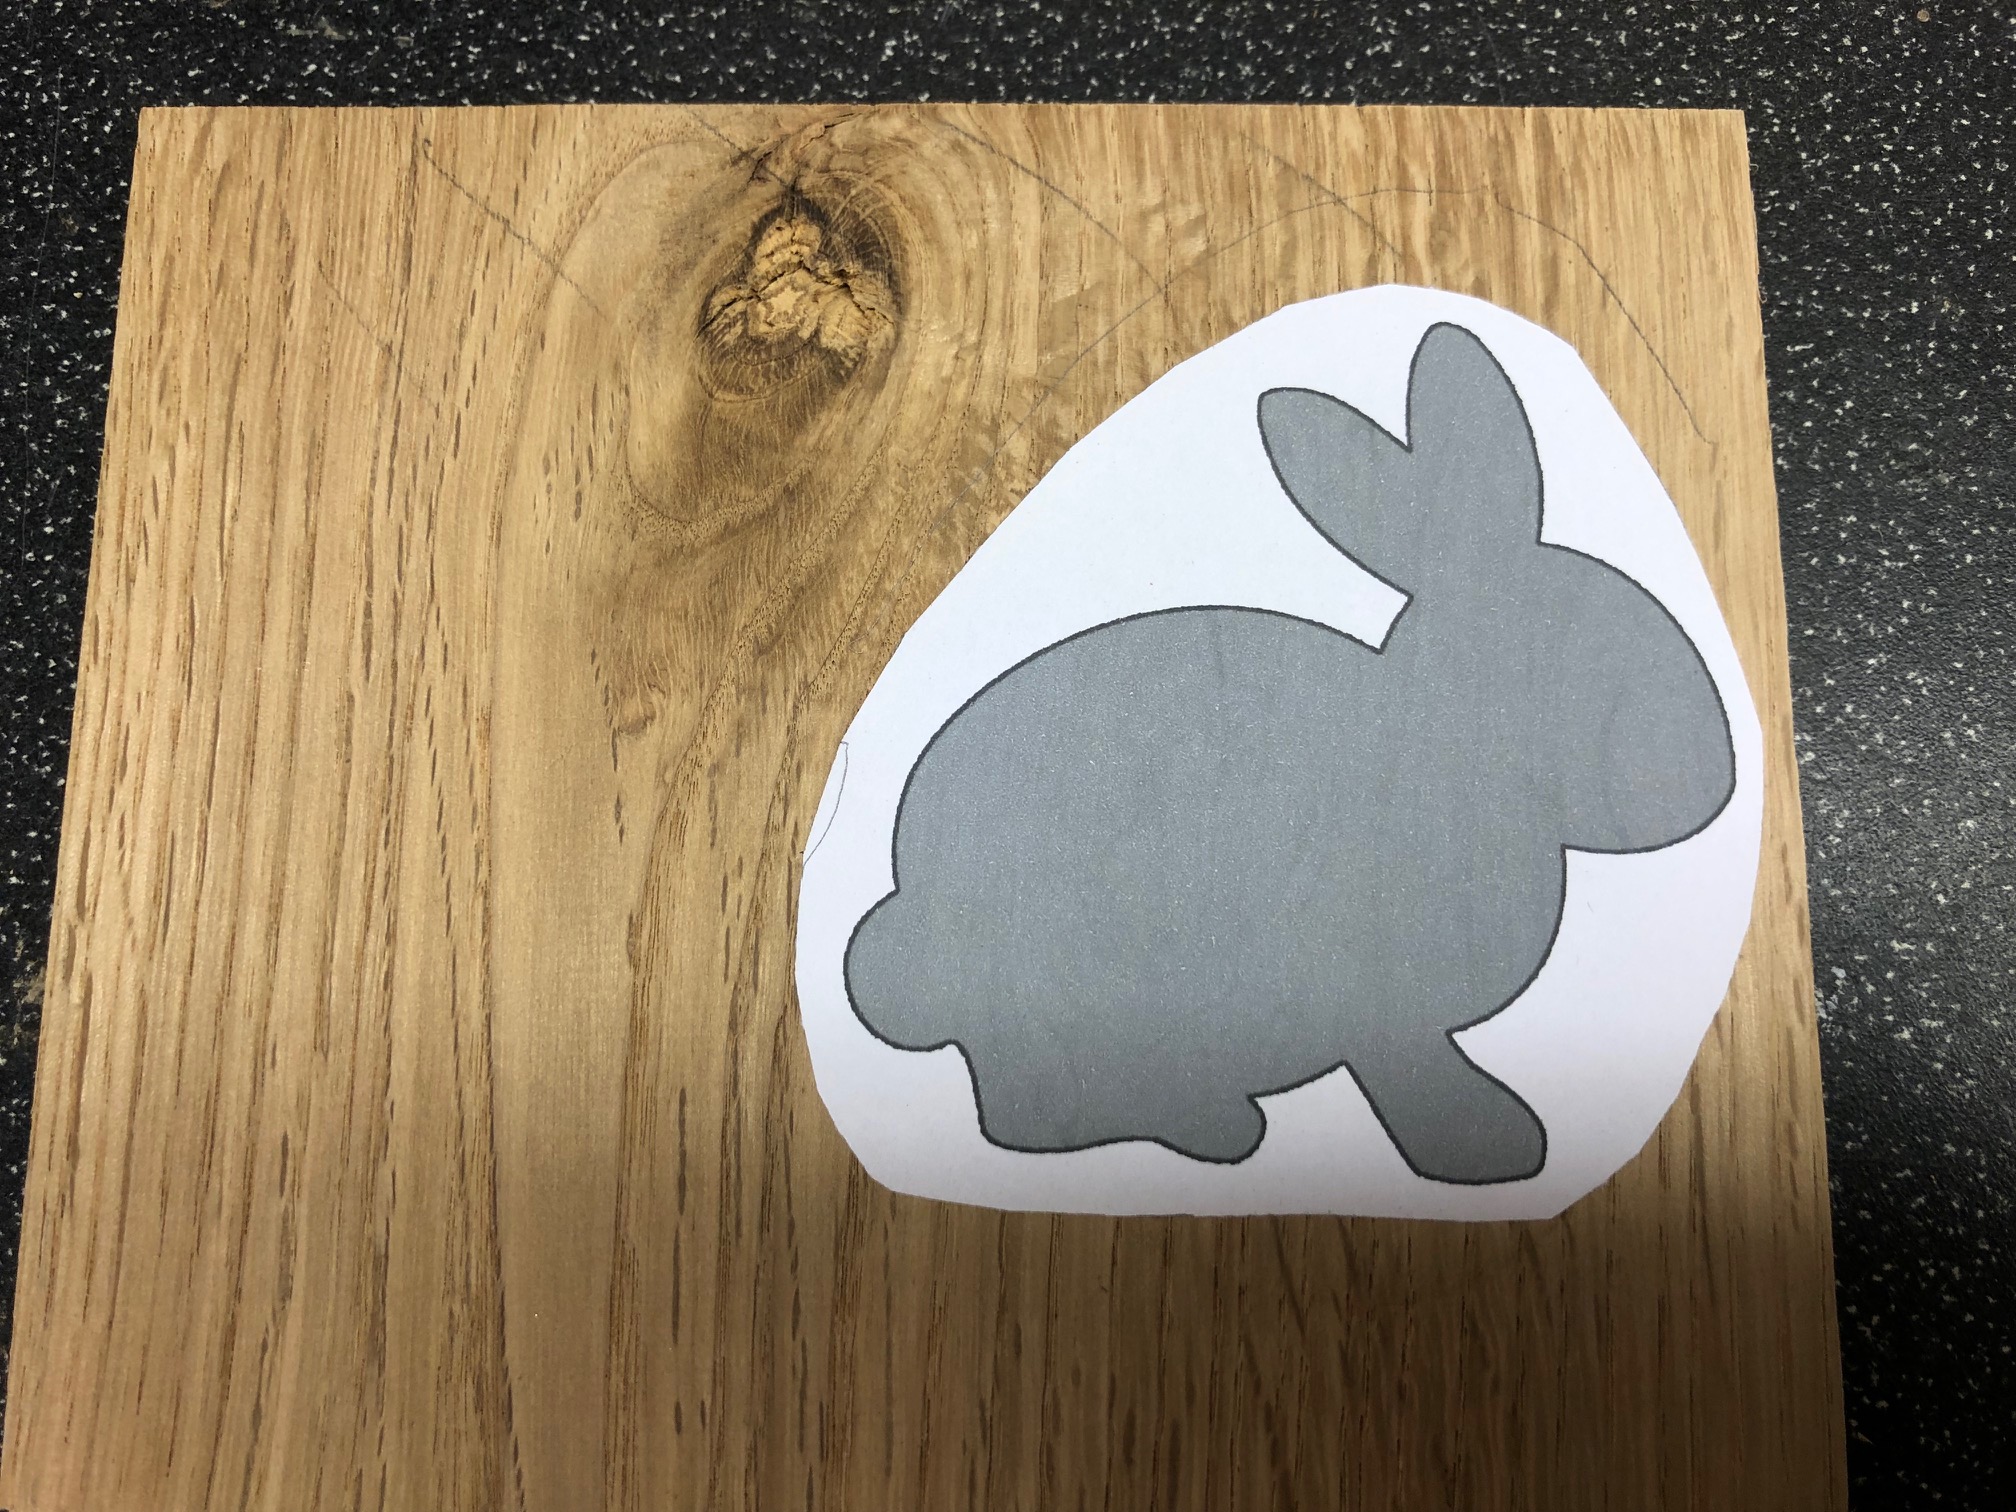
Printed out a design and glued it to a scrap of oak
Bandsawed out shape
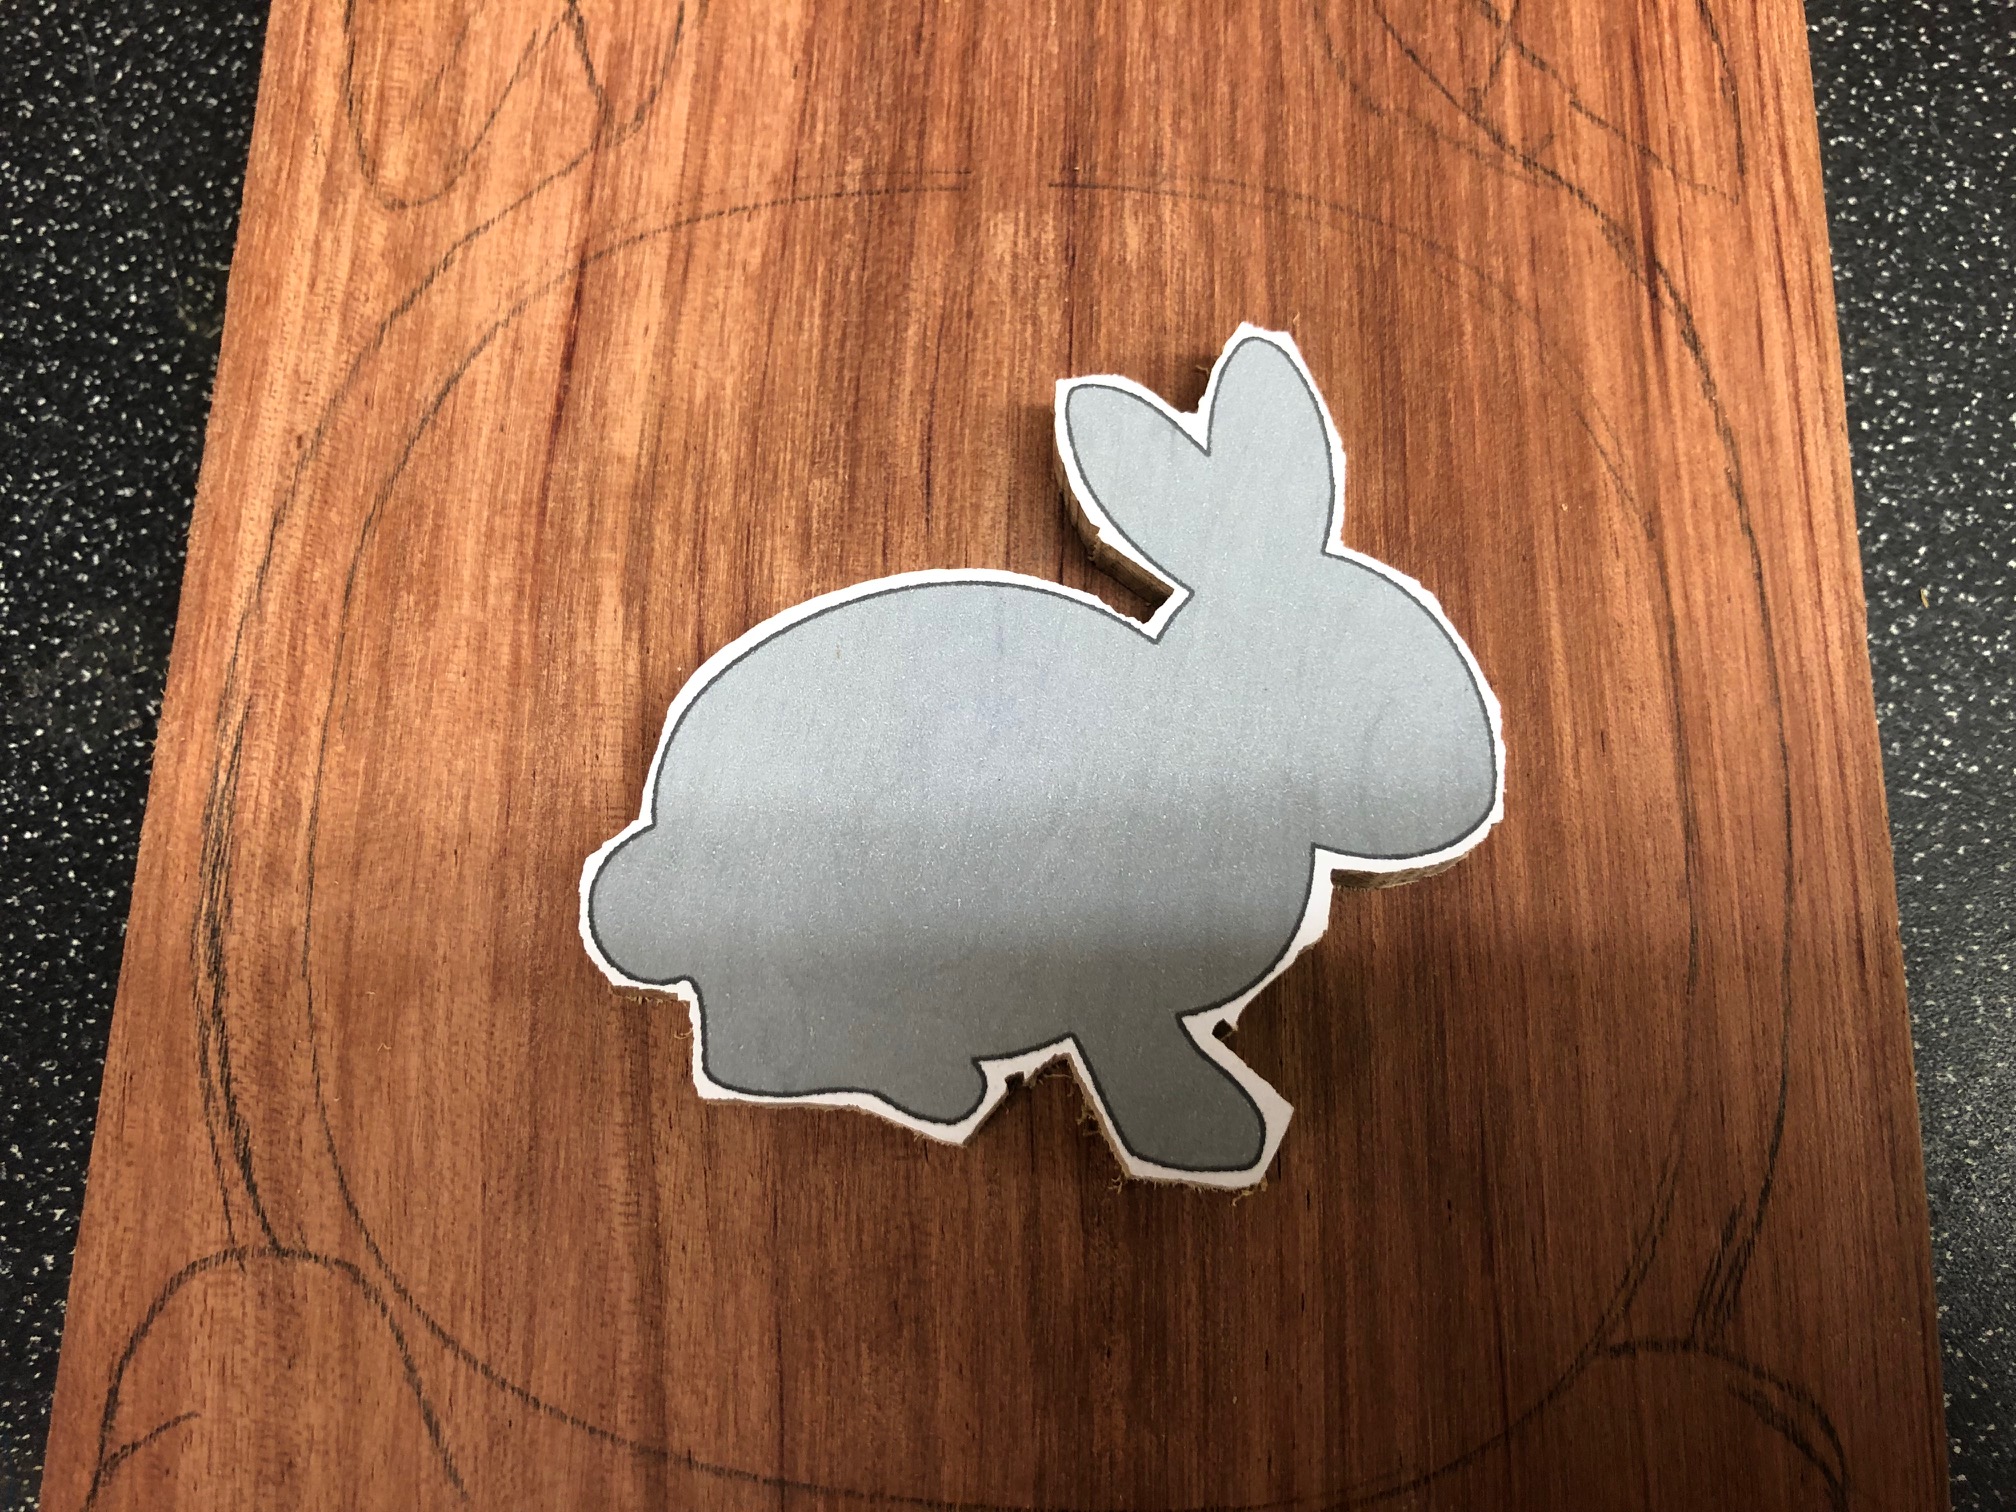
After a bit of sanding
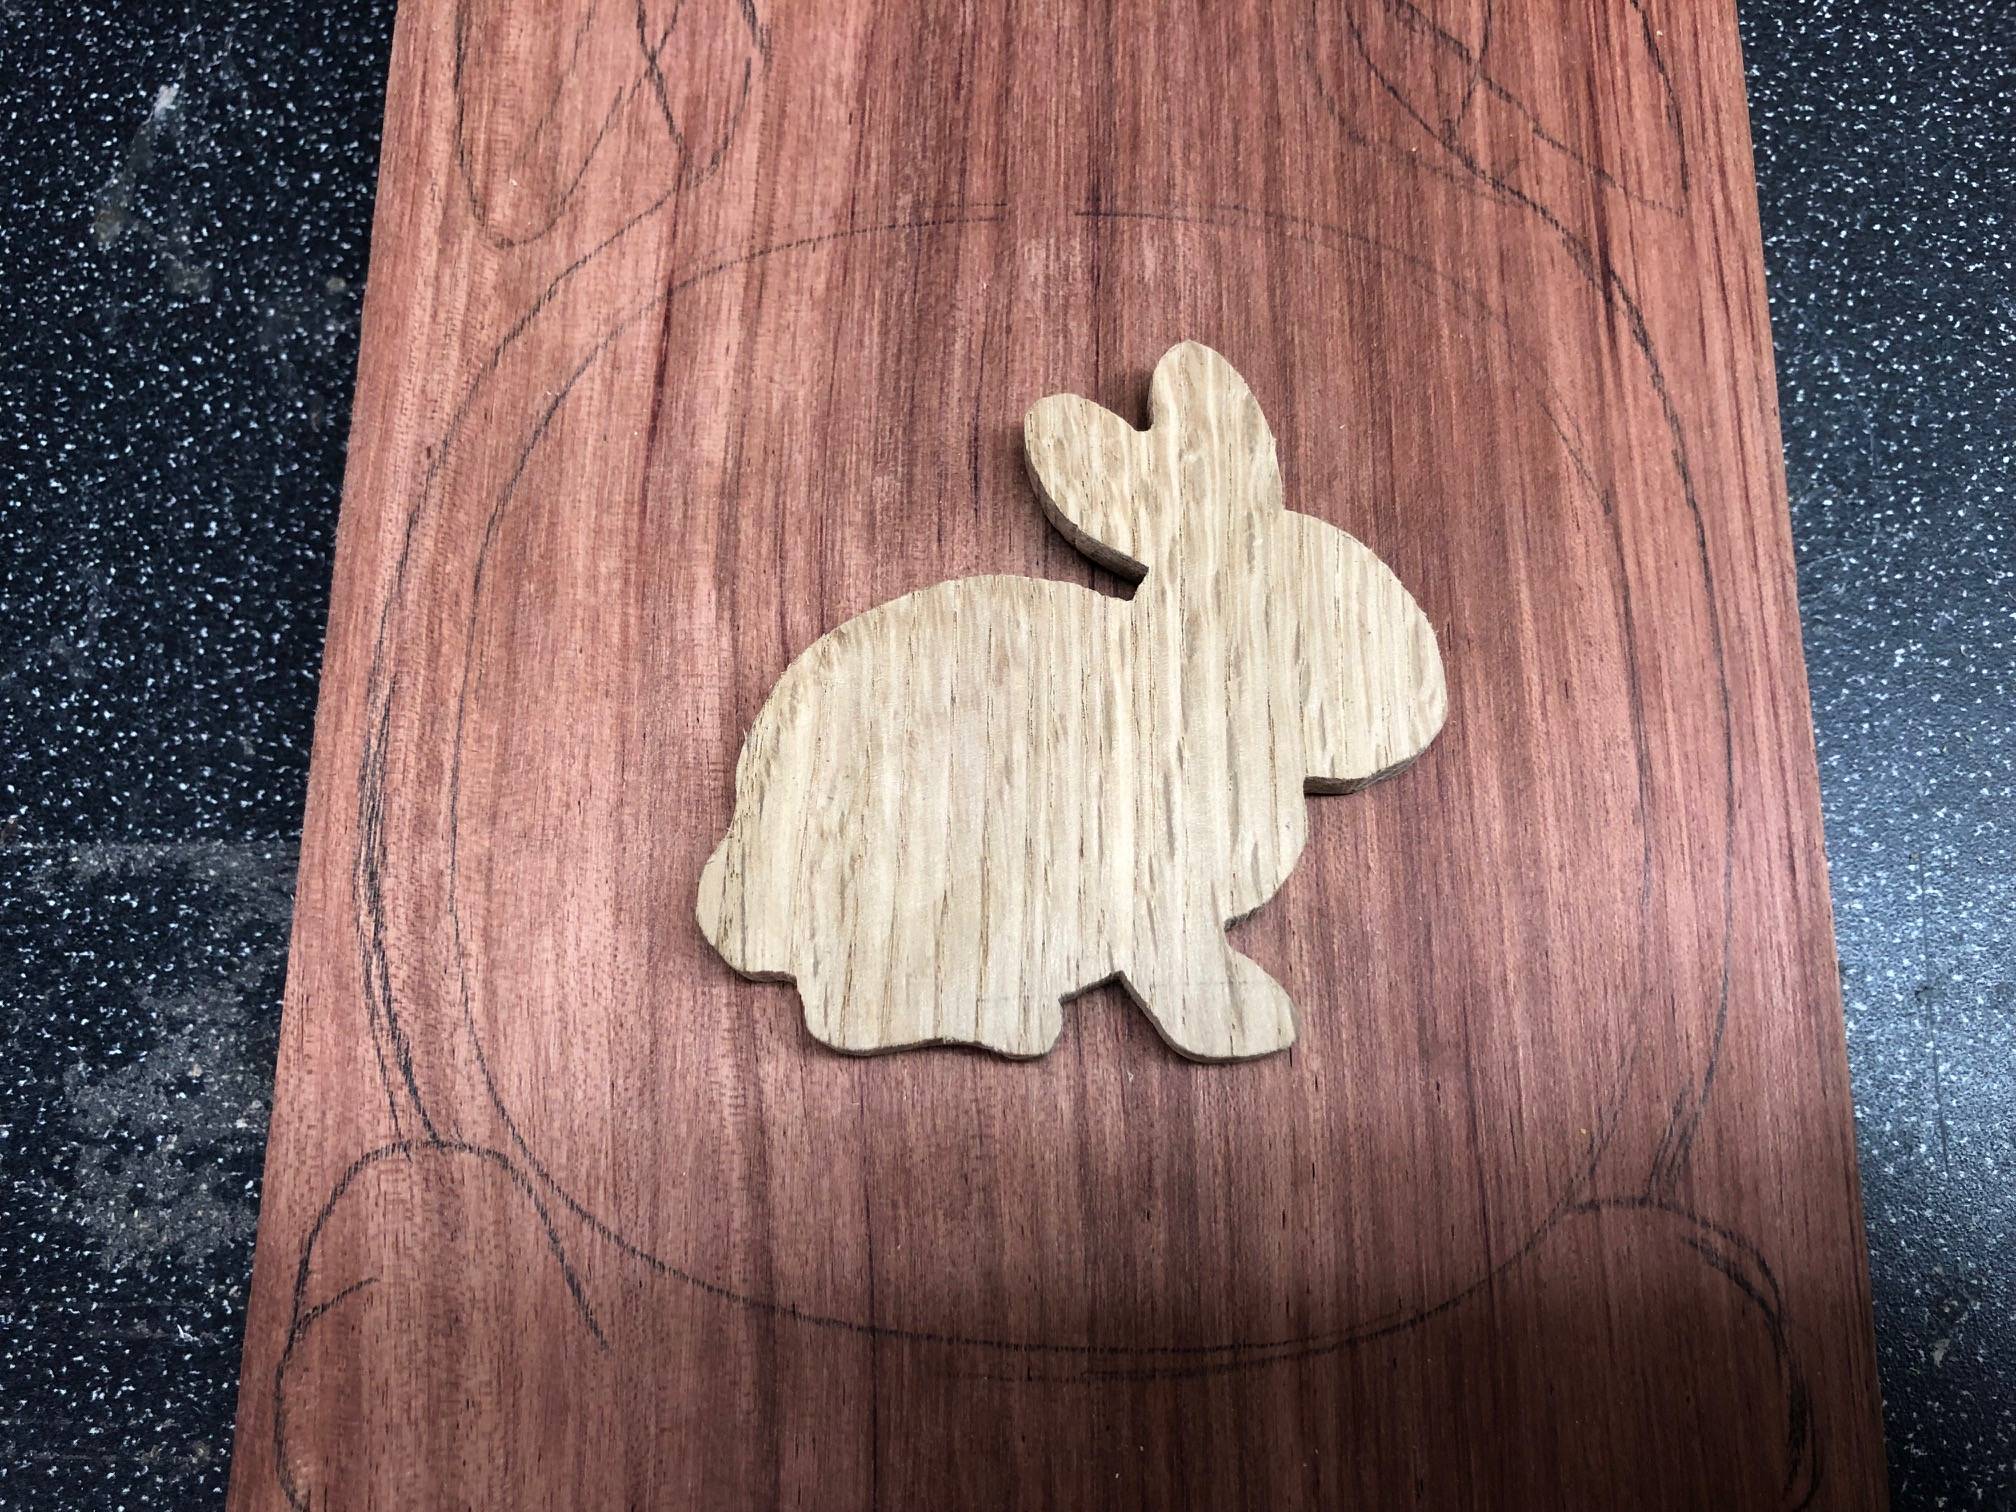
Now chance to use my new Dewalt toy to rout out the inlay cavity
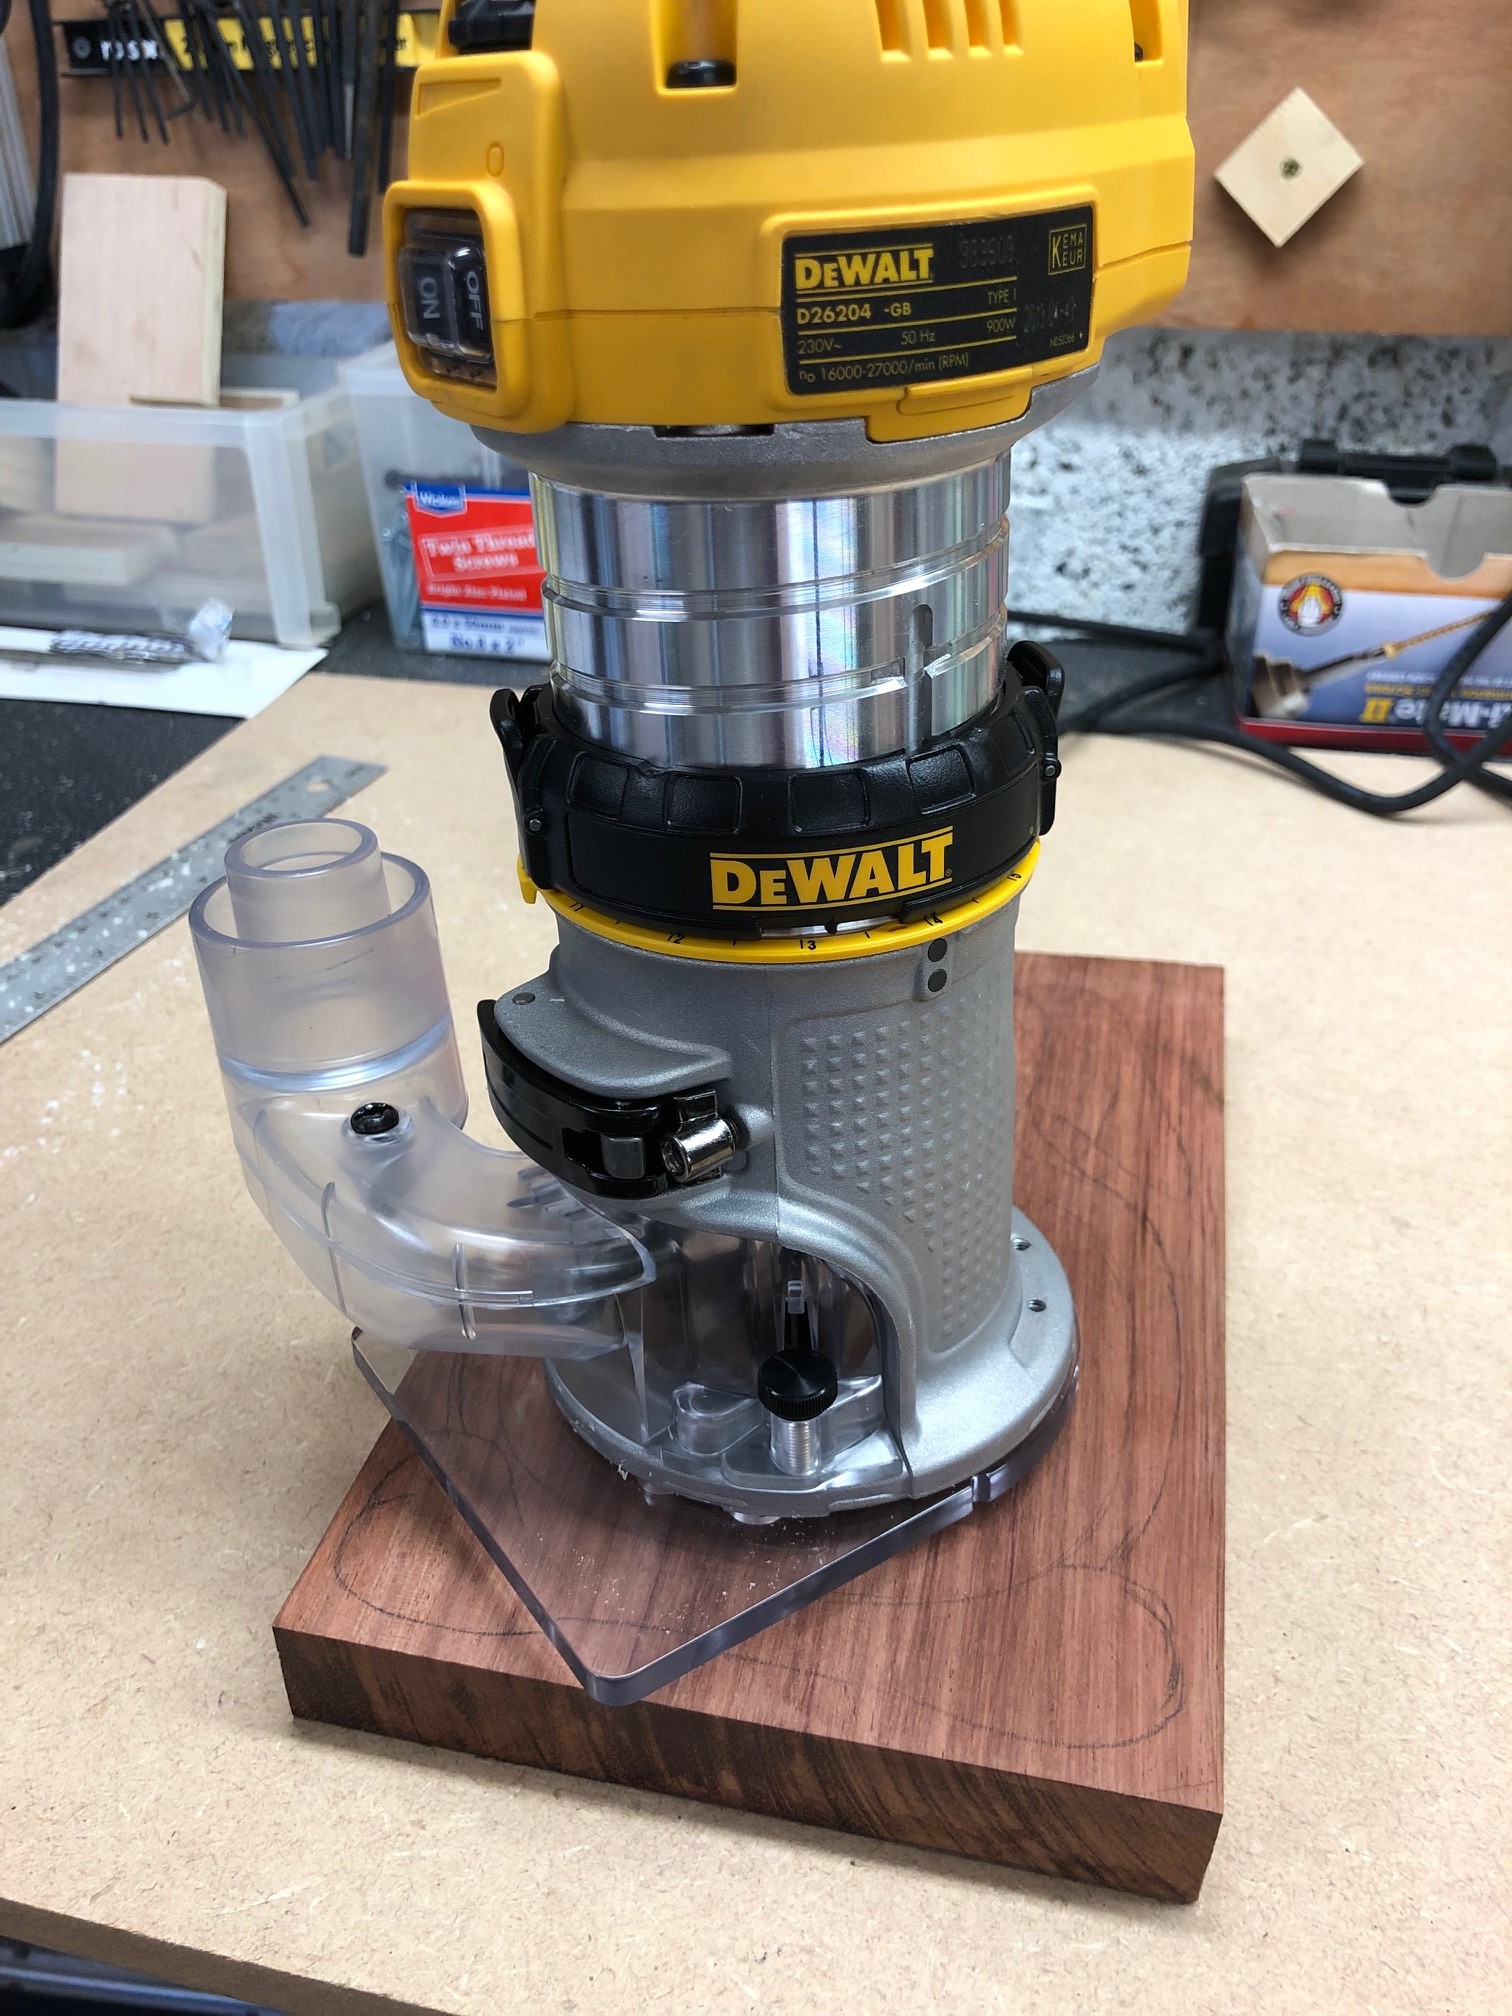
The dust extractor thing on fixed base does a fine job of removing dust but makes it hard to see where you're going, took it off in the end.
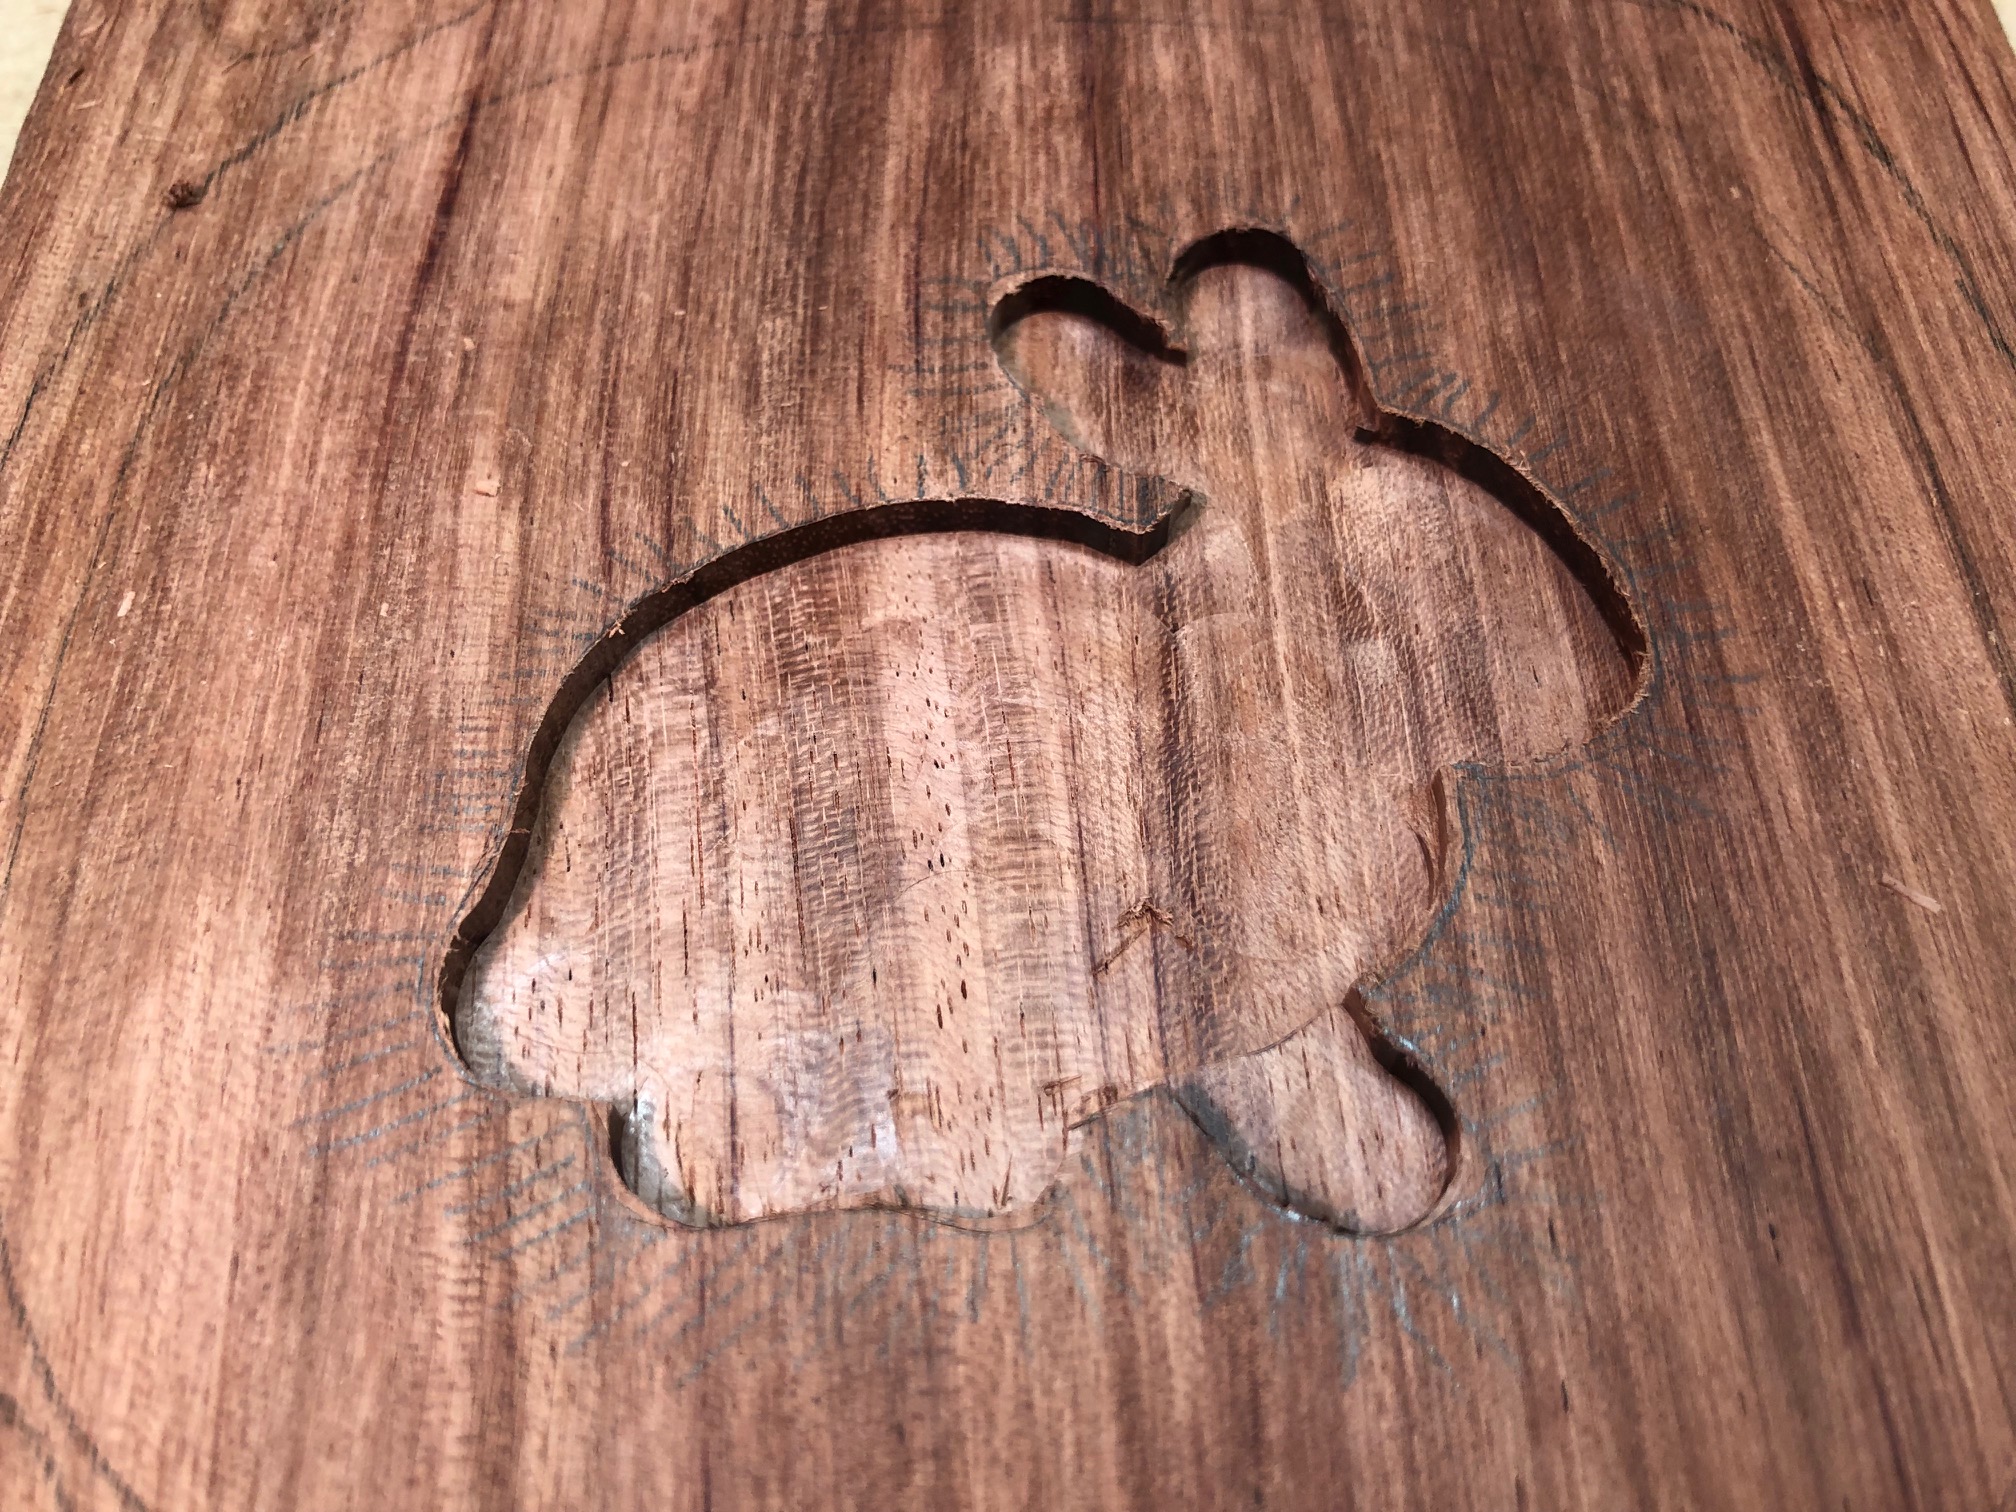
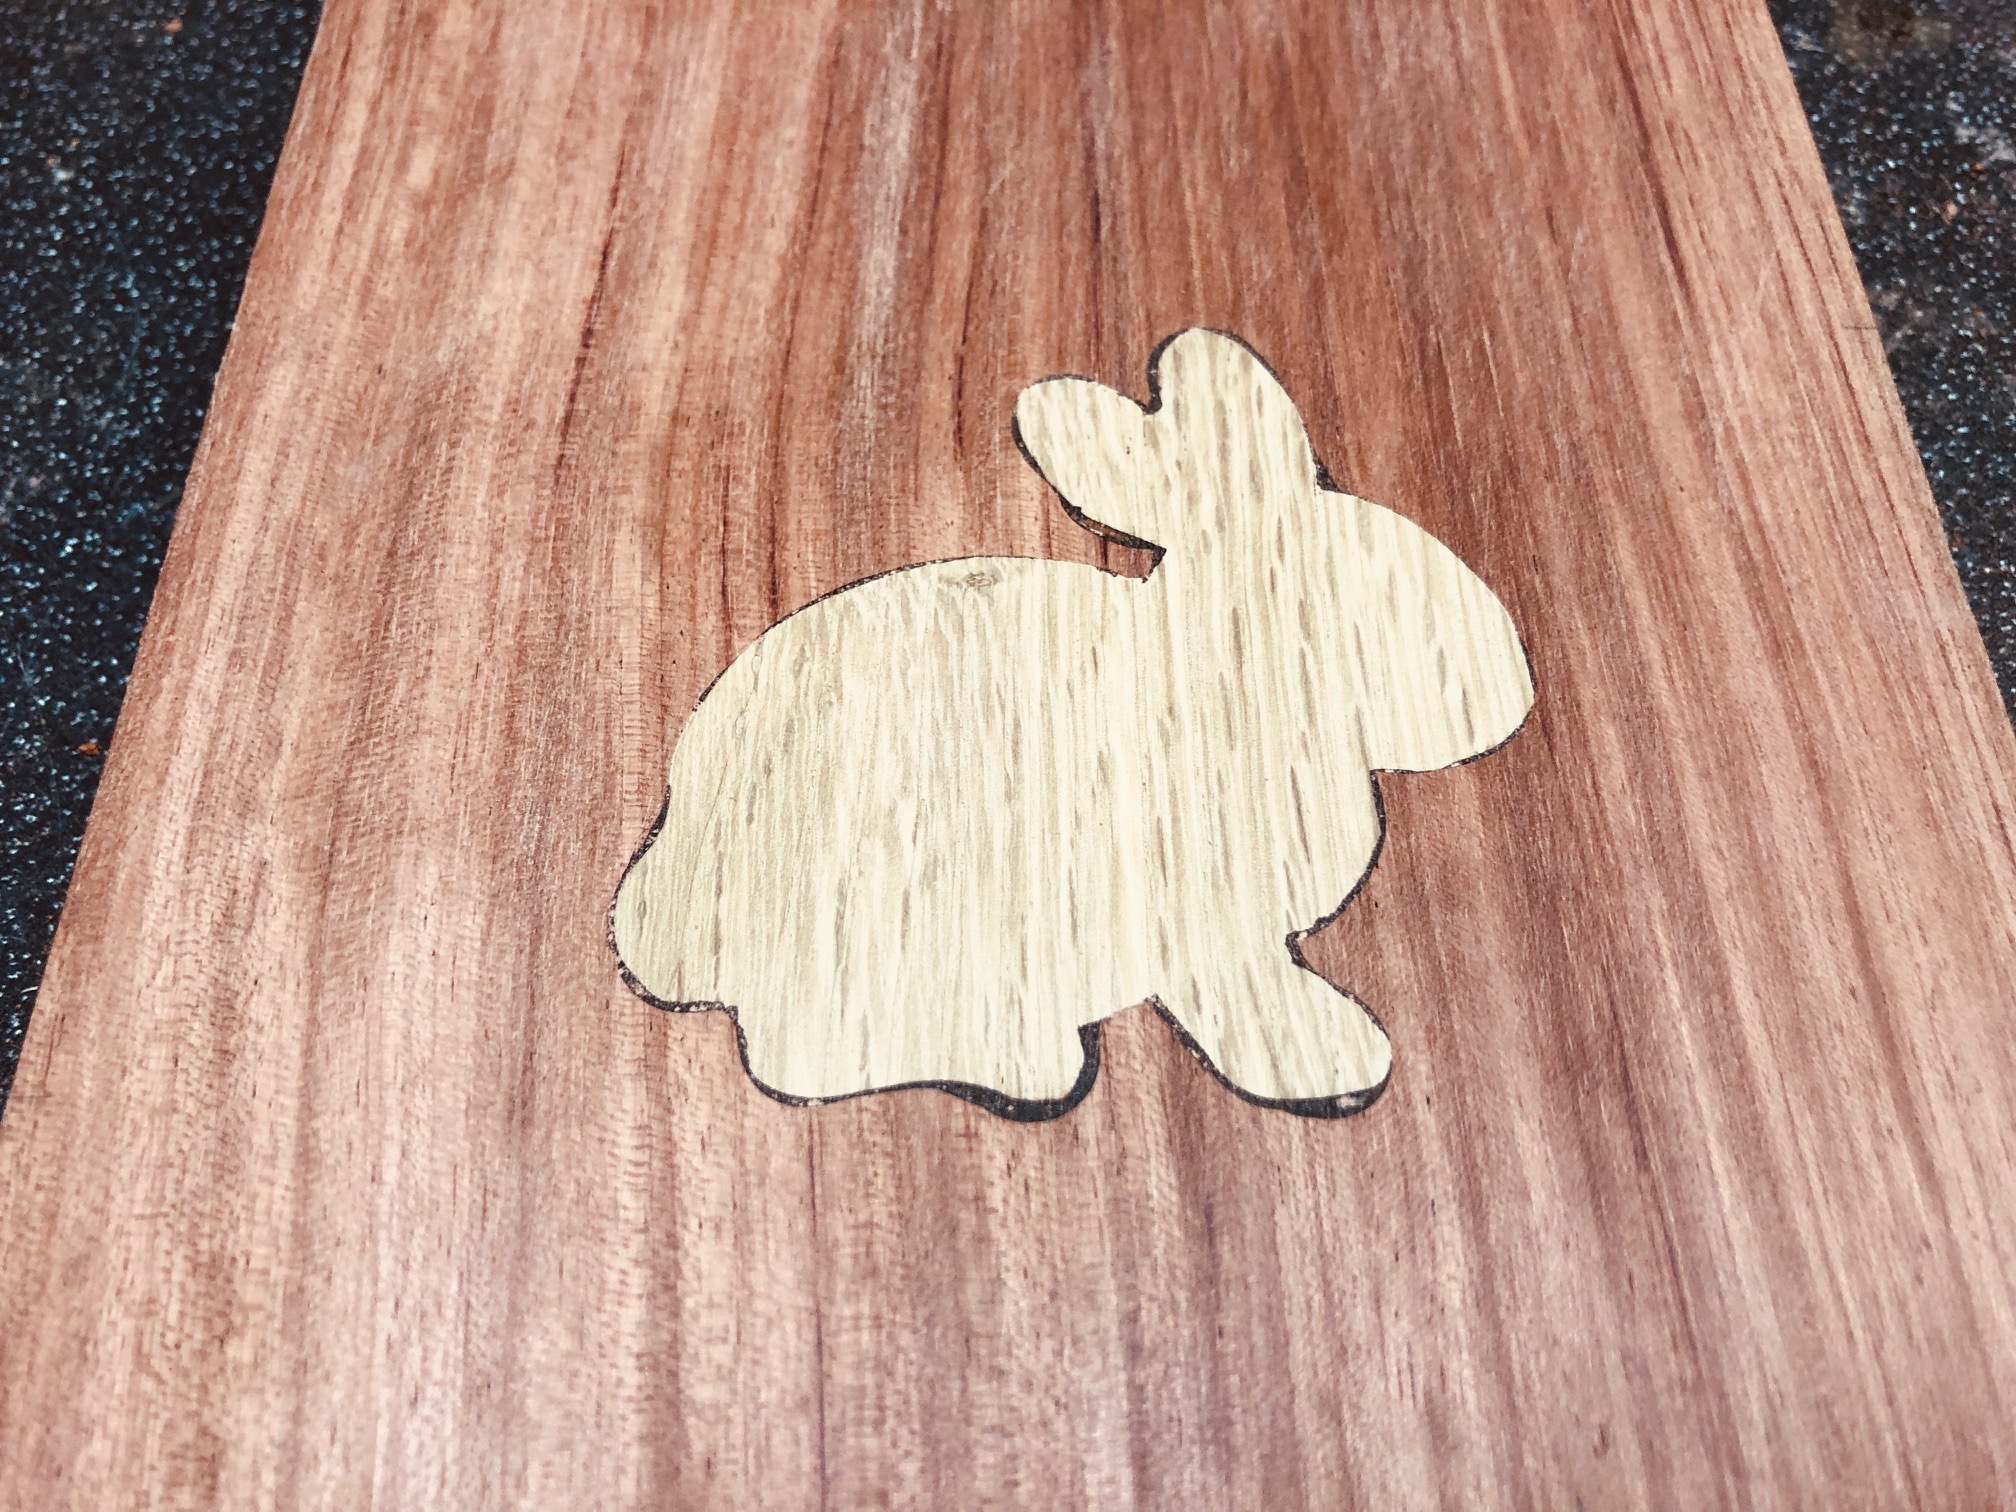
Not very happy with it but the bunny's in and the many f***ups filled with bubinga sawdust and glue, hoping once the finish is applied it will conceal some of my sloppiness.
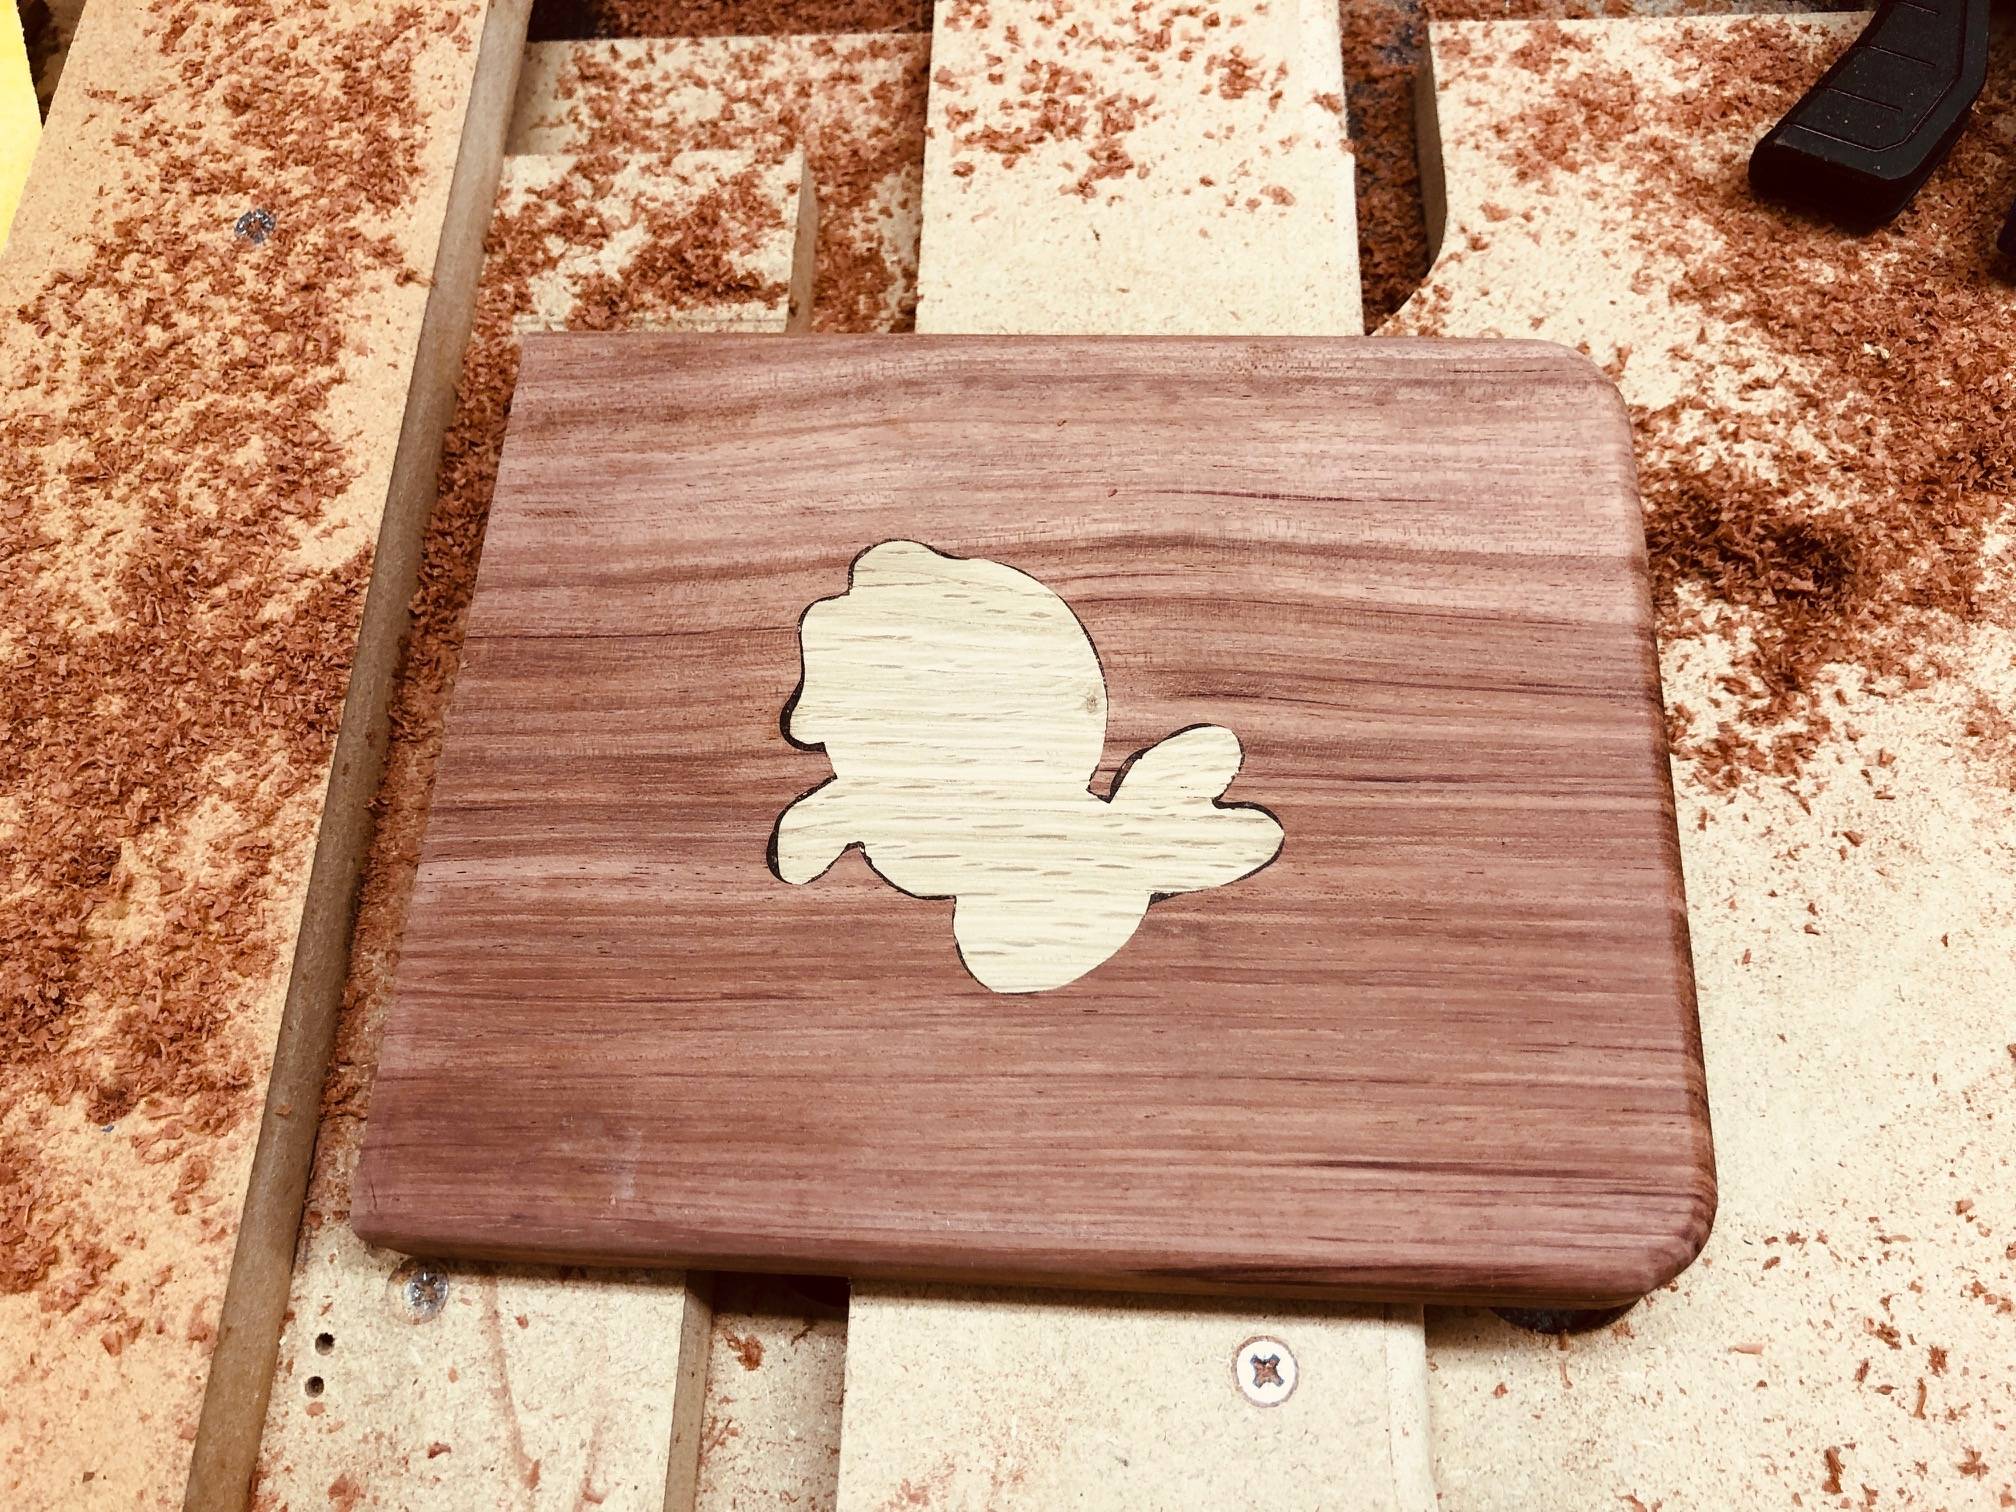
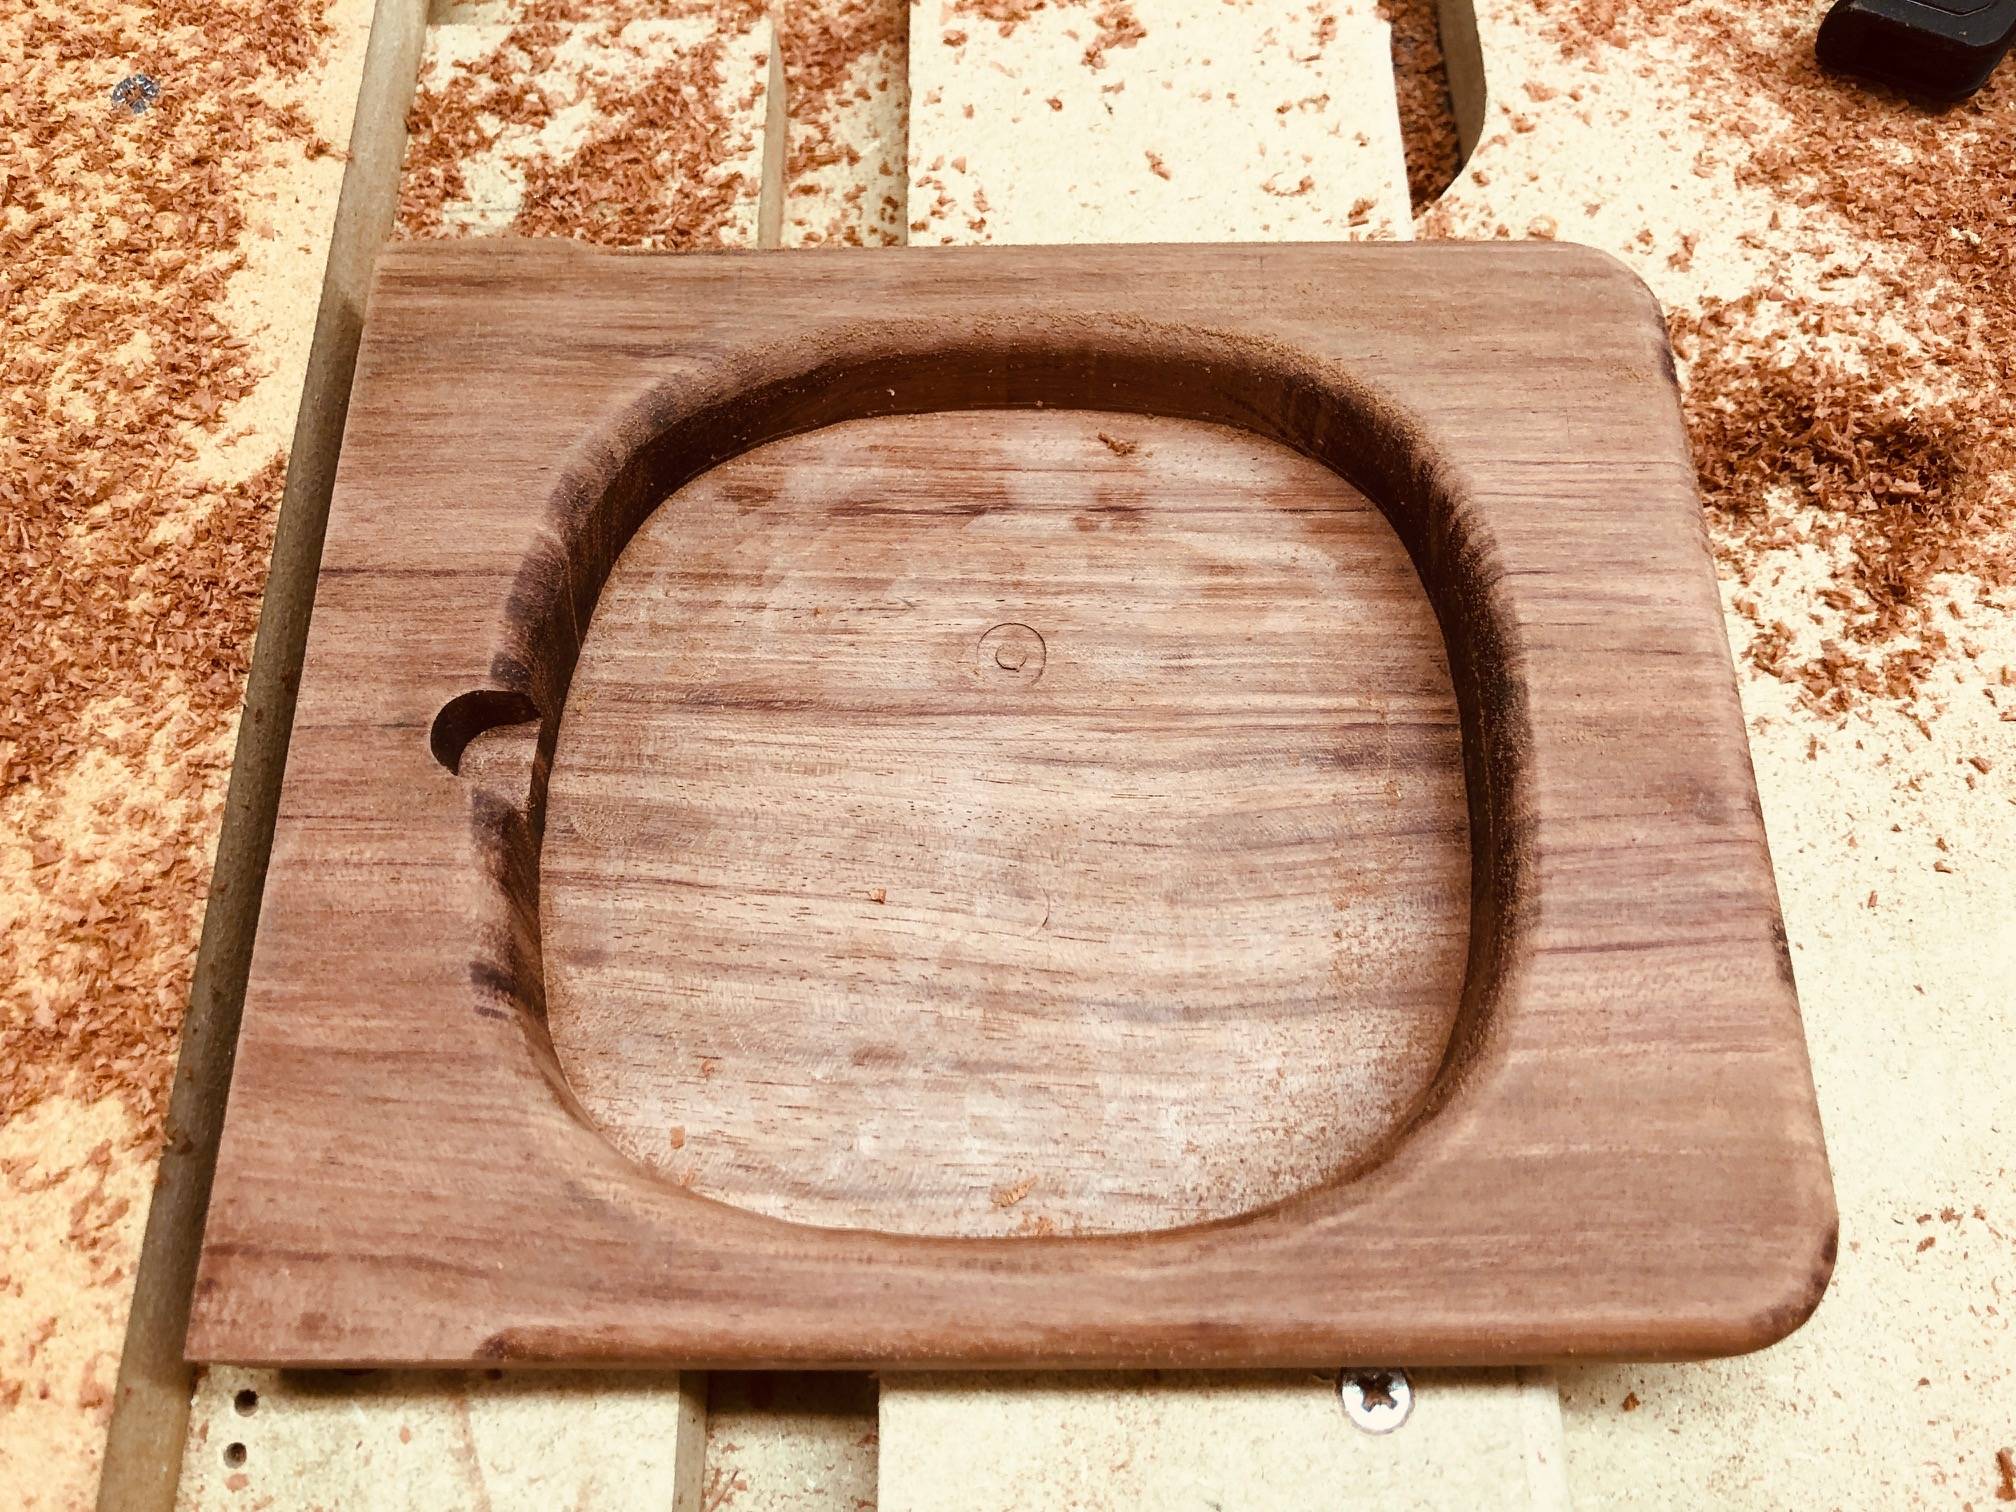
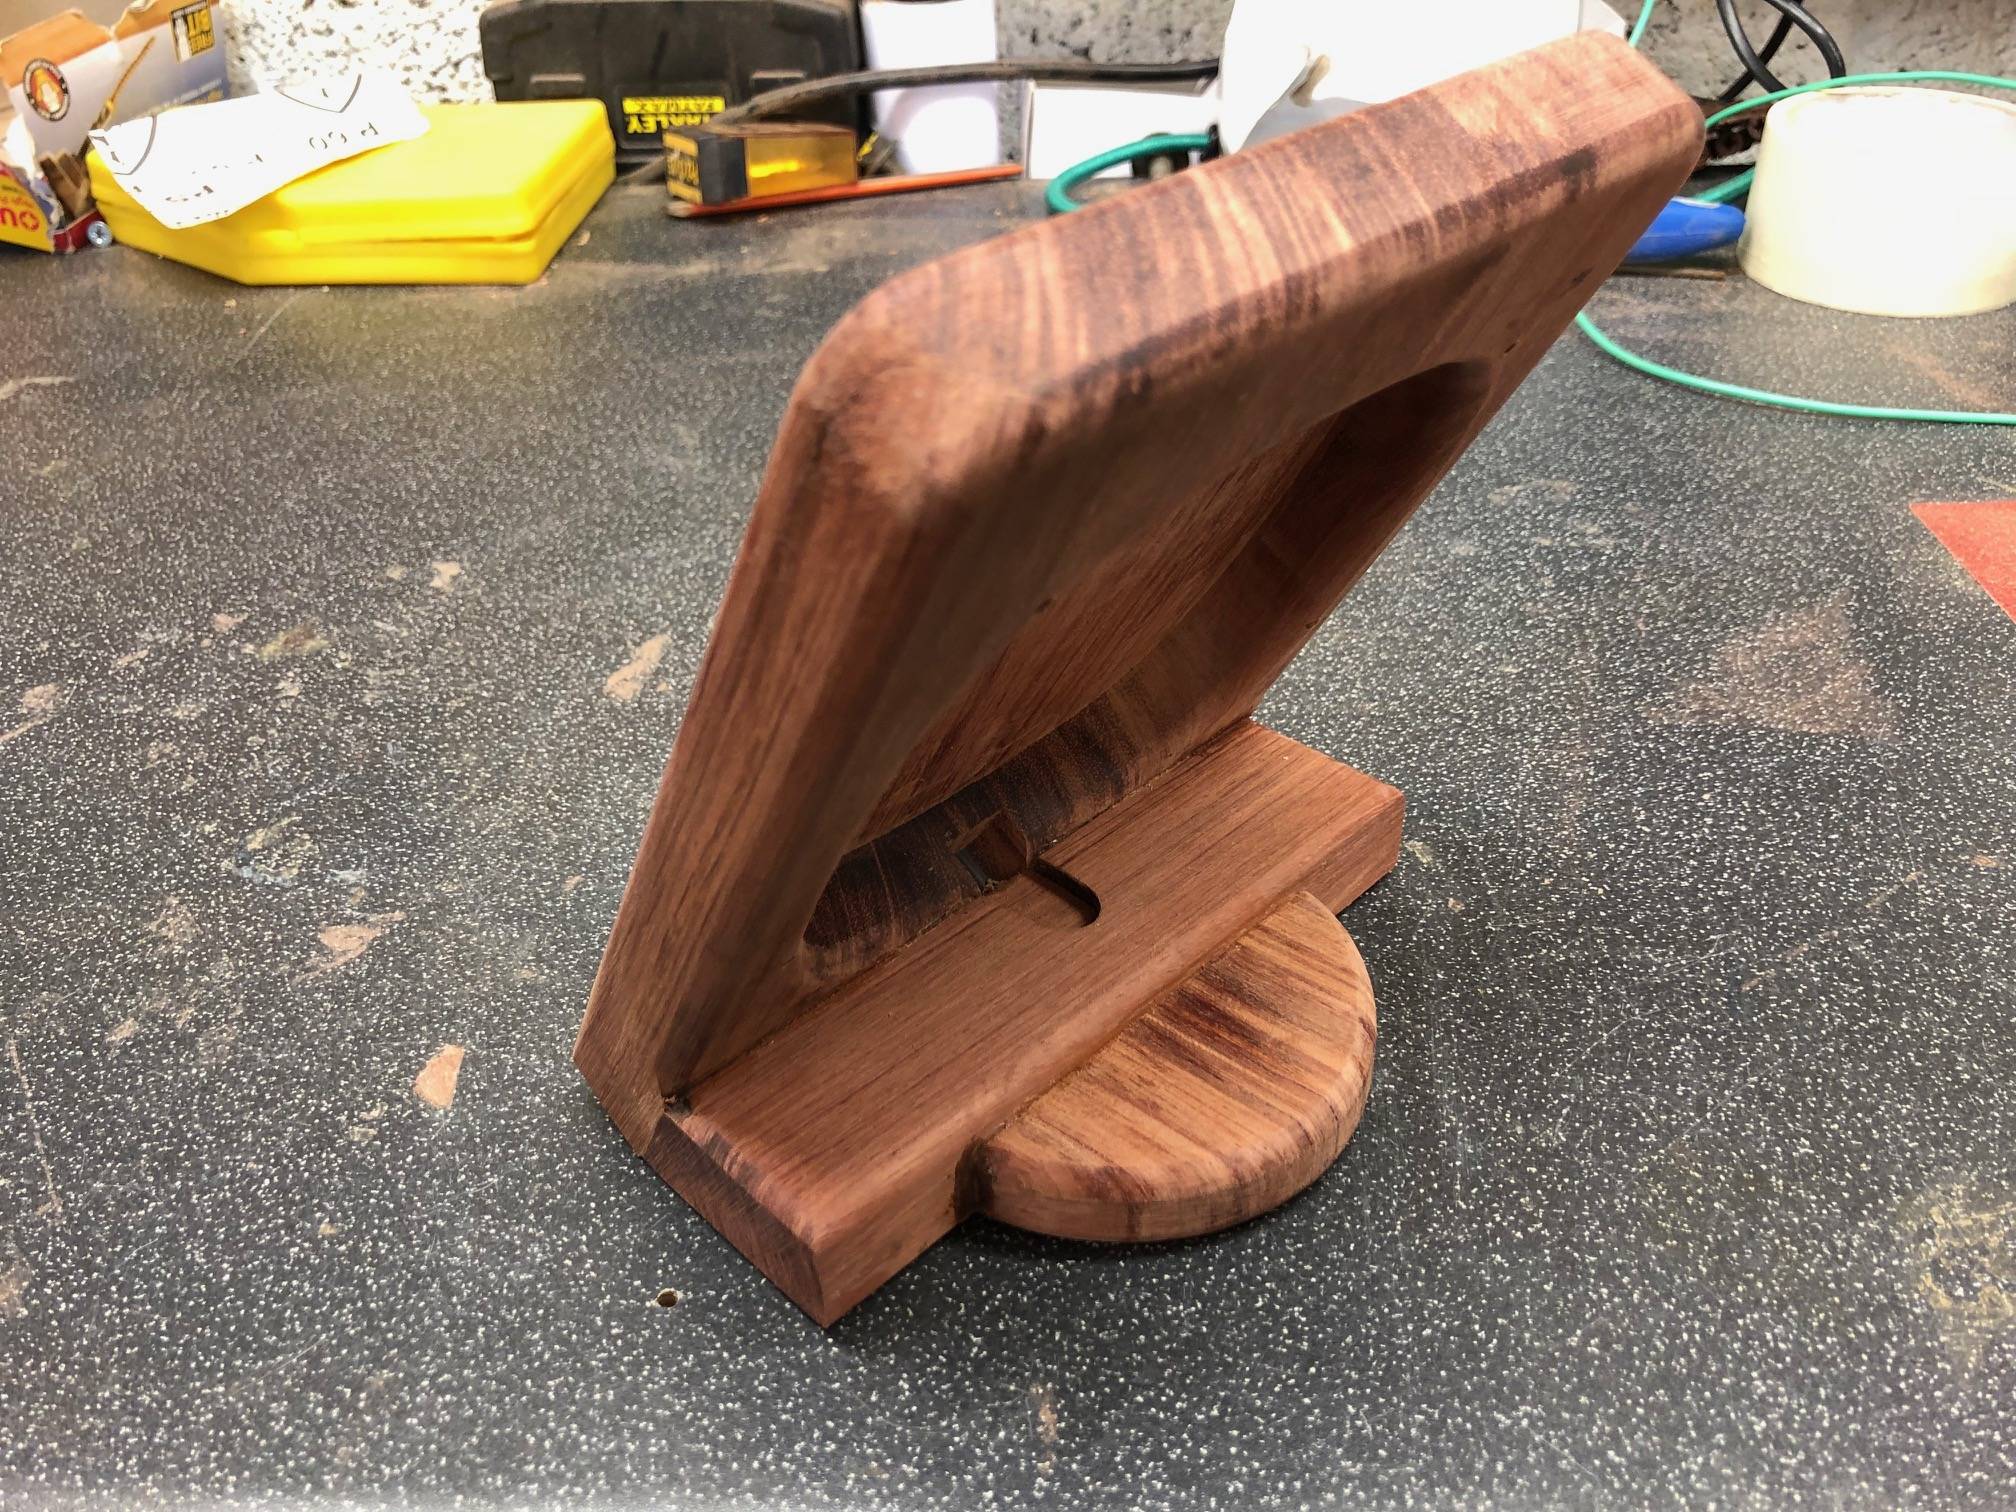
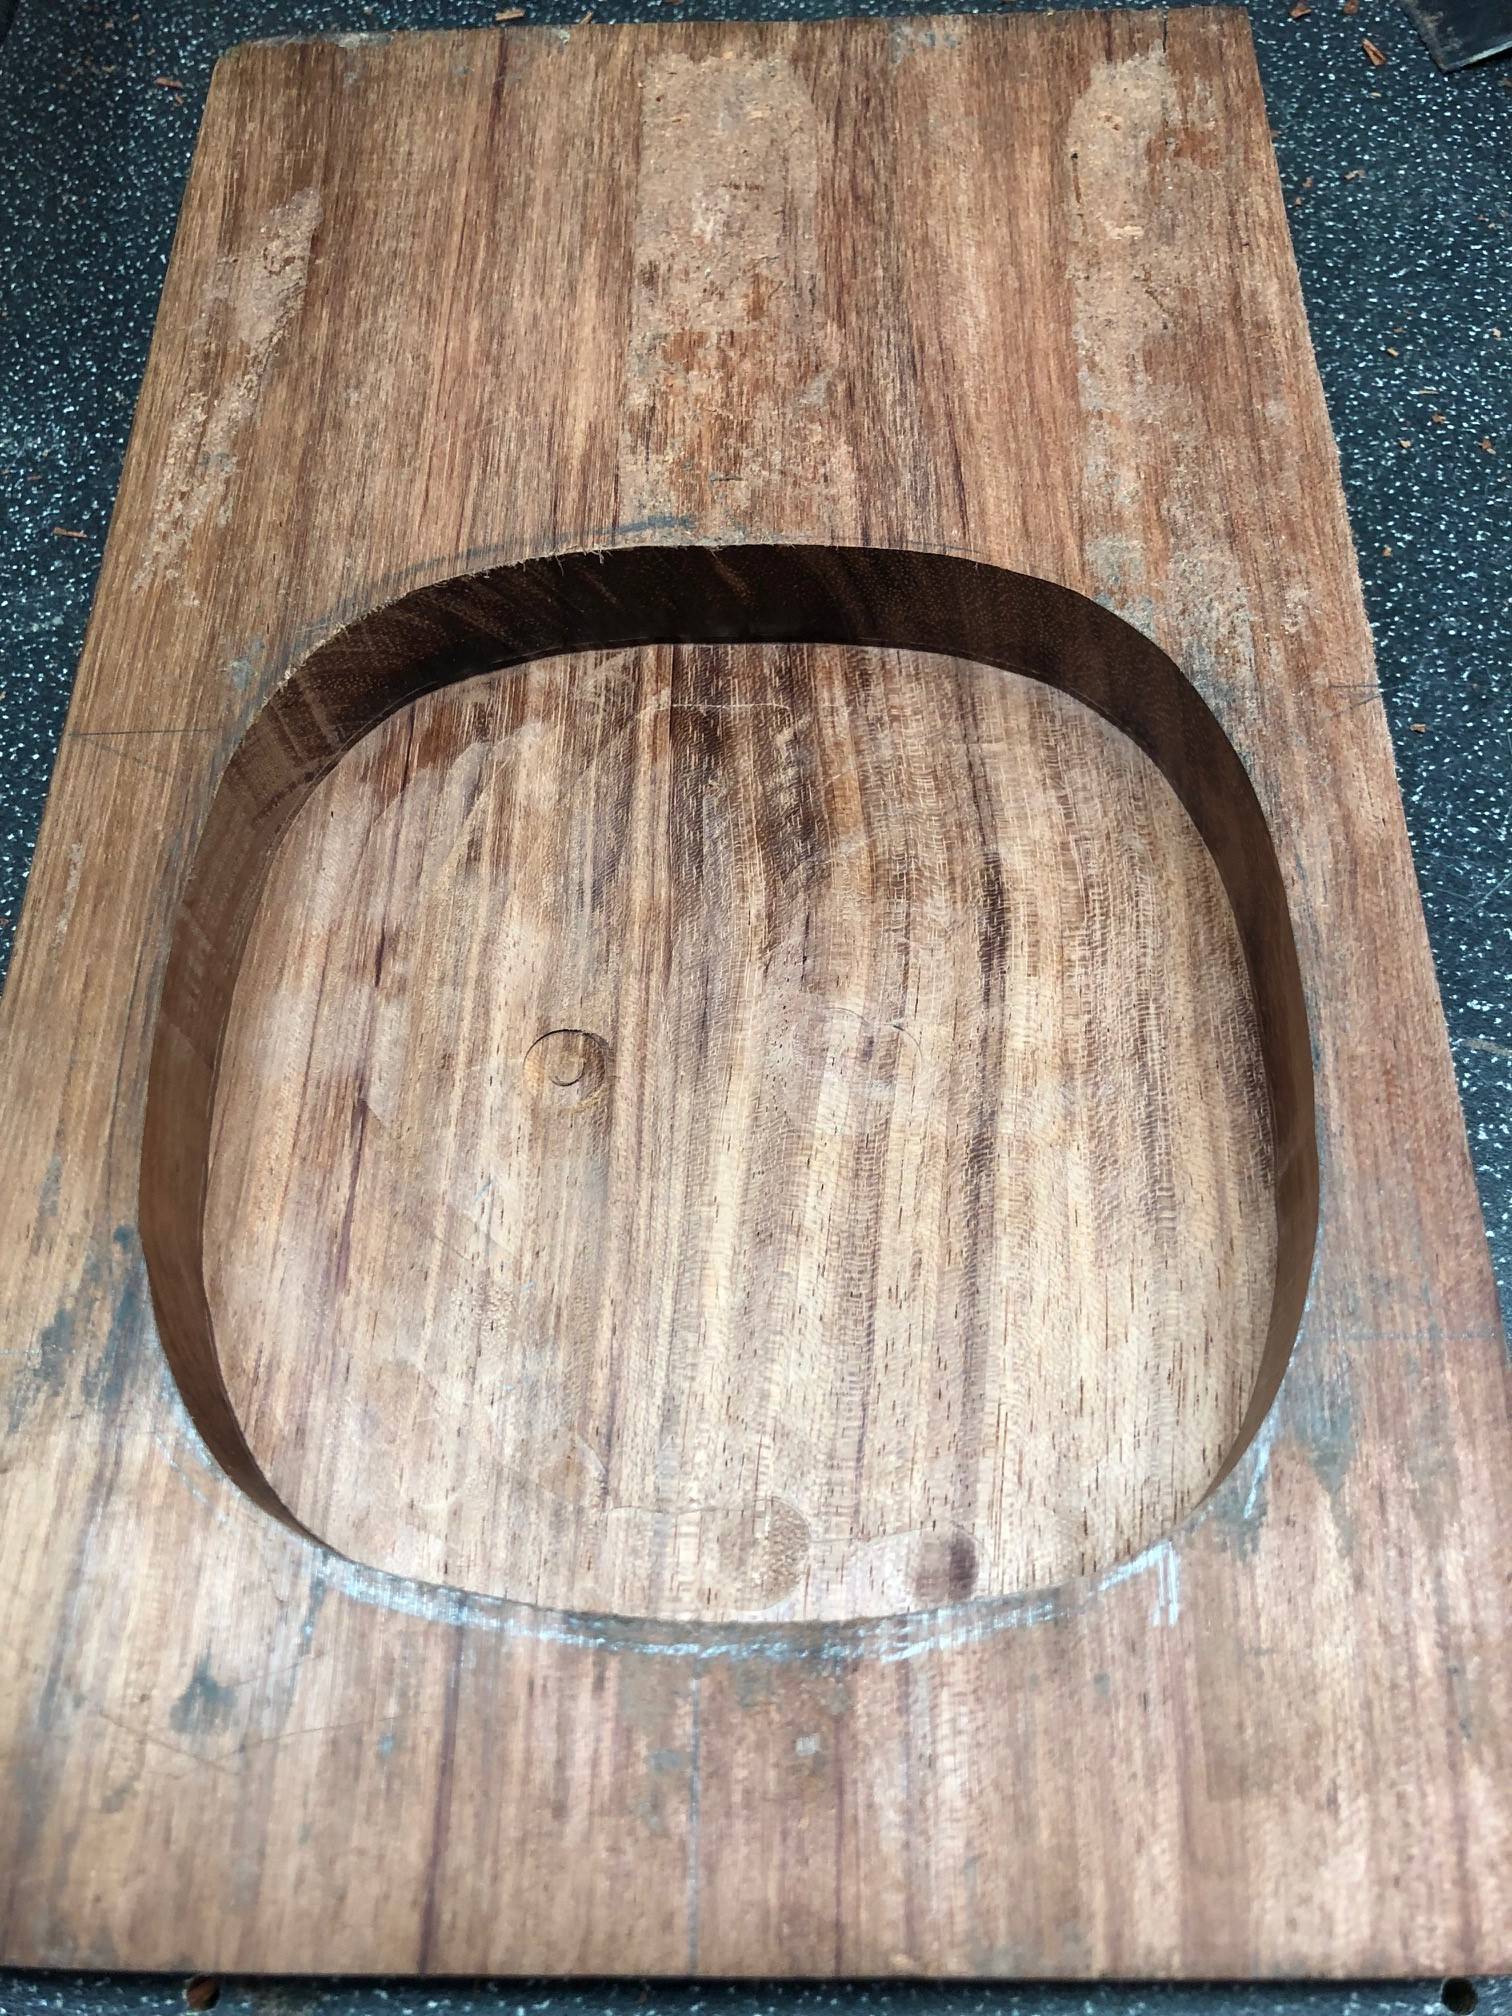
Next job to rout out the big cavity for the Belkin charger. From tests on scraps it will charge through wood 5mm thick if the phone is naked, and about 3mm if the phone is in a case. I know she keeps her phone in a case so I've got to leave this wood pretty thin and rout it out leaving just a 3mm skin.
Thought I'd try and the plunge base on the router this time and wow, what a difference, can now use dust shield and see where I'm going.
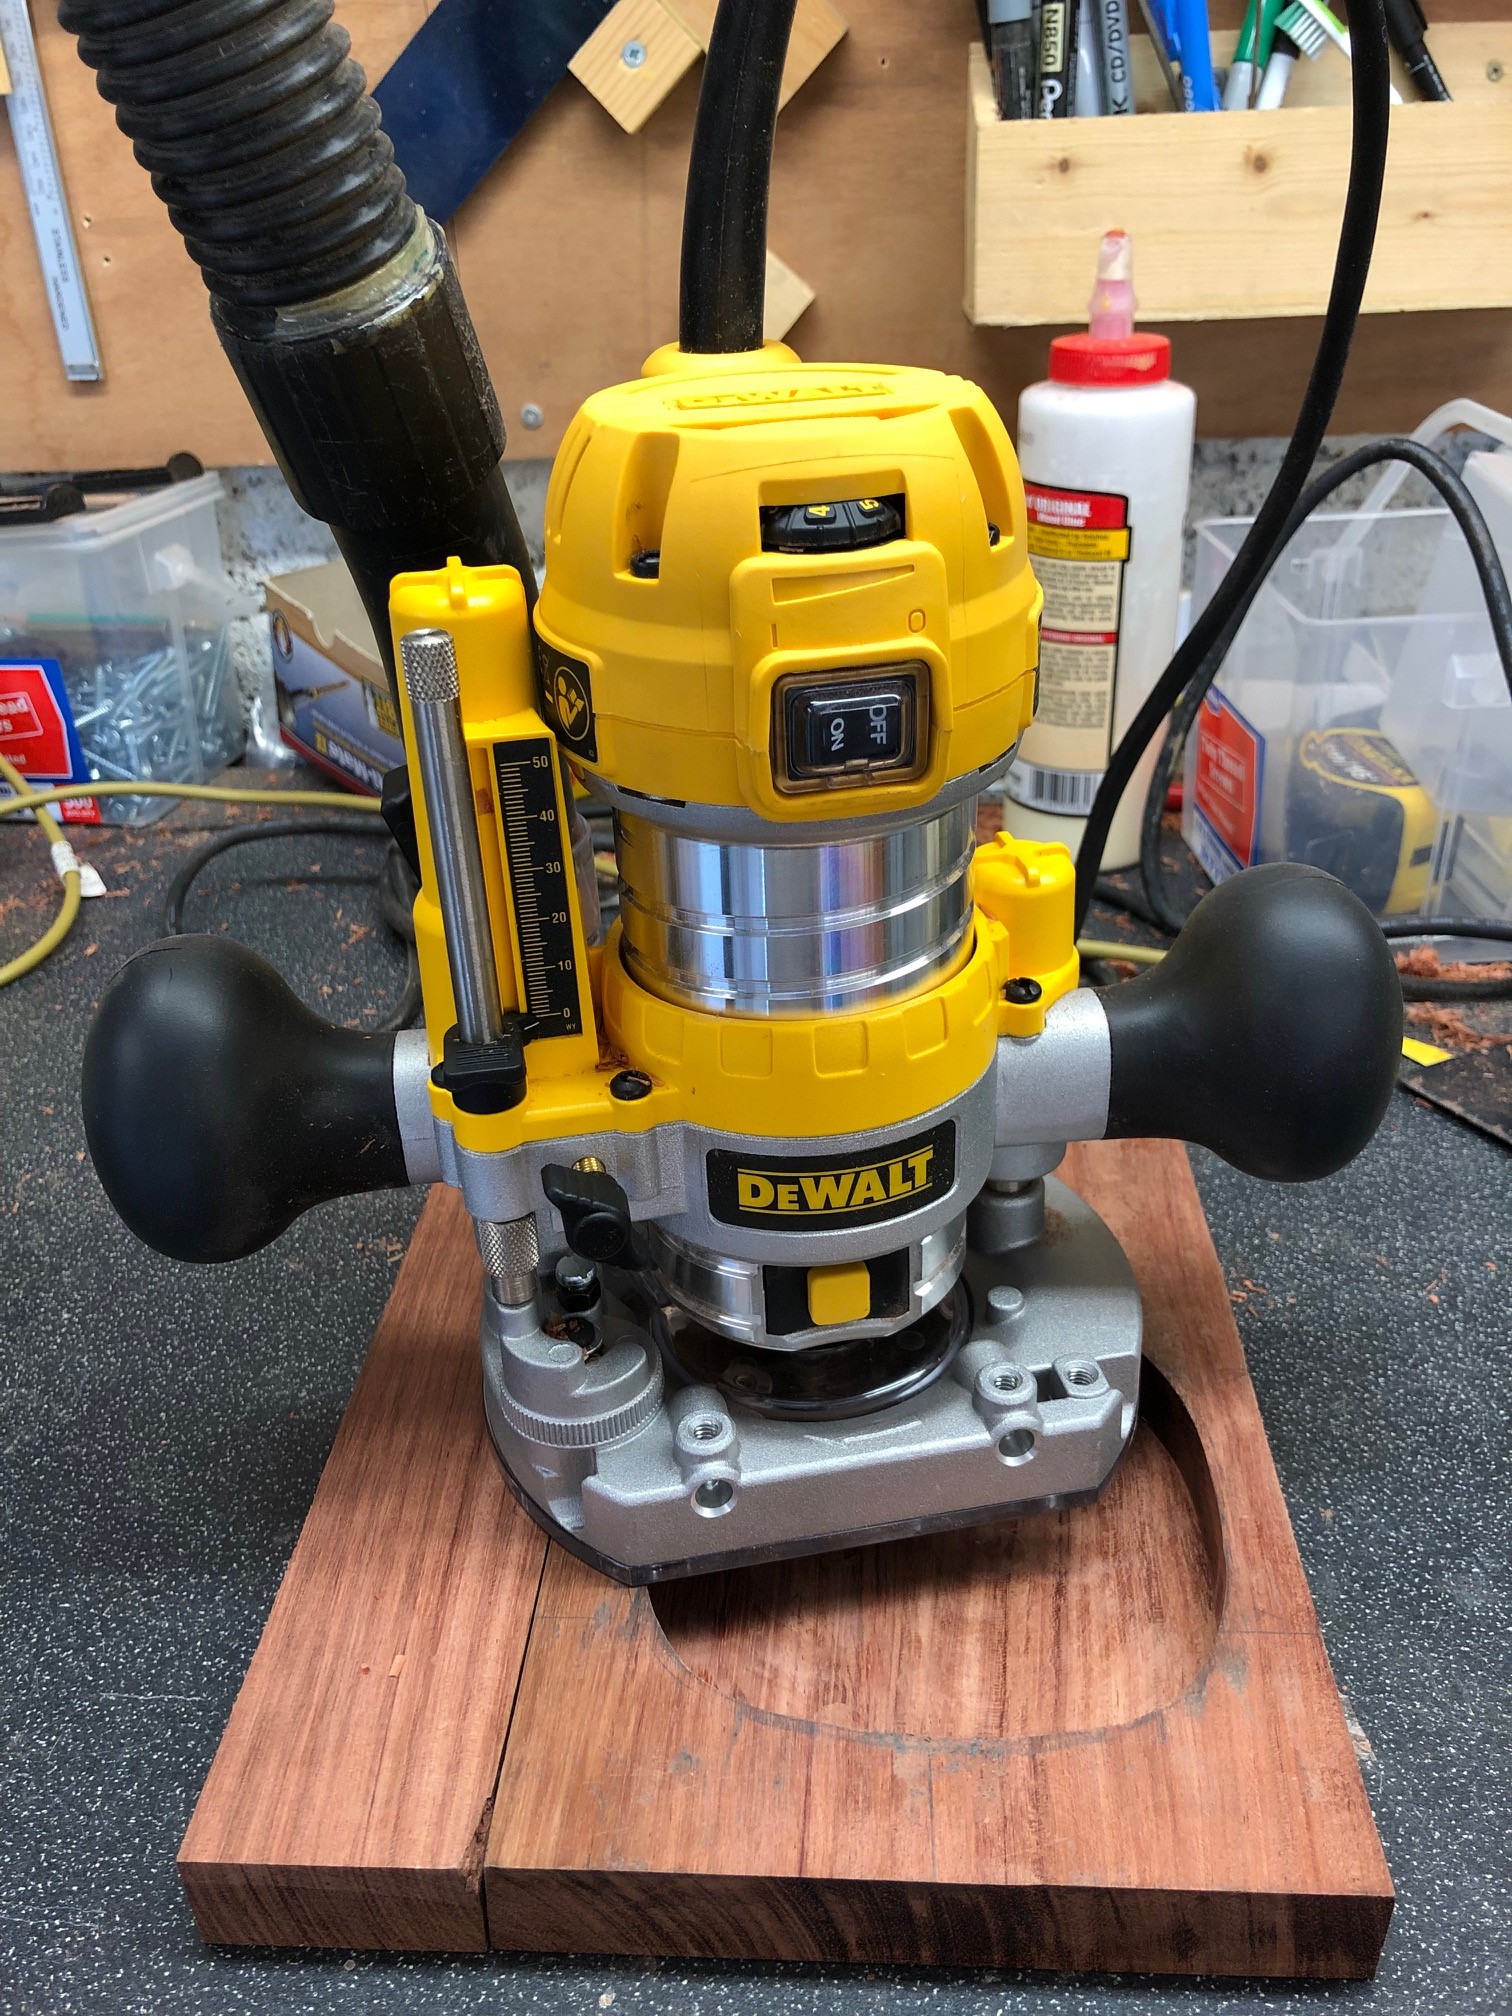
If I was smart I'd have used a forstner bit to hog out the bulk of the waste first, but I'm an idiot so I didn't. One little mishap but otherwise job done.
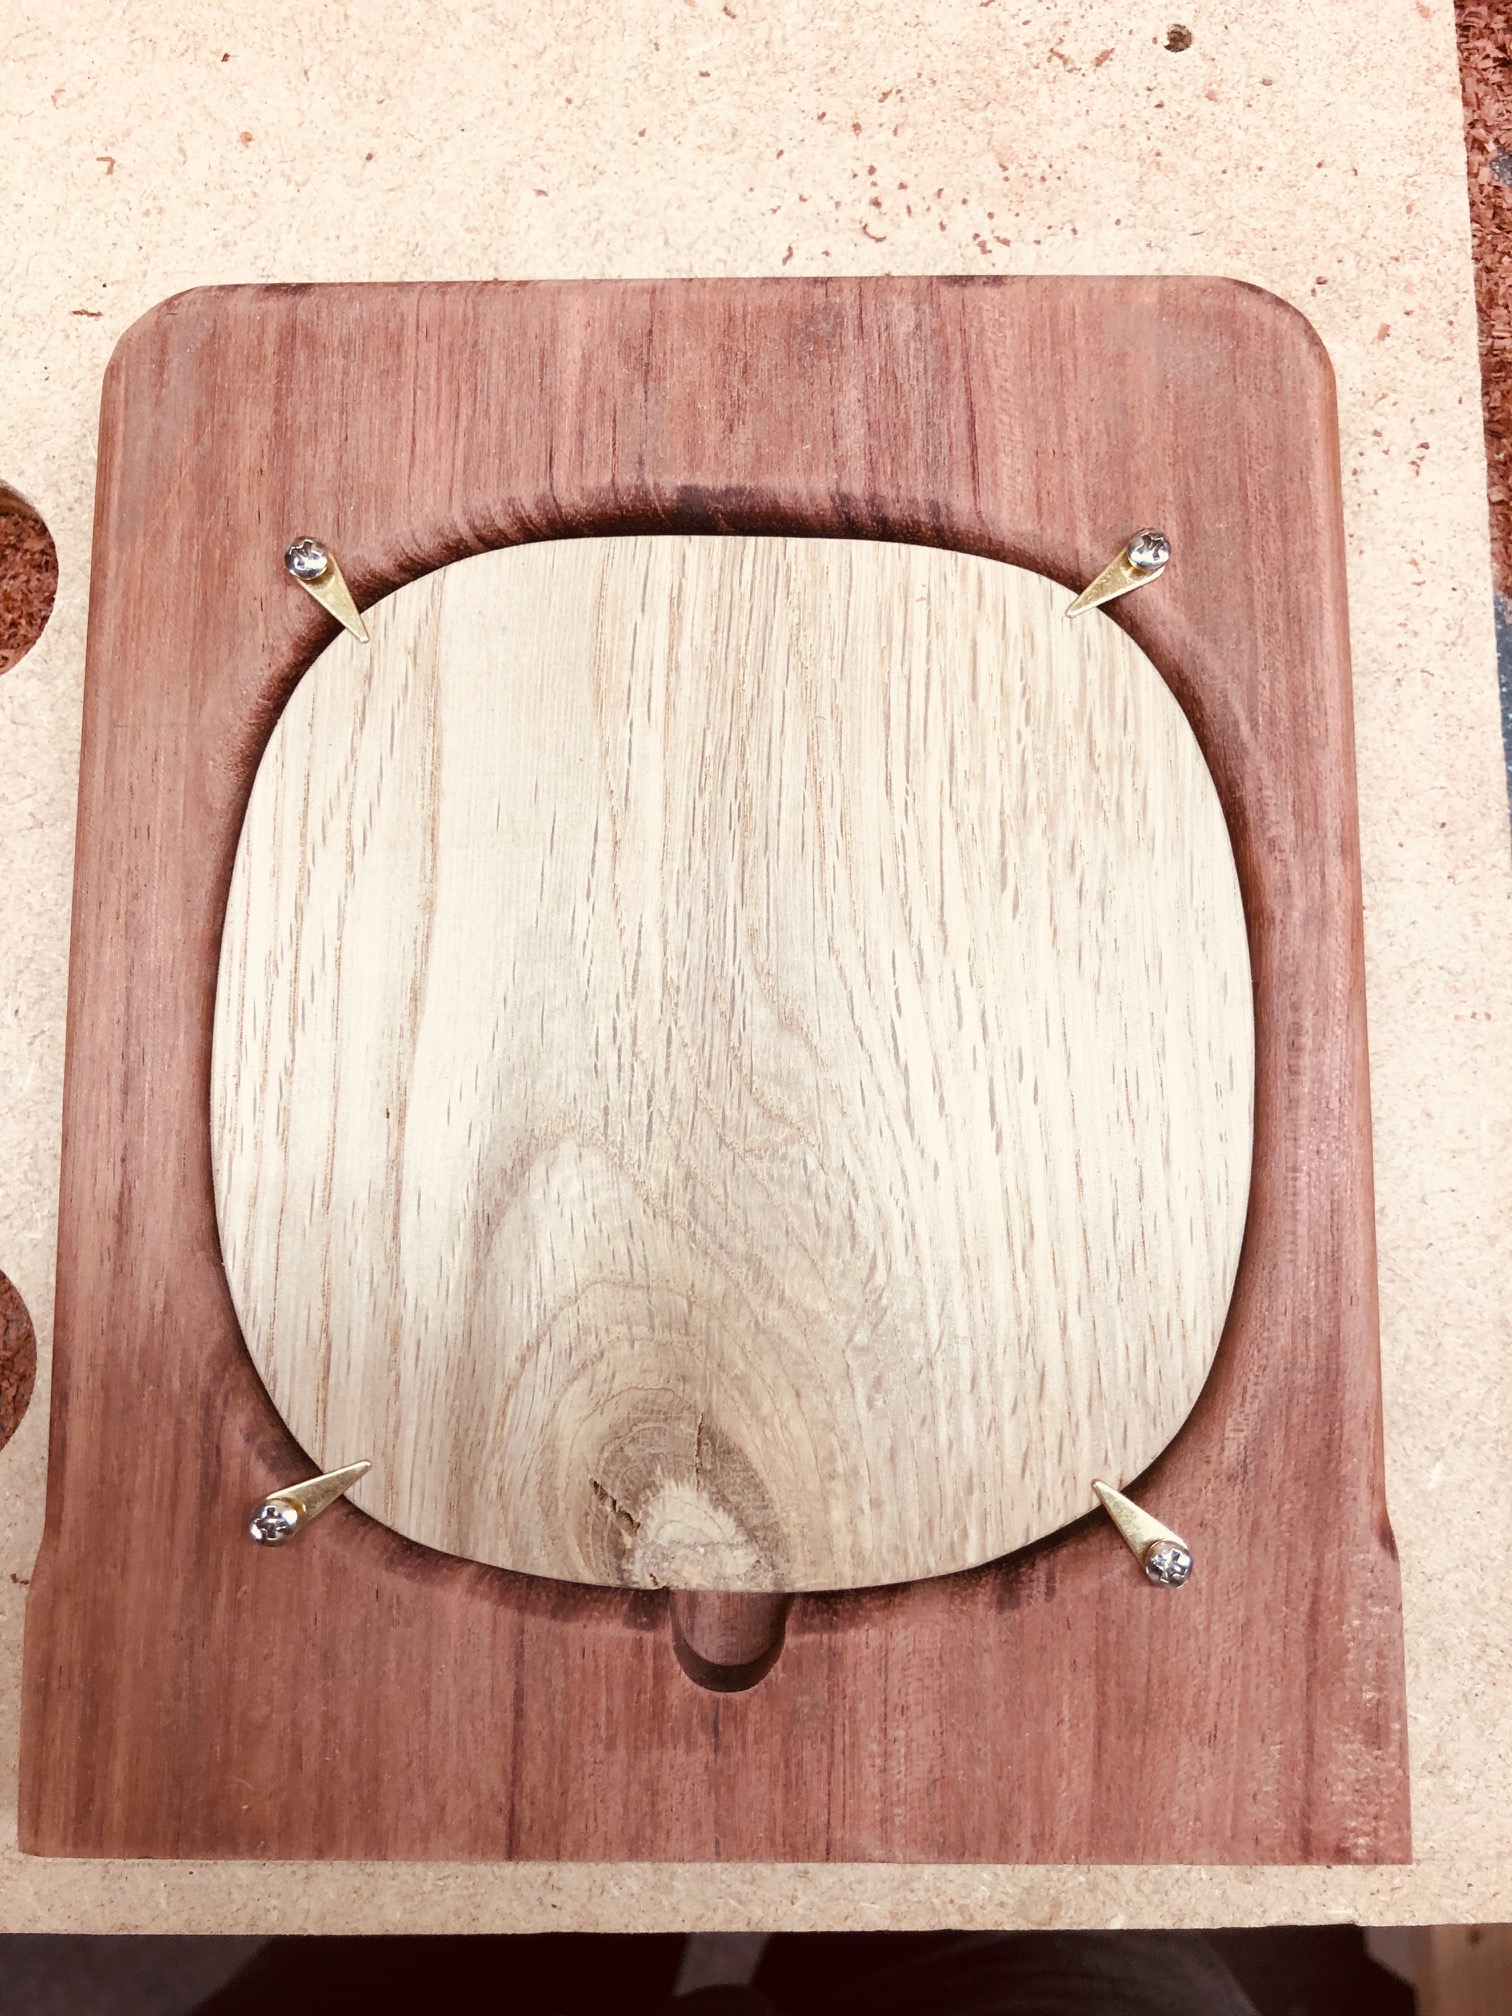
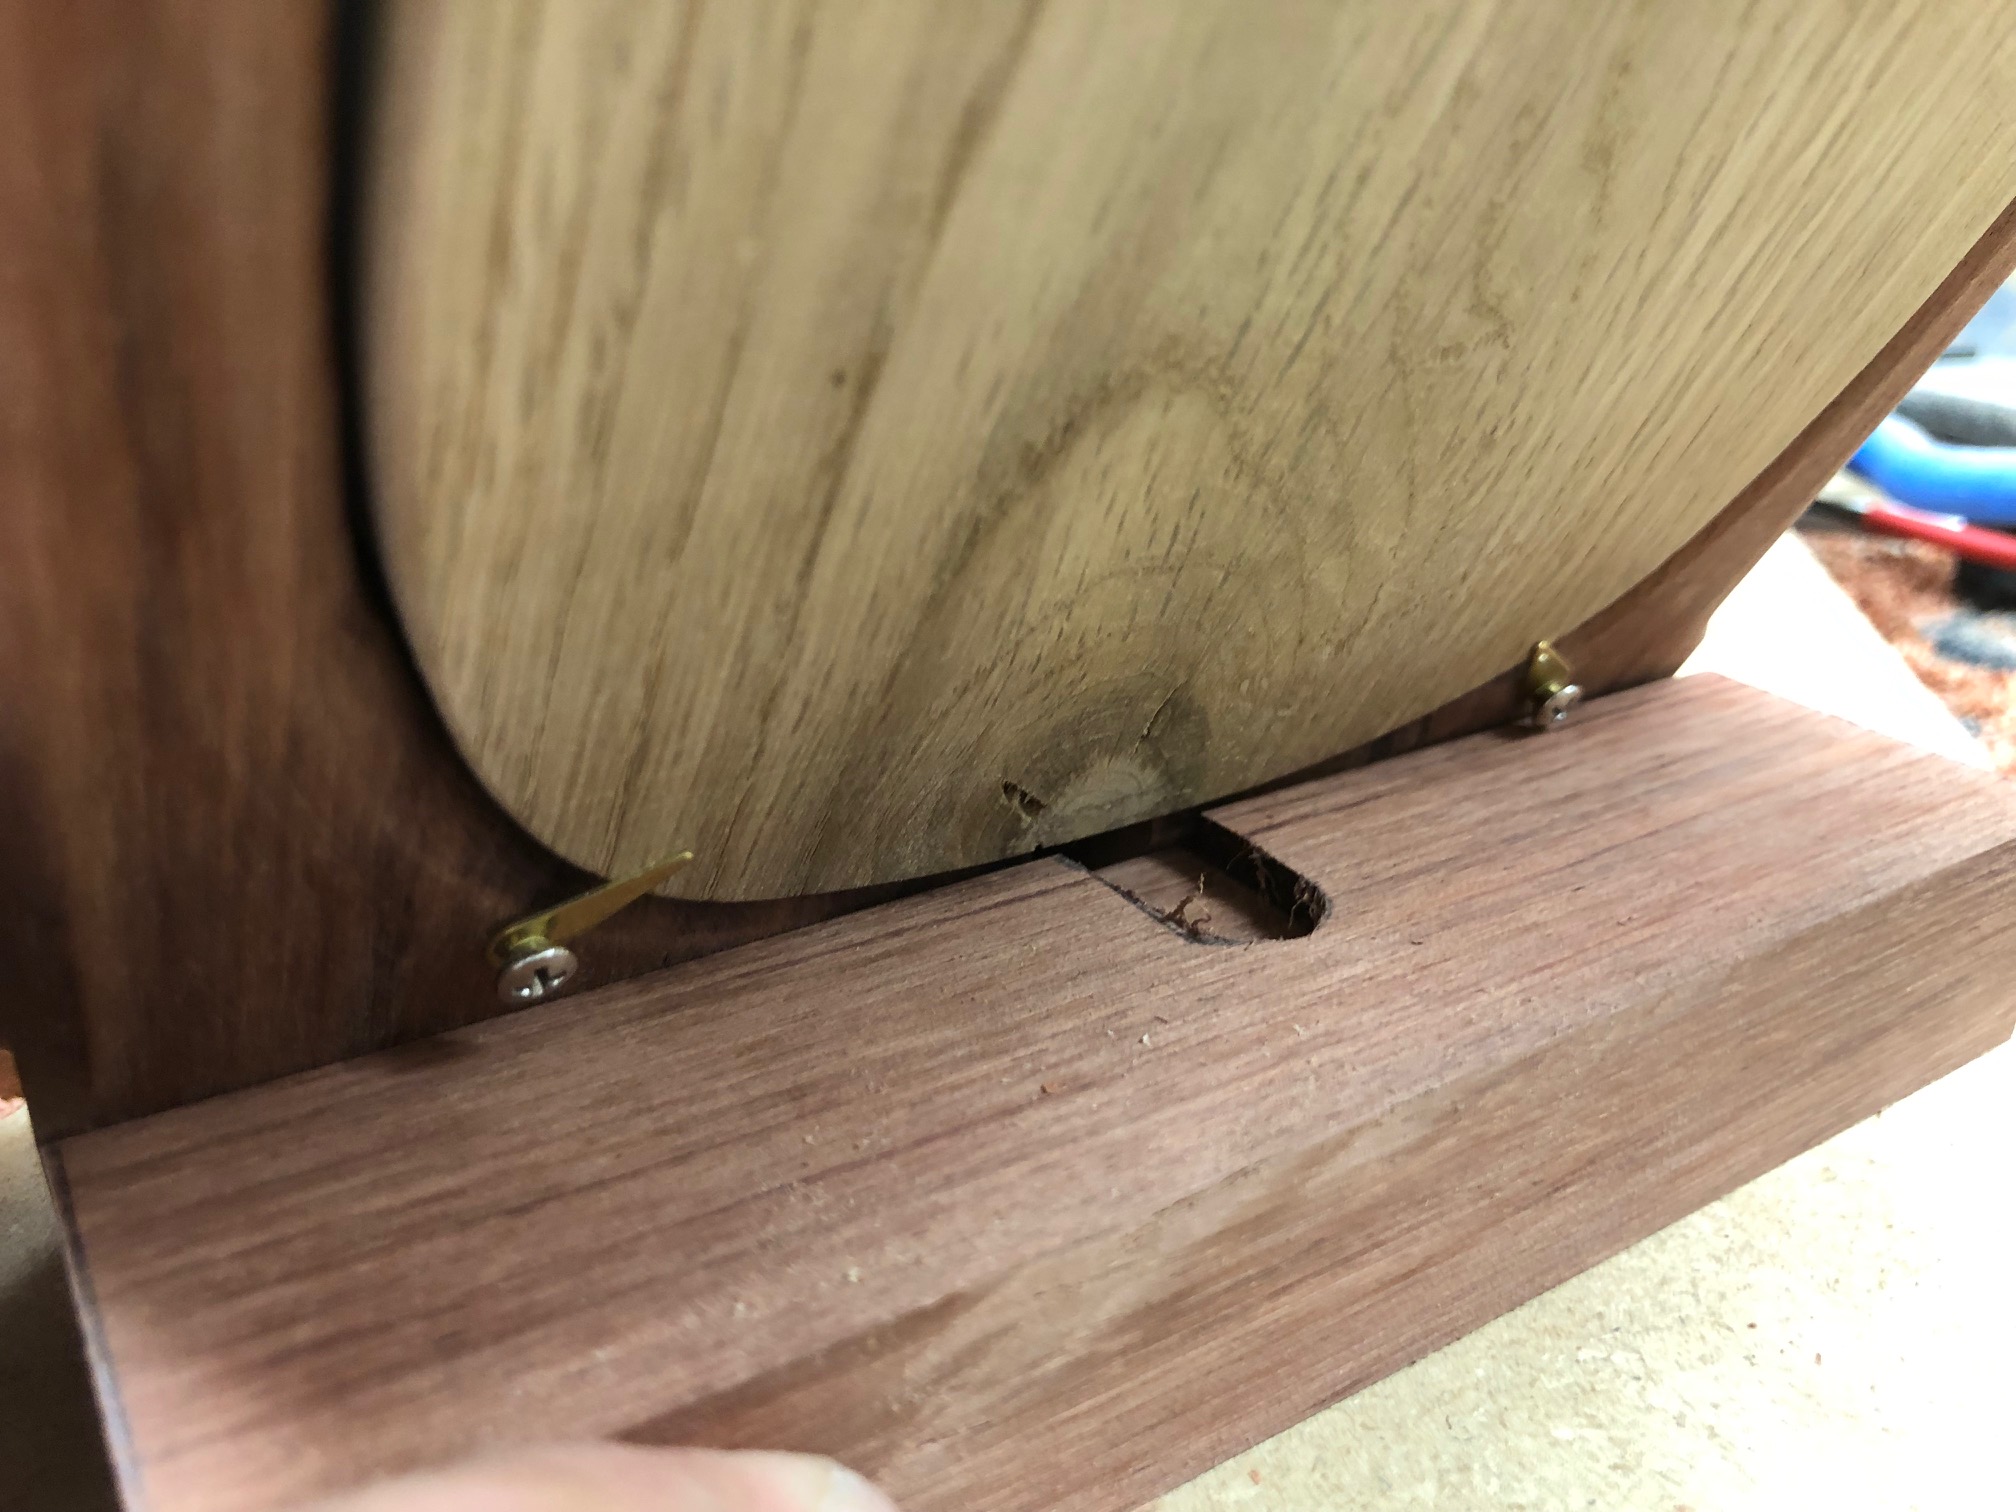
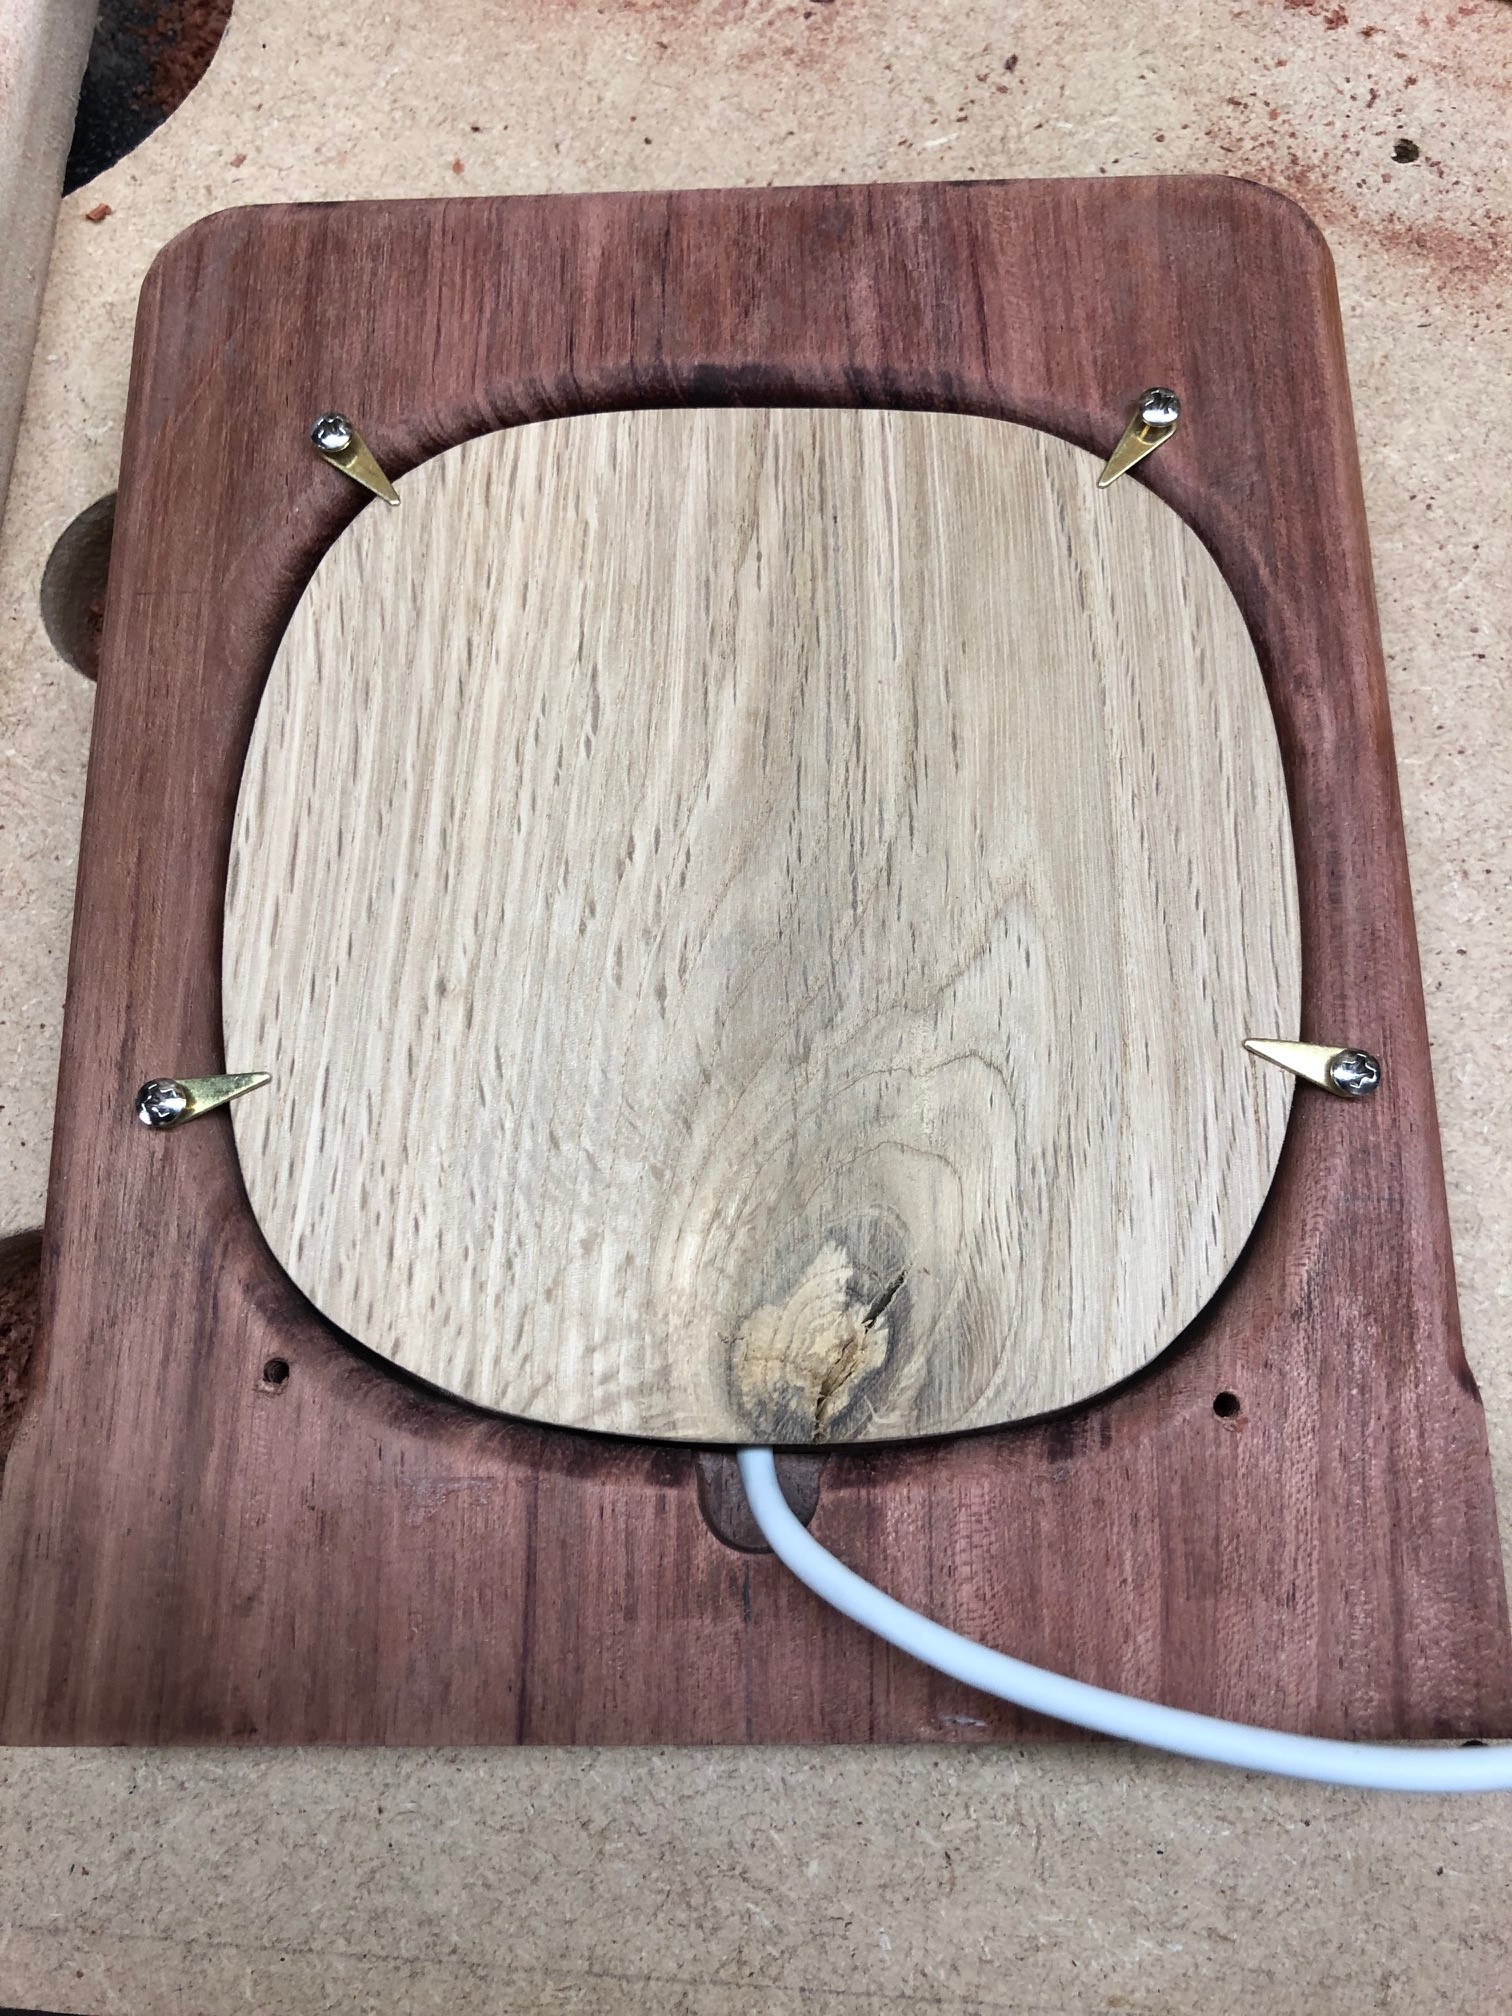
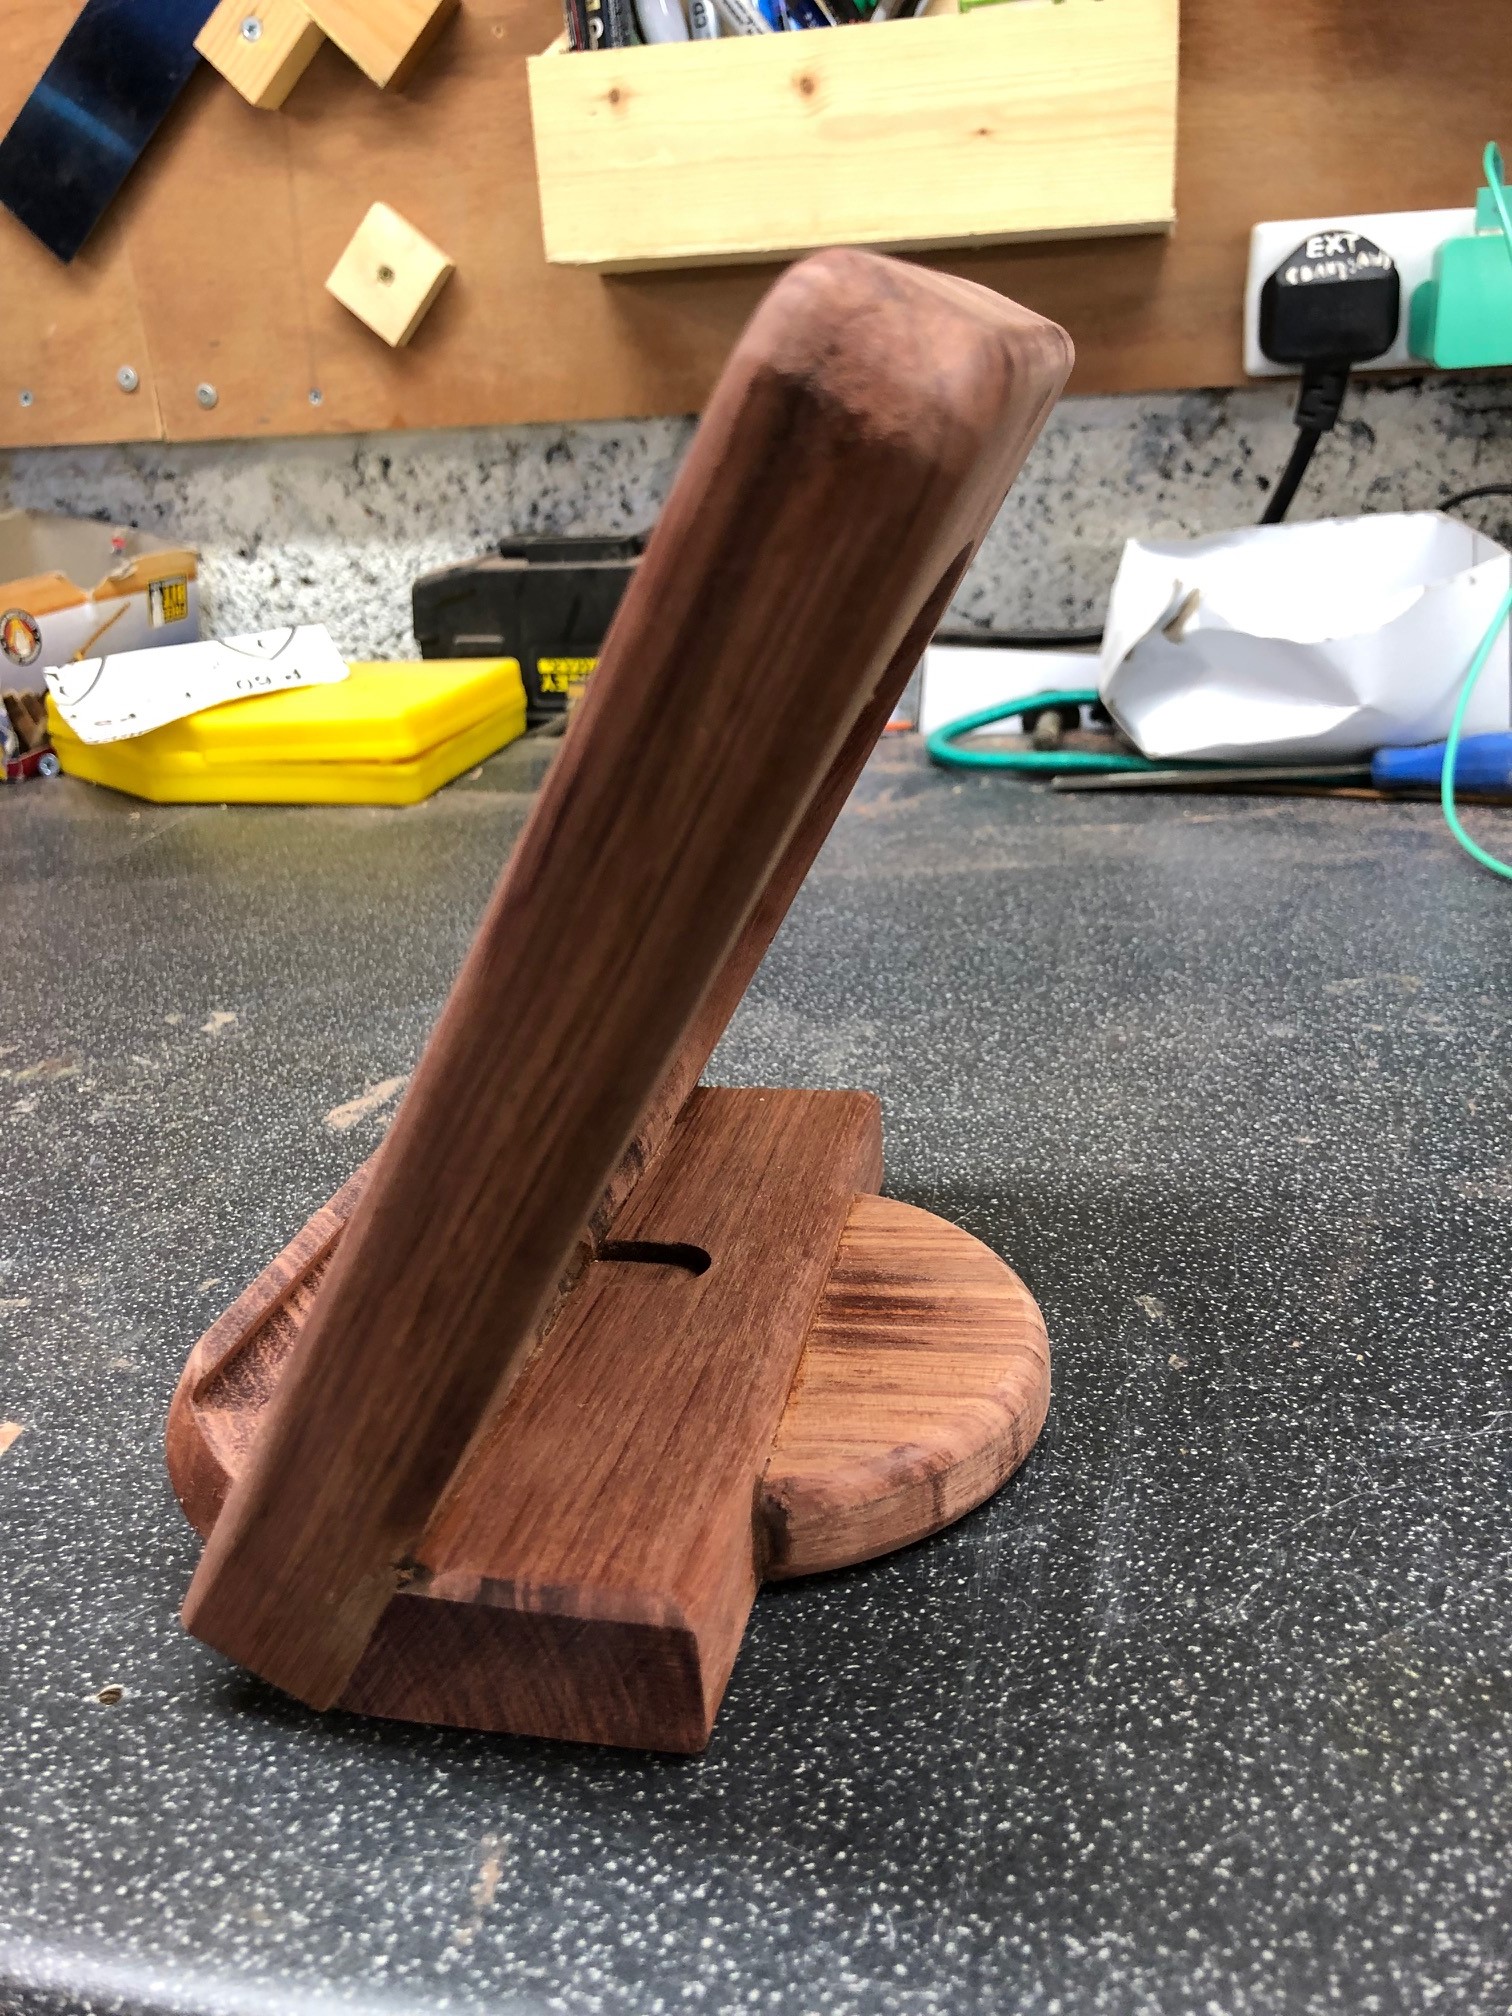
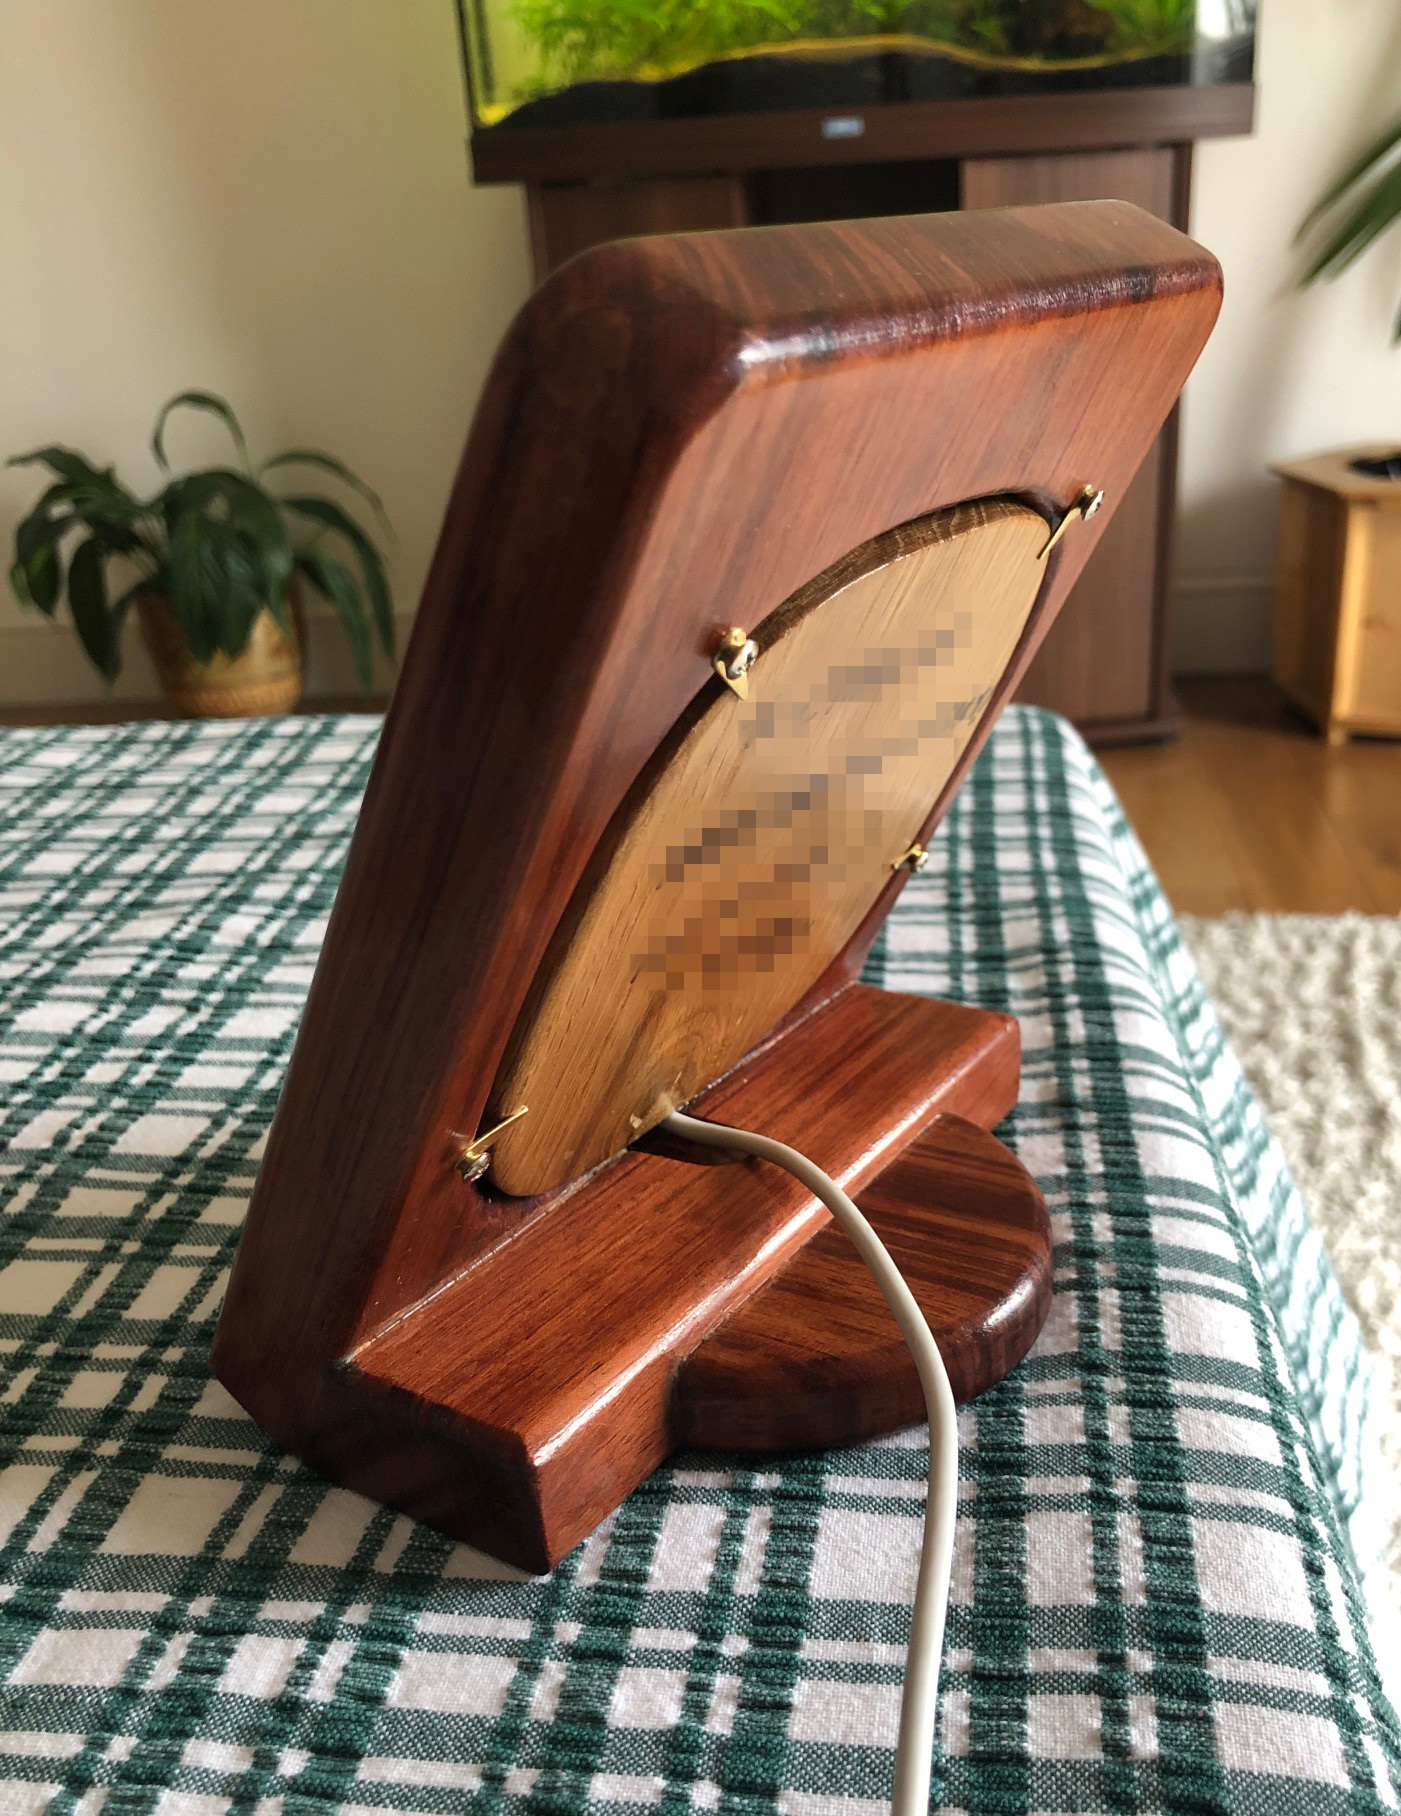
test fit, little notch for the wire, seems ok
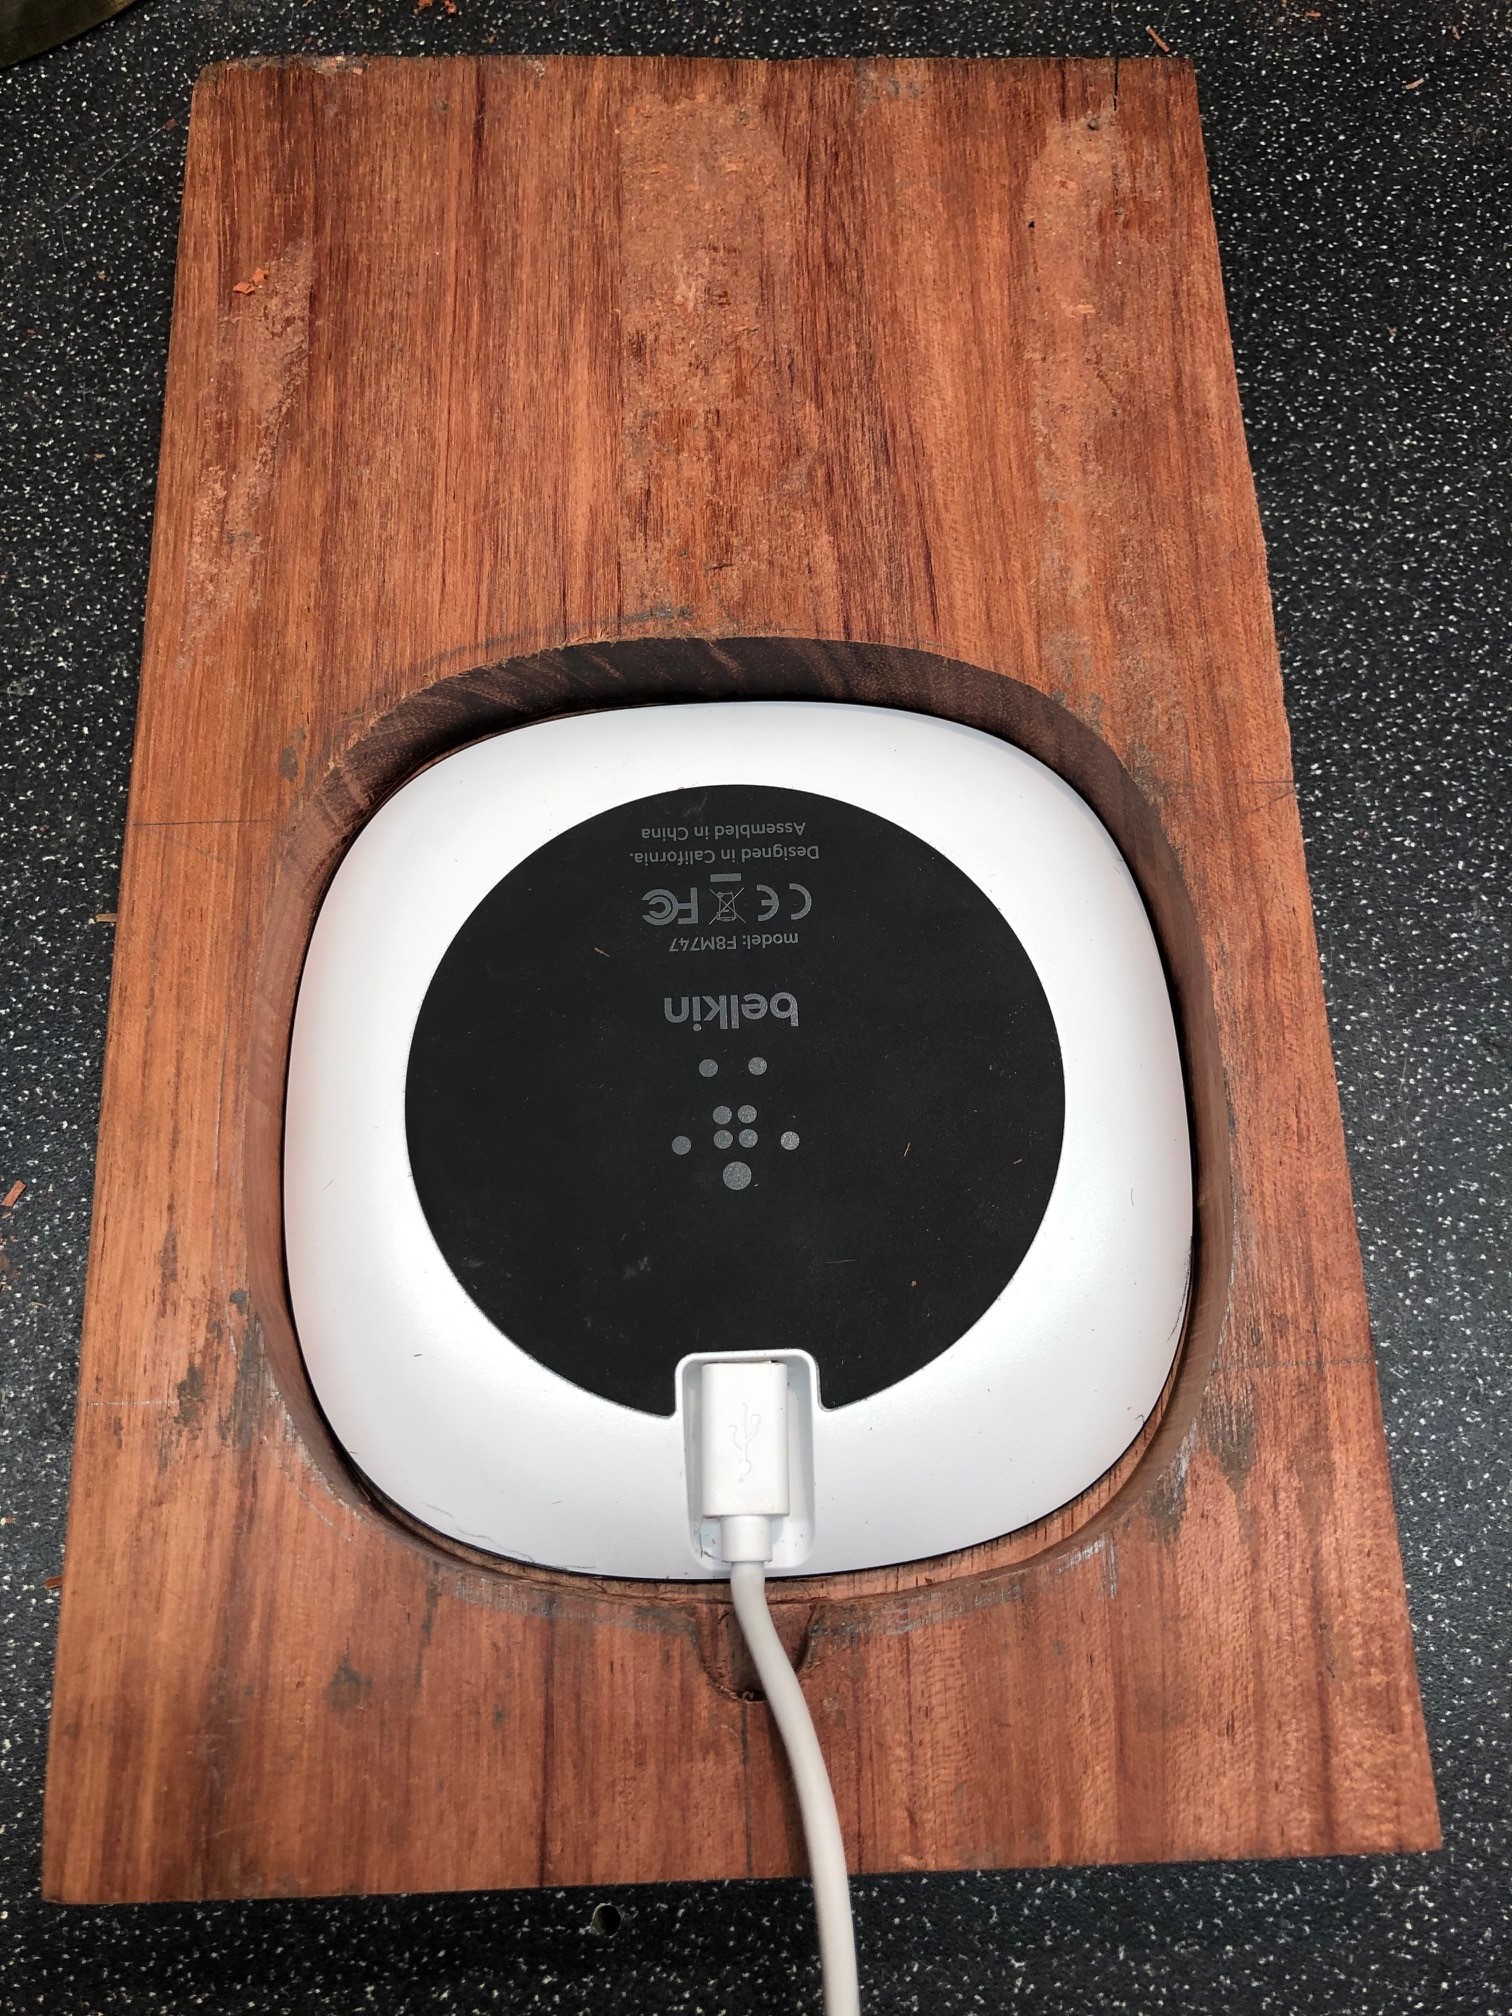
I couldn't show pics of it but the charger will charge my phone even in it's fat case so I'm pretty happy with it....
Now have to
- make a stand
- make a a little ledge for phone/ipad to sit on
- make something to stop charger falling out
I have an anniversary coming up so thought I'd try and make a bunny shaped charger for my girl (she's mad about bunnies). I figure if I made it into a stand it would at least still serve some function if the wireless charging aspect didn't work.
I had a nice piece of bubinga left over from another (bunny shaped!) project but it wasn't big enough to accommodate my Belkin charger and be shaped like a bunny, so I thought I'd make it a regular rectangular shape and try and inlay an oak bunny shape.
Need to have it done by this coming weekend so this is how I made the most of this glorious Easter weather, breathing in bubinga dust :wink:
Printed out a design and glued it to a scrap of oak

Bandsawed out shape

After a bit of sanding

Now chance to use my new Dewalt toy to rout out the inlay cavity

The dust extractor thing on fixed base does a fine job of removing dust but makes it hard to see where you're going, took it off in the end.

Not very happy with it but the bunny's in and the many f***ups filled with bubinga sawdust and glue, hoping once the finish is applied it will conceal some of my sloppiness.

Next job to rout out the big cavity for the Belkin charger. From tests on scraps it will charge through wood 5mm thick if the phone is naked, and about 3mm if the phone is in a case. I know she keeps her phone in a case so I've got to leave this wood pretty thin and rout it out leaving just a 3mm skin.
Thought I'd try and the plunge base on the router this time and wow, what a difference, can now use dust shield and see where I'm going.

If I was smart I'd have used a forstner bit to hog out the bulk of the waste first, but I'm an idiot so I didn't. One little mishap but otherwise job done.

test fit, little notch for the wire, seems ok

I couldn't show pics of it but the charger will charge my phone even in it's fat case so I'm pretty happy with it....
Now have to
- make a stand
- make a a little ledge for phone/ipad to sit on
- make something to stop charger falling out


